Rubifan
Member
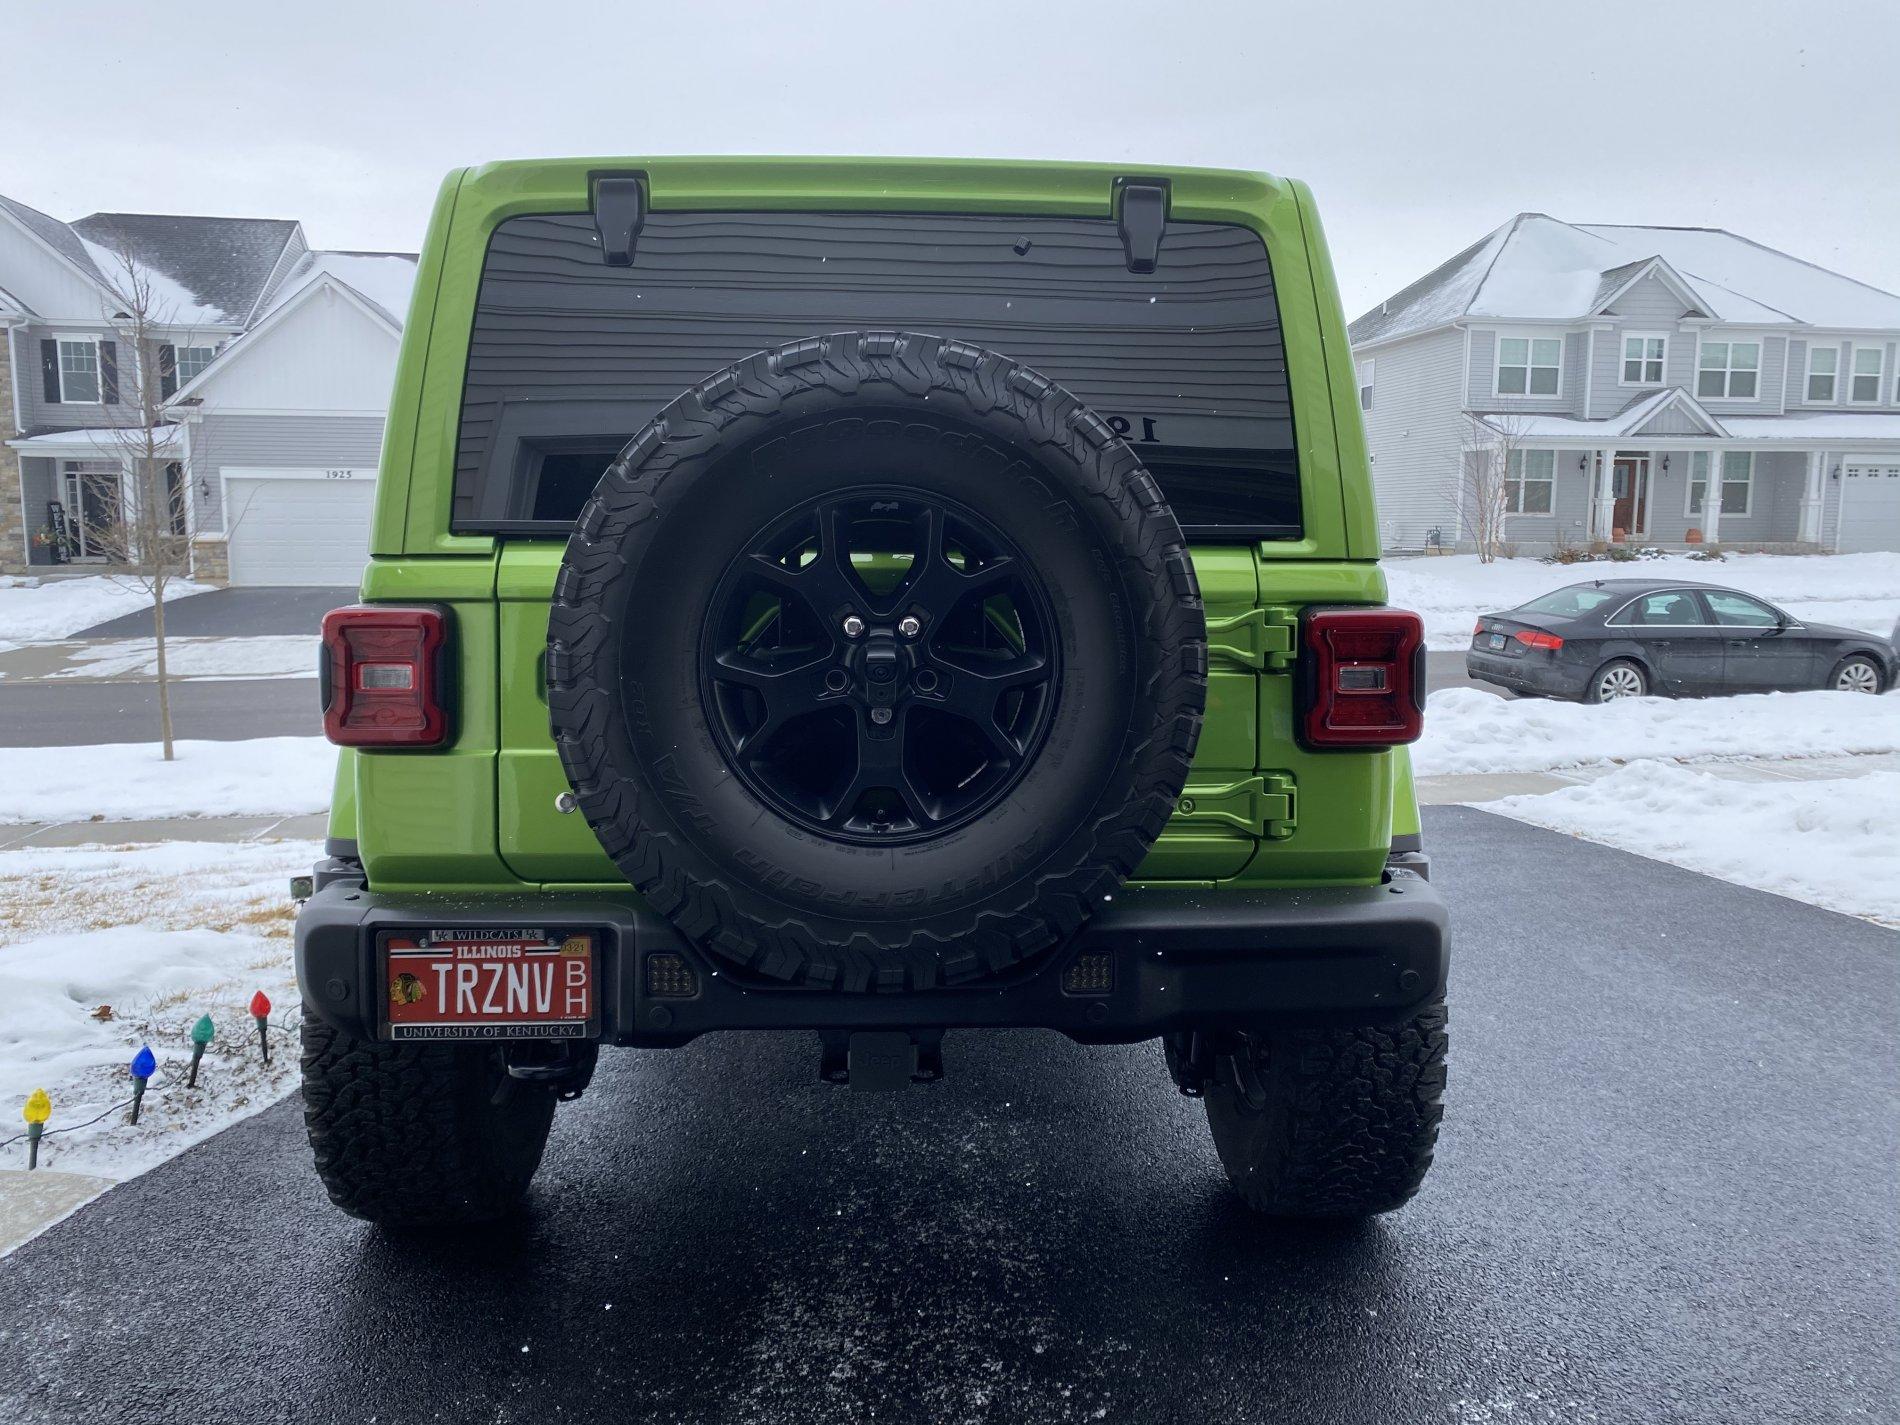
I like the look, but I’m wondering if it will stay in place with rain, snow, washing, etc. What do you think?Did a light tint film on the reverse lights.


Sponsored
I like the look, but I’m wondering if it will stay in place with rain, snow, washing, etc. What do you think?Did a light tint film on the reverse lights.
Currently experiencing all that is listed! Holding up so far this week.I like the look, but I’m wondering if it will stay in place with rain, snow, washing, etc. What do you think?
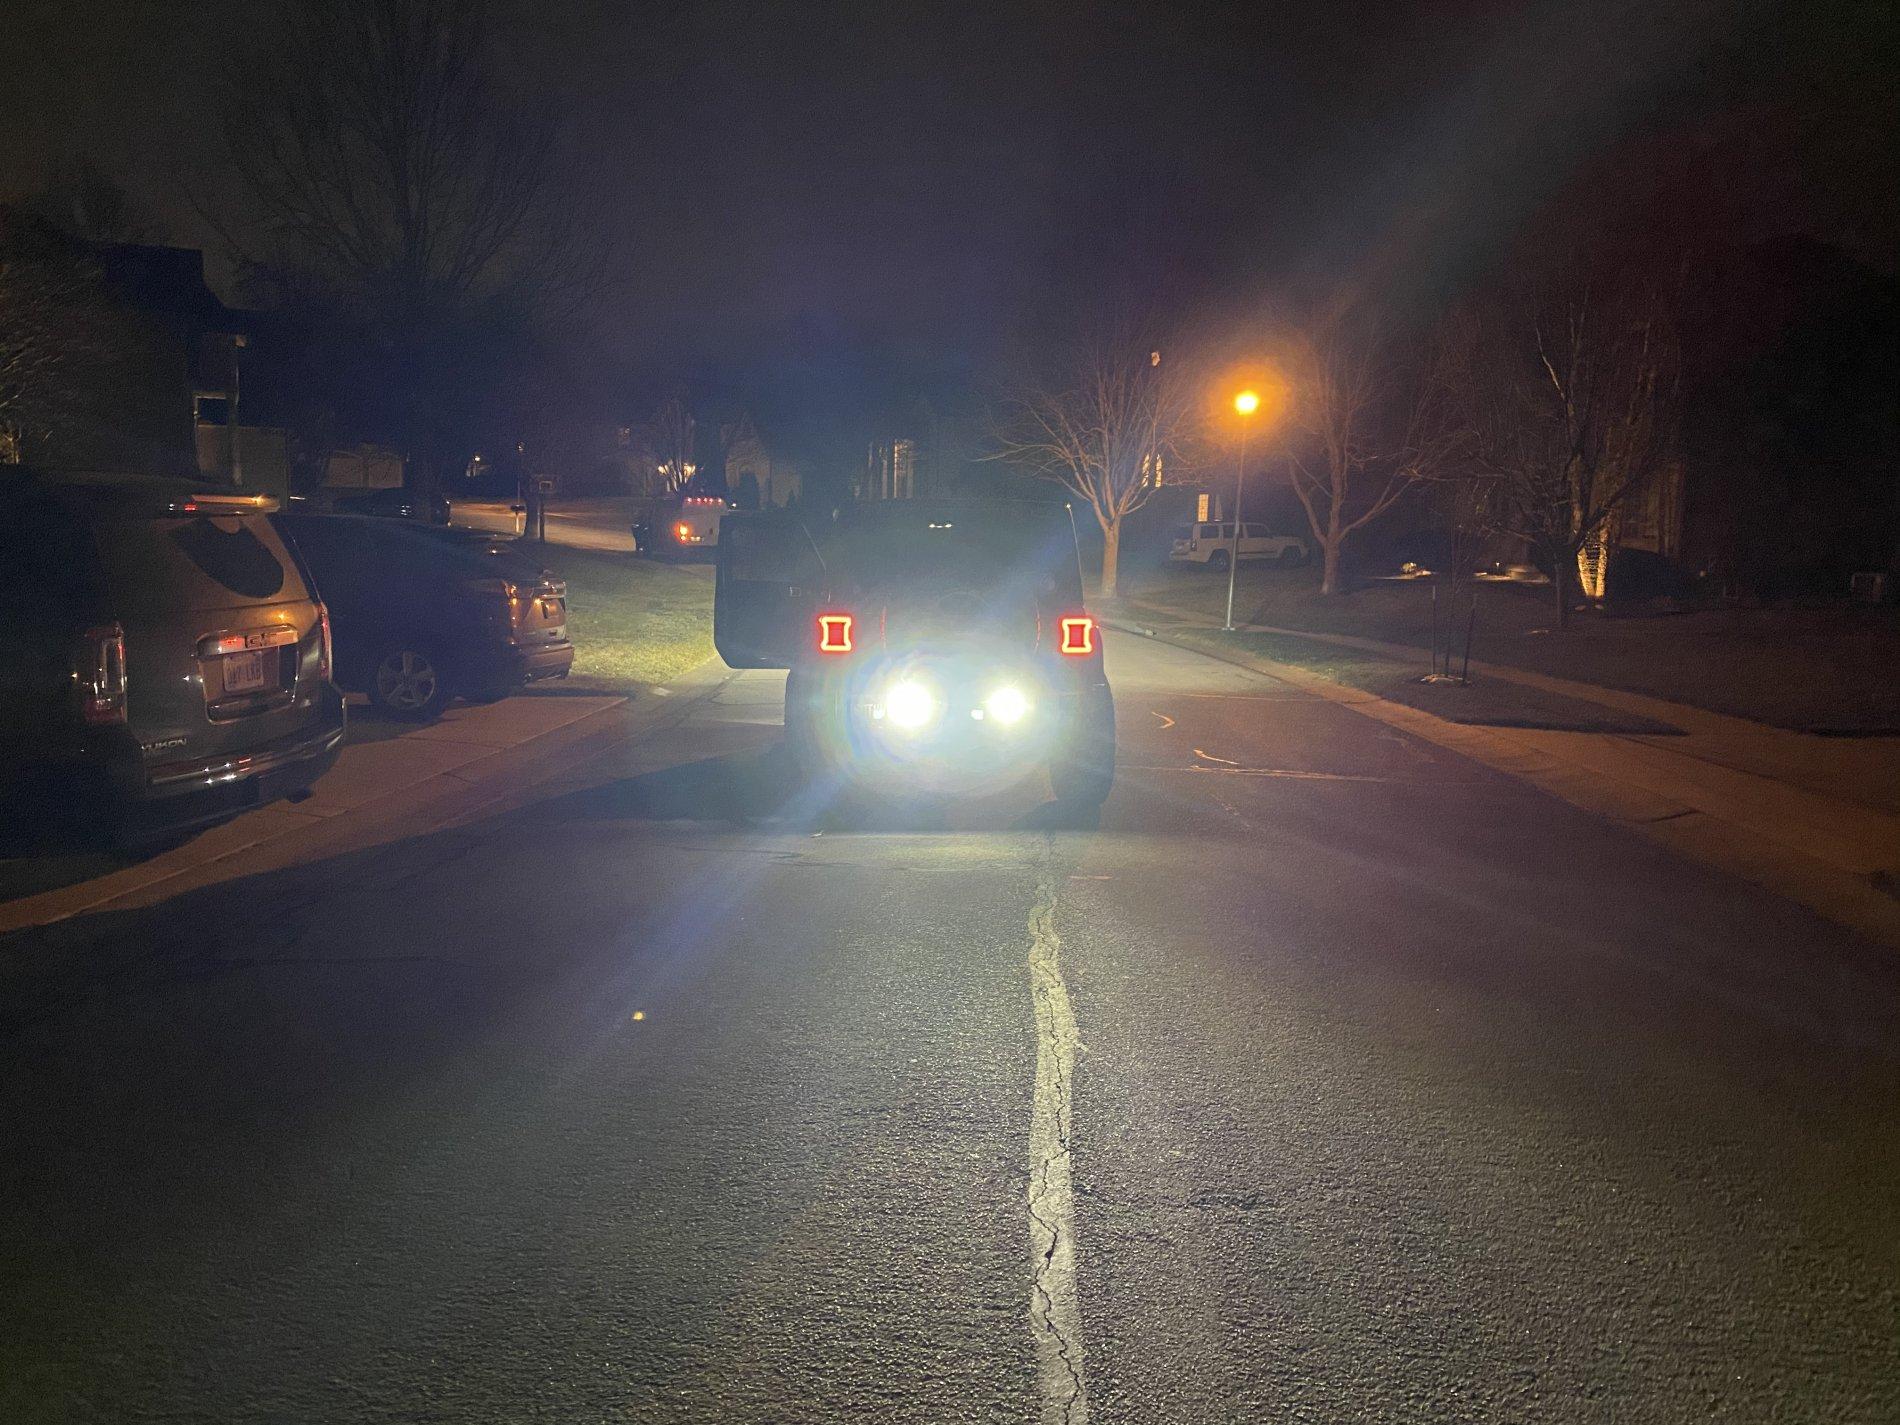
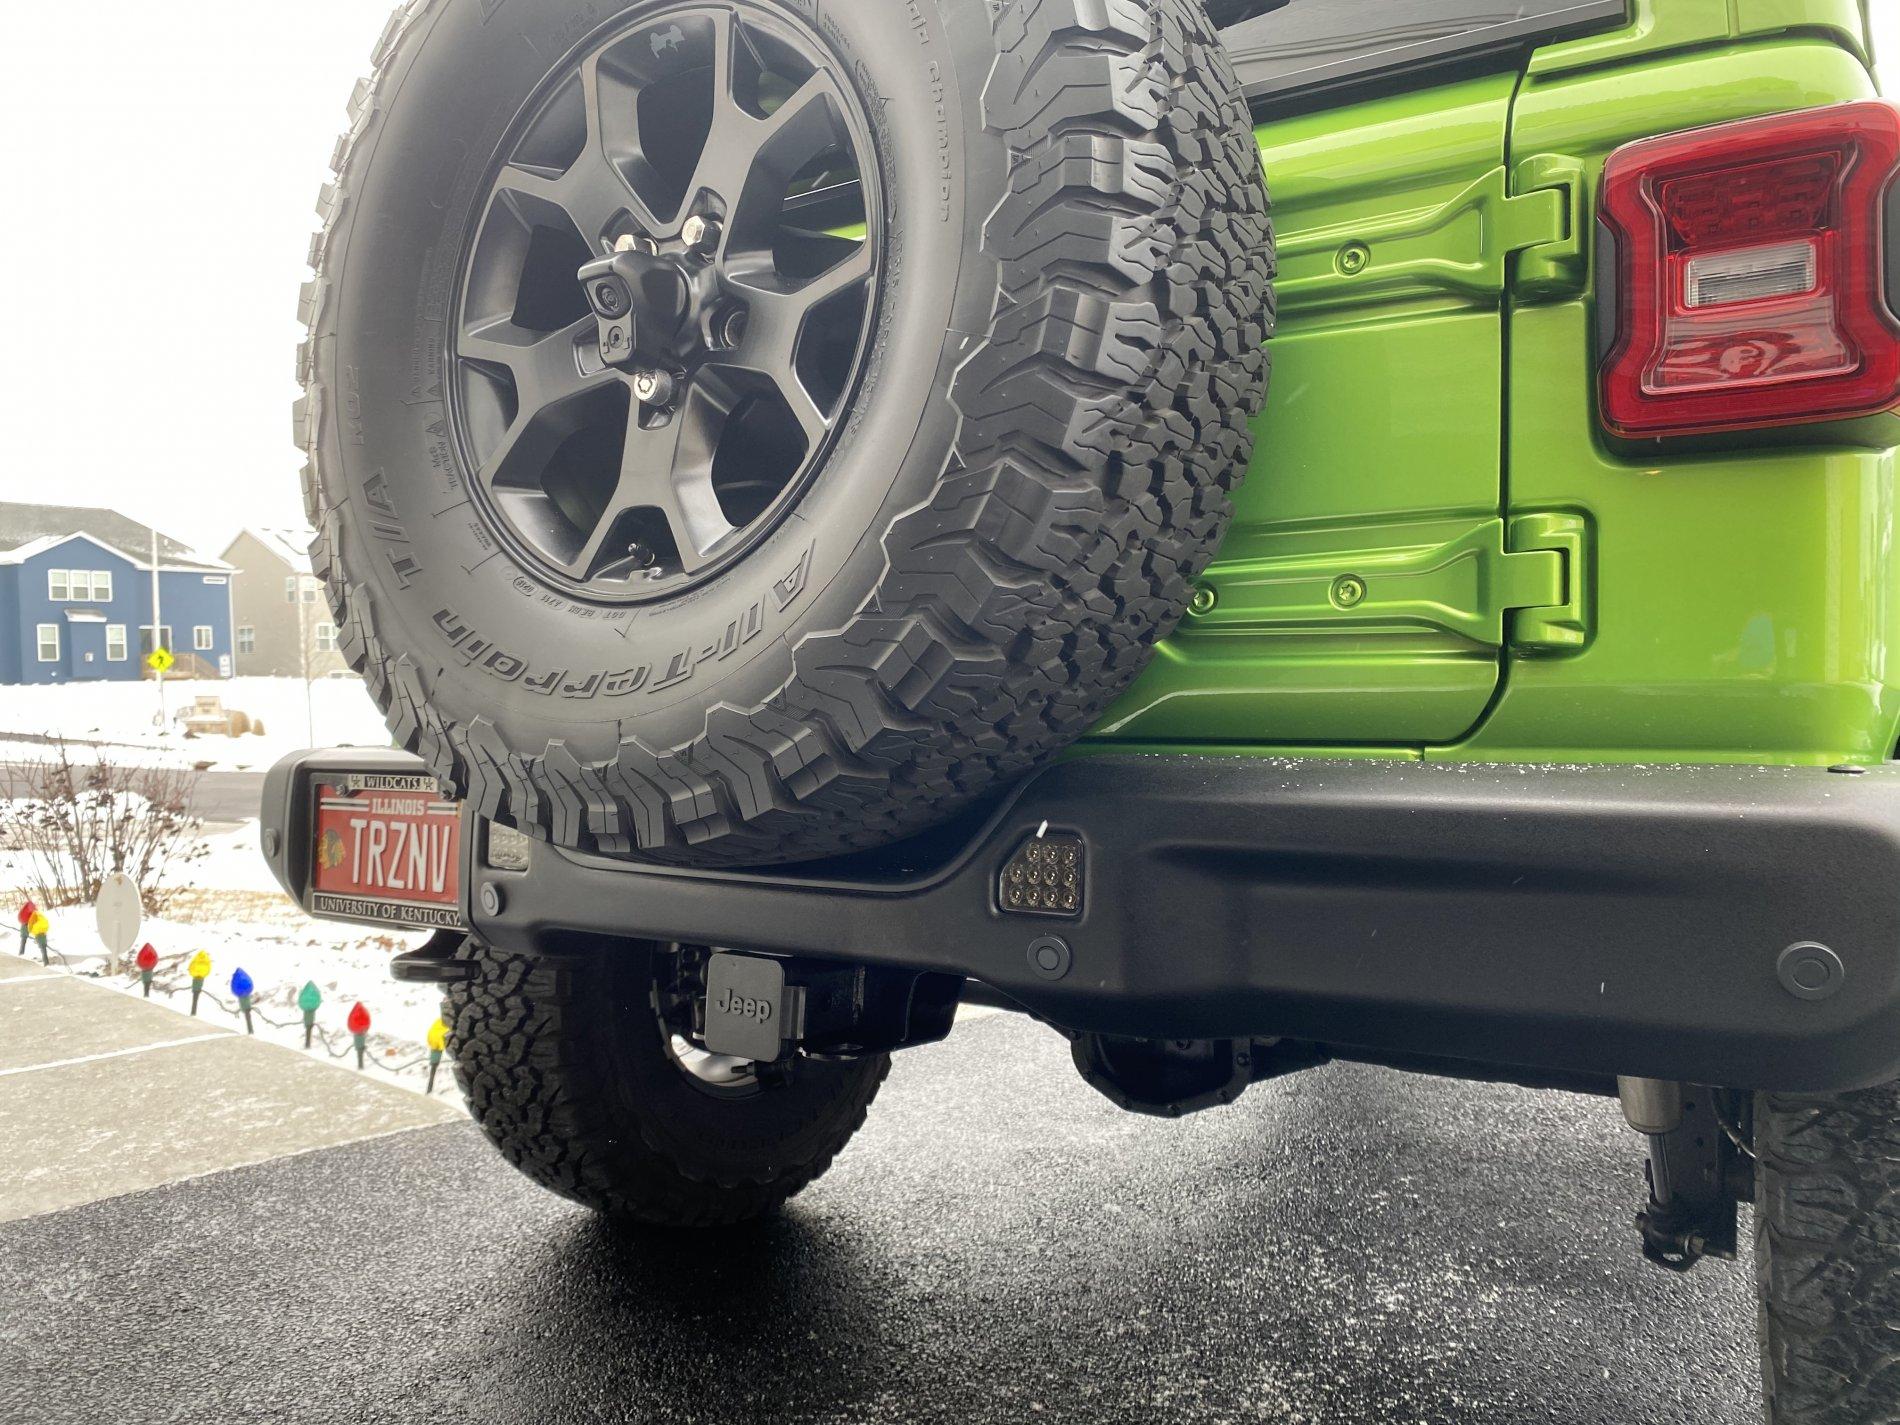
Curious how you ran yours to the Aux panel. I did the same, but interested how others may have done it.Awesome product Oracle. Had to sand down the driver light but it fit without forcing too hard. Wired my mine to aux panel. Great light output.
I ran them up the passenger frame rail to a hole right by the ground attachment behind the wheel well liner. Then ran it up to the aux panel lead and ground by the battery. With the bumper off, it was an easy fish.Curious how you ran yours to the Aux panel. I did the same, but interested how others may have done it.
Thanks what gauge wire did you use?I ran them up the passenger frame rail to a hole right by the ground attachment behind the wheel well liner. Then ran it up to the aux panel lead and ground by the battery. With the bumper off, it was an easy fish.
14 but it was bigger than necessary.Thanks what gauge wire did you use?
Thank you for the feedback! We appreciate your comment!I wanted to thank @ORACLElights for making the cracked light situation right for me. They sent me a replacement light. Company's that stand behind the product means a lot to me.

Same, had a production defect and they are sending me out a new one! Great customer service for sure.Thank you for the feedback! We appreciate your comment!
Thank you for sharing your feedback here!Same, had a production defect and they are sending me out a new one! Great customer service for sure.
Appreciate your kind words! We are always here for our Jeep peopleHad condensation in the passenger side rear lamp. Oracle contacted me and sent me a replacement all in quick order. Refreshing to see a stand-up company nowadays! Thanks!
")

- Yes, you are correct and our original video showed how to do the installation without removing the bumper. We received criticism for suggesting the installation could be done without removing the bumper so we deleted that installation video and re-uploaded showing the bumper removal process on the recommendation of members here.The install on a steel bumper is totally possible (as others have mentioned) without pulling the bumper, I feel like this should be mentioned more clearly in the install instructions,
Thanks for the reply! Just my opinion but...Thank you for the feedback and bringing up these points.
- Yes, you are correct and our original video showed how to do the installation without removing the bumper. We received criticism for suggesting the installation could be done without removing the bumper so we deleted that installation video and re-uploaded showing the bumper removal process on the recommendation of members here.
1) Because the factory stamp does not seem to be precise some may have to grind off more than others. It depends on your particular bumper.
2) See above, unfortunately it is not that easy.
3) Our installation video does not recommend or show grinding of any type. You may be referring to a member's video we added to our site to provide additional feedback based on a independent user's installation experience. Again, there seems to be an evident lack of precision in the factory stamp. Because of this where this member showed grinding may not be where you need to grind on your particular bumper.