TJ2018
Well-Known Member
- First Name
- Eric
- Joined
- Nov 2, 2018
- Threads
- 10
- Messages
- 2,094
- Reaction score
- 10,069
- Location
- Orange County, CA
- Vehicle(s)
- 2018 Punk'n JLUR; 2020 Silverado Trail Boss
- Vehicle Showcase
- 1
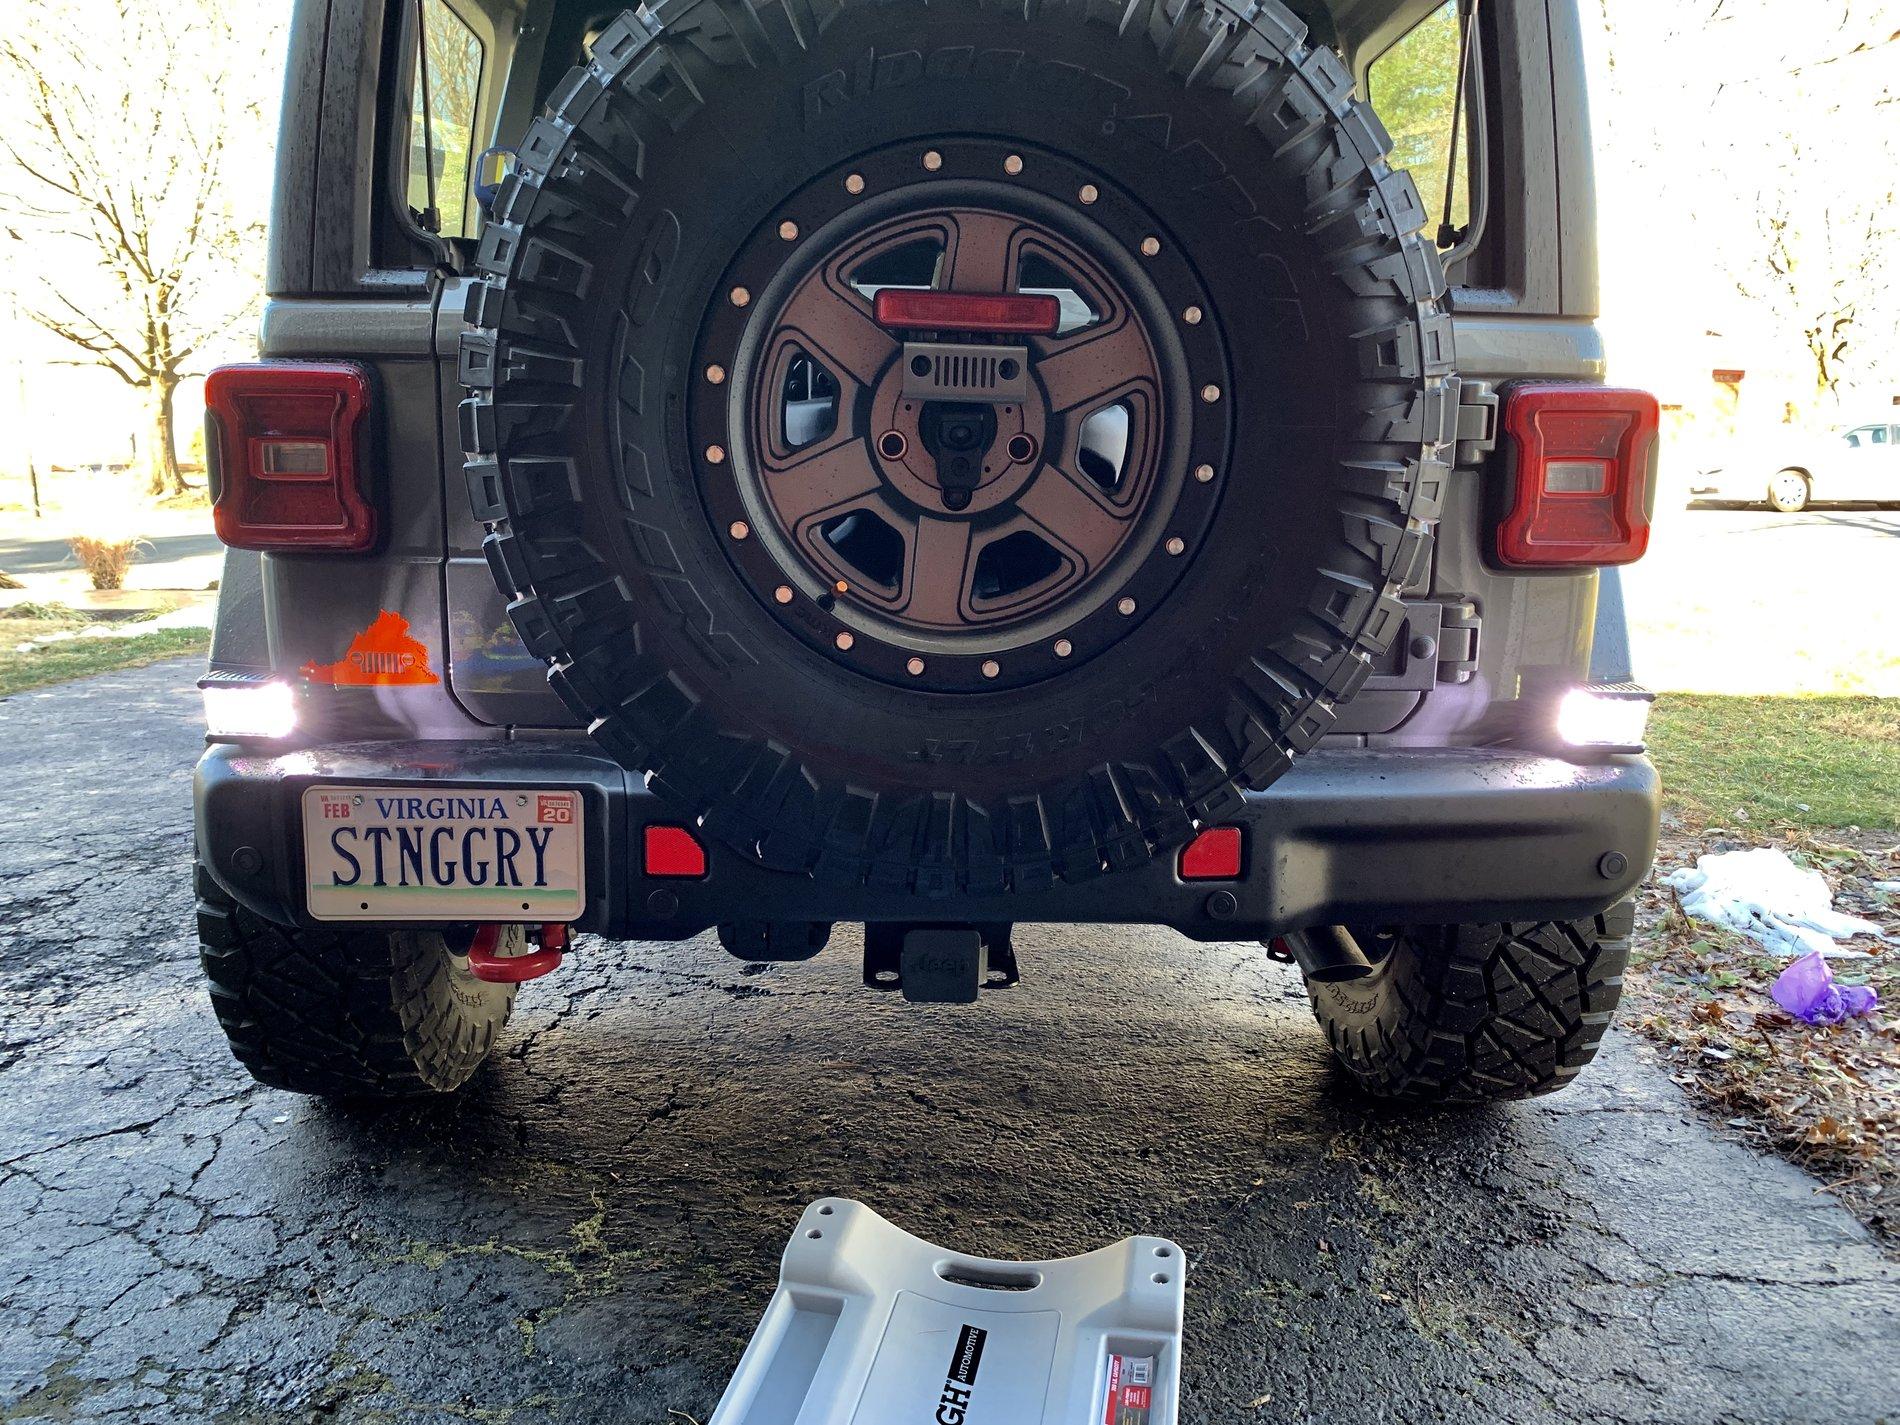
You might want to check out this install by @tesla ... looks like he has the steel bumper with sensors. Very similar approach and clean looking install. Good luck!greed that @Colorado Rubicon's install is probably the cleanest out there thus far, but it's a no-go for folks like me with the steal bumper and proximity sensors. My search continues...
https://www.jlwranglerforums.com/forum/threads/rigid-ignite-backup-light-installed.19307/
Sponsored