Rhinebeck01
Well-Known Member
- Joined
- May 9, 2018
- Threads
- 169
- Messages
- 12,679
- Reaction score
- 19,174
- Location
- Ormond Beach, Florida
- Vehicle(s)
- '18 JL Rubi, '26 Cybertruck, '01 Harley FatBoy
- Occupation
- Retired at 55 ..
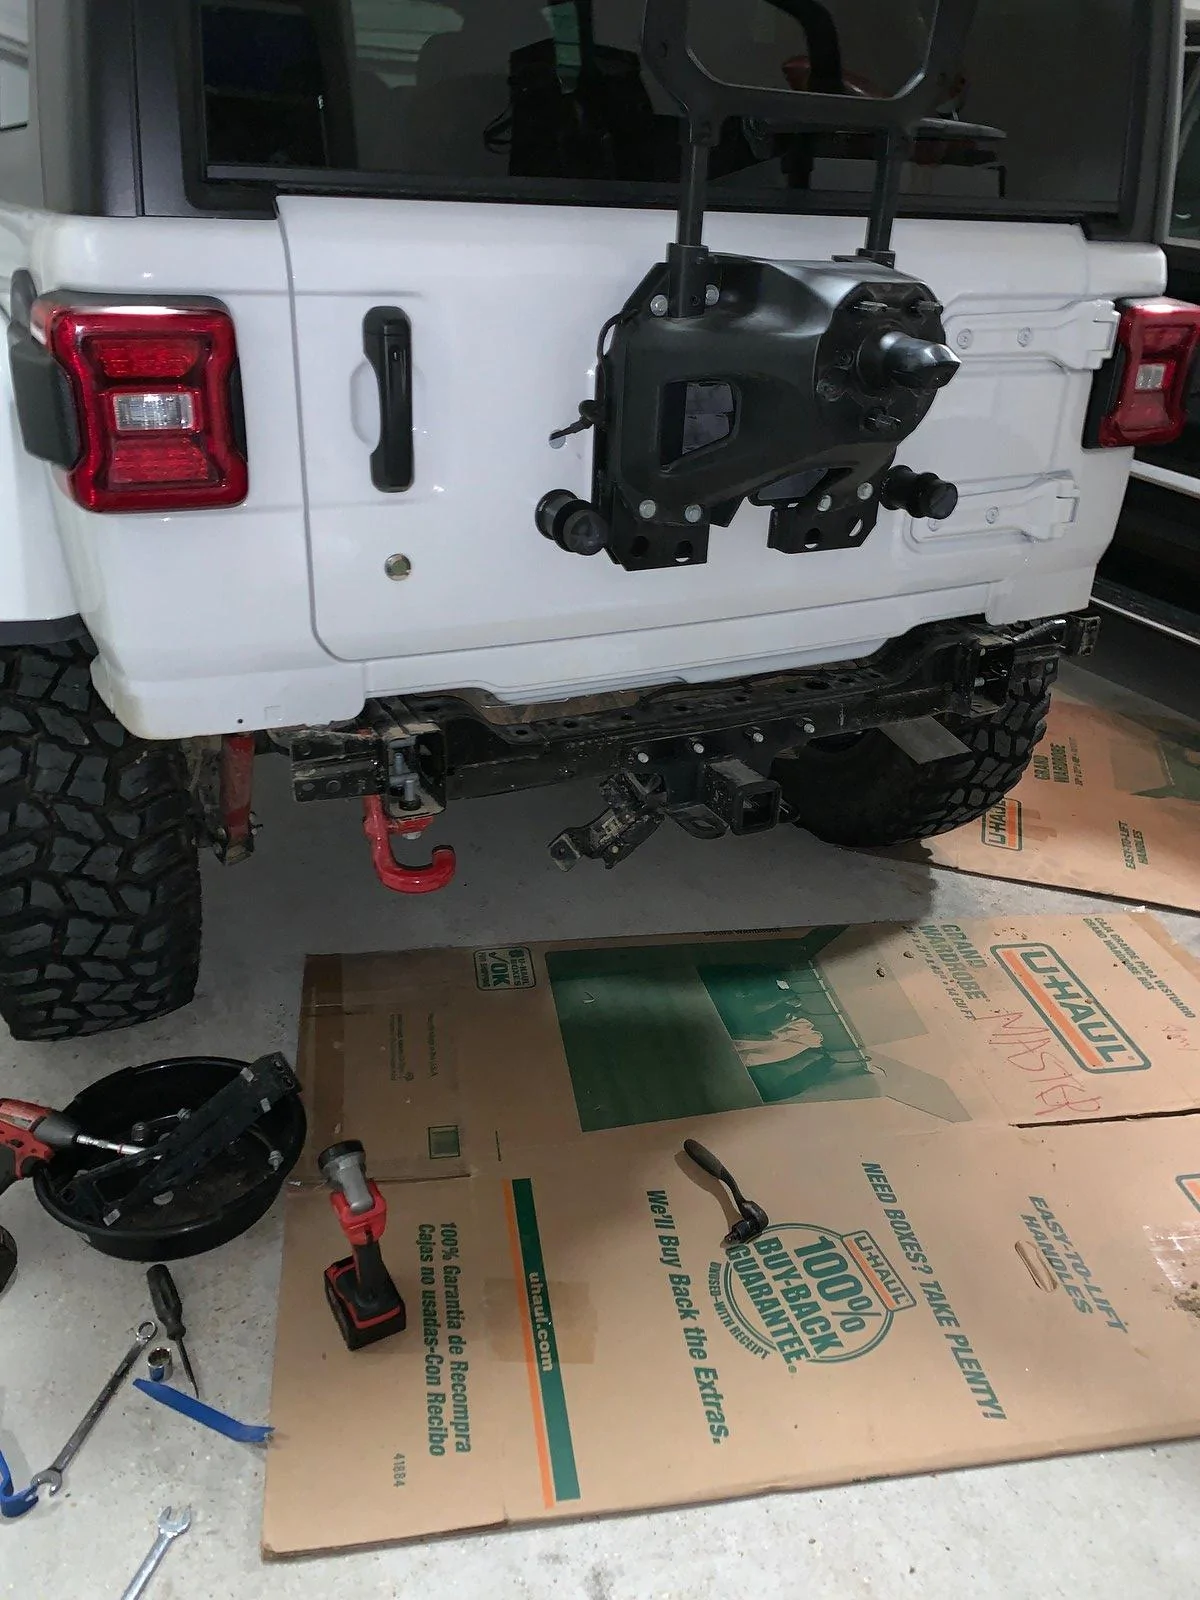
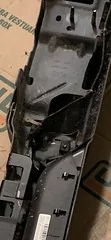
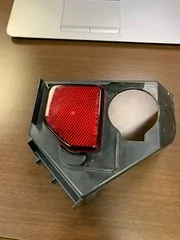
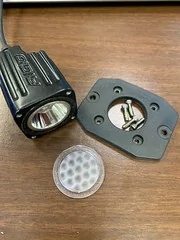
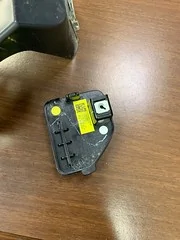
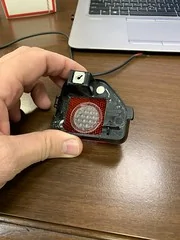
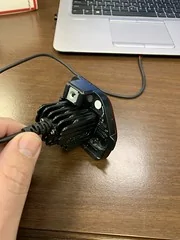
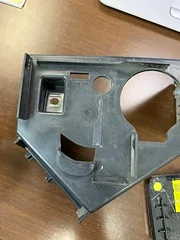
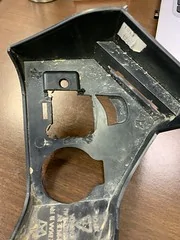
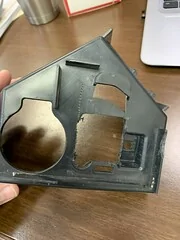
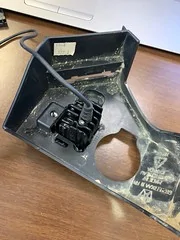
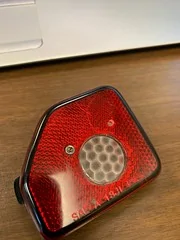
@viper88Actually you got me the part numbers in less then 30 seconds. lol. I will order a set this morning. I am assuming the flush mount Rigid back up lights are going to be easier to install since all that needs to be removed will the mounting cover.
These lights…
https://www.summitracing.com/parts/rgd-20641
Looking forward to what your end result is...
Sponsored
")