dapipp
Well-Known Member
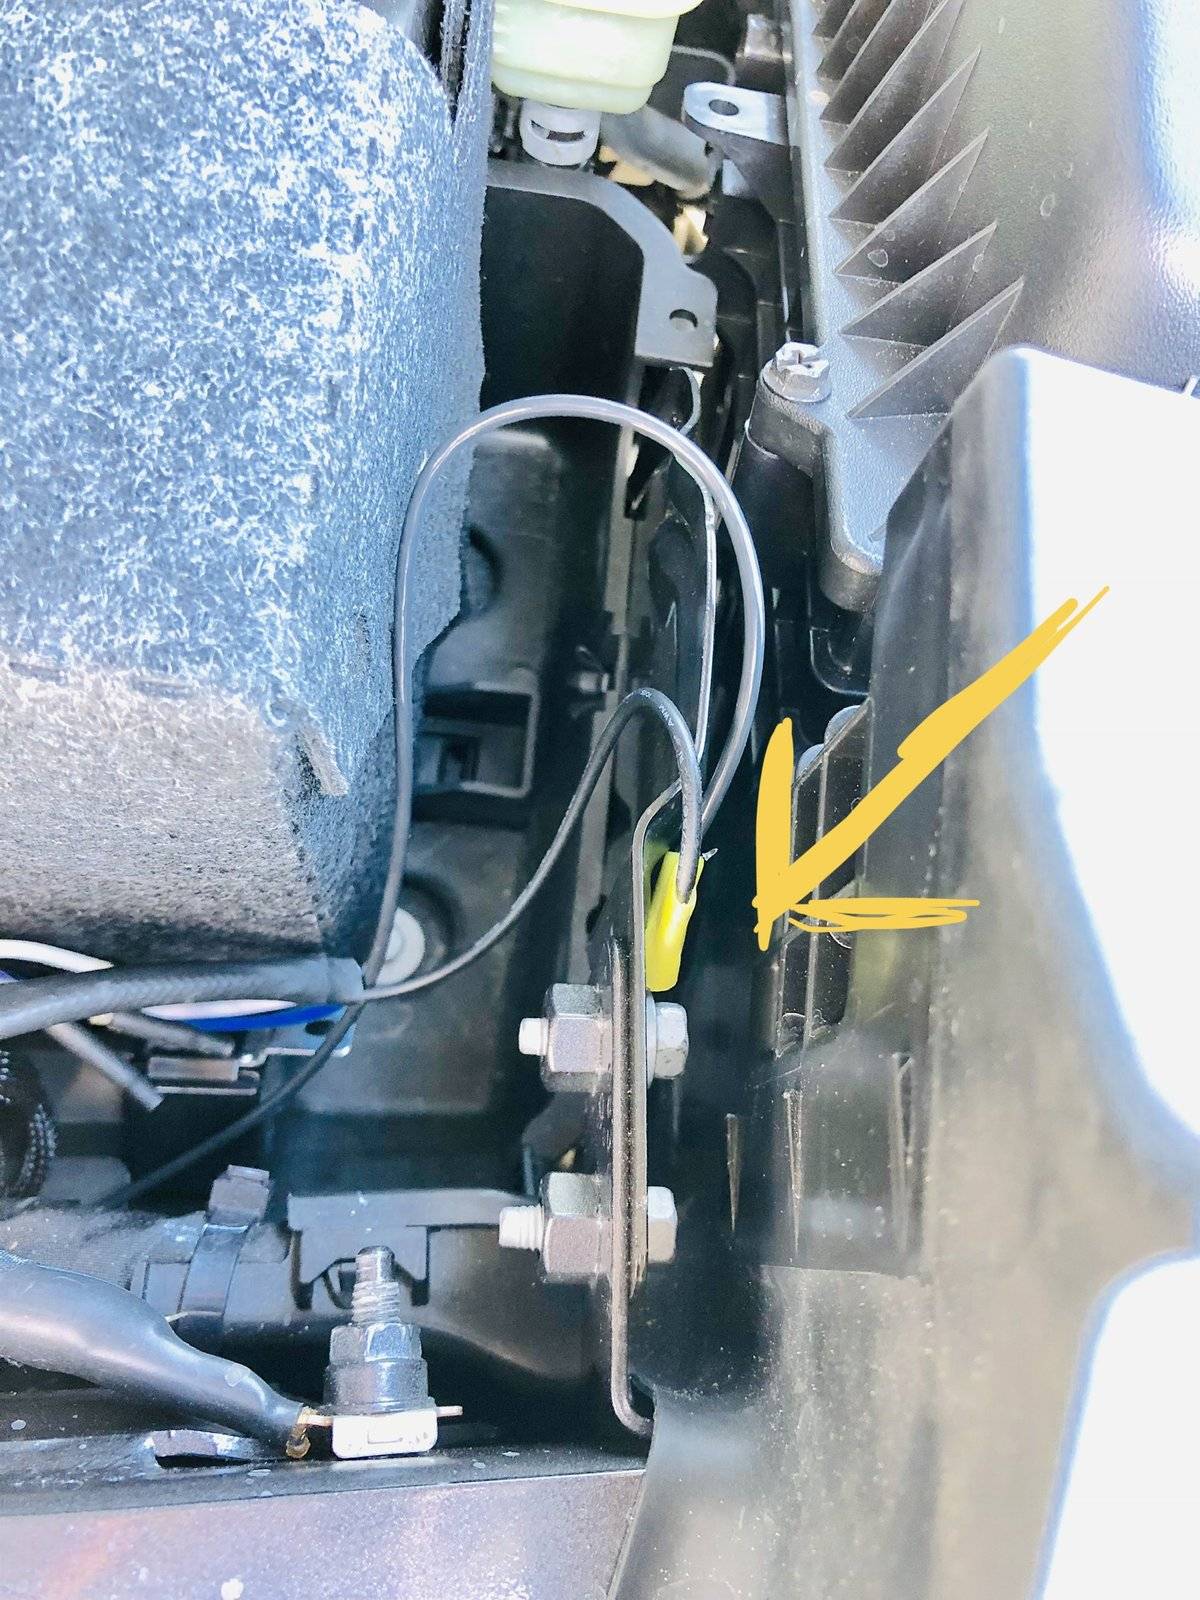
I generally run 16 or in some cases 14, no telling what changes I may make in the future. I also carry the ground wire back to the engine compartment to one of the grounding posts next to where the Aux wires are in the engine compartment. This makes chasing "grounding" issues much easier to troubleshoot if necessary.
Sponsored