pangmaster
Well-Known Member
- First Name
- Nathan
- Joined
- Jun 3, 2018
- Threads
- 10
- Messages
- 533
- Reaction score
- 964
- Location
- Mid Michigan
- Vehicle(s)
- 2018 JLR
- Occupation
- Enterprise architect
- Vehicle Showcase
- 4
Just adding my experiences as well...Thanks Matt, appreciate the feedback. Looks like the electrical work burned most of the time. A few questions please:
Cheers, Peter
- In order to get the bumper level, did you have to grind off any welding seams or the like? Or did it slide right in?
- Any hints on making removing the backup camera out of the stock housing less of a PTA?
- I am not sure what to do with the recessed lights yet. If I install them later, will I have to take the bumper off again? It looks from the photos as if they are mounted from the rear?
I did not have to do any grinding or anything to get the bumper level. It slid on an as I tightened things up I kept checking and didn't have any problems.
I didn't have a problem getting the camera out of the housing, but I went slowly.
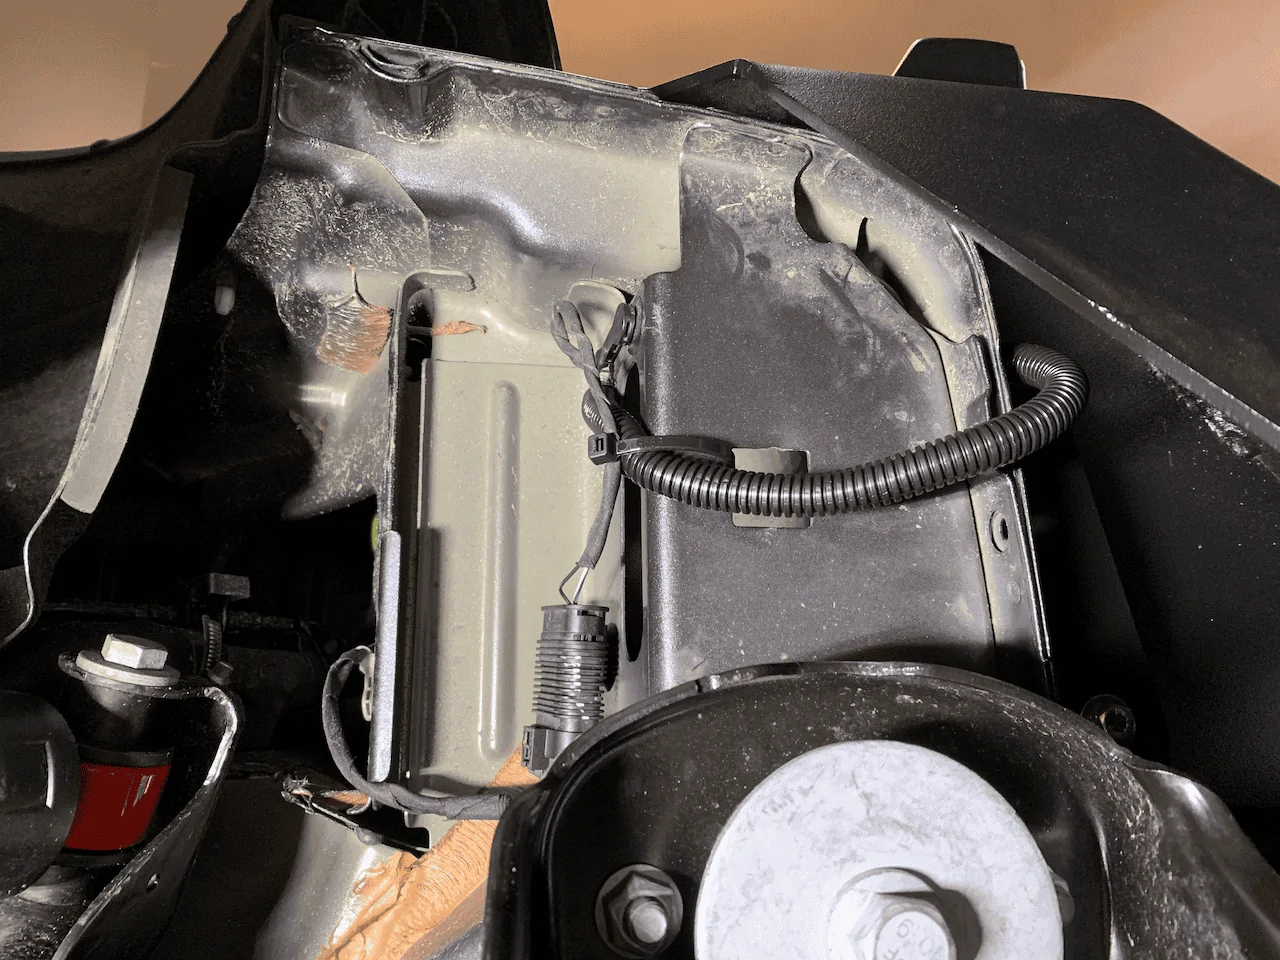
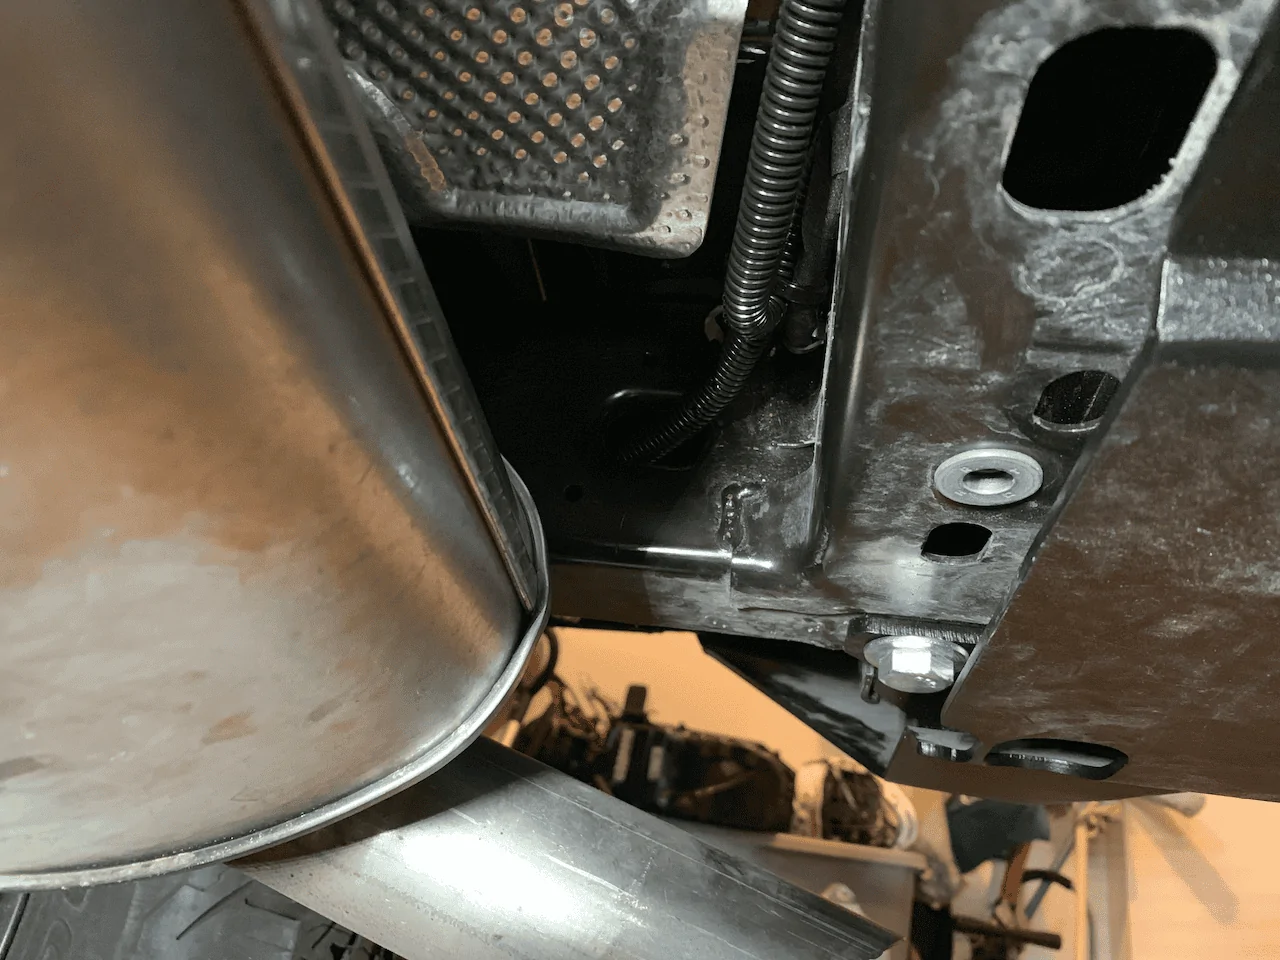
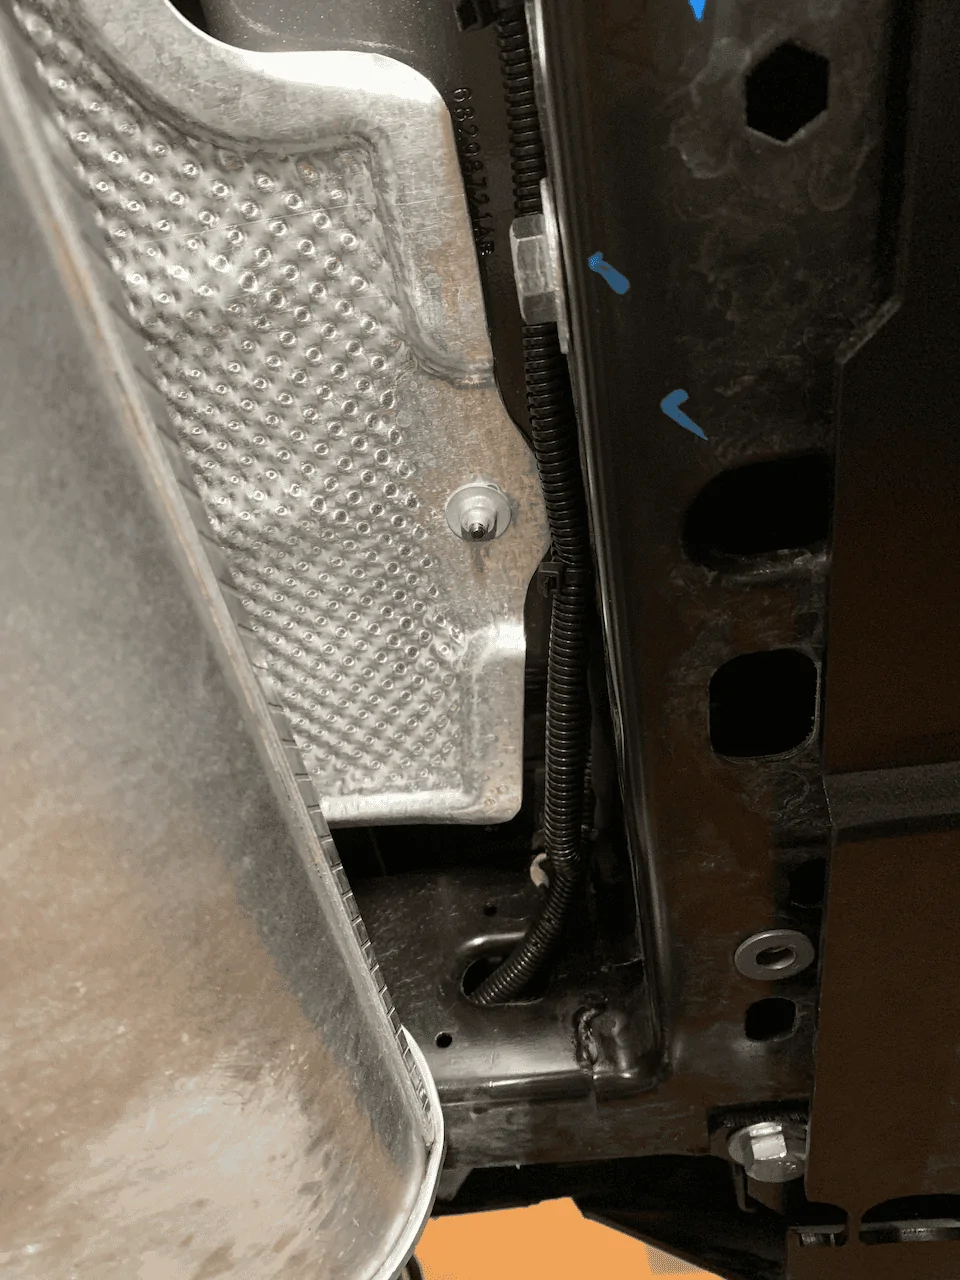
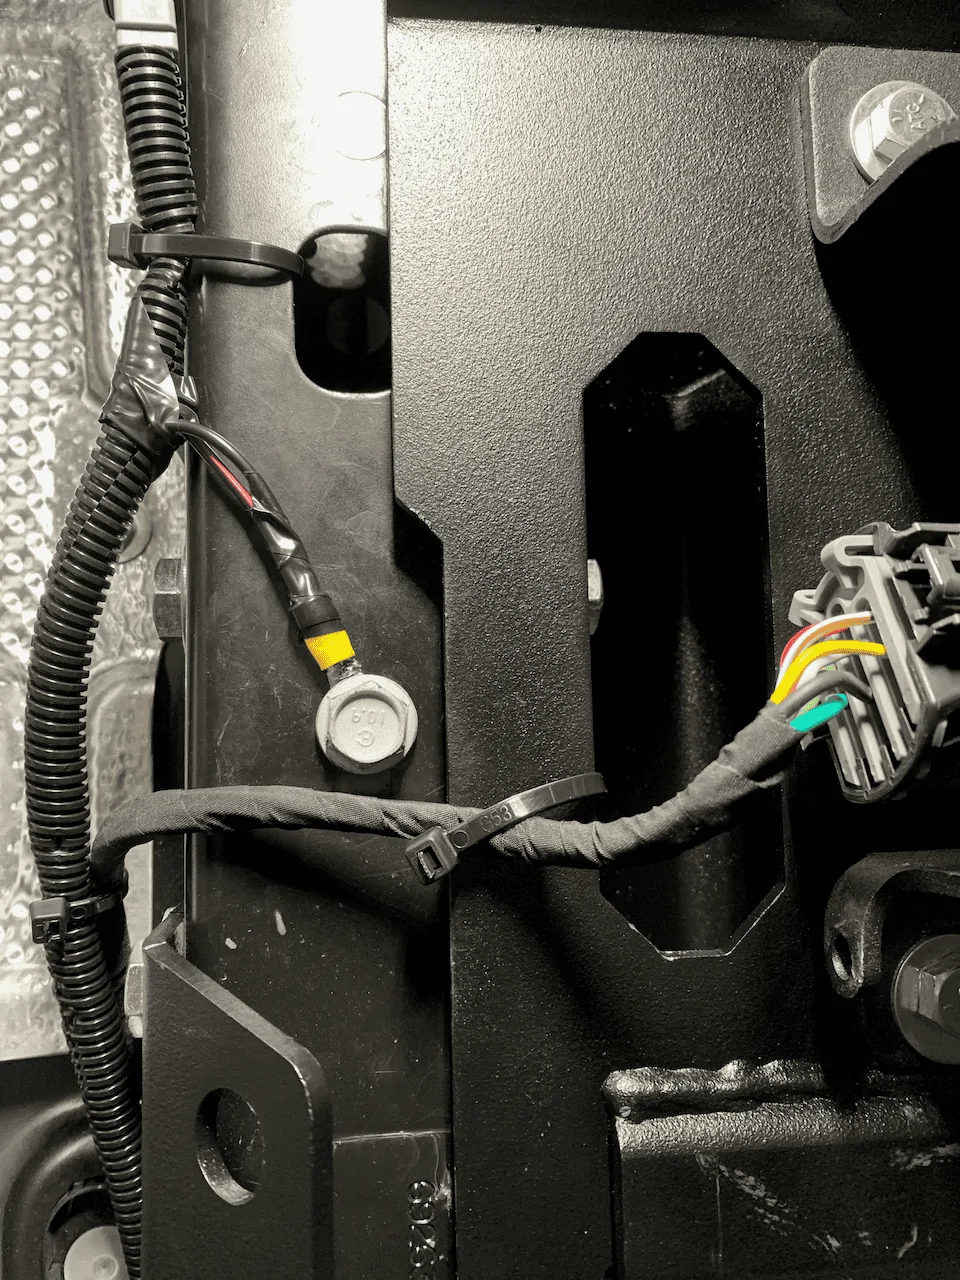
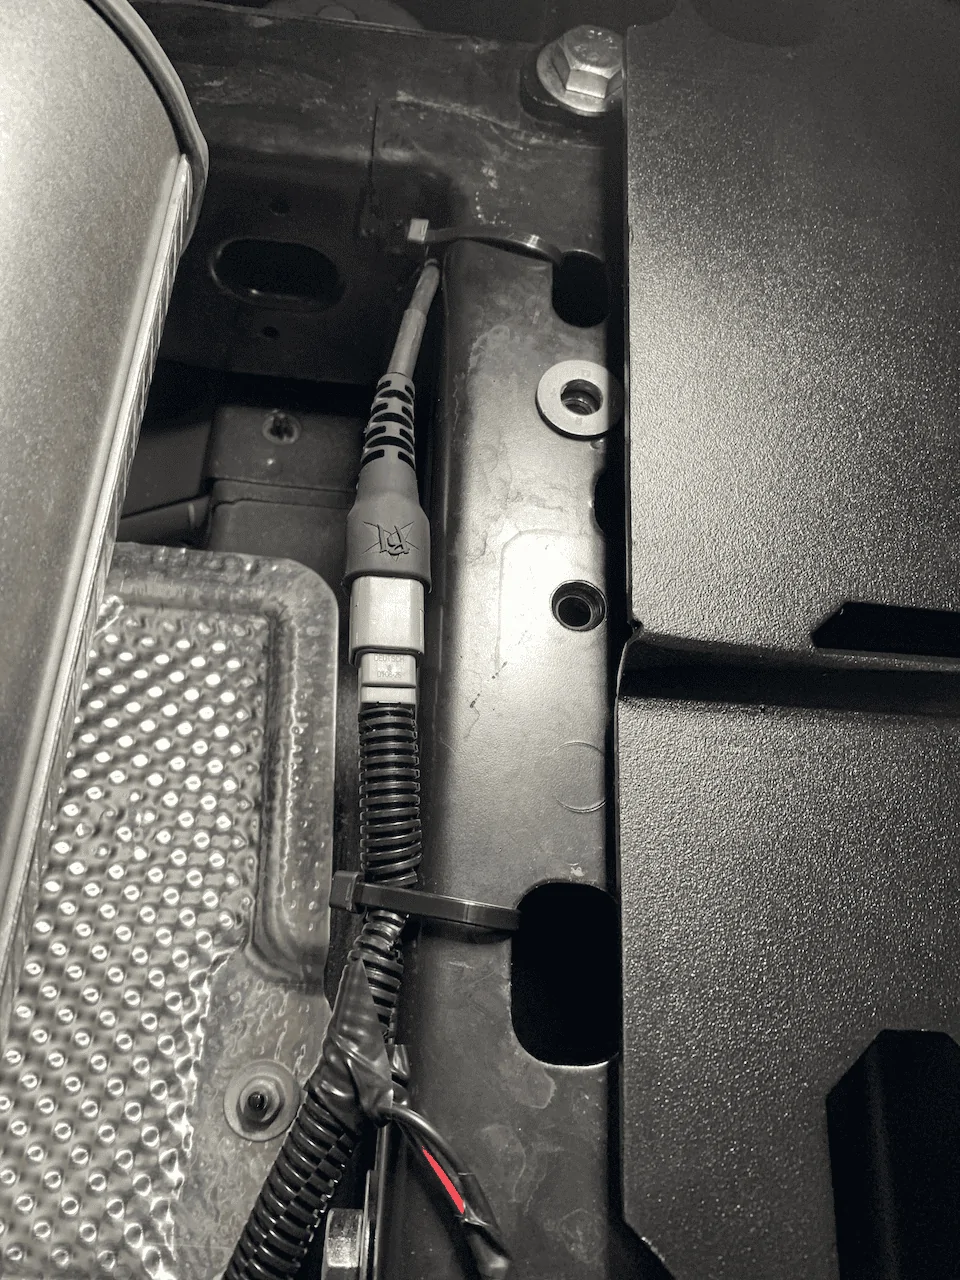
If you are going to be installing lights in the bumper at some point my advice is to take the time to run the wiring for it during the bumper install. At the very least you could tie the wires off inside the mounting hole and then cover up with blanks. I used the frame rail to run the 12V from the engine compartment aux switch leads all the way back, and for me this was much easier with the bumper off.
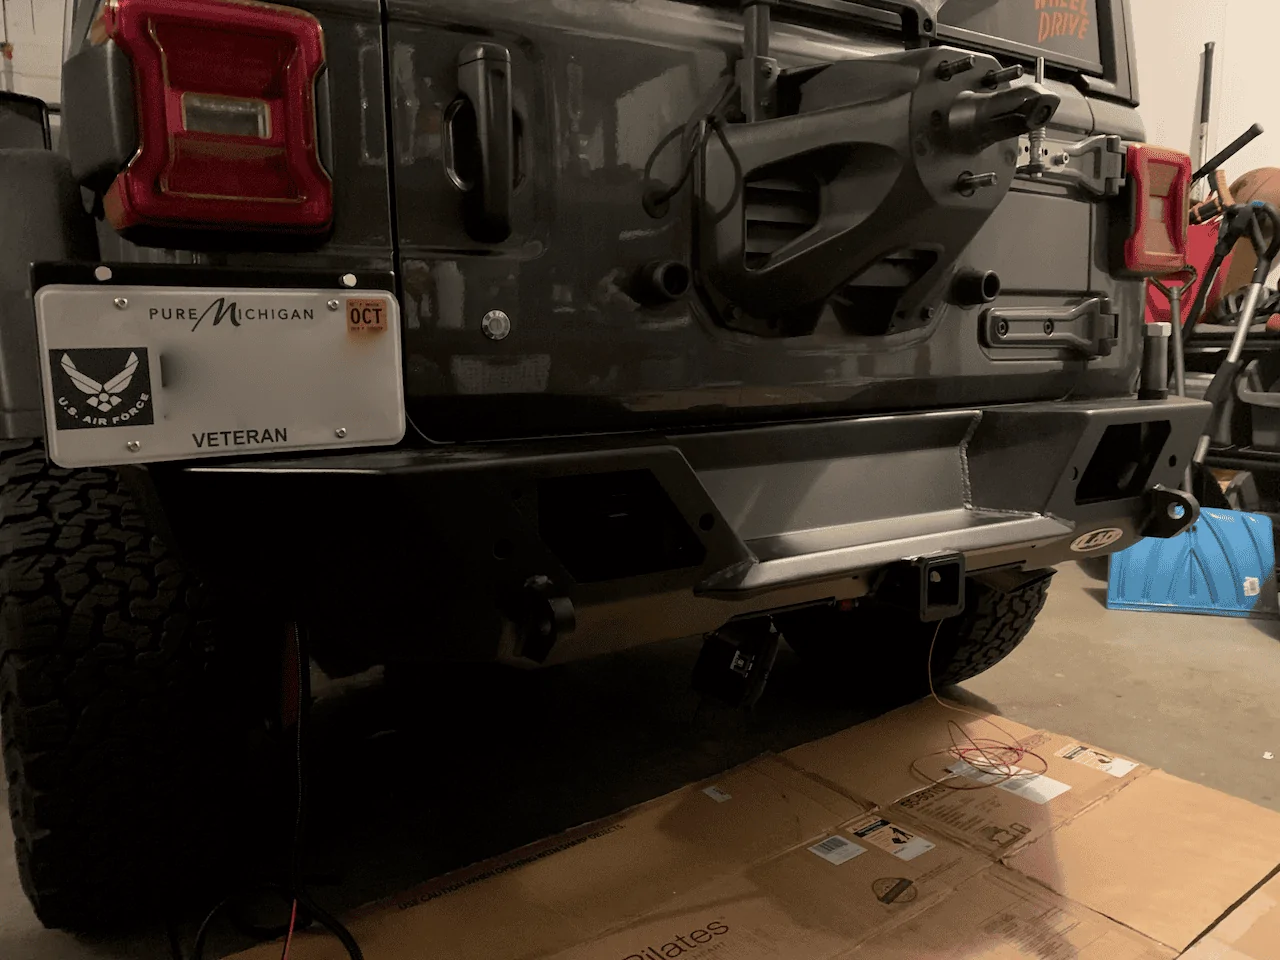
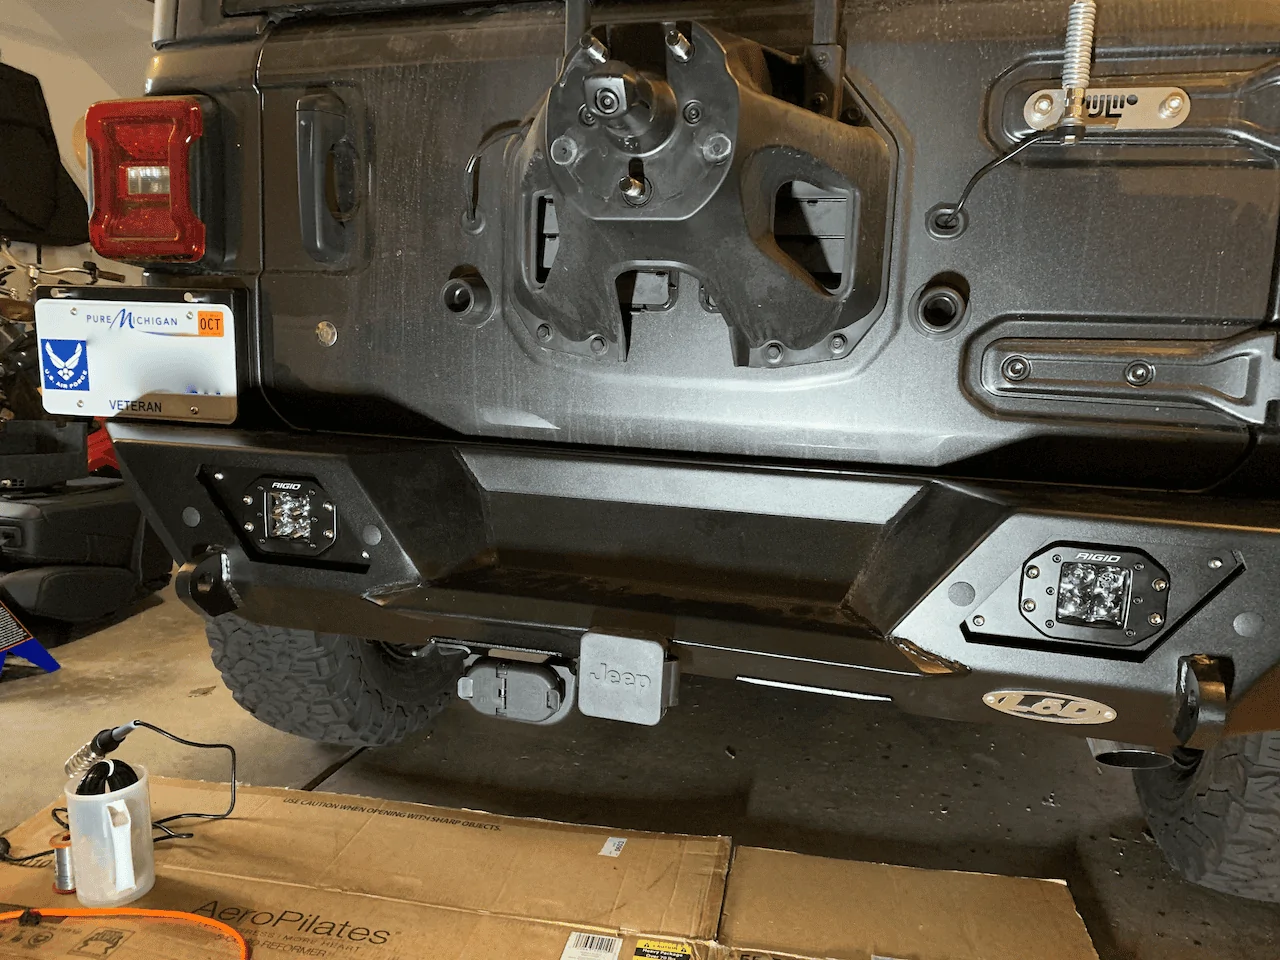
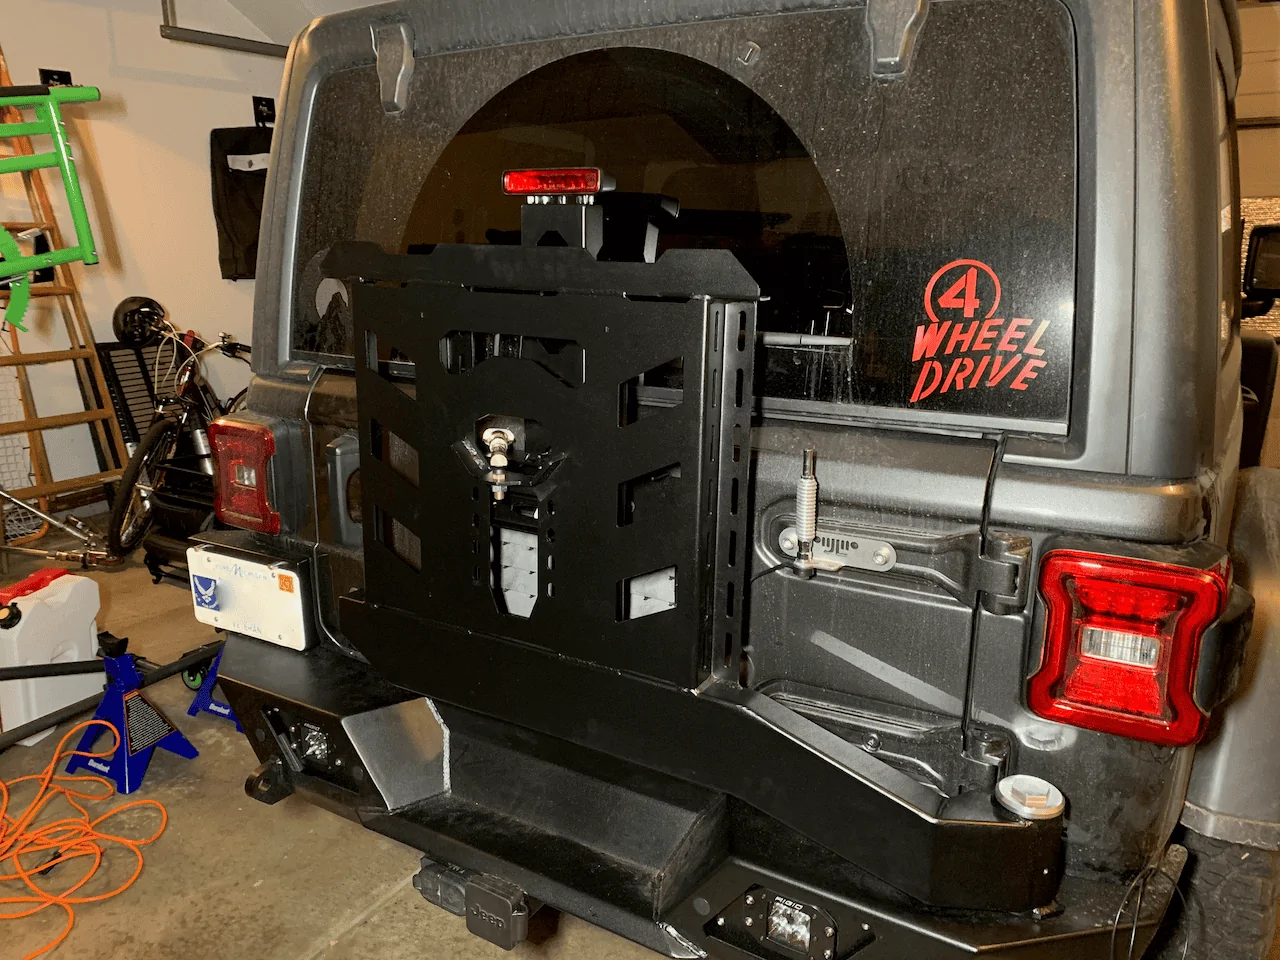
In my opinion the hardest part about installing this bumper/tire carrier is the wiring, which is really not hard as much as it is time-consuming. I really took my time doing it, running everything through split wire loom, soldering and shrink wrapping all connections, and I did spend quite a bit of time just figuring out the best way to run it, grounding points, etc. But if you take your time you can get it all done, probably in a weekend or even a long day. I ended up doing it in 2 phases: bumper (which included all the wiring for the lights, and then phase 2 was the carrier and 3rd brake light/camera wiring. I split the phases across 2 days.
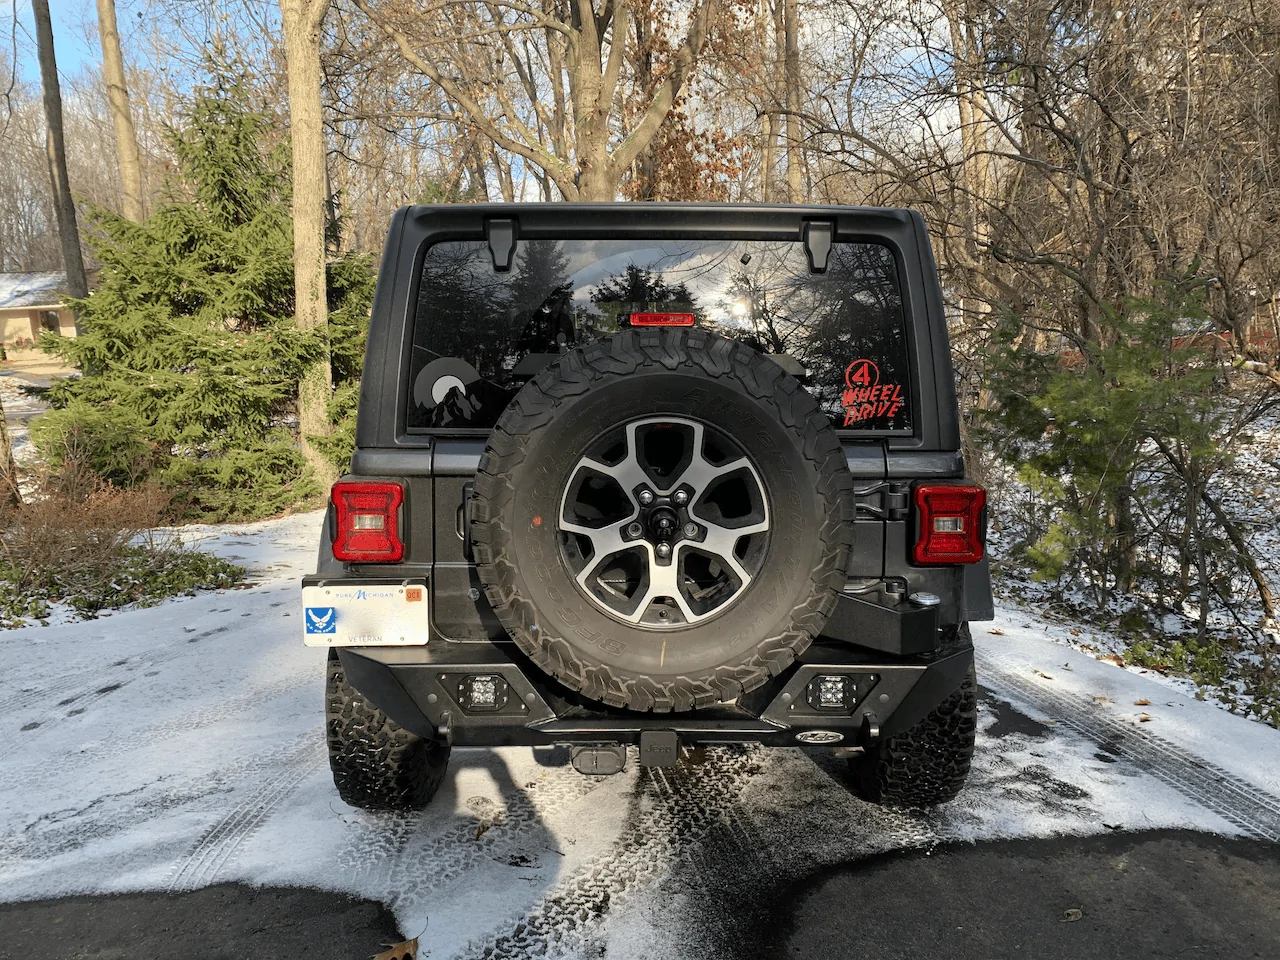
Here are some pics from my install, showing the wiring for the lights and license plate bolt LEDs, and then after it was all done.
Sponsored
