yotajeeper
Well-Known Member
- First Name
- George
- Joined
- Jun 3, 2020
- Threads
- 16
- Messages
- 120
- Reaction score
- 105
- Location
- Orange County
- Vehicle(s)
- 2020 JLU Sahara 1996 toyota4runner
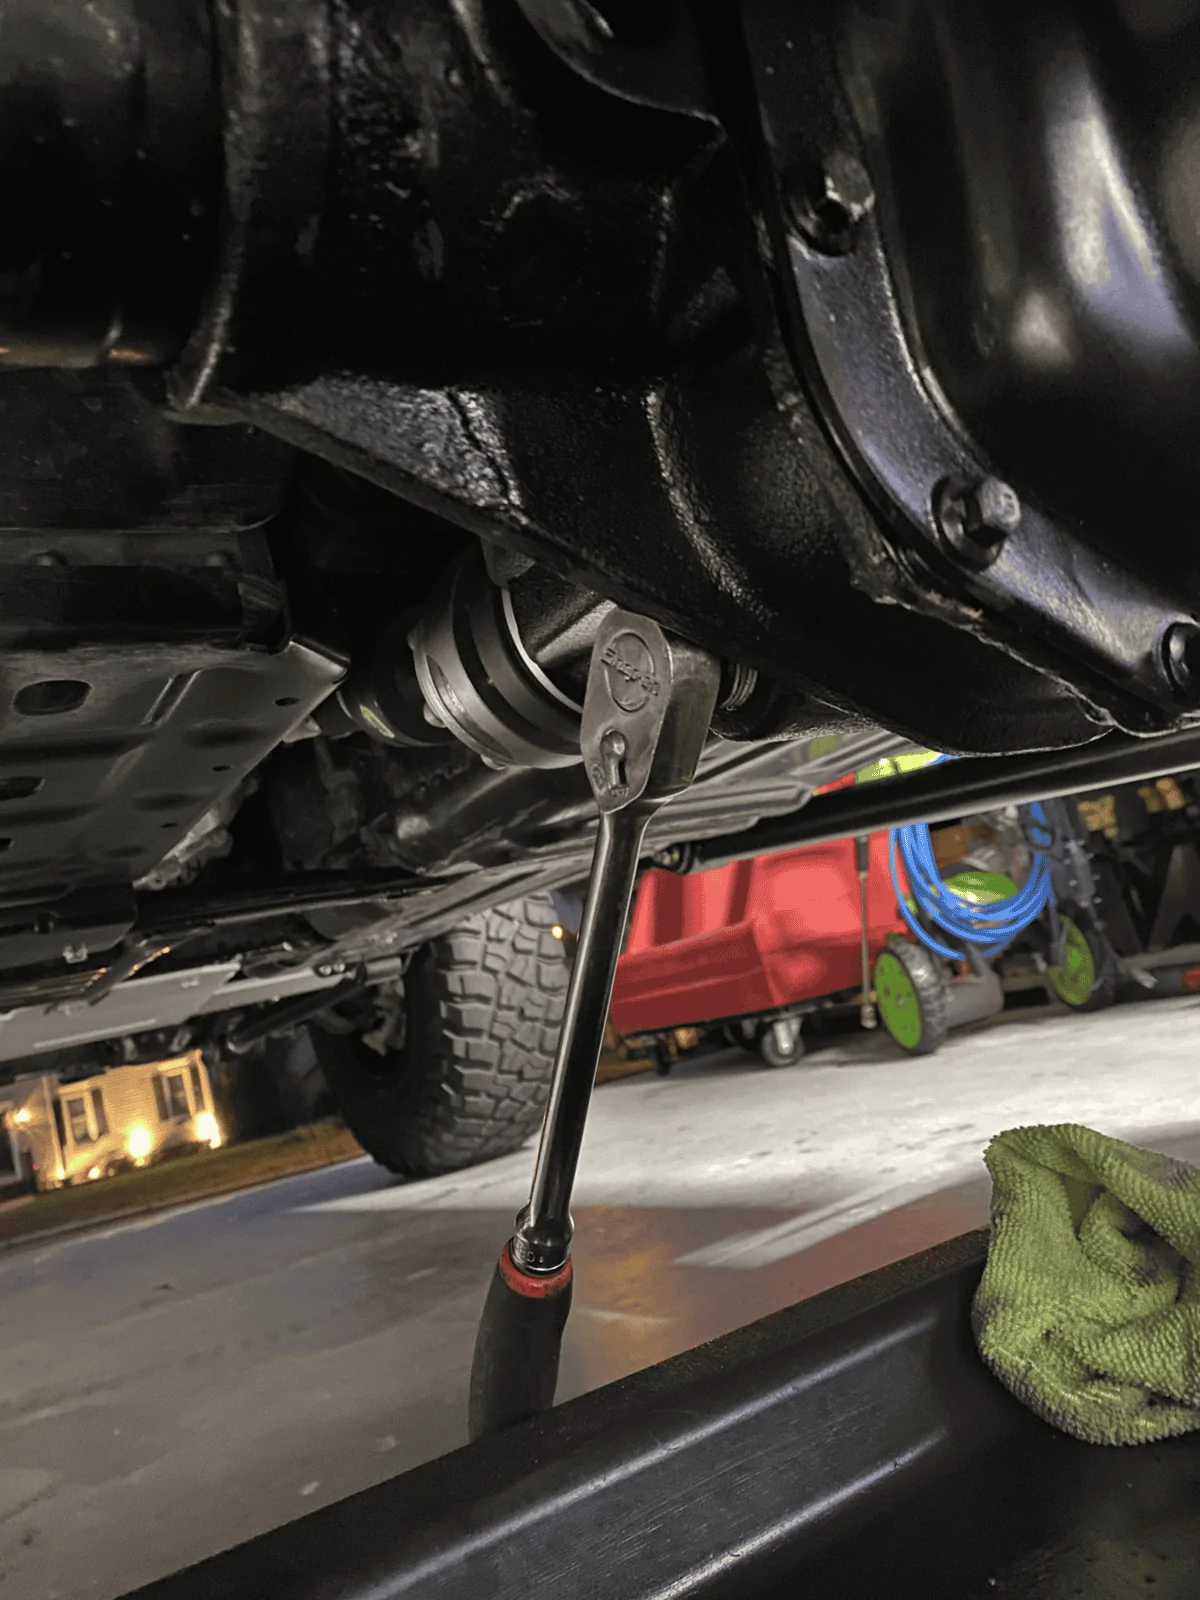
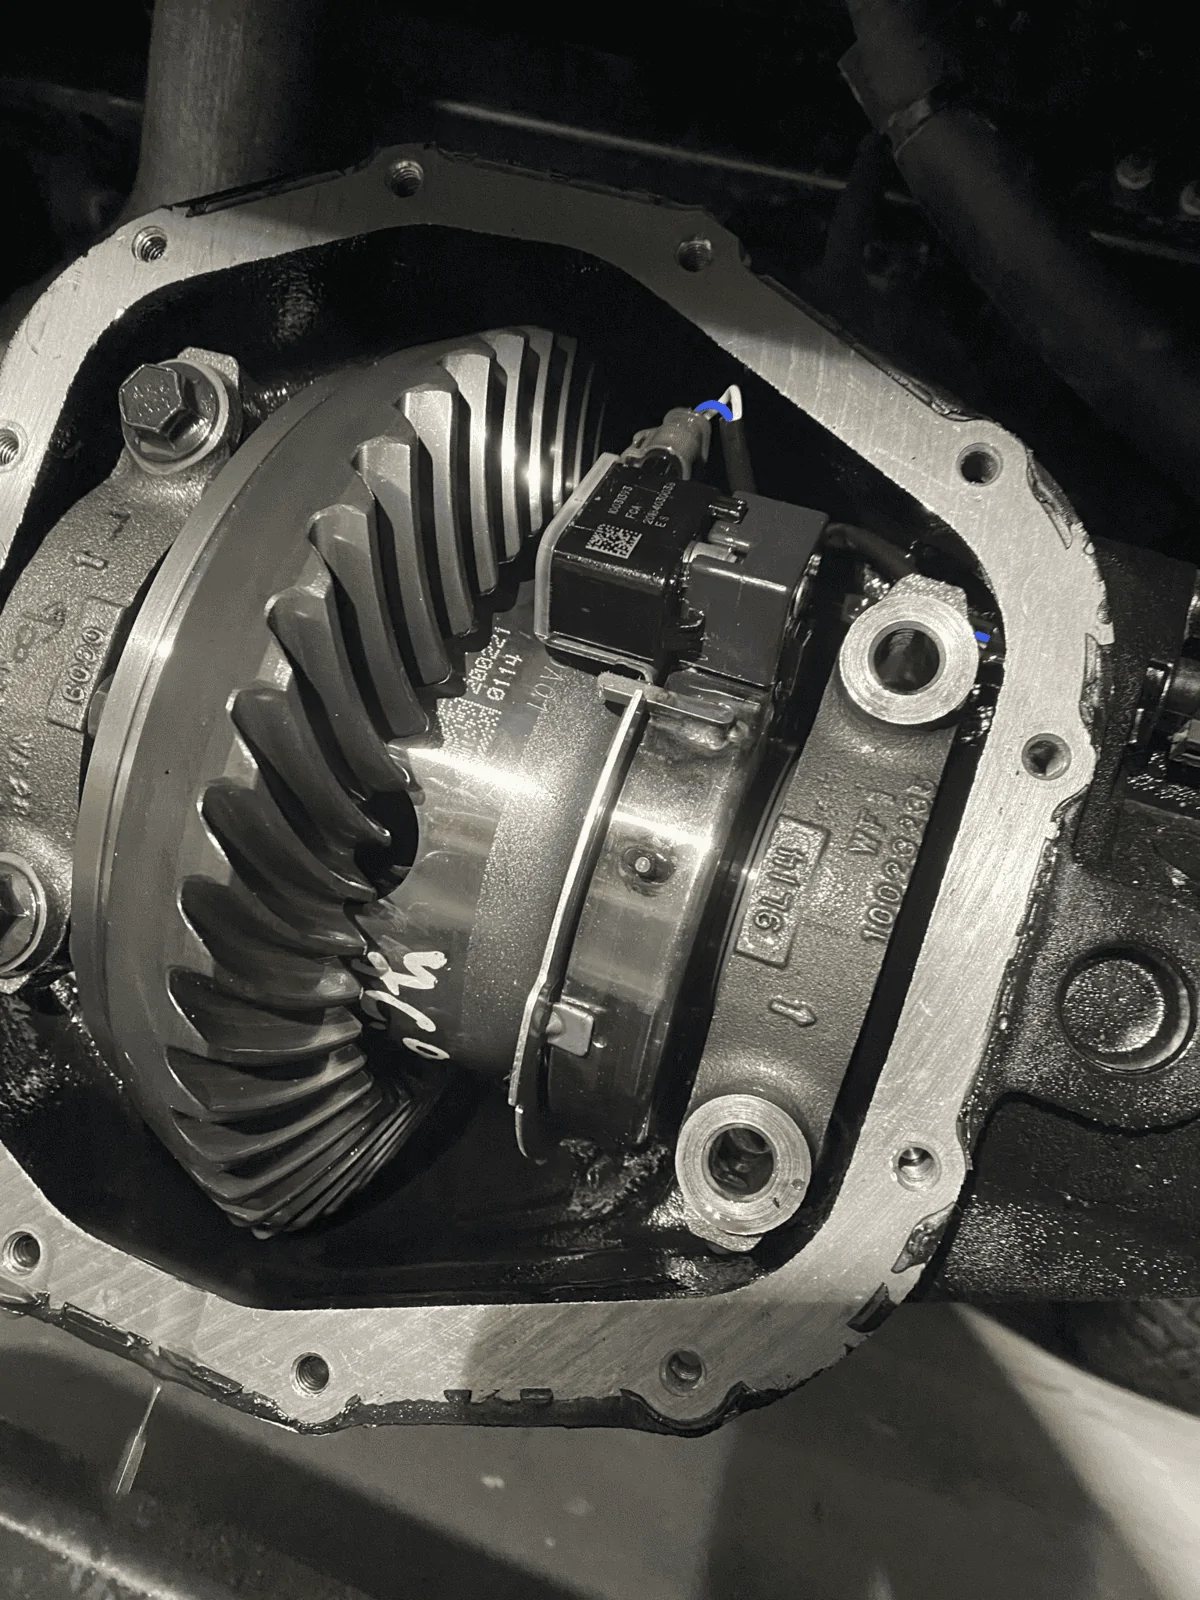
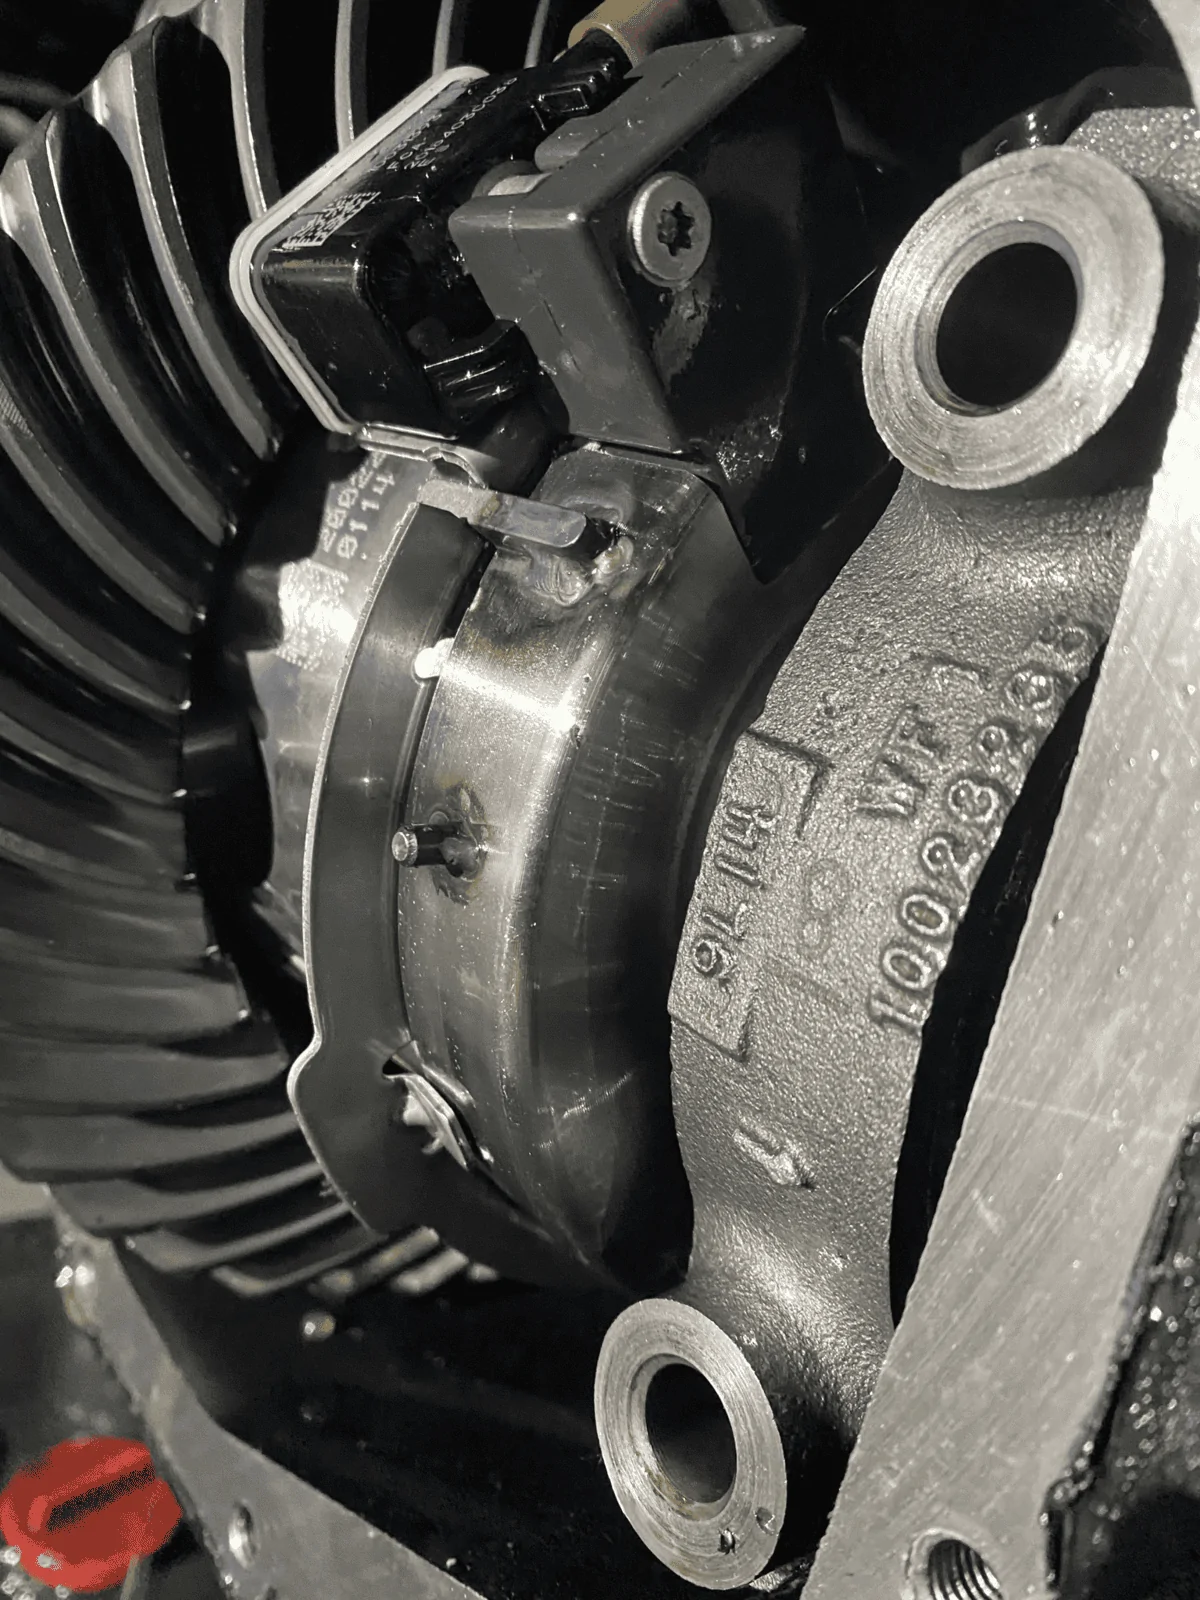
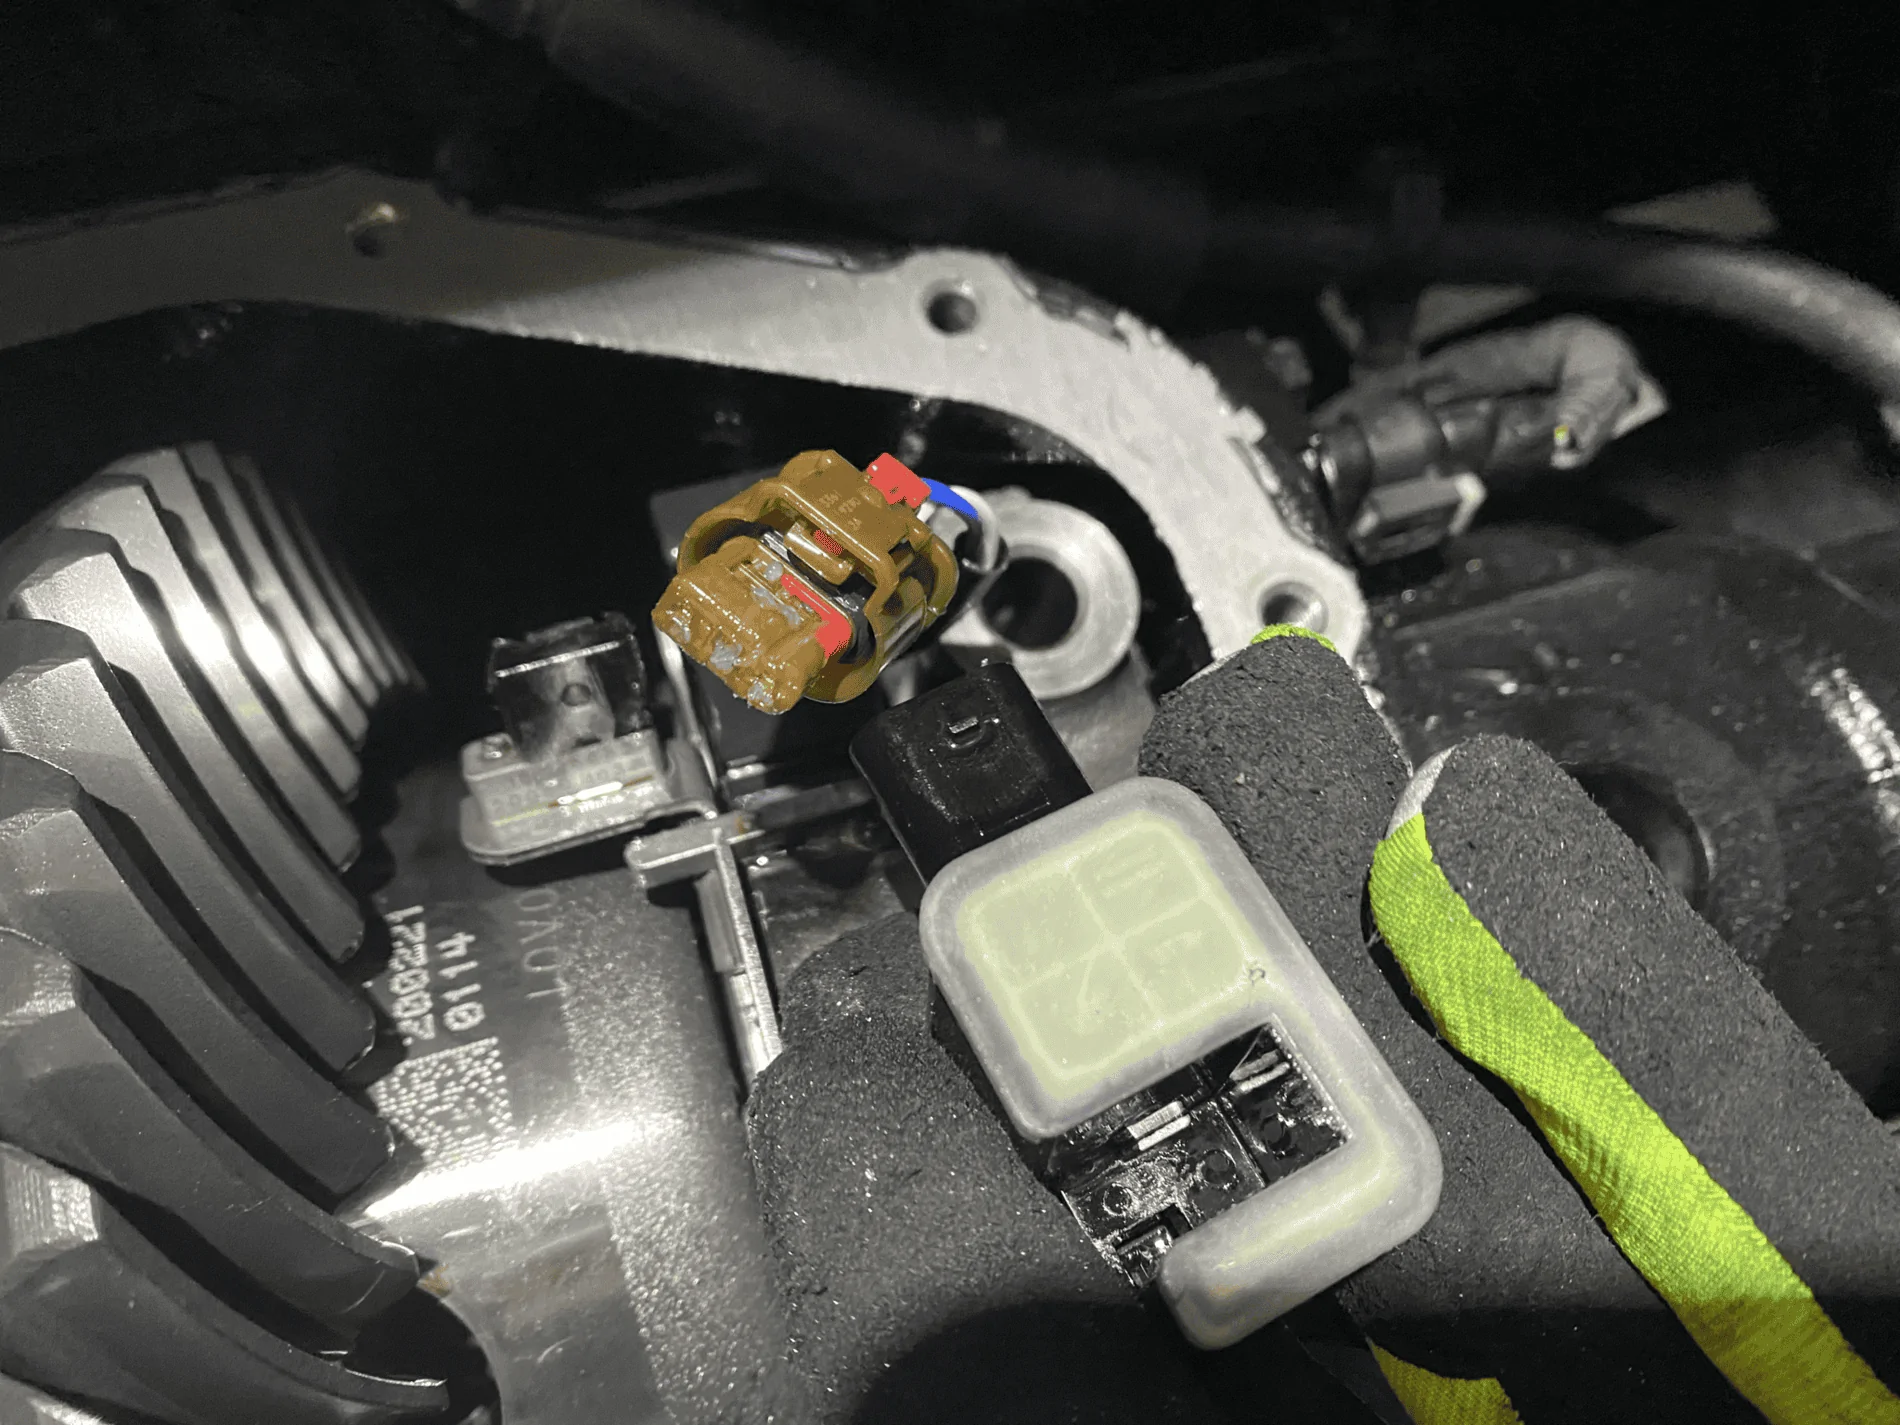
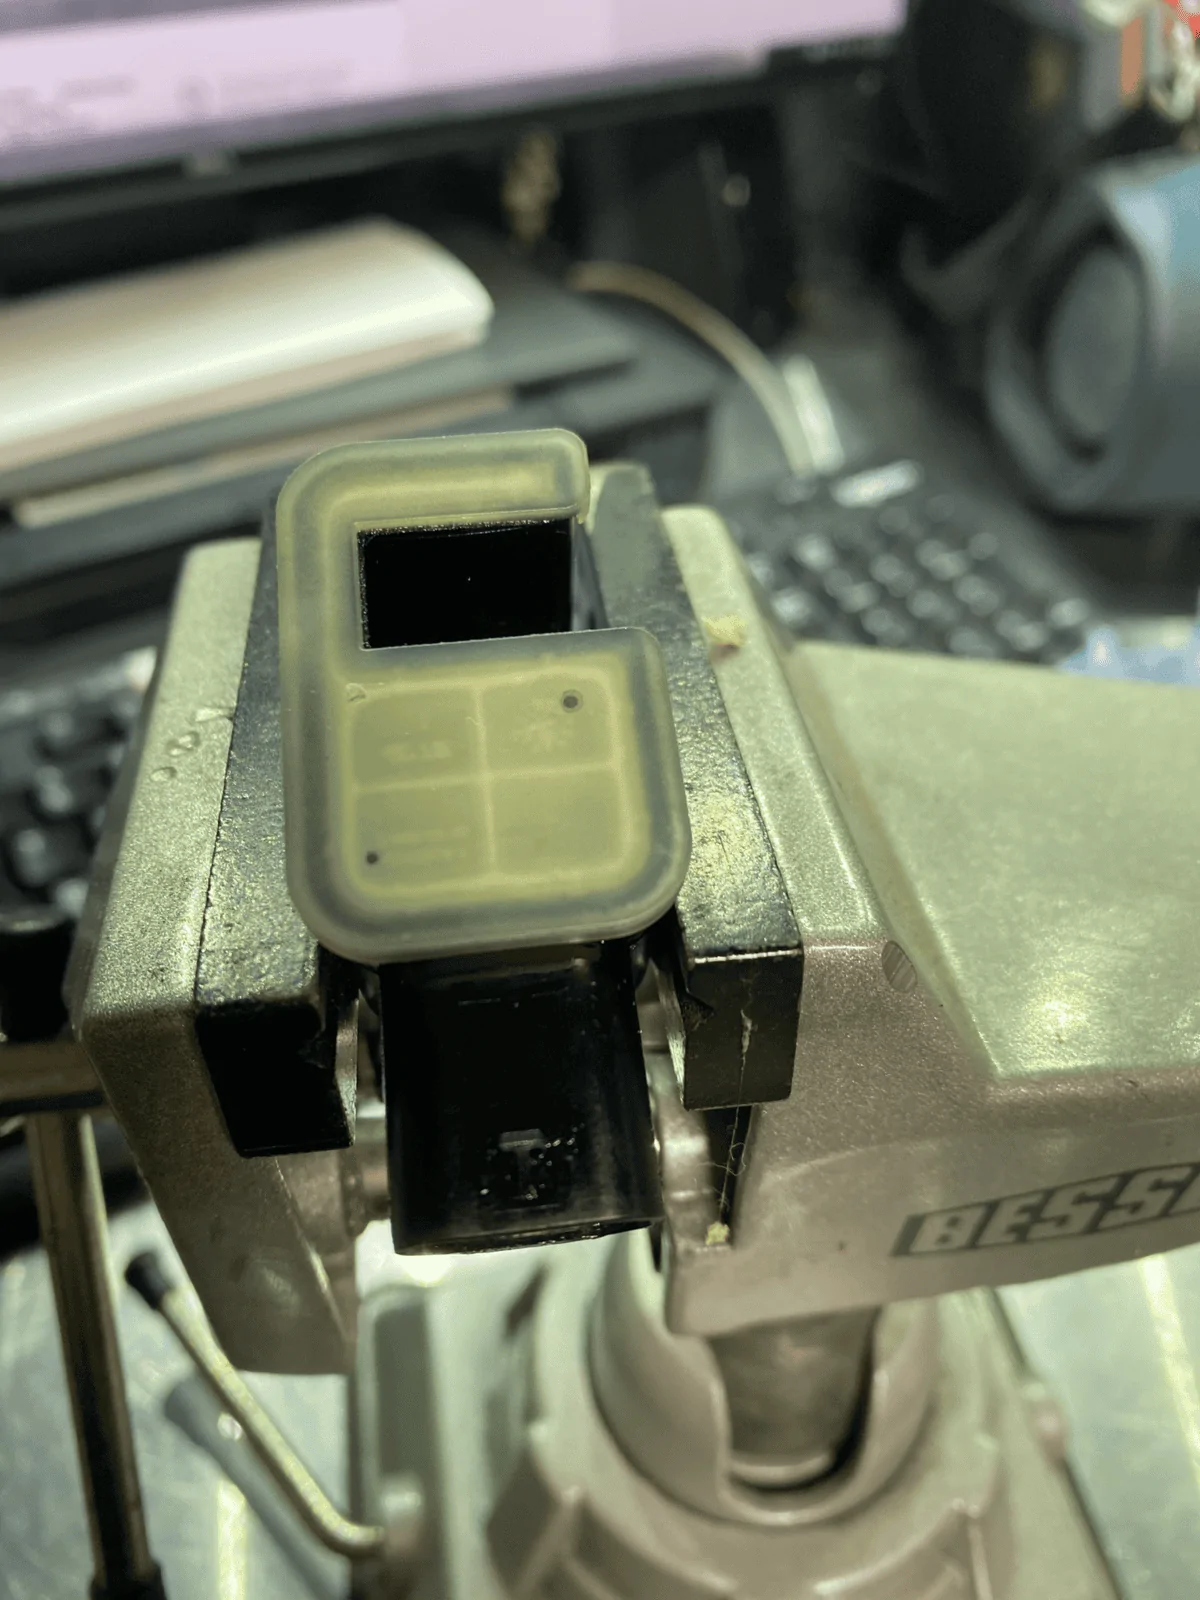
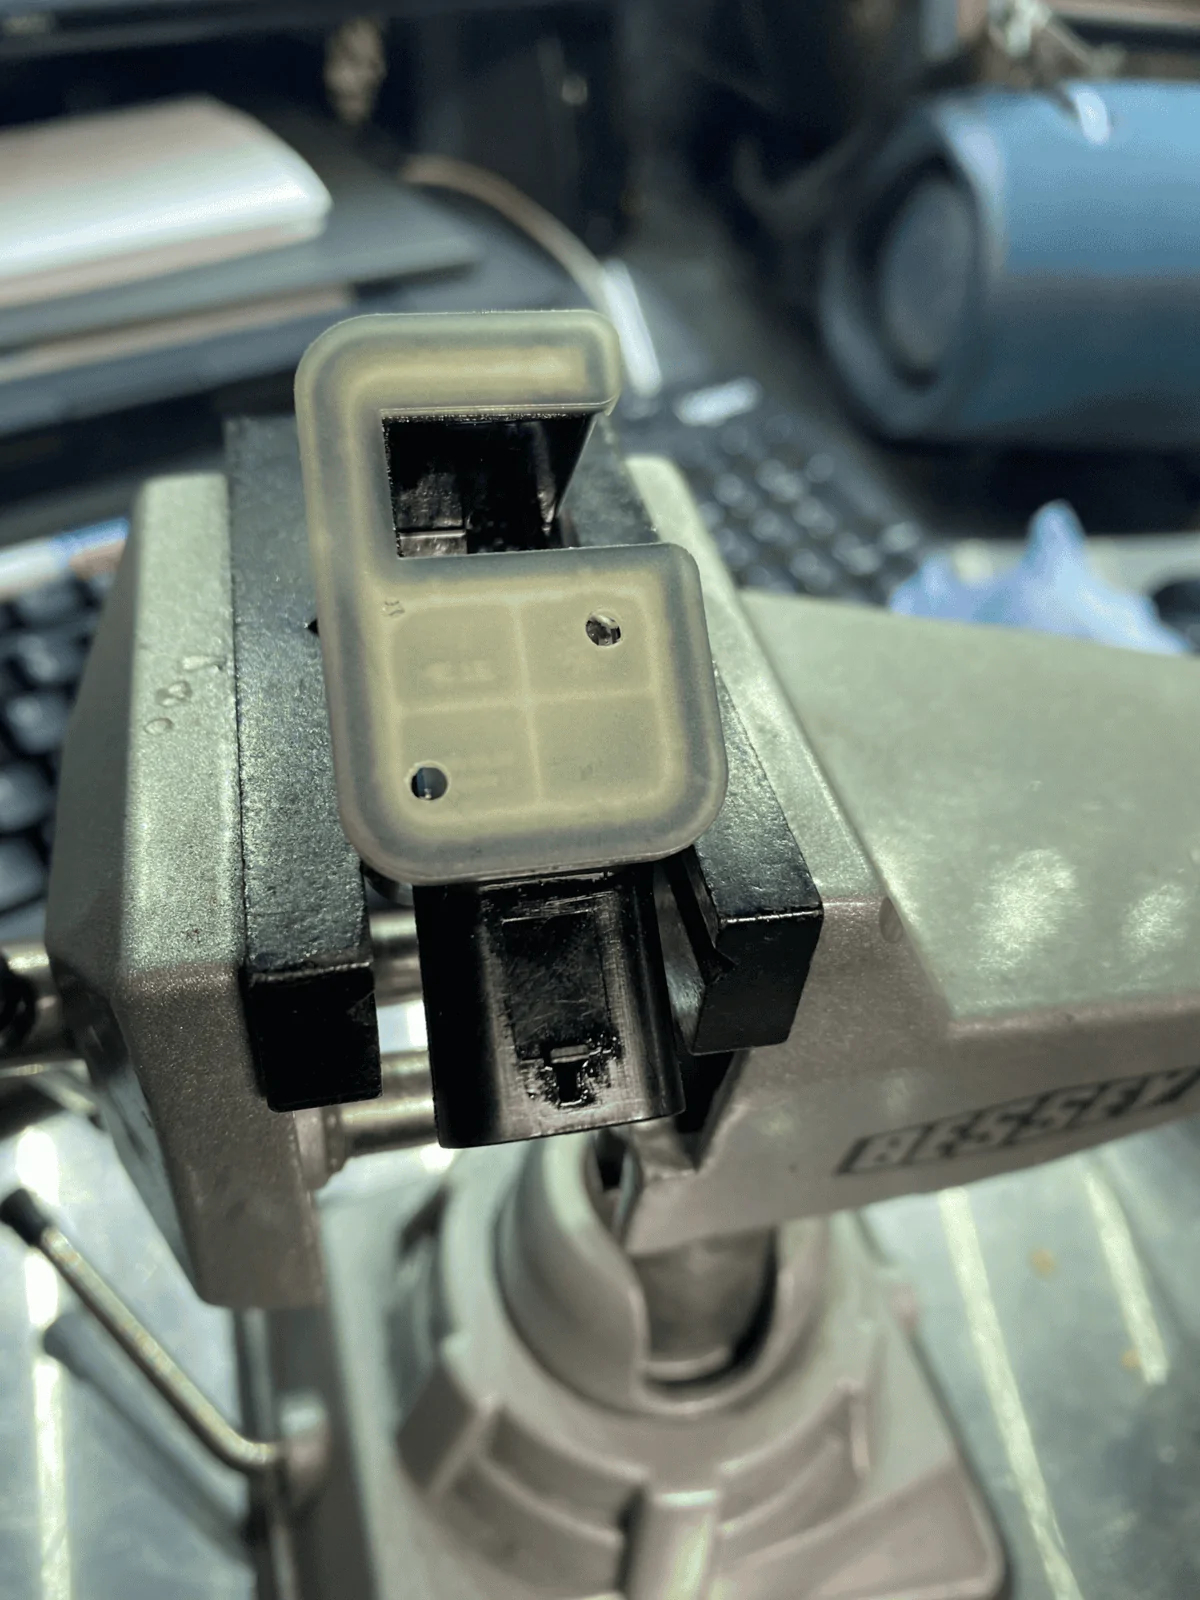
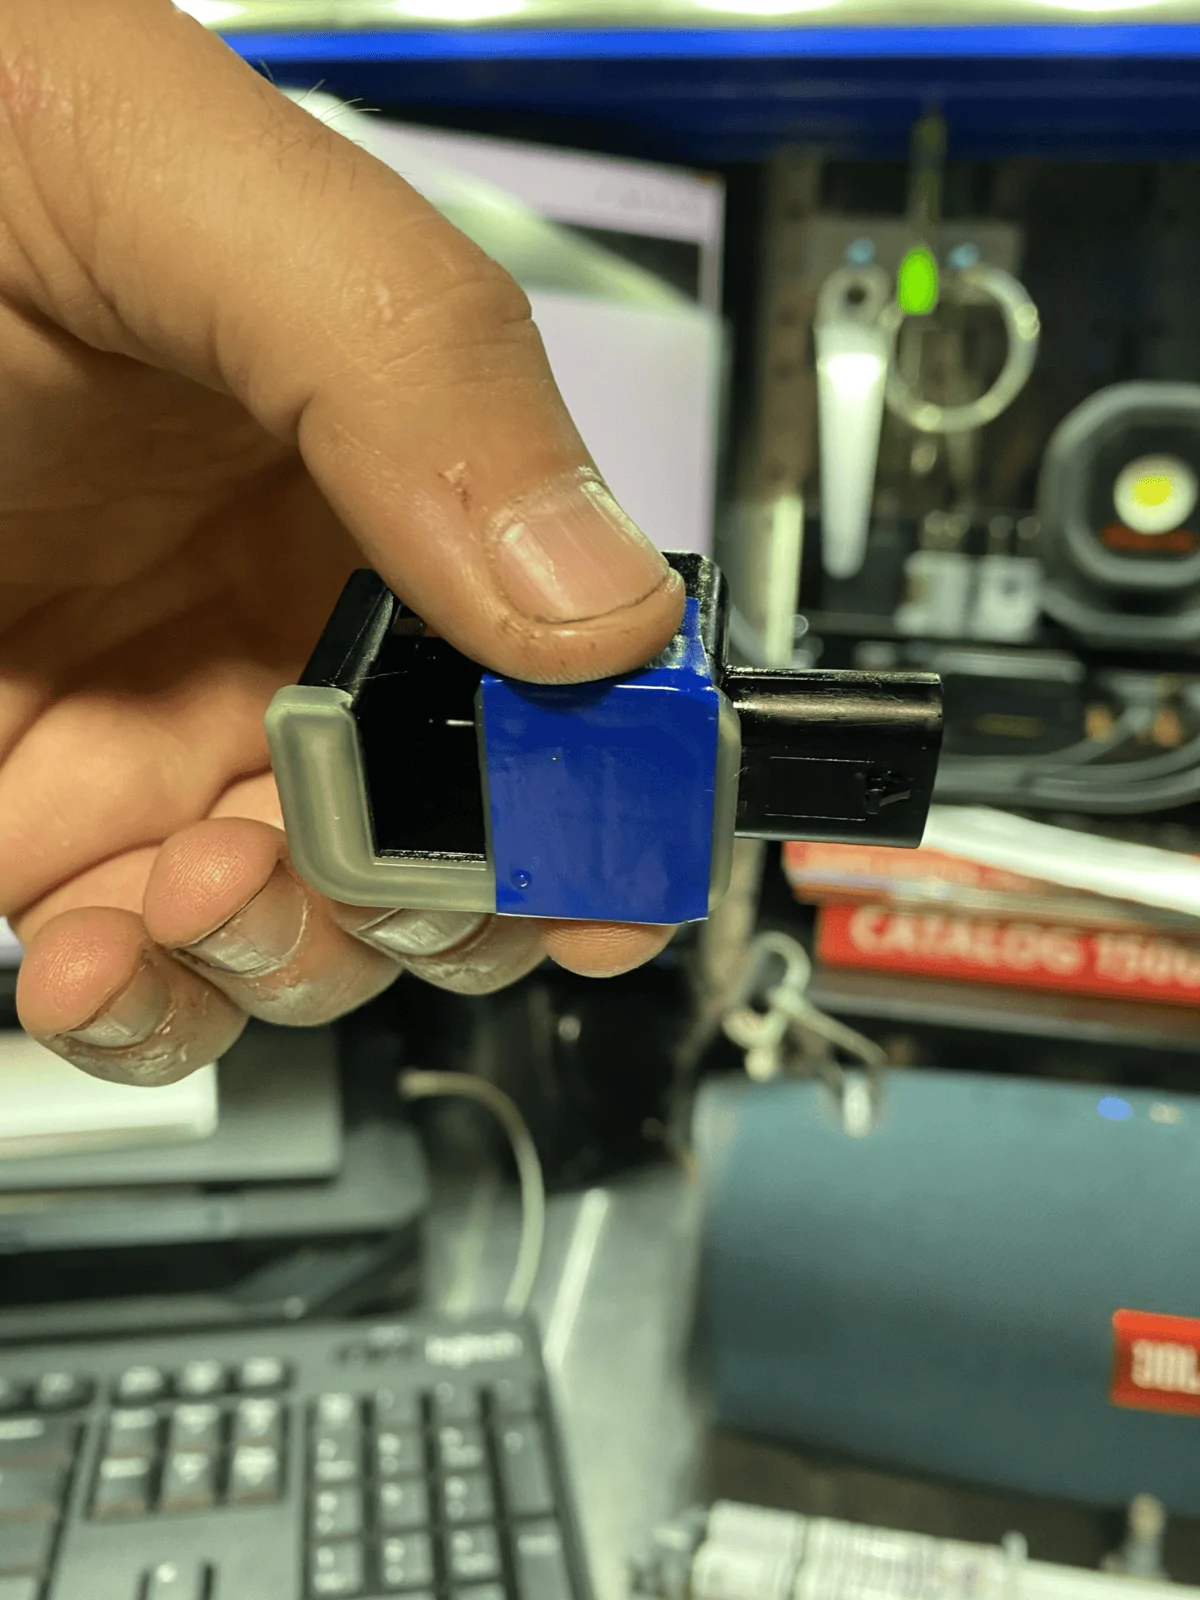
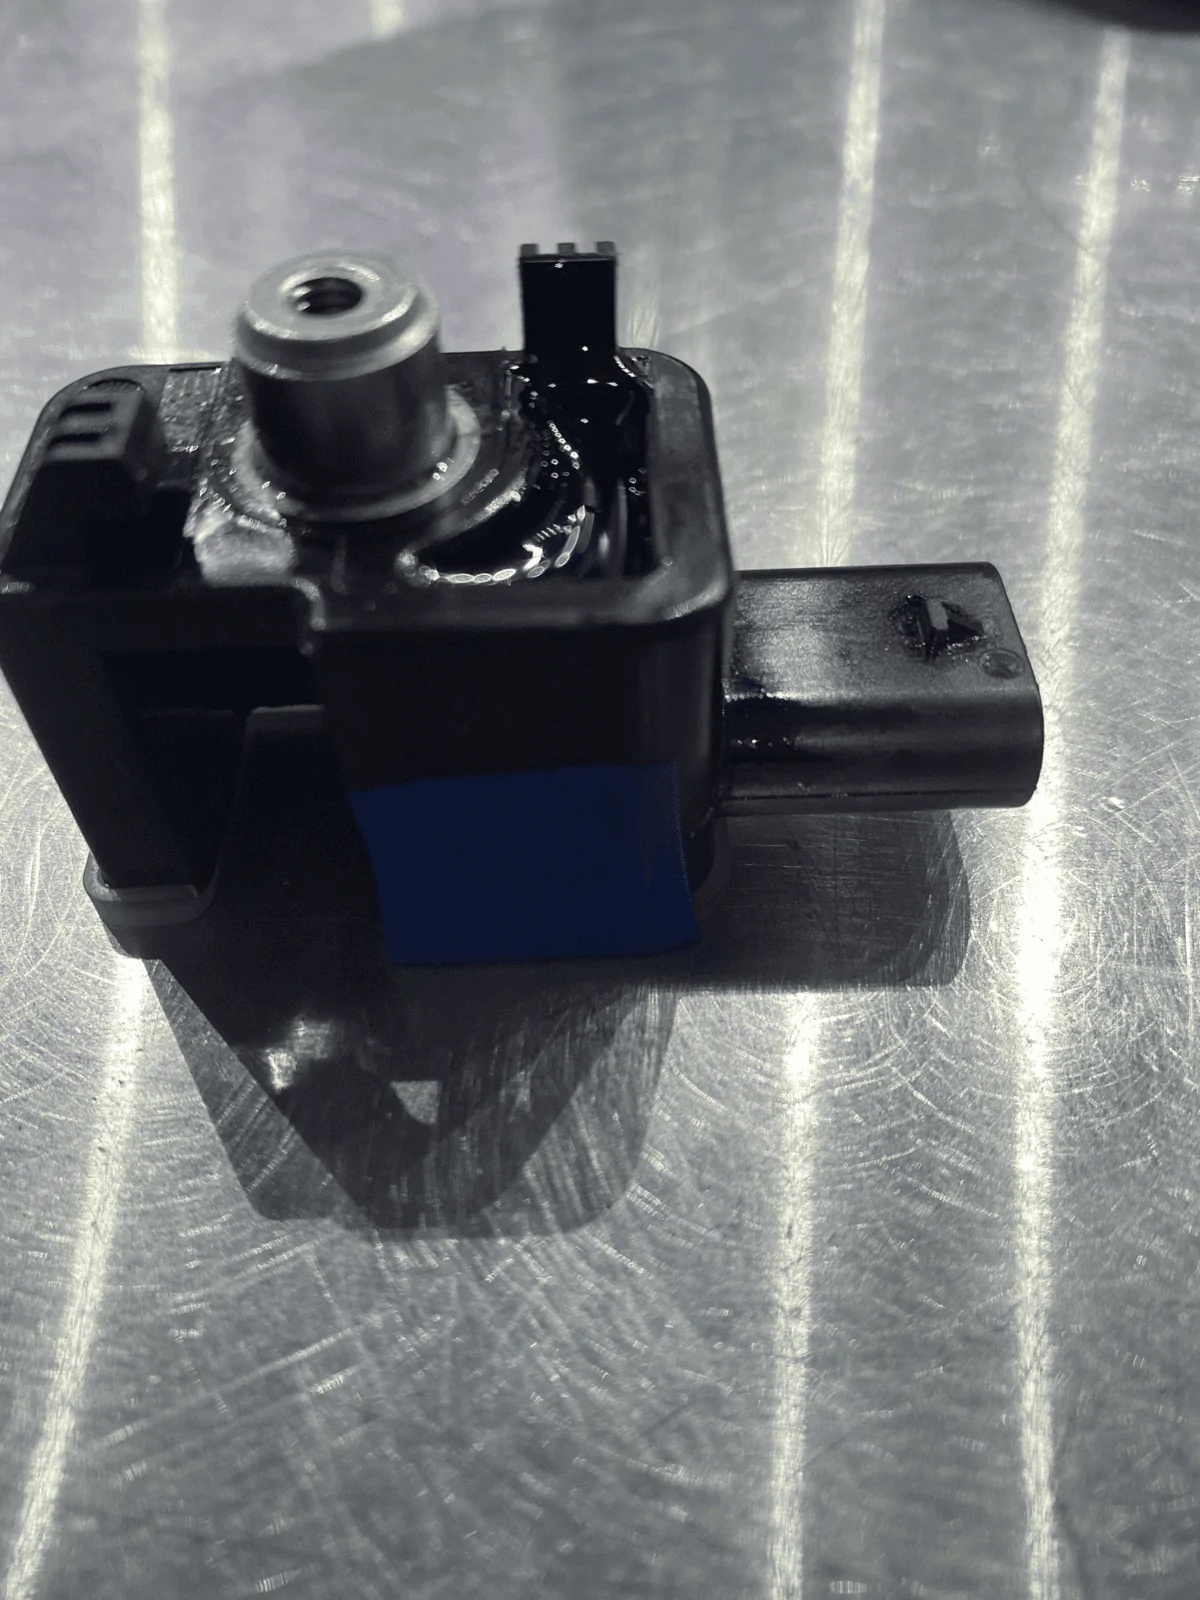
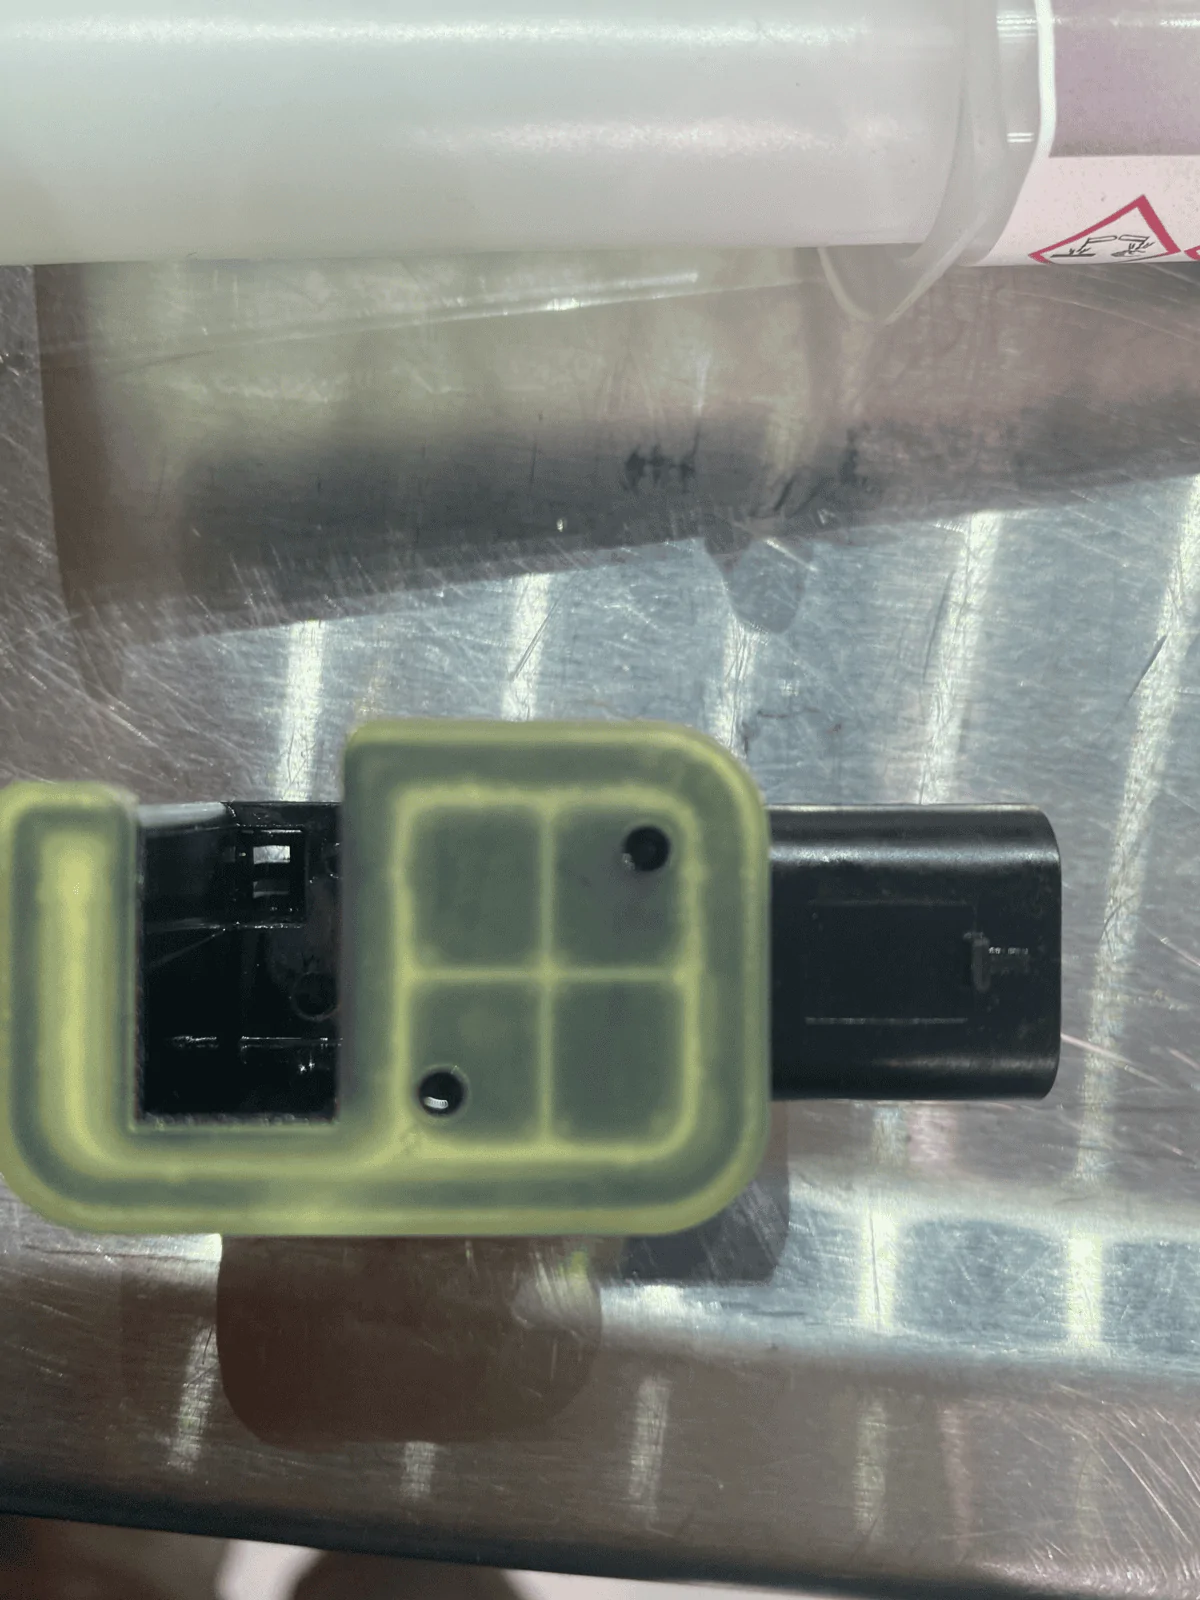
Looks like I'll need to do this myself given I have a junkyard rear axle lol
Sponsored