mwilk012
Well-Known Member
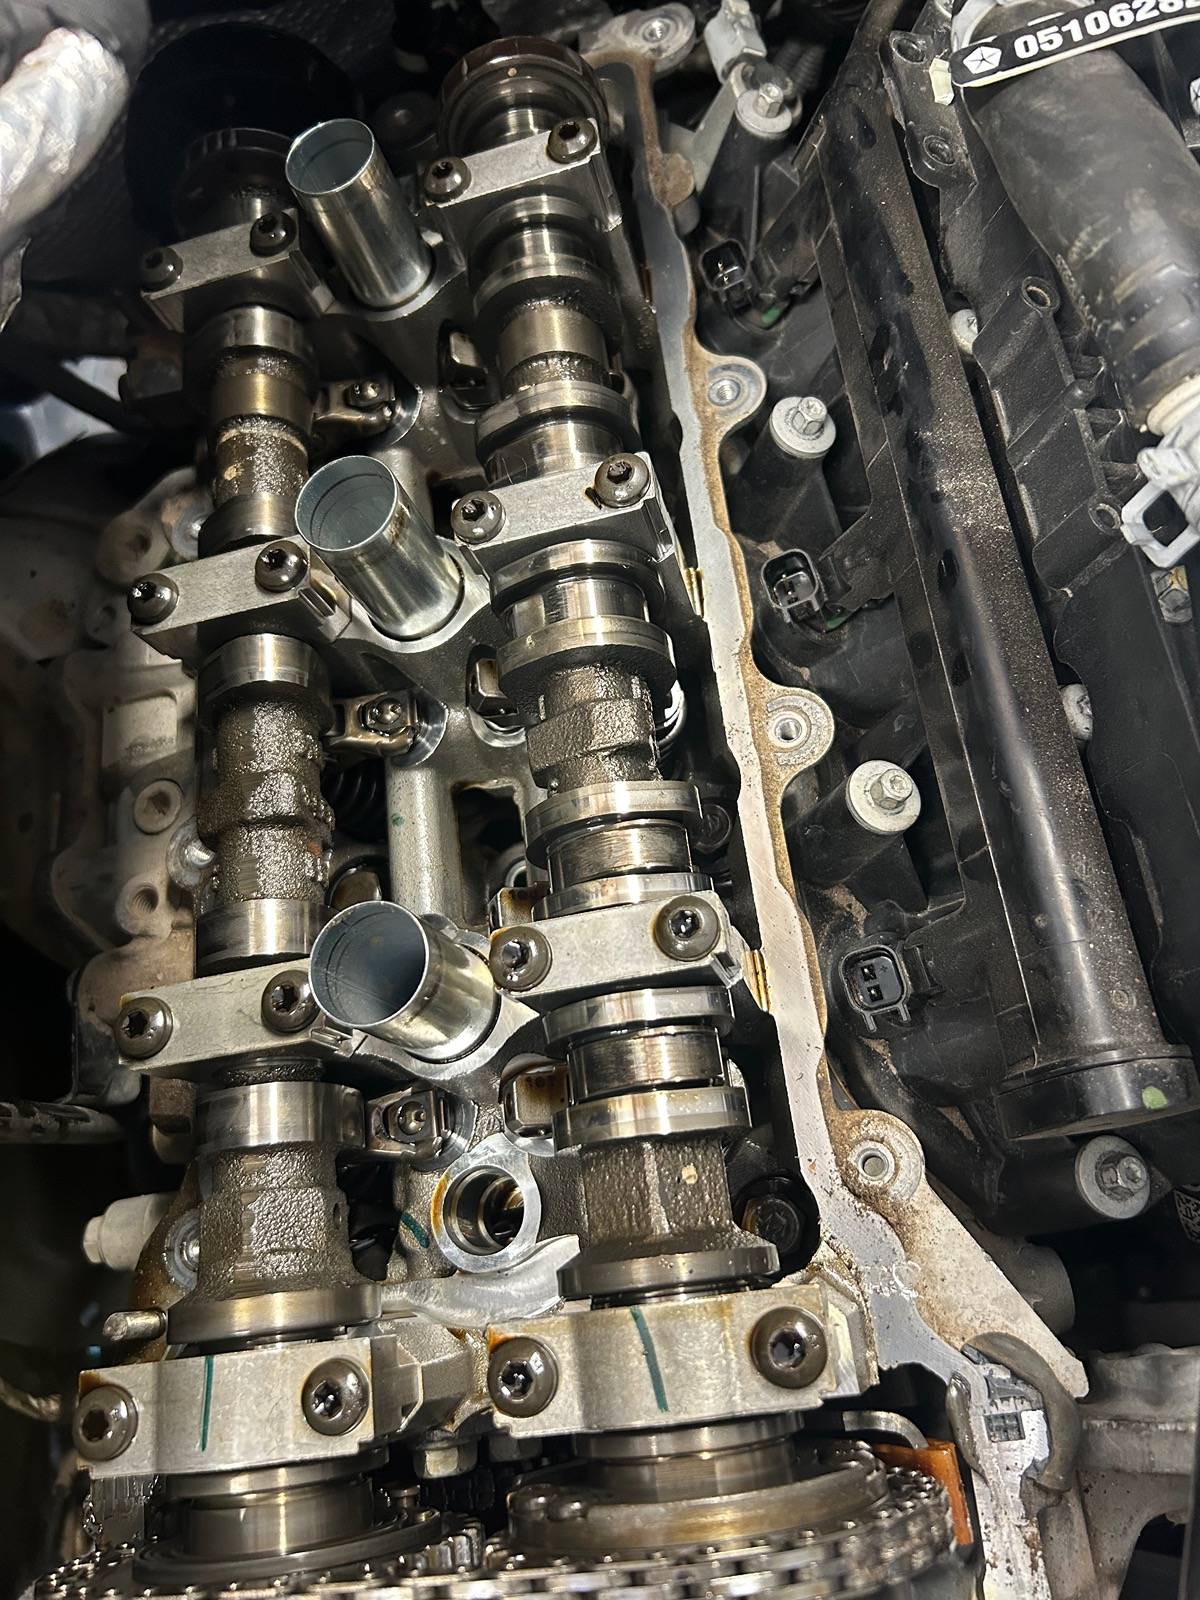
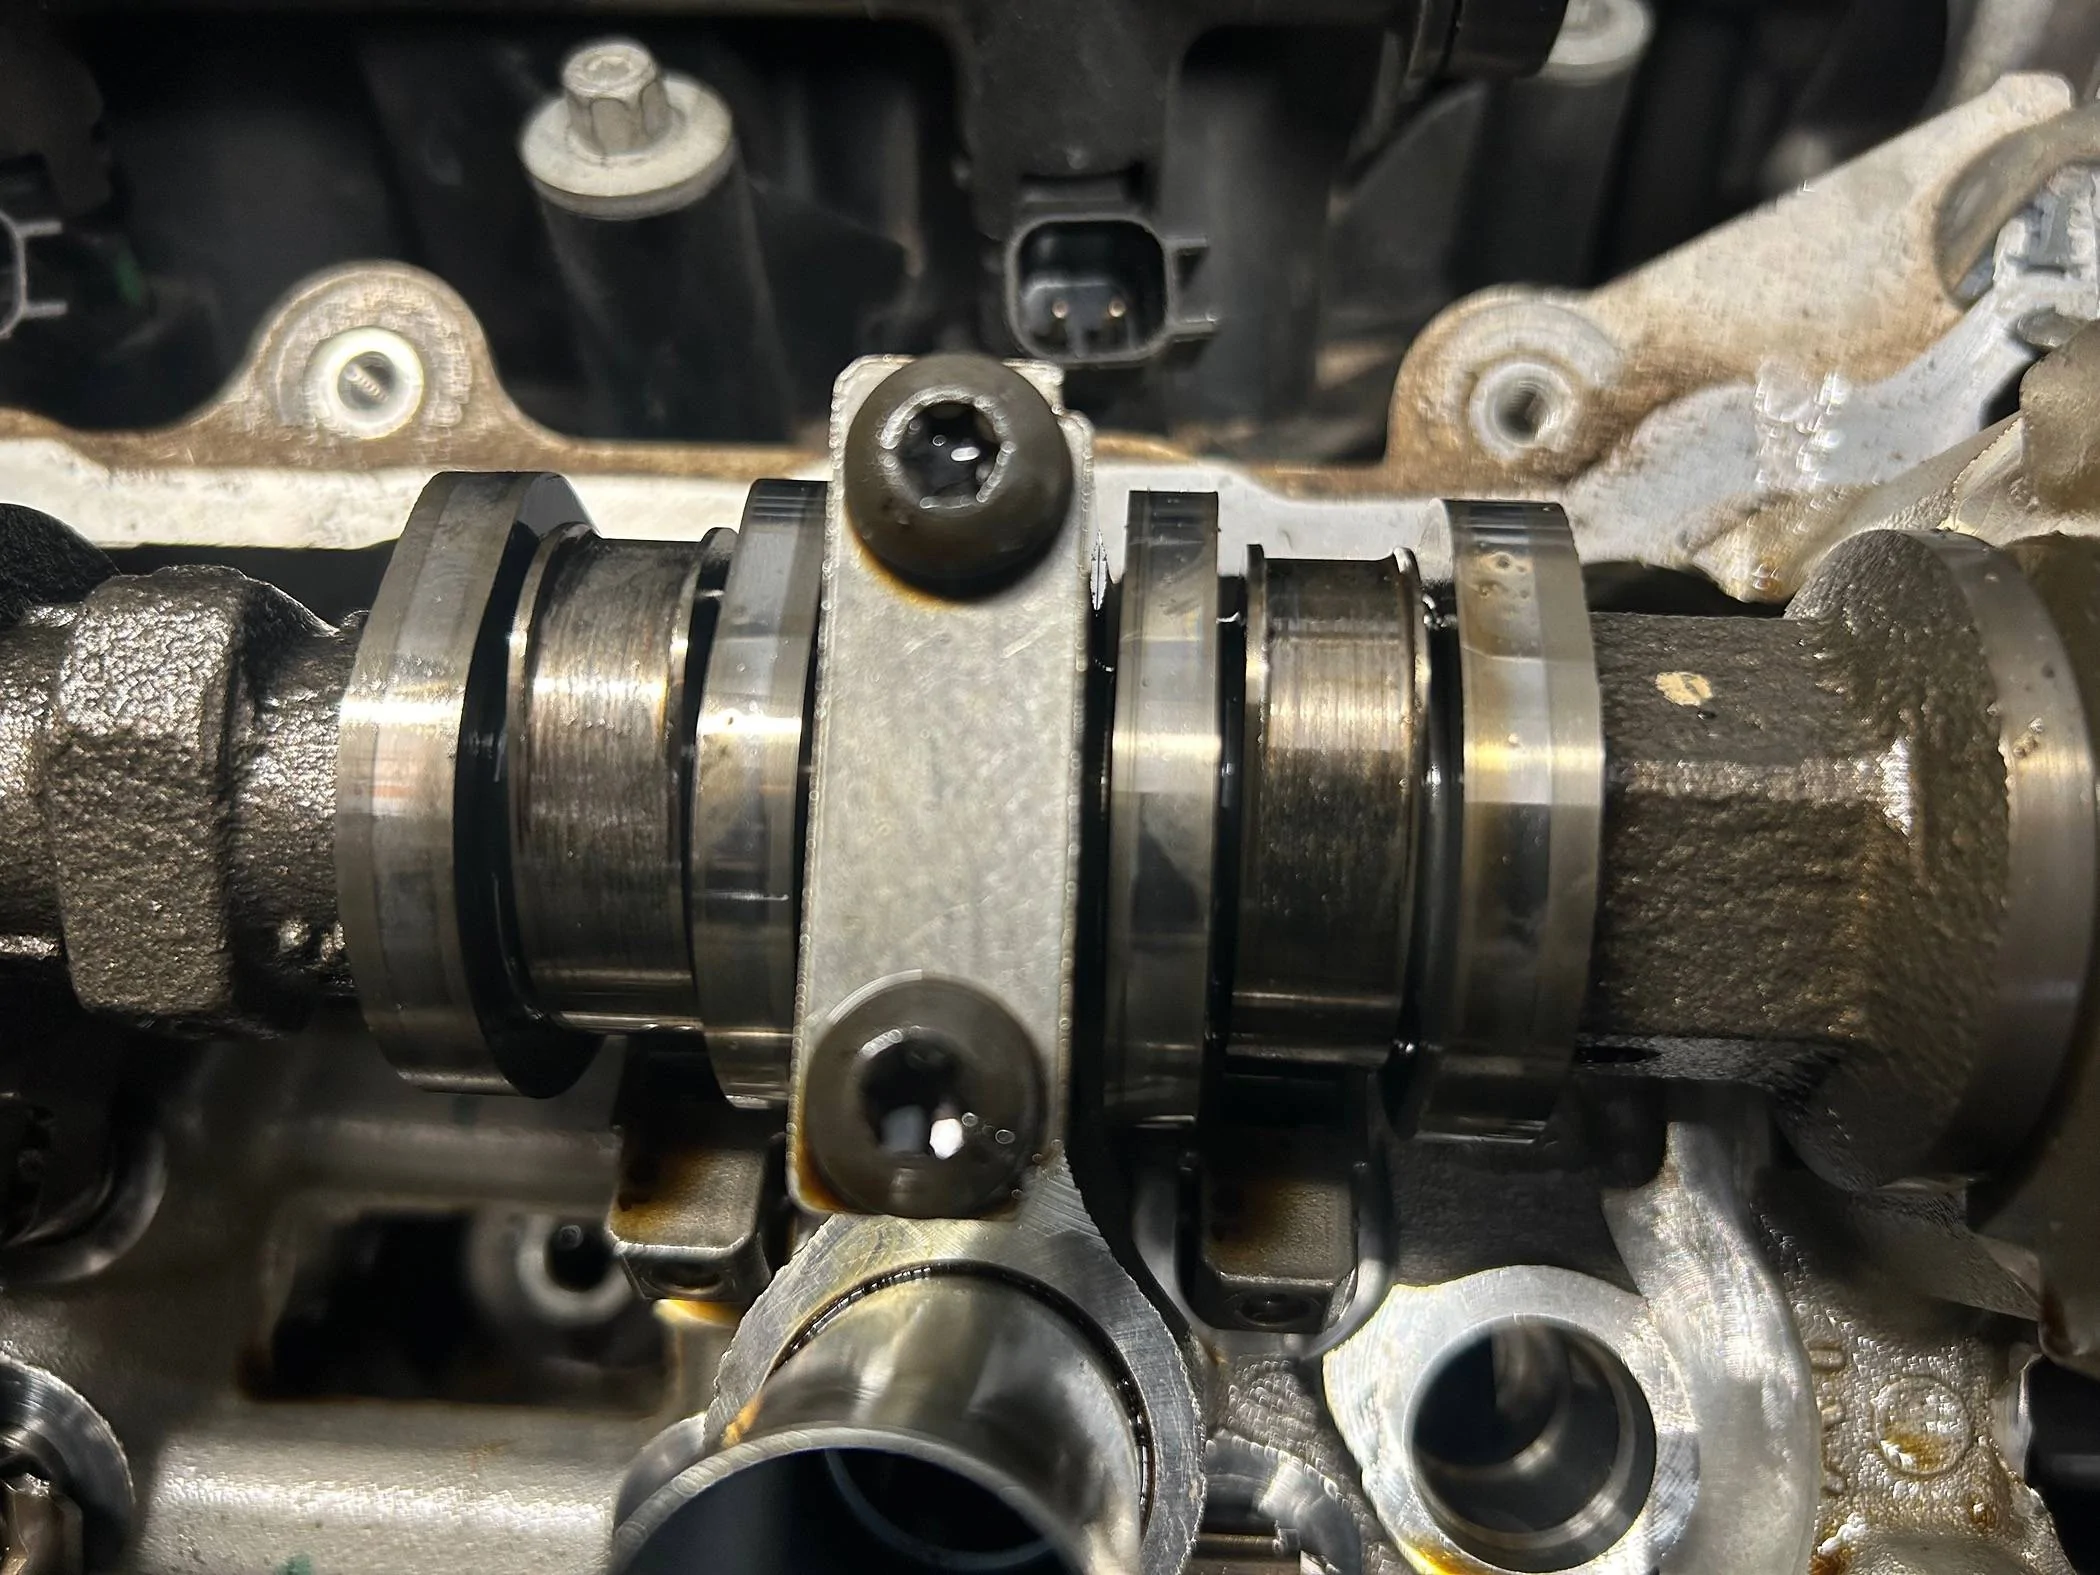
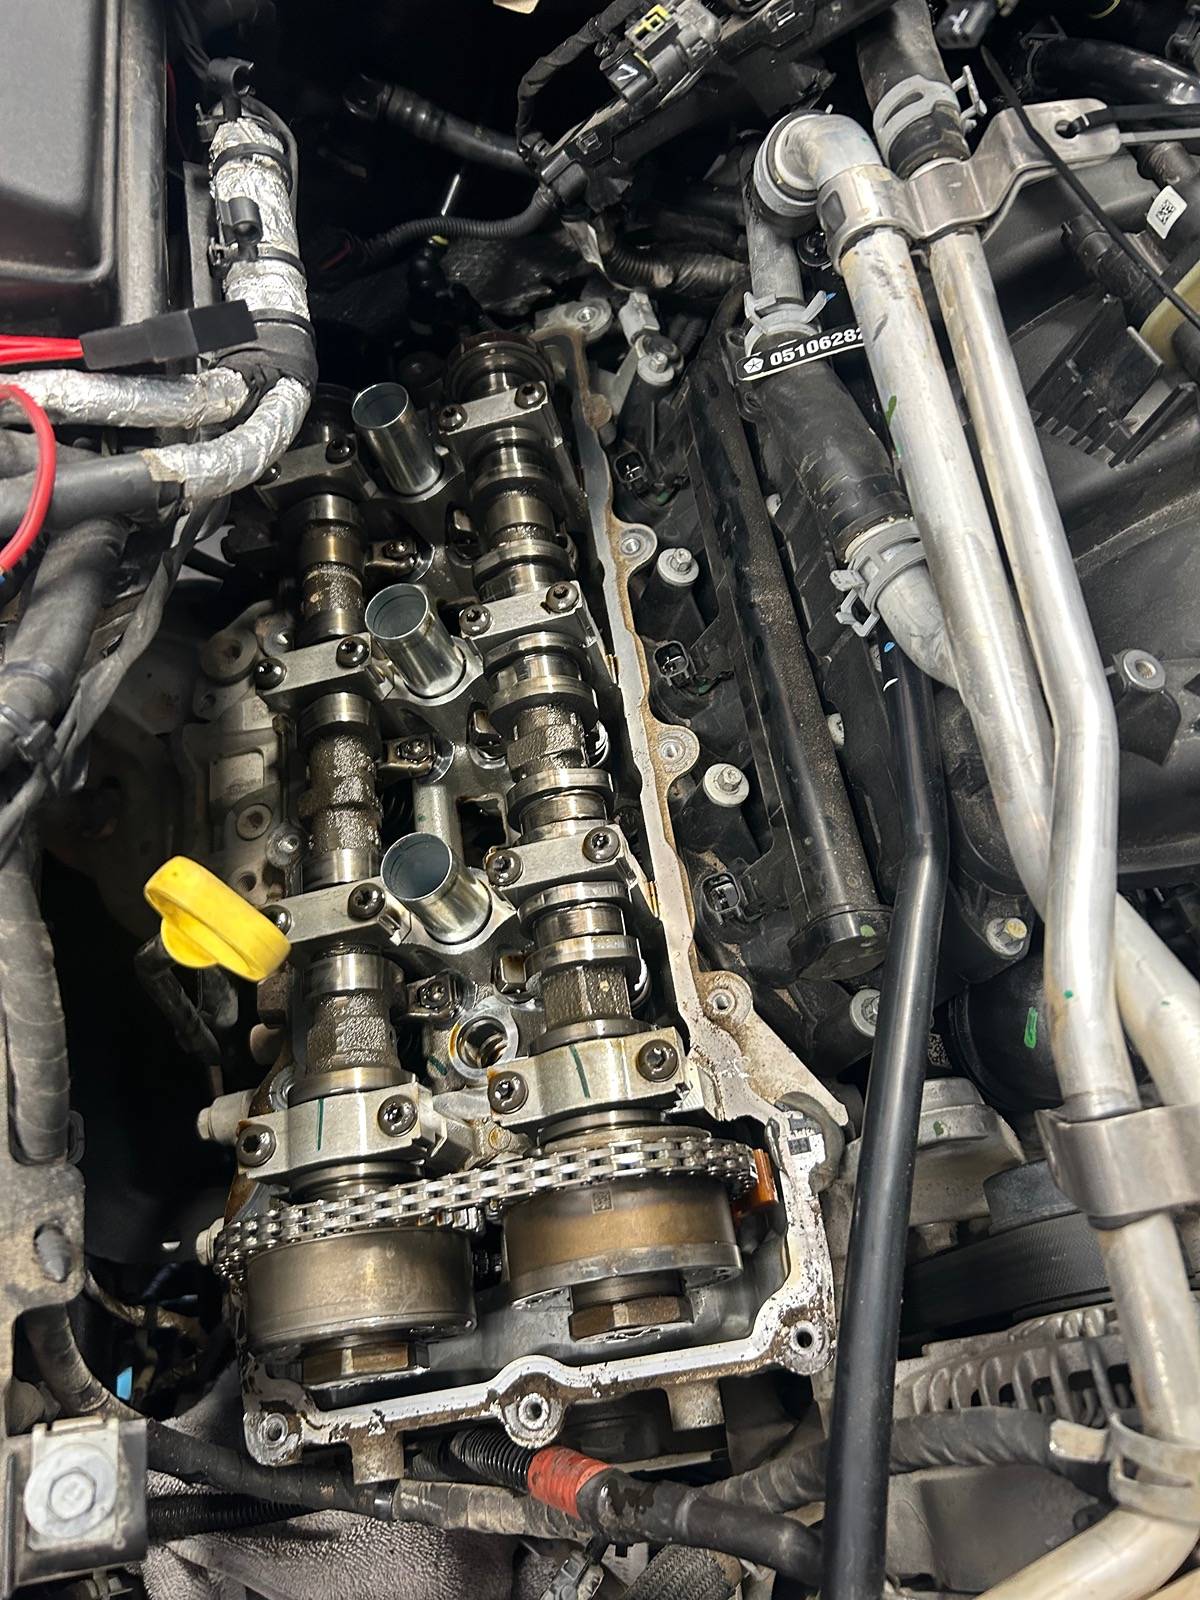
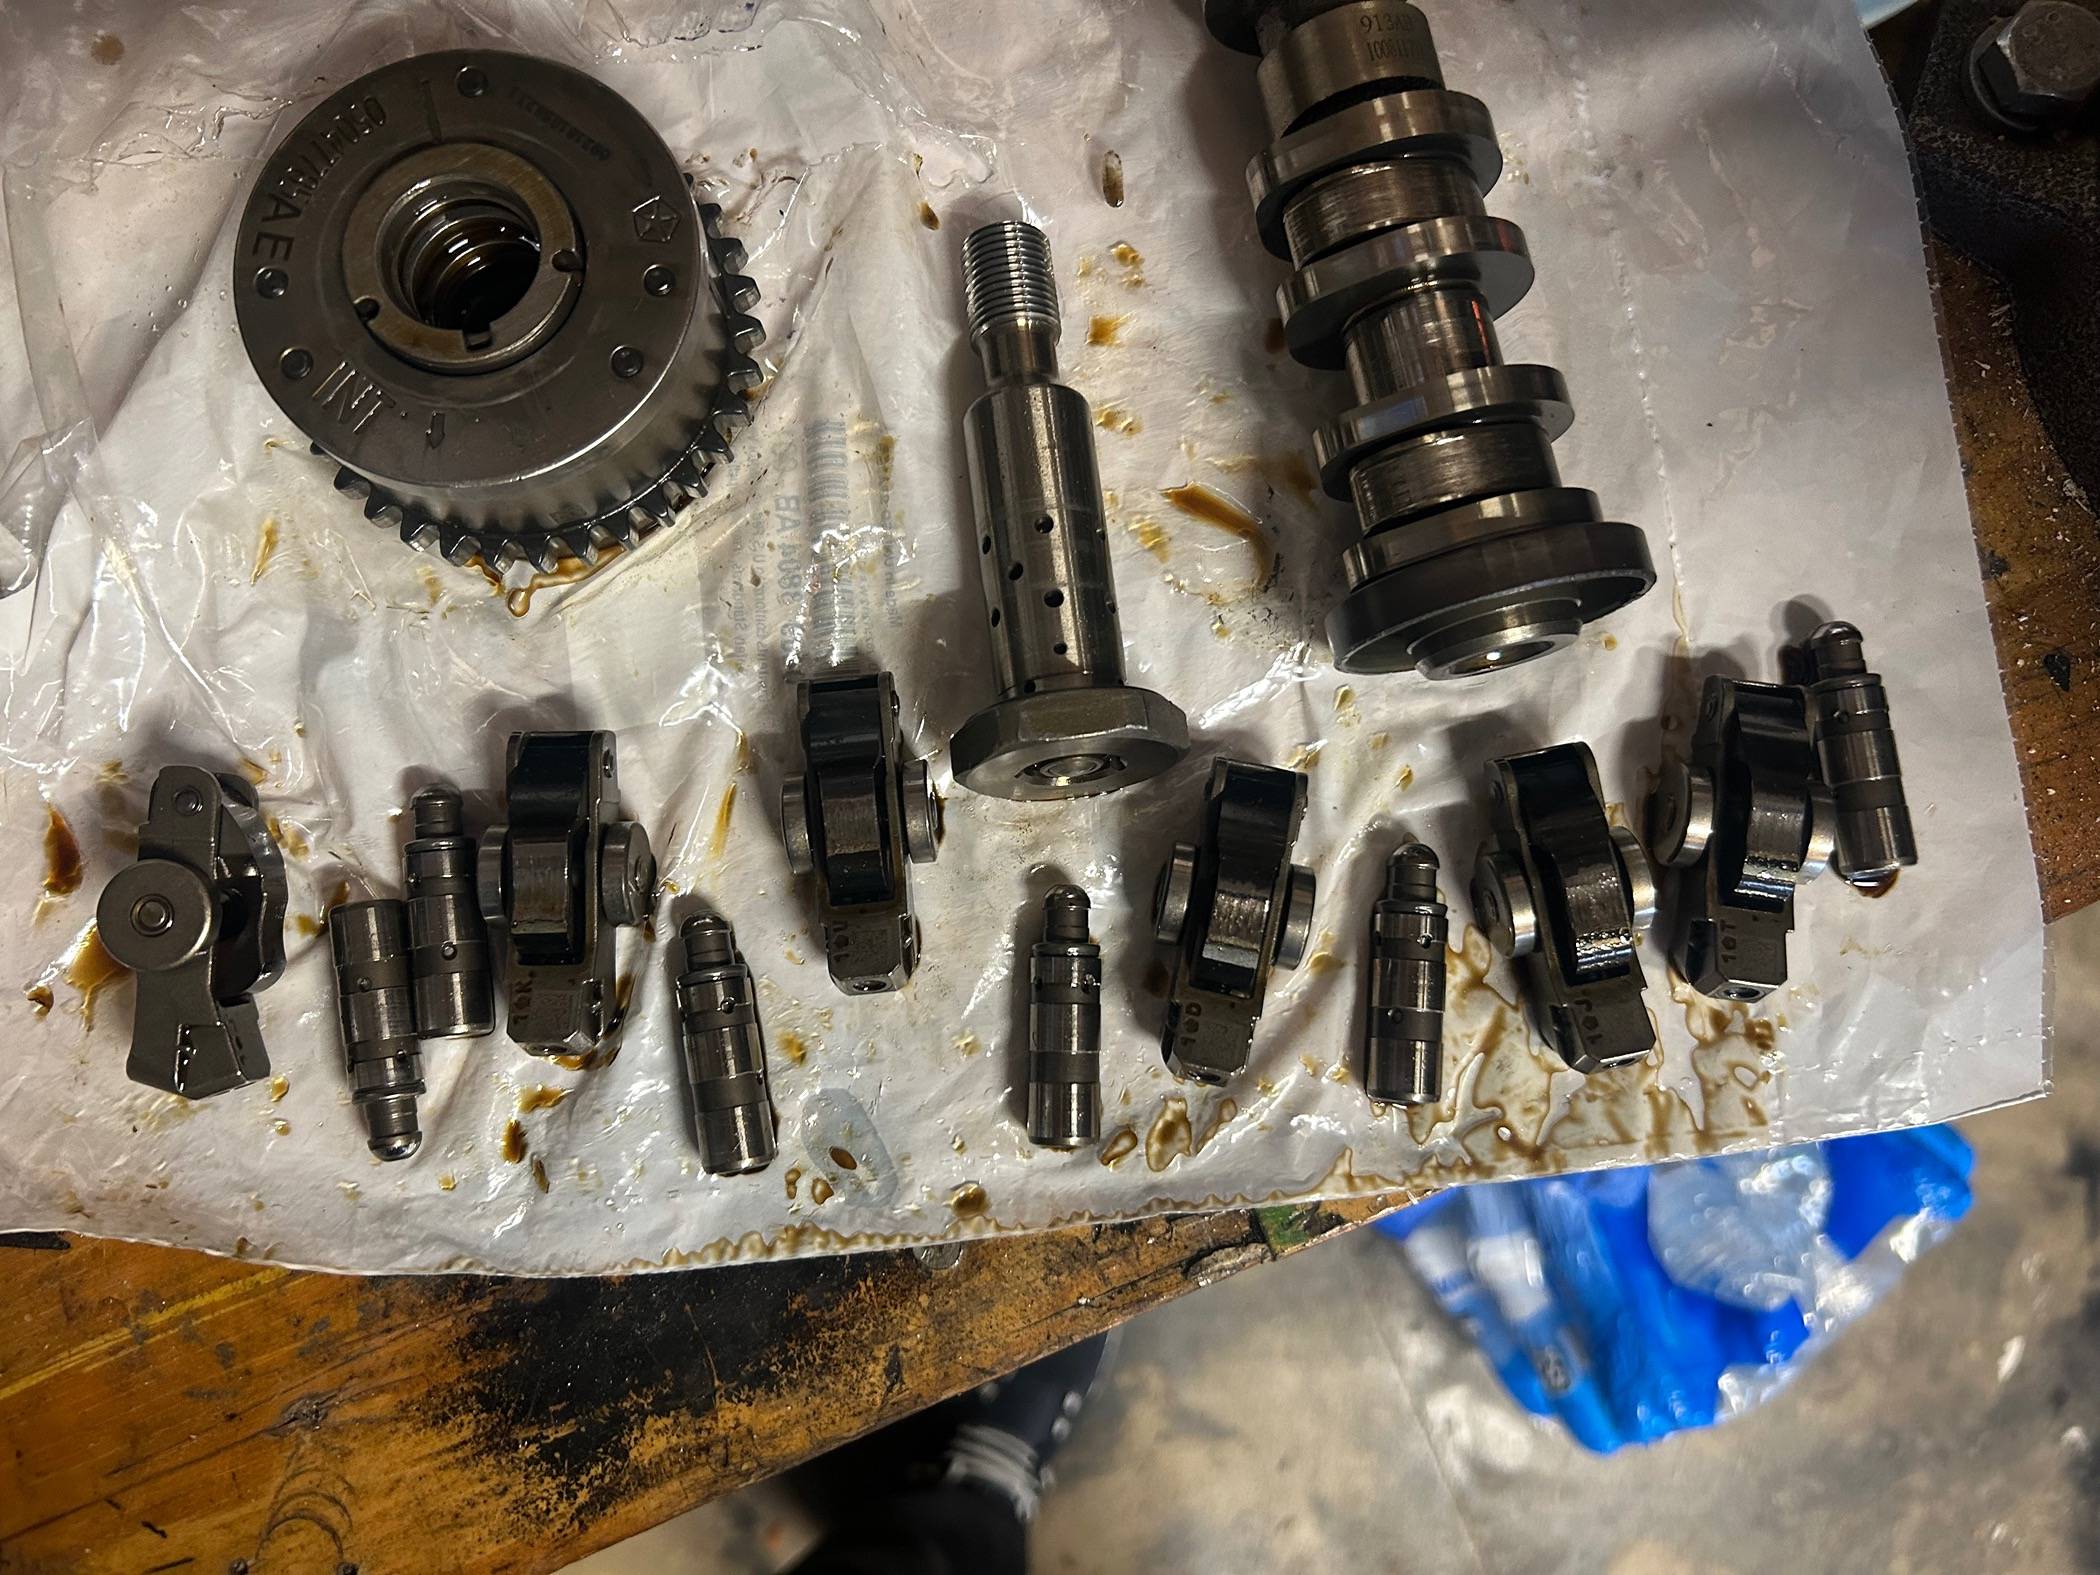
There are threaded ports in the head under the cam that can be used to test oil pressure at the cam journal.How would you check oil flow, run engine with valve cover off and observe, or other method?
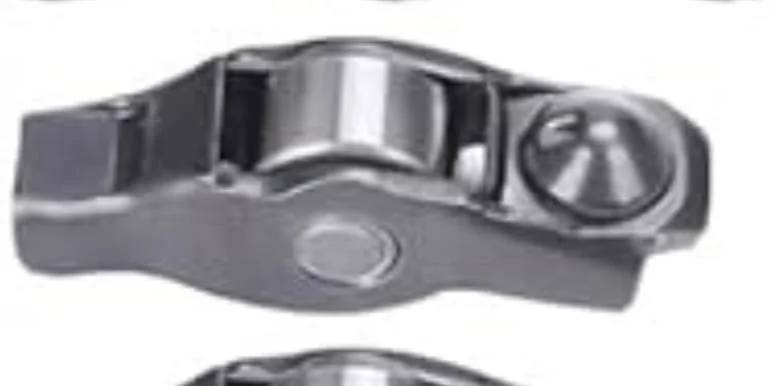
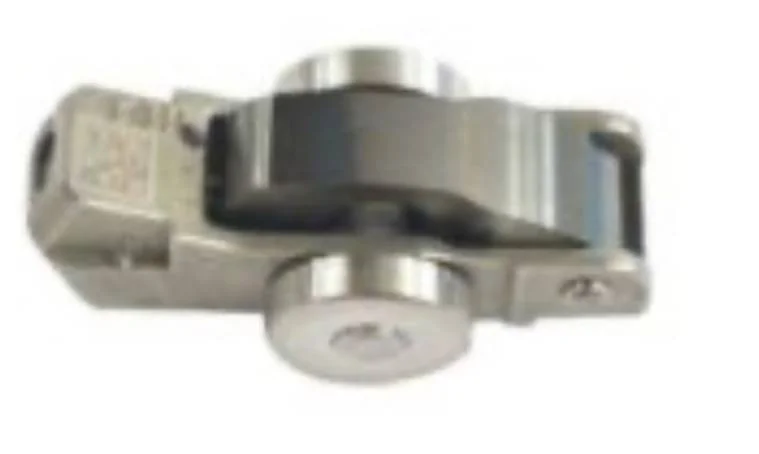
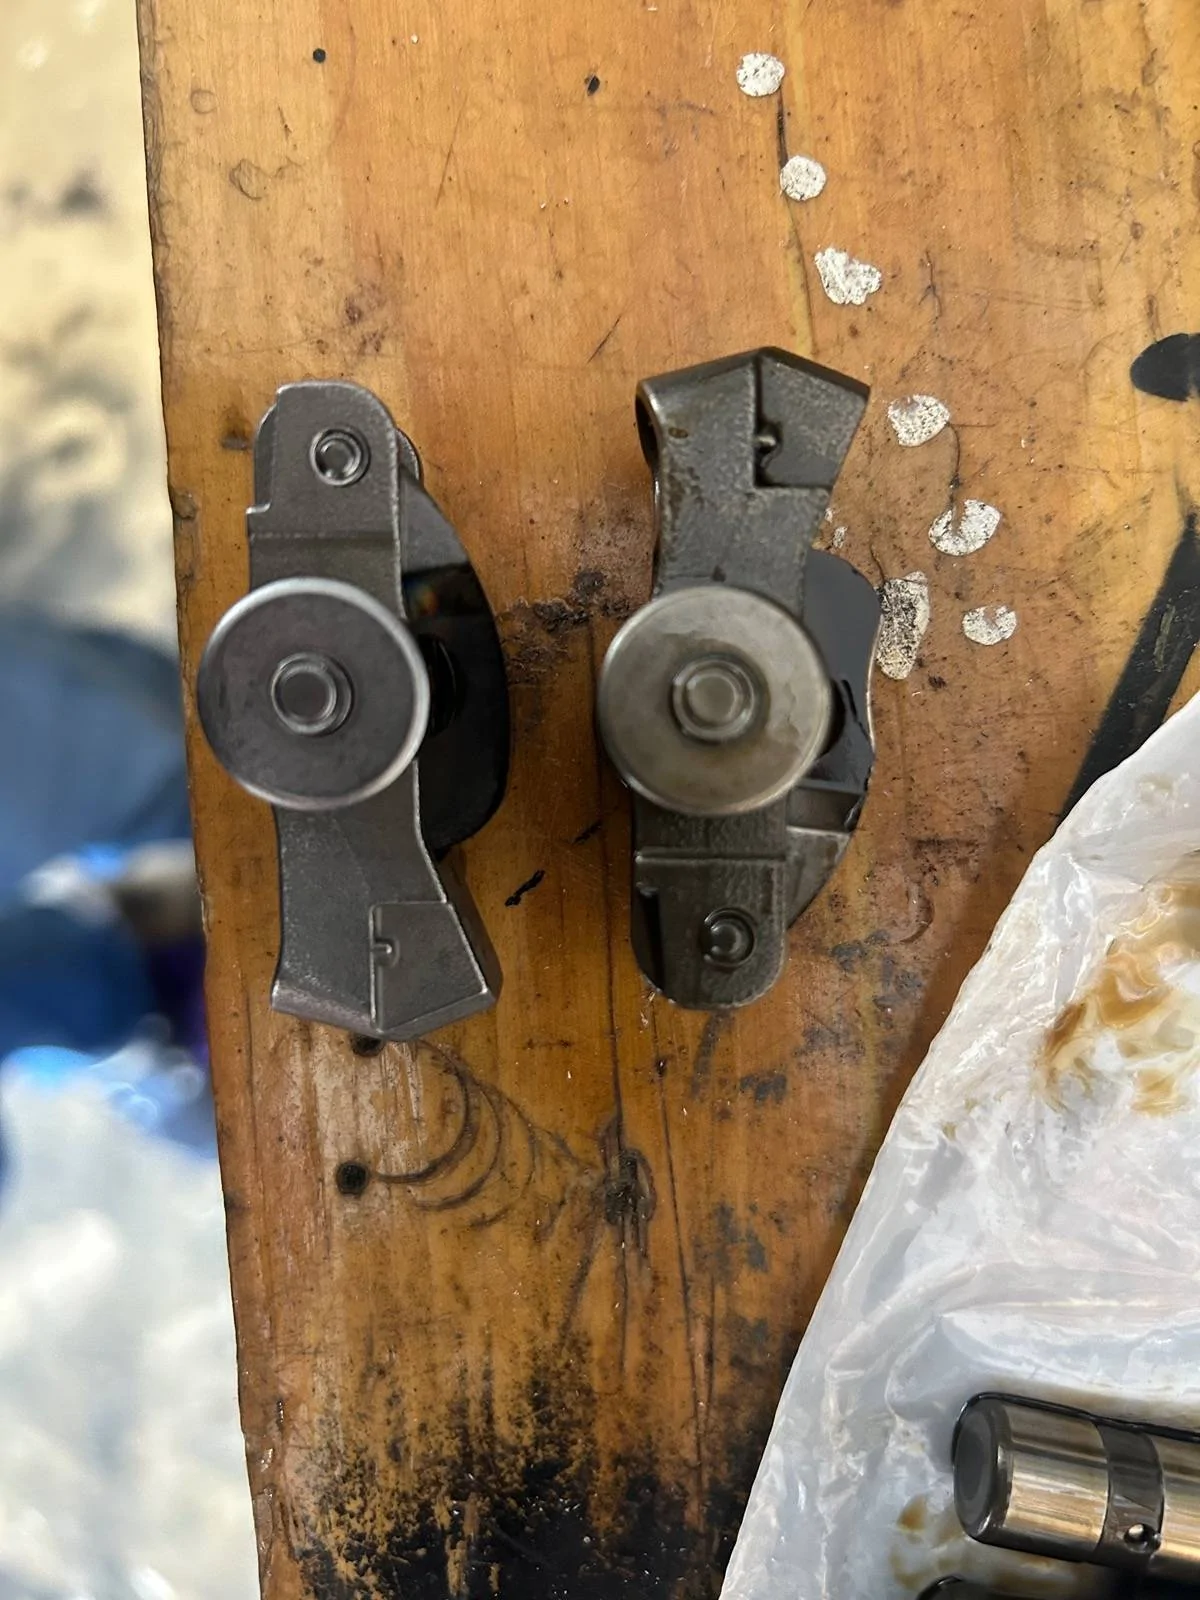
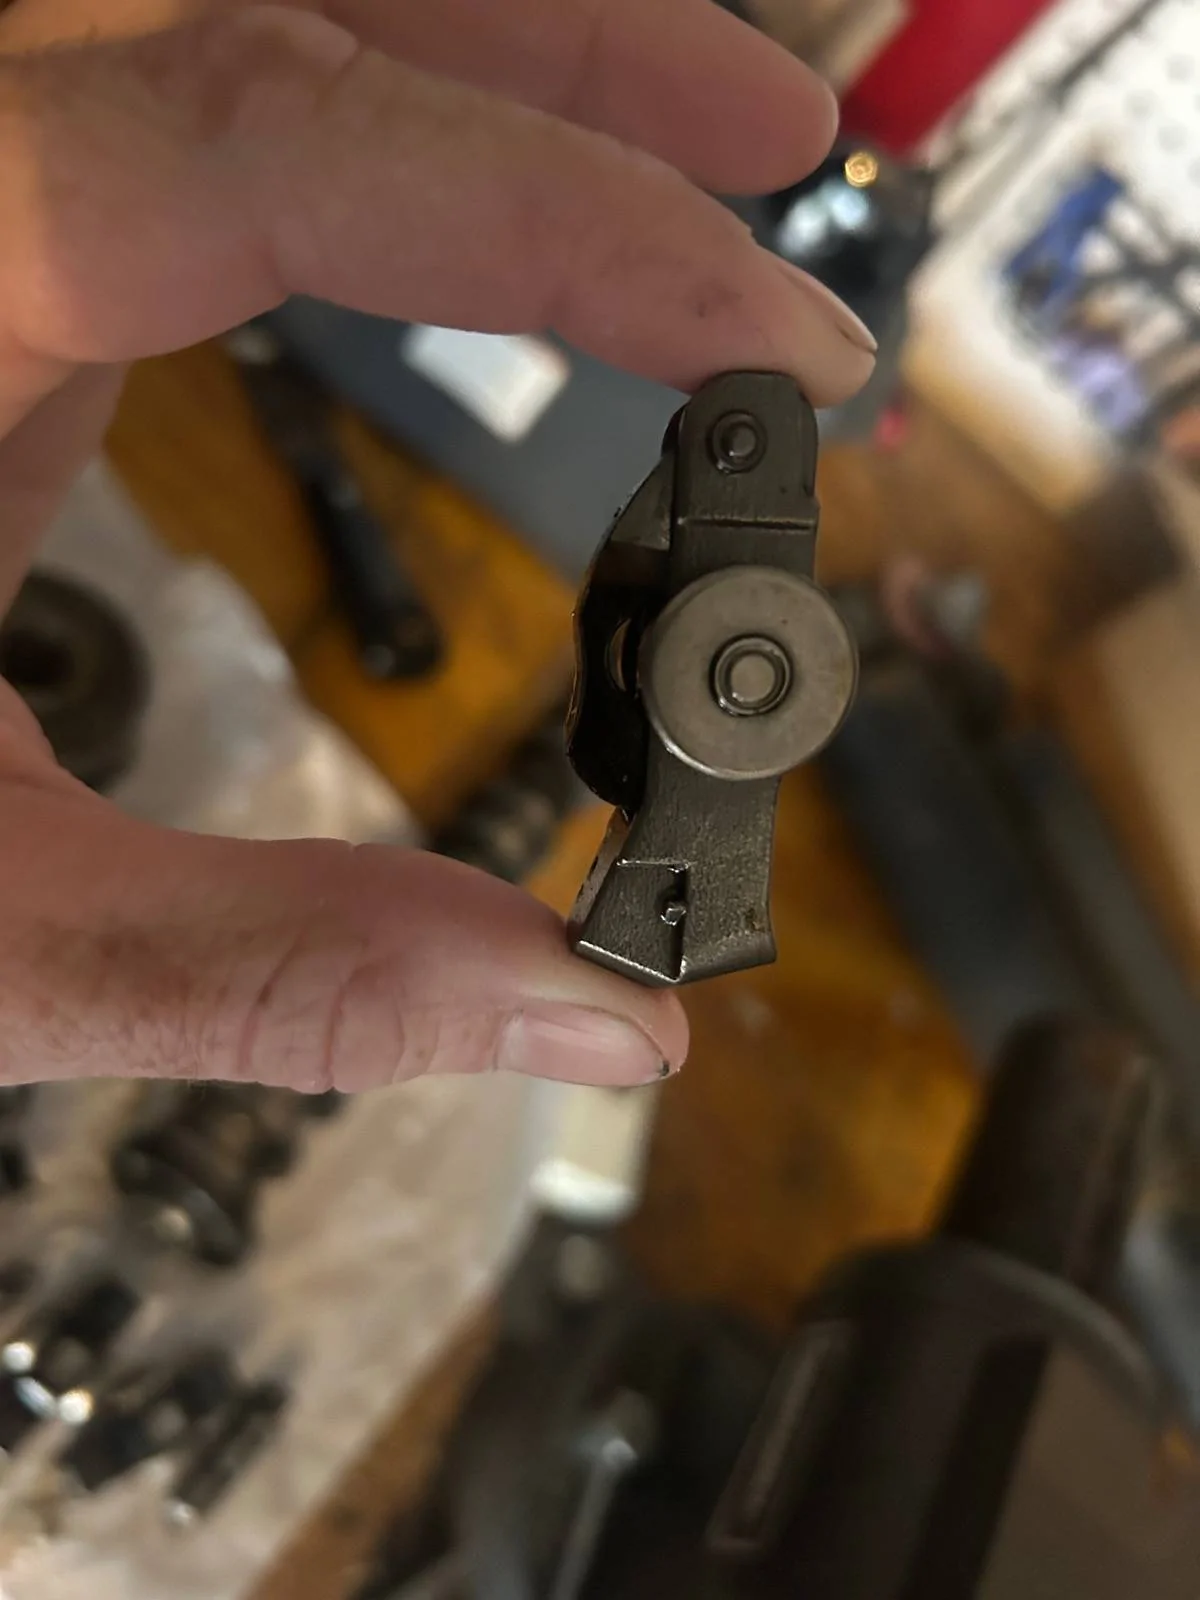
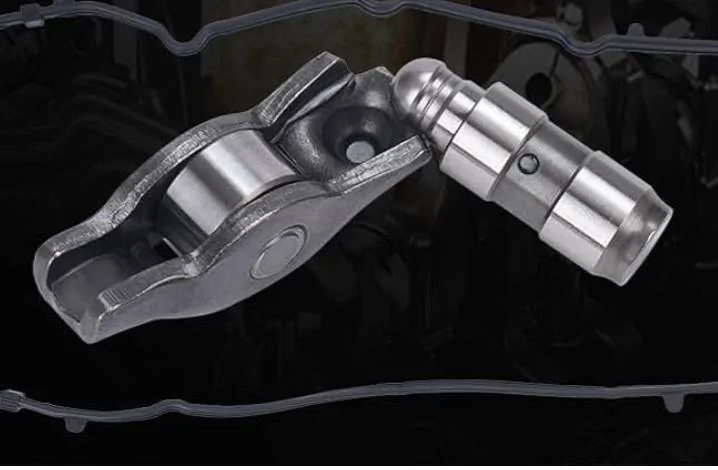
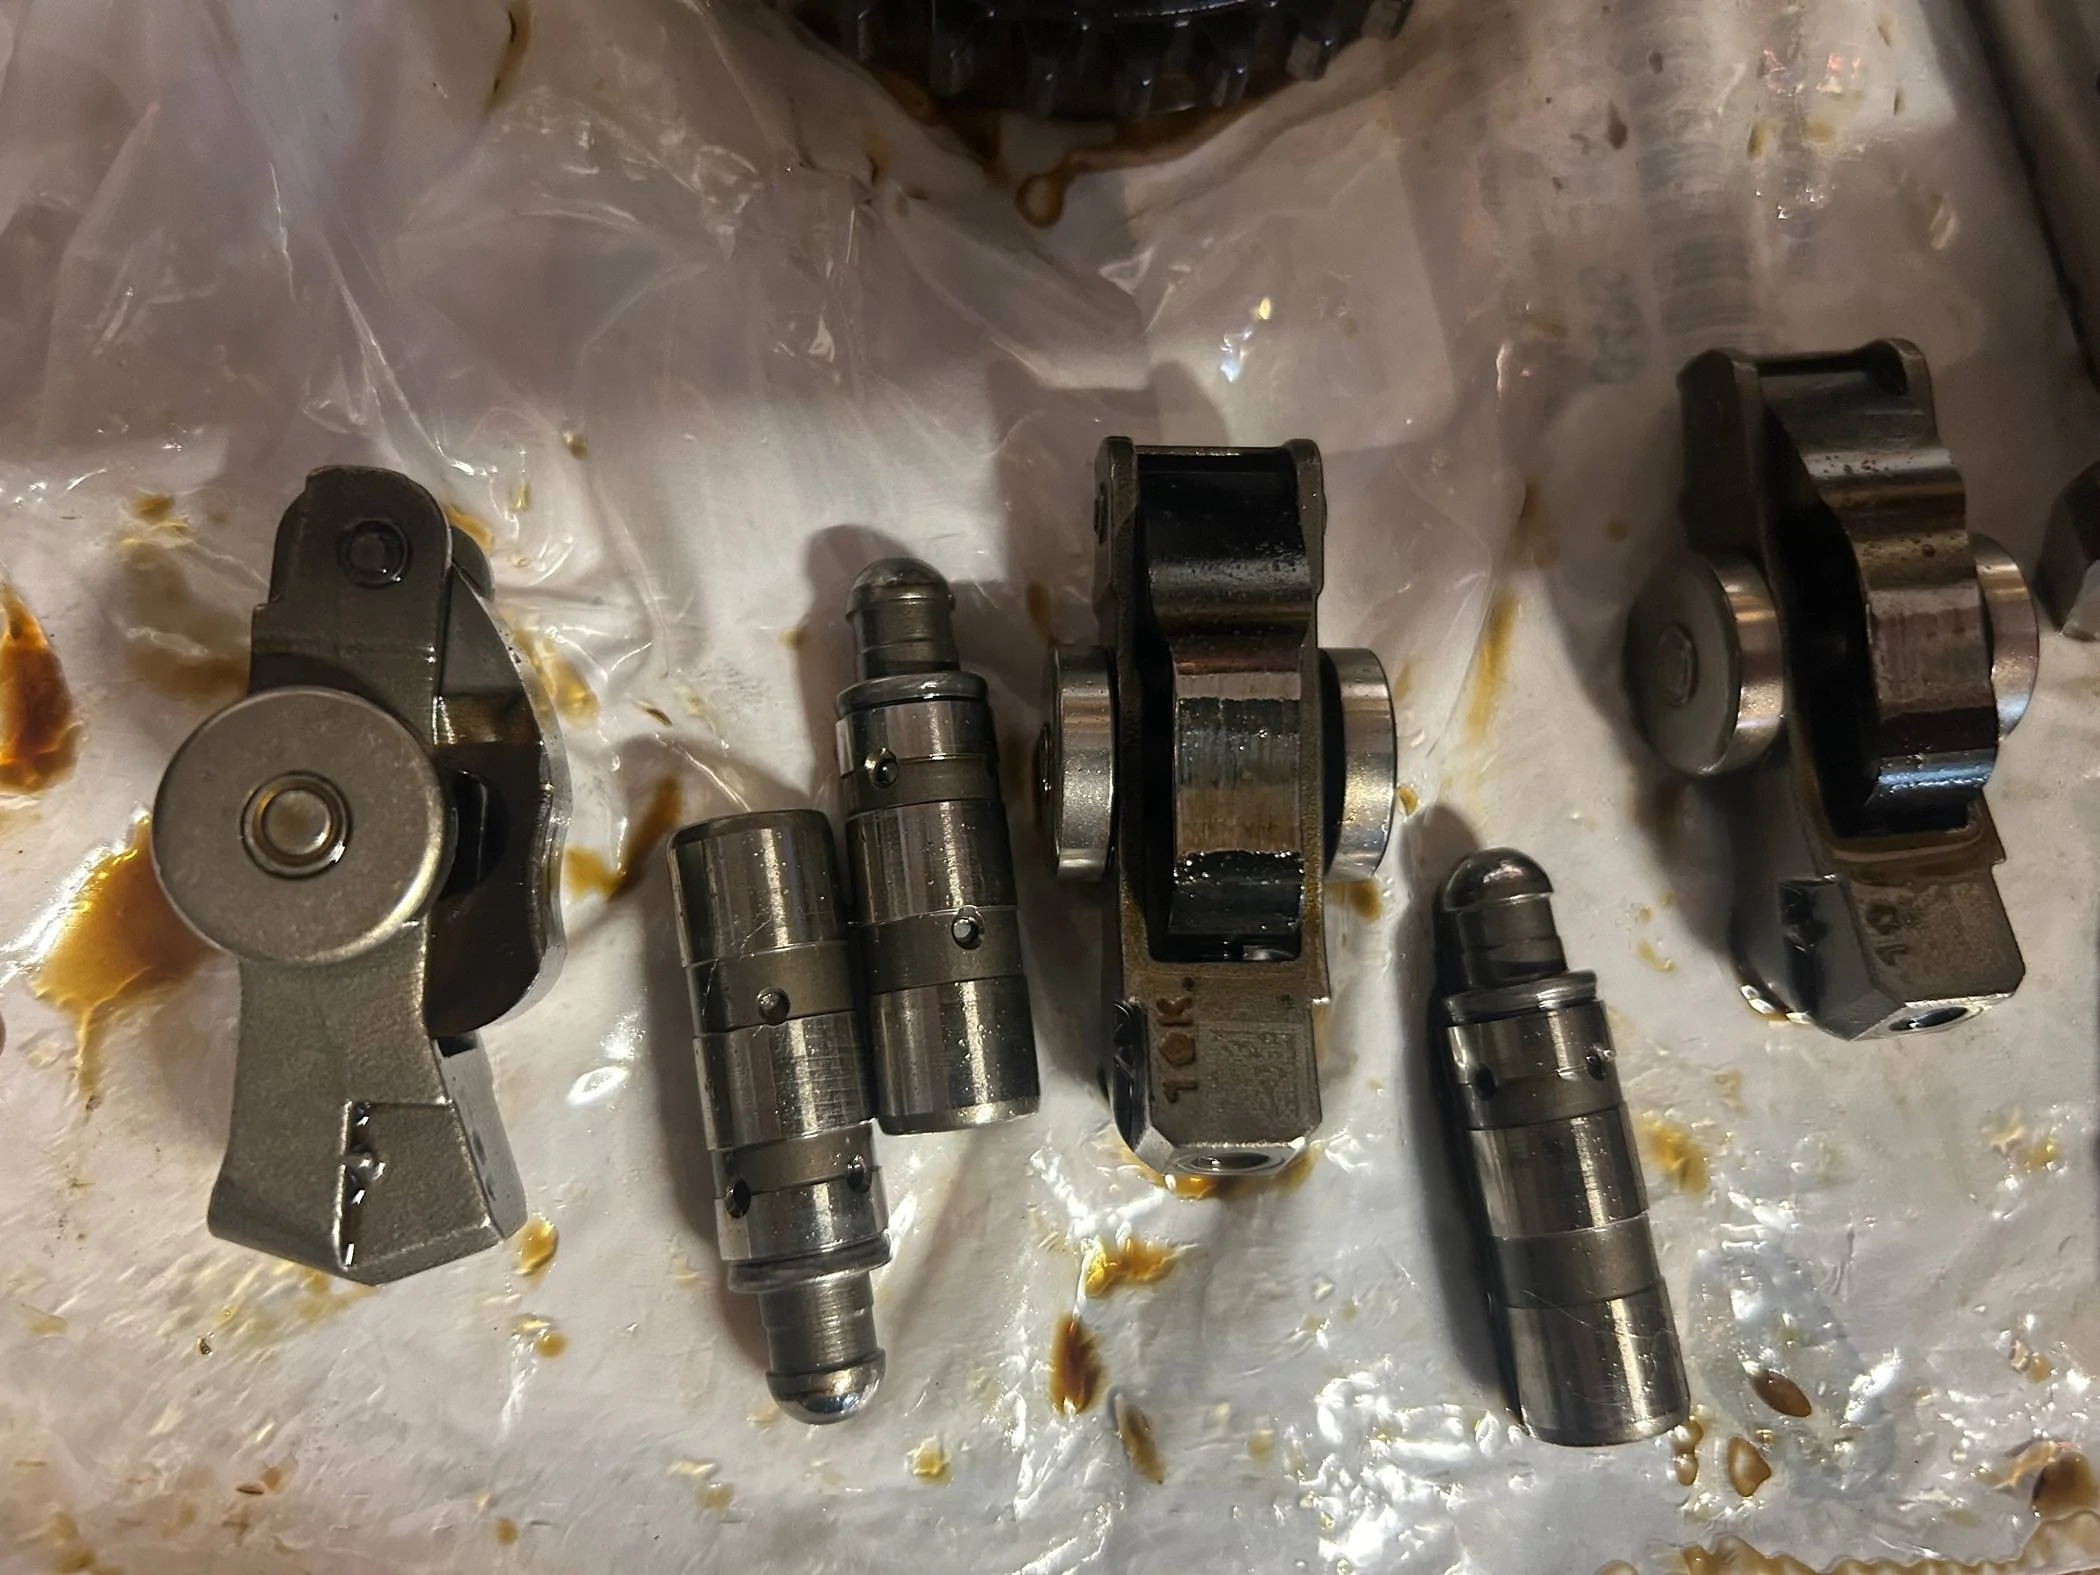
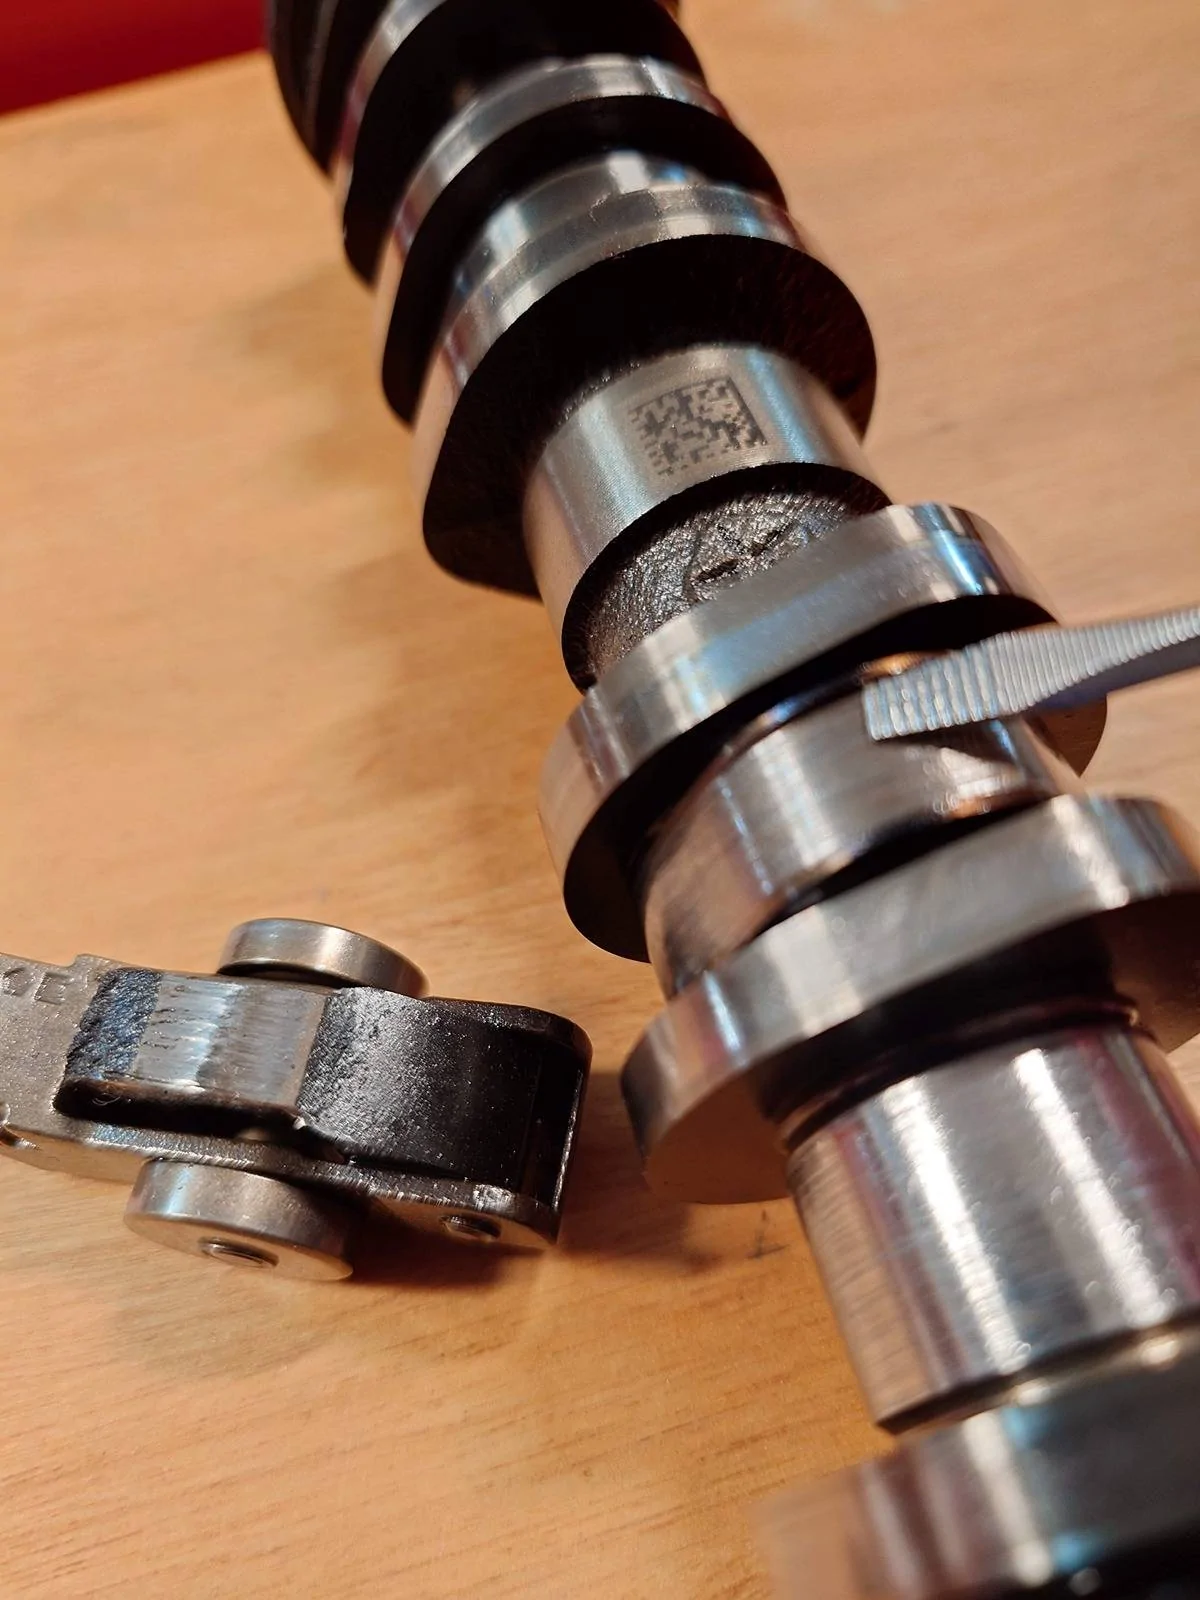
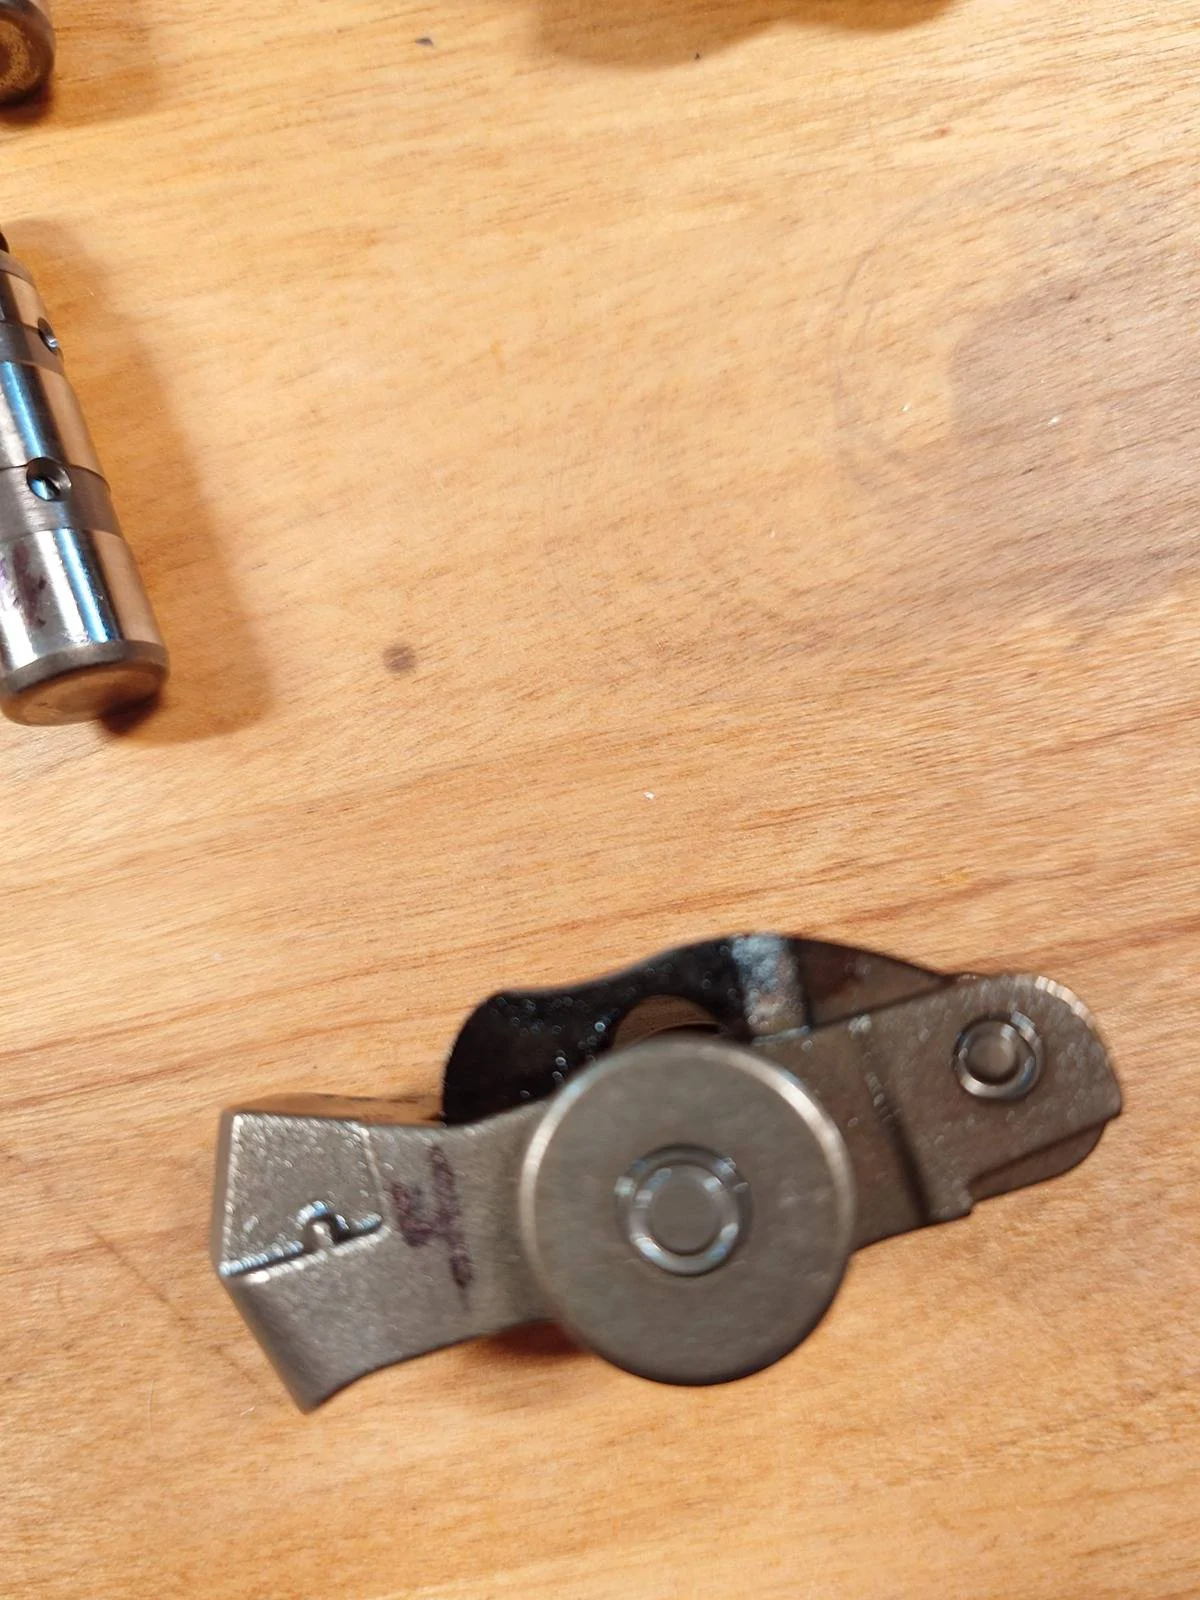
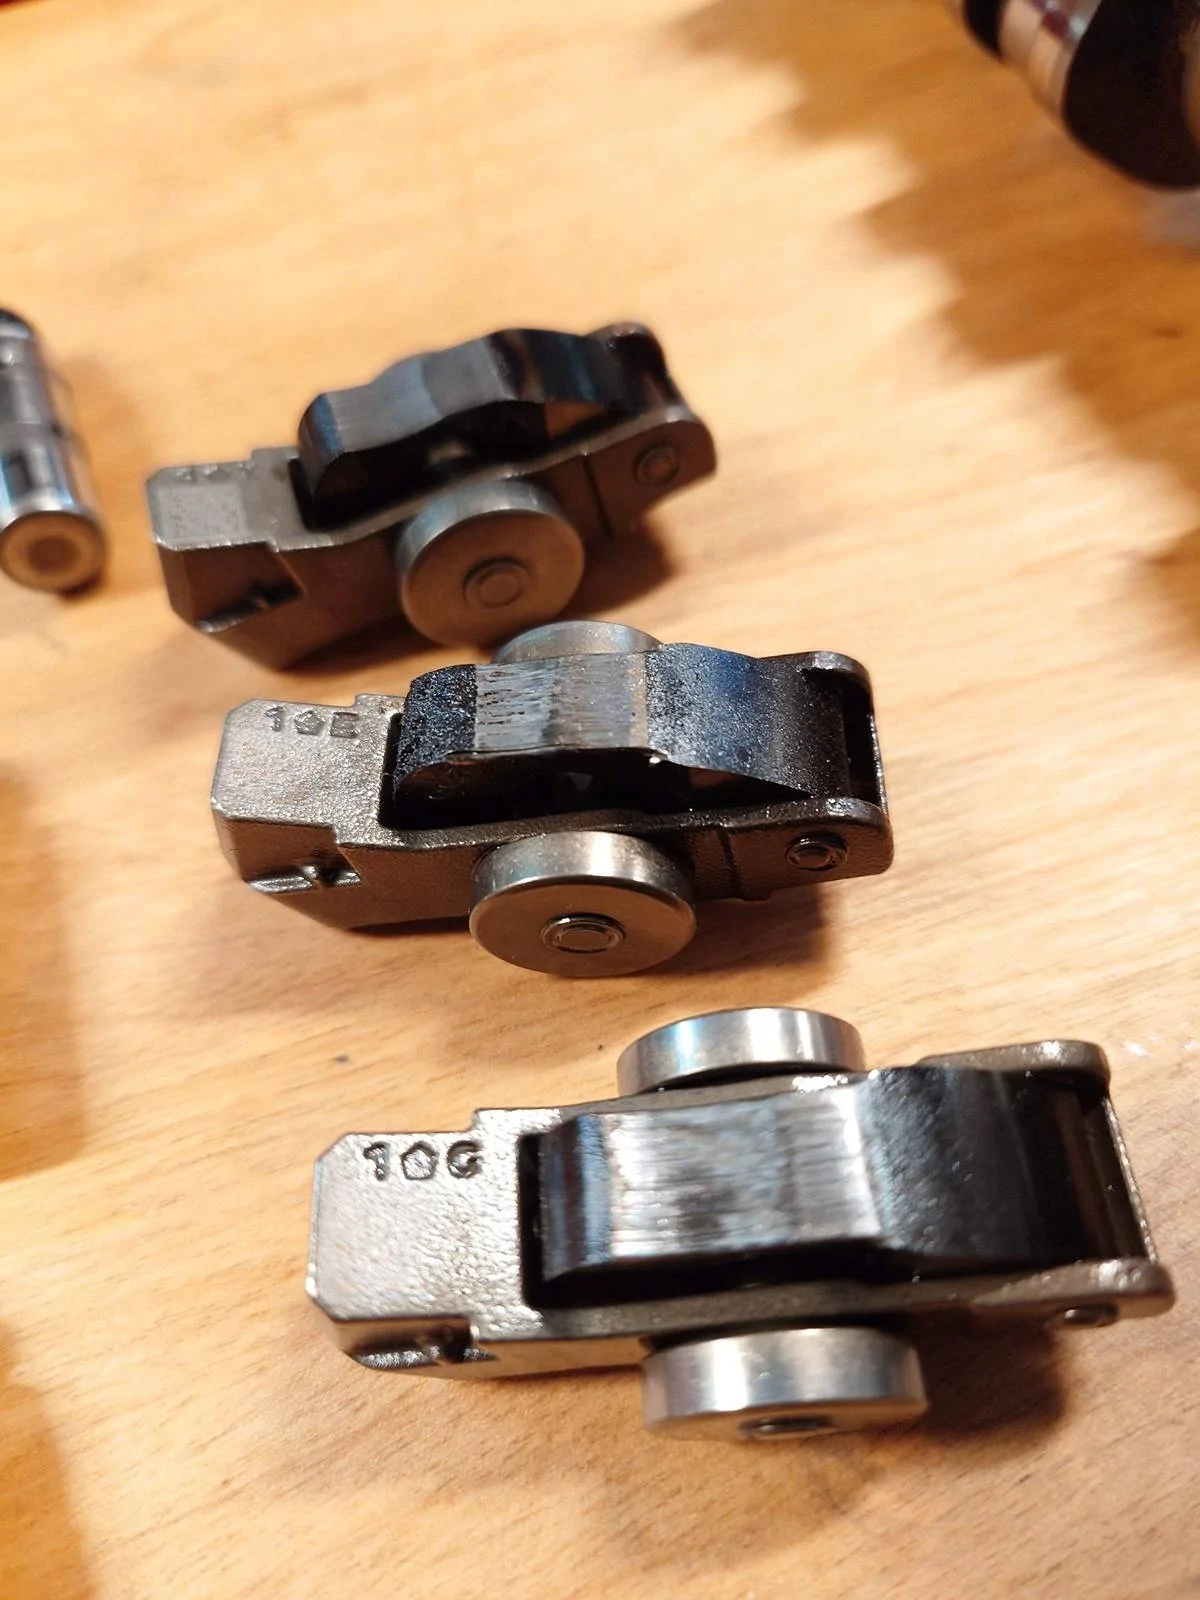
I agree the cause on these failures are the intake valve high lift follower bearings failing and causing the follower and rocker to shift out of position, wearing the cam. I would be curious to see hardness test results on the cam though.
I wonder if these failures are exaggerated by drivers running at higher RPM’s a lot, where high lift mode kicks in. Or even a failure to kick back into low lift mode in a timely manner. POS design all the way around.
Sponsored