JO DYRT
Well-Known Member
- First Name
- Joe
- Joined
- Aug 11, 2019
- Threads
- 15
- Messages
- 376
- Reaction score
- 770
- Location
- Orange County, CA
- Website
- www.clickonpc.com
- Vehicle(s)
- 2018 Wrangler JLU Sahara
- Occupation
- IT Professional
- Vehicle Showcase
- 1
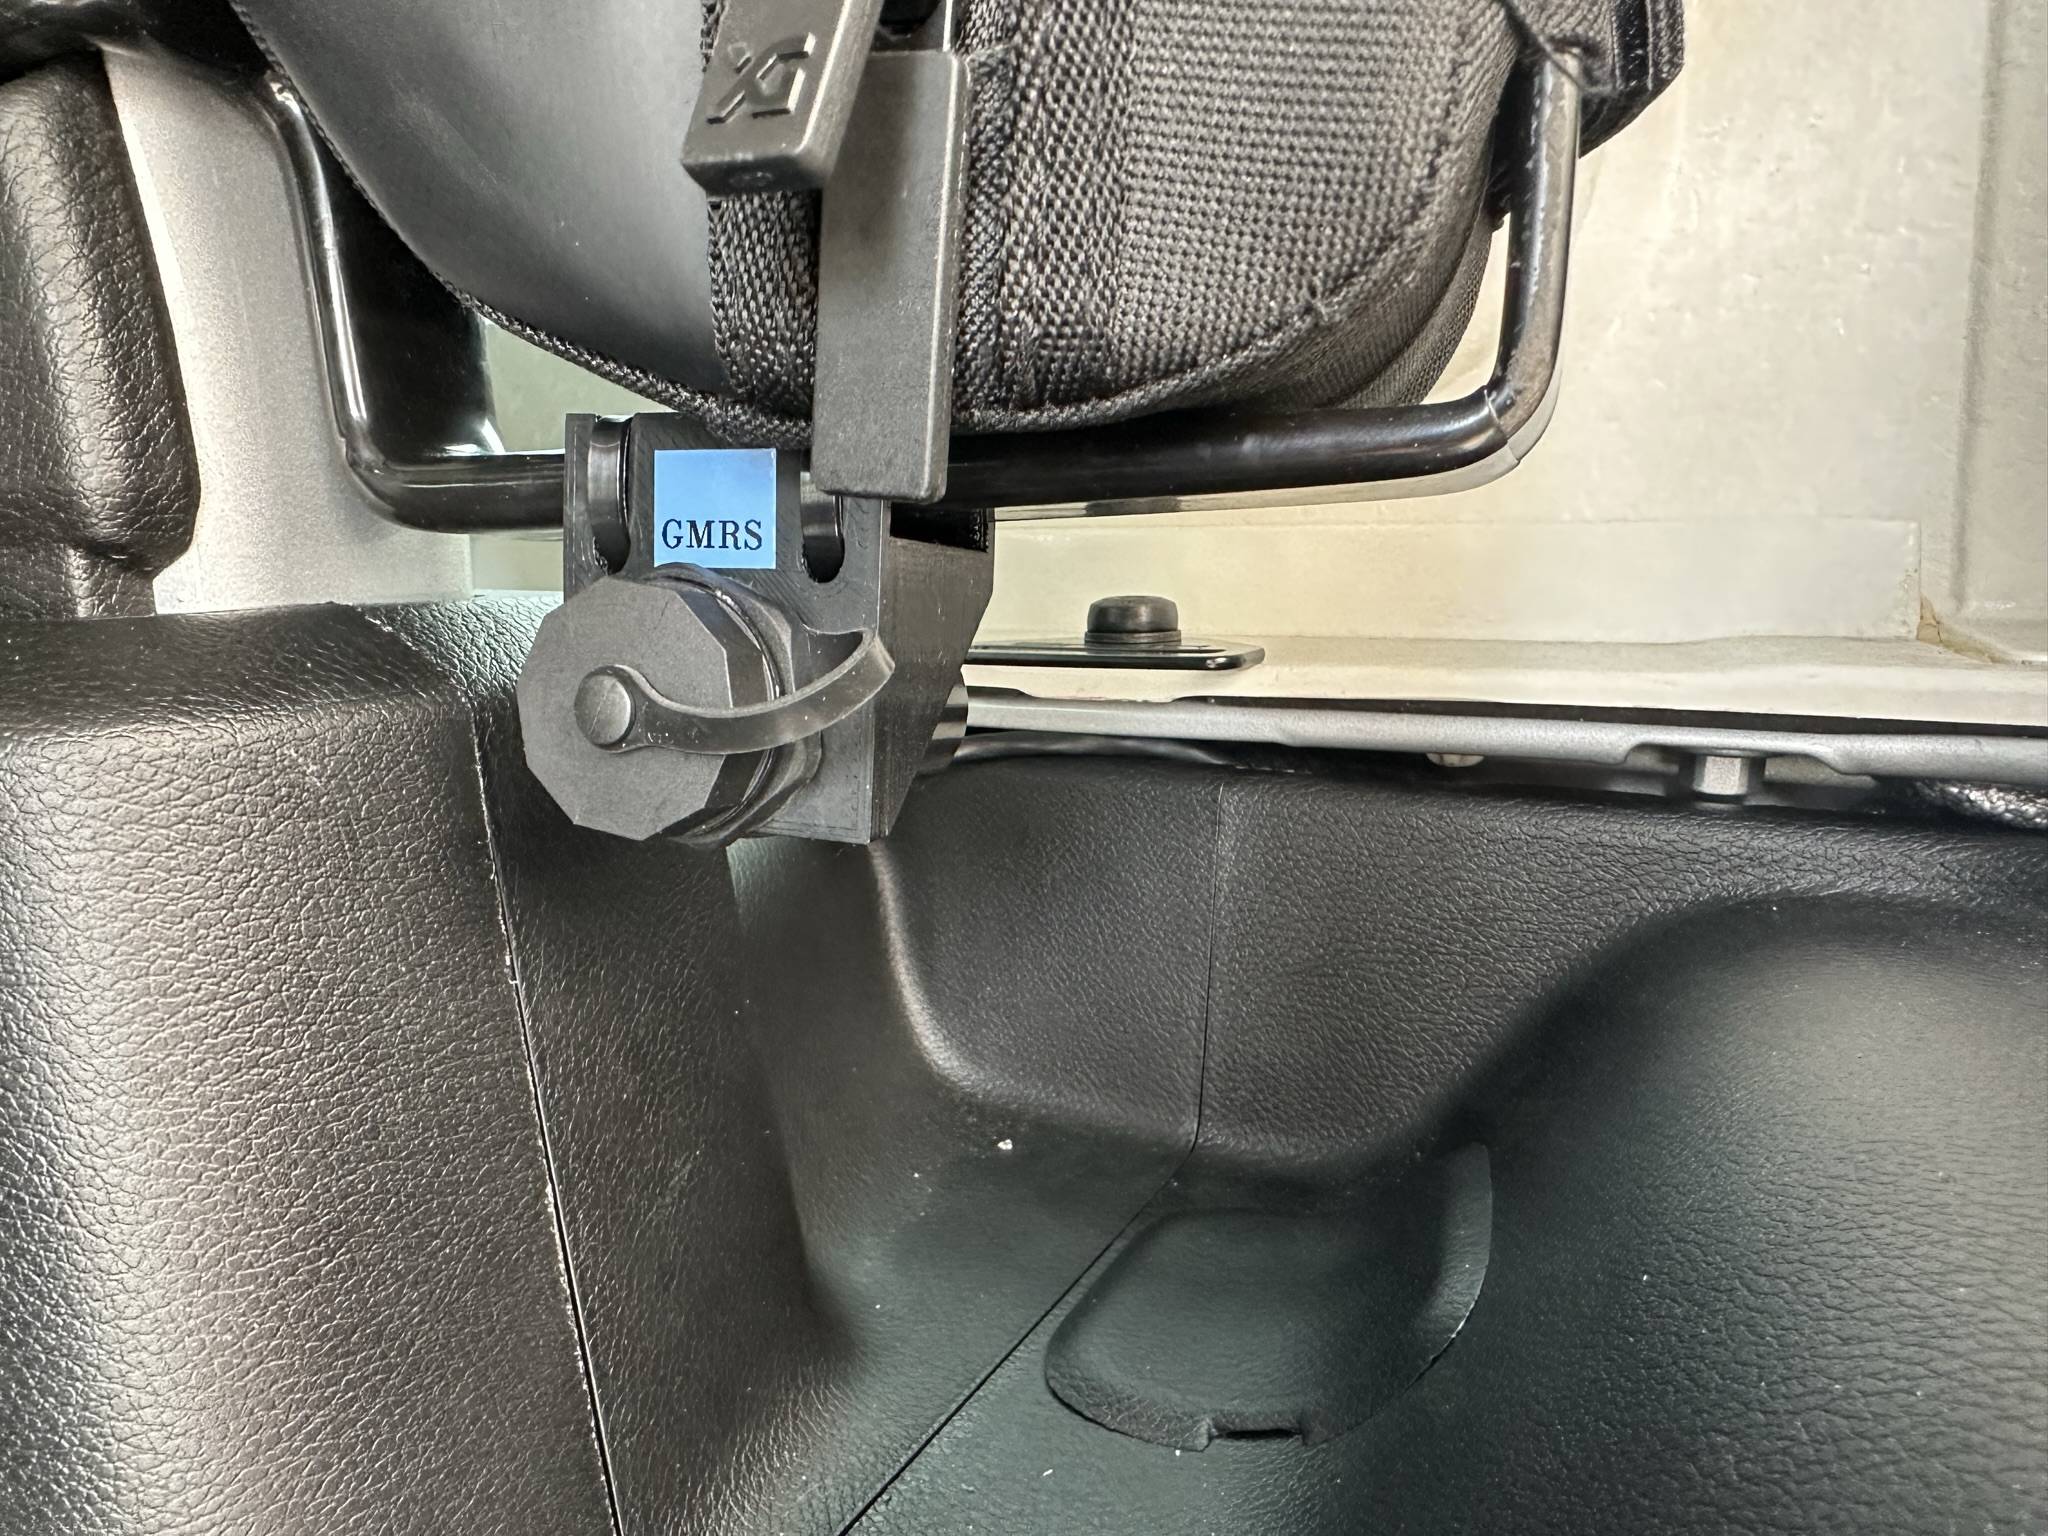
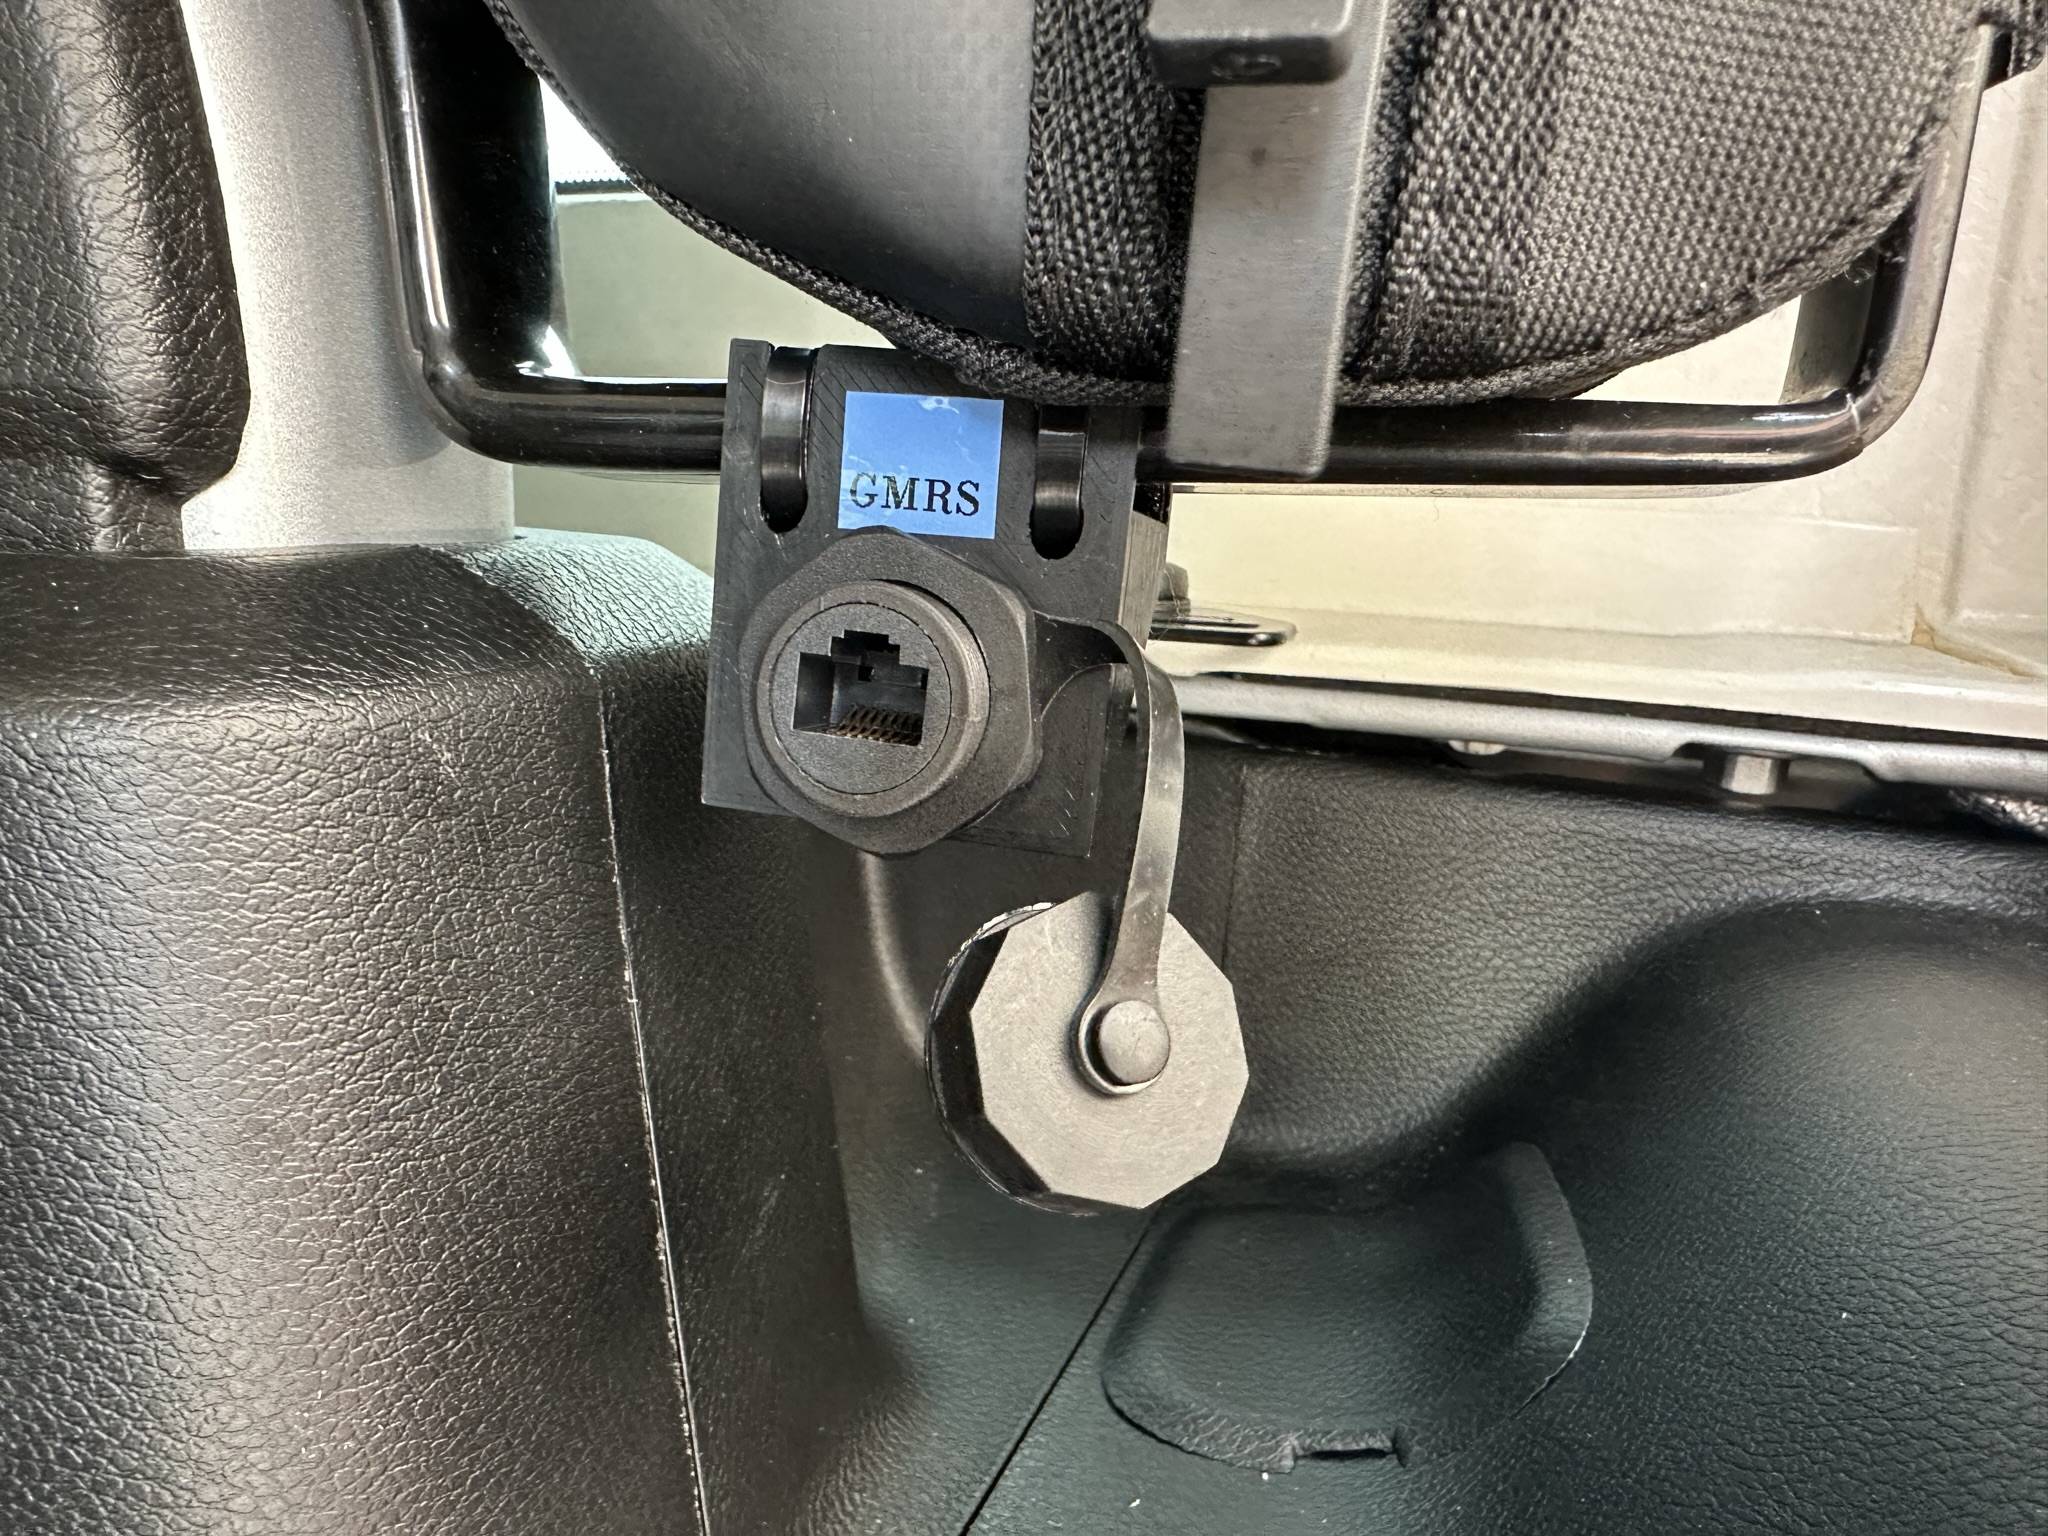
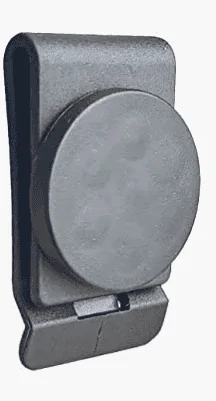
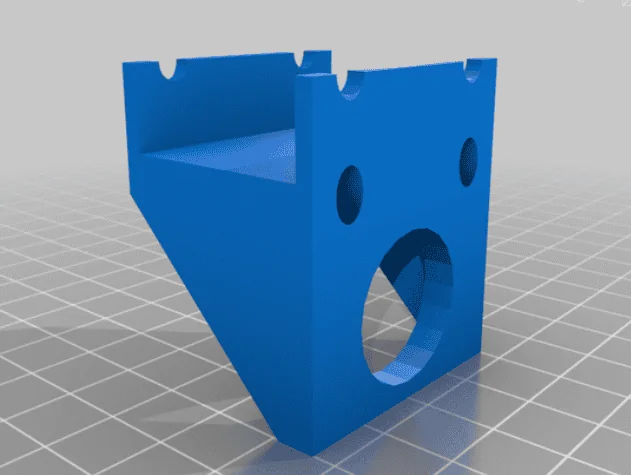
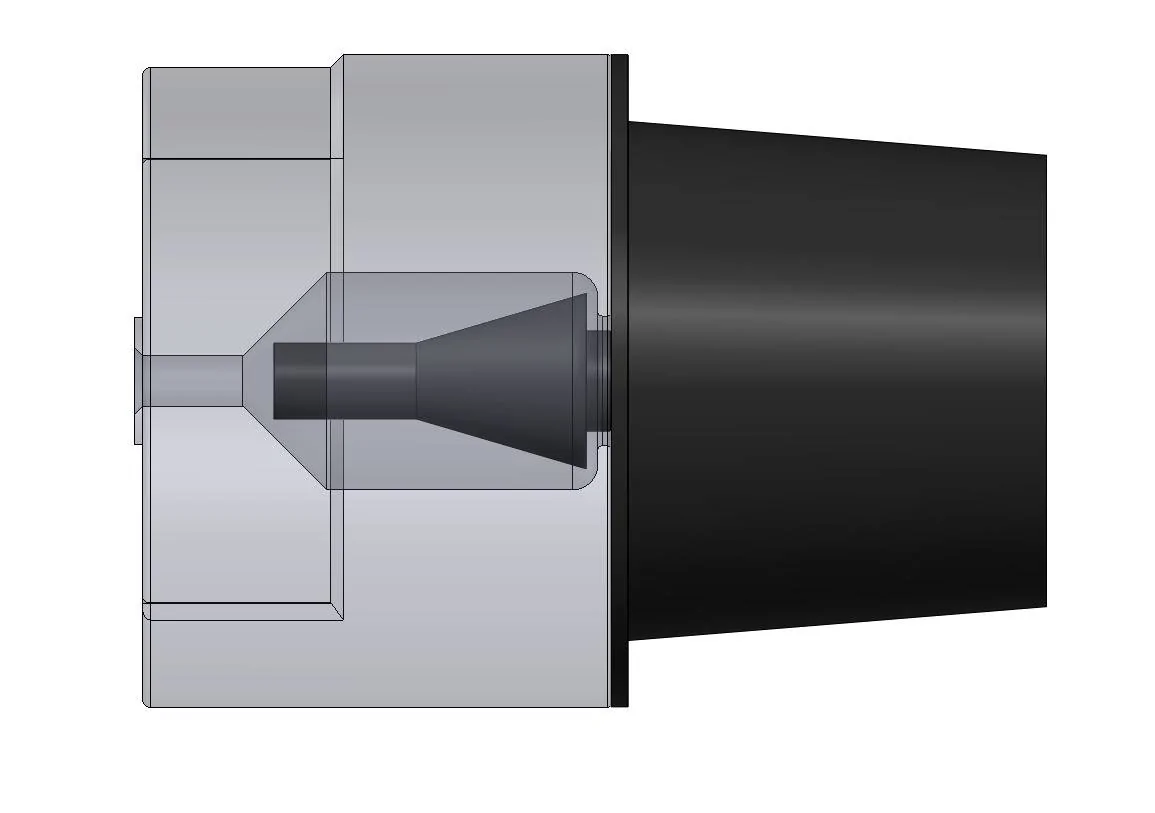
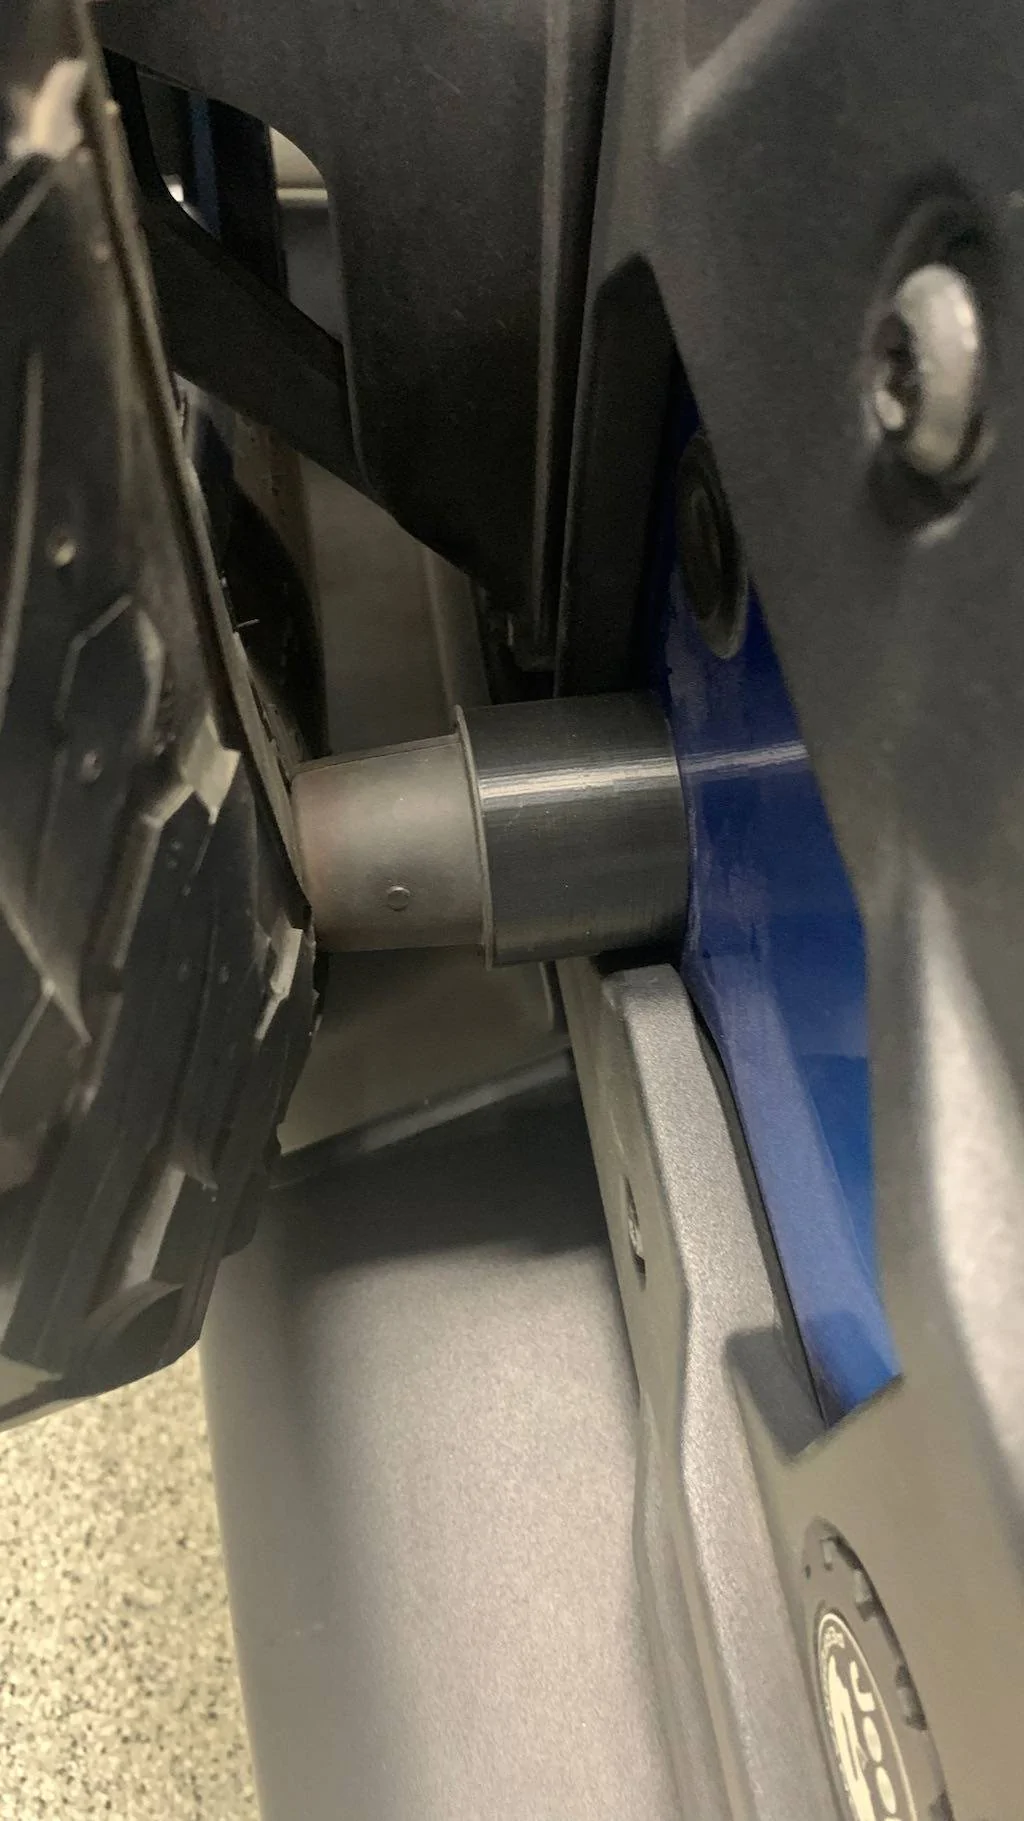
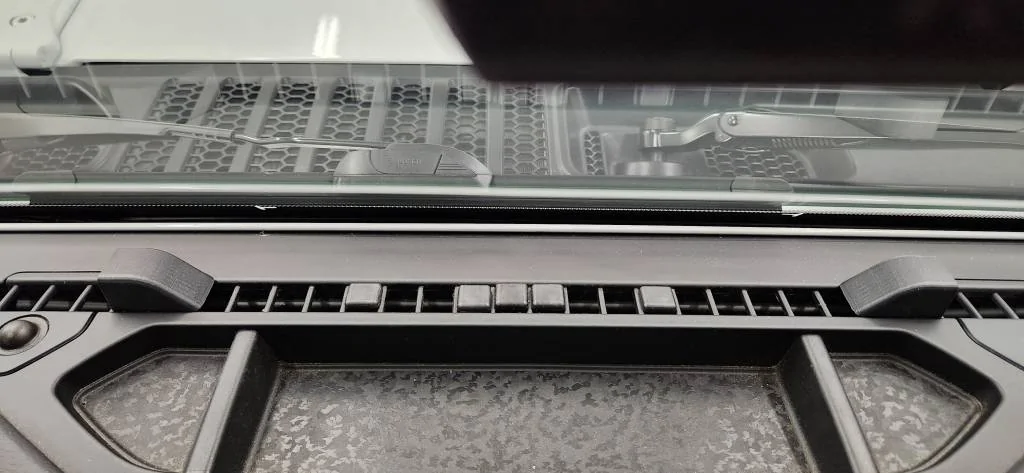
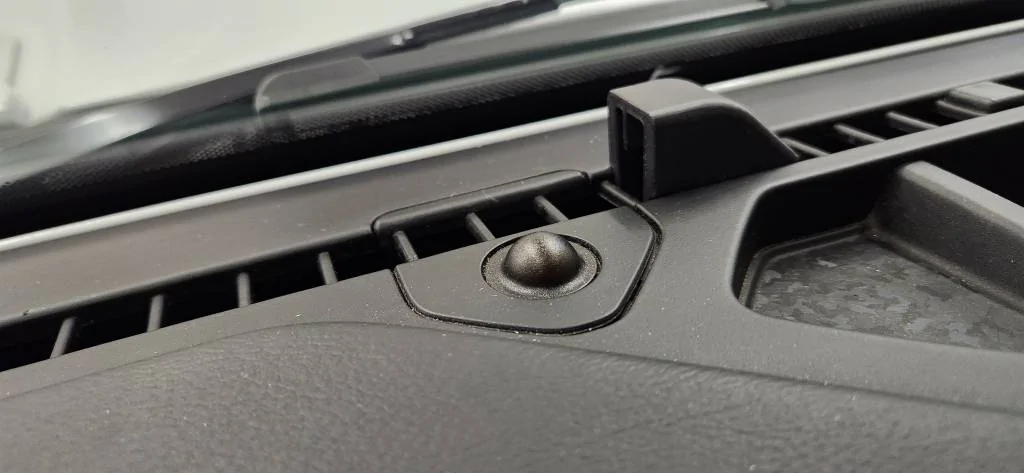
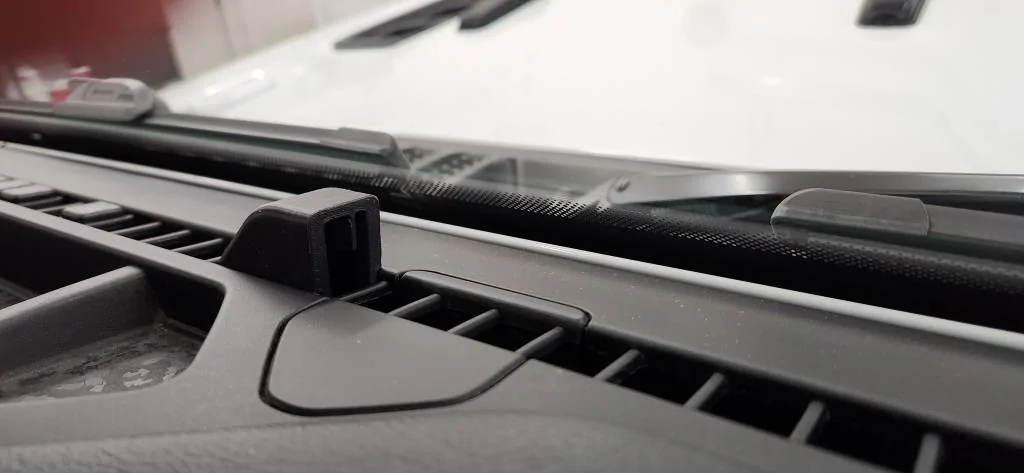
Here's my contribution...one of those damn clips that tends to break....
https://www.thingiverse.com/thing:5347333
Nice design, noticed you mention printed in PLA, I would suggest Nylon for Heat/Weather and Flex. If I find some time I will try to print one and see if I can offer any advice.
Sponsored