bllprk
Well-Known Member
- First Name
- Brian
- Joined
- Aug 6, 2021
- Threads
- 18
- Messages
- 402
- Reaction score
- 476
- Location
- Kalamazoo, MI
- Vehicle(s)
- 2008 WK CRD
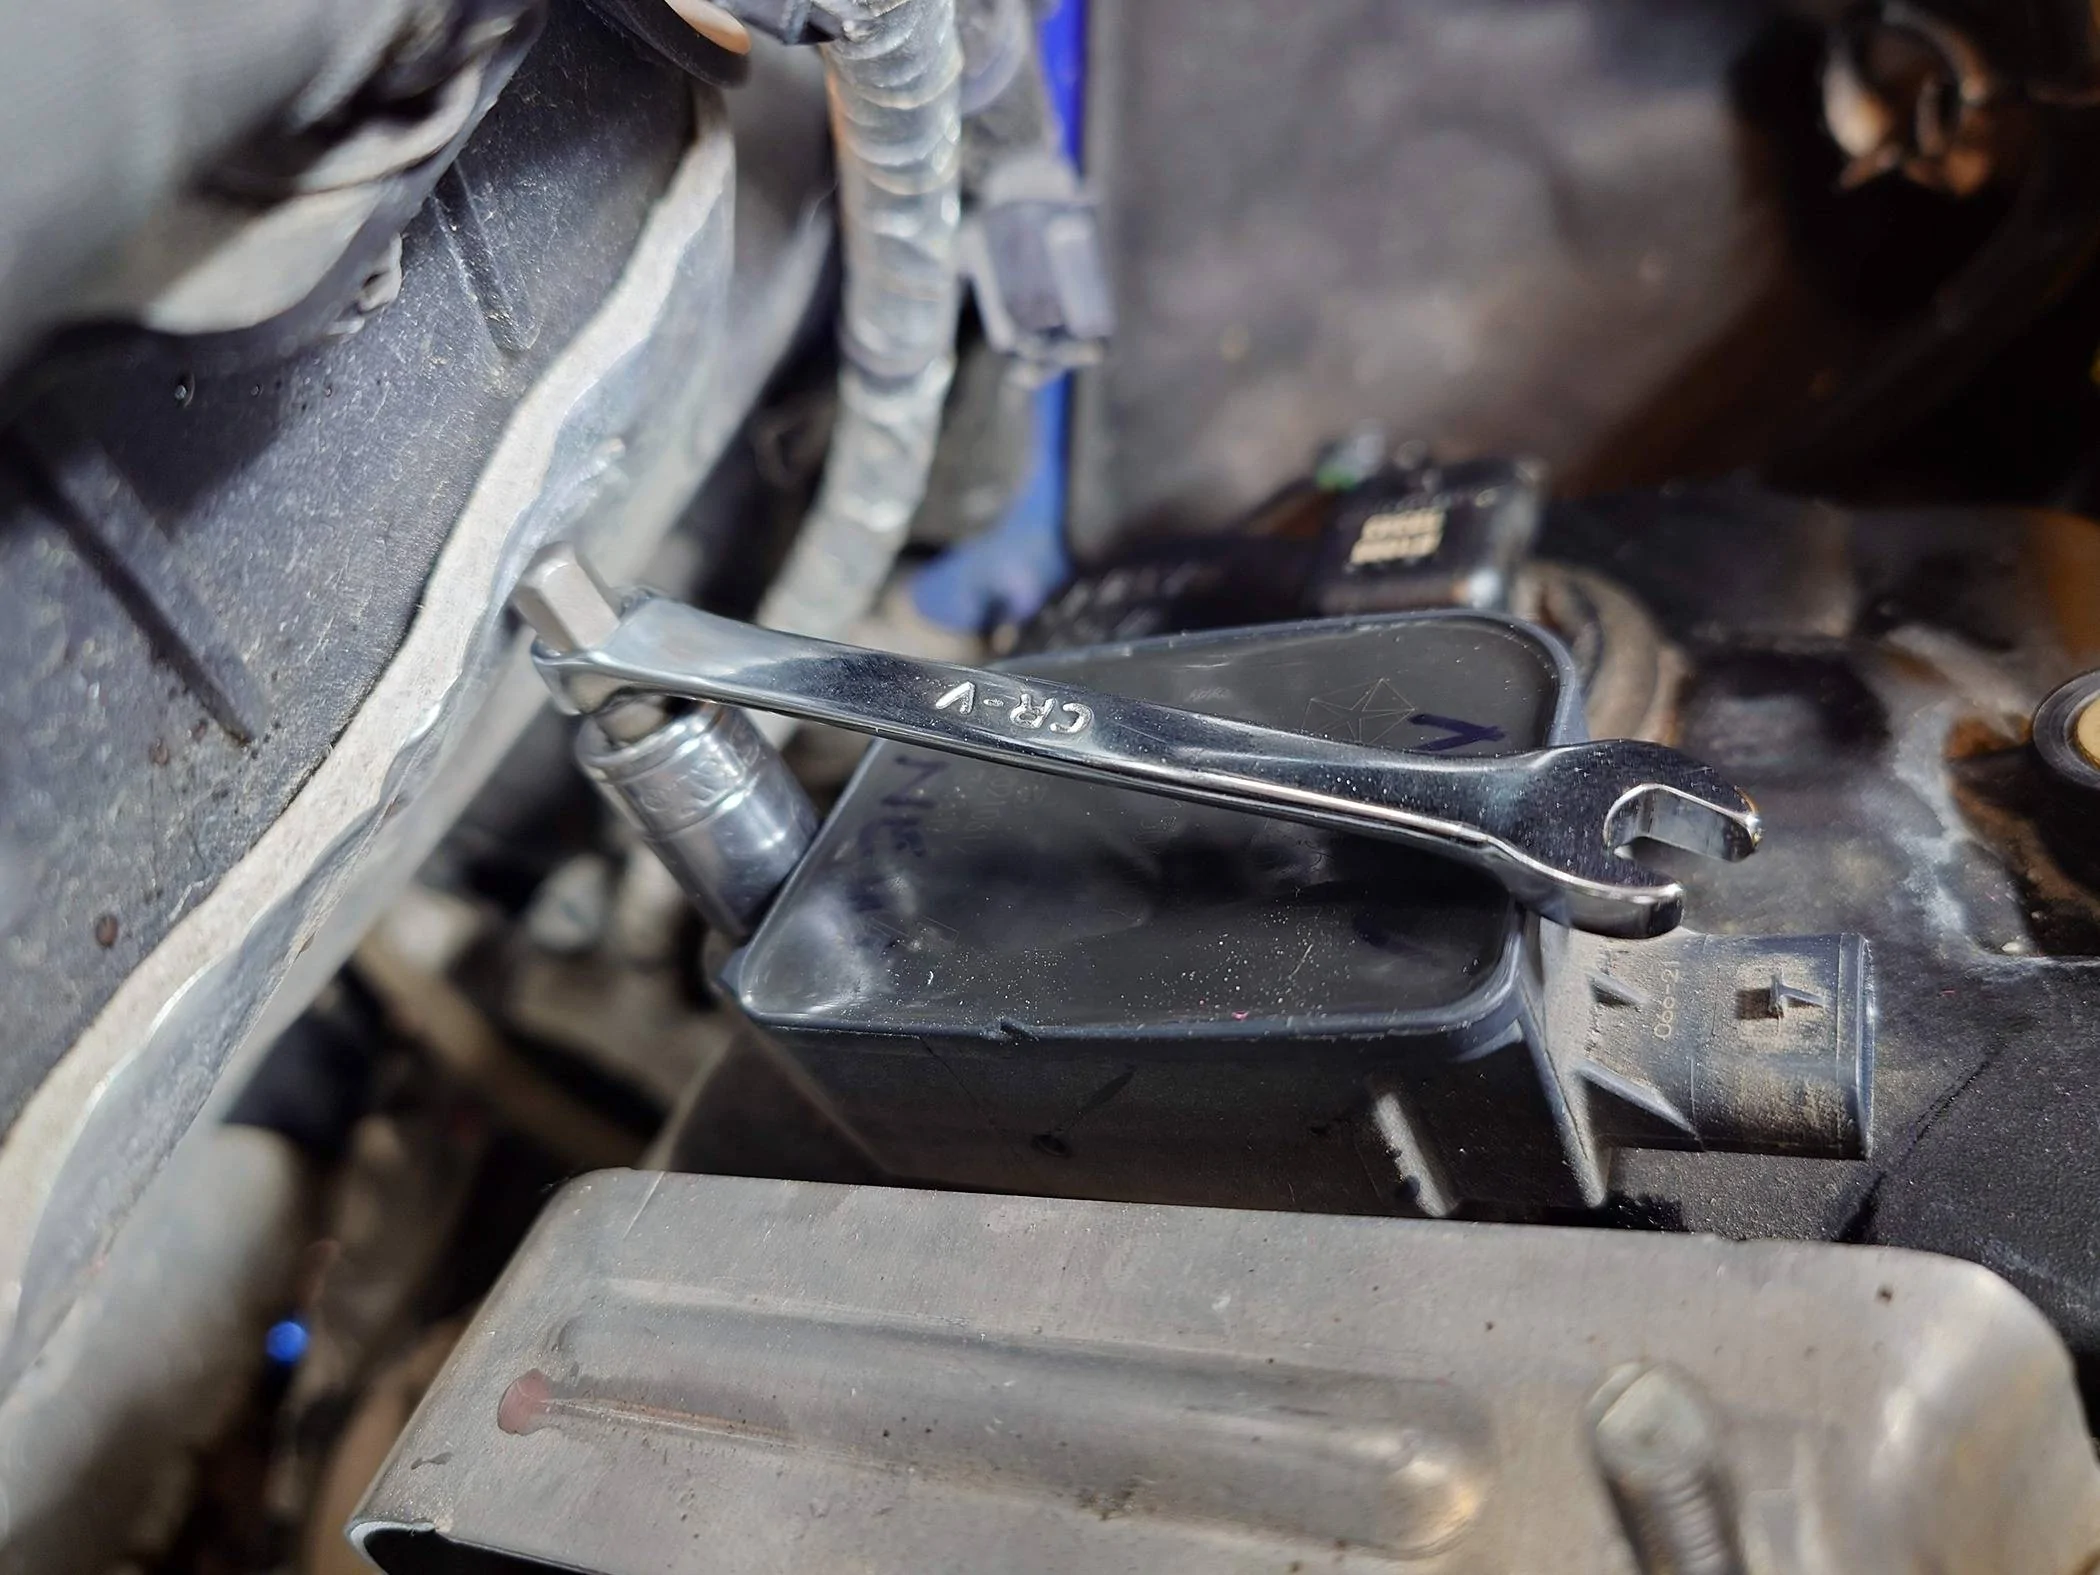
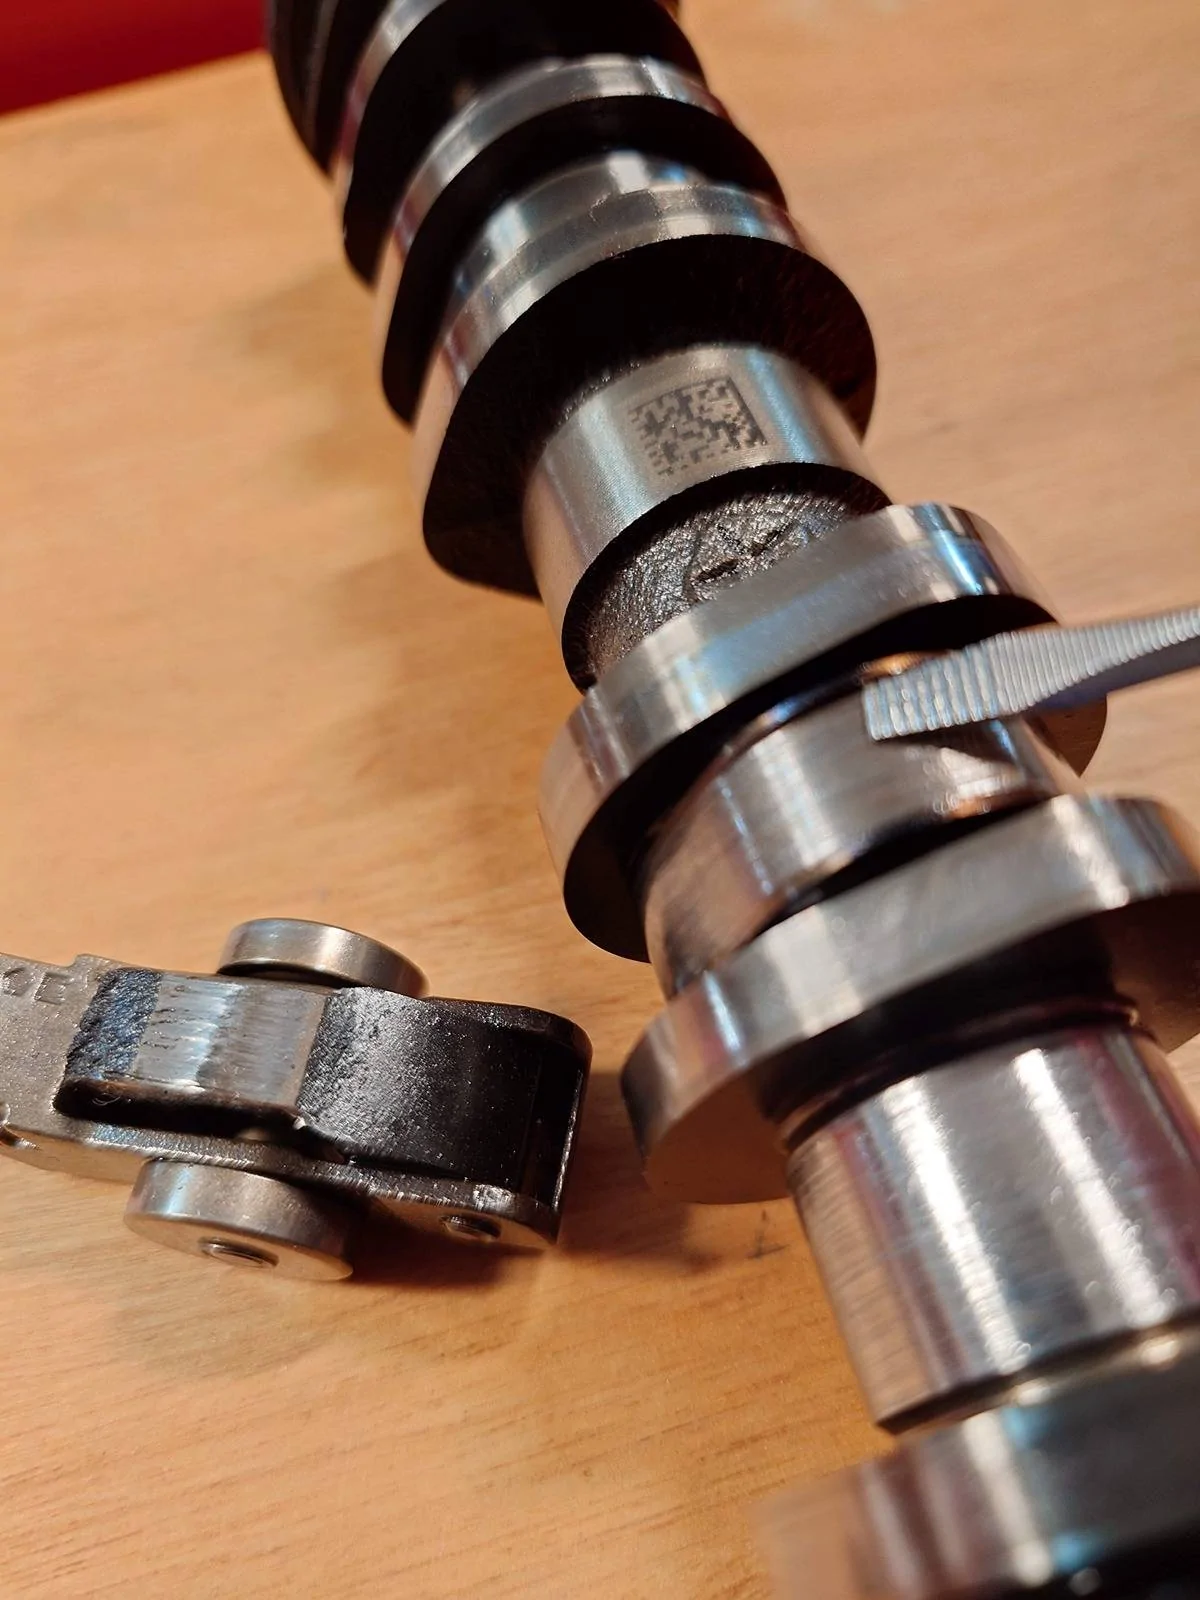
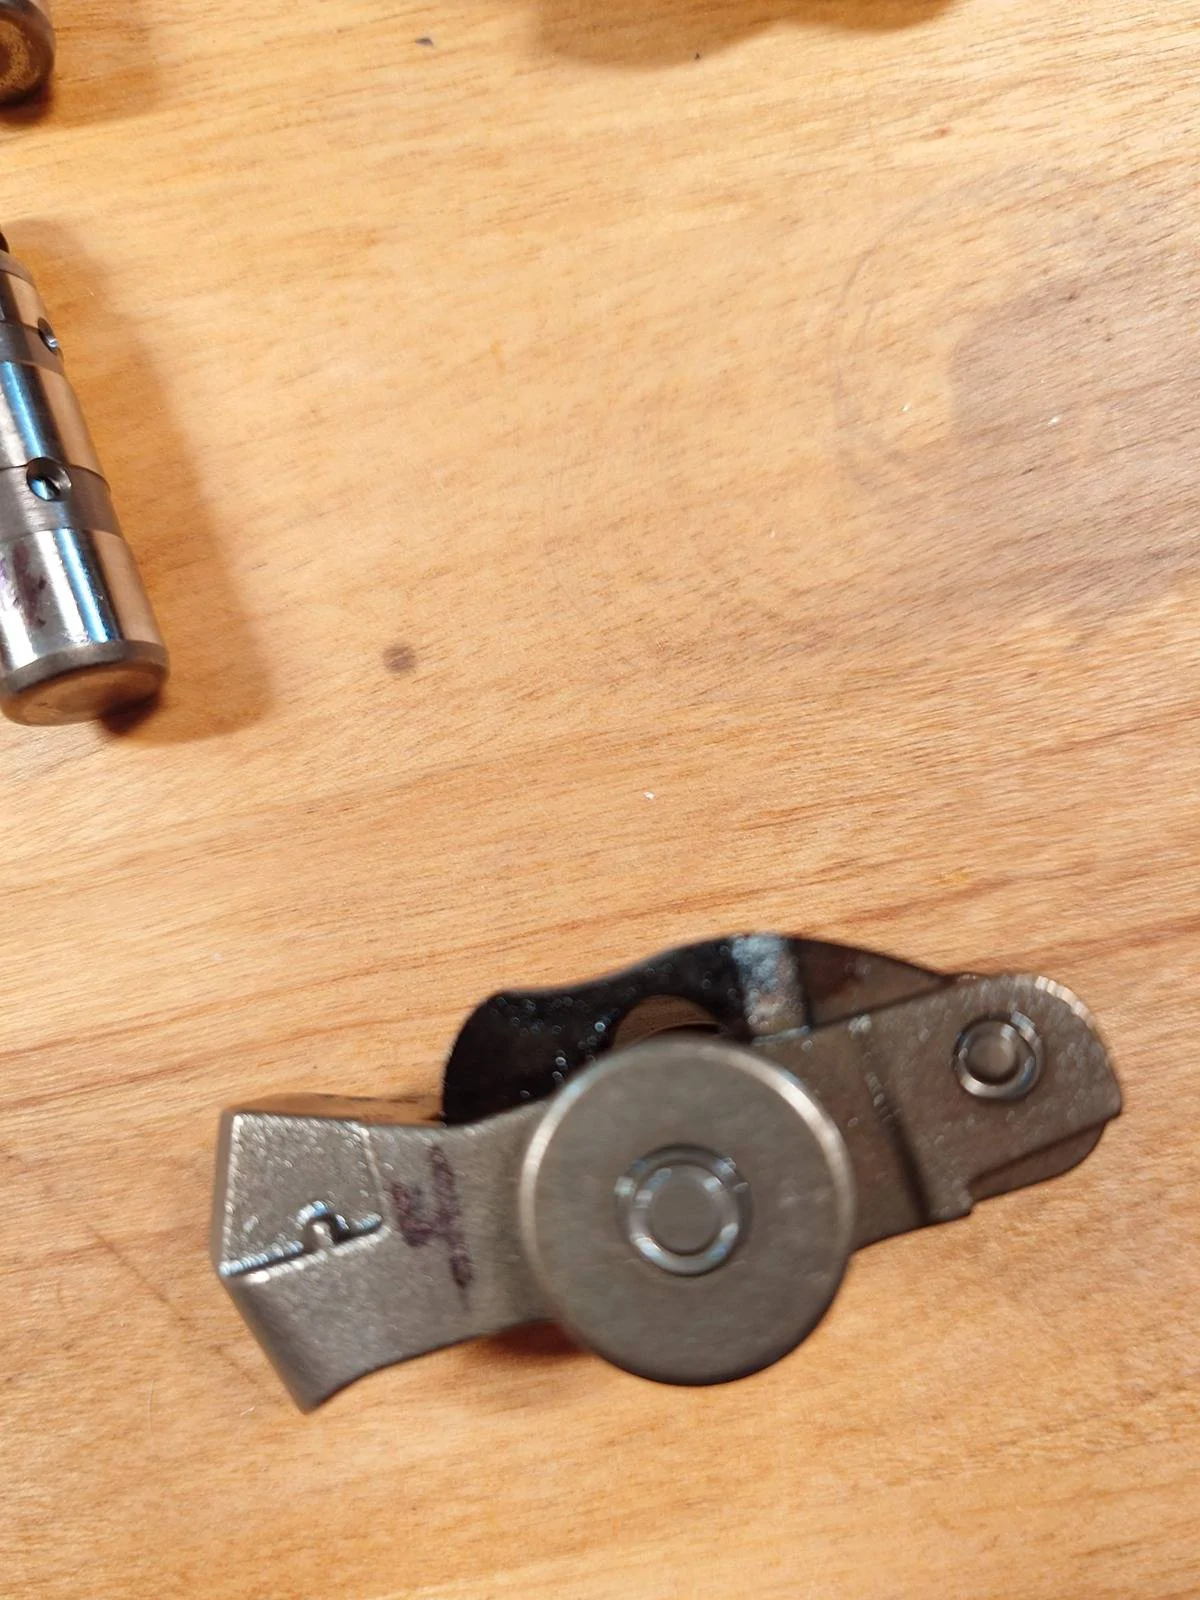
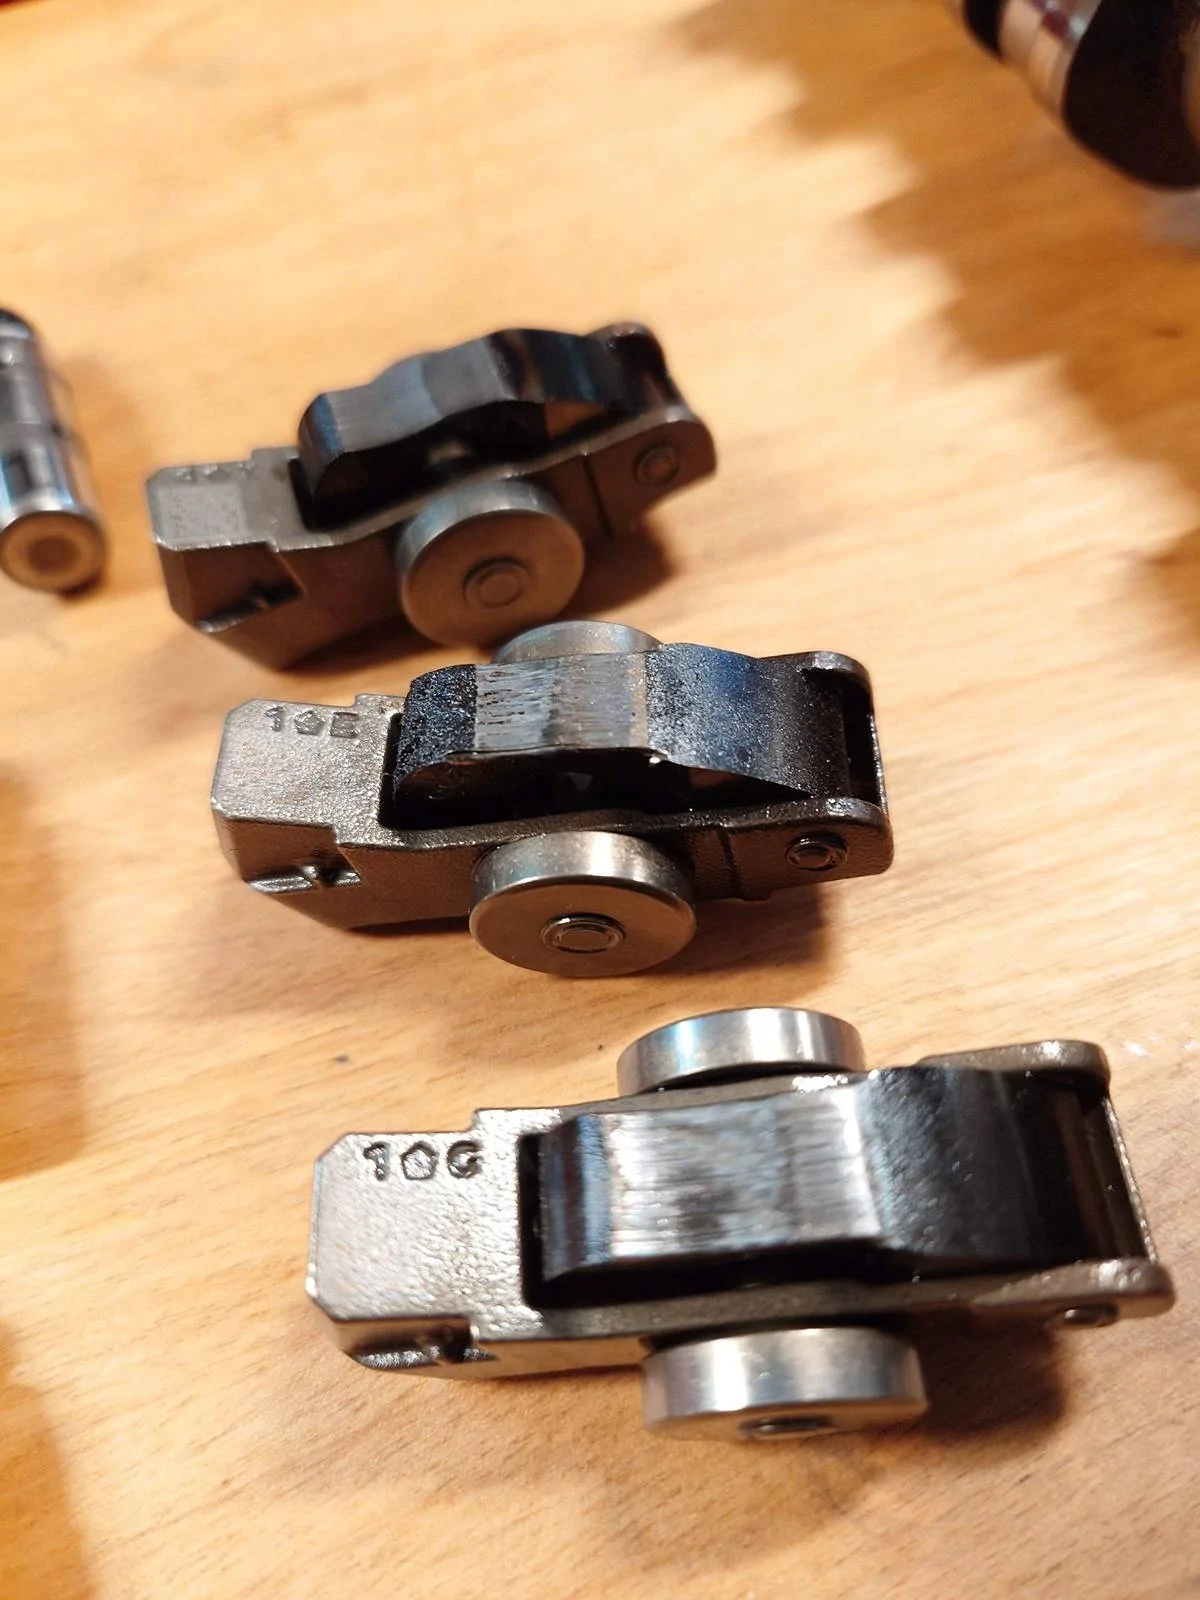
Please post pictures of your cam!Just did my right side Intake Cam , Rockers, Tapets.
Mopar online has the Intake Cam 68661147AA for $464.49 (which includes the ROCKERS and Valve cover gasket, sparkplug gaskets, RTV)(it DOES NOT SAY THEY ARE INCLUDED) .... thatis cheaper then just buying (6) rockers separately 5047896AD for $519.78
")
Sponsored