Sponsored

Mounting ARB Air Compressor

Tech Tim

Well-Known Member
Summit Sponsor (Level 3)
First Name
Tim
Joined
Jan 16, 2018
Threads
14
Messages
2,411
Reaction score
16,453
Location
Poulsbo, WA
Vehicle(s)
4x4 of all kinds
Occupation
Part of the Northridge4x4 team
@Tech Tim ... I know it's not good advertising to tell customers where your product won't work, but it would be a great help to folks to have a list of those inner fender liners that have fitment problems. Even if it's only here on this thread. BTW ... I really liked the Grimm mount. Well thought out and easy to install. Was very disappointed when the ARB mount and the Metal Cloak inner liners couldn't get along with each other.
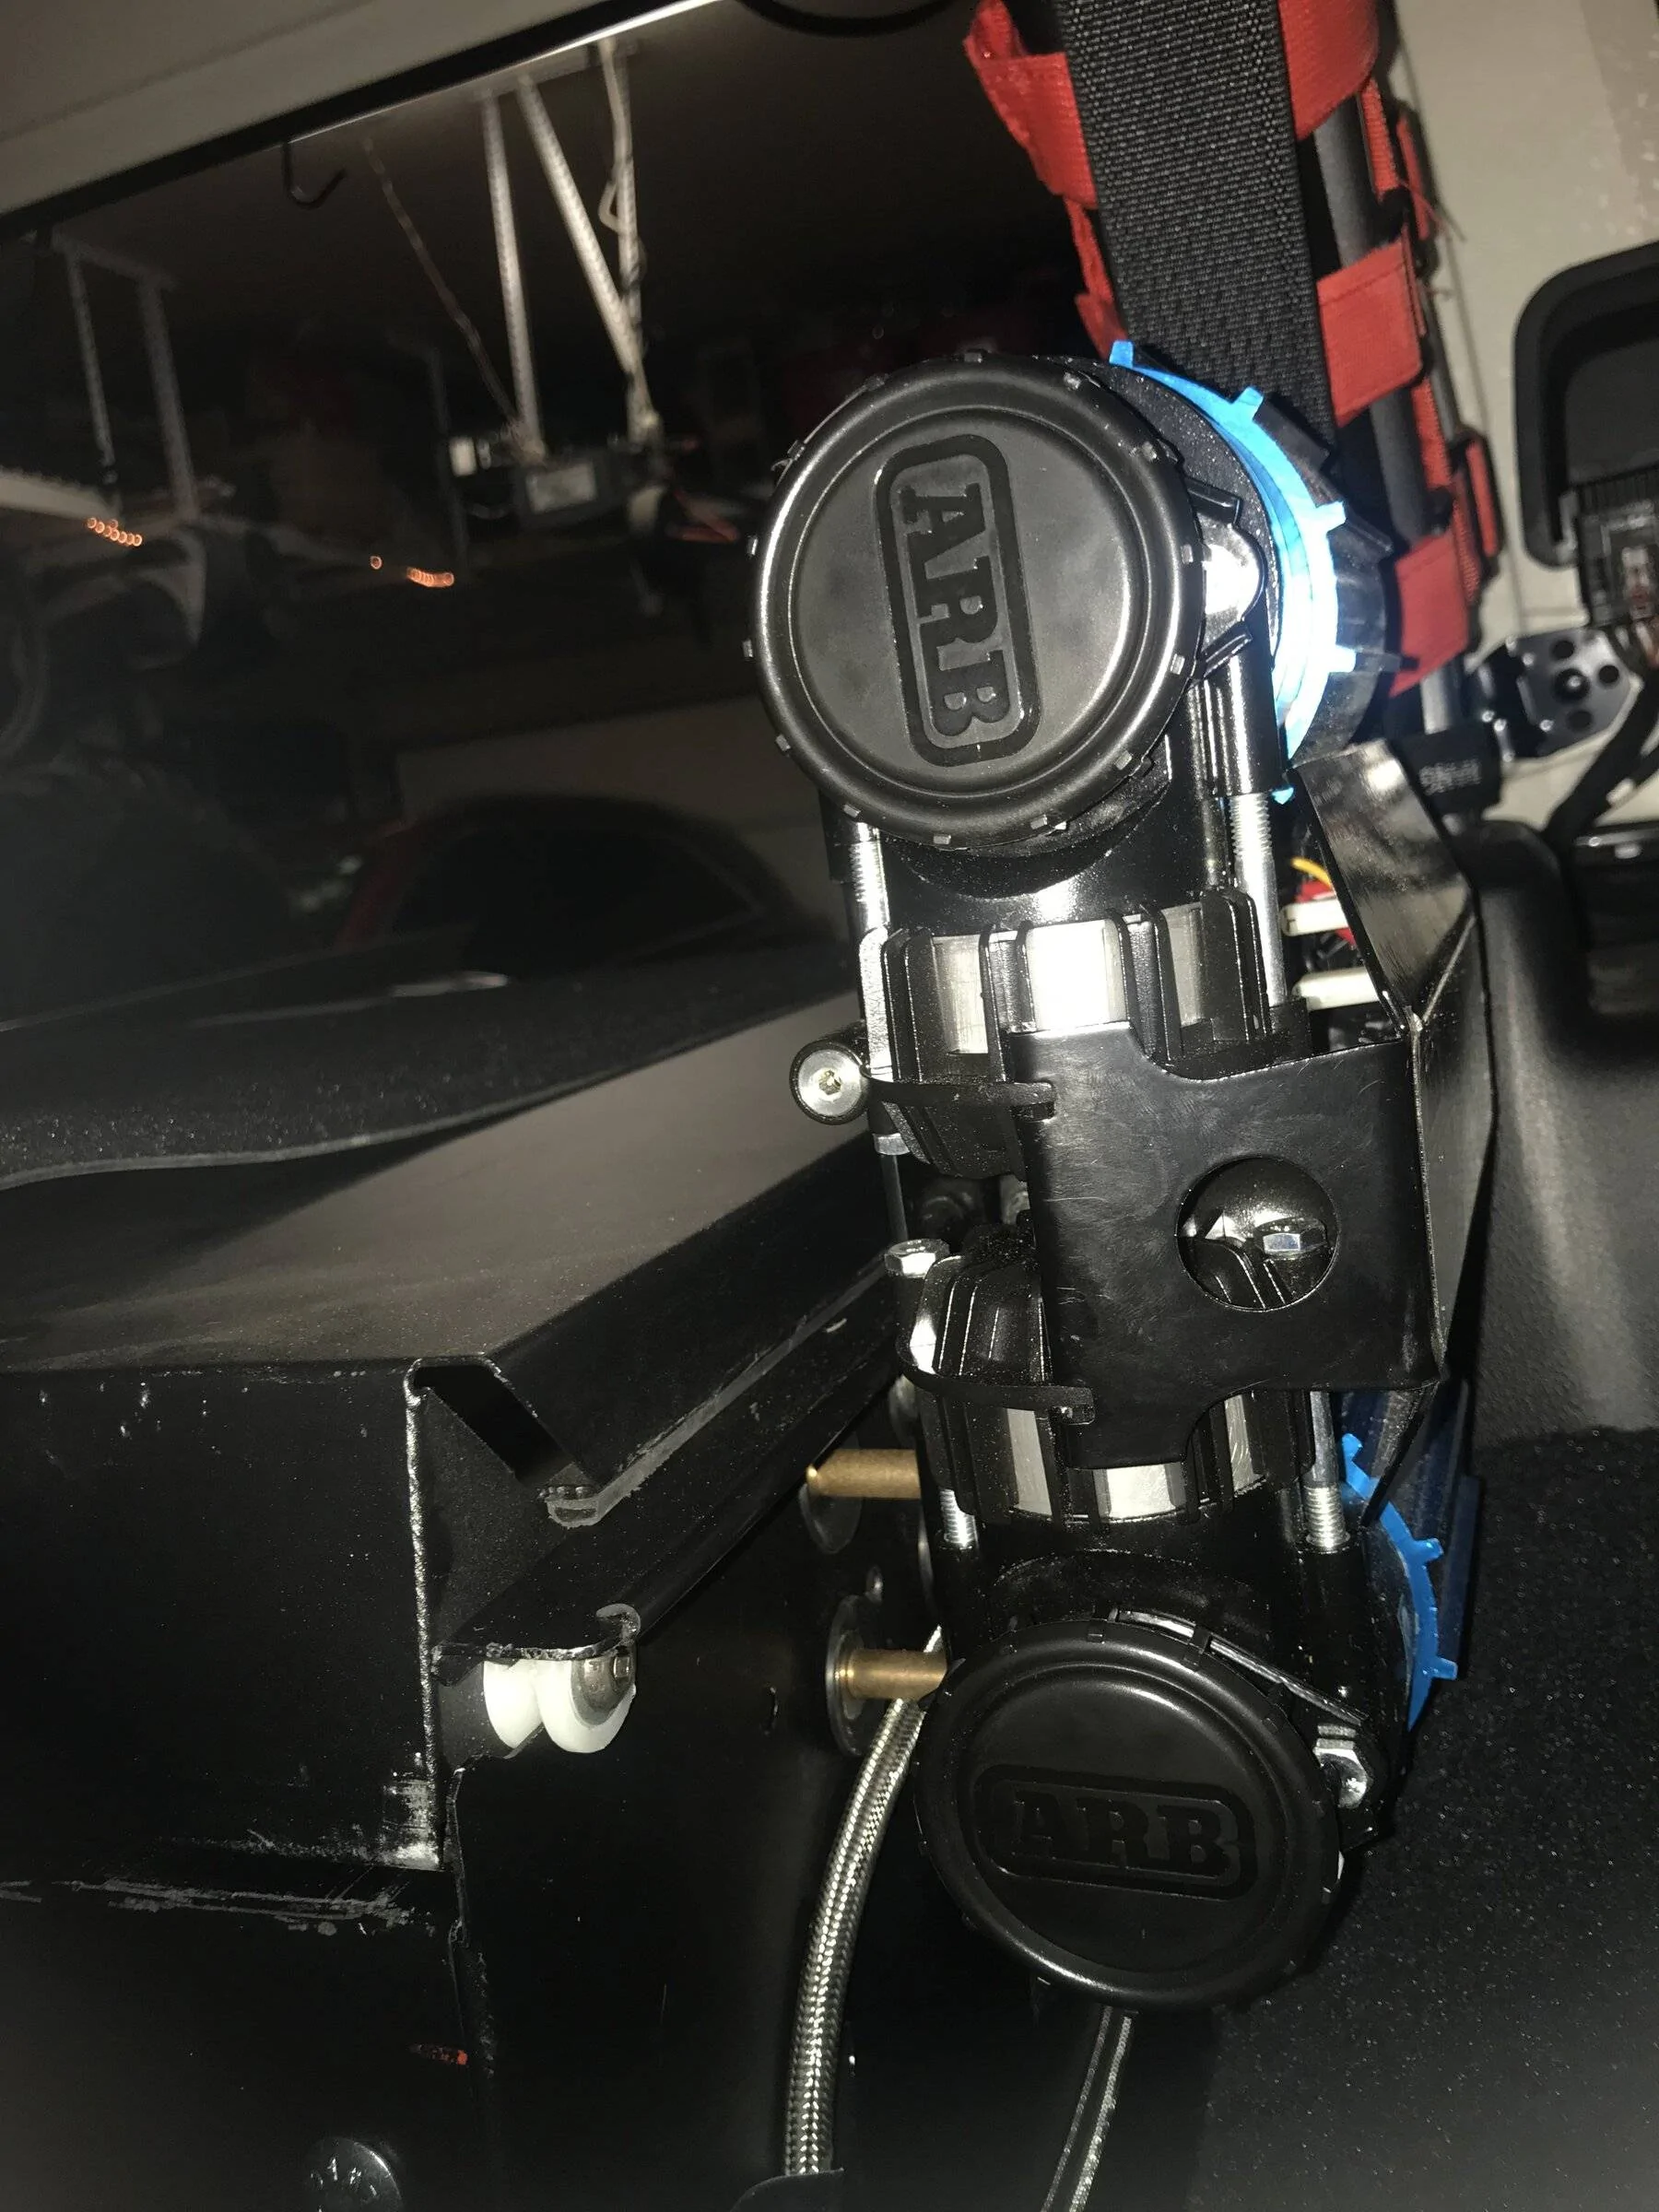
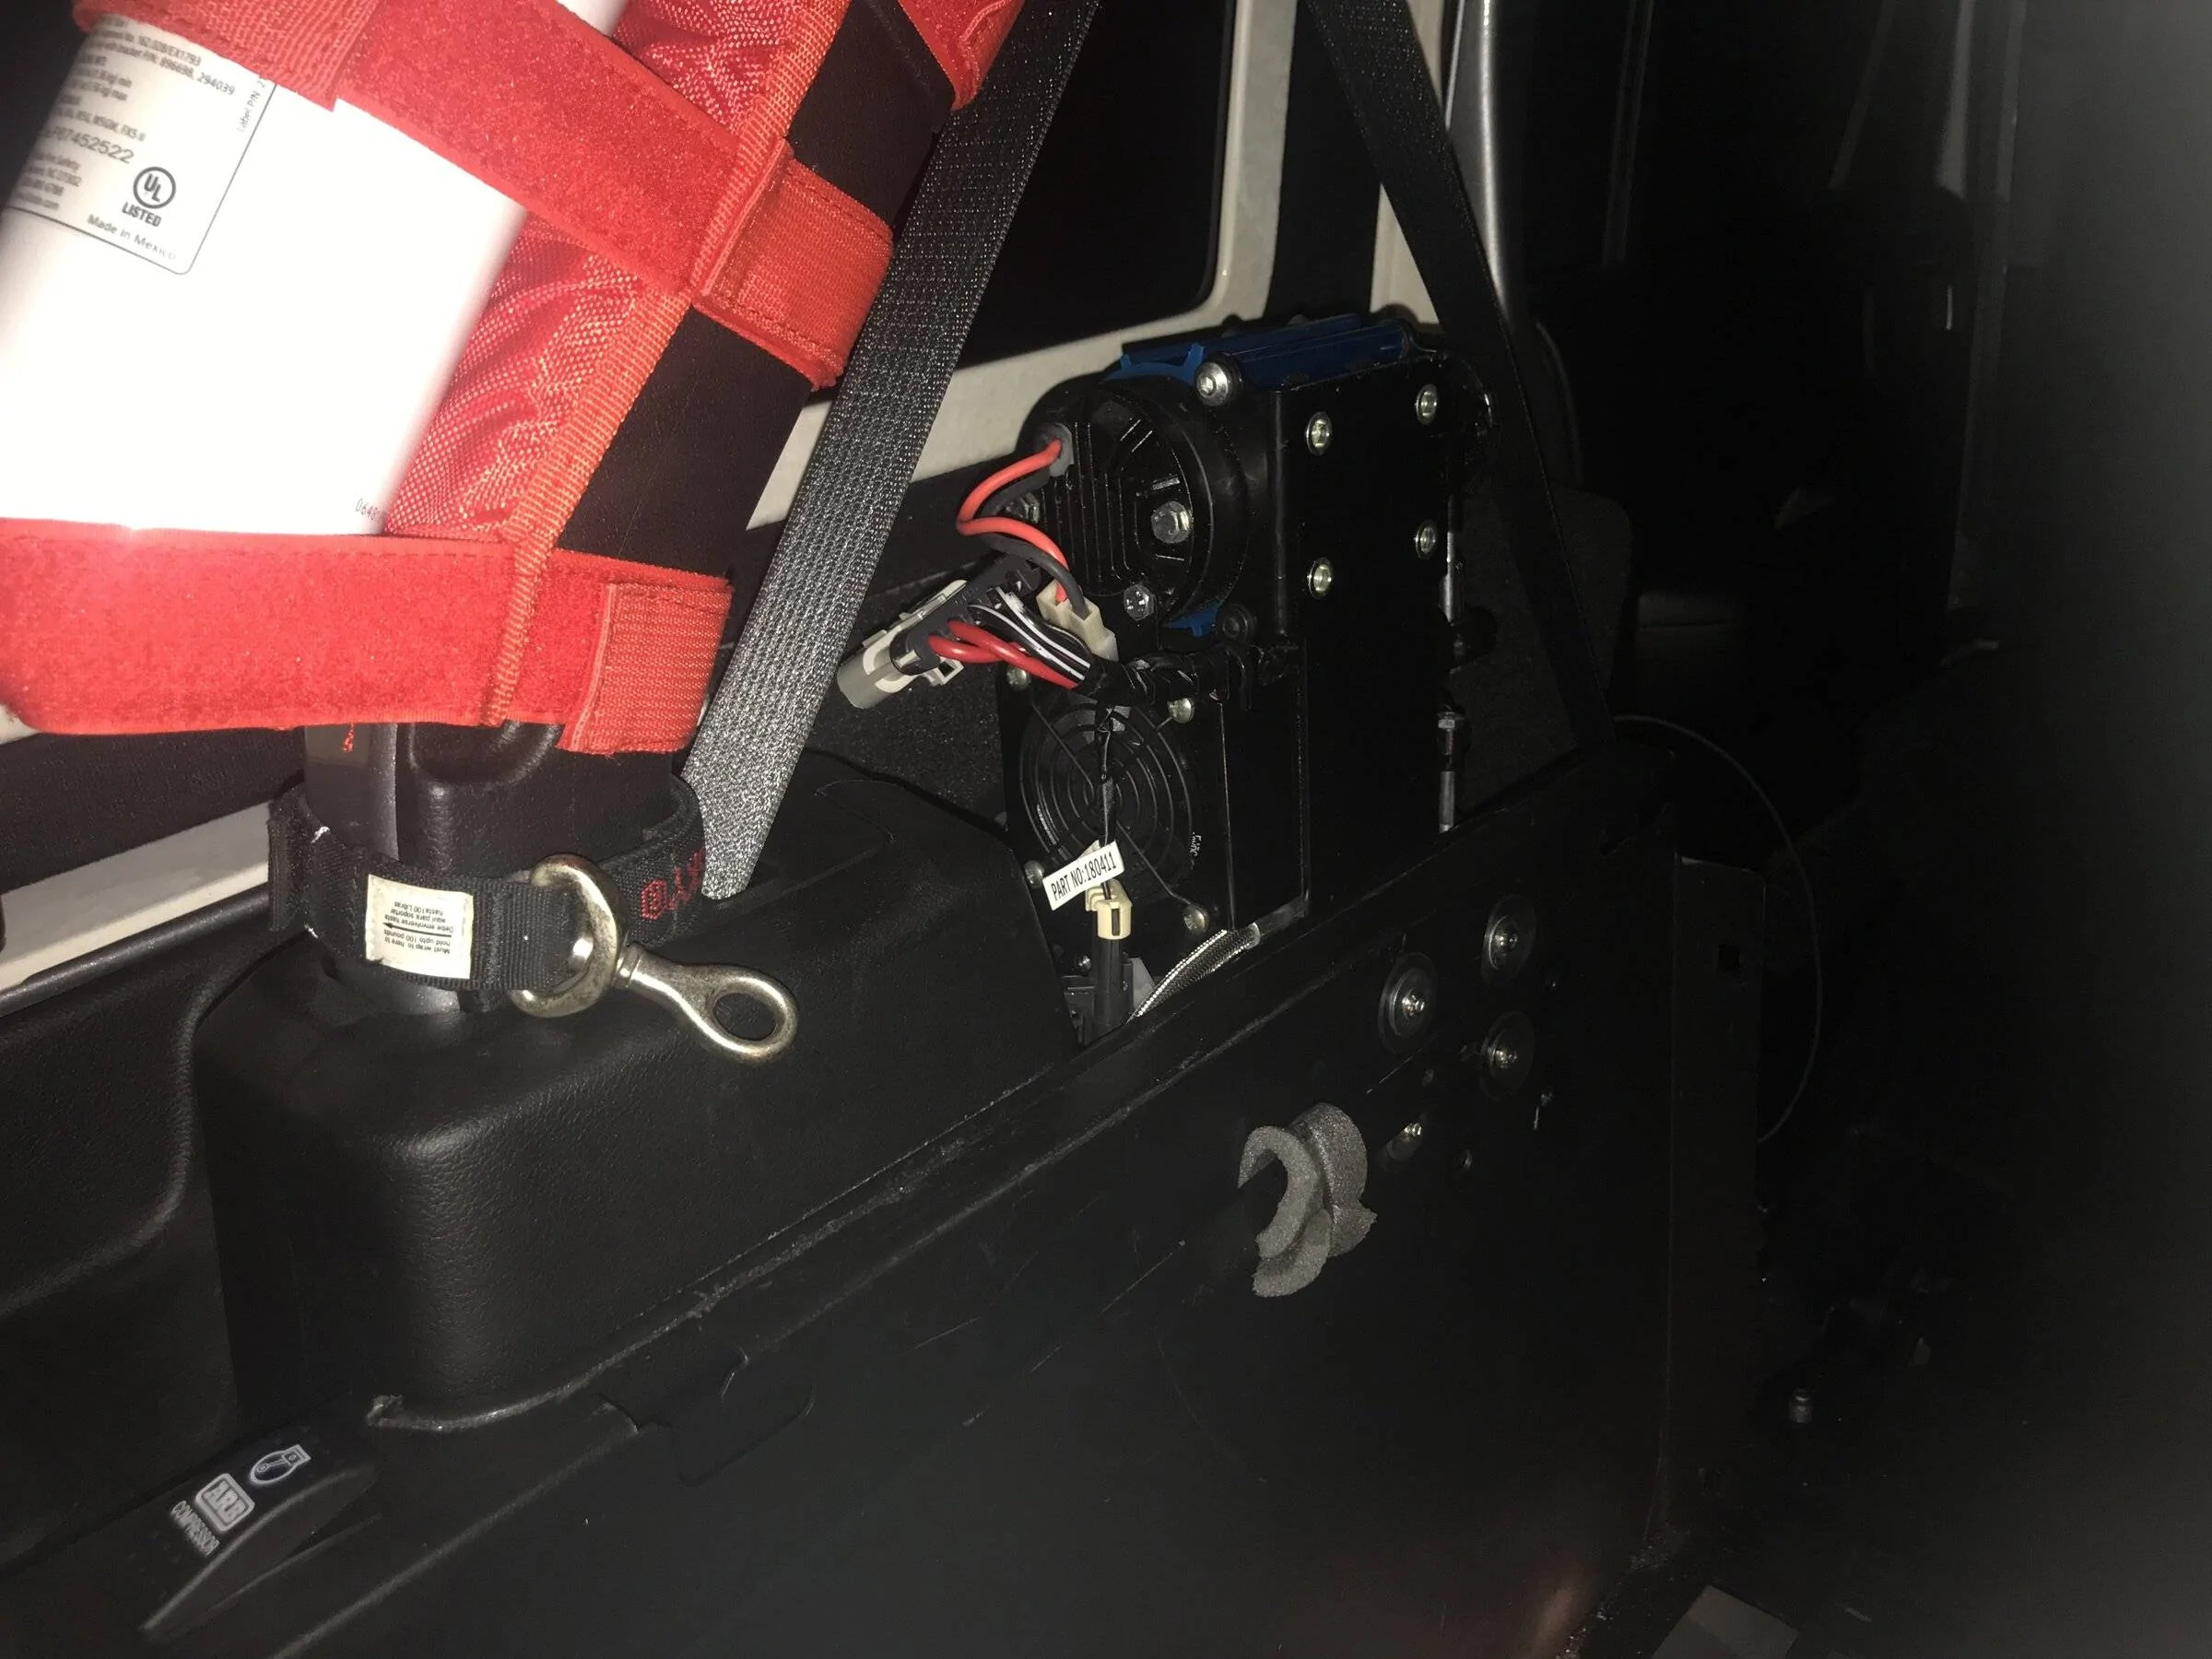
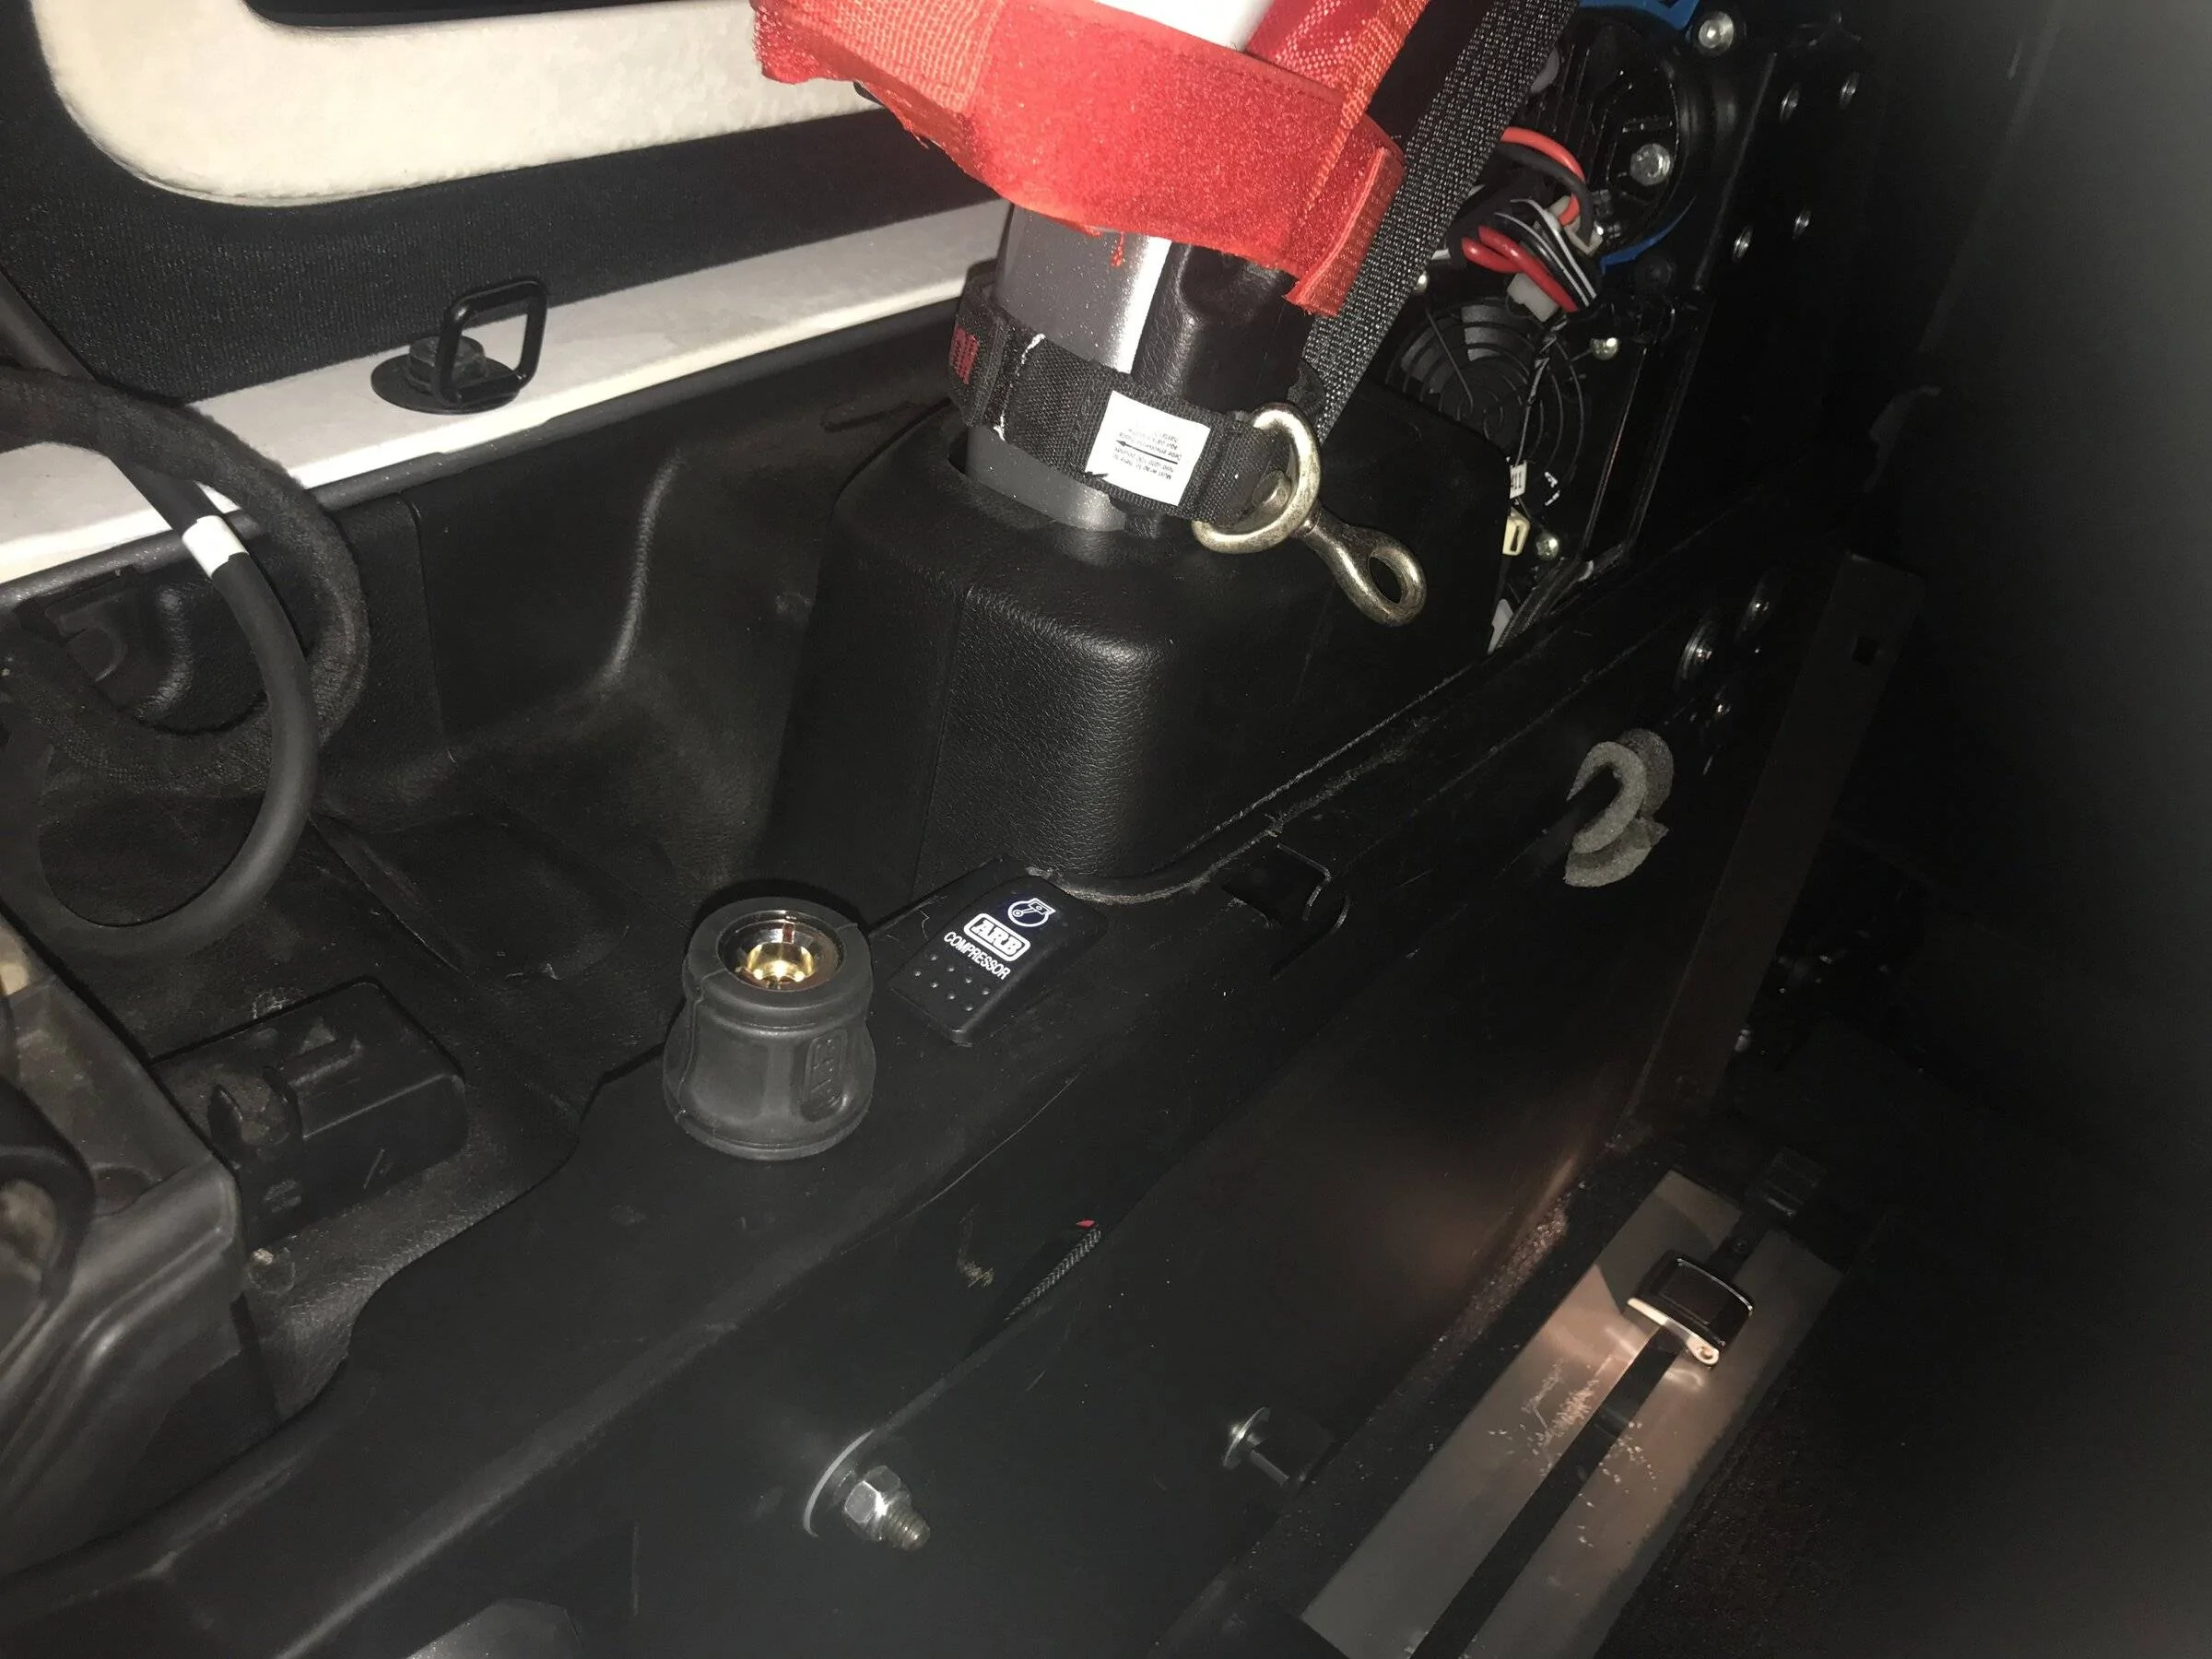
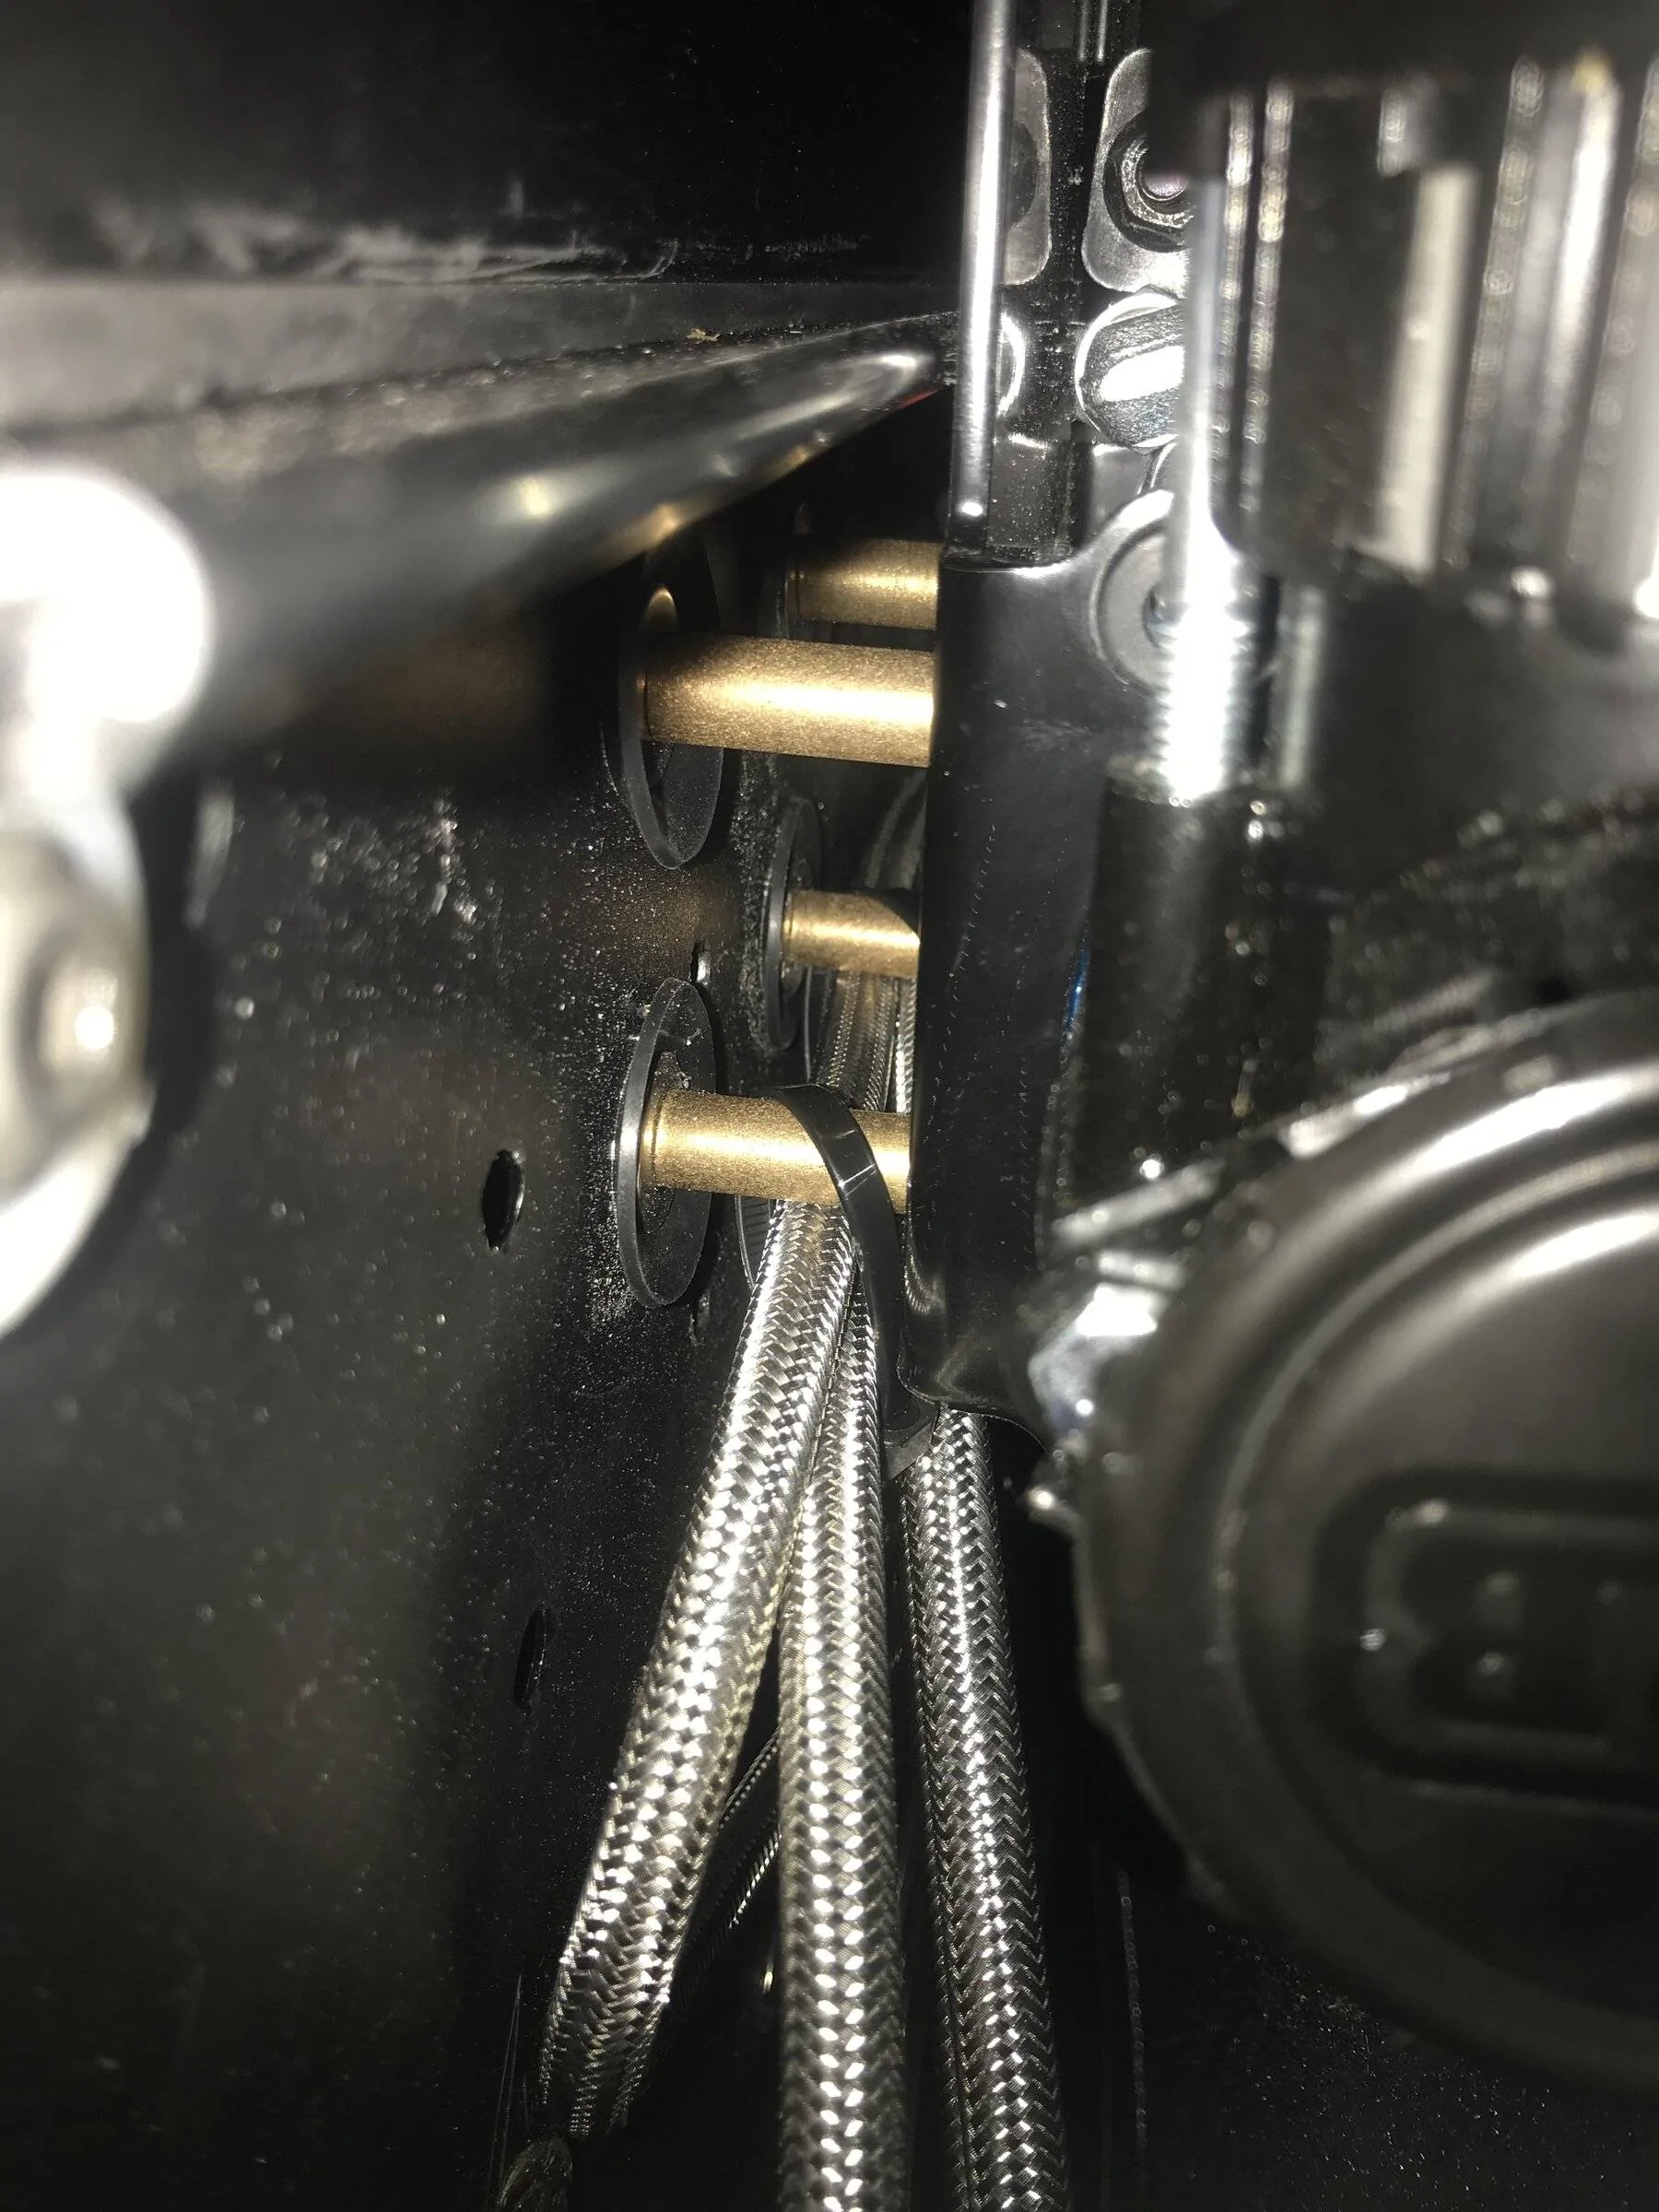
The problem with a list of what liners work or don't work is either they need people to tell them or Grimm would have to test every fender liner out there and I don't think there is the budget for that.... LoL!

They've got a list of the ones known to fit:
Inner Fender Compatibility List:
  • Stock Inner fenders
  • Road Armor Stealth Inner Fenders
  • Evo Inner Fenders
  • DV8 Inner Fenders
But that is because people are telling them.

I will ask if they know which ones do not fit so far.

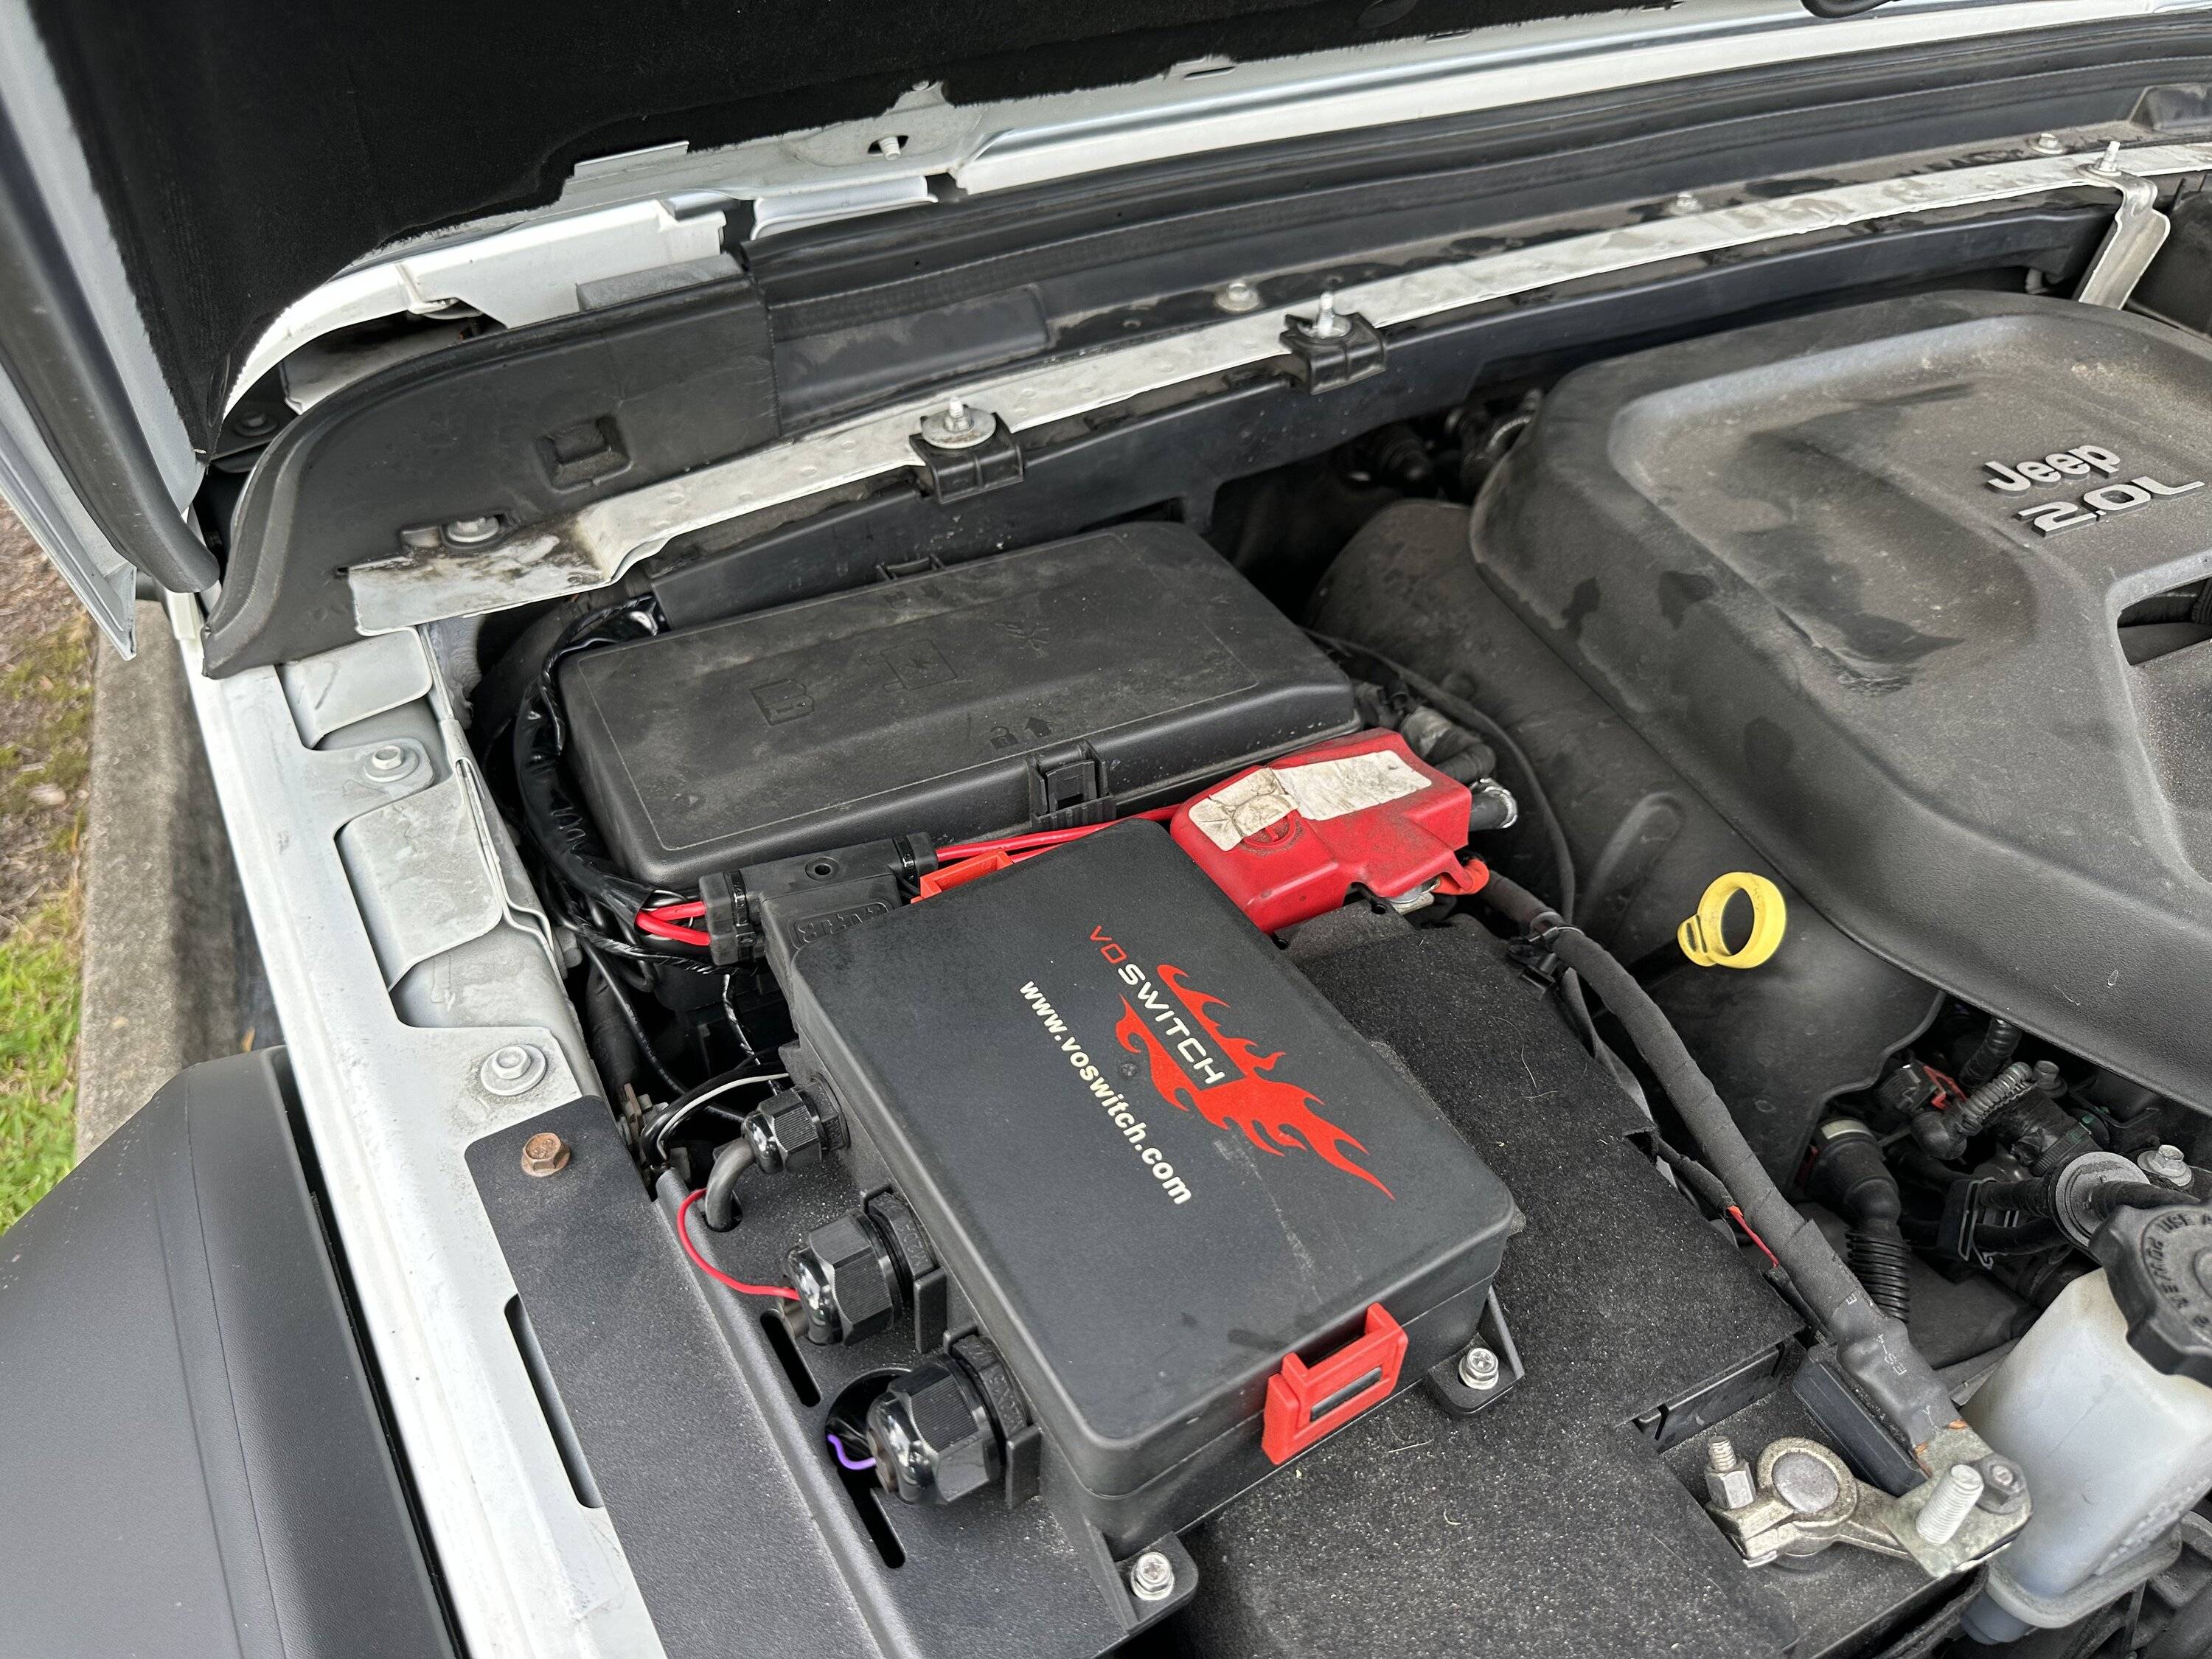
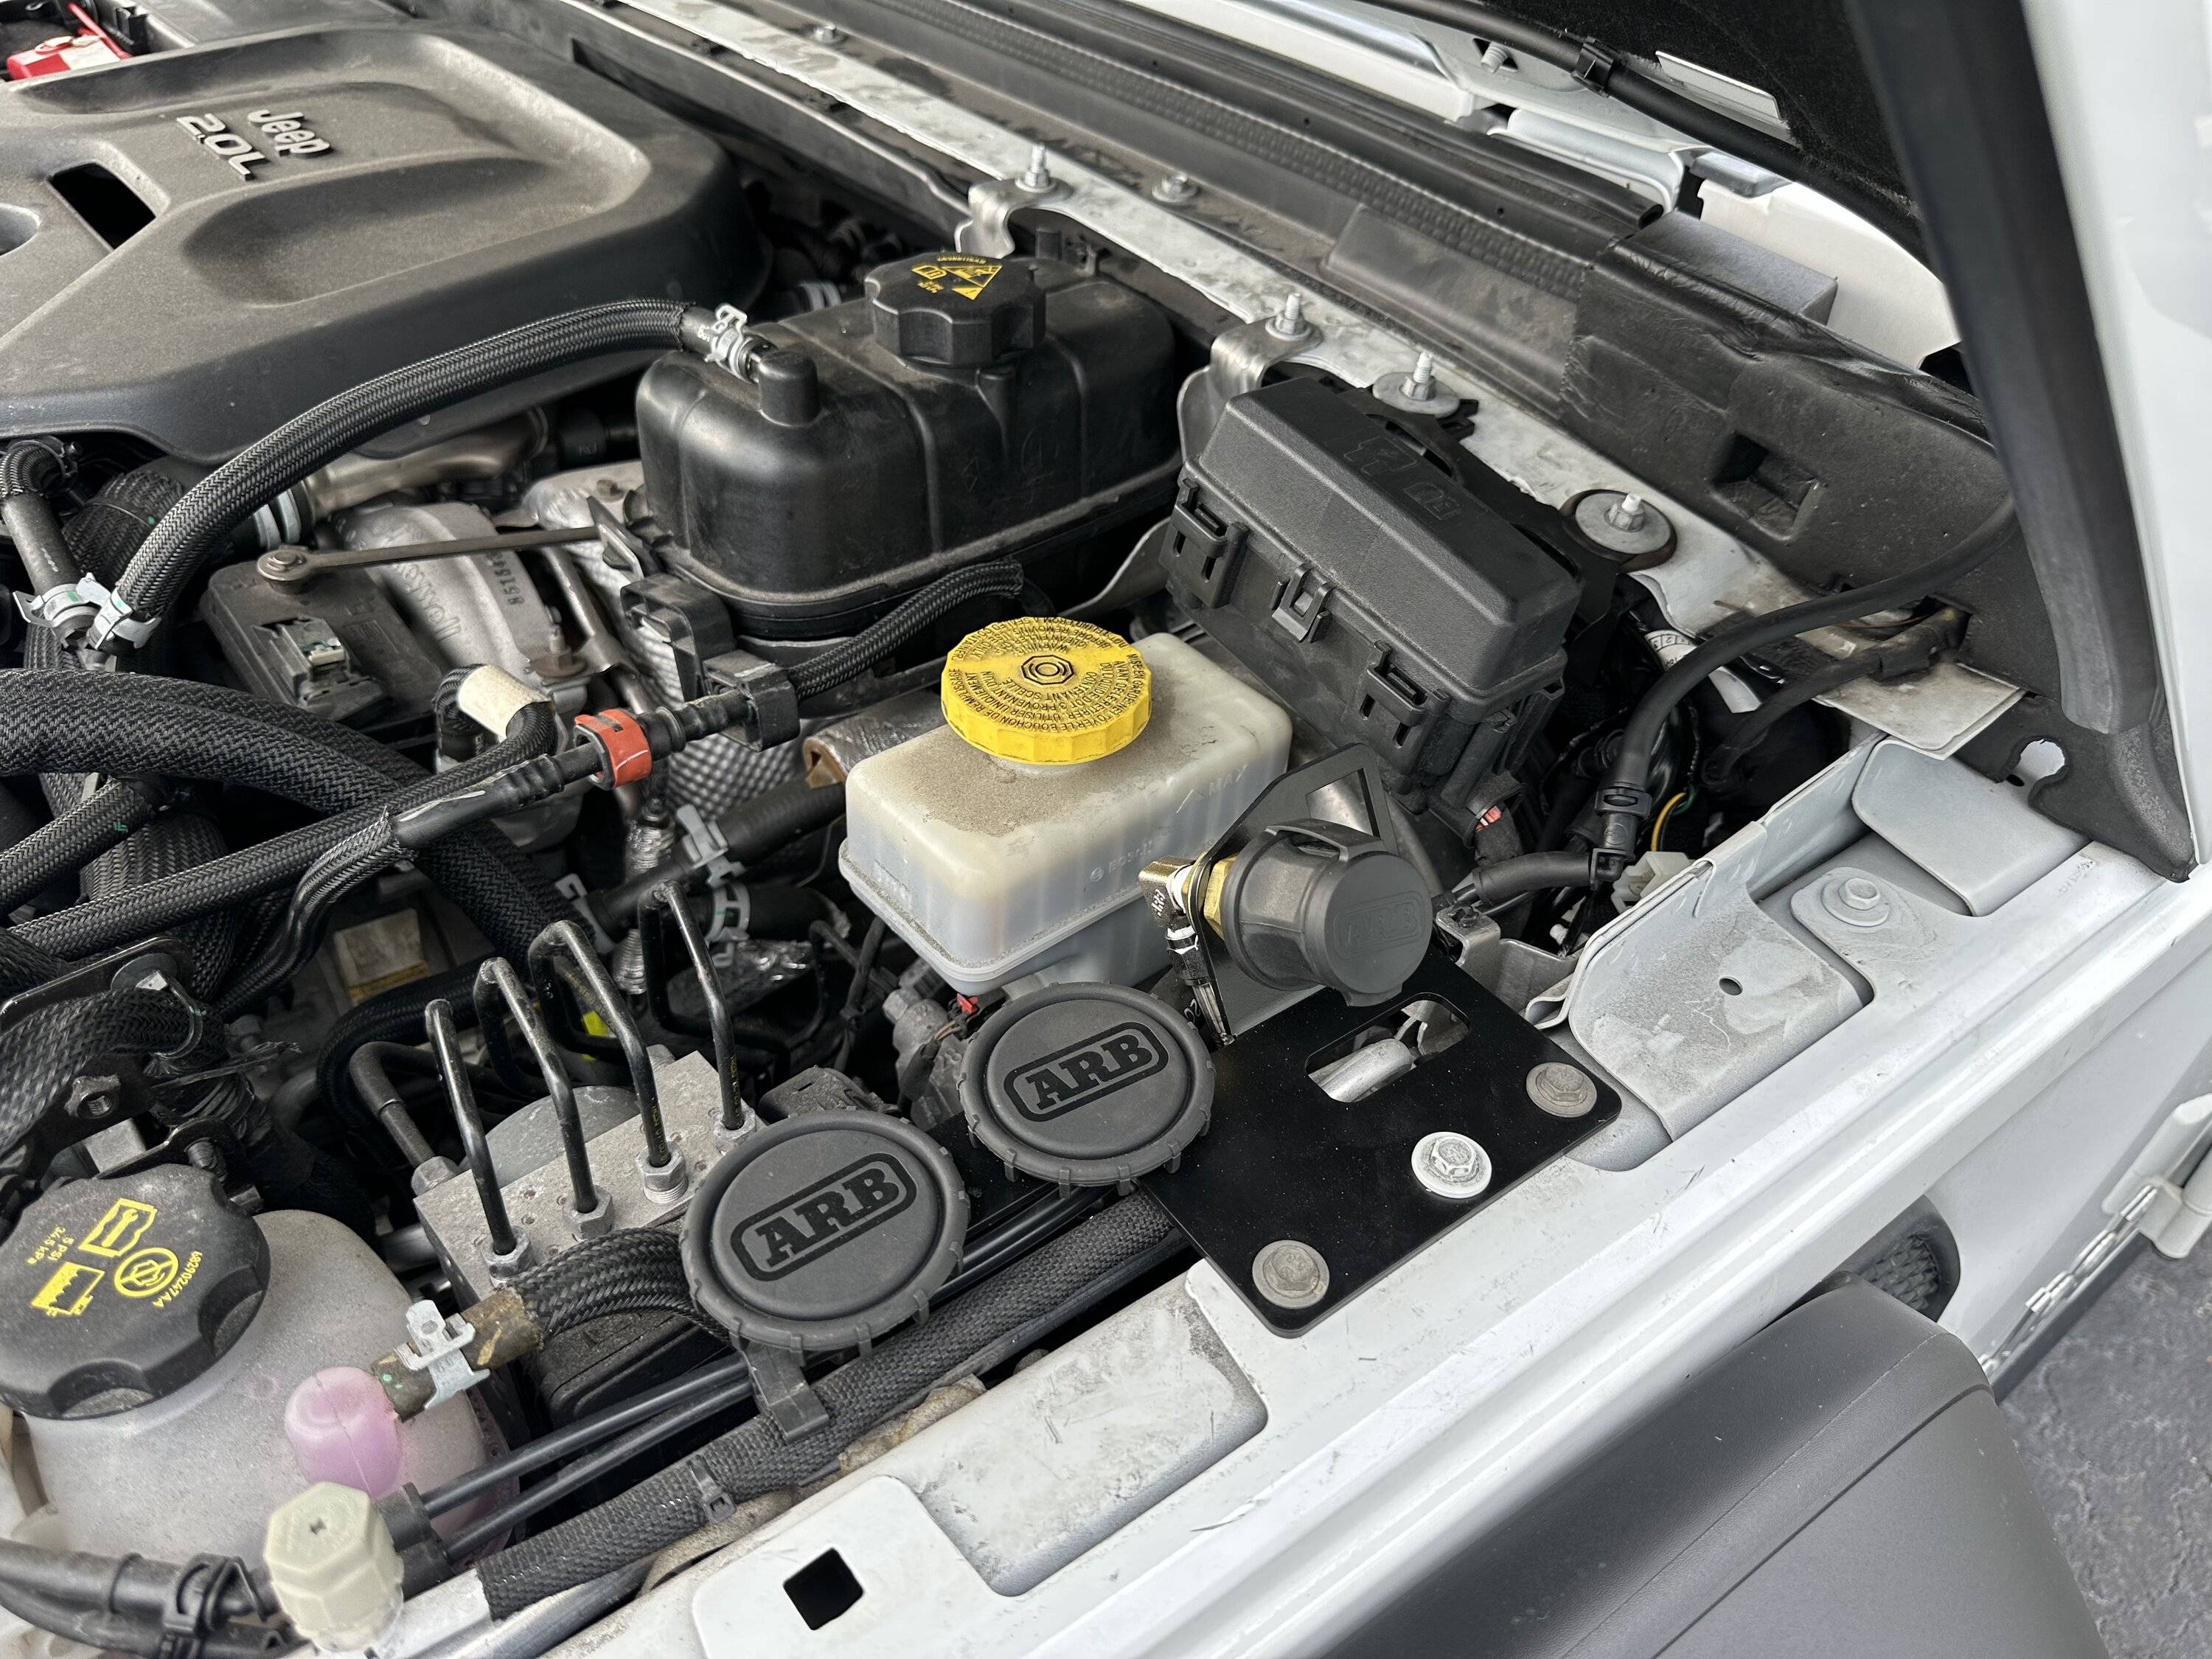
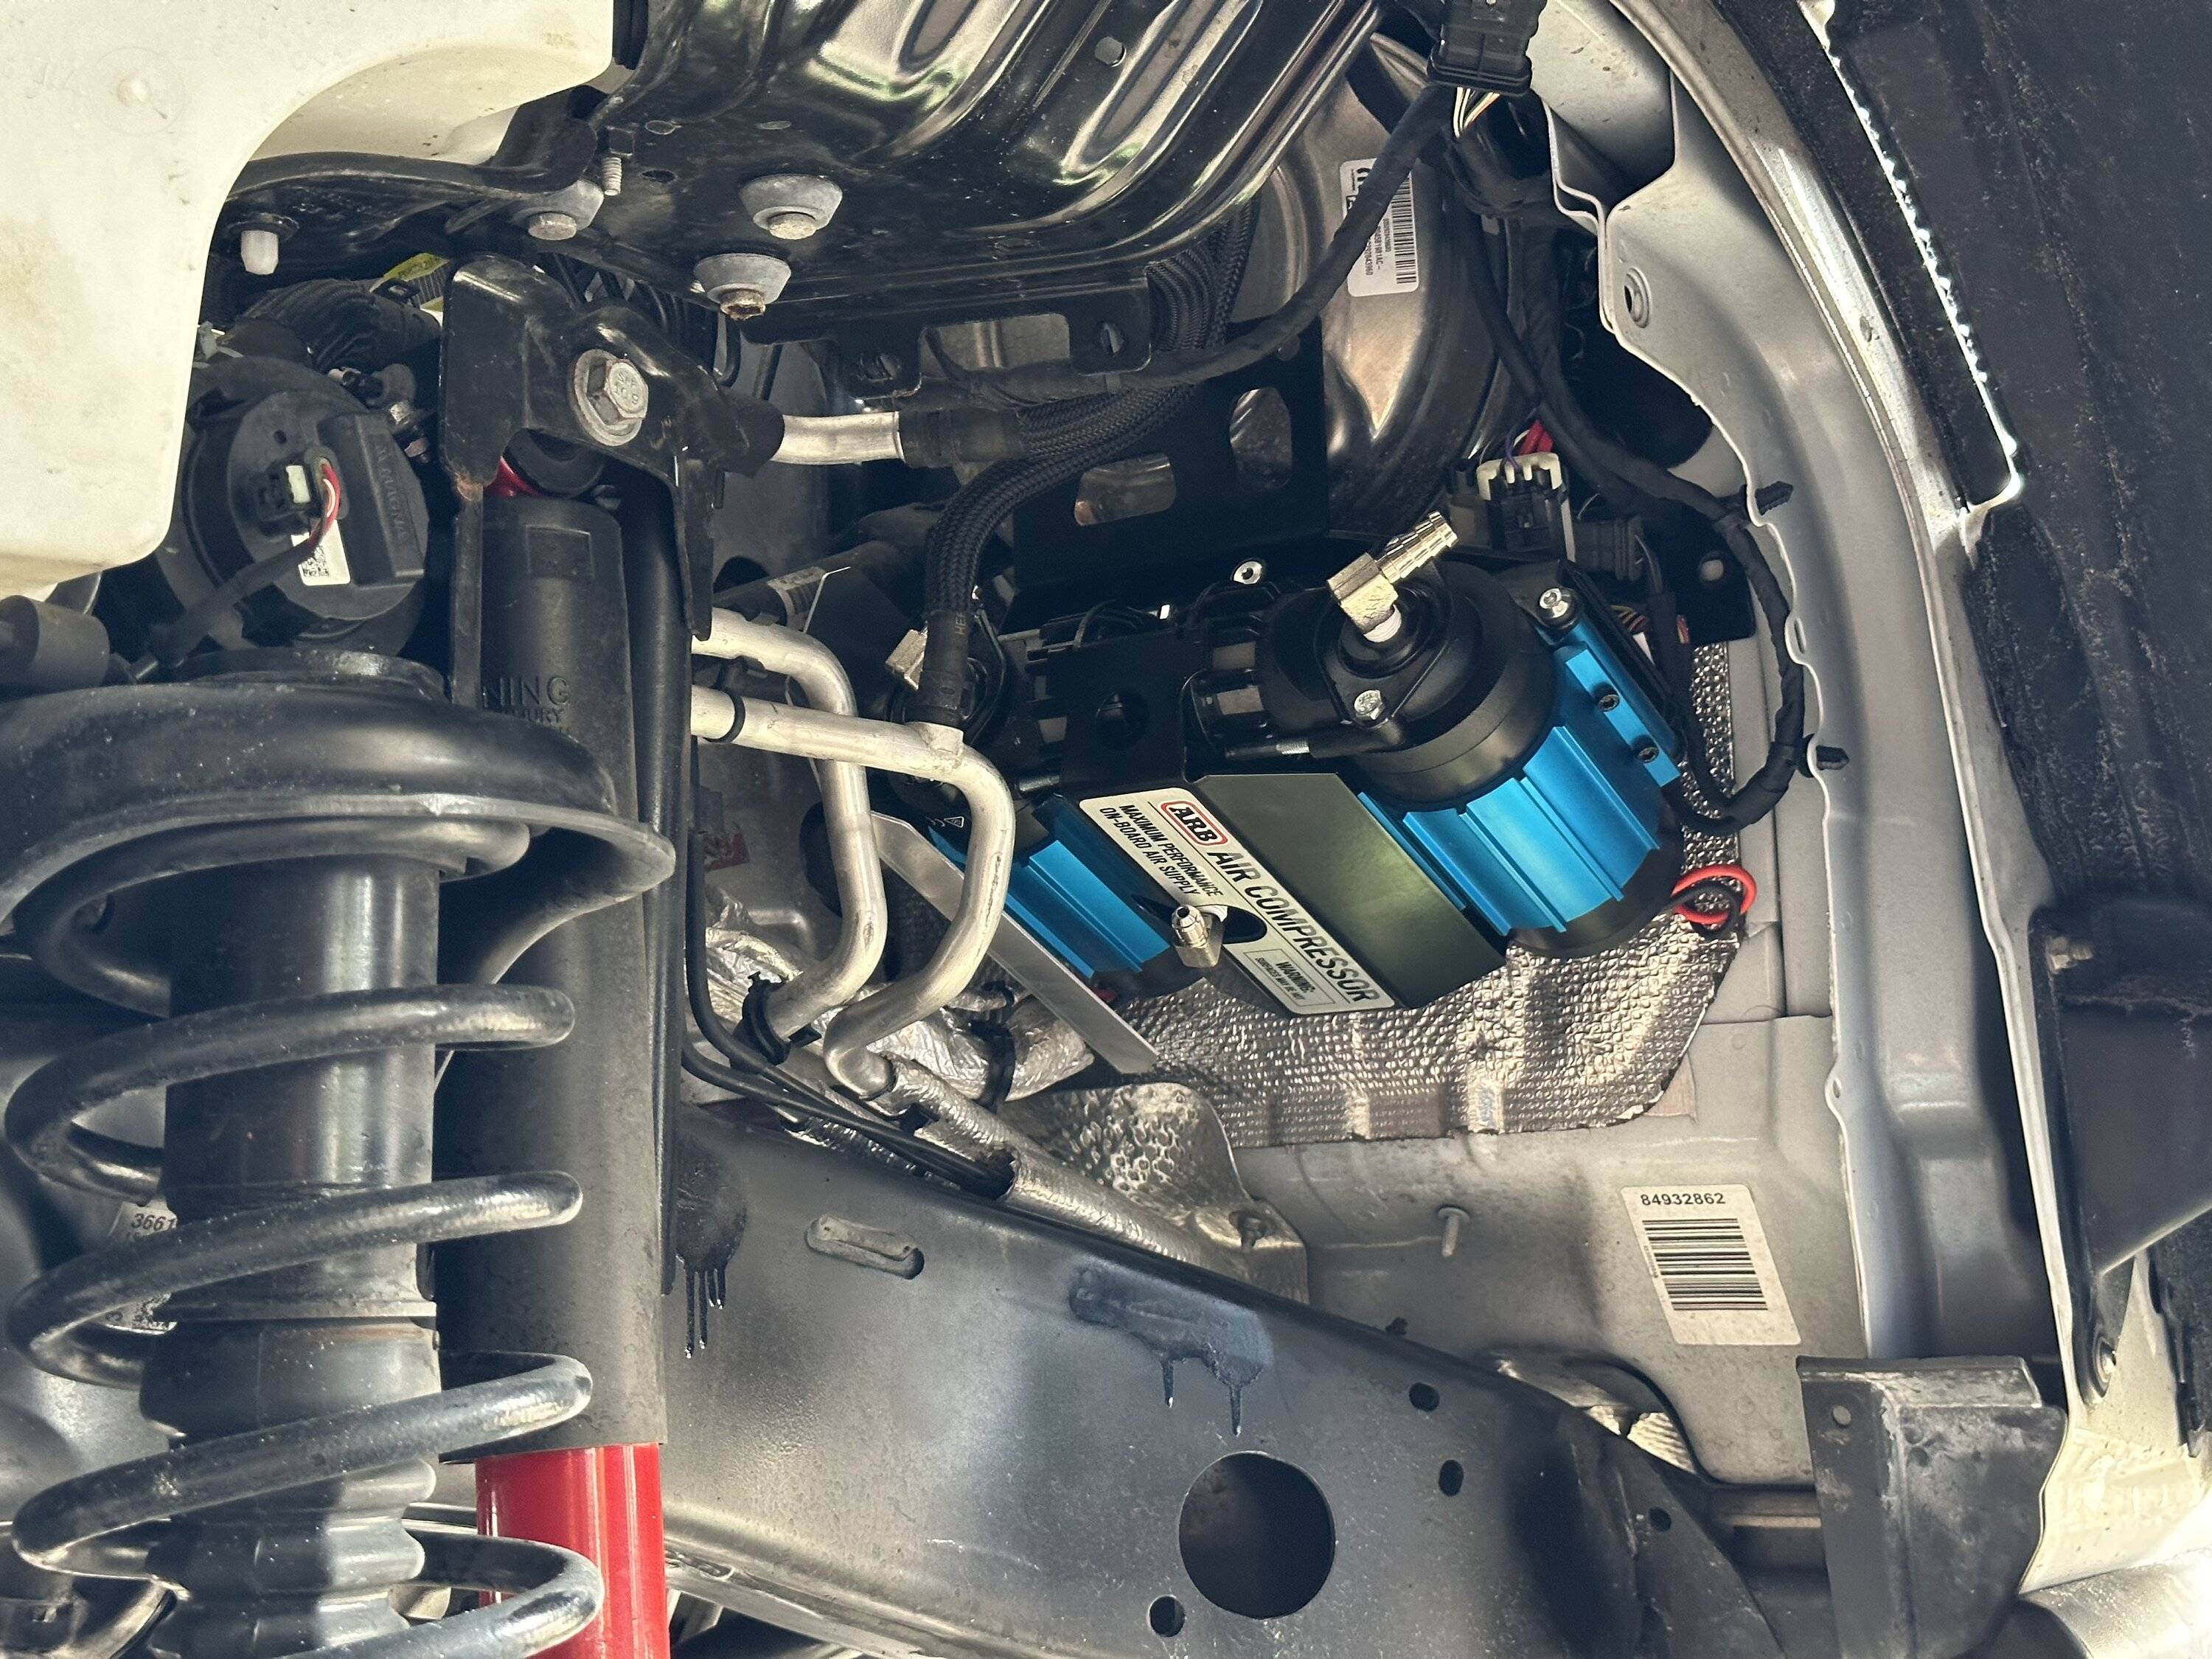
Have heard through the grapevine that they are working on a set of Grimm liners that are designed to fit with the twin mount and some of the more popular reservoir shocks.
Sponsored

 
Last edited:

Tech Tim

Well-Known Member
Summit Sponsor (Level 3)
First Name
Tim
Joined
Jan 16, 2018
Threads
14
Messages
2,411
Reaction score
16,453
Location
Poulsbo, WA
Vehicle(s)
4x4 of all kinds
Occupation
Part of the Northridge4x4 team
From the engineers at Grimm:

Any fender liners that don't fit Diesel JL / JT most likely will not fit our compressor kit.
If they do fit diesels, they are more likely to fit our kit because of the way that they need to avoid and cover the relocated washer bottle.
(Unfortunately we do not have a list on our end.)
 

beachbumm78

Well-Known Member
First Name
Kristy
Joined
Apr 21, 2018
Threads
31
Messages
1,482
Reaction score
2,919
Location
Phoenix, AZ
Vehicle(s)
2020 bikini blue Rubicon
Occupation
Athletic trainer & Massage therapist
Vehicle Showcase
1
Since I have the Tuffy Security Trunk, I mounted my ARB to its side.

8EDFB0CB-EFC4-4C5E-B936-636C27382C77.jpeg


70661092-A5B5-4392-9733-58DCAB12C00C.jpeg


F5584D81-253C-4A96-BCA8-A99A3A0E80BA.jpeg


9F722186-7A3B-45A8-A1FE-5636180F6DA1.jpeg


1C7D069F-7B16-41B9-8D0A-2E8F97D54C22.jpeg
Hmm. I’m liking this idea. I finally upgraded my air compressor and looking for a place to mount it. I’ve also been eyeing security enclosures. The one thing I haven’t liked about this Tuffy enclosure is that it isn’t smooth across the back looking at it and has the holes on the side of the box between the box and the jeep. But this is a great idea to use that space so it has a purpose.
 

CptFloridaMan

Well-Known Member
First Name
Gabriel
Joined
Jun 25, 2019
Threads
97
Messages
1,337
Reaction score
914
Location
Orlando
Vehicle(s)
2018 JLU Sport 2.0
Finally installed my compressor, sent all the wiring up by the cowl and wired ground to a body ground, and then wired the purple wire to my switch panel. A few notes for the 2.0 etorque crowd. Though using the grimm mounting bracket and paramount fender liner.

- The bracket for the air filter air chuck interferes with the fuse box for the 48v battery. I relocated it to the cowl, only issue is that it rubs slightly on the hood insulation.

- The fit is tight using the bracket with the AC lines being there. But it’s manageable. The bigger thing is if anyone is using paramount inners you have to massage the fender with a heat gun or blow torch like I used to have it fit with the compressor. Not the biggest deal in the world imo and not noticeable.

Photos below
Jeep Wrangler JL Mounting ARB Air Compressor 99510167-95A1-49A3-960C-6E5AF772C62D
Jeep Wrangler JL Mounting ARB Air Compressor E541C237-5731-4E32-A579-00F6F1D568AA
Jeep Wrangler JL Mounting ARB Air Compressor BF8B39B6-CA70-4B27-80EA-CA4FAA371607
 

donmontalvo

Well-Known Member
First Name
Don
Joined
Dec 2, 2019
Threads
61
Messages
1,262
Reaction score
1,040
Location
Livingston, TX
Website
donmontalvo.com
Vehicle(s)
2021 Jeep Wrangler Unlimited Rubicon (Snazzberry)
Build Thread
Link
Occupation
Retired
Vehicle Showcase
1
How does that seat feel, after the angle change by adding a quarter inch under the rear mounts? I've thought that the JL seats were already pitched a little too far forward, kind of worried this might make worse? Could one also just add some washers under the front bolts?
Sorry for the very late response. I'm on the short side, so it actually helped a bit.
 

Sponsored

cosmokenney

Well-Known Member
First Name
Cosmo
Joined
Apr 30, 2019
Threads
41
Messages
1,007
Reaction score
808
Location
Loyalton, CA
Vehicle(s)
2019 JLR (2-door)
I have often wondered about mounting inside a bumper; front and/or rear. Still haven’t found the bumpers I want to commit too.
Oh man! That's a great idea. I am going to check that out. There is a ton of room in my aftermarket bumpers.
 

Grateful1

Well-Known Member
First Name
Grateful
Joined
May 23, 2019
Threads
14
Messages
1,594
Reaction score
1,458
Location
Guntersville, AL
Vehicle(s)
2018 JLU Sahara 1998 TJ Sport 2011 Extreme Camper
Occupation
GIS Manager
Oh man! That's a great idea. I am going to check that out. There is a ton of room in my aftermarket bumpers.
I have also seen where someone put a single ARB air compressor in behind the drivers tail light. Had the chuck coming out where the fuel goes in. pretty slick.
 

BradW

Member
First Name
Brad
Joined
Nov 3, 2018
Threads
0
Messages
7
Reaction score
1
Location
Phoenix
Vehicle(s)
2019 Rubicon Unlimited
I first installed a dual ARB underhood using the Grimm mounting bracket. Loved it ... you simply lift the hood and everything is right there on top of the fender. But, I found out that the bracket doesn't work with a MetalCloak after market inner fender liner ... not enough room. Damn.

So, I bought the M.O.R.E. mounting bracket and moved the compressor to the rear cargo area. No more concerns with engine heat. And, it is every bit as convenient as the Grimm mounting position. Actually it's more convenient. All my hoses (I made a dual tire inflation hose) are able to be laid out on the cargo deck out of the dirt. It's super convenient when tearing down and wrapping up the hoses. The only negative is noise inside the cab ... but, since it only takes 3.5 minutes per side, the noise isn't a real problem. My wife is usually cleaning up while I'm airing up, so she hasn't complained yet.

As to wiring, I bought this wiring harness extension: https://www.amazon.com/gp/product/B07MJHX6SL/ref=ppx_yo_dt_b_asin_title_o09_s00?ie=UTF8&psc=1. Pulled one connector off that wiring harness and fed it through the carpeting and under it down along the back of the seat (there's a U-channel there to hide and protect it), through the drain plug right over the fuel tank, and then reinstalled the connector. For the ARB wiring harness, I again pulled the connector off the end, taped up the loose wires, and fished it down along the firewall, and then, ran it along a wiring harness by the frame rail back to the purchased harness. Installed the connector on the ARB harness and plugged the connectors into each other.

Since I never take my hardtop off, I was happy with the switch being back at the compressor. I can lean in and turn the pump on or off without having to get to my aux switches. I really liked the short Grimm wiring harness from the switch to the pump, so duplicated that design.

Oh yes, do rotate the quick connection back towards the rear door. Instructions are in the ARM manual. That way if the hose is pressurize when you remove it and it slips out of your hand, it won't go through the side window.

It isn't a two minute install ... if you do it right, it will take some time and maybe a few cuss words, but the effort is worth it.
Tom,
Thanks for the information. I have a 2019 JLUR 3.6. I used the Grimm Offroad bracket to attach the twin ARB compressor under the brake cylinder. I’ve just started looking for aftermarket fenders and liners and wanted the Metalcloak. Glad I found your post before buying.
i Think I know the answer, but thought I’d see if you know. Does the Grimm bracket and compressor fit in the same place on the diesel? Any chance they mount up any different?
I’m thinking of moving the compressor like you did. Is the extended harness the only additional part (other than the bracket) that is needed to move it to the rear cargo area?
I’m in north Phoenix, perhaps we’ll run into each other on the trails.
Thanks, appreciate any information that you have.
 

47Jeepster

Well-Known Member
First Name
Tom
Joined
Jul 7, 2018
Threads
23
Messages
621
Reaction score
687
Location
Queen Creek, Arizona
Vehicle(s)
2025 JLUR X ... 2023 JLUR Diesel ... 2018 GC Summit
Occupation
Retired
Tom,
Thanks for the information. I have a 2019 JLUR 3.6. I used the Grimm Offroad bracket to attach the twin ARB compressor under the brake cylinder. I’ve just started looking for aftermarket fenders and liners and wanted the Metalcloak. Glad I found your post before buying.
i Think I know the answer, but thought I’d see if you know. Does the Grimm bracket and compressor fit in the same place on the diesel? Any chance they mount up any different?
I’m thinking of moving the compressor like you did. Is the extended harness the only additional part (other than the bracket) that is needed to move it to the rear cargo area?
I’m in north Phoenix, perhaps we’ll run into each other on the trails.
Thanks, appreciate any information that you have.
I installed the Grimm bracket on my 2018 JLUR with a 3.6l engine, then moved it to the cargo area when I installed the Metalcloak inner fender liners. Never checked on my diesel to see if the bracket would fit. Think you checked my Vehicle(s) listing and thought I'd installed it on the diesel ... I would have thought that too.

To move to the cargo area you'll need three things: M.O.R.E. compressor mount ... extension harness ... and a way to turn the compressor on. The extension harness is sometimes hard to find ... Northridge4x4 (UP Down Air 90in Compressor Extension Wiring Harness) has one in stock. They also have the compressor mount. I liked the Grimm switch harness and made a copy since I sold the set-up to someone else.

To install the air hose coupling, remember this trick. Install the fitting from the hose into the coupling. You'll notice that the outer rubber portion of the coupling will then jump towards the hose. That leaves enough room now to get a wrench on the coupling to tighten it into the compressor. Also, before installing the coupling, you can get a wrench into the opening to turn the tank so that the coupling points slightly towards the rear of the Jeep. My compressor stops at about 160psi ... if I forget to relieve the pressure before disconnecting the hose fitting it has no chance of exiting through the passenger side window.

Mating the vehicle mounted bracket and the compressor mounted bracket is an exercise in frustration. I ground the tips of the four bolts to a tapered point (cleaned up the threads afterwards) and that helped me greatly.

If you want to see my installation before doing yours, we can easily meet up in the Box Canyon Florence area for a Jeep run. Although I don't recommend it, the installation on my Diesel is currently the same as on the 3.6 engine.
 

roaniecowpony

Well-Known Member
Joined
Dec 4, 2018
Threads
194
Messages
12,910
Reaction score
20,416
Location
SoCal
Vehicle(s)
2018 JLUR, 14 GMC 1500 CC All TERRAIN
Occupation
Retired Engineer
I installed the Grimm bracket on my 2018 JLUR with a 3.6l engine, then moved it to the cargo area when I installed the Metalcloak inner fender liners. Never checked on my diesel to see if the bracket would fit. Think you checked my Vehicle(s) listing and thought I'd installed it on the diesel ... I would have thought that too.

To move to the cargo area you'll need three things: M.O.R.E. compressor mount ... extension harness ... and a way to turn the compressor on. The extension harness is sometimes hard to find ... Northridge4x4 (UP Down Air 90in Compressor Extension Wiring Harness) has one in stock. They also have the compressor mount. I liked the Grimm switch harness and made a copy since I sold the set-up to someone else.

To install the air hose coupling, remember this trick. Install the fitting from the hose into the coupling. You'll notice that the outer rubber portion of the coupling will then jump towards the hose. That leaves enough room now to get a wrench on the coupling to tighten it into the compressor. Also, before installing the coupling, you can get a wrench into the opening to turn the tank so that the coupling points slightly towards the rear of the Jeep. My compressor stops at about 160psi ... if I forget to relieve the pressure before disconnecting the hose fitting it has no chance of exiting through the passenger side window.

Mating the vehicle mounted bracket and the compressor mounted bracket is an exercise in frustration. I ground the tips of the four bolts to a tapered point (cleaned up the threads afterwards) and that helped me greatly.

If you want to see my installation before doing yours, we can easily meet up in the Box Canyon Florence area for a Jeep run. Although I don't recommend it, the installation on my Diesel is currently the same as on the 3.6 engine.
It seems to me, that the only wire necessary for tire inflation is a fused single positive power wire.
 

Sponsored

47Jeepster

Well-Known Member
First Name
Tom
Joined
Jul 7, 2018
Threads
23
Messages
621
Reaction score
687
Location
Queen Creek, Arizona
Vehicle(s)
2025 JLUR X ... 2023 JLUR Diesel ... 2018 GC Summit
Occupation
Retired
It seems to me, that the only wire necessary for tire inflation is a fused single positive power wire.
The dual compressor has two separately wired compressor motors. If one quits, the second one will still provide pressure ... although at half the volume. One of my relays quit working and I noticed that my inflate times were longer than usual and longer than my mates. Now I know enough to check the temp at the head of each compressor and/or pull the filter head and feel for suction if I suspect a problem.

With a single positive wire, you'd have to fuse it for 80 amps to get the compressor to work. If one motor quit working, then you'd have the second motor fused at 80 amps ... the internal wiring for the compressor now becomes the fuse. Plus, that's a lot of current to run through the frame for a negative connection ... might cause other vehicle components to start glitching.
 

roaniecowpony

Well-Known Member
Joined
Dec 4, 2018
Threads
194
Messages
12,910
Reaction score
20,416
Location
SoCal
Vehicle(s)
2018 JLUR, 14 GMC 1500 CC All TERRAIN
Occupation
Retired Engineer
Your starter runs a whole lot more than 80 amps through the frame, as does your alternator (single DC output, DC ground to the case-chassis). Fuses are for wiring protection.
 

Ratbert

Well-Known Member
First Name
John
Joined
Jun 20, 2020
Threads
159
Messages
15,991
Reaction score
24,919
Location
PNW
Vehicle(s)
2022 AEV JL370 JLURD
Build Thread
Link
Occupation
Software Engineer
Clubs
 
The dual ARB unit mounted under my 2023 JLUR' front seat would beg to differ. I used the ARB sourced mount.
I had that one for my first Wrangler. Now I'm using a Kraken, but yeah, it all fits nicely under the front passenger seat.
Sponsored


Top