- First Name
- Bob
- Joined
- Aug 7, 2017
- Threads
- 36
- Messages
- 1,070
- Reaction score
- 1,459
- Location
- Dallas, TX
- Vehicle(s)
- 2012 Wrangler Unlimited Rubicon, 2014 Grand Cherokee Limited Ecodiesel
- Thread starter
- Banned
- #1
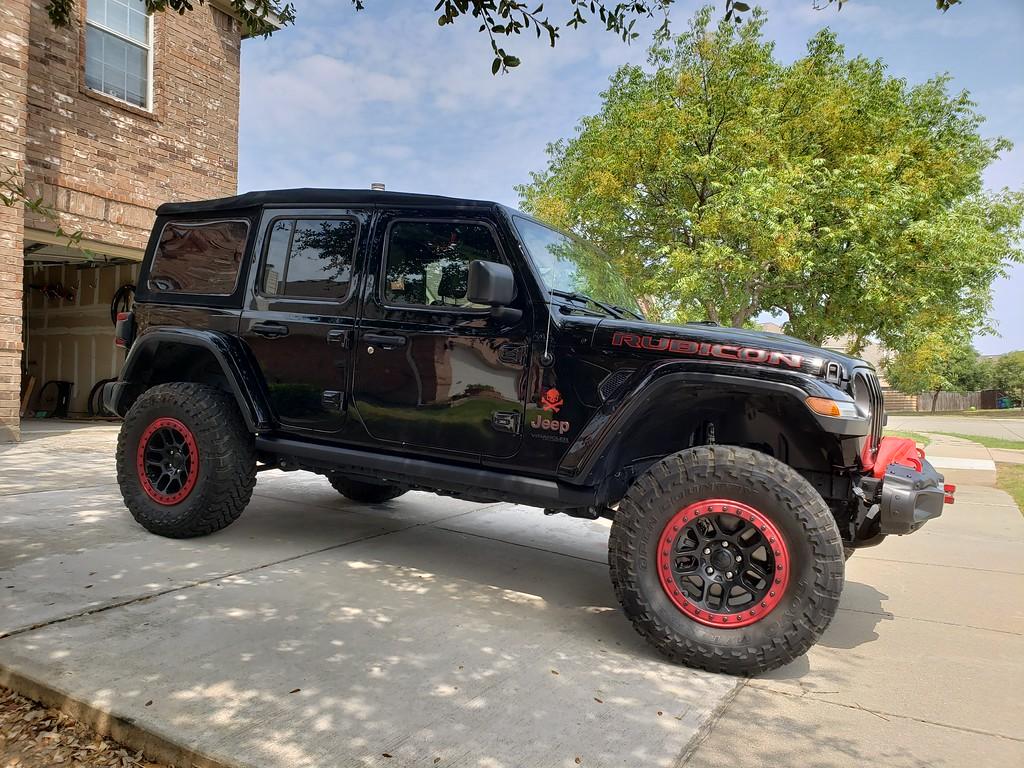
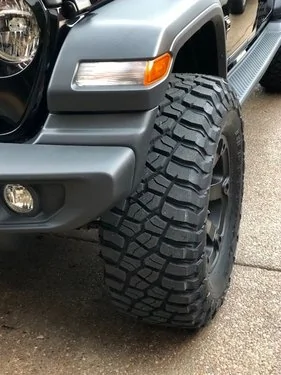
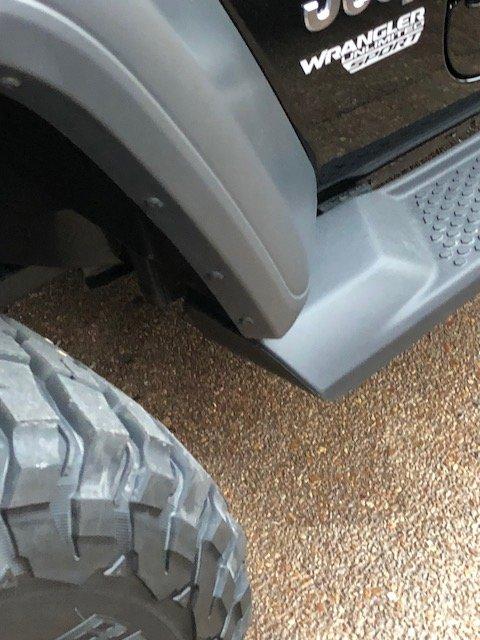
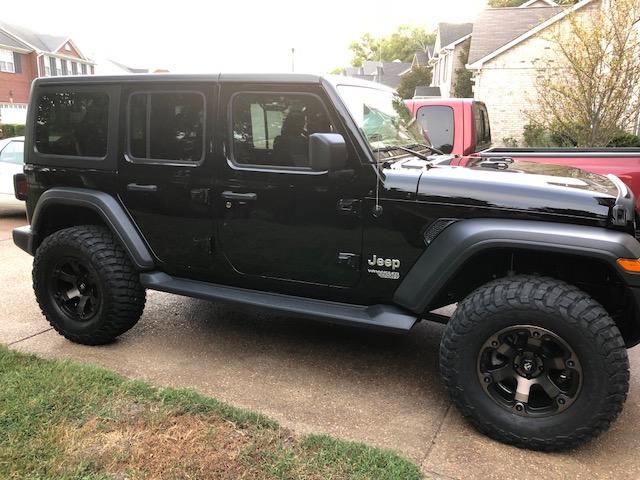
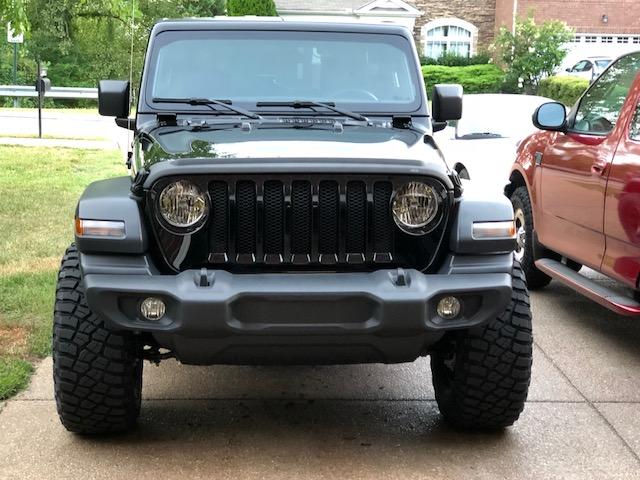
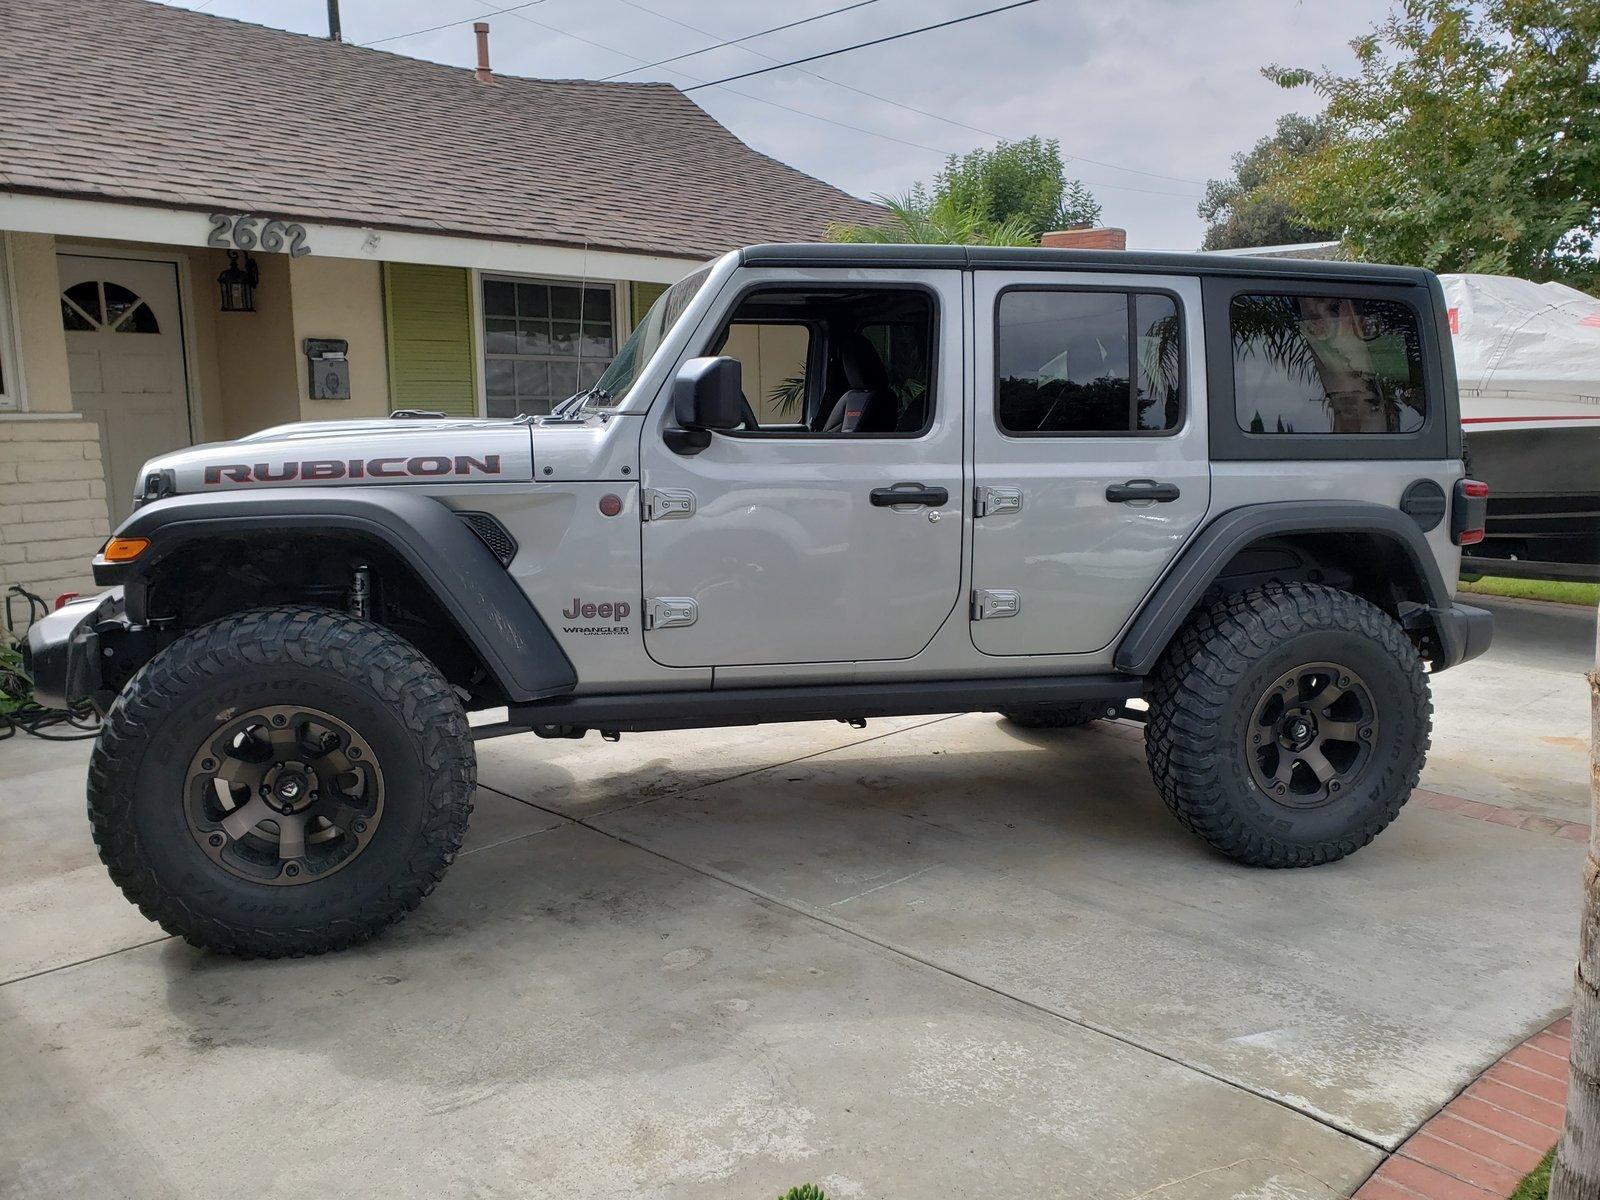
So tonight I took my JL and lift over to my friends off-road shop and we (he) installed my lift. We took measurements before and after. It took about 2.5-3 hrs. On average, I netted 3.5" of lift with the kit. 3 3/4 in the front and 3 1/4 in the rear. A couple of observations:
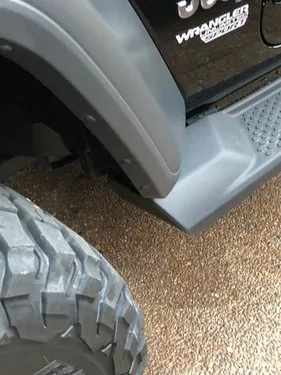
My stock spring pads (particularly on the driver side) had started to collapse similar to what I've seen others posted that the lift pads have done. Luckily, I'd I picked up a set of the RockKrawler pads earlier in the week.
The shocks are definitely the limiting factor for the axle droop. The suspension has about 2" more down travel than the shocks do.
The front axle is shifted 3/4" to the drivers side.
The rear axle is shifted 3/4" to the passengers side.
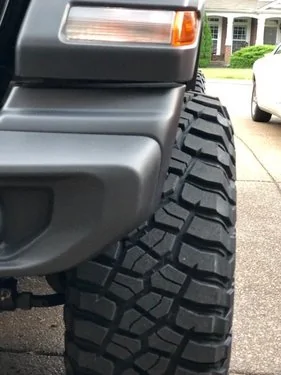
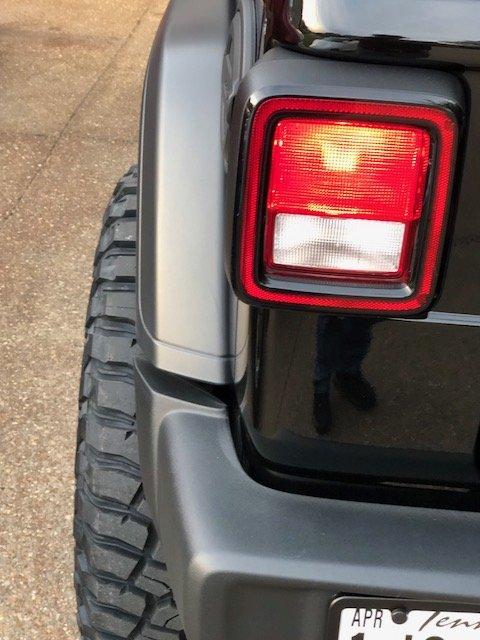
It seems to ride exactly the same as stock, from my short test drive. When I got home, i was surprised that my top rubbed the garage door pulling in. My JK with 3.5" of lift and 35's never came close to hitting the door.
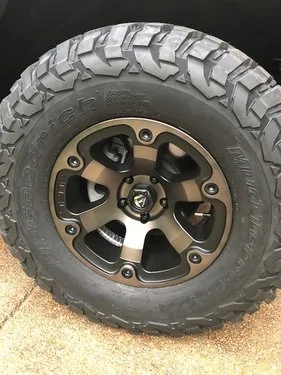
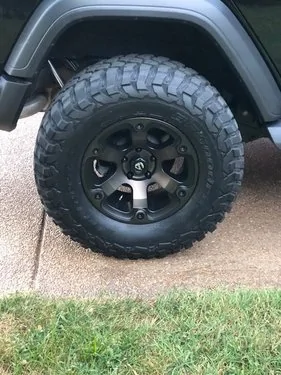
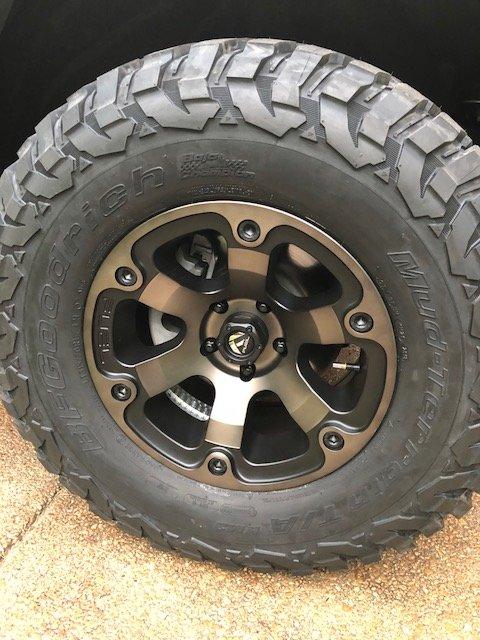
So far so good, although my 35's now seem small. I'm guessing I'll be selling my Toyo 35's in the next week or so to get 37s...
My stock spring pads (particularly on the driver side) had started to collapse similar to what I've seen others posted that the lift pads have done. Luckily, I'd I picked up a set of the RockKrawler pads earlier in the week.
The shocks are definitely the limiting factor for the axle droop. The suspension has about 2" more down travel than the shocks do.
The front axle is shifted 3/4" to the drivers side.
The rear axle is shifted 3/4" to the passengers side.
It seems to ride exactly the same as stock, from my short test drive. When I got home, i was surprised that my top rubbed the garage door pulling in. My JK with 3.5" of lift and 35's never came close to hitting the door.
So far so good, although my 35's now seem small. I'm guessing I'll be selling my Toyo 35's in the next week or so to get 37s...
Sponsored