gek
Well-Known Member
- Thread starter
- #1
I was looking through this thread at the many installs, and was suffering from a severe case of analysis paralysis on all the locations and different ways I could install this radio when I came across and was inspired by Txcomp in this thread: https://www.jlwranglerforums.com/forum/threads/midland-gmrs-stealth-install.75432/
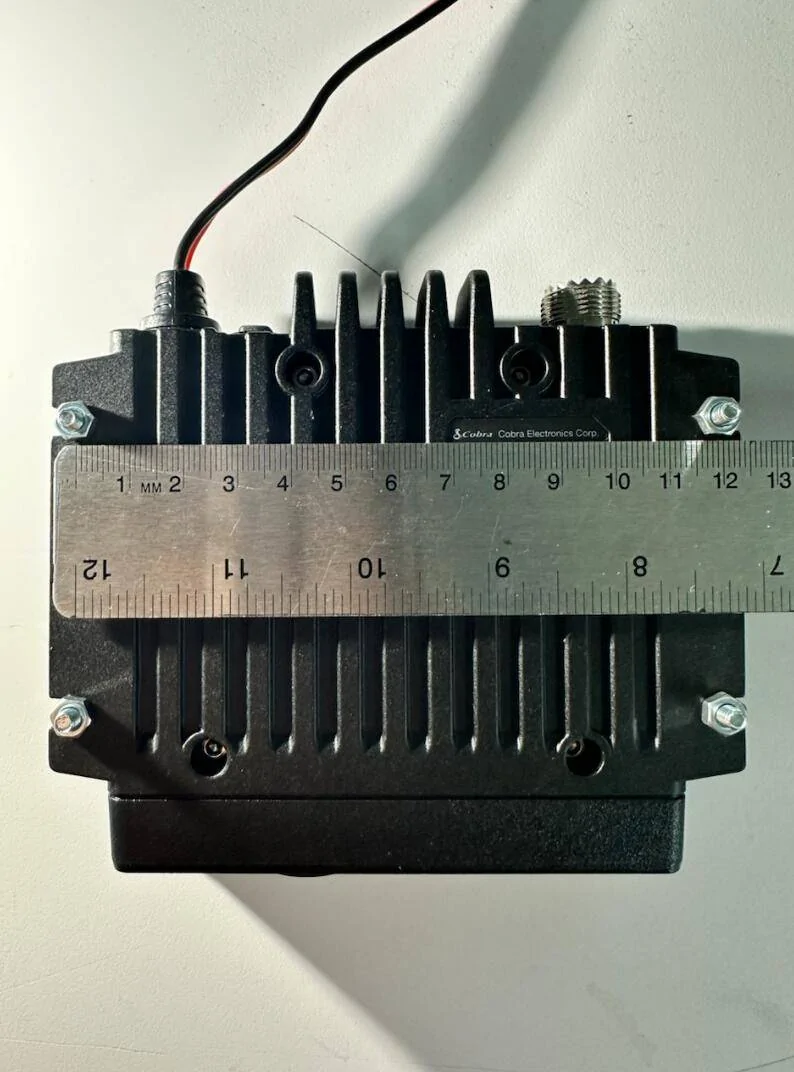
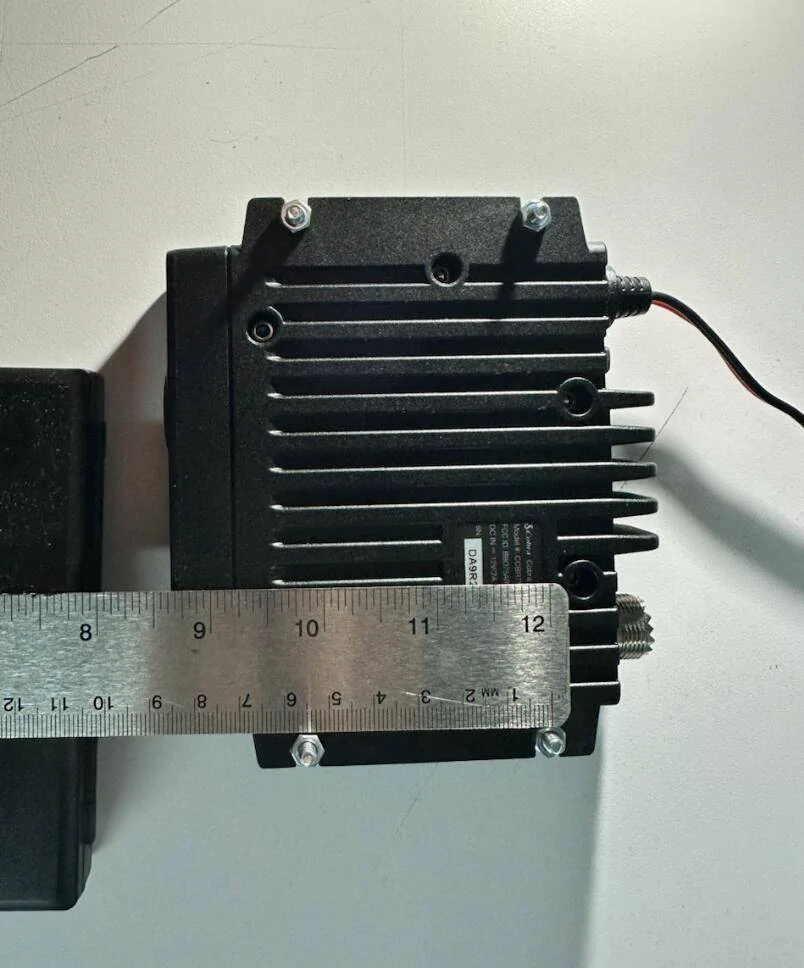
I decided to get my tape measure and calipers out and design and 3d print a platform for it to mount to. I was feeling real good about my first attempt. I thought I was going to be a 1 and done until I realized I ignored the measurements I wrote down and made the thing .5" to wide.
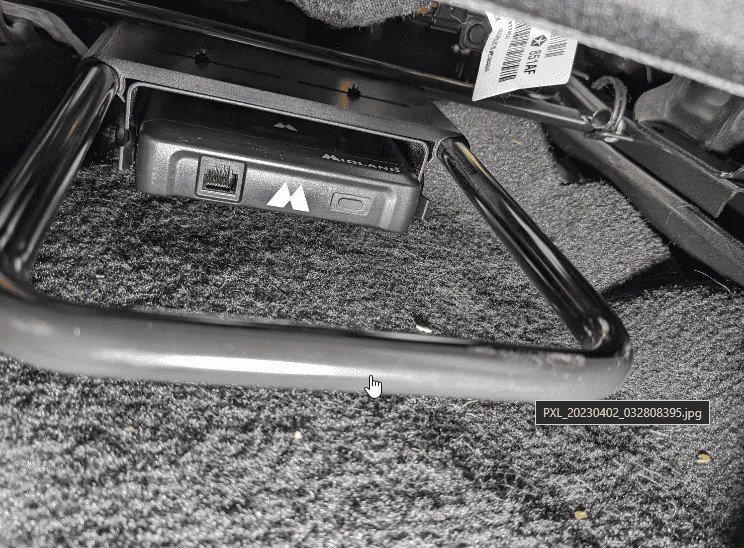
V1

Not to be deterred, I narrowed it, added a cutout for the rear bar and some holes to zip tie it to it then tried again only to realize that it sat too low, and turned upside down put the rear cross bar in the way. (This one does work great for the driver's side)
V2


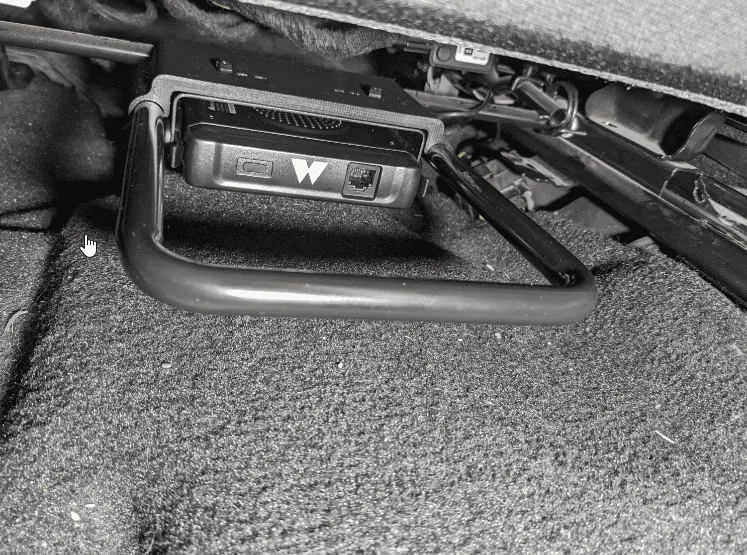
With Version 3 decided to move it up, but I only had a little bit of space or it would hit the part of the MXT275 bracket the held the radio in. Once the print was finished I attempted it and the outside ends of the clip snapped off. The bracket moved up and in only allowed one side to flex. It still held great which eventually gave me an idea, but first I had to make a mistake with version 4.
With Version 4 I beefed up the outer edge that had snapped before. It worked great, but the inner part of the clip now broke off. It also still held very well with parts of the clip snapped off. I also noticed that it still was not as high above the carpet as I wanted. On to to v5!
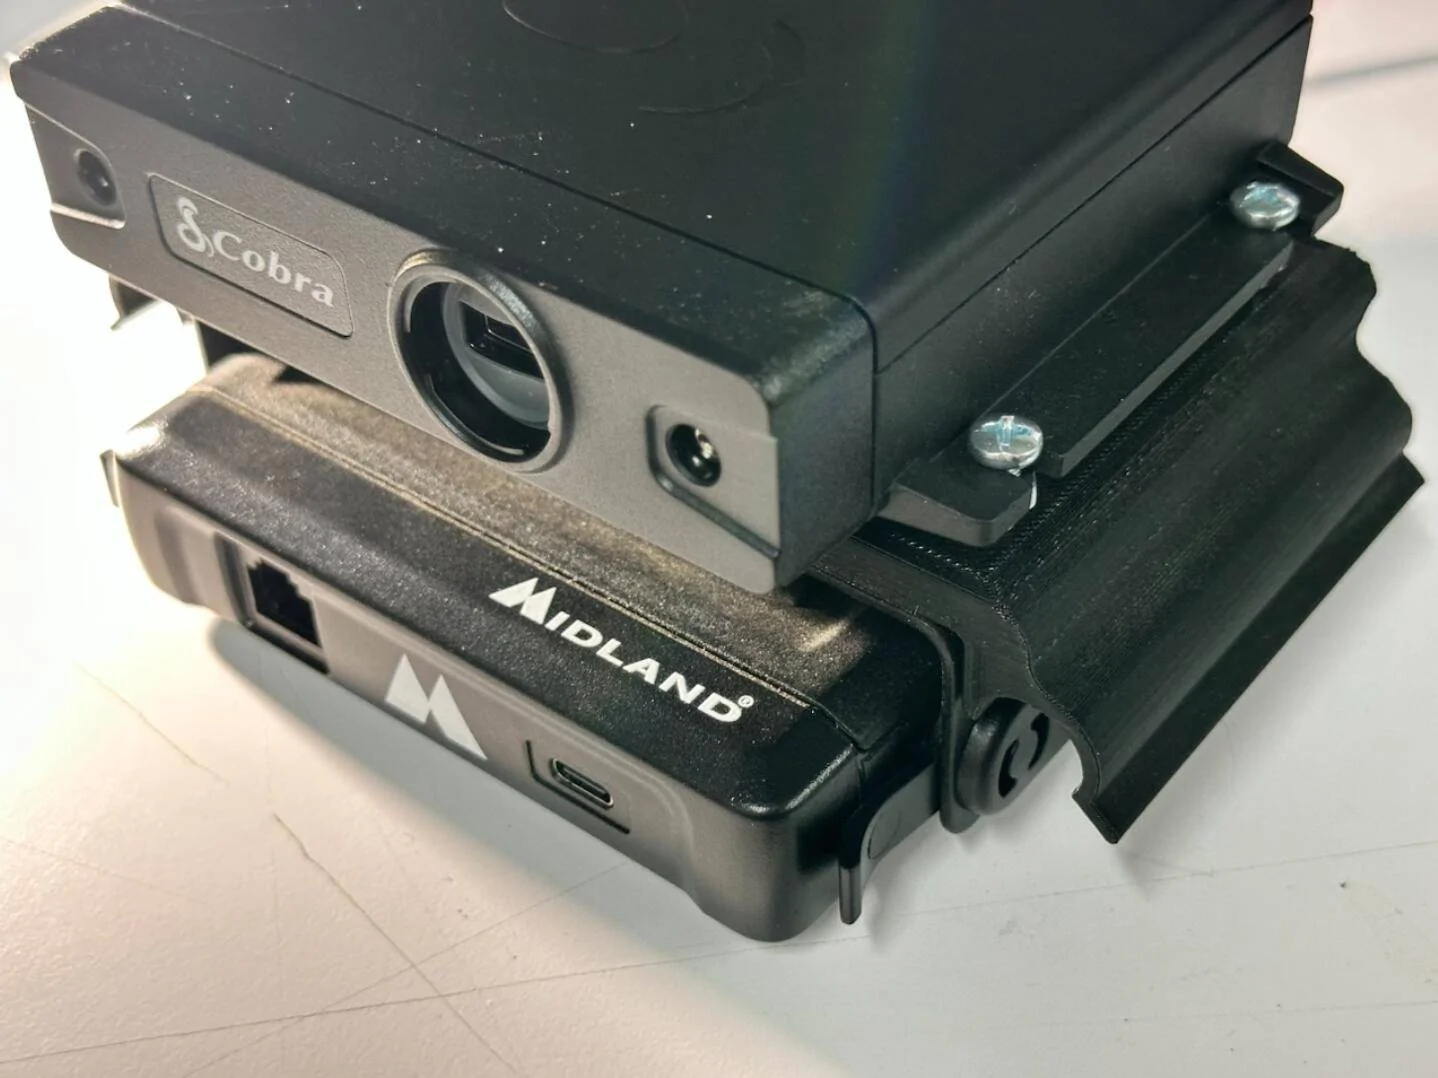
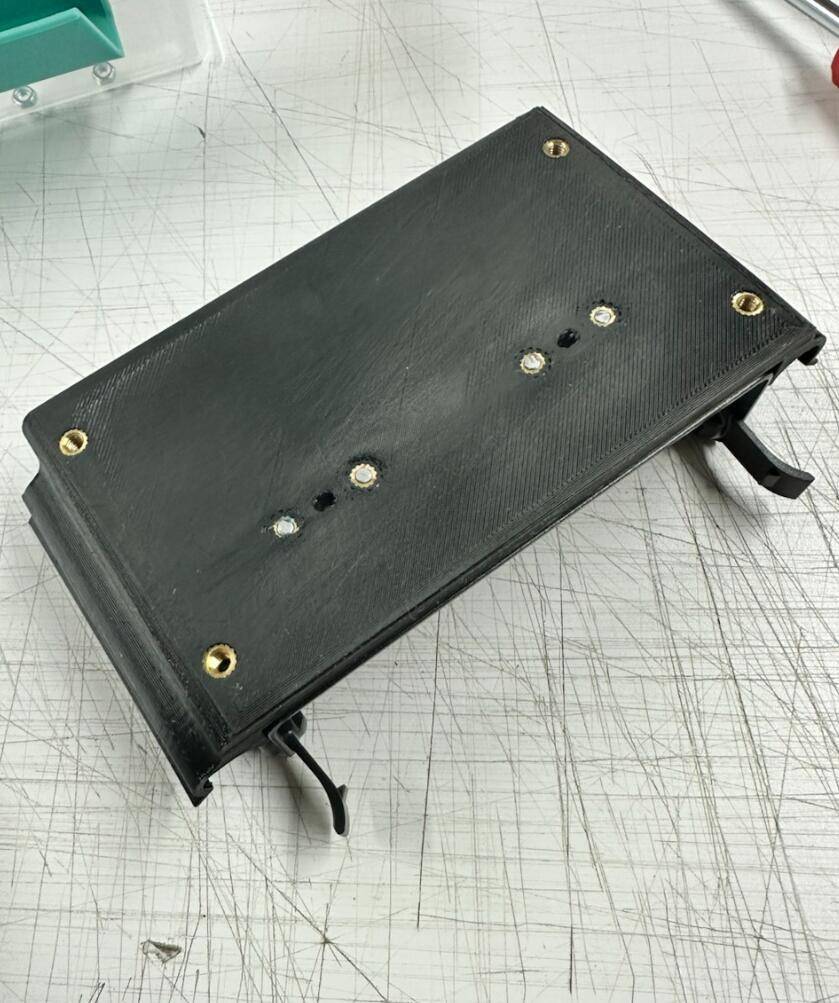
With Version 5 I was studying version 3 and 4 and trying to figure out how to not break the clips. One of the ideas I had was, instead of printing it on it's back with the layer lines running parallel to the bars making it easier to break, to print it standing on it's edge so the layers were perpendicular. In order to print it on end and not need any support material I had to make the holes smaller and fillet the edges. I also realized, after the broken clips still held very well, that I did not need as much of the clip for the clip to work. This allowed me to remove a large portion of the inner clip which in turn allowed me to move the bracket and radio up further.
Version 5


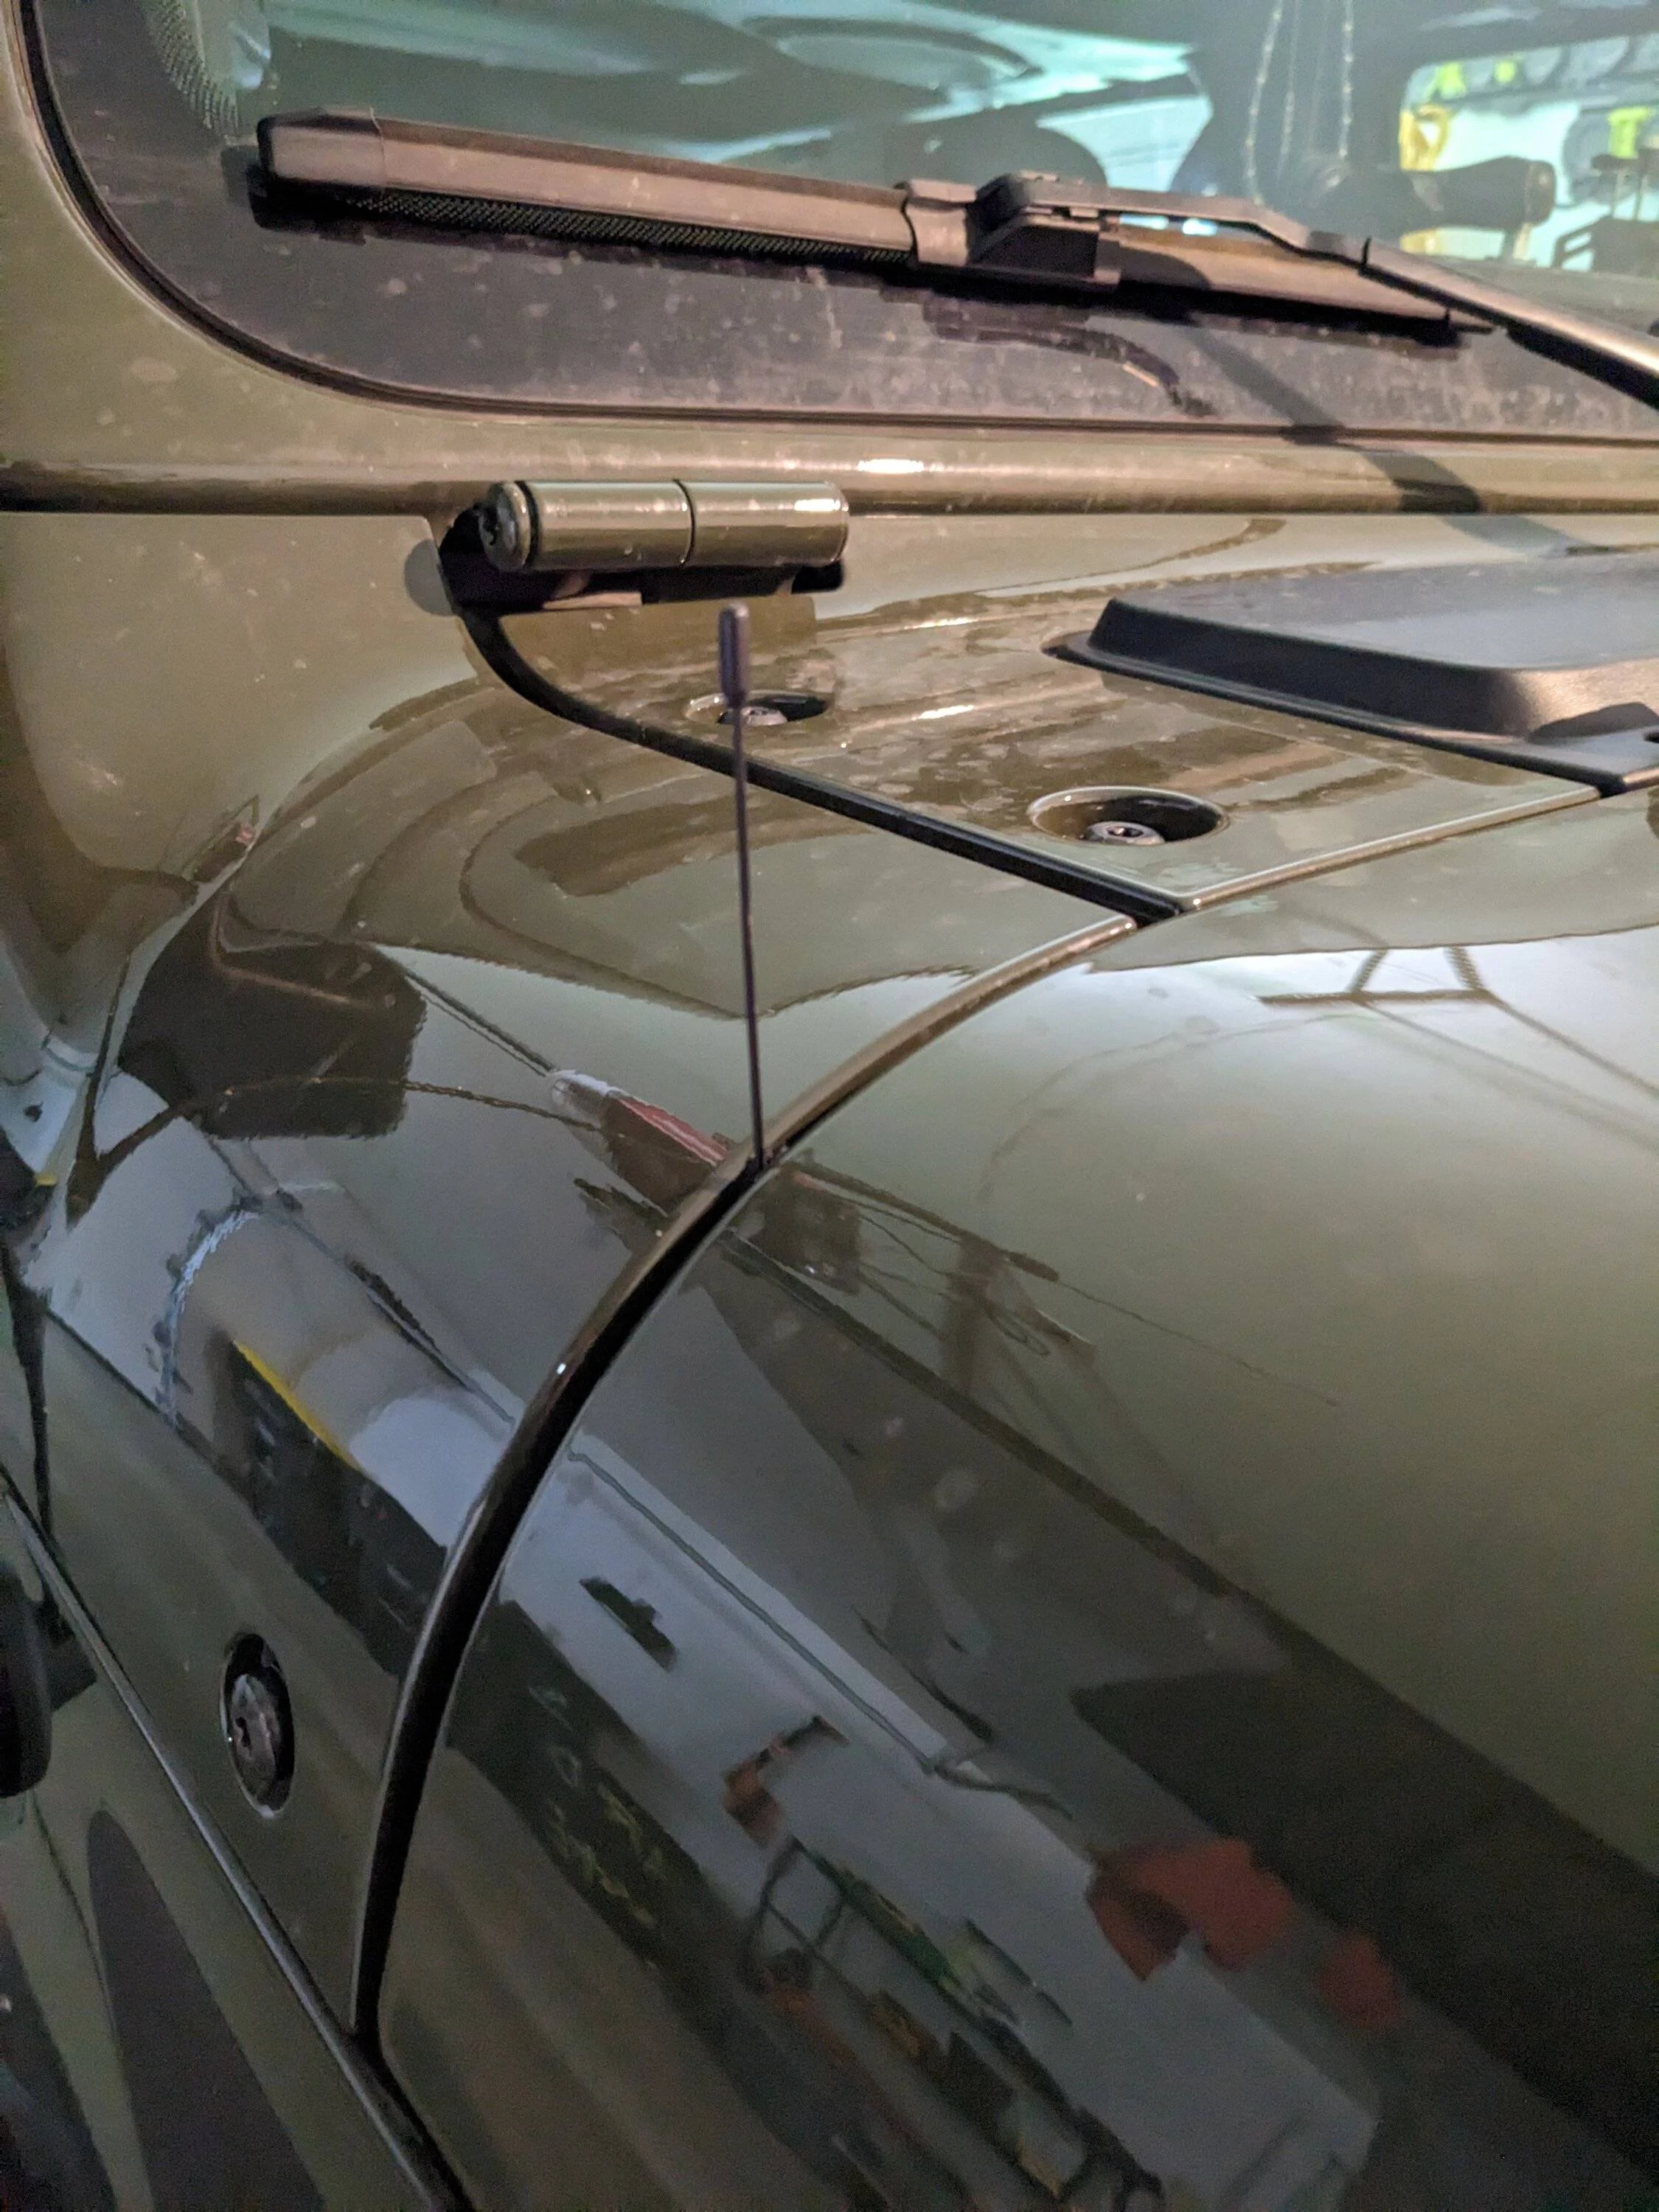
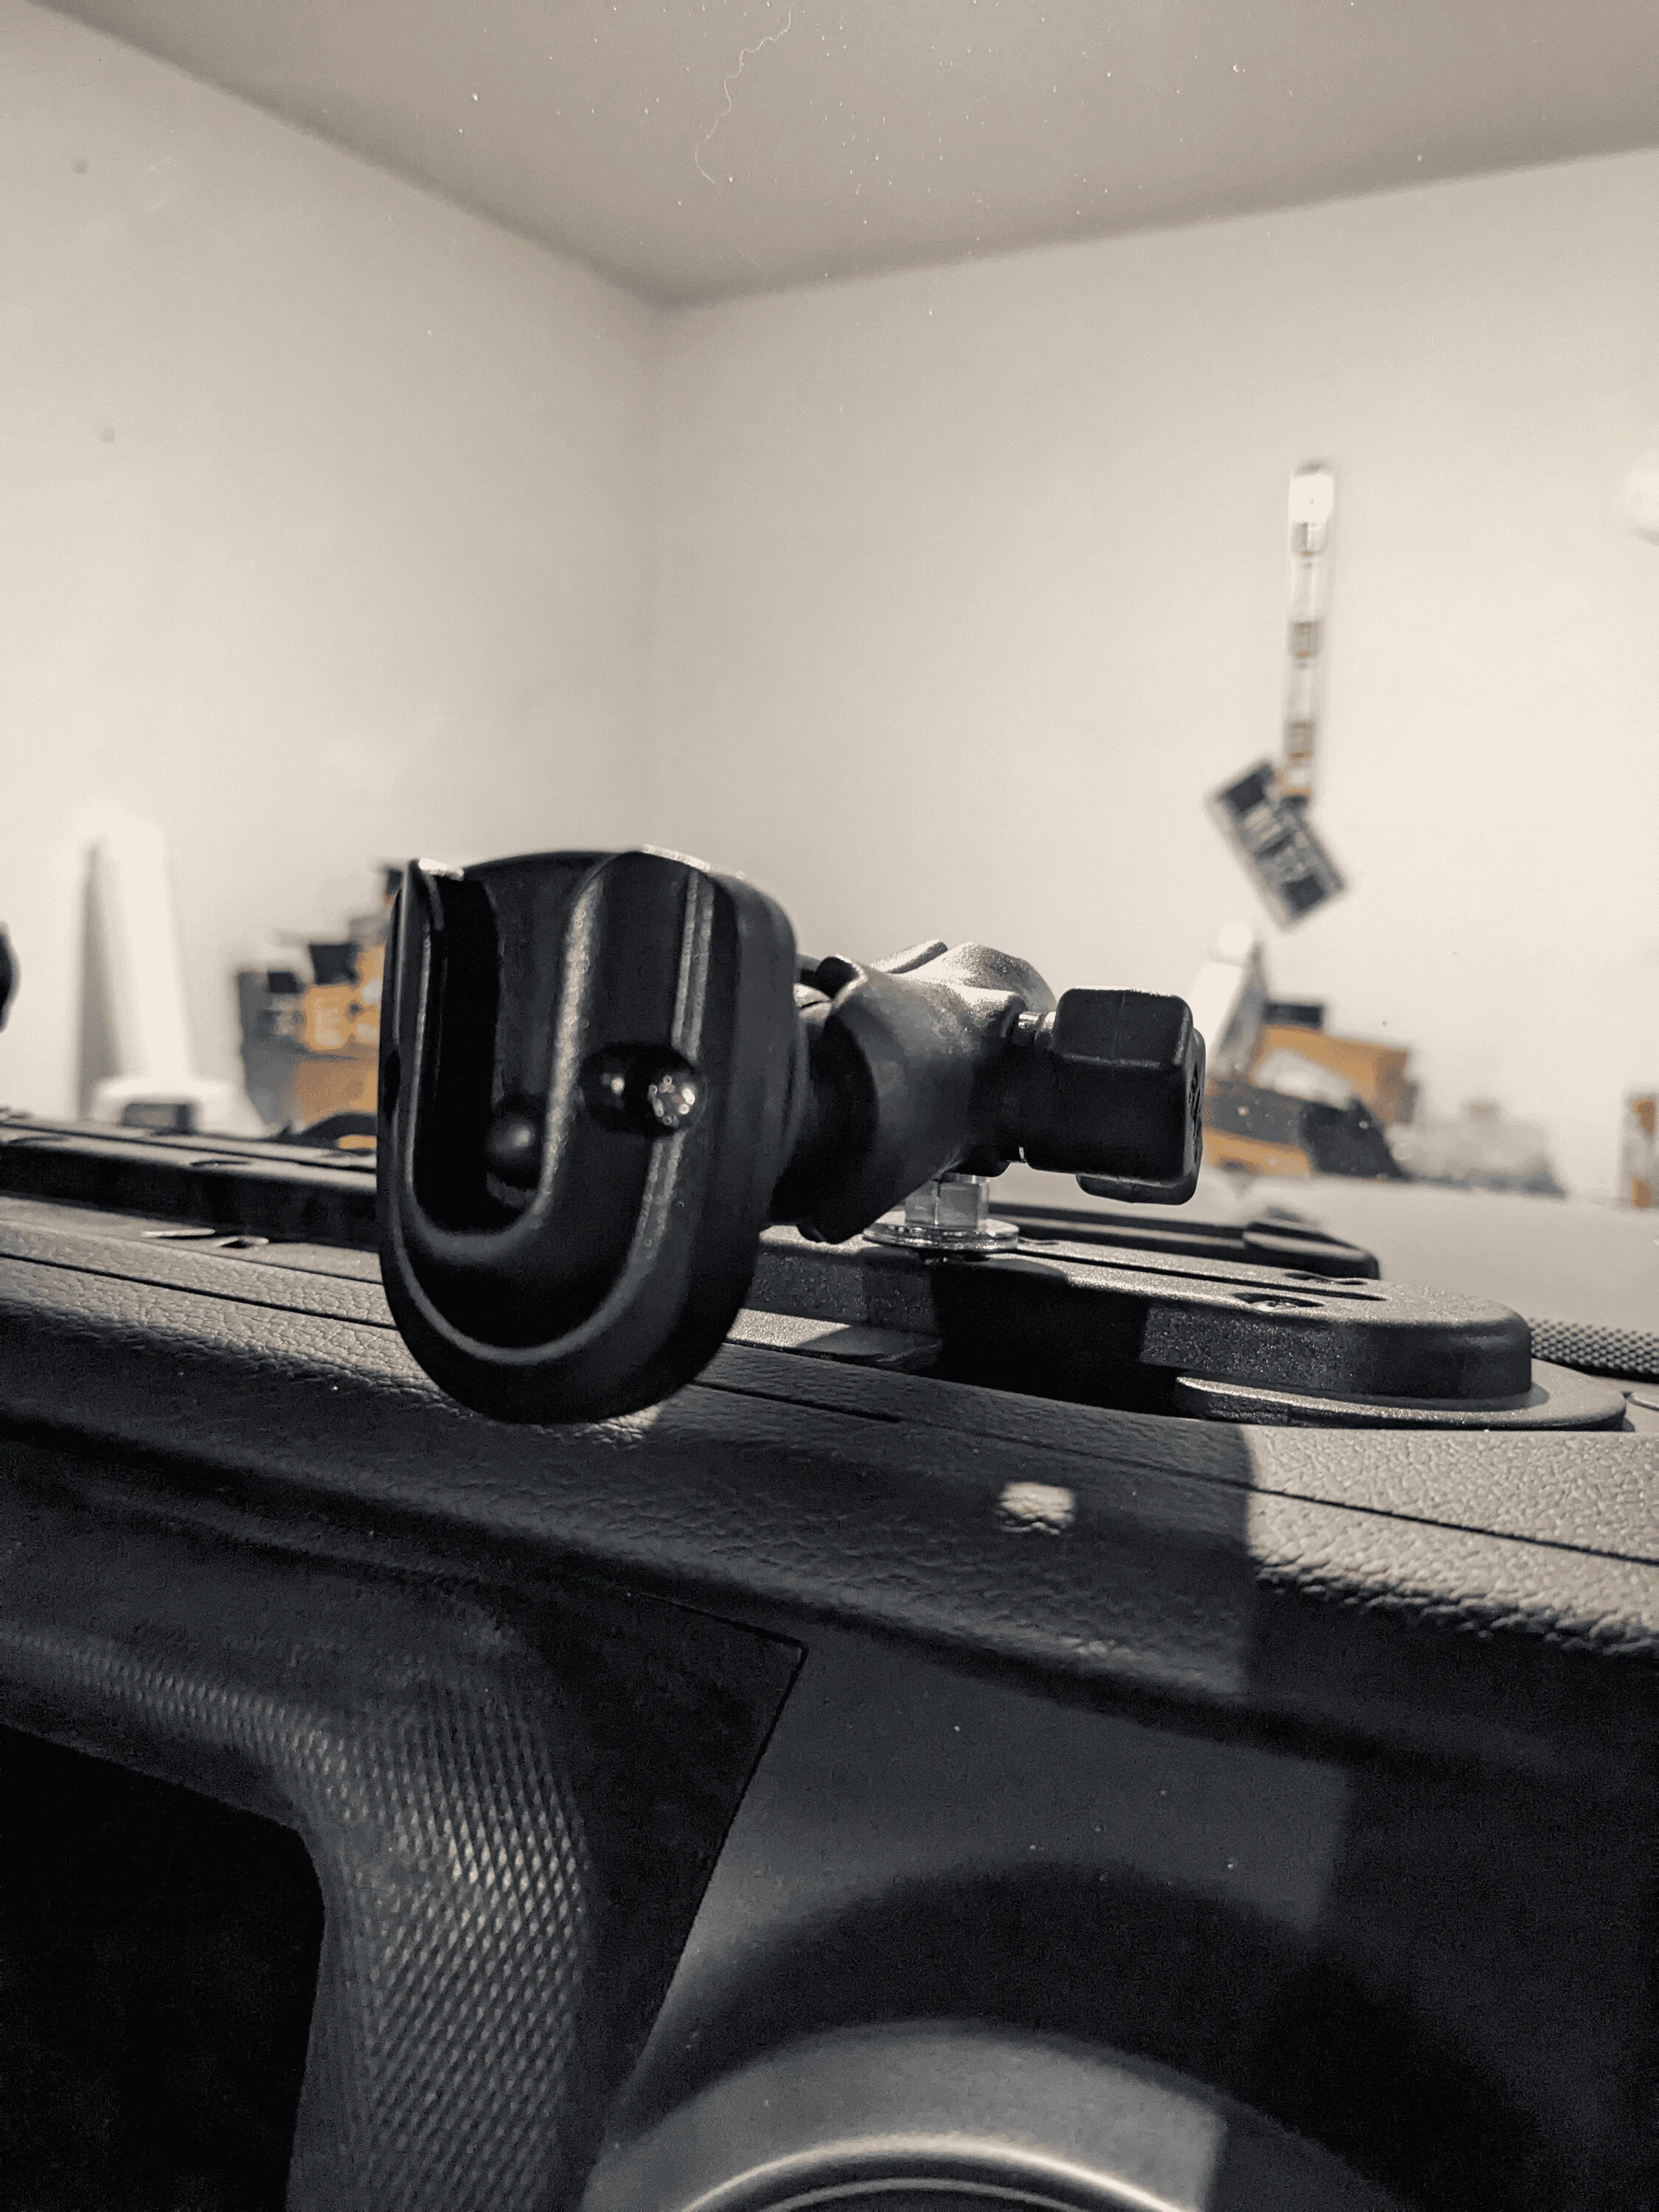
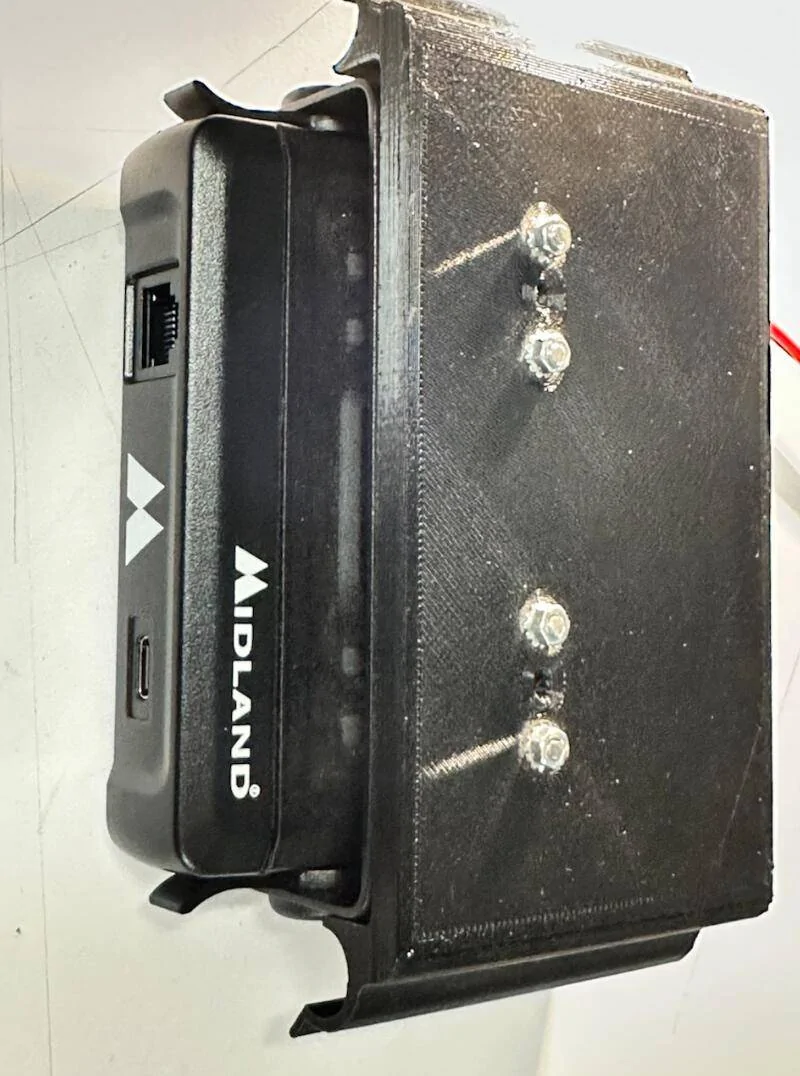
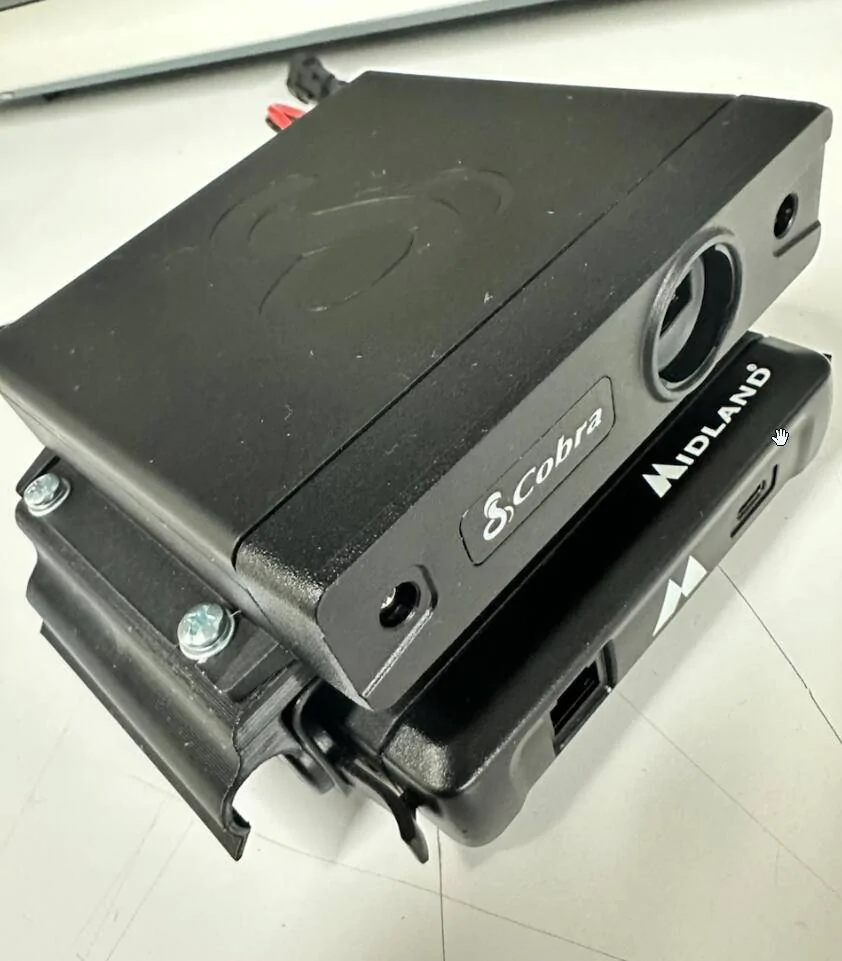
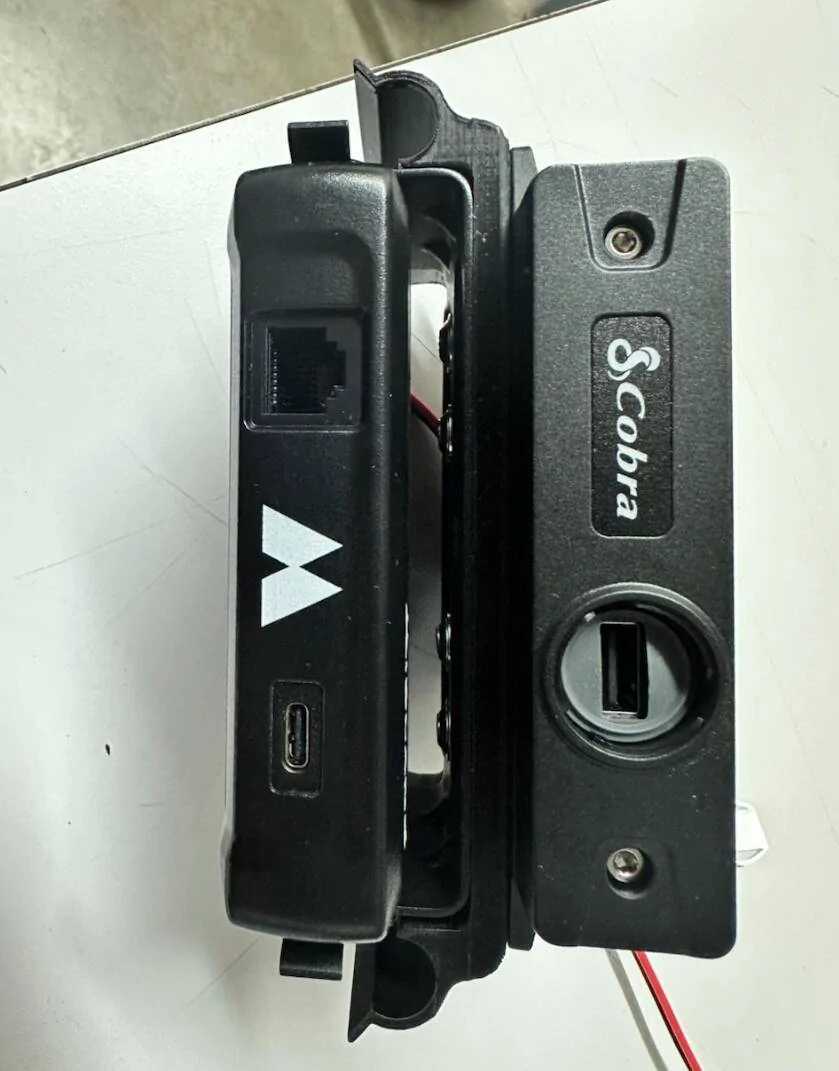
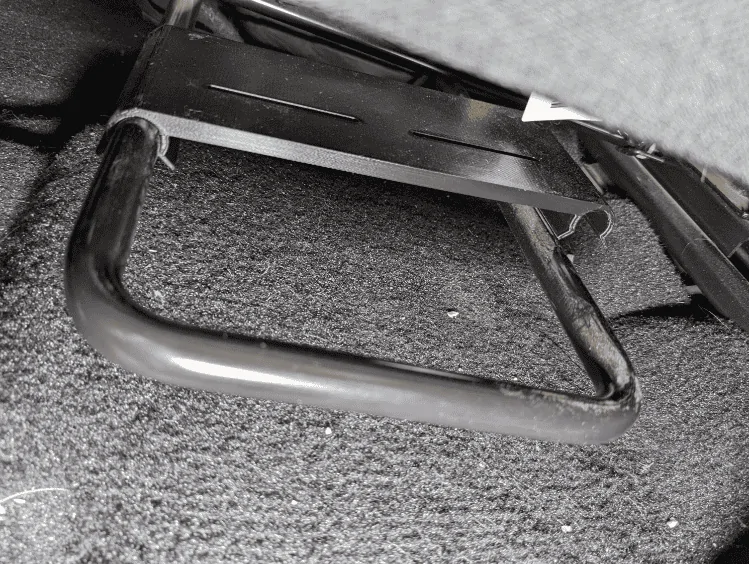
That worked how I wanted, so I mounted it in place. I ran the antenna under the carpet and up along the rear tunnel to the rear of the radio, then I got an RJ 45 extension and decide to route it into the center console and up into the back of the cubby under my window controls.

All I have left to do is complete the wiring and it is ready for use.
I did add V2 to thingiverse if someone wanted to print this or have someone print it. V2 looked like it would work great under my driver's seat.
Here is the link.
https://www.thingiverse.com/thing:5945683
I decided to get my tape measure and calipers out and design and 3d print a platform for it to mount to. I was feeling real good about my first attempt. I thought I was going to be a 1 and done until I realized I ignored the measurements I wrote down and made the thing .5" to wide.
V1
Not to be deterred, I narrowed it, added a cutout for the rear bar and some holes to zip tie it to it then tried again only to realize that it sat too low, and turned upside down put the rear cross bar in the way. (This one does work great for the driver's side)
V2

With Version 3 decided to move it up, but I only had a little bit of space or it would hit the part of the MXT275 bracket the held the radio in. Once the print was finished I attempted it and the outside ends of the clip snapped off. The bracket moved up and in only allowed one side to flex. It still held great which eventually gave me an idea, but first I had to make a mistake with version 4.
With Version 4 I beefed up the outer edge that had snapped before. It worked great, but the inner part of the clip now broke off. It also still held very well with parts of the clip snapped off. I also noticed that it still was not as high above the carpet as I wanted. On to to v5!
With Version 5 I was studying version 3 and 4 and trying to figure out how to not break the clips. One of the ideas I had was, instead of printing it on it's back with the layer lines running parallel to the bars making it easier to break, to print it standing on it's edge so the layers were perpendicular. In order to print it on end and not need any support material I had to make the holes smaller and fillet the edges. I also realized, after the broken clips still held very well, that I did not need as much of the clip for the clip to work. This allowed me to remove a large portion of the inner clip which in turn allowed me to move the bracket and radio up further.
Version 5

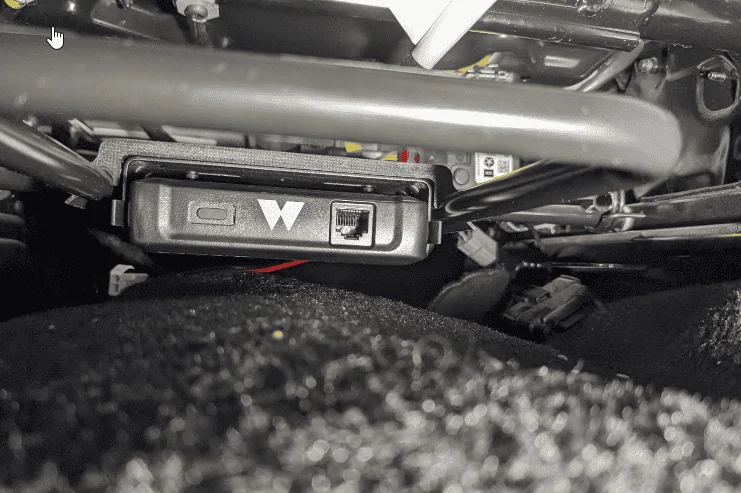
That worked how I wanted, so I mounted it in place. I ran the antenna under the carpet and up along the rear tunnel to the rear of the radio, then I got an RJ 45 extension and decide to route it into the center console and up into the back of the cubby under my window controls.
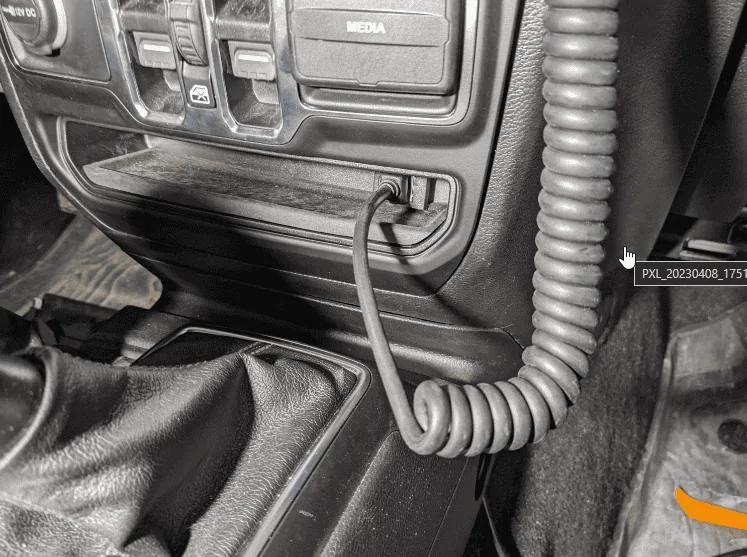
All I have left to do is complete the wiring and it is ready for use.
I did add V2 to thingiverse if someone wanted to print this or have someone print it. V2 looked like it would work great under my driver's seat.
Here is the link.
https://www.thingiverse.com/thing:5945683
Sponsored
Last edited: