j_stew762
Well-Known Member
- First Name
- Jake
- Joined
- Jan 4, 2023
- Threads
- 6
- Messages
- 78
- Reaction score
- 132
- Location
- Southern, IL
- Vehicle(s)
- 2020 JLURD
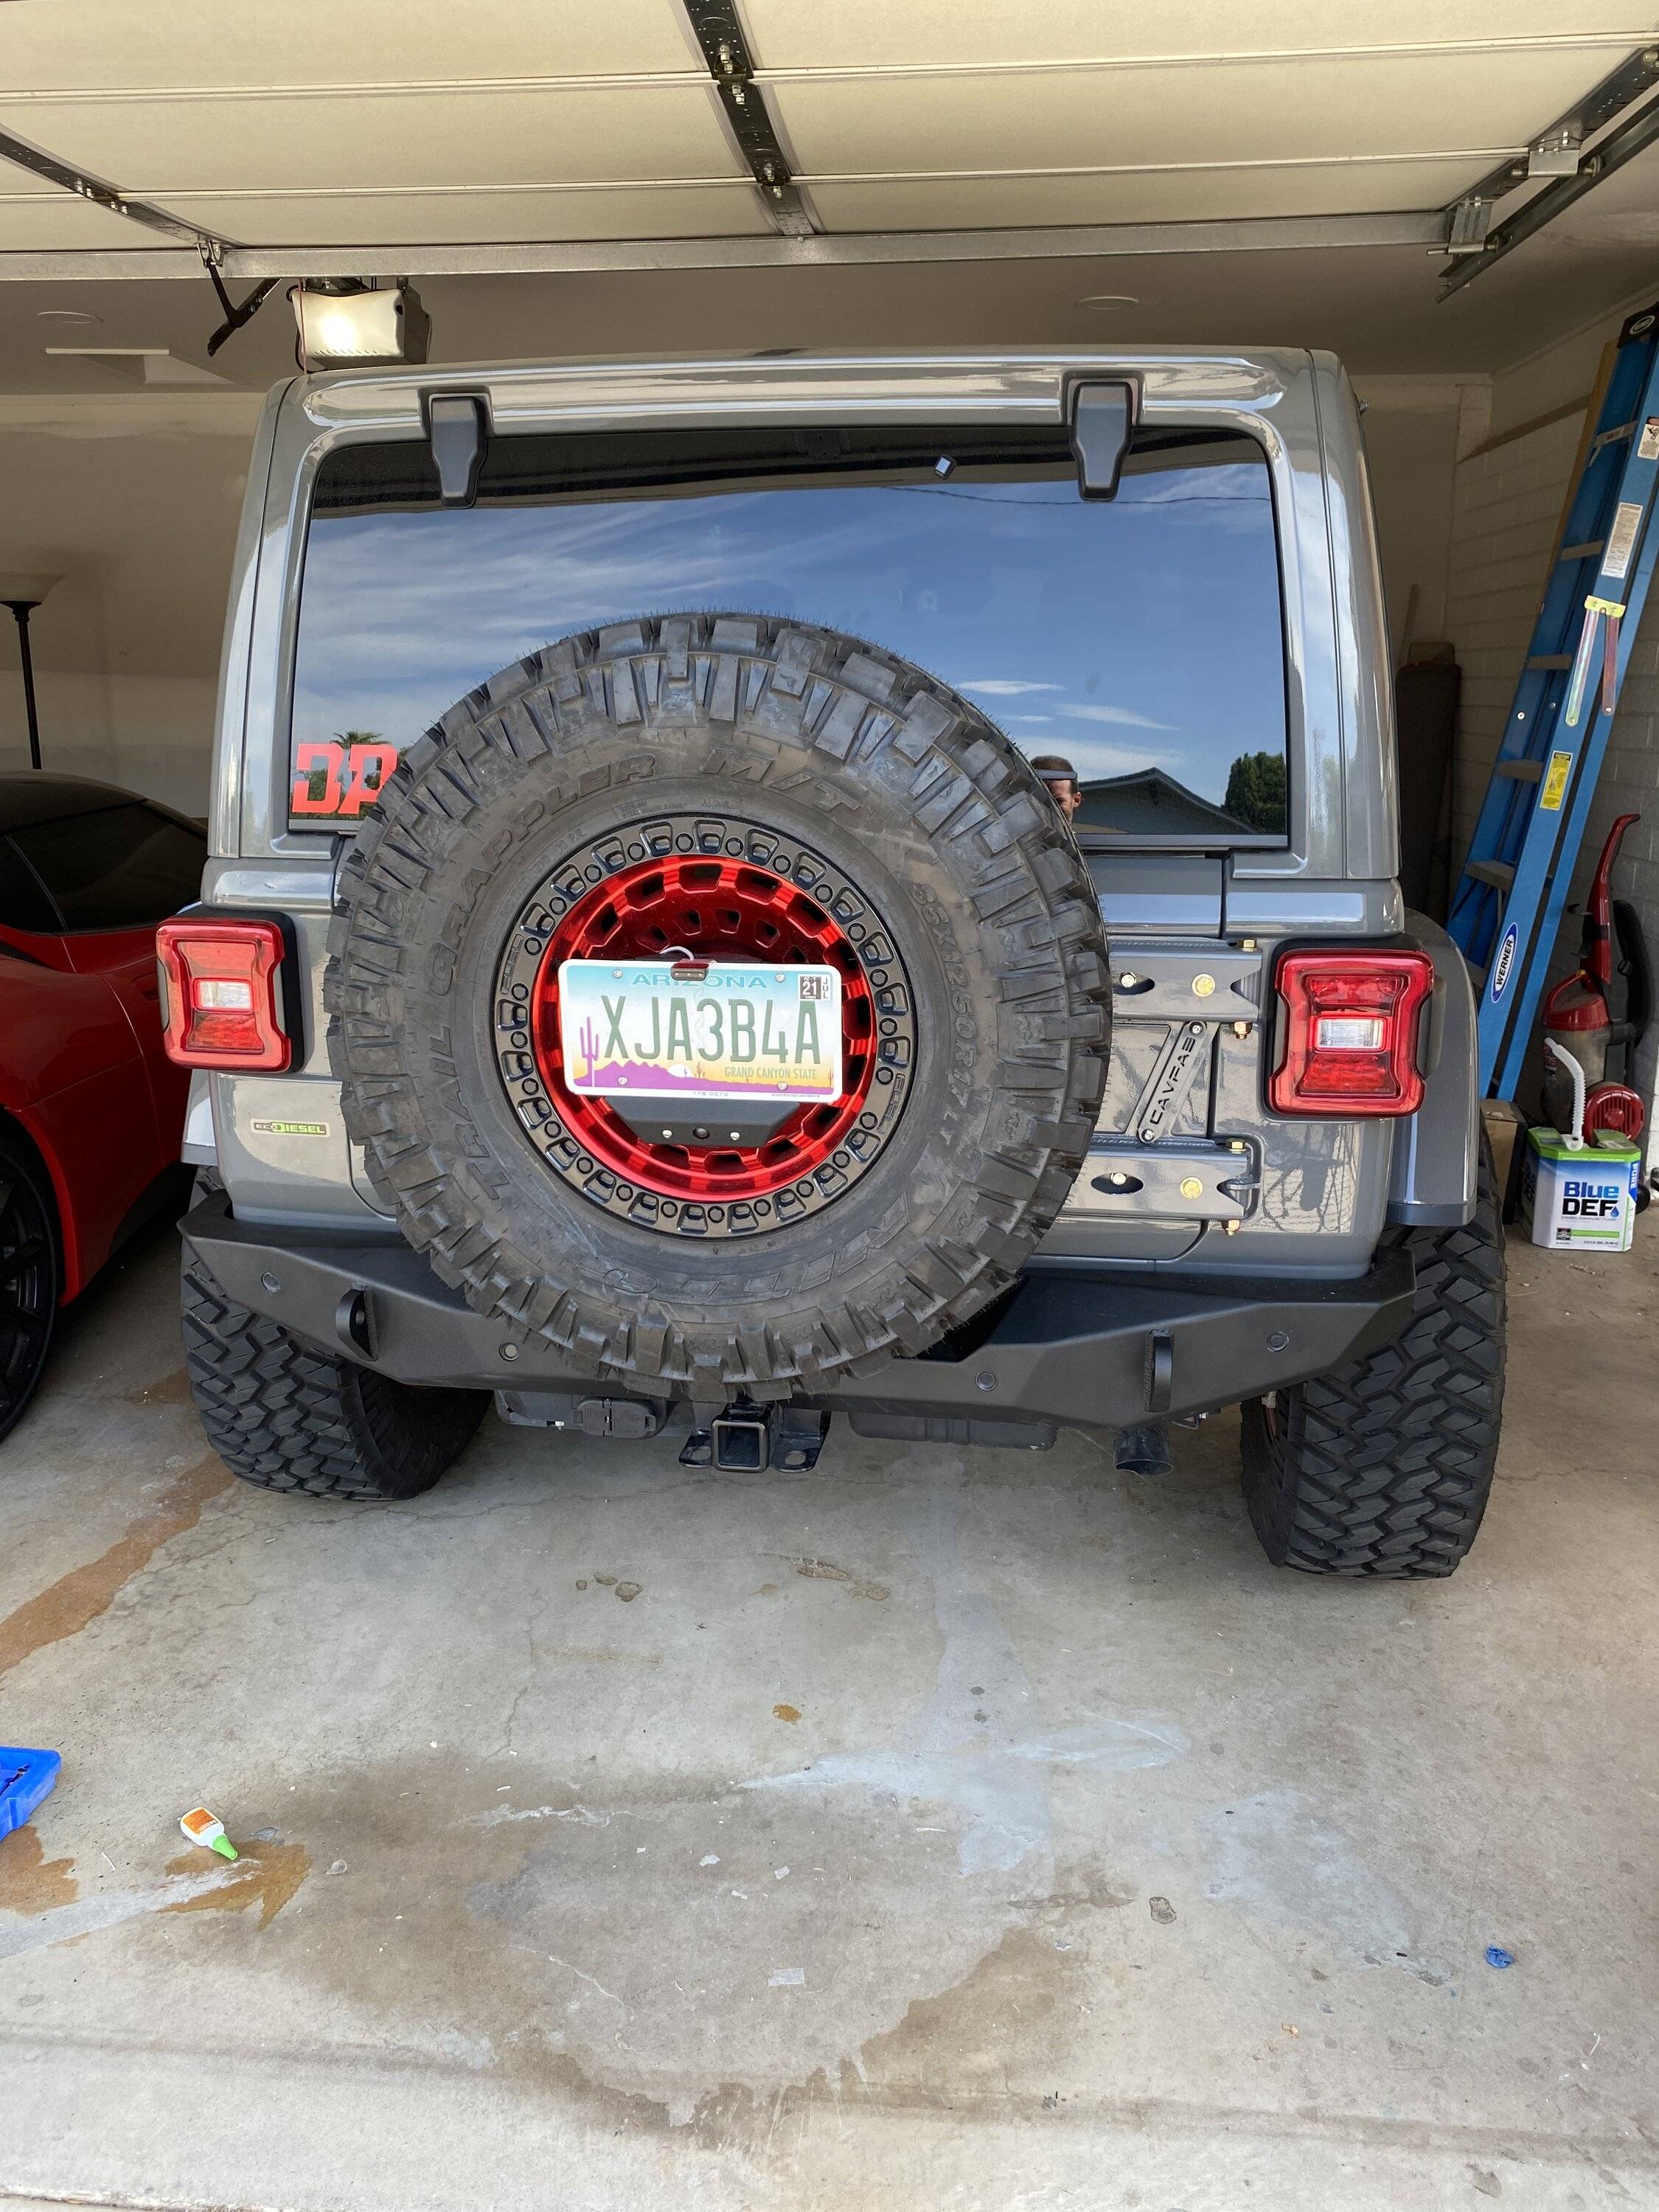
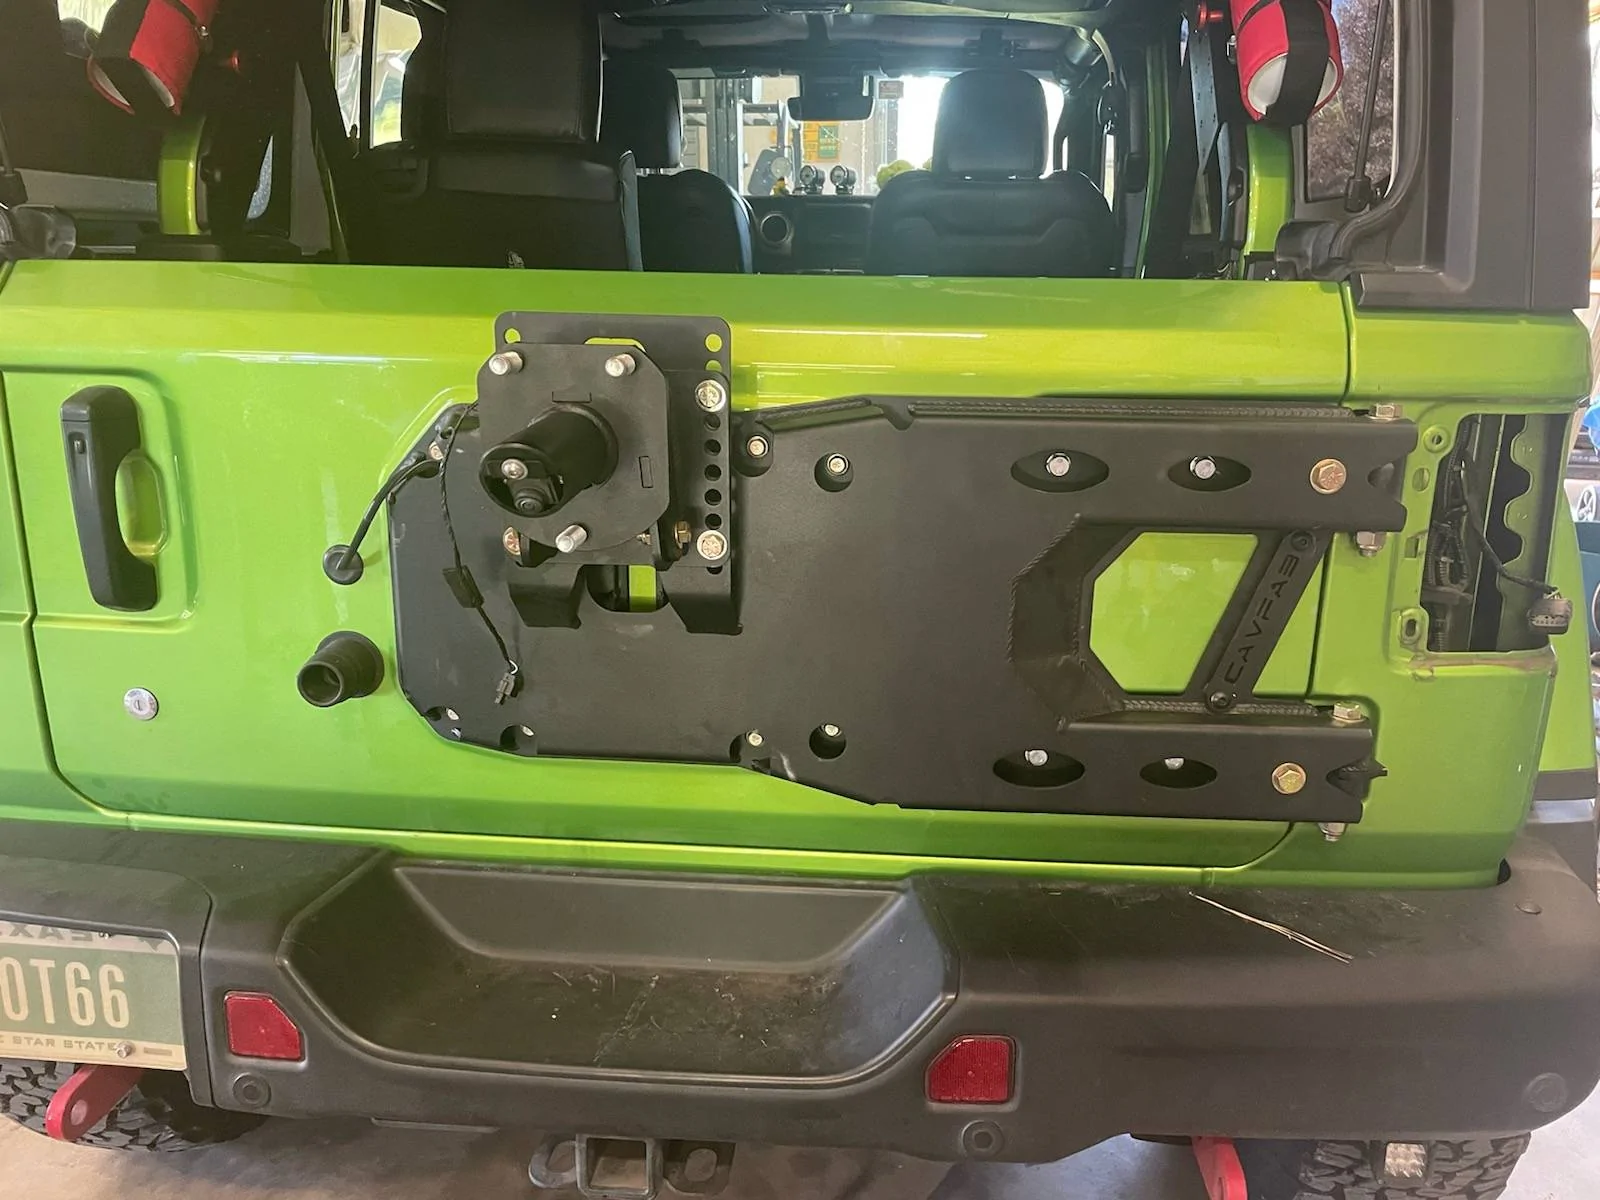
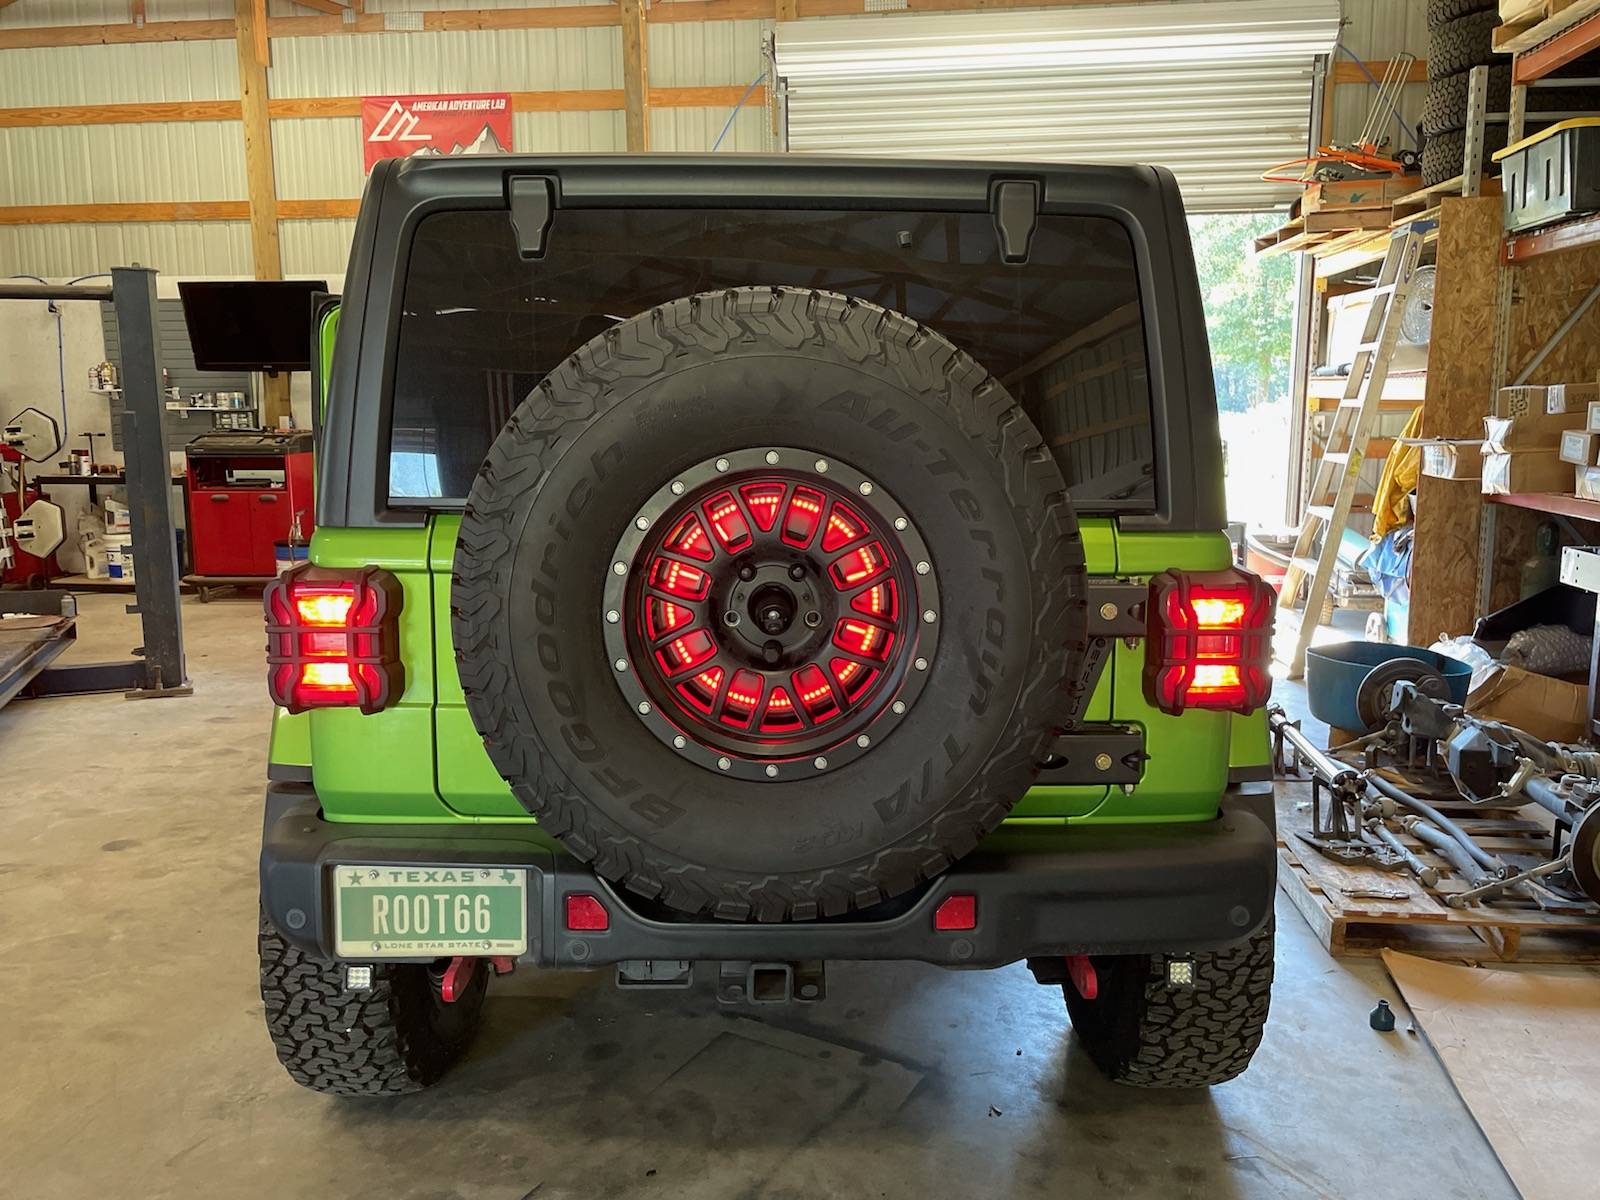
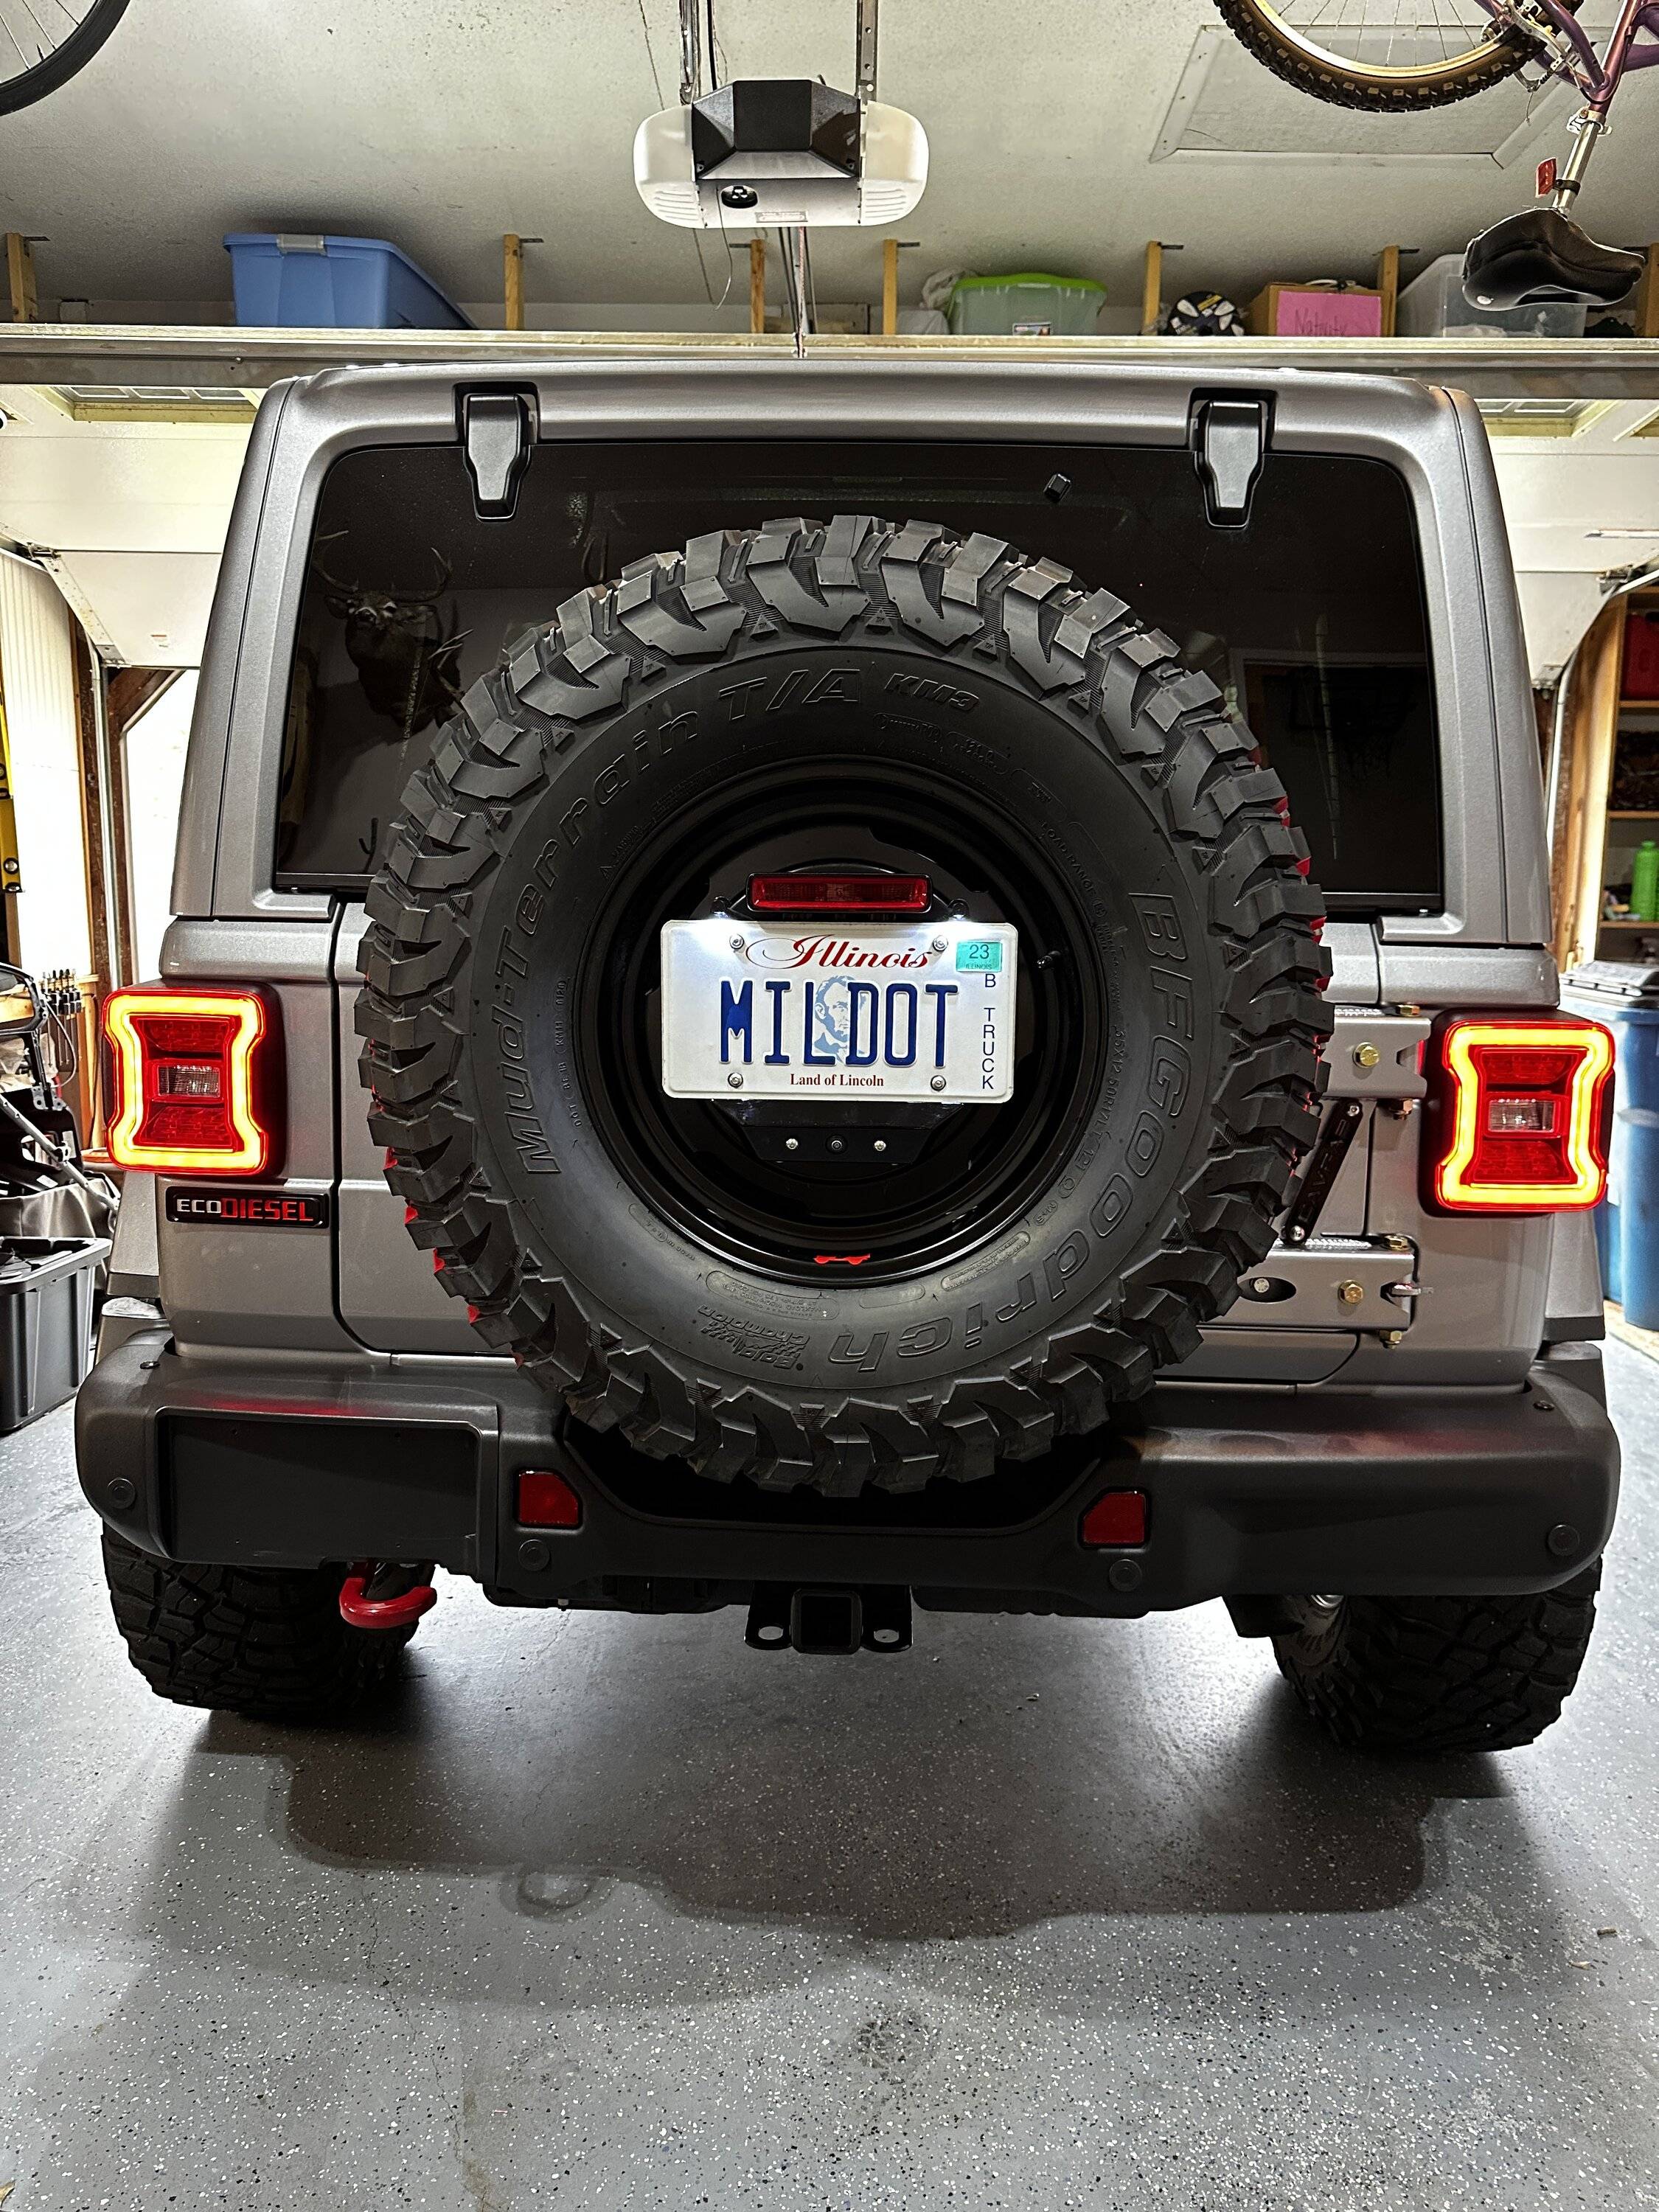
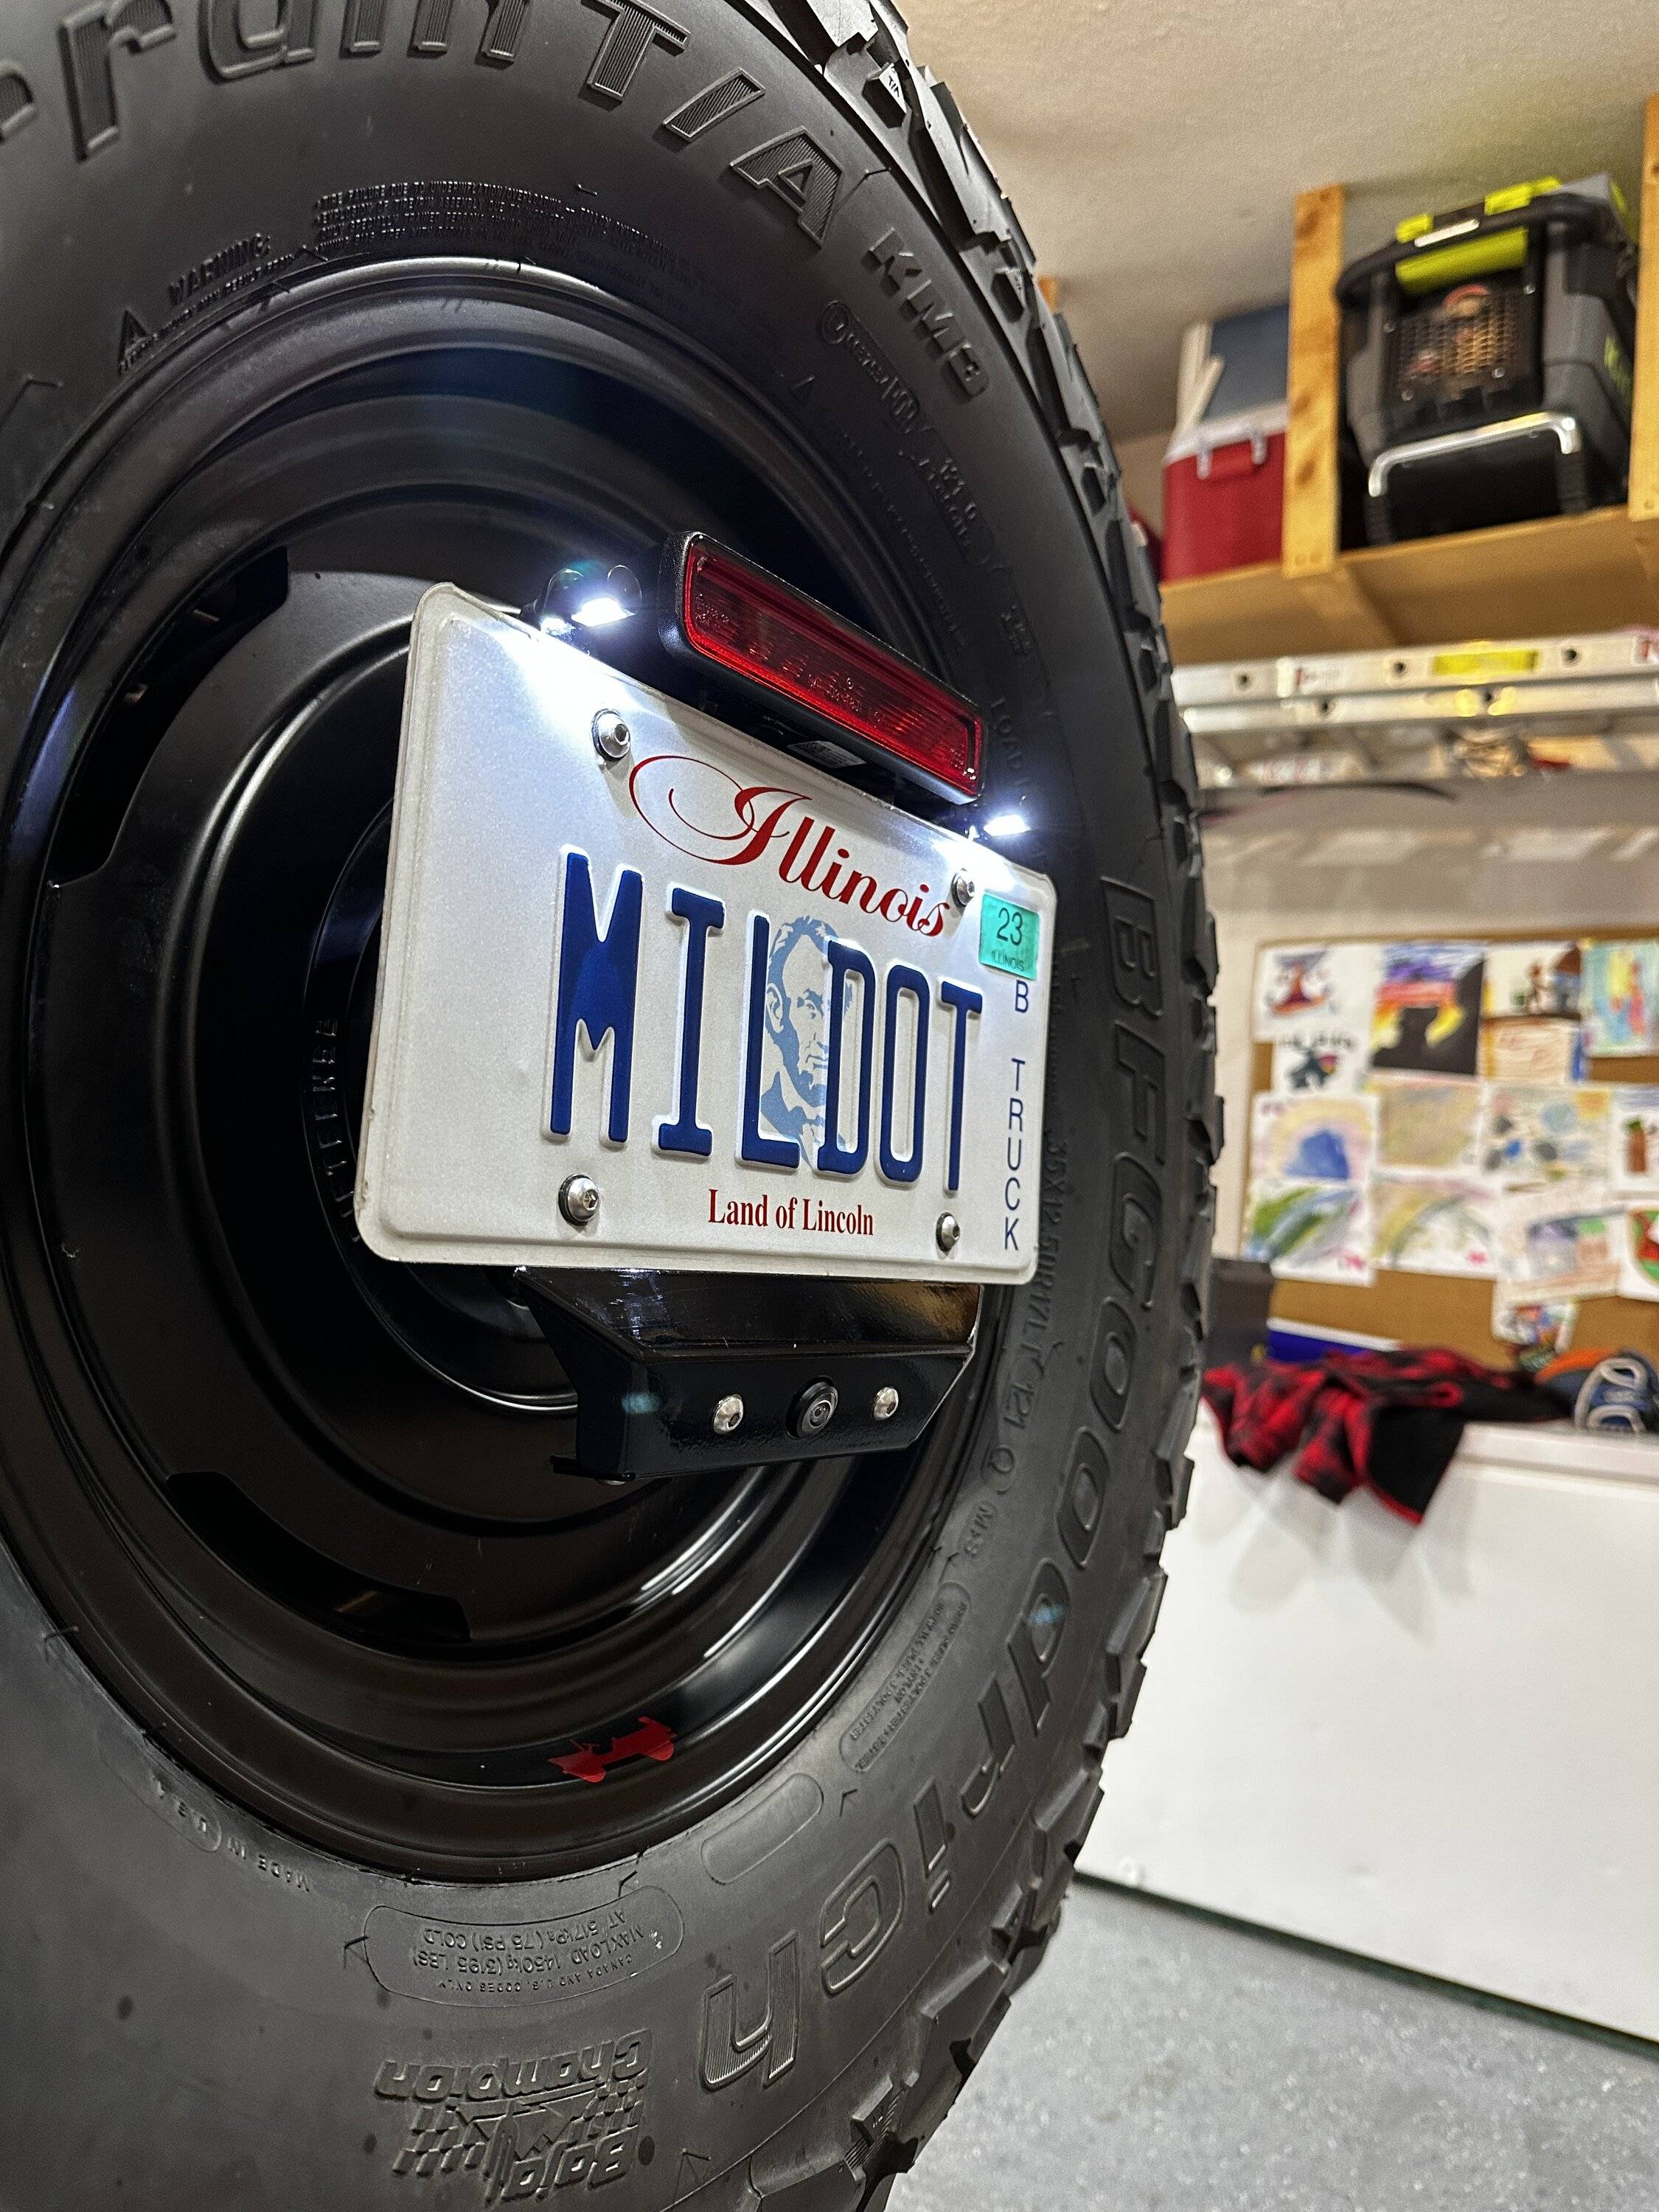
Finished the instal today.
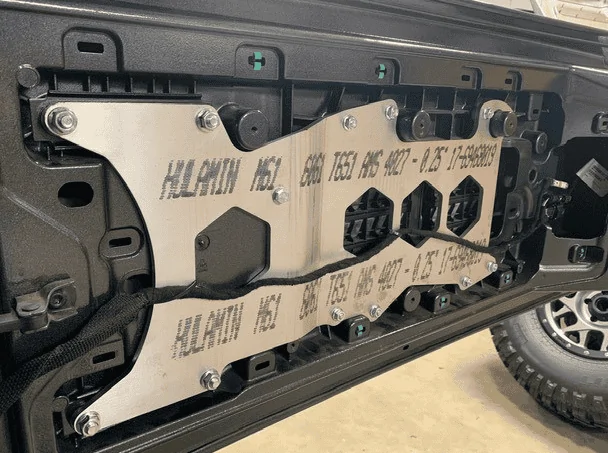
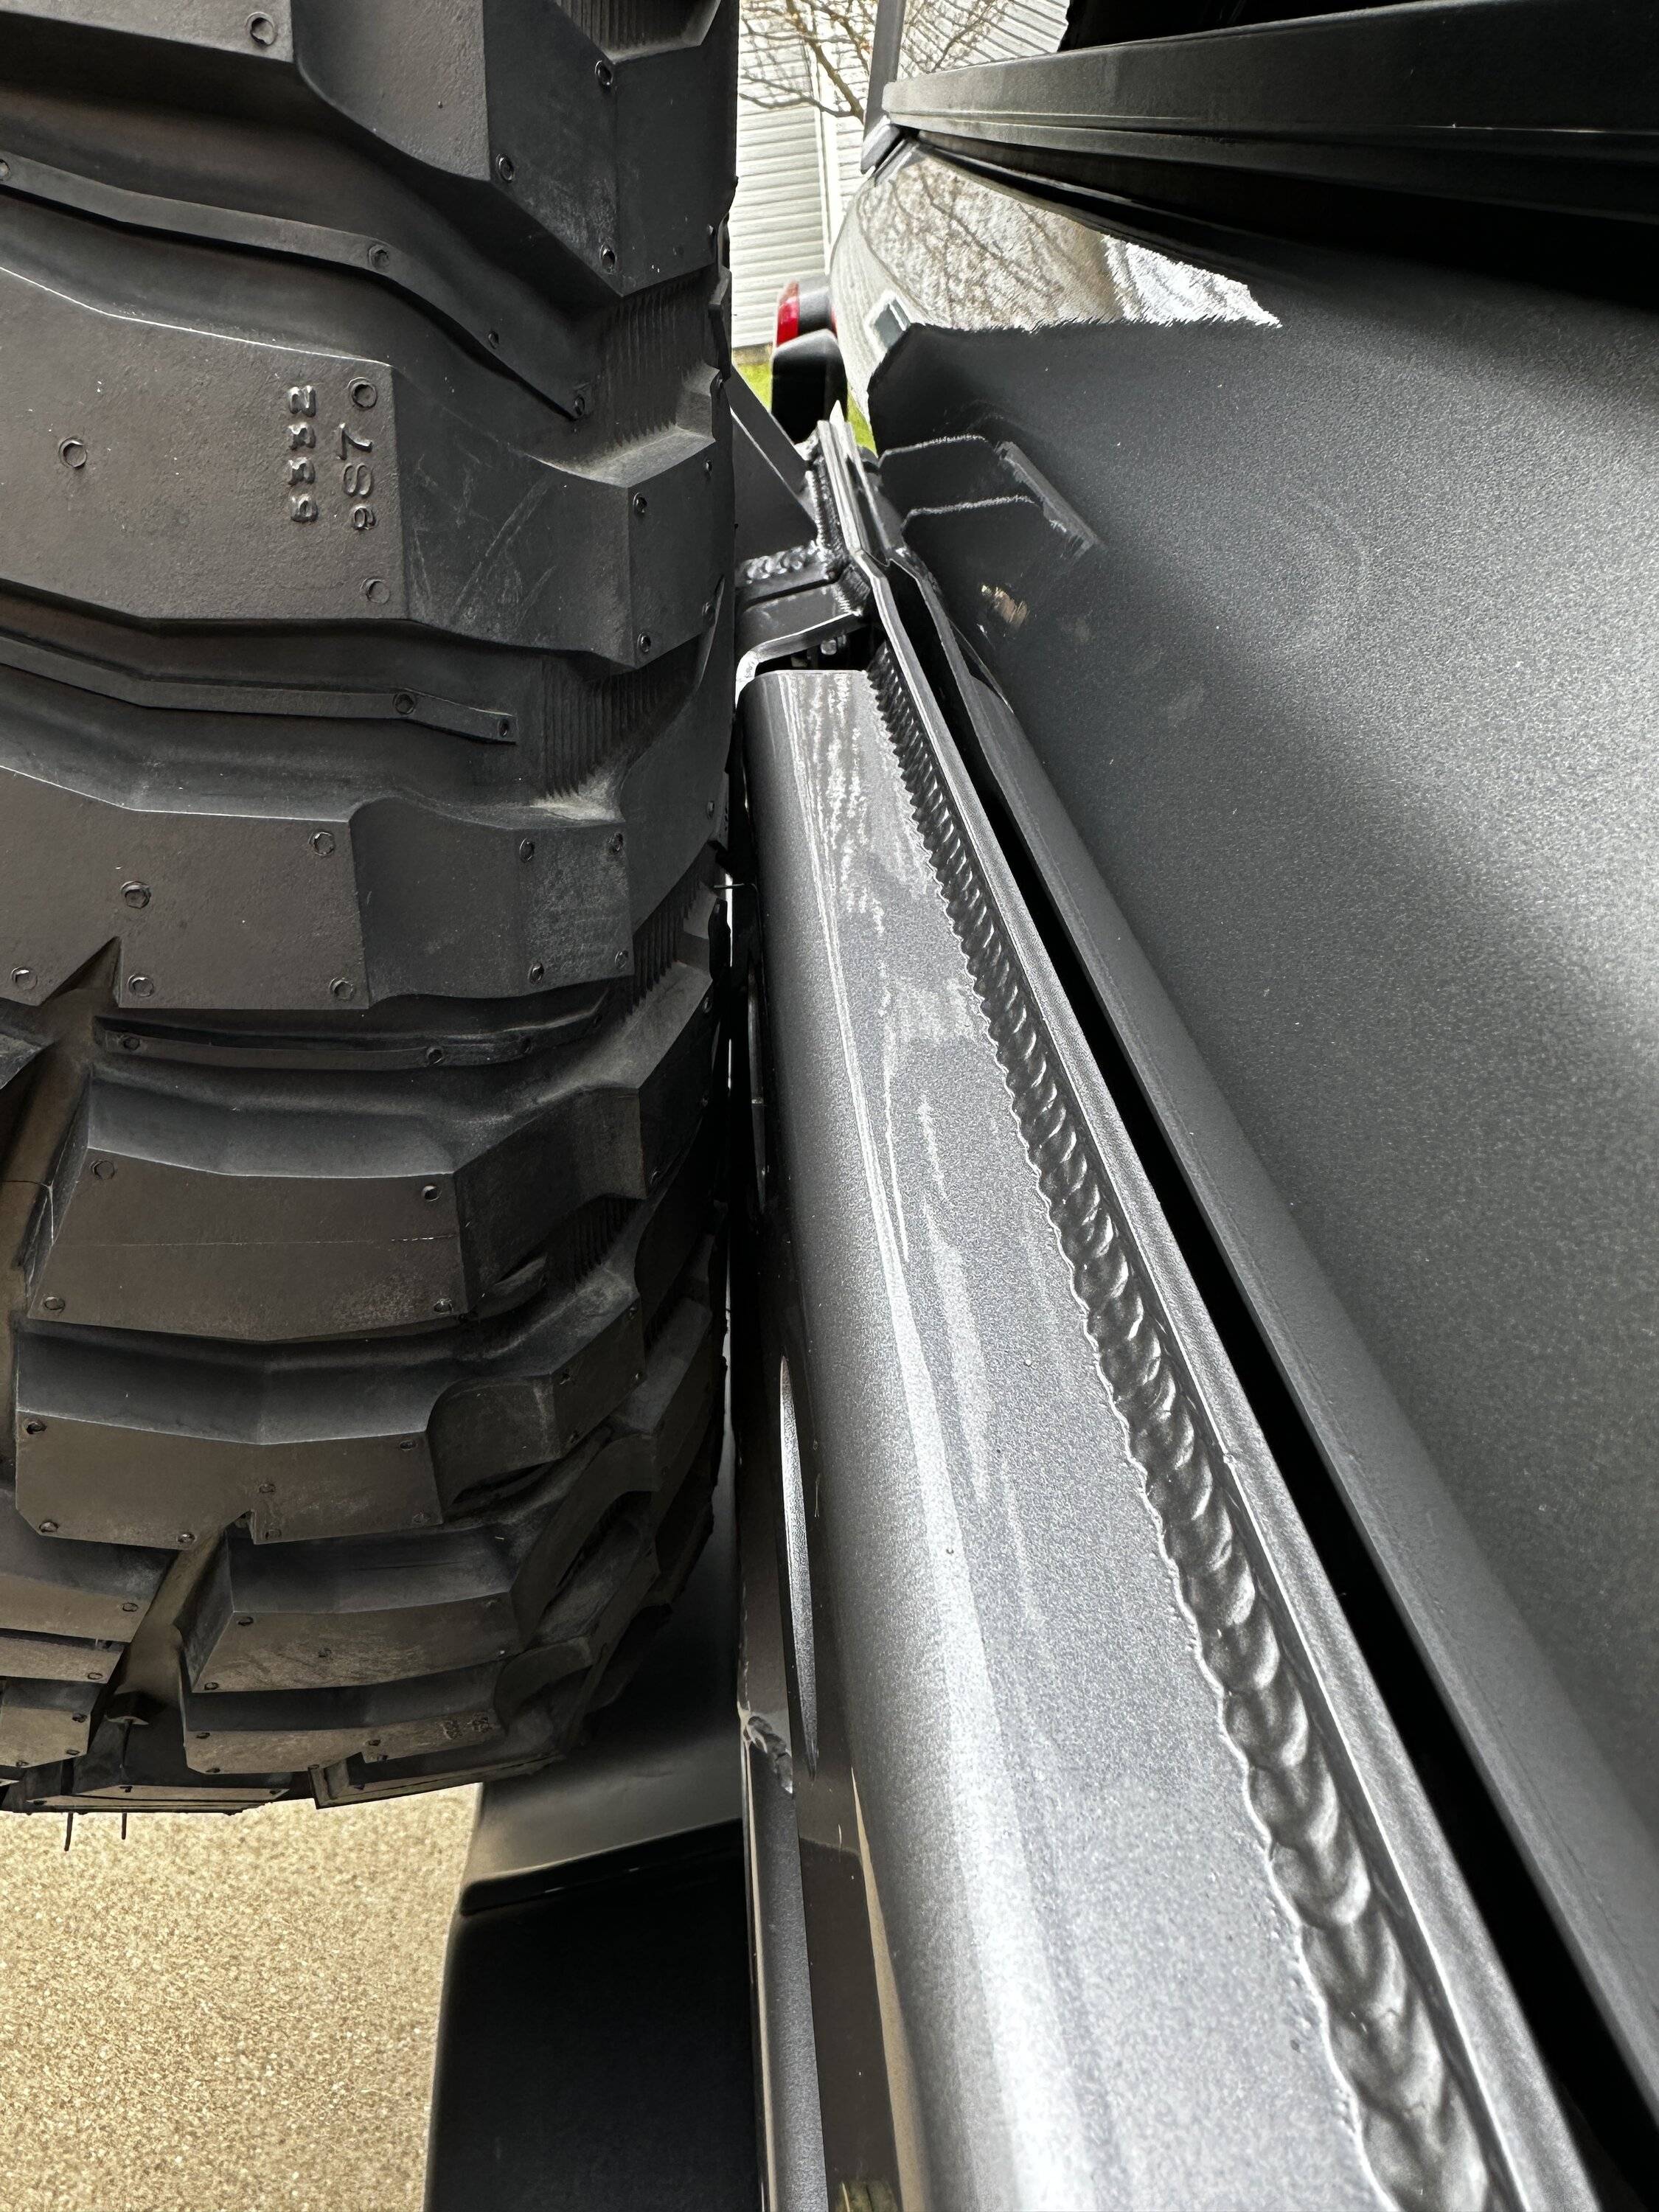
The carrier matches up beautifully, no shims or washers were needed. The latch side is still about 1/16th high but I’m sure it will settle a bit, and I’ll be changing to 37s here in a few weeks.
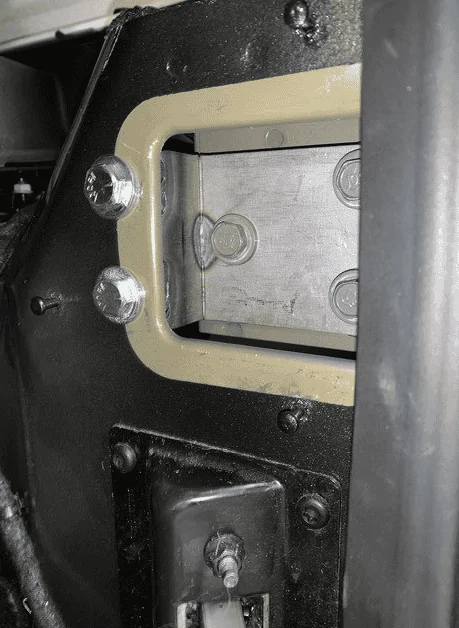
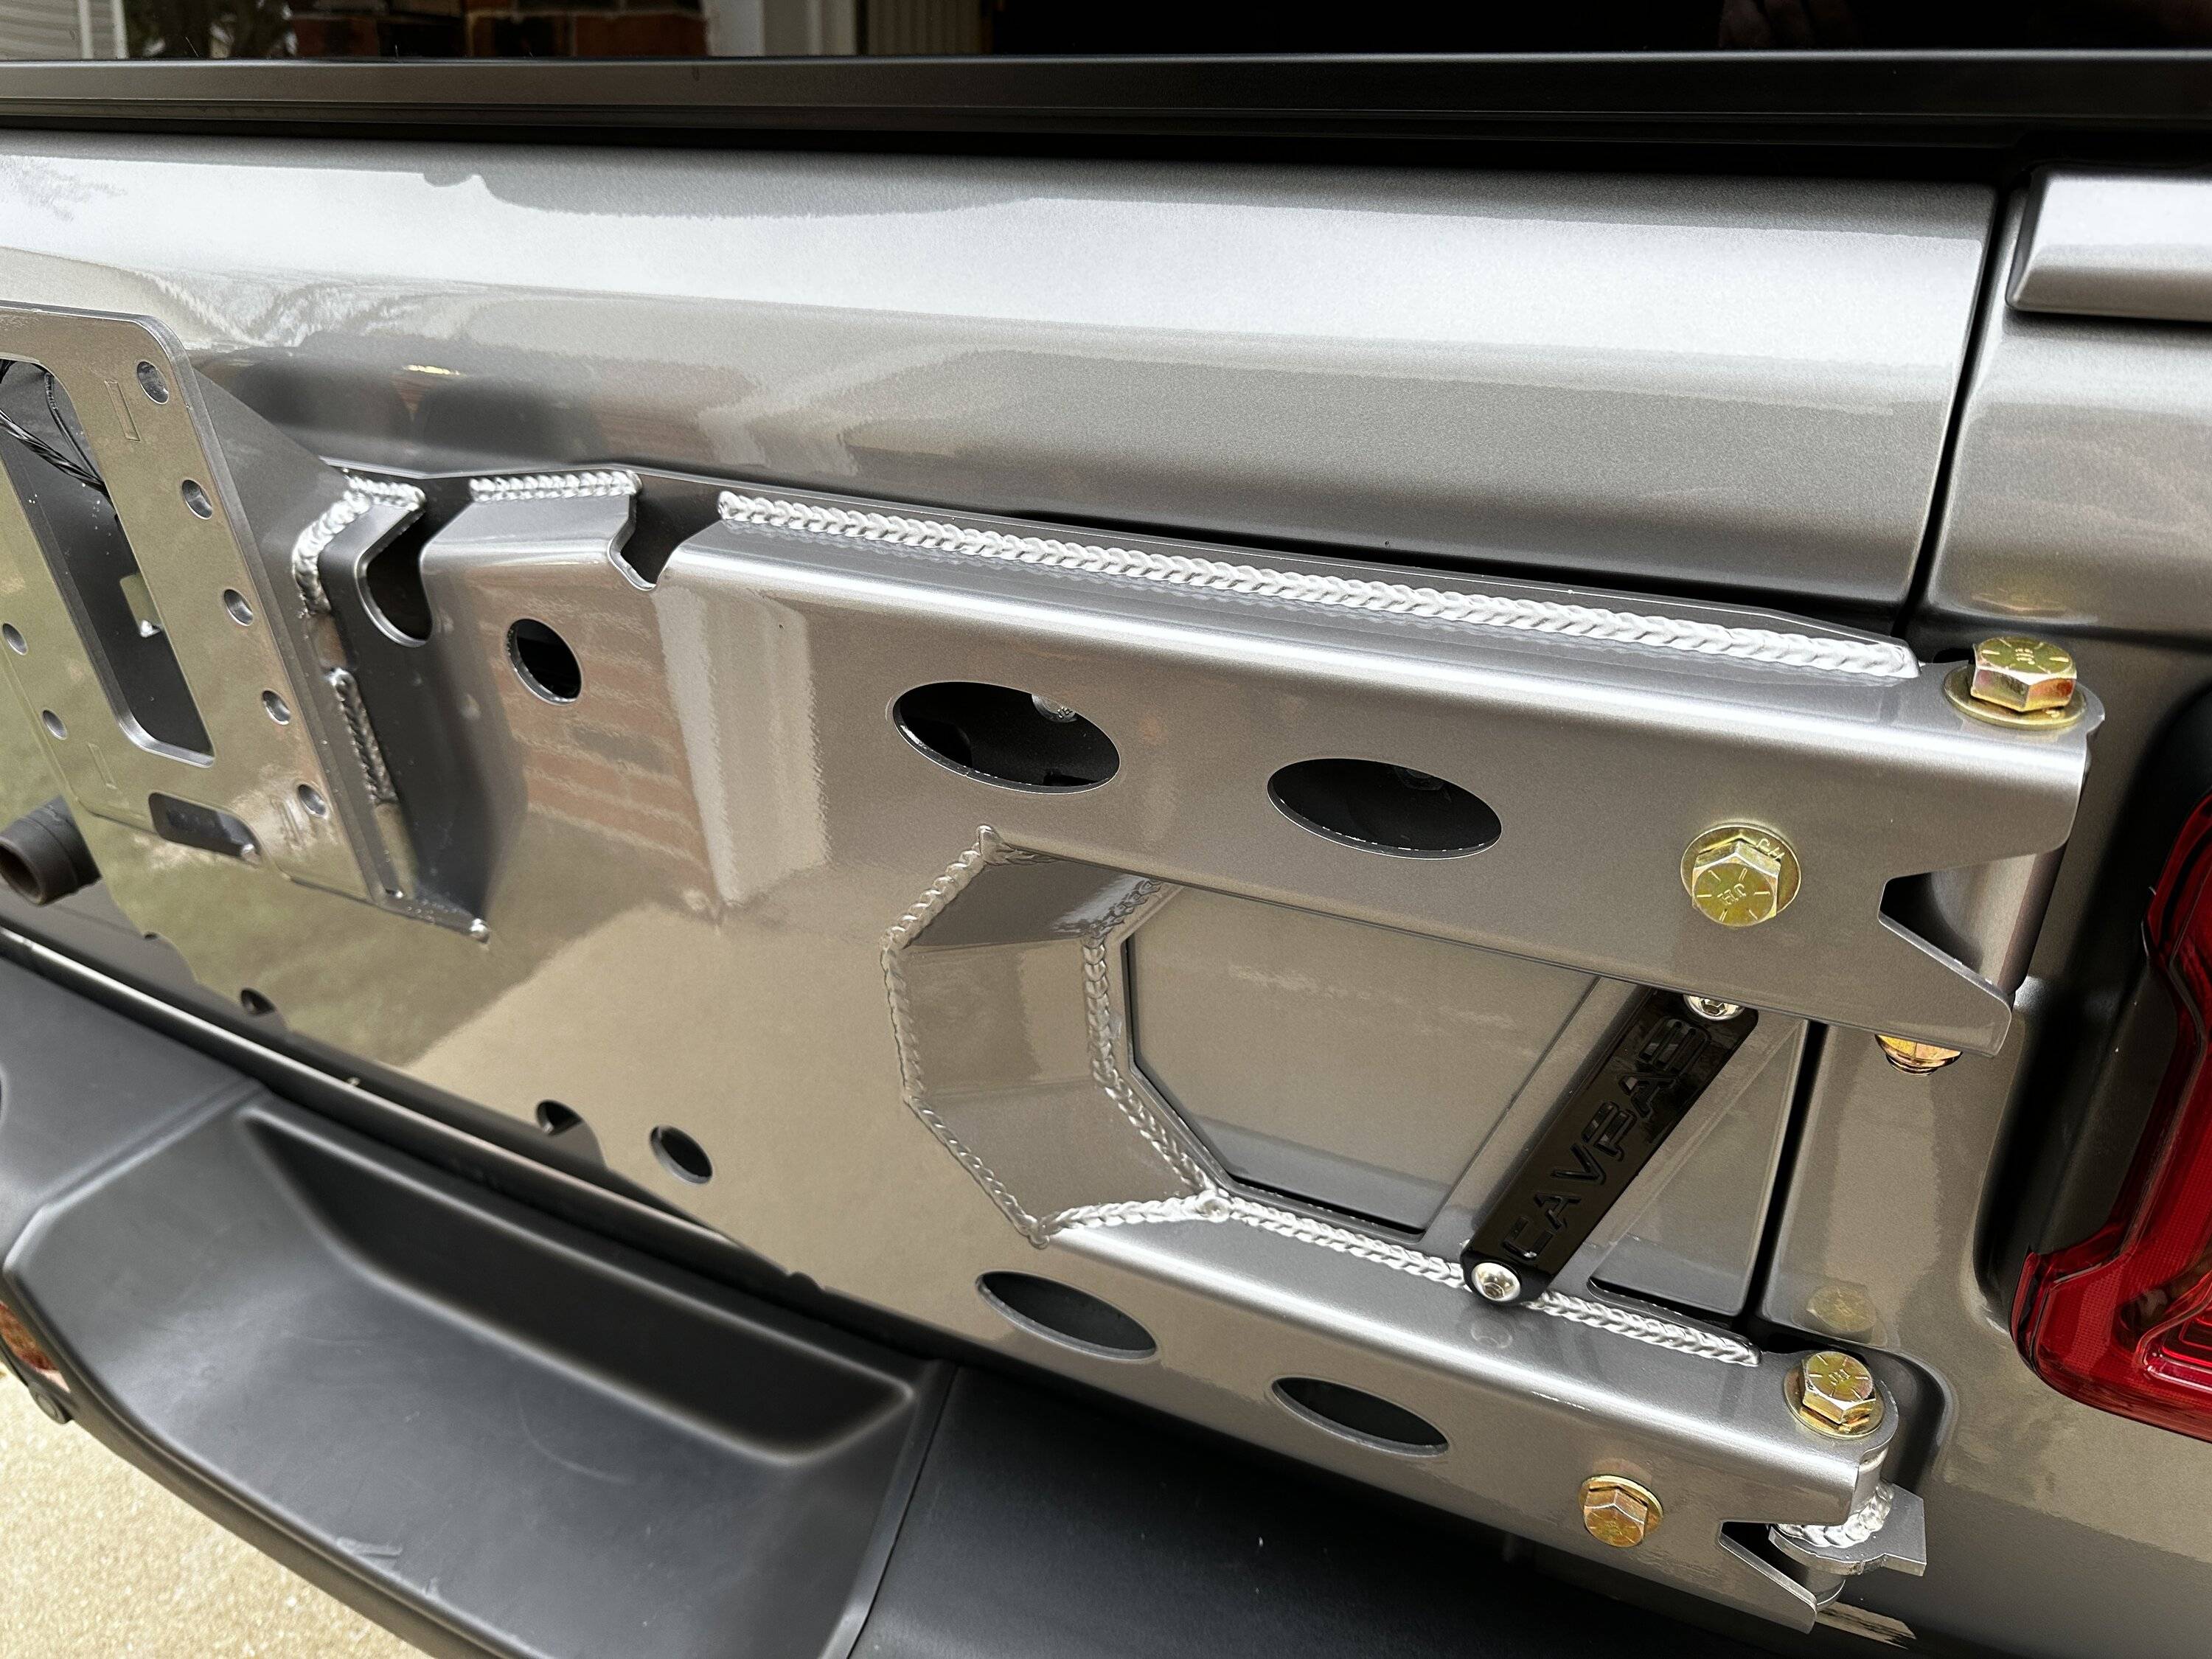
I love the look of the factory rear camera, the third break light, and license plate. I wired the license plate lights on a quick disconnect so I can disconnect all wiring (brake light, camera, plate lights) when/if I need to access the spare tire. 1/4 allen head and extension can be used to access it behind the brake light without removing the license plate from its mount.
Happy over all. She’s a beaut Clark.

The carrier matches up beautifully, no shims or washers were needed. The latch side is still about 1/16th high but I’m sure it will settle a bit, and I’ll be changing to 37s here in a few weeks.
I love the look of the factory rear camera, the third break light, and license plate. I wired the license plate lights on a quick disconnect so I can disconnect all wiring (brake light, camera, plate lights) when/if I need to access the spare tire. 1/4 allen head and extension can be used to access it behind the brake light without removing the license plate from its mount.
Happy over all. She’s a beaut Clark.
Sponsored