AdamG
Well-Known Member
- First Name
- Adam
- Joined
- Feb 17, 2021
- Threads
- 12
- Messages
- 678
- Reaction score
- 759
- Location
- SE Michigan
- Vehicle(s)
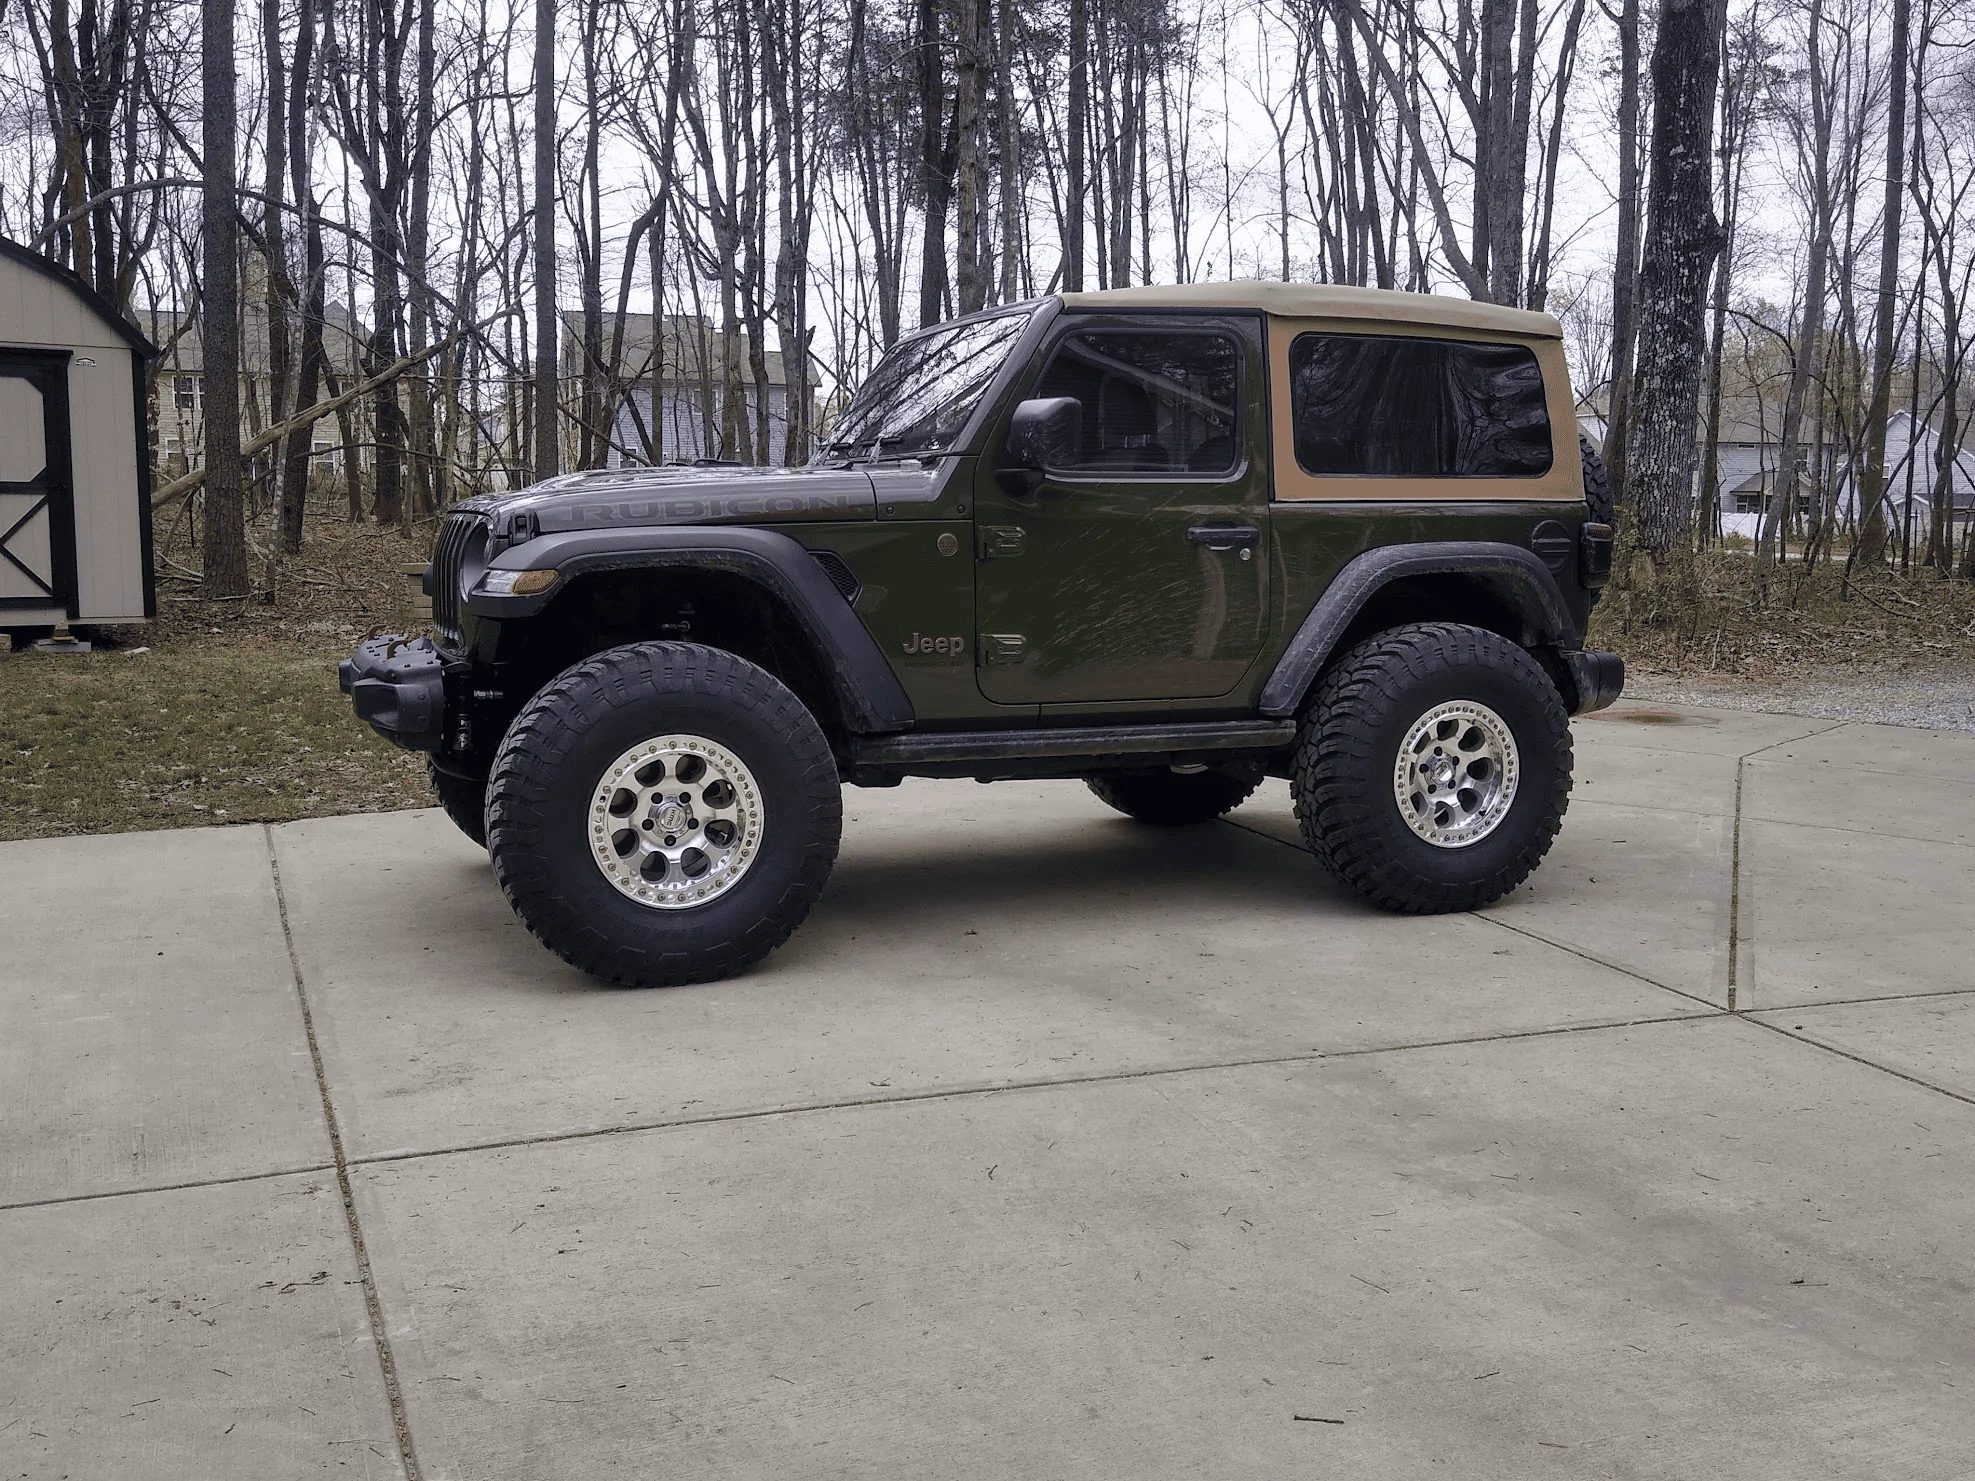
- 2019 JLSportS - SOLD; 2026 Moab 392
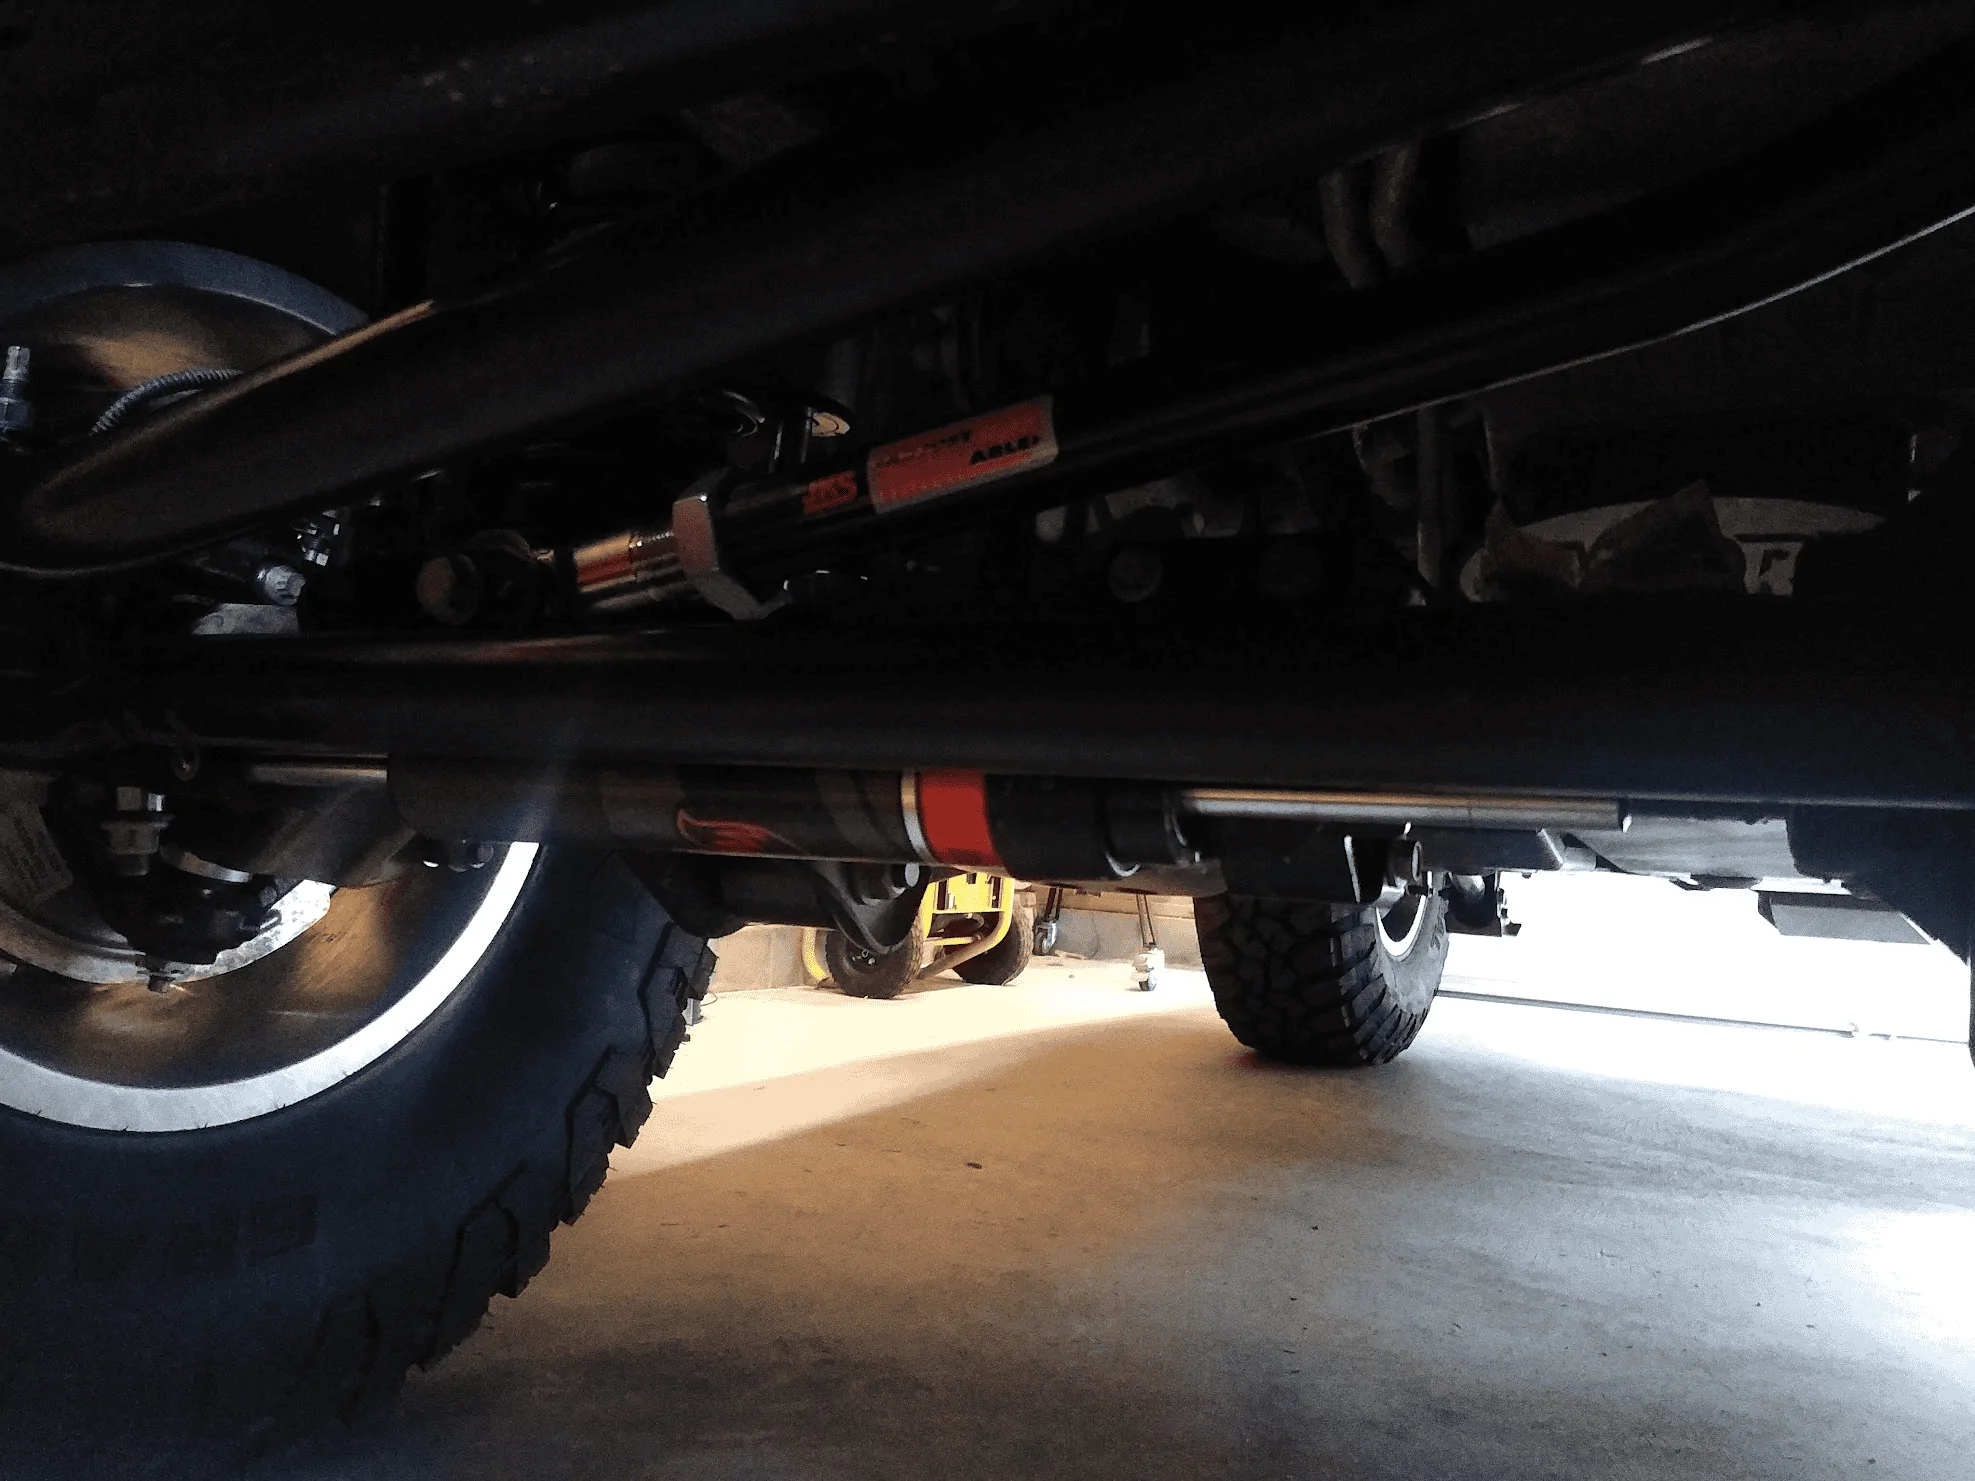
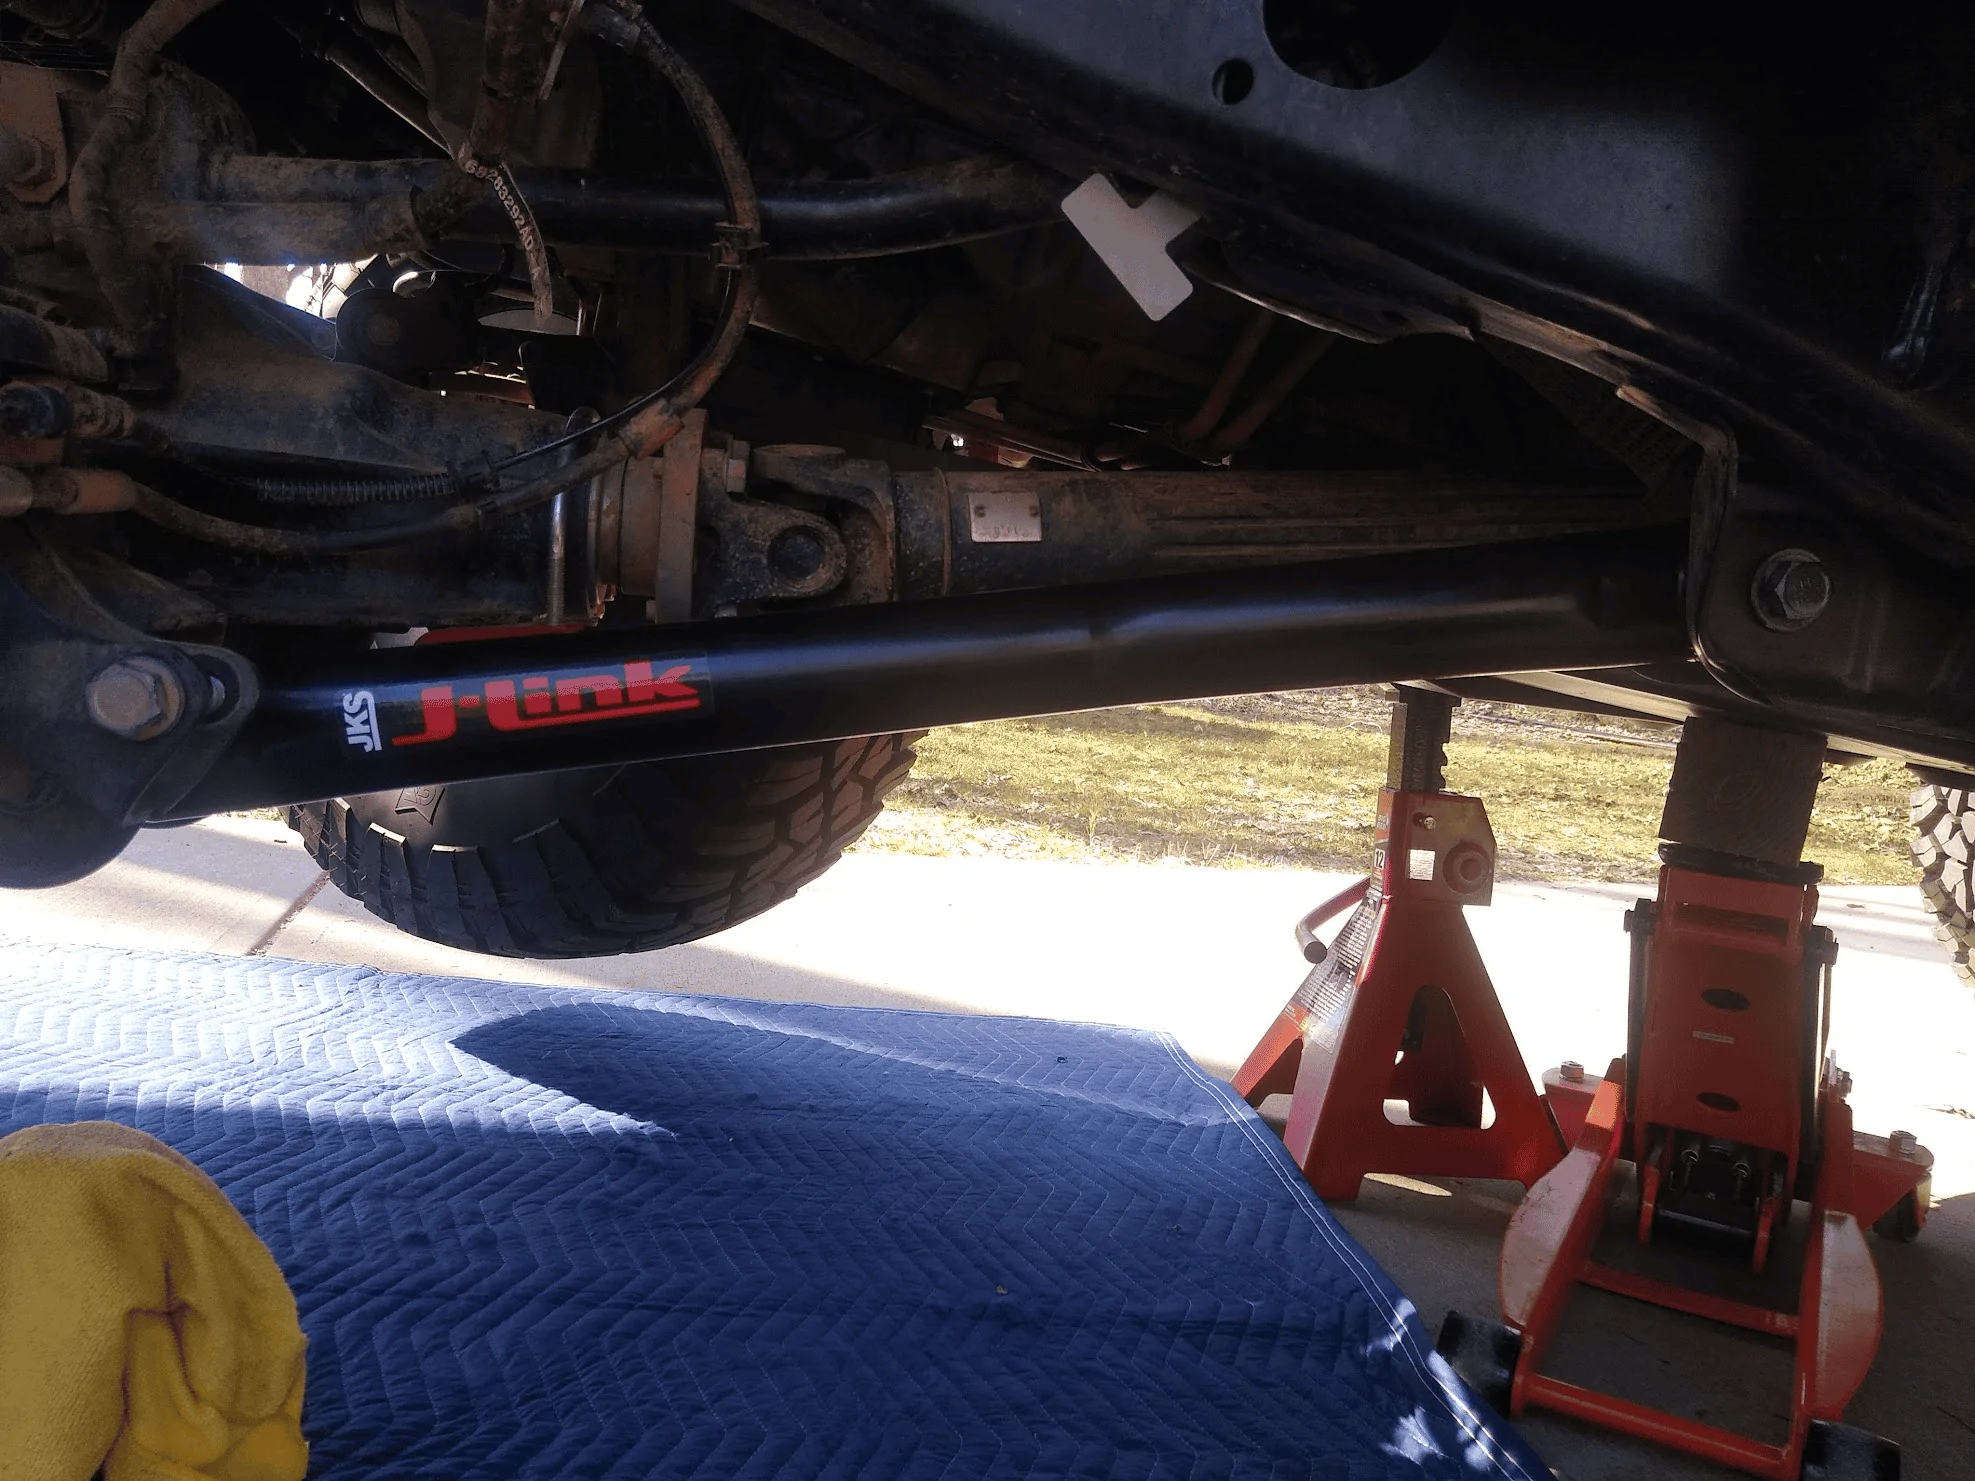
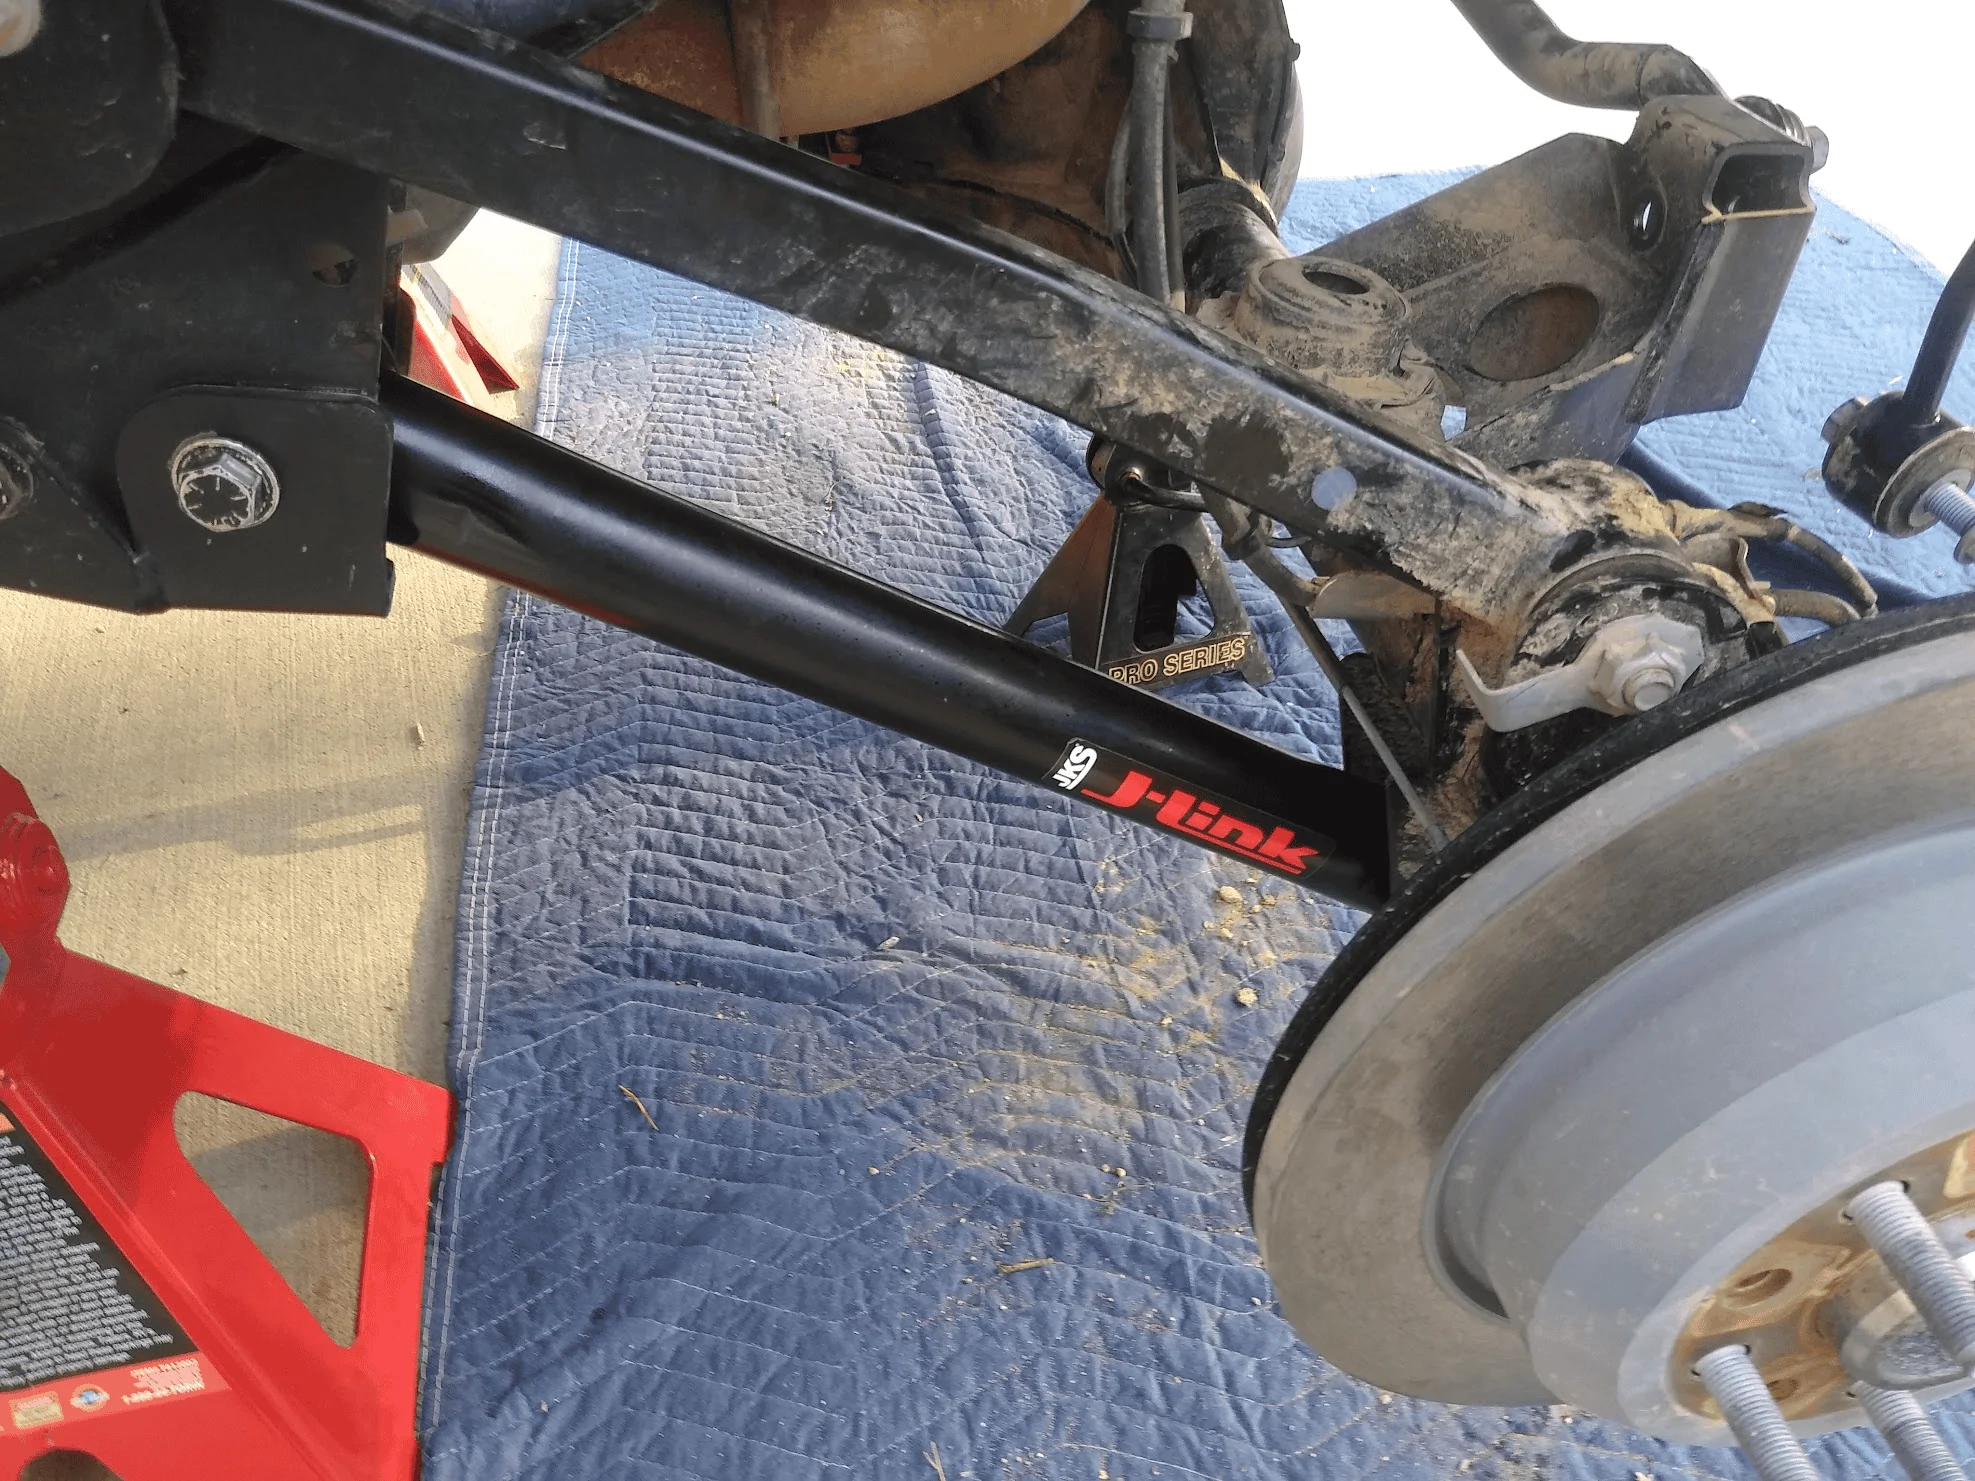
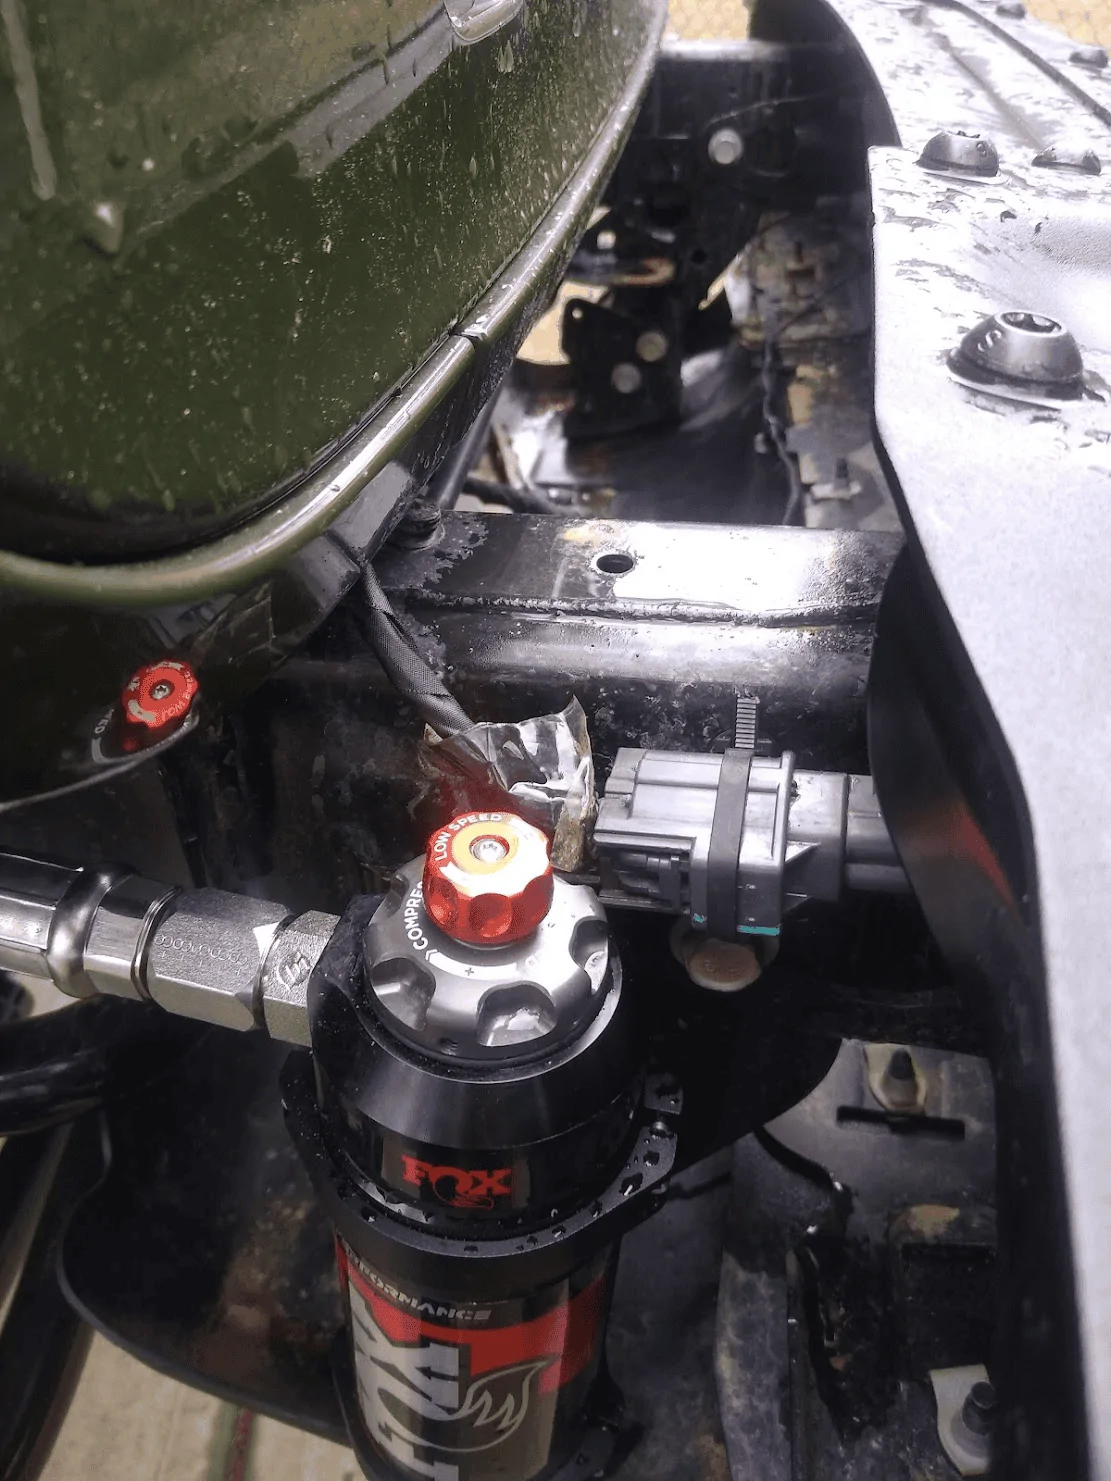
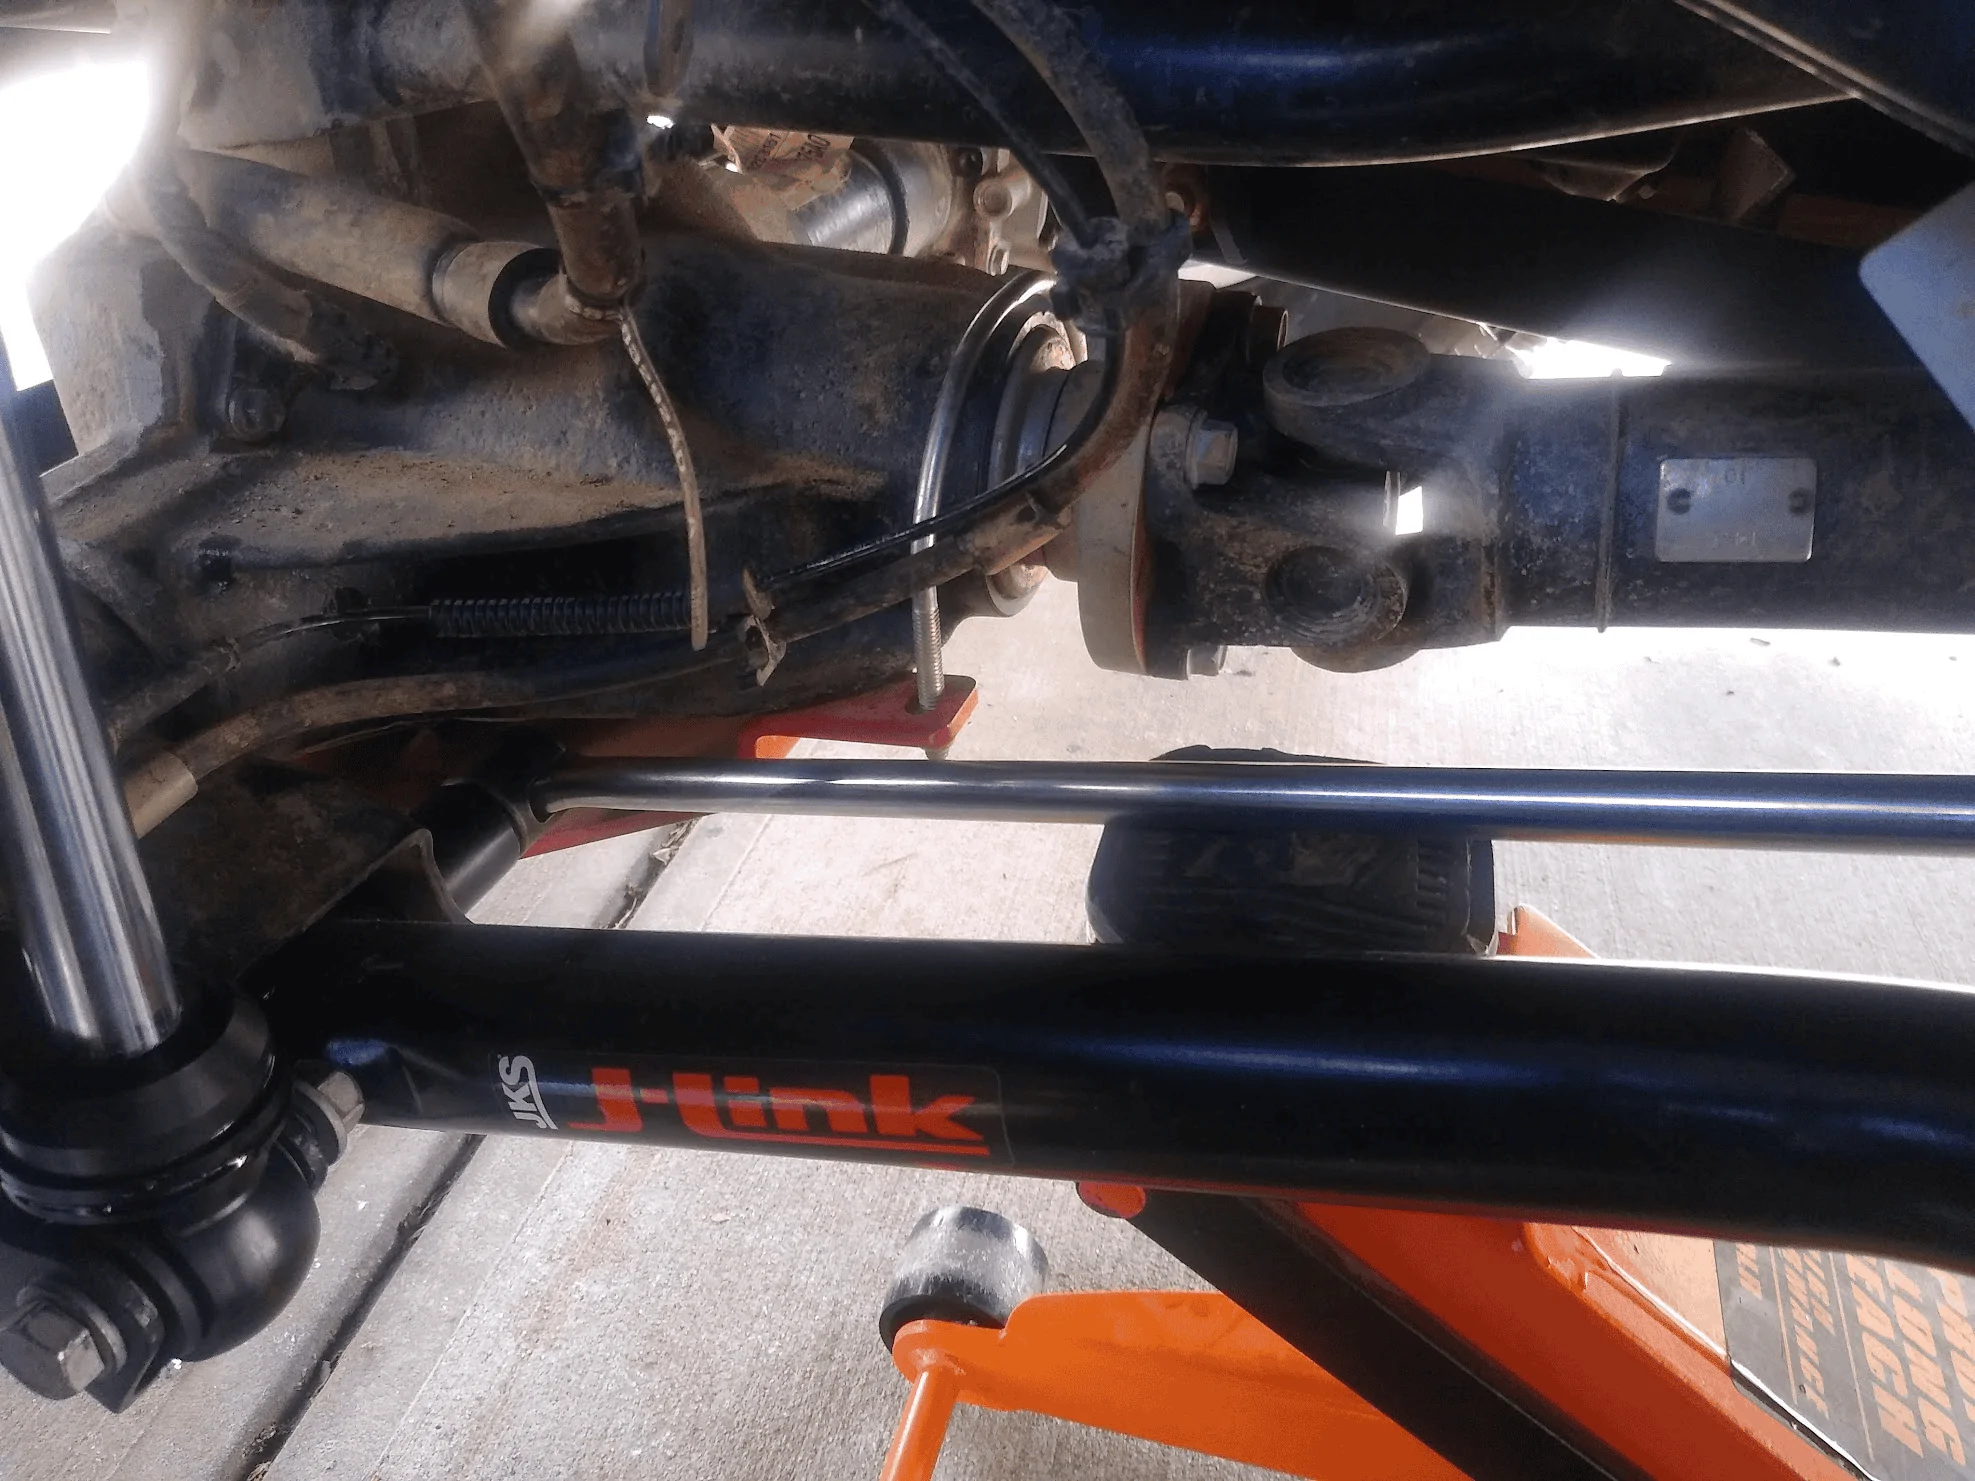
I went with the JKS, it was on sale plus the Northridge forum discount and their free shipping and it scored pretty high on the “yeah buy it” meter.
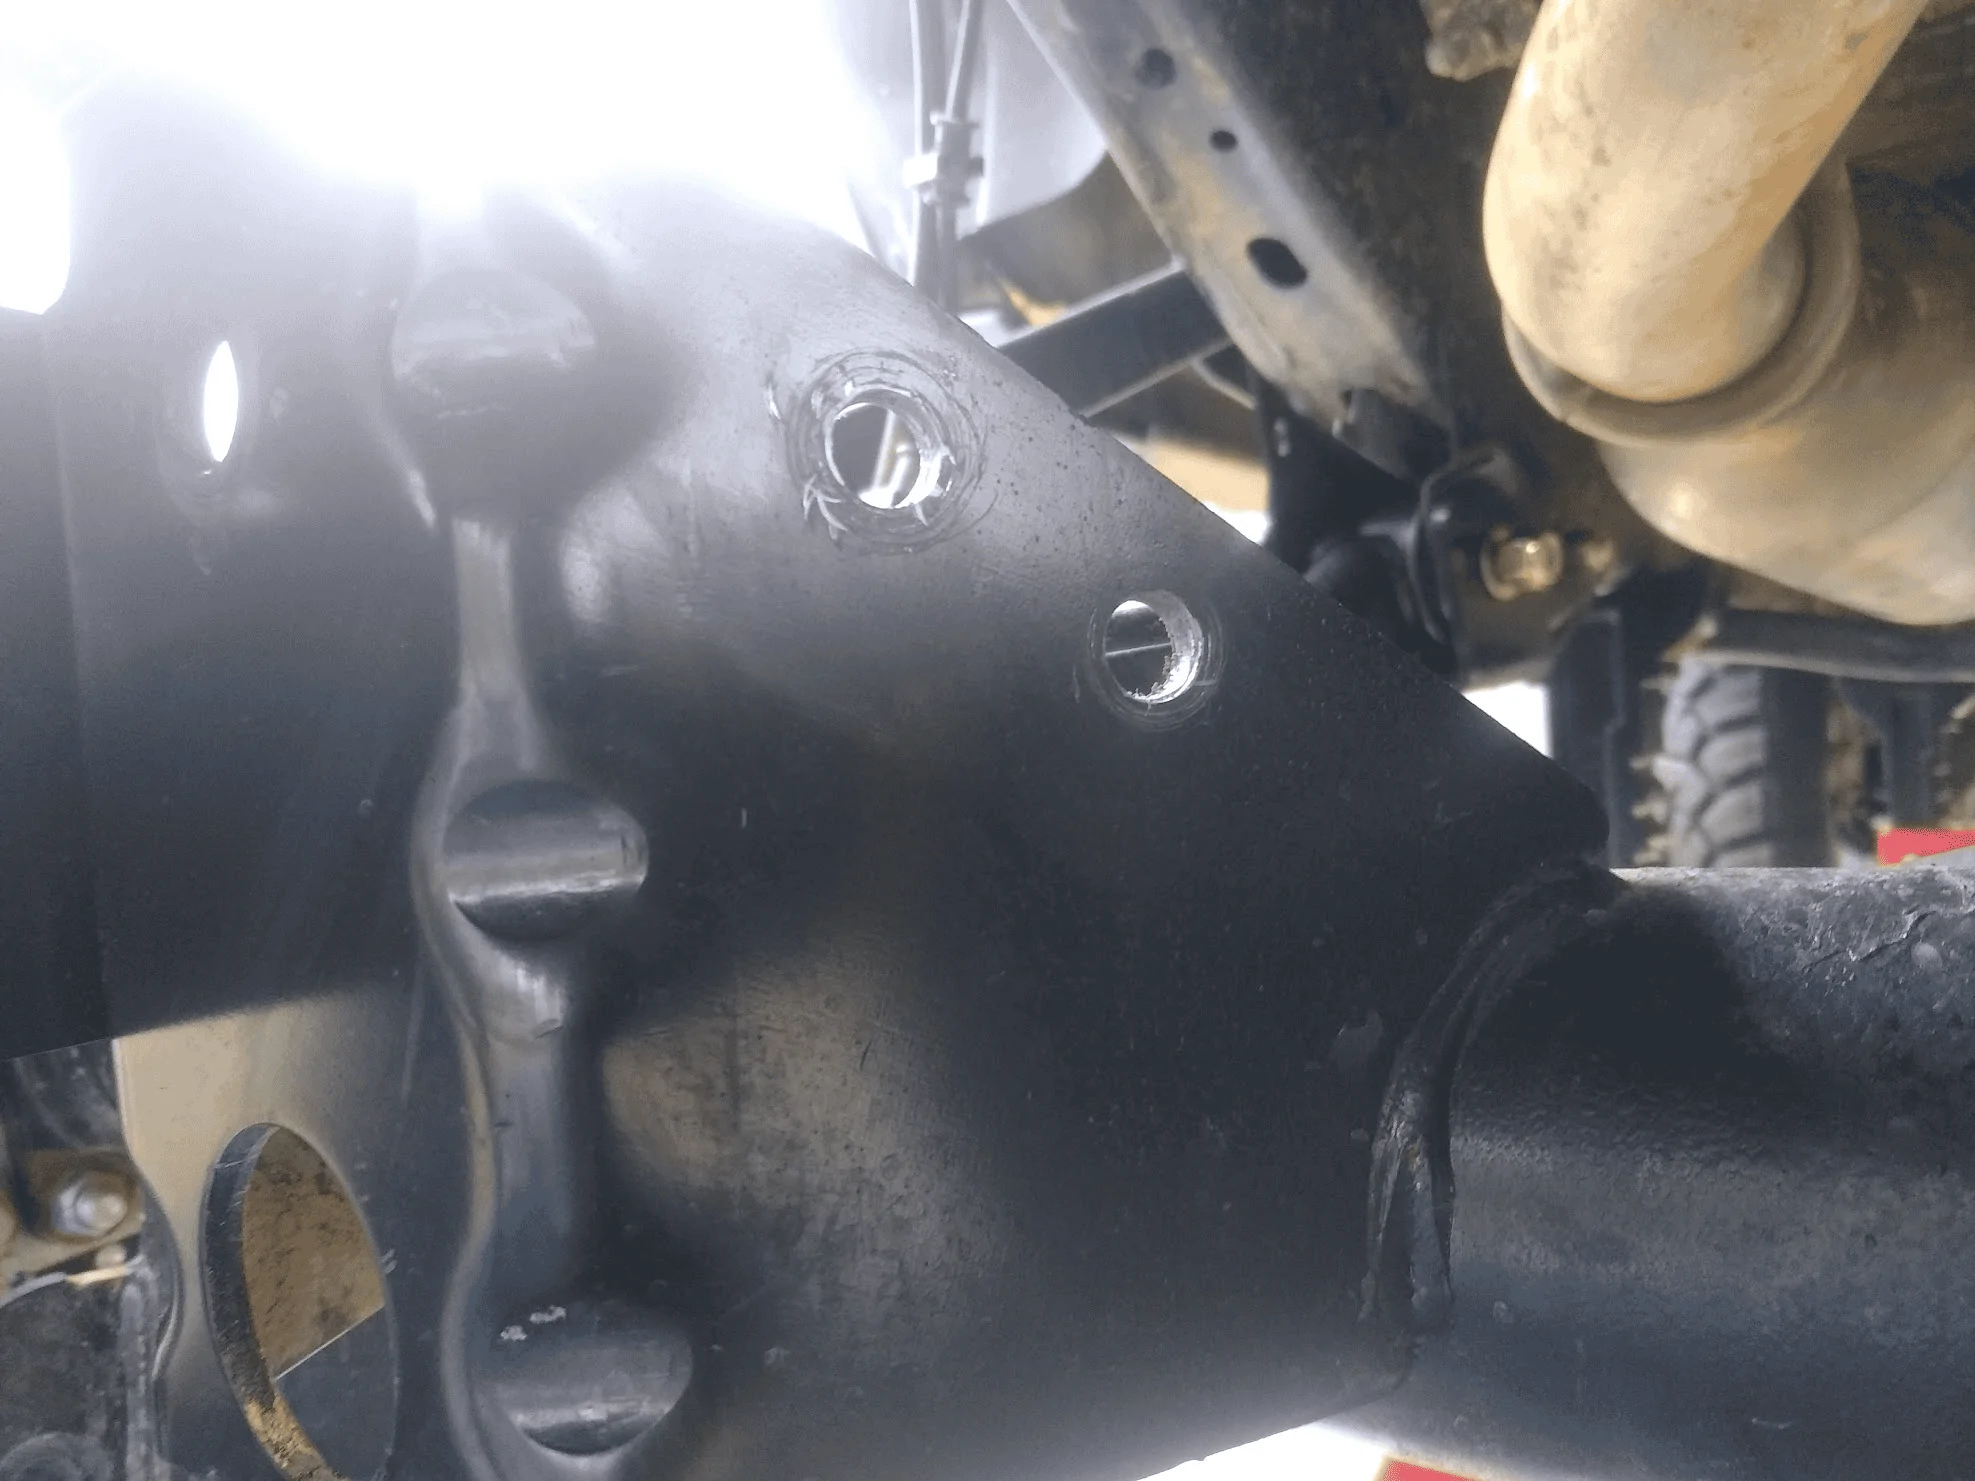
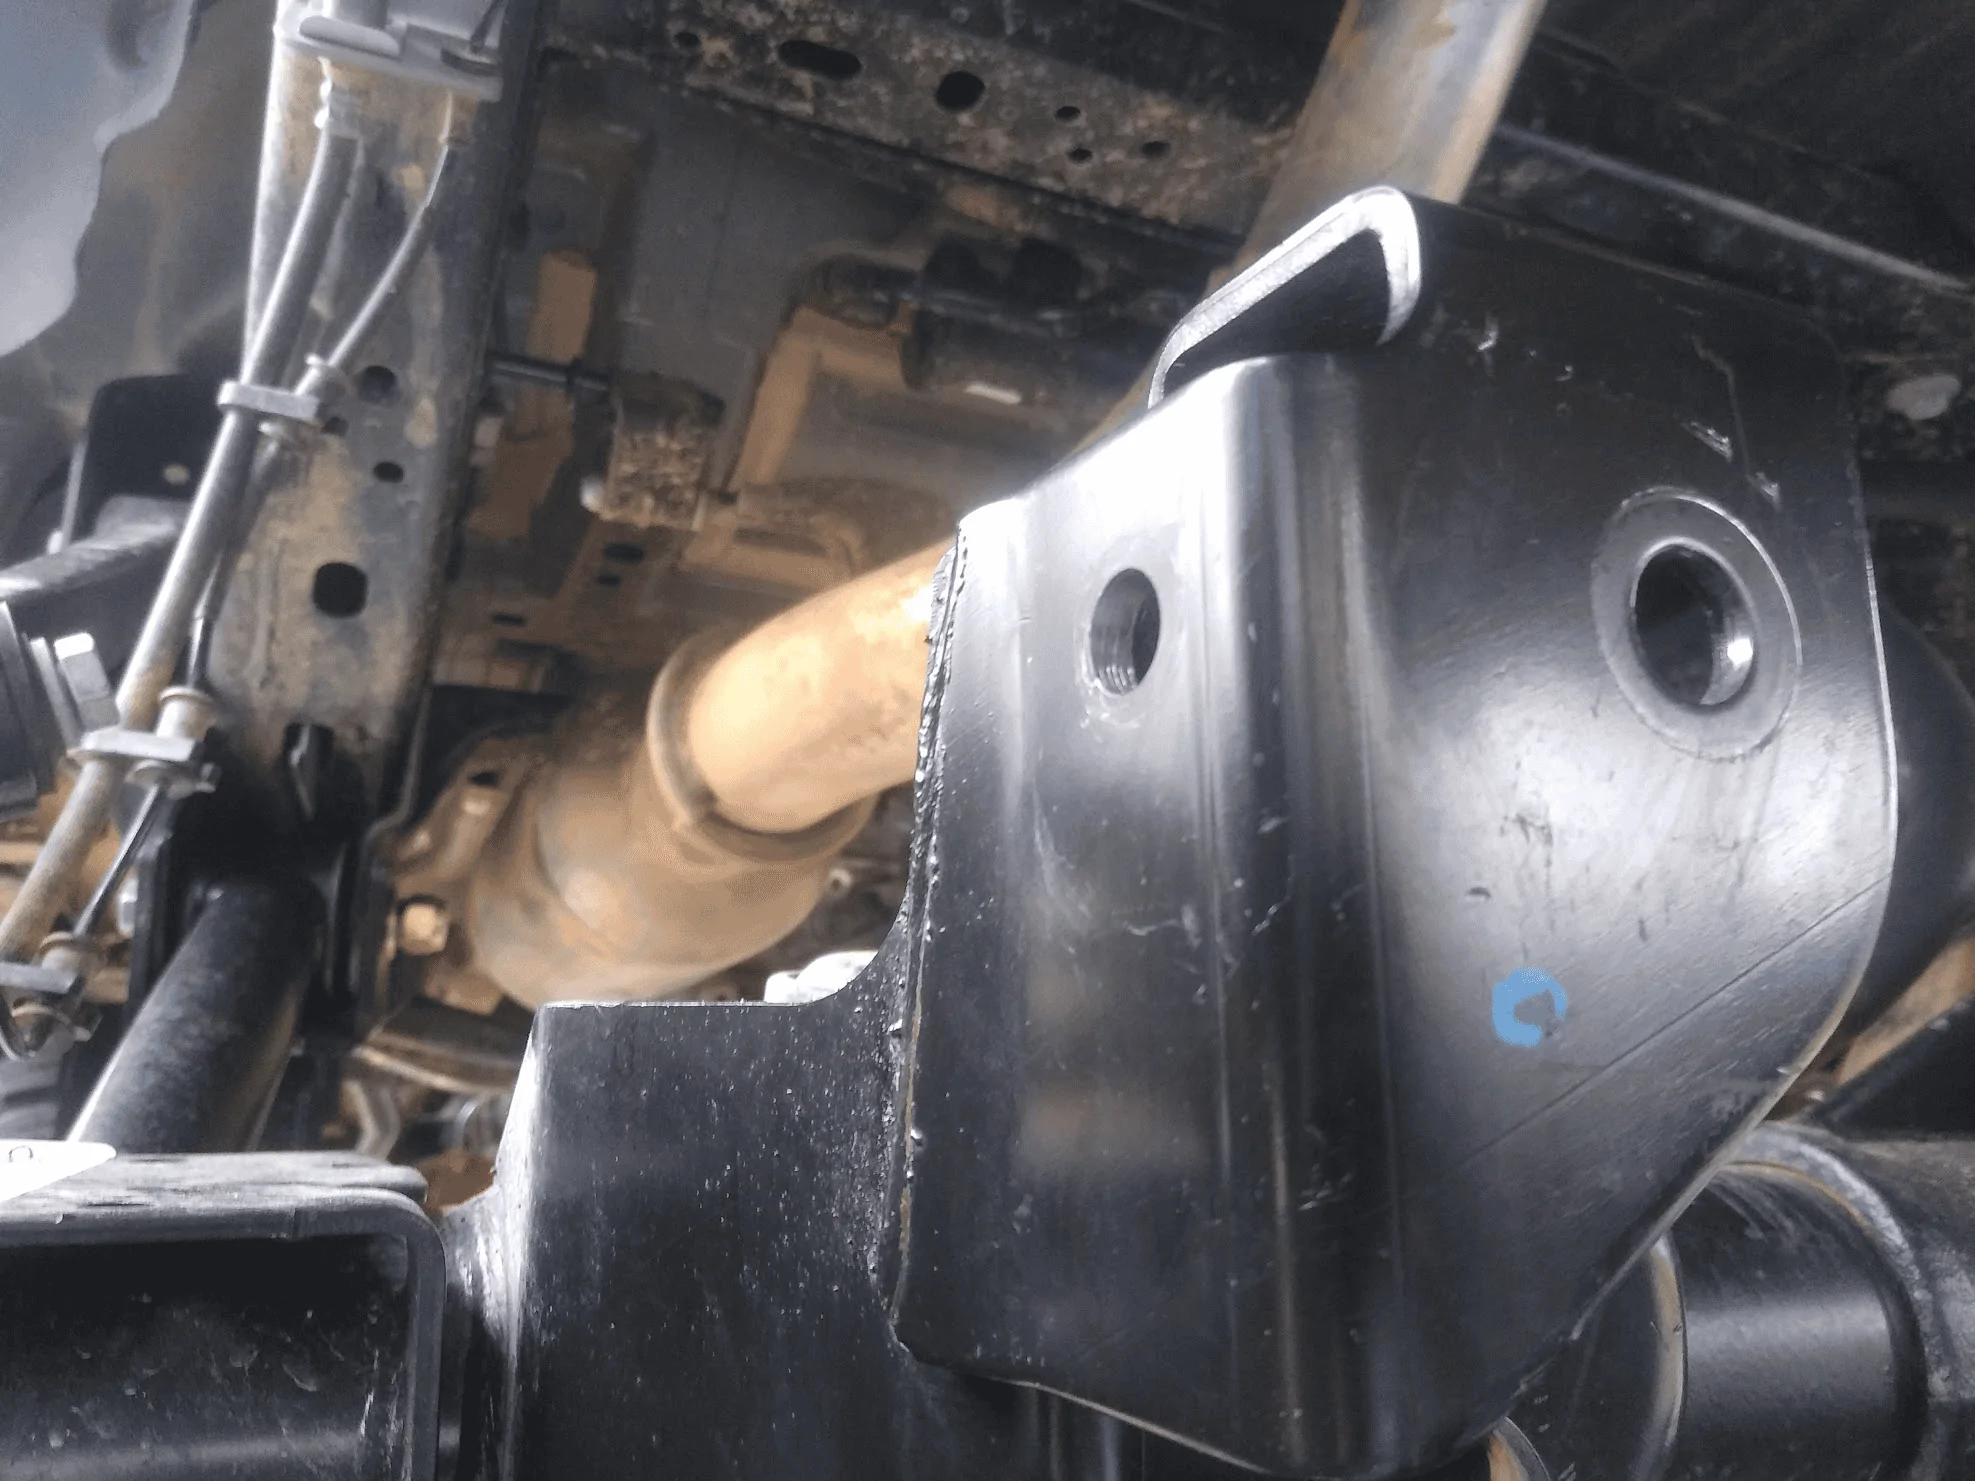
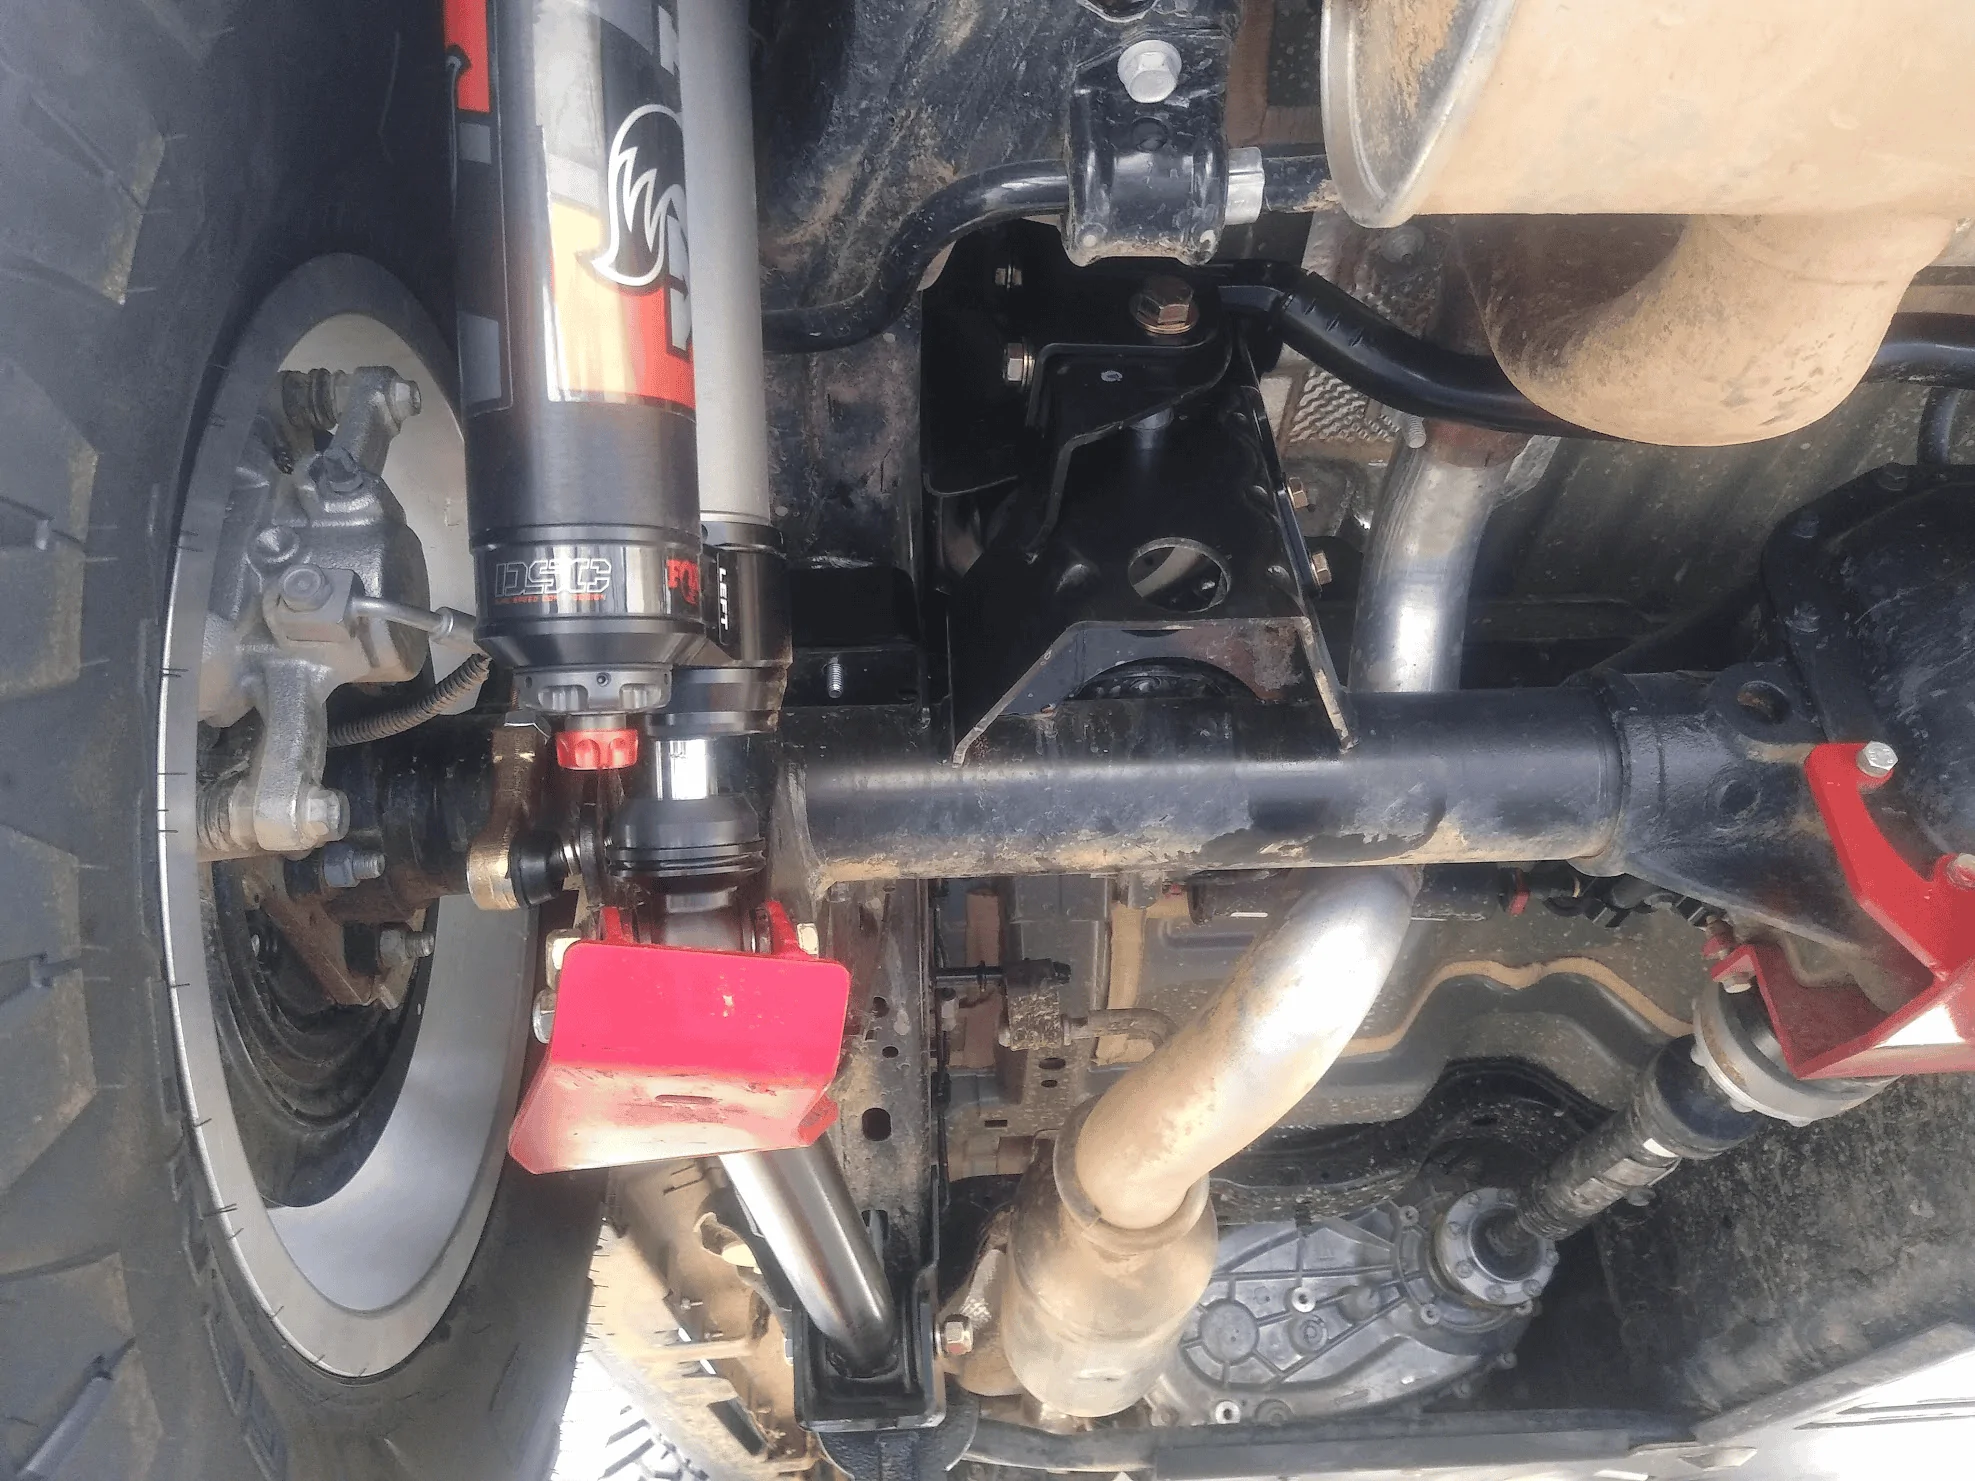
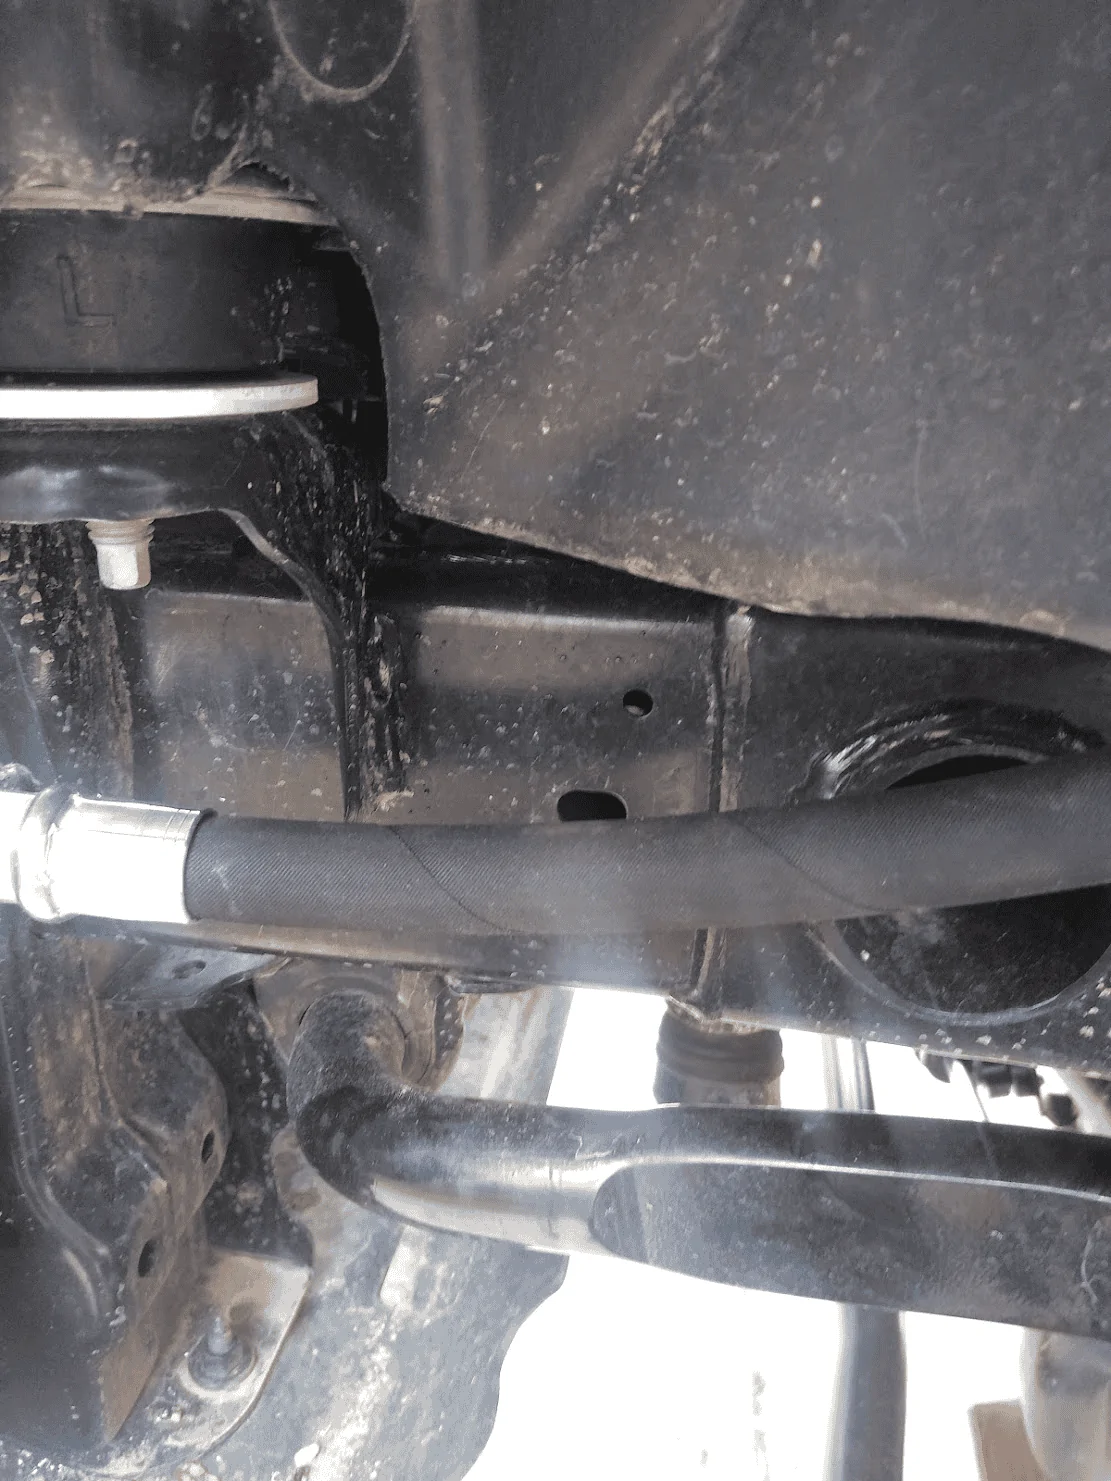
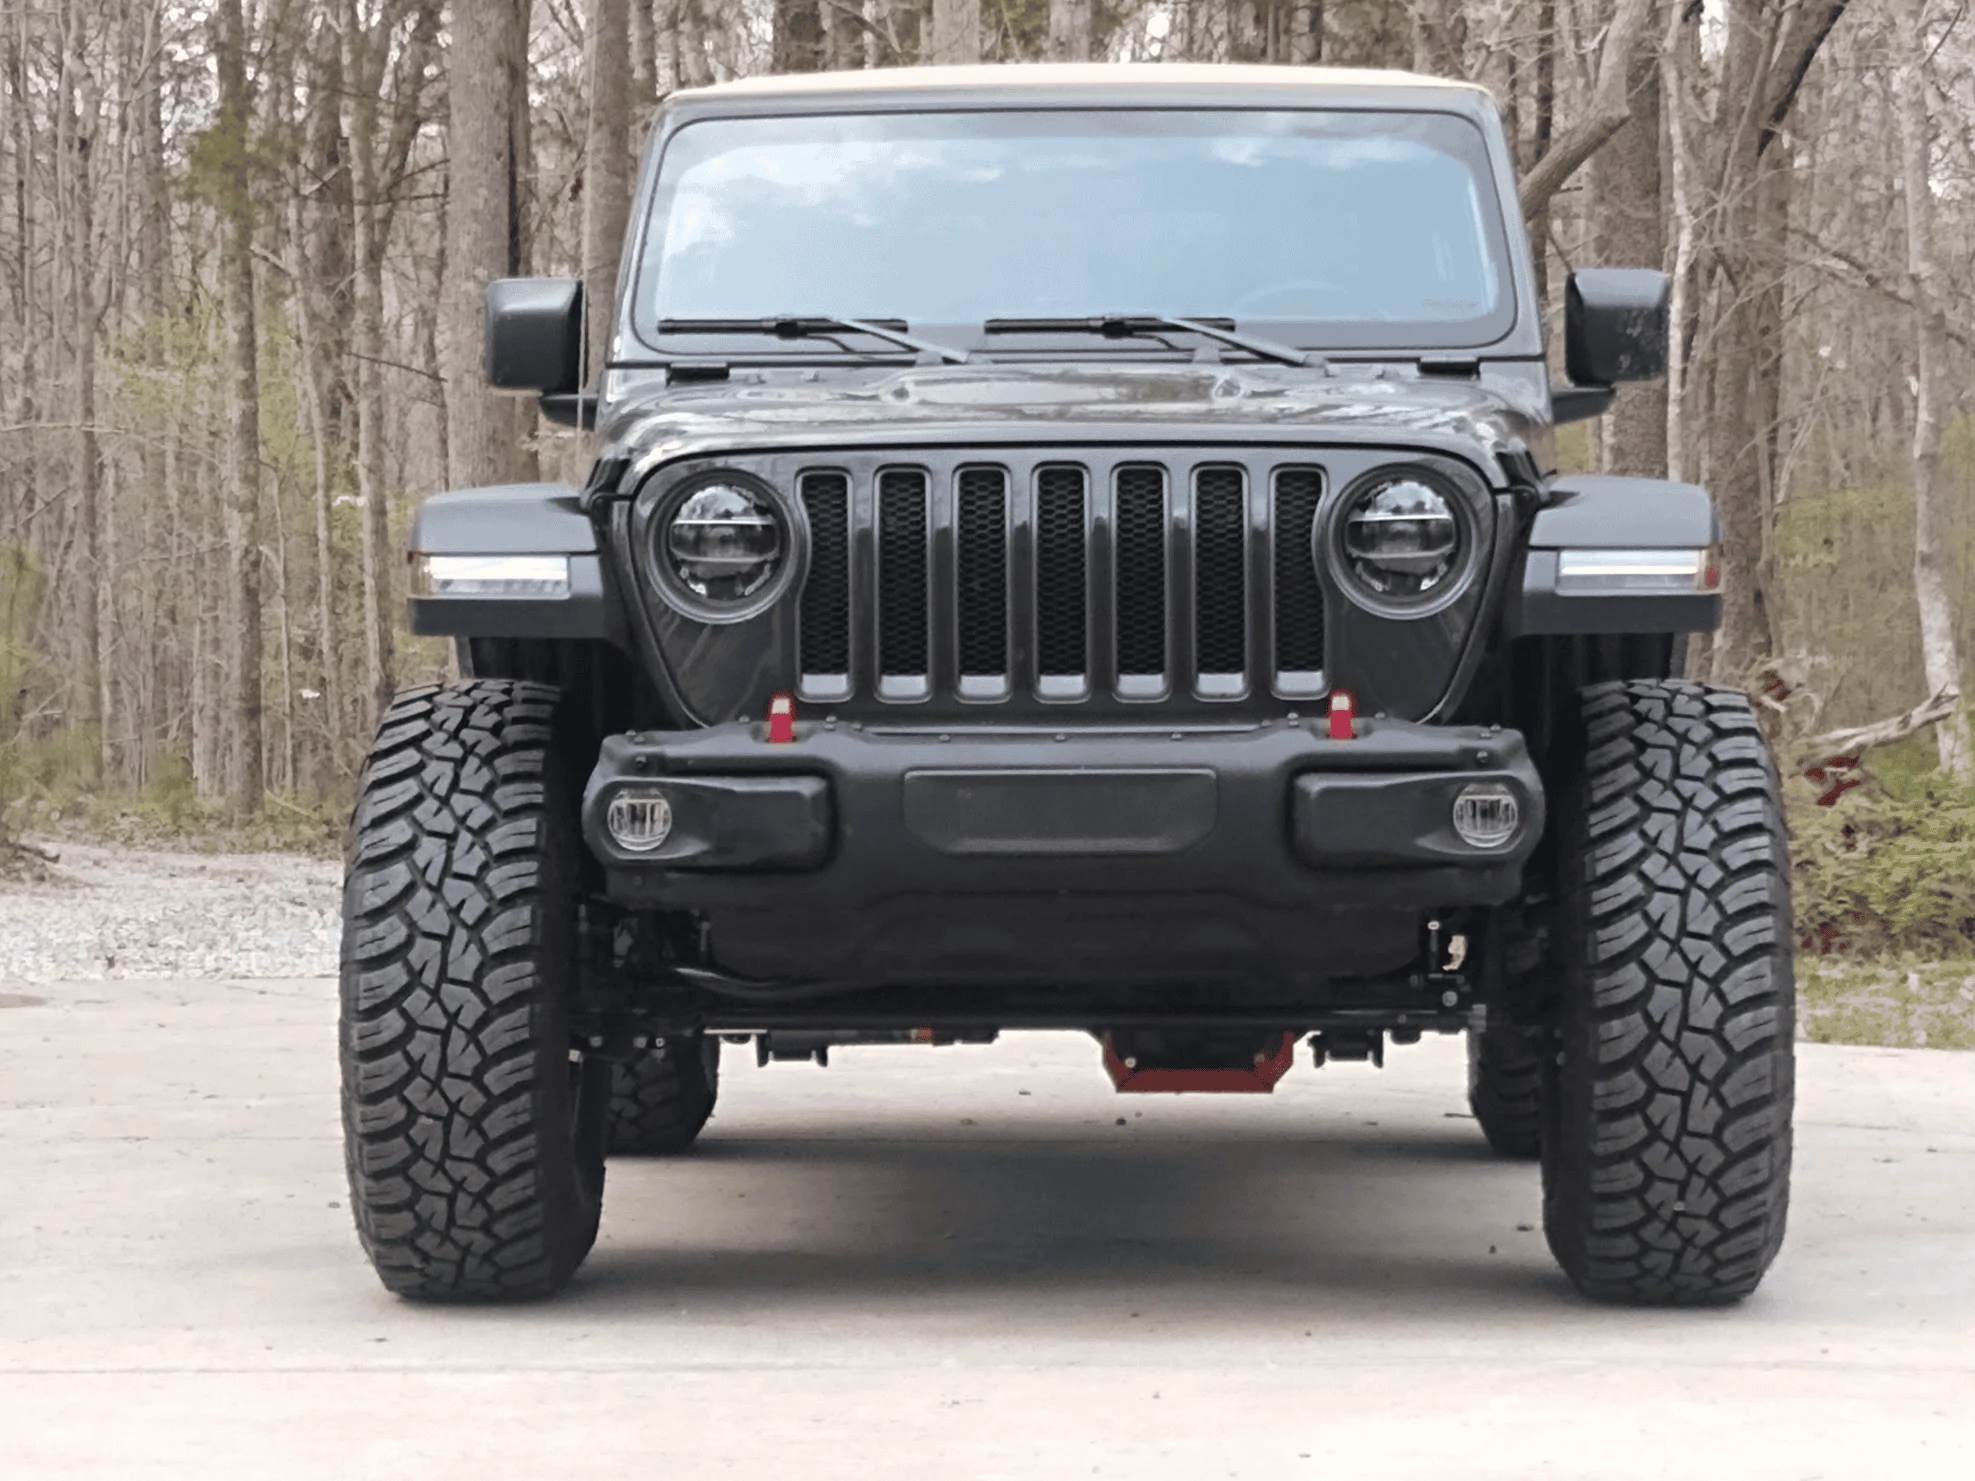
Next, rear trackbar bracket - how do I know if I need one? What do I need to look for and/or measure?
Next, rear trackbar bracket - how do I know if I need one? What do I need to look for and/or measure?
Sponsored


")
