Gazelle
Well-Known Member
- Thread starter
- #1
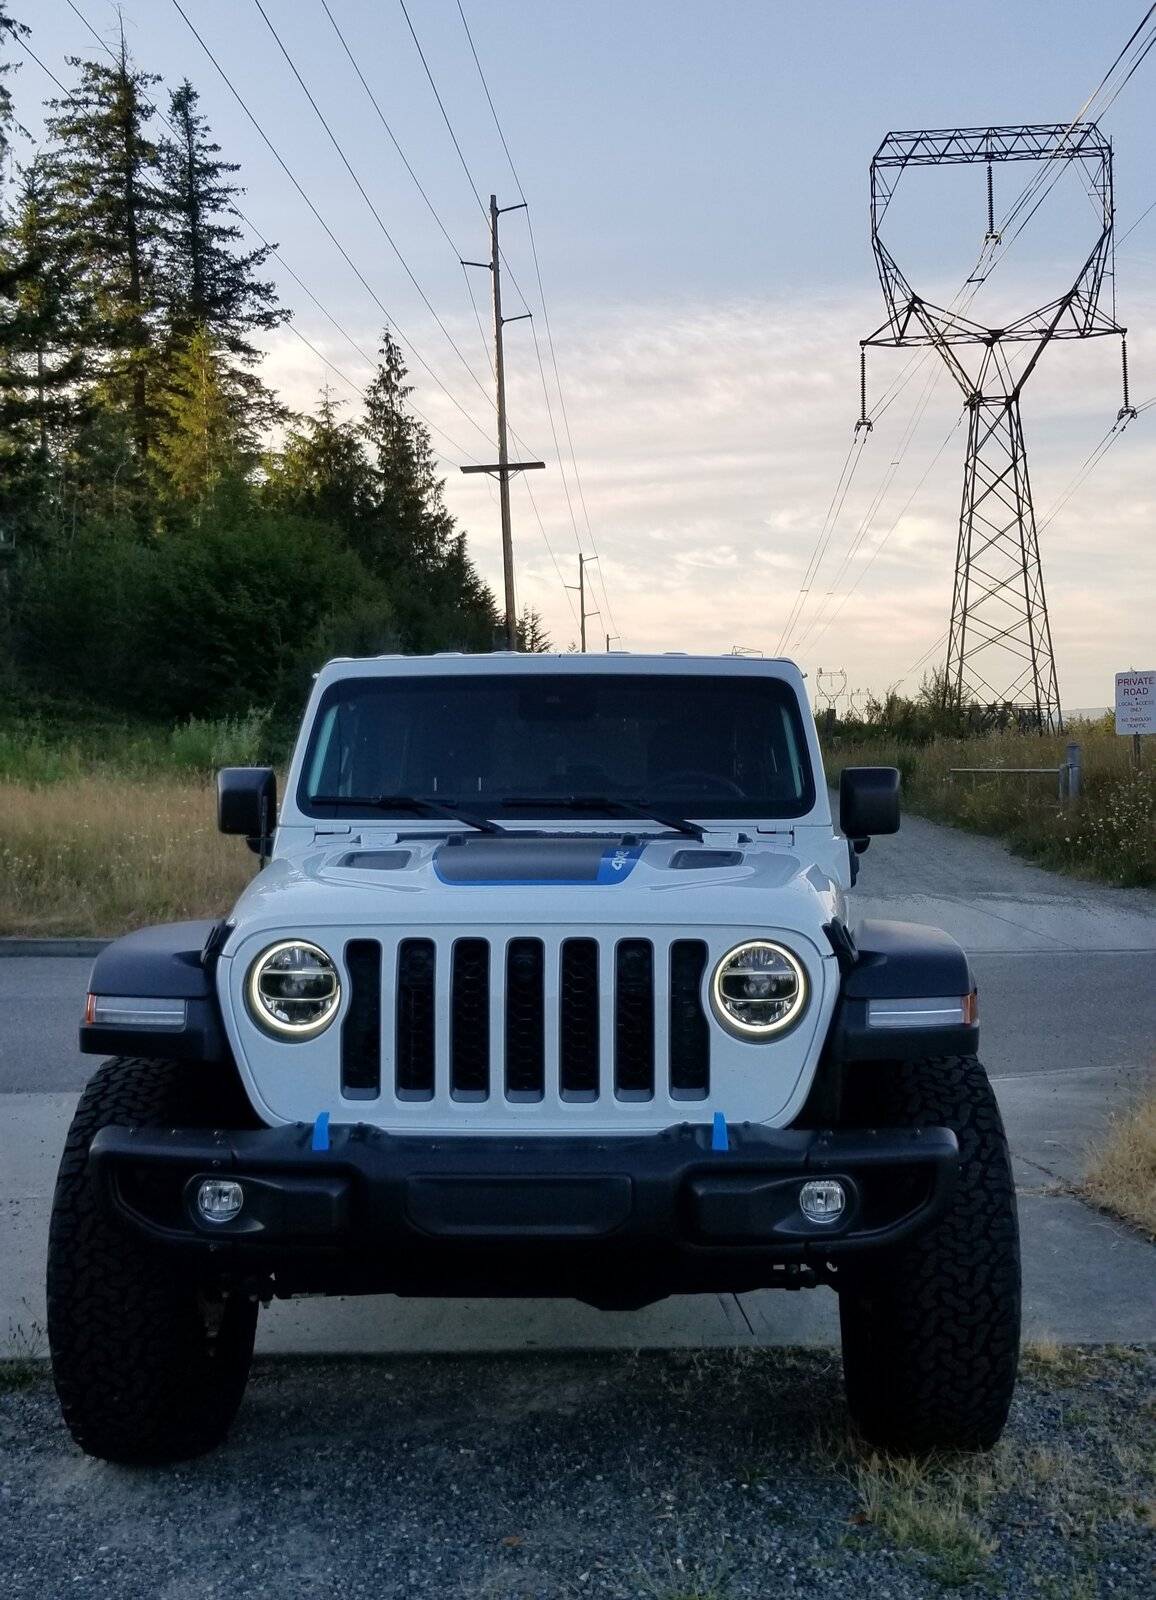
Going to start documenting a few of the additions to my JLU Rubicon 4xe here as a way to capture my additions and document my build progress.
First off, I decided upon a 4xe plug-in hybrid over the 2.0Turbo for the extra power and potential for some electric range. I test drove both the 3.6 and 2.0T and even with the turbo lag, the 4 cylinder was easily the better driving engine to me. I hate diesel smell, as does my partner, so that was not a consideration despite the great power output and mileage. The 392 was not available when I ordered.
My power plant decision delayed my purchase of a JL from late May 2020 until Nov 6 which was the first day the order books were open for the 2021 4xe. As the ordering was new, pricing and several options were not available. I put $1000 deposit on a vehicle that I could only guess at the price. Luckily, I was working with @PaulwithJeep on my order and would be able to back out of the order if pricing came in too high. Still, it would have been nice to order Hydro paint, or the black hardtop, fenders, and a tailgate reinforcement but those were not available in Nov.
I had to wait until May 13, 27 weeks, for delivery of my bright white JL. This delay offered (too much?) time to select and purchase parts to add once it arrived. With other personal goals (climbing volcanoes) taking priority, I have yet to install the many of the parts described below. Any issues with installation will be noted.
Screen Protector:
This was my first installed "upgrade" on day 1 of ownership.
Floor Mats:
One month after ordering my JL, but 5 months before it arrived, I purchased some Quadratech floormats; unfortunately, the rear mat does not fit with the lithium battery under the rear seat. A few minutes with a box cutter and I modified them to fit. Not perfect, but good enough. These mats are quite deep and will hold much snow or water. I see no reason to change them despite the "customized fit".
Blue Radio Knob Covers:
What can I say? Covid quarantine isolation drove me to dress up the interior a bit with these blue, anodized Al knob covers. They slip on snuggly over the rubber knobs and bring a bit of blue to the center stack.
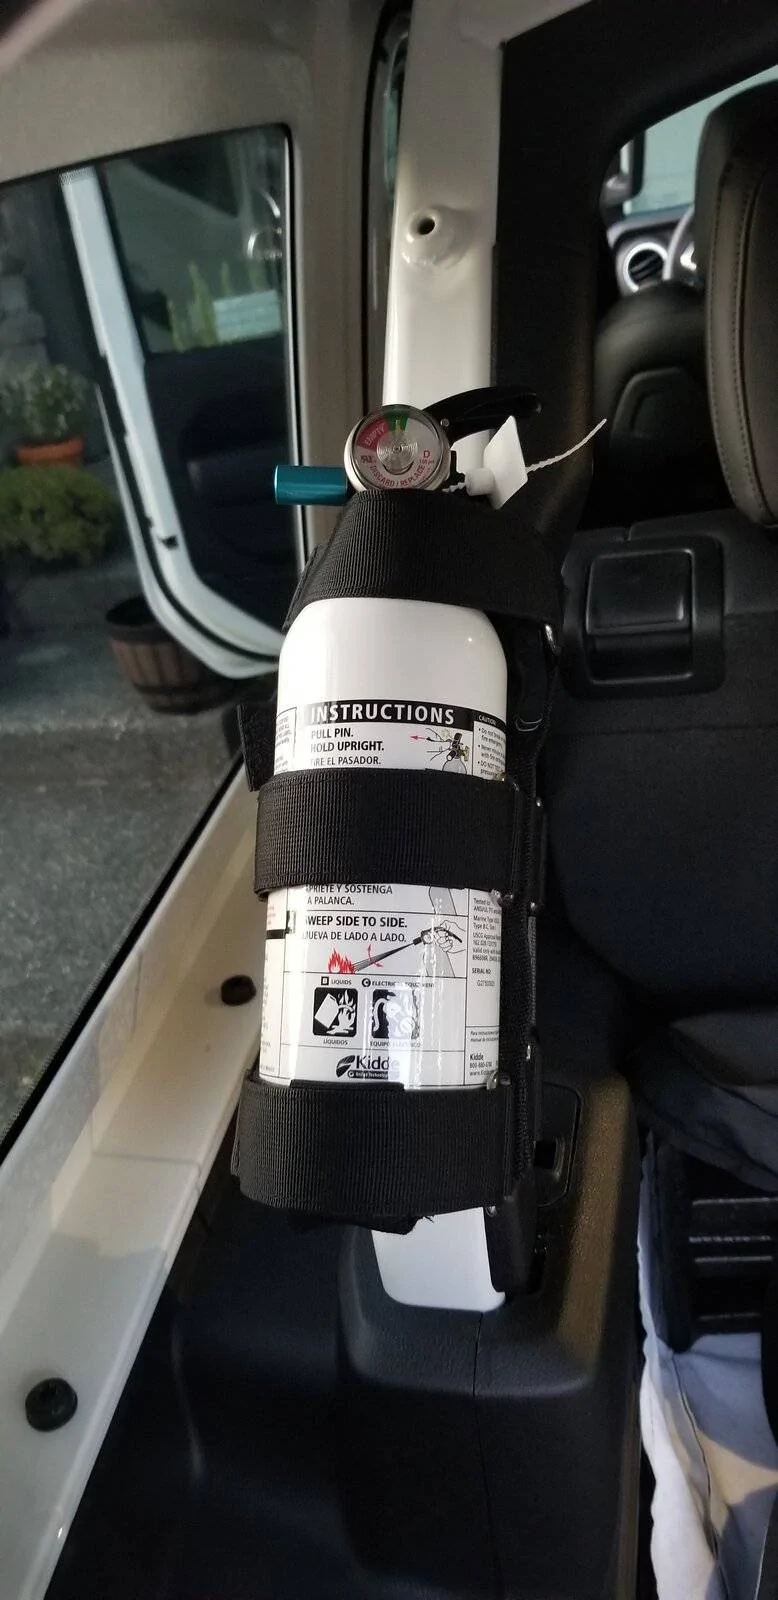
Fire Extinguisher and Roll Bar Mount:
Maybe this is not necessary given high quality of wiring in a new JEEP. I hope I will never need to use it. White extinguisher with blue nozzle may have been the deciding factor for this purchase.

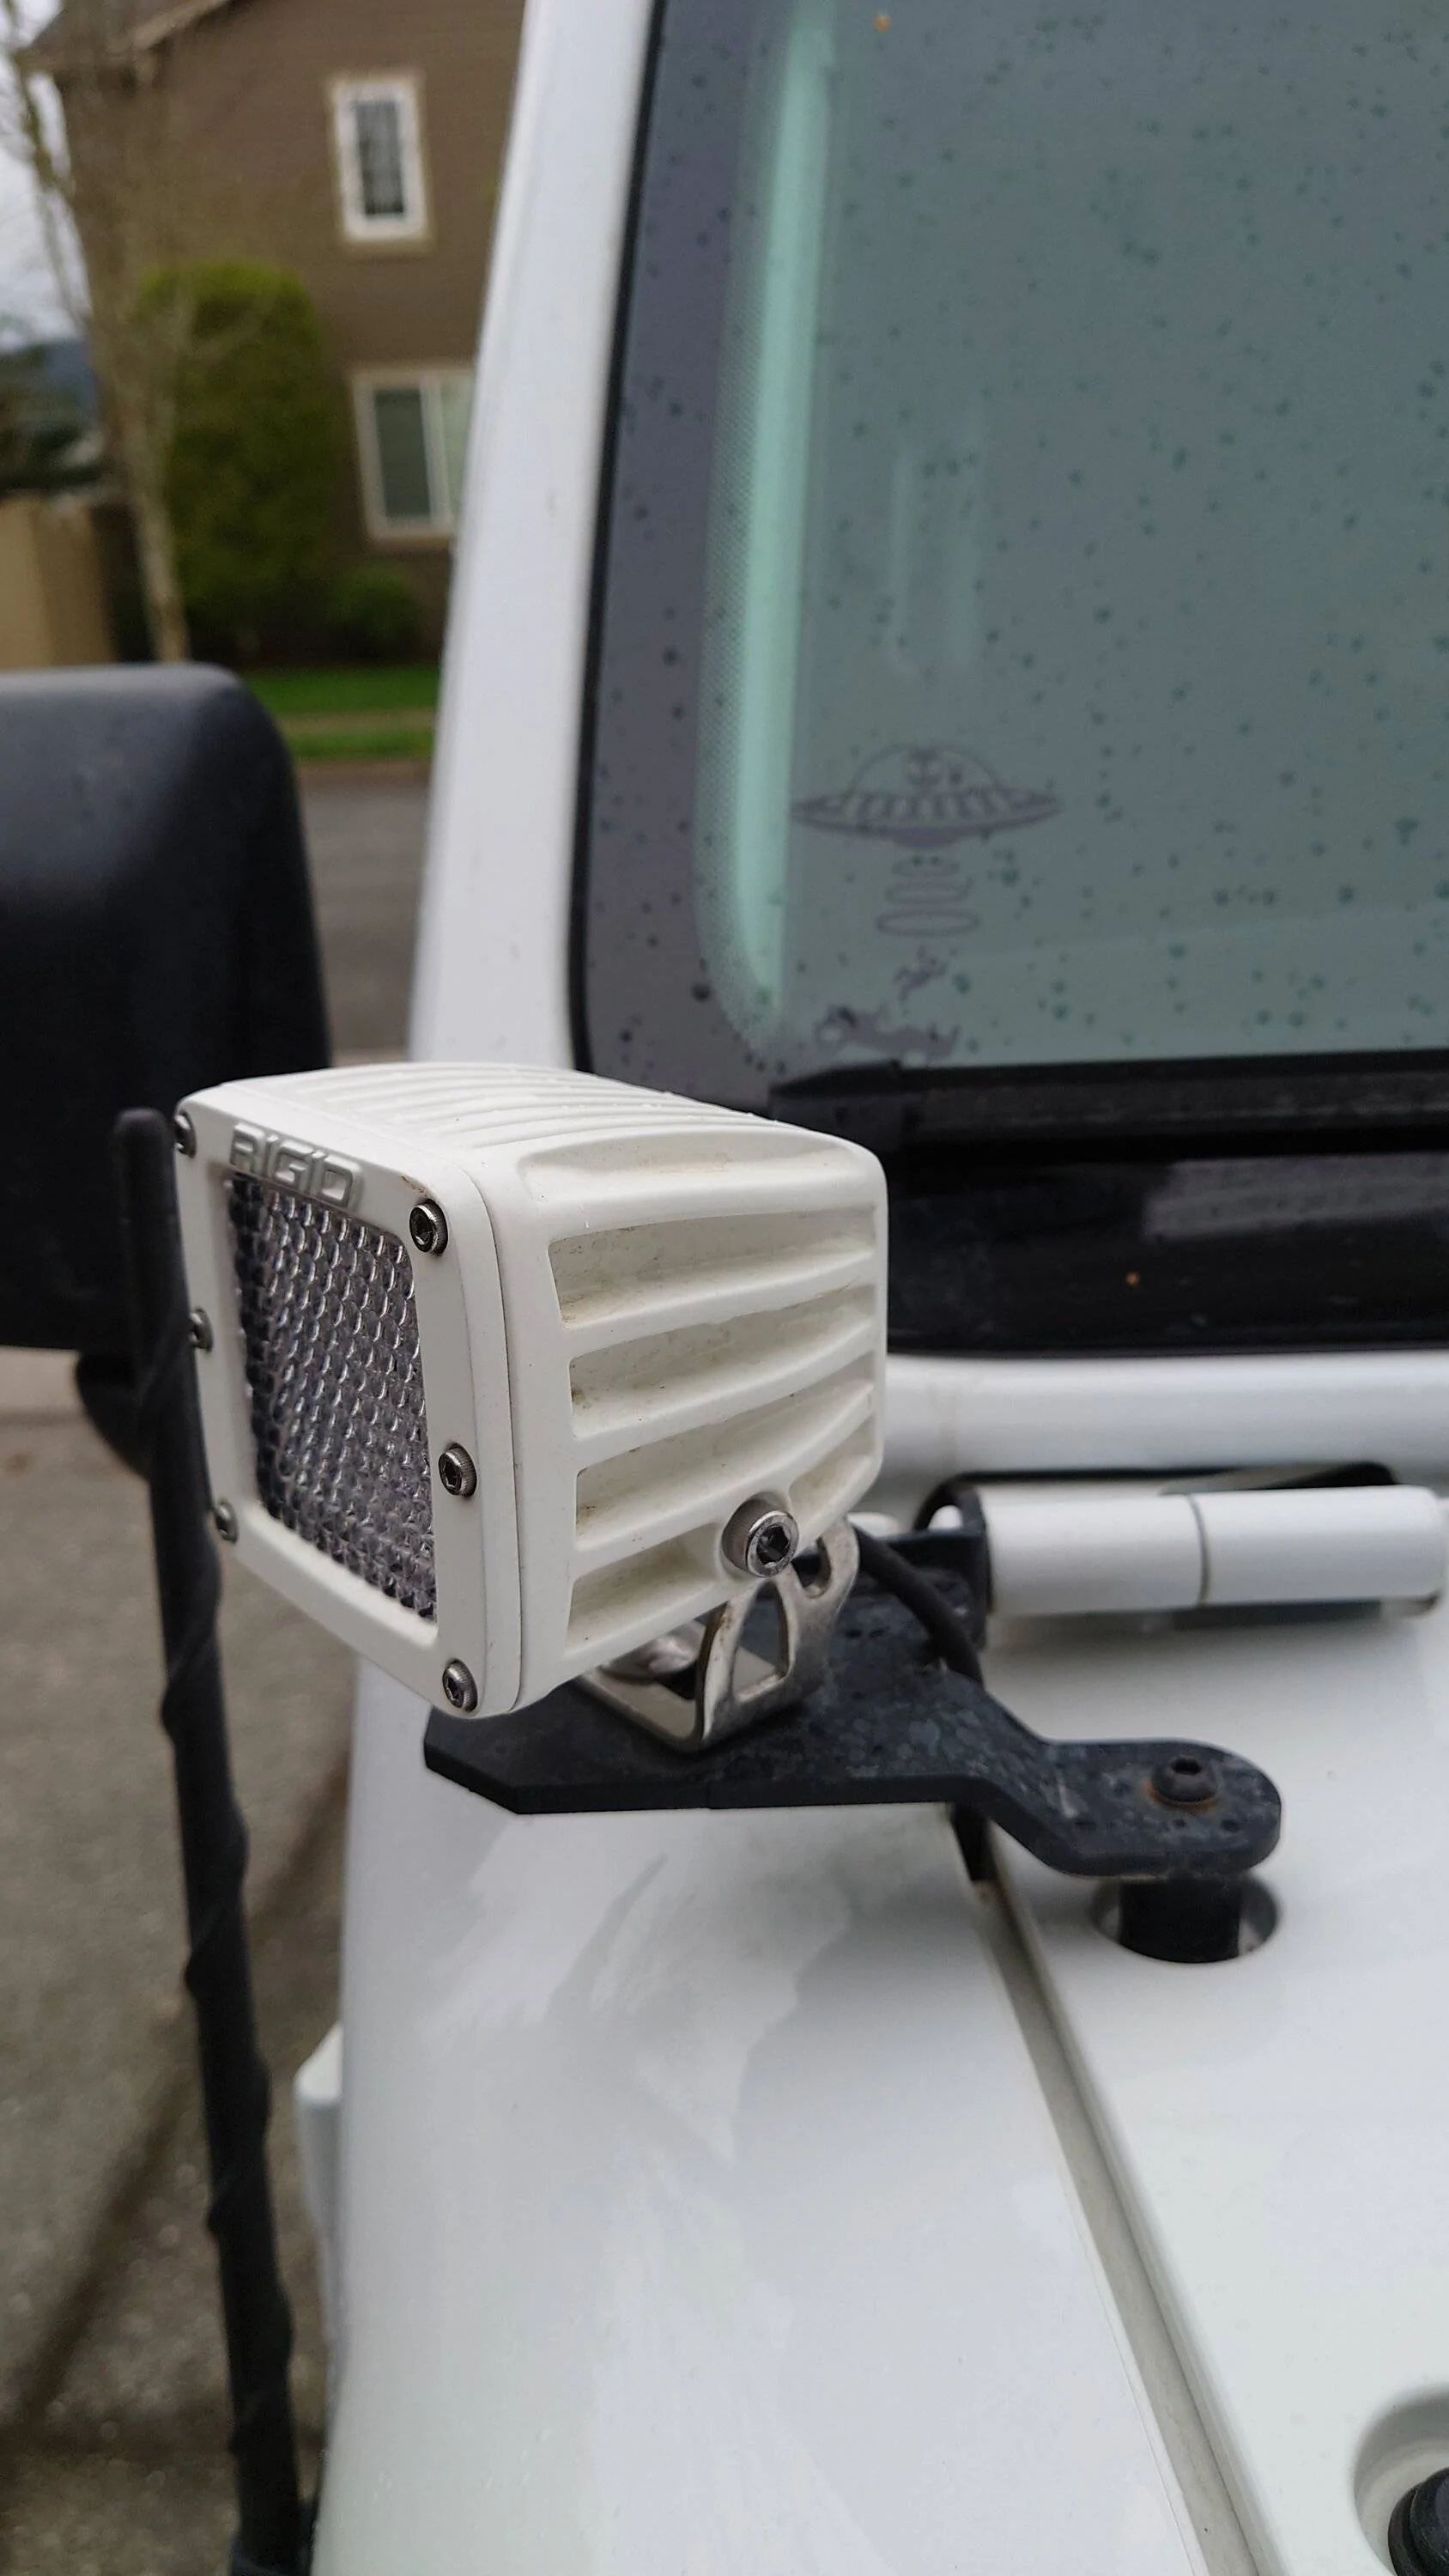
Stubby Antenna:
I read many descriptions of the stock antenna whacking the windshield frame, so decided to purchase this antenna. This was the only replacement antenna which showed performance plots proving it was designed properly. I just installed it, after last weekend when I was exploring some overgrown, local trails around Stampede Pass in WA. I tuned to a distant FM station (slightly scratchy reception, too weak for stereo) with the stock antenna, then changed to this one. If anything, the signal strength improved. Very happy with the performance.
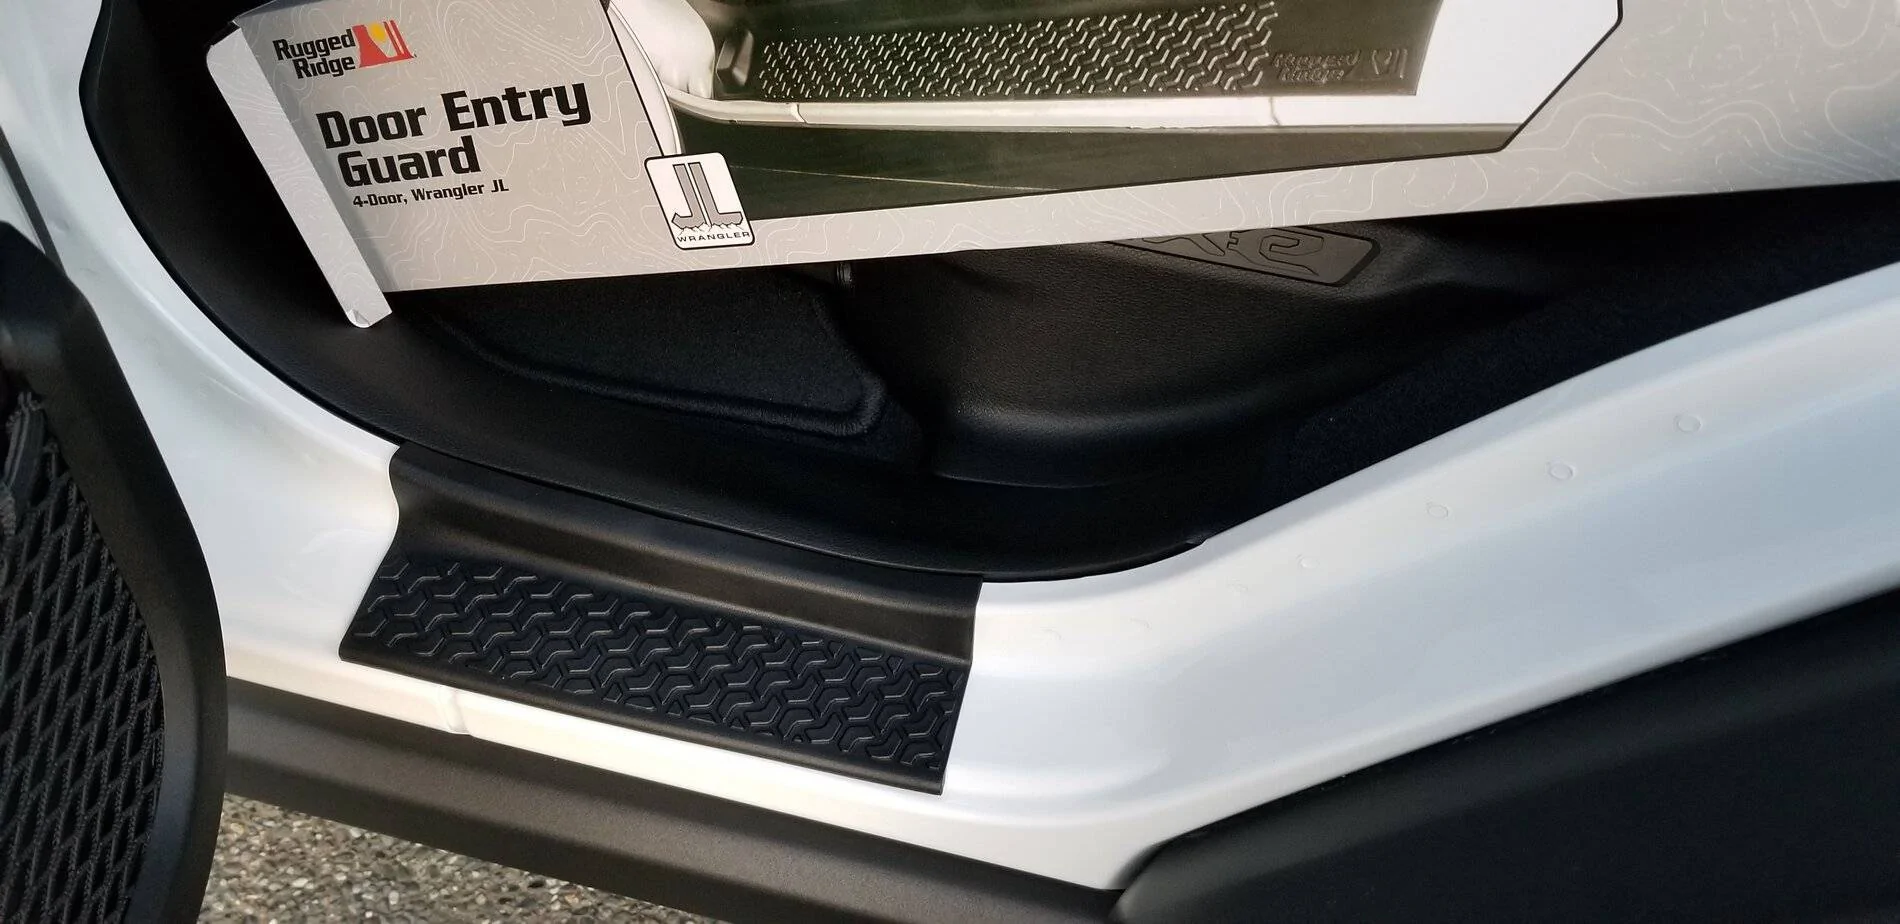
Rugged Ridge Scuff Plates:
These covered more area than the Mopar units and I like the black color to continue with my black/white/blue color scheme. These were extremely easy to install, but the rear units were hard to tell right from left. Rear fit was only OK which contributed to my installation confusion.

Badlands Apex 12000Lb Winch:
I was sorely tempted by a Warn, but the reviews of this winch, its price point, and IP69 rating were the deciding factors. Bought this with a 25% off coupon. Yet to be installed.
Warn Winch Mounting Plate:
Fits the stock, steel bumper. $299
Tree Saver:
$27.
Warn Power Interupter Kit:
This may not be strictly required, but it should add a measure of safety to the winch wiring installation. Something to wire to one of the aux buttons.
Blue Hawse Fairlead with flip up plate mount:
WA state requires a front license plate. This will allow me to display the plate and have a fairlead underneath. Hopefully. Yet to be installed.
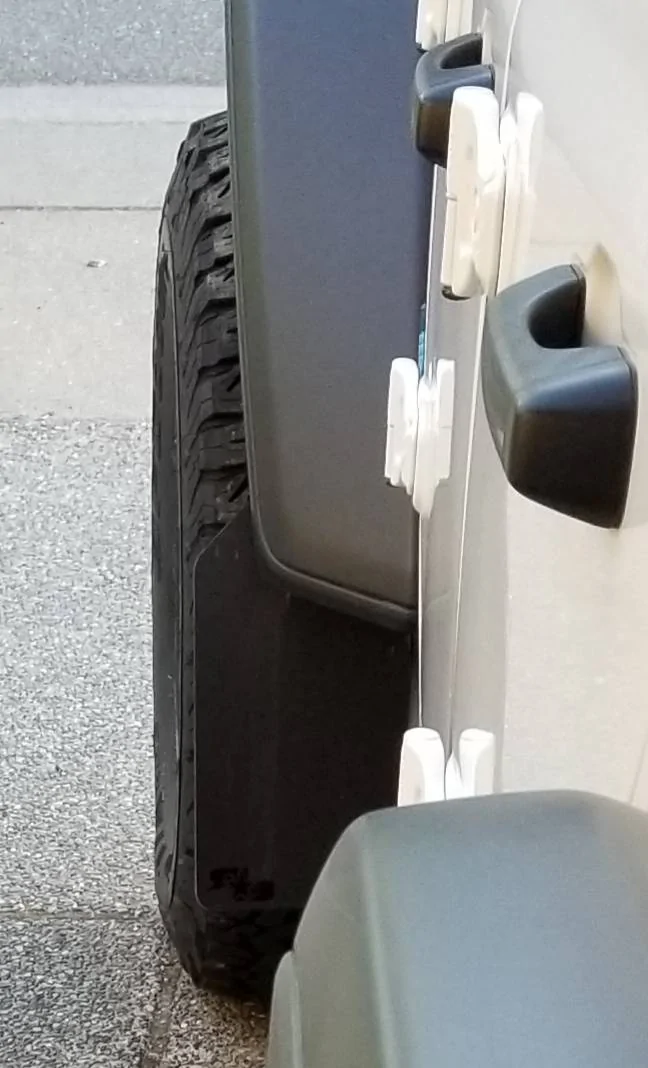
Closed Cell Foam Tubing:
Rocks are flung up by my tires and pine or fir needles are collecting in between the fenders and body. This material fills that gap to help keep the crud out. Trim to length and wedge in place. Easy as pie.
Defroster Flow Control:
Air flow through the defroster vents is focused largely in the middle of the windscreen which leaves the edges barely melted. I ordered these after verifying the poor defroster spread when I rented a JL for a ski trip to Winterpark, CO. These plug the central defrost holes to spread the heat/air toward the edges. Not yet used in my JLURe since it's been warm & hot.
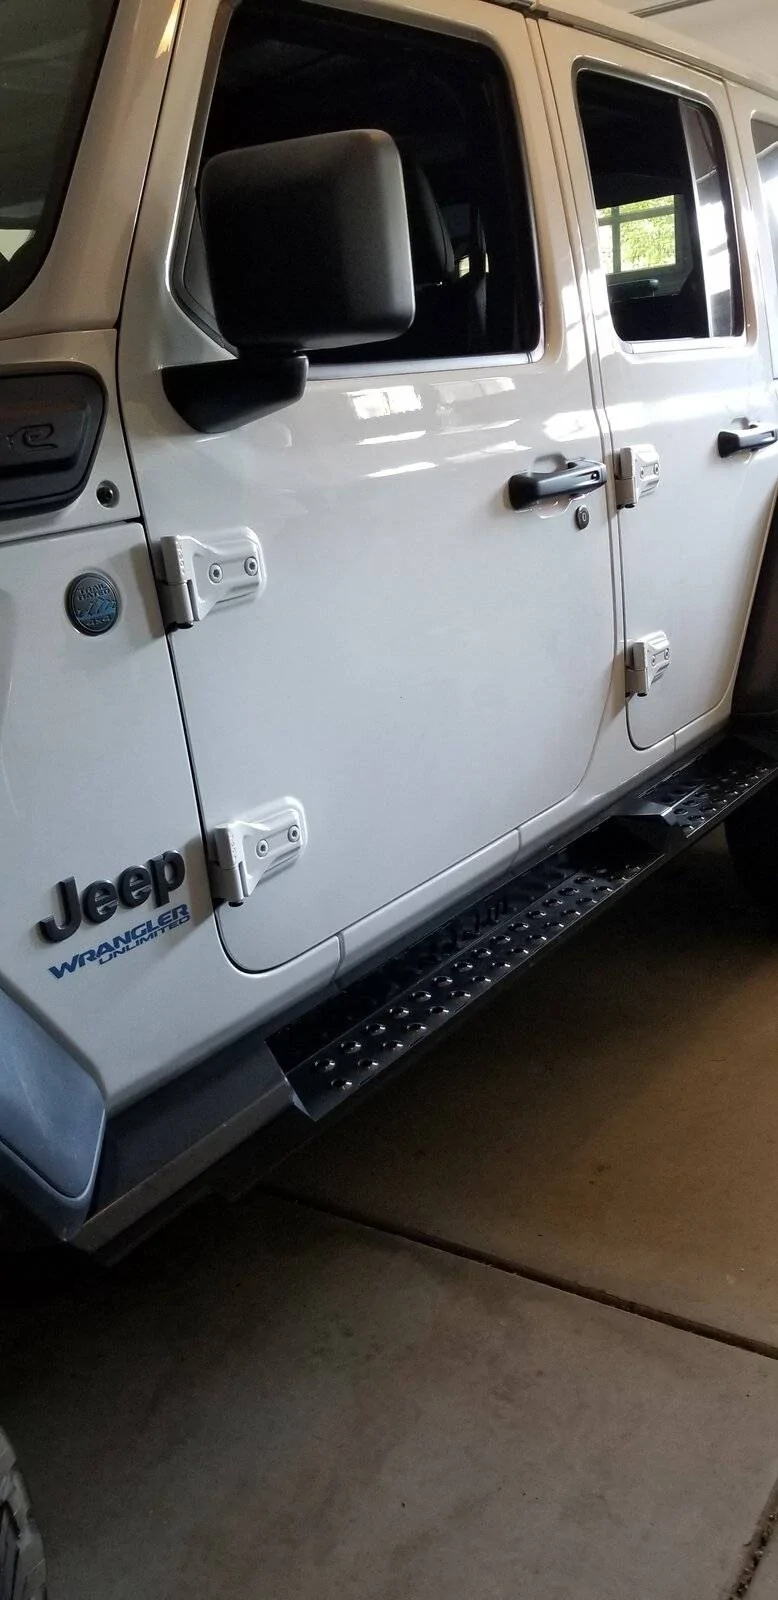
After my first trip along a muddy, forest road, I was amazed at how much mud and rocks were thrown onto the rear fenders, doors and door hinges.
PPF for hinges:
Wrapping the hinges provided simply, targeting protection.
Rokblokz mudflaps:
I did not want mudflaps, but, after seeing the amount of damage to my rear fenders and door hinges, I felt this was the fastest way to gain protection - especially if I add wider tires & wheels later.
Image shows mud flap with 37x12.5 tire. $169

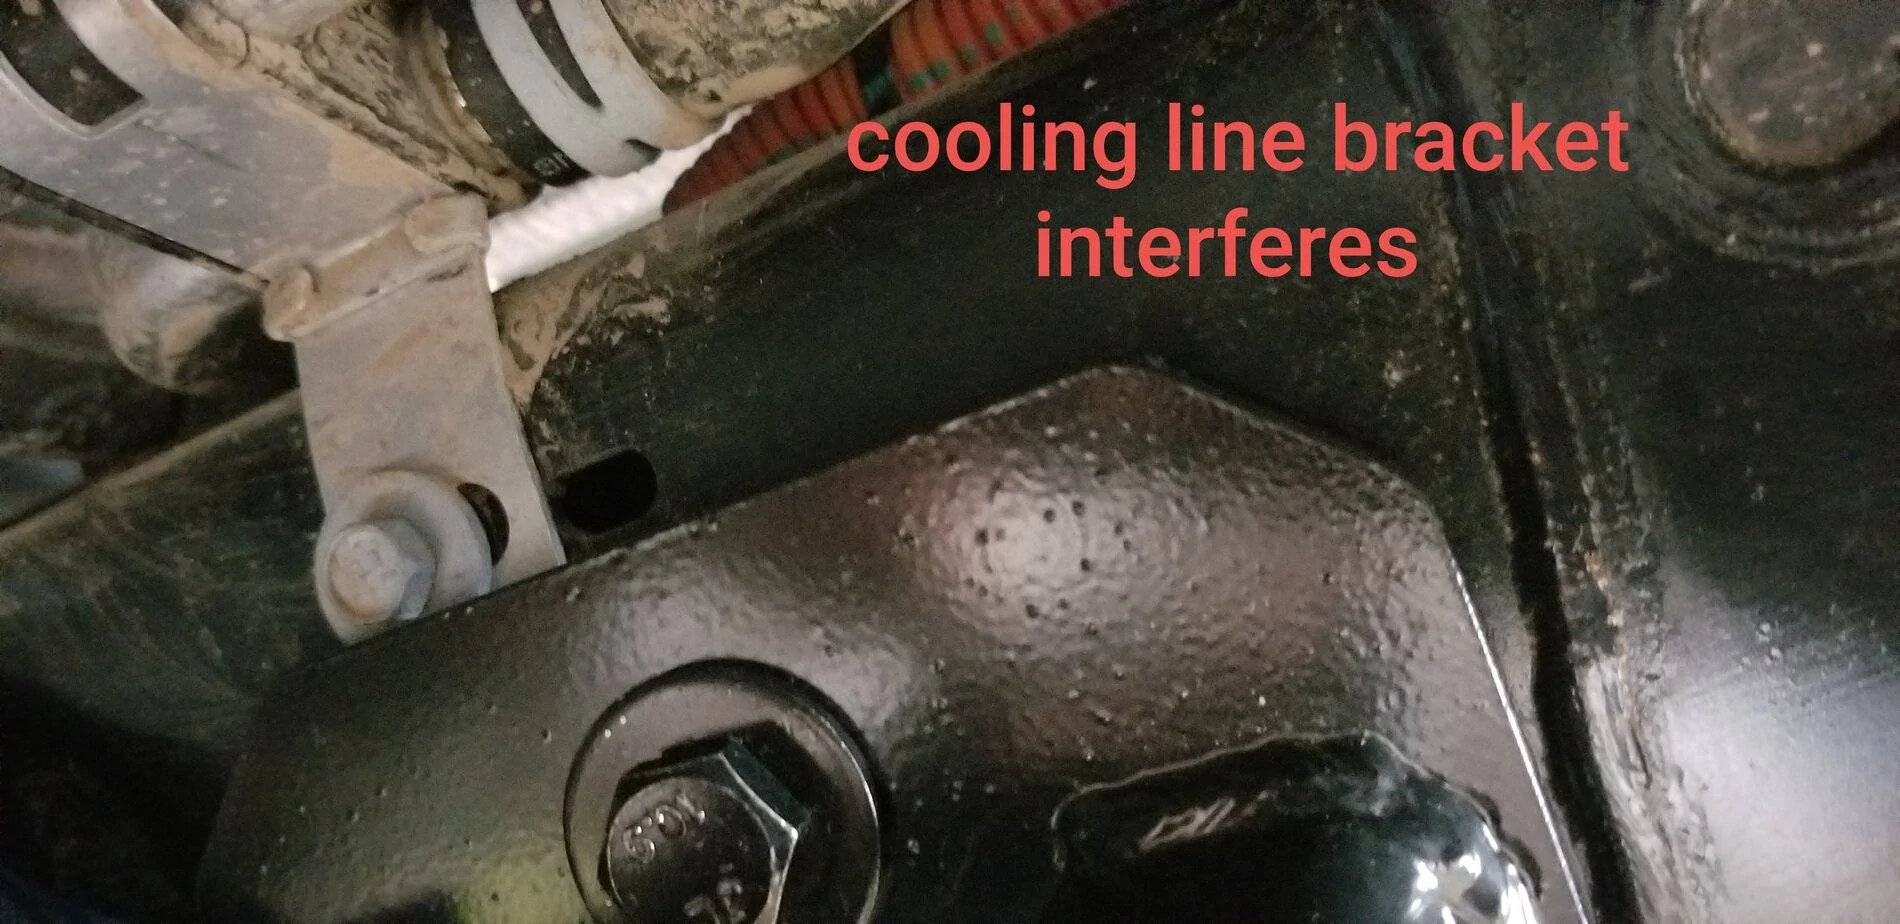
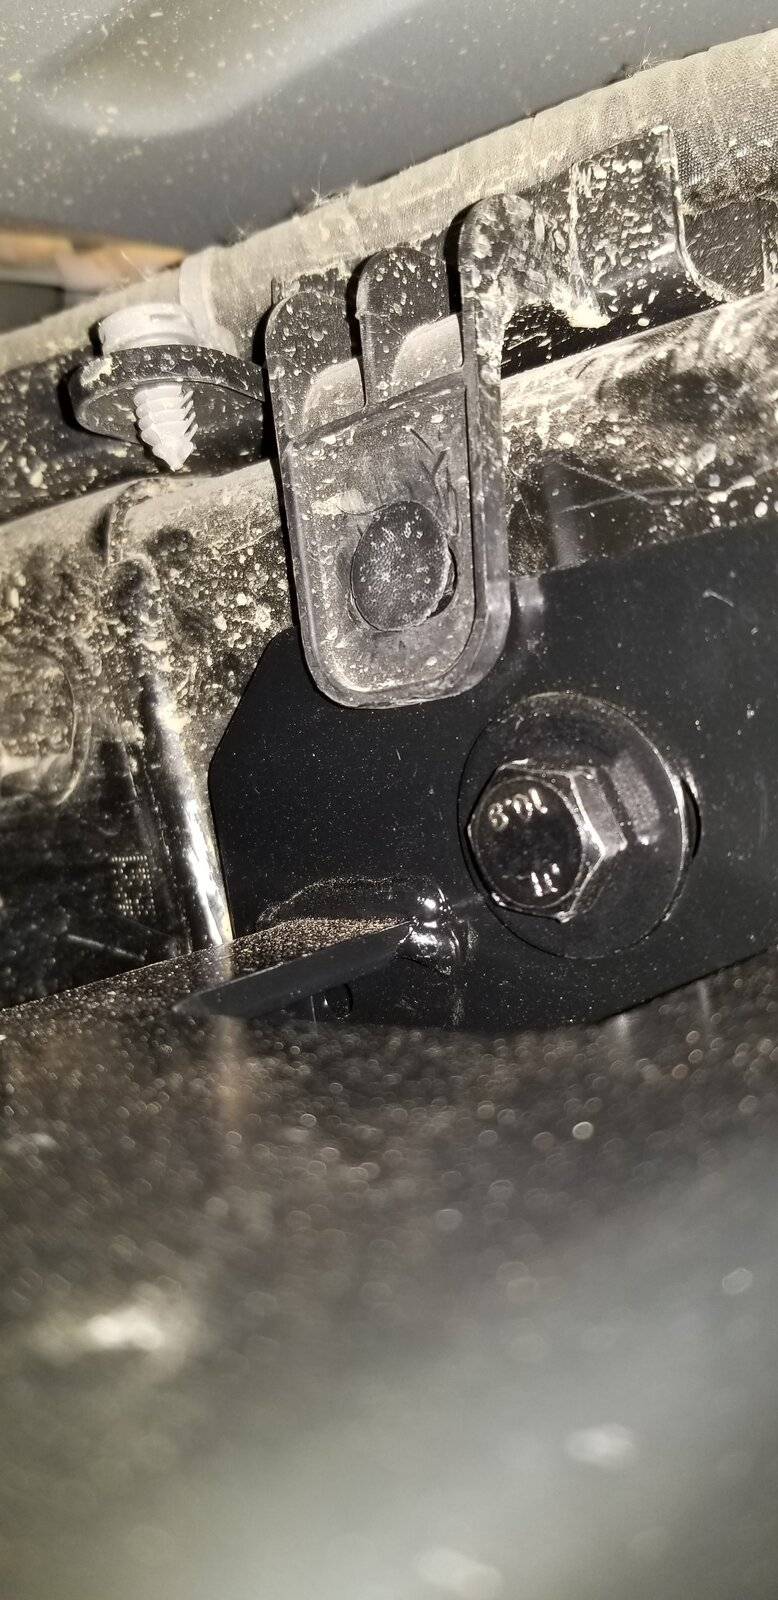
MOPAR Lift, p/n 77072522: (corrected p/n)
This is now available through Jeep Parts departments with an MSRP of $1495. Many dealerships will offer a discount just for asking; I paid $1270 before tax. Yet to be installed...and, yes, the crate easily fits in the back. $1399.
37" BFG KO2's:
I worked with @Discount Tire to order a set of 5, load range C, 37's. While the rolling diameter is closer to 35.5", these are still very light for their size. Great in the snow, I will run these until or unless I find myself frequently in mud. Since 5 of these would not fit inside my JL (the rear seat height reduces cargo space with the seat folded down), I had to drive on them to get them home from Discount Tire. They fit in the wheel wells, but, I wouldn't drive offroad with them until I get my lift installed. 5 tires with road hazzard, TPMS, mounting, etc. - $2807
Kansei Roku Wheels:
I struggled to decide which wheels to use. My main goal was to keep them as light as possible. While Discount Tire carries these wheels, the best price I found was through a direct purchase from Kansei who provided both a 10% discount as well as not charging sales tax. These 0 offset, 24Lb, 17x8.5" wheels are among the lightest I could find (for less than $500each). Published weight was 22.2Lbs, but I measured 24.2Lbs for the bare wheel. I'm still not sure about the 0 offset as the tread extends a good inch beyond the fenders, but I like the overall weight of tire+wheel=87.4Lbs as compared to 76.8Lbs for the stock, 285 tire & wheel.
5 wheels plus shipping - $1381.
Tazer JL Lite:
Needed for the speedometer correction due to change in tire size.
$259.
Hothead Headliners (medium grey):
I compared the Mopar headliner to reviews of other headliners and chose the Hothead with rear window panels and the "sound assassin" strips. I chose the medium grey in the hopes of lightening up the appearance as compared to black while not being as susceptible to dirt as the white would have been. Besides, the grey matches the sky most of the year around here. I used a sound meter app on my phone running the same section of highway at 70MPH and saw no significant difference in sound measurement, but it seems there was a "dead spot" above & behind me where the headliner is. I suspect most of the noise at highway speeds is from wind around the windshield. $494.
First off, I decided upon a 4xe plug-in hybrid over the 2.0Turbo for the extra power and potential for some electric range. I test drove both the 3.6 and 2.0T and even with the turbo lag, the 4 cylinder was easily the better driving engine to me. I hate diesel smell, as does my partner, so that was not a consideration despite the great power output and mileage. The 392 was not available when I ordered.
My power plant decision delayed my purchase of a JL from late May 2020 until Nov 6 which was the first day the order books were open for the 2021 4xe. As the ordering was new, pricing and several options were not available. I put $1000 deposit on a vehicle that I could only guess at the price. Luckily, I was working with @PaulwithJeep on my order and would be able to back out of the order if pricing came in too high. Still, it would have been nice to order Hydro paint, or the black hardtop, fenders, and a tailgate reinforcement but those were not available in Nov.
I had to wait until May 13, 27 weeks, for delivery of my bright white JL. This delay offered (too much?) time to select and purchase parts to add once it arrived. With other personal goals (climbing volcanoes) taking priority, I have yet to install the many of the parts described below. Any issues with installation will be noted.
Screen Protector:
This was my first installed "upgrade" on day 1 of ownership.
Floor Mats:
One month after ordering my JL, but 5 months before it arrived, I purchased some Quadratech floormats; unfortunately, the rear mat does not fit with the lithium battery under the rear seat. A few minutes with a box cutter and I modified them to fit. Not perfect, but good enough. These mats are quite deep and will hold much snow or water. I see no reason to change them despite the "customized fit".
Blue Radio Knob Covers:
What can I say? Covid quarantine isolation drove me to dress up the interior a bit with these blue, anodized Al knob covers. They slip on snuggly over the rubber knobs and bring a bit of blue to the center stack.
Fire Extinguisher and Roll Bar Mount:
Maybe this is not necessary given high quality of wiring in a new JEEP. I hope I will never need to use it. White extinguisher with blue nozzle may have been the deciding factor for this purchase.
Stubby Antenna:
I read many descriptions of the stock antenna whacking the windshield frame, so decided to purchase this antenna. This was the only replacement antenna which showed performance plots proving it was designed properly. I just installed it, after last weekend when I was exploring some overgrown, local trails around Stampede Pass in WA. I tuned to a distant FM station (slightly scratchy reception, too weak for stereo) with the stock antenna, then changed to this one. If anything, the signal strength improved. Very happy with the performance.
Rugged Ridge Scuff Plates:
These covered more area than the Mopar units and I like the black color to continue with my black/white/blue color scheme. These were extremely easy to install, but the rear units were hard to tell right from left. Rear fit was only OK which contributed to my installation confusion.
Badlands Apex 12000Lb Winch:
I was sorely tempted by a Warn, but the reviews of this winch, its price point, and IP69 rating were the deciding factors. Bought this with a 25% off coupon. Yet to be installed.
Warn Winch Mounting Plate:
Fits the stock, steel bumper. $299
Tree Saver:
$27.
Warn Power Interupter Kit:
This may not be strictly required, but it should add a measure of safety to the winch wiring installation. Something to wire to one of the aux buttons.
Blue Hawse Fairlead with flip up plate mount:
WA state requires a front license plate. This will allow me to display the plate and have a fairlead underneath. Hopefully. Yet to be installed.
Closed Cell Foam Tubing:
Rocks are flung up by my tires and pine or fir needles are collecting in between the fenders and body. This material fills that gap to help keep the crud out. Trim to length and wedge in place. Easy as pie.
Defroster Flow Control:
Air flow through the defroster vents is focused largely in the middle of the windscreen which leaves the edges barely melted. I ordered these after verifying the poor defroster spread when I rented a JL for a ski trip to Winterpark, CO. These plug the central defrost holes to spread the heat/air toward the edges. Not yet used in my JLURe since it's been warm & hot.
After my first trip along a muddy, forest road, I was amazed at how much mud and rocks were thrown onto the rear fenders, doors and door hinges.
PPF for hinges:
Wrapping the hinges provided simply, targeting protection.
Rokblokz mudflaps:
I did not want mudflaps, but, after seeing the amount of damage to my rear fenders and door hinges, I felt this was the fastest way to gain protection - especially if I add wider tires & wheels later.
Image shows mud flap with 37x12.5 tire. $169
MOPAR Lift, p/n 77072522: (corrected p/n)
This is now available through Jeep Parts departments with an MSRP of $1495. Many dealerships will offer a discount just for asking; I paid $1270 before tax. Yet to be installed...and, yes, the crate easily fits in the back. $1399.

37" BFG KO2's:
I worked with @Discount Tire to order a set of 5, load range C, 37's. While the rolling diameter is closer to 35.5", these are still very light for their size. Great in the snow, I will run these until or unless I find myself frequently in mud. Since 5 of these would not fit inside my JL (the rear seat height reduces cargo space with the seat folded down), I had to drive on them to get them home from Discount Tire. They fit in the wheel wells, but, I wouldn't drive offroad with them until I get my lift installed. 5 tires with road hazzard, TPMS, mounting, etc. - $2807
Kansei Roku Wheels:
I struggled to decide which wheels to use. My main goal was to keep them as light as possible. While Discount Tire carries these wheels, the best price I found was through a direct purchase from Kansei who provided both a 10% discount as well as not charging sales tax. These 0 offset, 24Lb, 17x8.5" wheels are among the lightest I could find (for less than $500each). Published weight was 22.2Lbs, but I measured 24.2Lbs for the bare wheel. I'm still not sure about the 0 offset as the tread extends a good inch beyond the fenders, but I like the overall weight of tire+wheel=87.4Lbs as compared to 76.8Lbs for the stock, 285 tire & wheel.
5 wheels plus shipping - $1381.
Tazer JL Lite:
Needed for the speedometer correction due to change in tire size.
$259.
Hothead Headliners (medium grey):
I compared the Mopar headliner to reviews of other headliners and chose the Hothead with rear window panels and the "sound assassin" strips. I chose the medium grey in the hopes of lightening up the appearance as compared to black while not being as susceptible to dirt as the white would have been. Besides, the grey matches the sky most of the year around here. I used a sound meter app on my phone running the same section of highway at 70MPH and saw no significant difference in sound measurement, but it seems there was a "dead spot" above & behind me where the headliner is. I suspect most of the noise at highway speeds is from wind around the windshield. $494.

Sponsored
Last edited:
 ) and installed sound assassins and headliner with my freedom tops resting on my family room floor (where the AC made conditions tolerable). Cutting and molding the sound assassin strips took a few minutes, but the whole procedure was about 15minutes.
 Thanks to forum members Roky & Hoag4147 by quickly answering my plea for help on July 4 & pointing out my careless mistake. This forum is awesome. Every time I learn