roaniecowpony
Well-Known Member
Nothing on the results yet. It'll be probably a week before I get the other front door done, since we're getting a heat wave now. Besides, my old arthritic back and other parts are aching. I think doing the two front doors should net a measureable difference. Although I do intend on doing all 4 doors and the floor pan.Your right it’s cheap and you might as well while your in there. I read a lot on Sound Deadener Showdown and watched a bunch of YouTube videos on the subject. Seams like there are some basic principles to get right but no need to spend a ton. Most of the high dolor stuff is marketing.
I will look at Killmat also. Someone posted on a thread that noico 80 and Killmat were made by the same company, Russian I think. I thought Noico had gone away from using any asphalt. If it has asphalt I want use it.
Do you have a guide you can share to properly disassemble the doors? Do you have any feed back on results?
On the disassembly, I watched a couple JK door disassembly videos and figured they'd have similar design philosophy. They did. There's one in particular by "Jeep Glass" I think. That one showed taking the glass out. It was very informative.
Basically,
1. roll the window down all the way.
2. take out the screws (5 I think, 1 behind the lever, 2 under the armrest, 2 along the bottom) that hold the door trim panel on and then pop it loose using a trim removal fork. Raise it up over the sill and pull it away slightly from the door.
3. unhook the lever cables and the electrical connector to the inner door circuit. Remove the panel and put it somewhere safe.
4. Remove the window seal starting somewhere near the top. Just pull it down around and tug it up and out of the channel near the front and rear.
5. Remove the inside sill seal. Leave the outside one on.
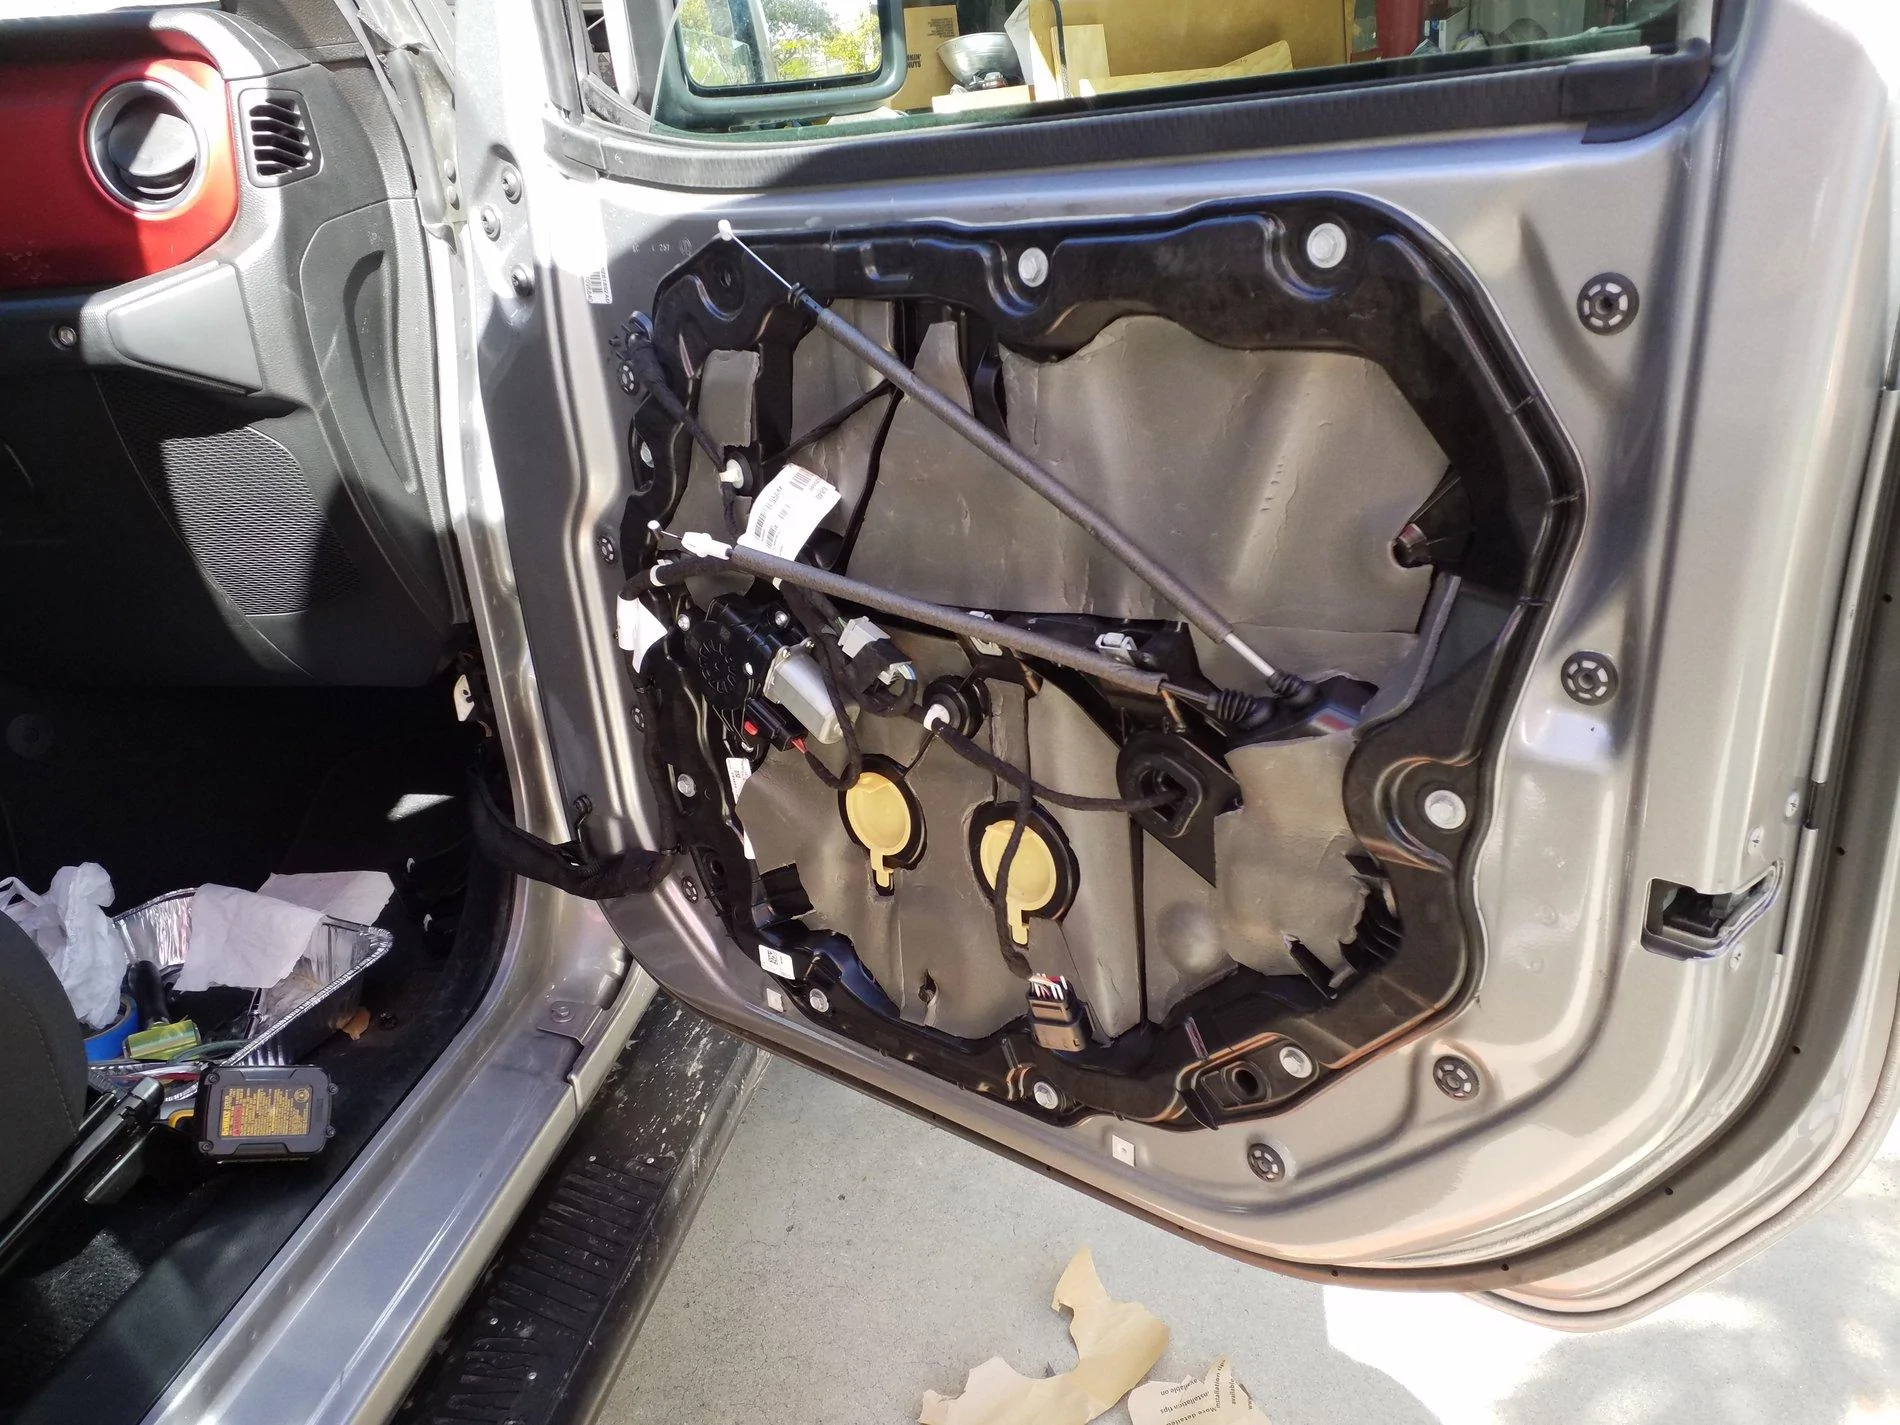
6. Remove the 2 plastic plugs near the lower center of the black plastic mechanical panel. Run the window up until you can see 2 bolts. Remove the bolts and while lifting on the glass, pull toward you on the bottom edge of the slotted tabs you took the bolts out of. They have a little step on them to catch the regulator. When both of them release as you pull up on the glass, it will be free in your hand.
7. Lift the glass up about halfway and tip the front downward, rotating the glass with the back edge up. You should be able to remove the glass completely out of the door with the glass going outside of the upper door frame. I think I had to run the window regulator down all the way to get the inner mechanical panel out later.
8. disconnect the big electrical plug from the door that is in the kick panel, remove the harness keeper on the door with the 2 torx screws. Unplug the power mirror harness (if equipped) from the mechanical panel (you can see the harness coming out of the door on the metal portion of the inside of the door, near the mirror) and pop off any harness keeper clips for the mirror harness that are on the mechanical panel.
9. remove all the bolts holding the mechanical panel on, remove the torx screws holding the door latch on the aft end of the door. You should be able to move the mechanical panel now.
10. pull out on the bottom, lower it a couple inches and it should move away from the door in the front, but is still attached at the rear near the latch.
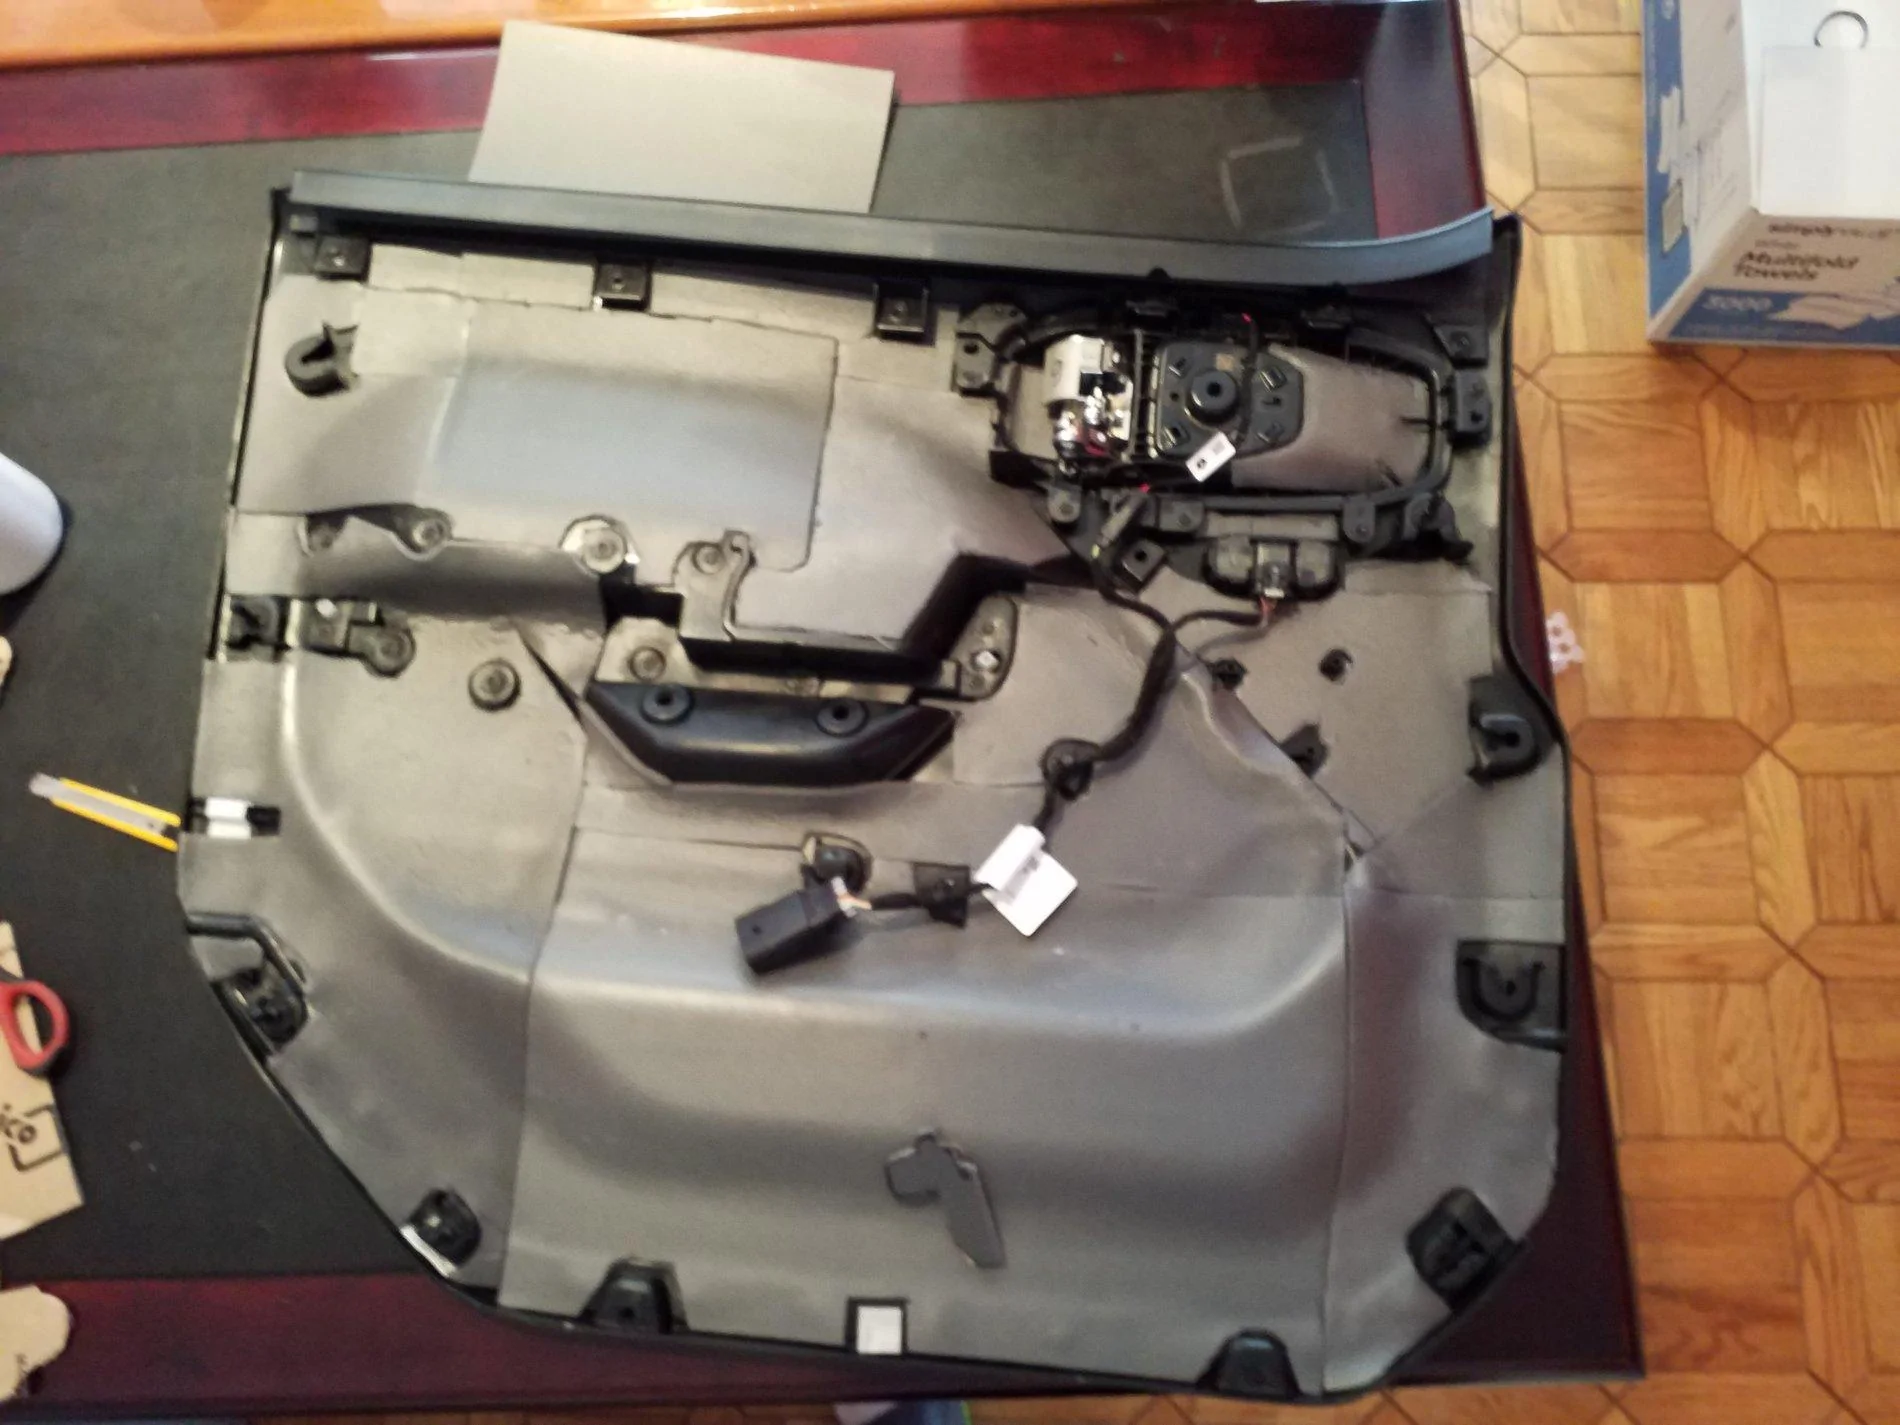
11. disconnect the 2 rods for the latch and lock from the mechanical panel. Squeeze the 2 yellowish large plastic clips that are locked into the black latch mount.
(My power lock connectors from the mechanical panel to the door were really buried and simply popped all the harness keepers loose from the mechanical panel and fed as much slack as I could from the harness thru the panel to give me enough slack to lay the panel on the ground near the door. I may put more effort into disconnecting them at the door, so I can add the sound material to the mechanical panel at the bench, rather than doing it all kneeling. A short mechanics stool may be in my future.
That was about the extent of the disassembly.
Sponsored