Buster1
Well-Known Member
- Joined
- May 2, 2022
- Threads
- 14
- Messages
- 248
- Reaction score
- 410
- Location
- Ft Worth, TX
- Vehicle(s)
- ‘51 M38
- Thread starter
- #1
Hi guys. Just wanted to write up an easy mod I just did that enhances safety, though it might not be entirely legal in your area. I installed a third brake light (CHMSL) flasher module. Total time was about 1+15 minutes, with 15 minutes or so to program the module.
Mercedes puts these in most of their cars stock, as well as some Asian manufacturers. Here’s a study Mercedes did if you’re interested in the science.
https://journals.sagepub.com/doi/full/10.1155/2014/792670#_i17
https://www.superbrightbulbs.com/dcell2.html
Here’s what I did for the install.
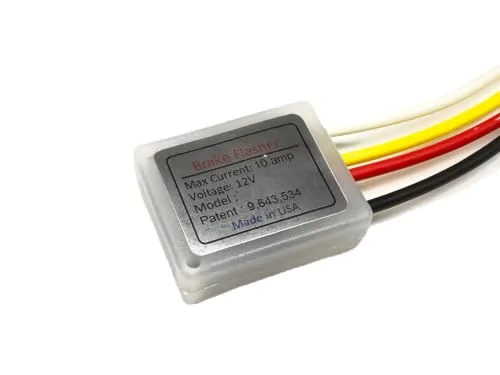
I ordered the X1 module from Amazon. There are other modules you can get from this company too each with different features that the module can do.

I like the X1 because it has the ability to program the flasher to stop flashing with repeated brake applications… like in stop and go traffic. So it won’t keep bothering folks behind me, but on the initial stop… it should help get the attention of distracted drivers.
Once the unit arrives you’ll have to program it with a 9V battery. But the video they have online is actually pretty good. This is a screen grab for the S1, but the video walks you through all their models.

After programming the rate of flash, number of flashes, and other parameters, you’re ready to install!
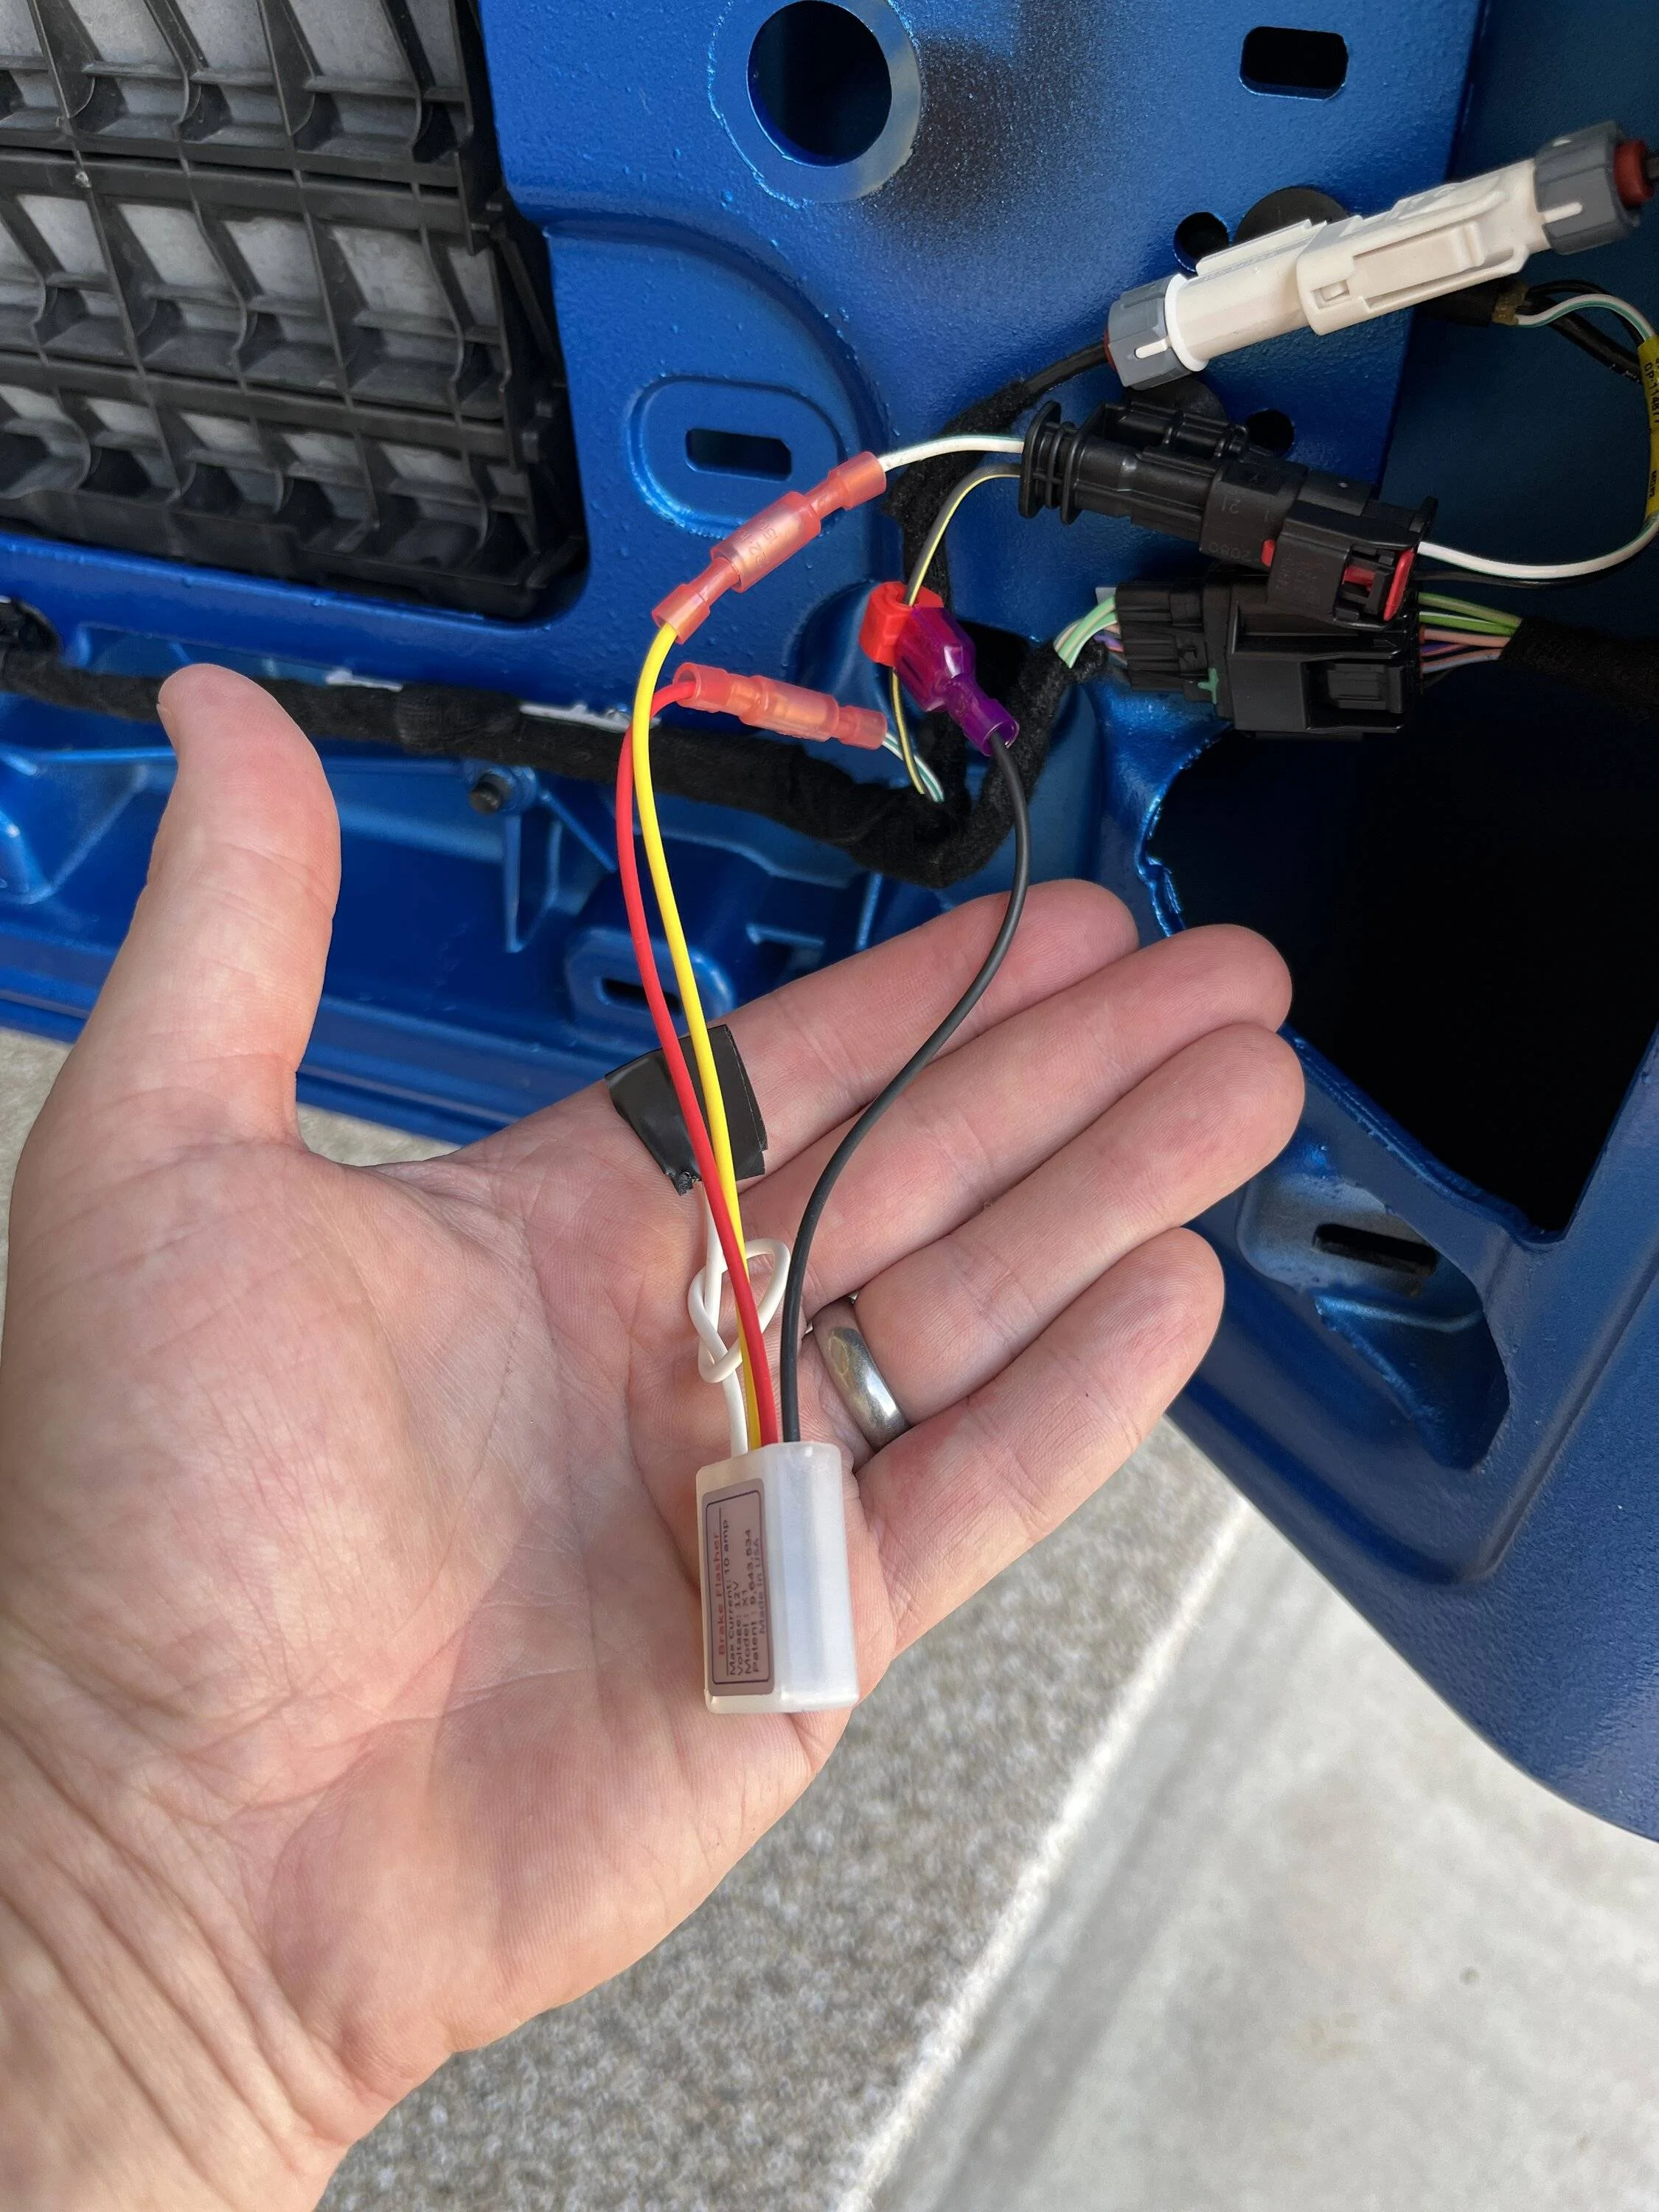
Gain access to the third brake light wire and ground. I chose to do this in my swing gate, just left of the connector plug. White/green is the + and the gray (or black wire right of the connector) is the -. The third brake light wires are the middle bunch and just have the 2 wires. The upper black wire with the white connector clips is the back-up camera (if you have that option).
The instructions are pretty good and all the splice connectors are provided. You will need a quality wire splice crimp tool.
I won’t get into all the wiring, again, the instructions are good. The red and yellow wires go on the positive wires, and the black clamps on the ground with the supplied clamping clip. The white wire stays unattached and can be used later for reprogramming if desired. I covered the end with a little electrical tape to prevent any problems.
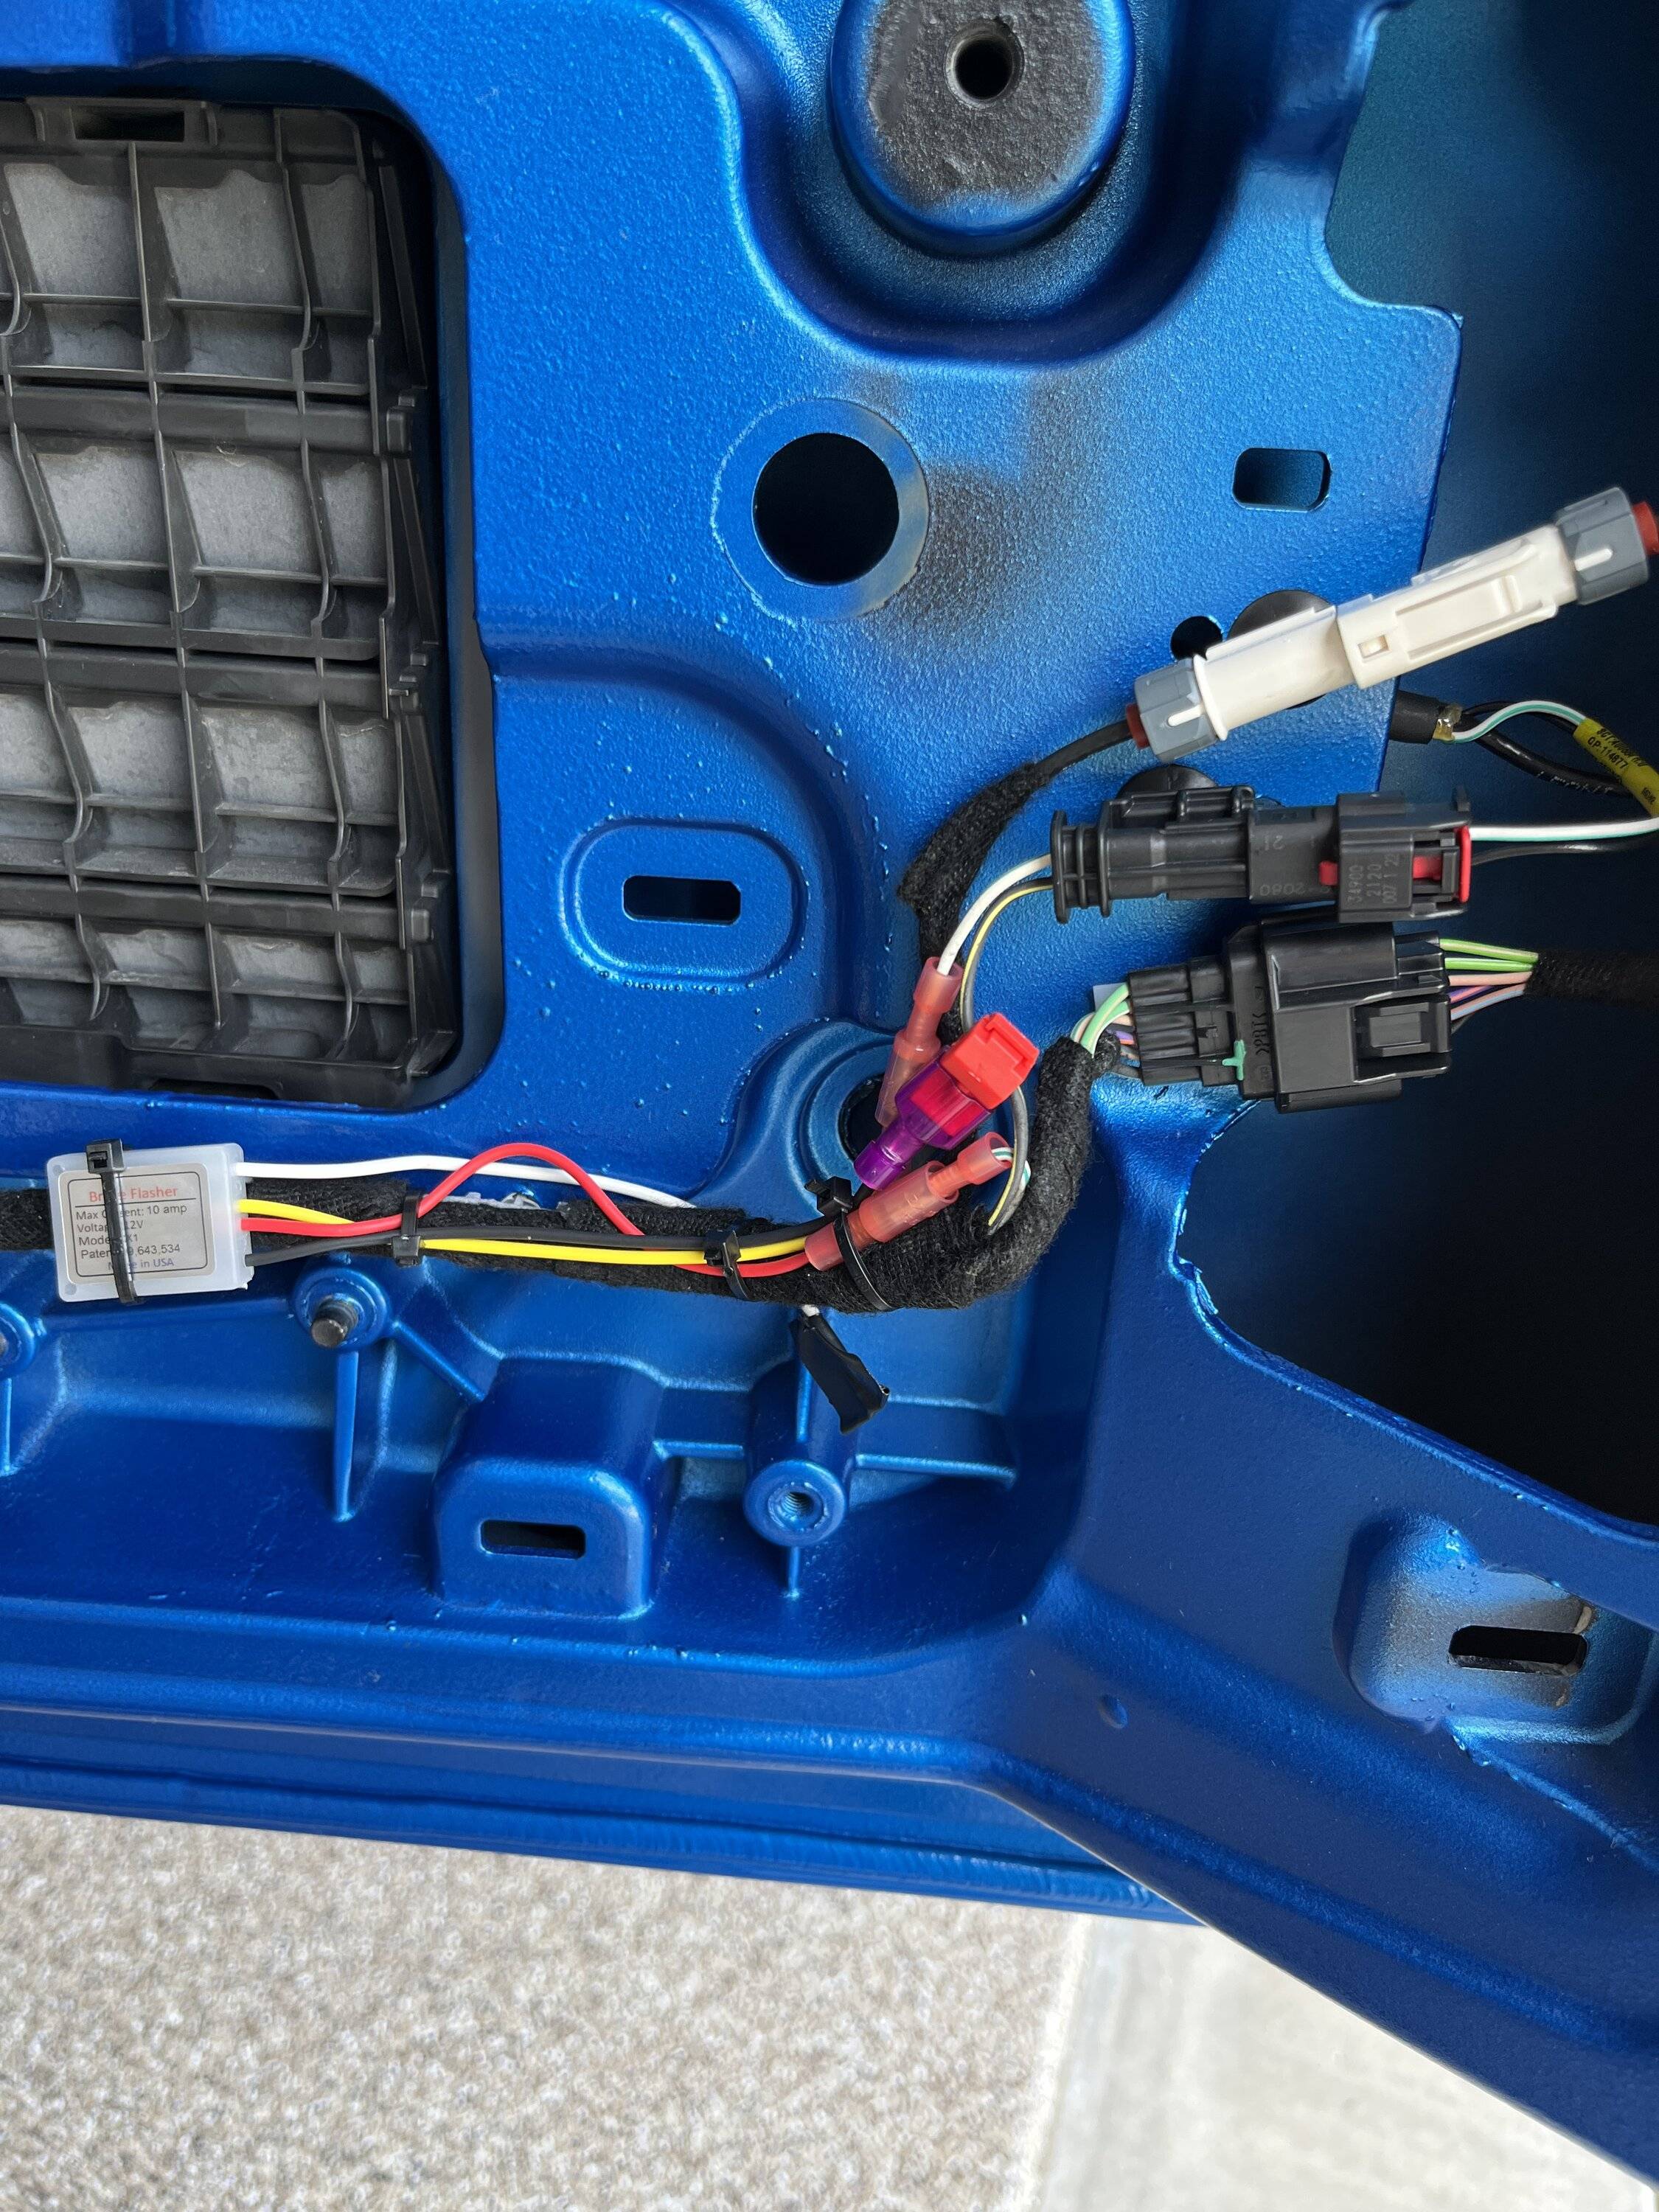
Here it is wired in. Test it here to ensure all is well, then zip tie it down for security.

Good luck!
Mercedes puts these in most of their cars stock, as well as some Asian manufacturers. Here’s a study Mercedes did if you’re interested in the science.
https://journals.sagepub.com/doi/full/10.1155/2014/792670#_i17
https://www.superbrightbulbs.com/dcell2.html
Here’s what I did for the install.
I ordered the X1 module from Amazon. There are other modules you can get from this company too each with different features that the module can do.
I like the X1 because it has the ability to program the flasher to stop flashing with repeated brake applications… like in stop and go traffic. So it won’t keep bothering folks behind me, but on the initial stop… it should help get the attention of distracted drivers.
Once the unit arrives you’ll have to program it with a 9V battery. But the video they have online is actually pretty good. This is a screen grab for the S1, but the video walks you through all their models.
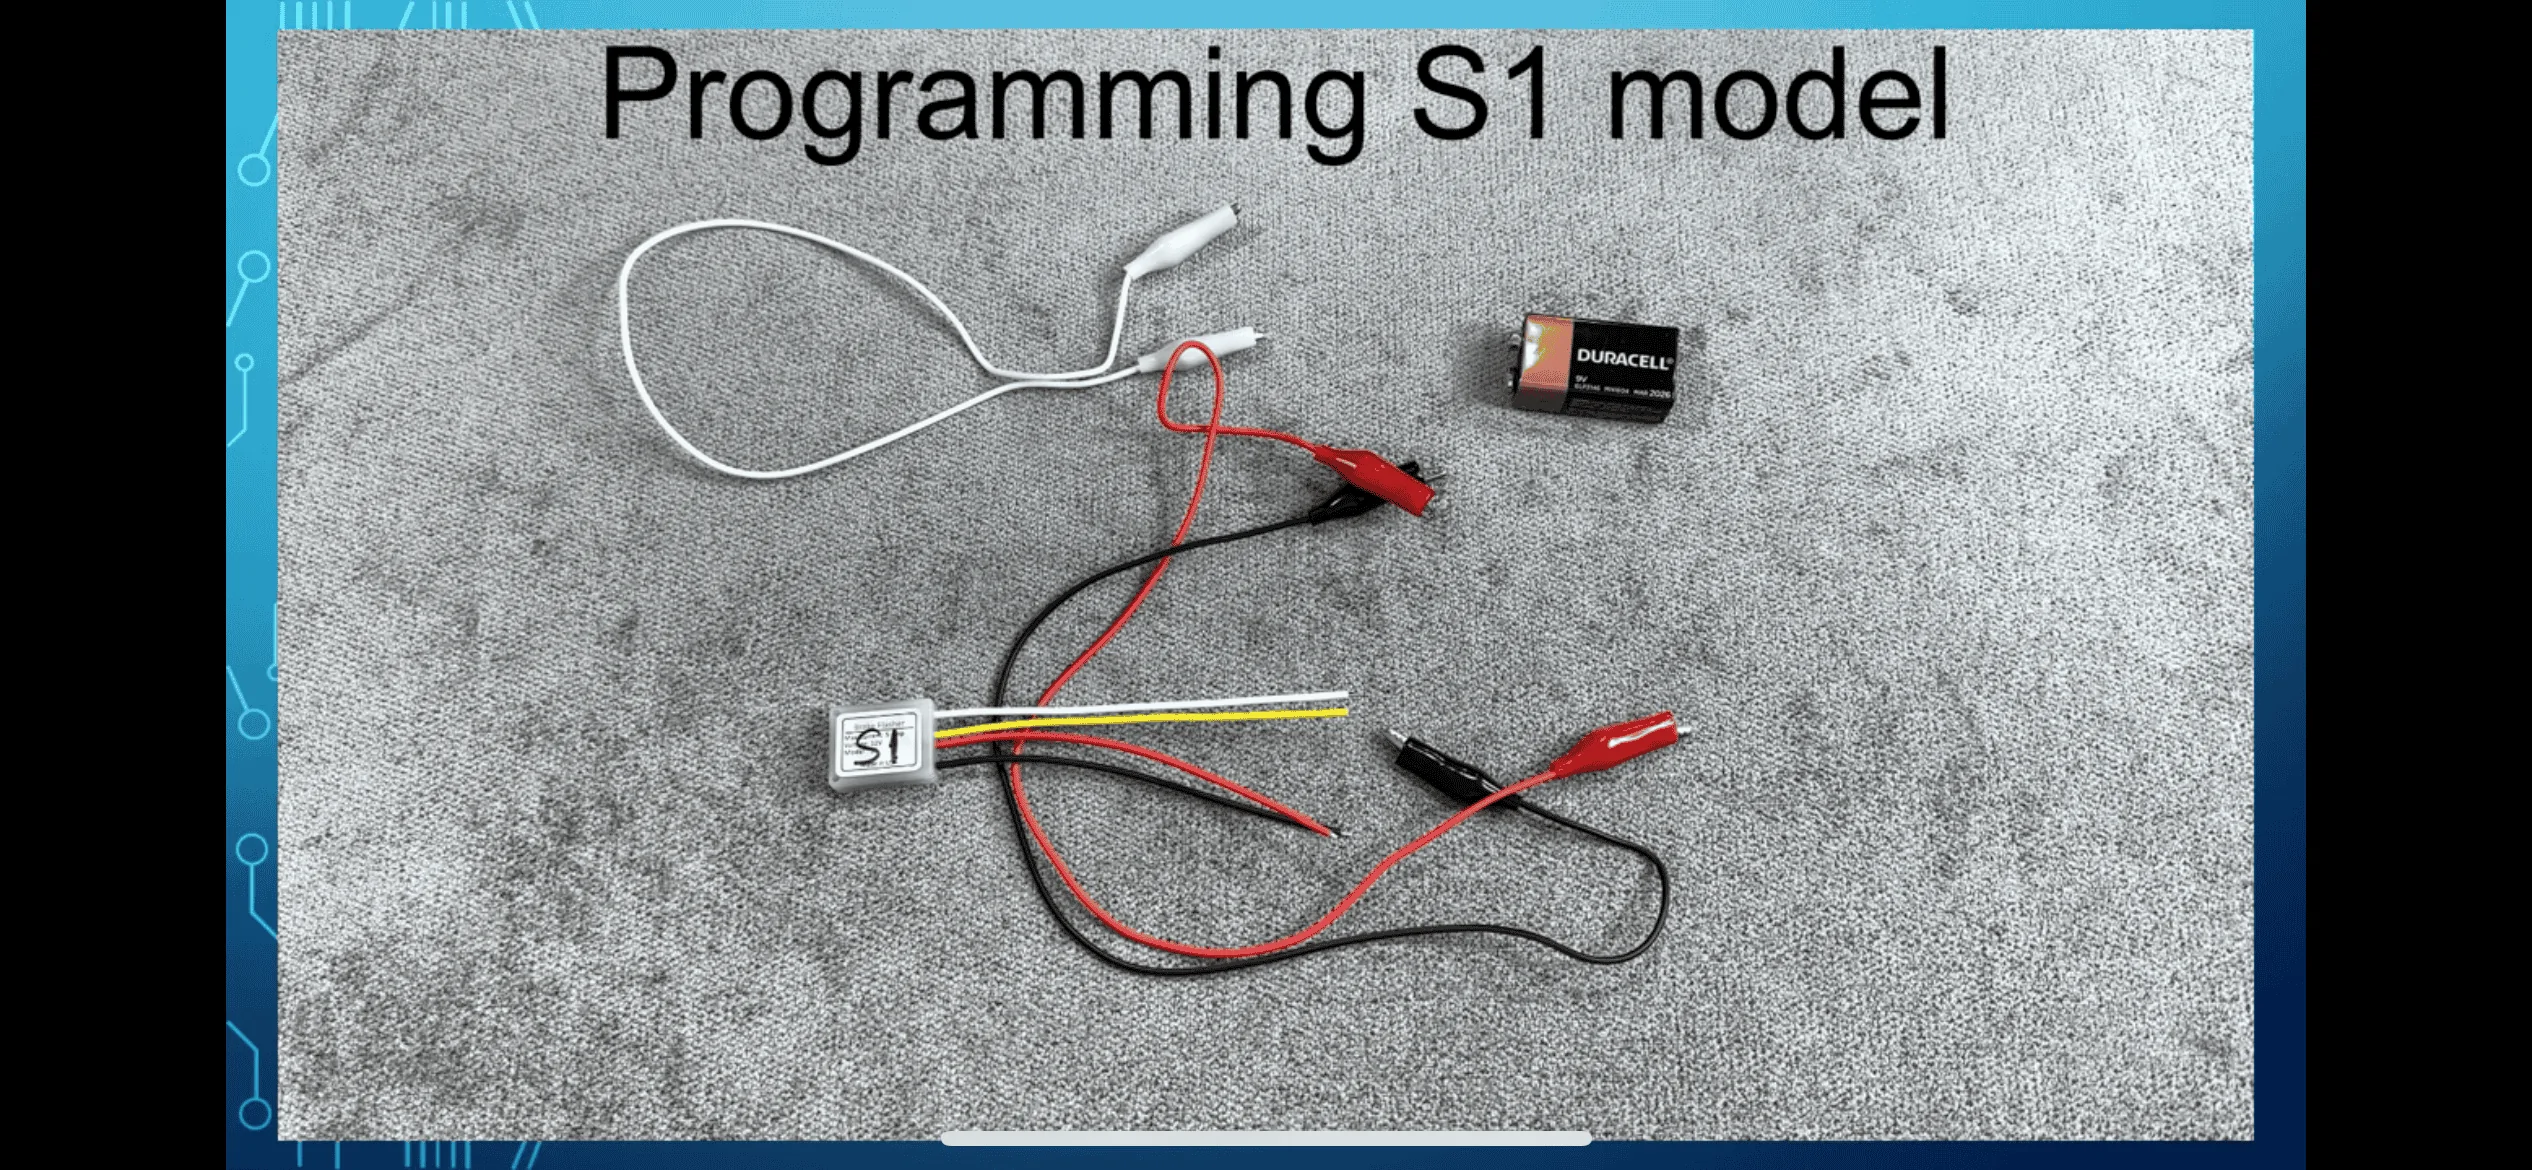
After programming the rate of flash, number of flashes, and other parameters, you’re ready to install!
Gain access to the third brake light wire and ground. I chose to do this in my swing gate, just left of the connector plug. White/green is the + and the gray (or black wire right of the connector) is the -. The third brake light wires are the middle bunch and just have the 2 wires. The upper black wire with the white connector clips is the back-up camera (if you have that option).
The instructions are pretty good and all the splice connectors are provided. You will need a quality wire splice crimp tool.
I won’t get into all the wiring, again, the instructions are good. The red and yellow wires go on the positive wires, and the black clamps on the ground with the supplied clamping clip. The white wire stays unattached and can be used later for reprogramming if desired. I covered the end with a little electrical tape to prevent any problems.
Here it is wired in. Test it here to ensure all is well, then zip tie it down for security.
Good luck!
Sponsored