lightsout
Well-Known Member
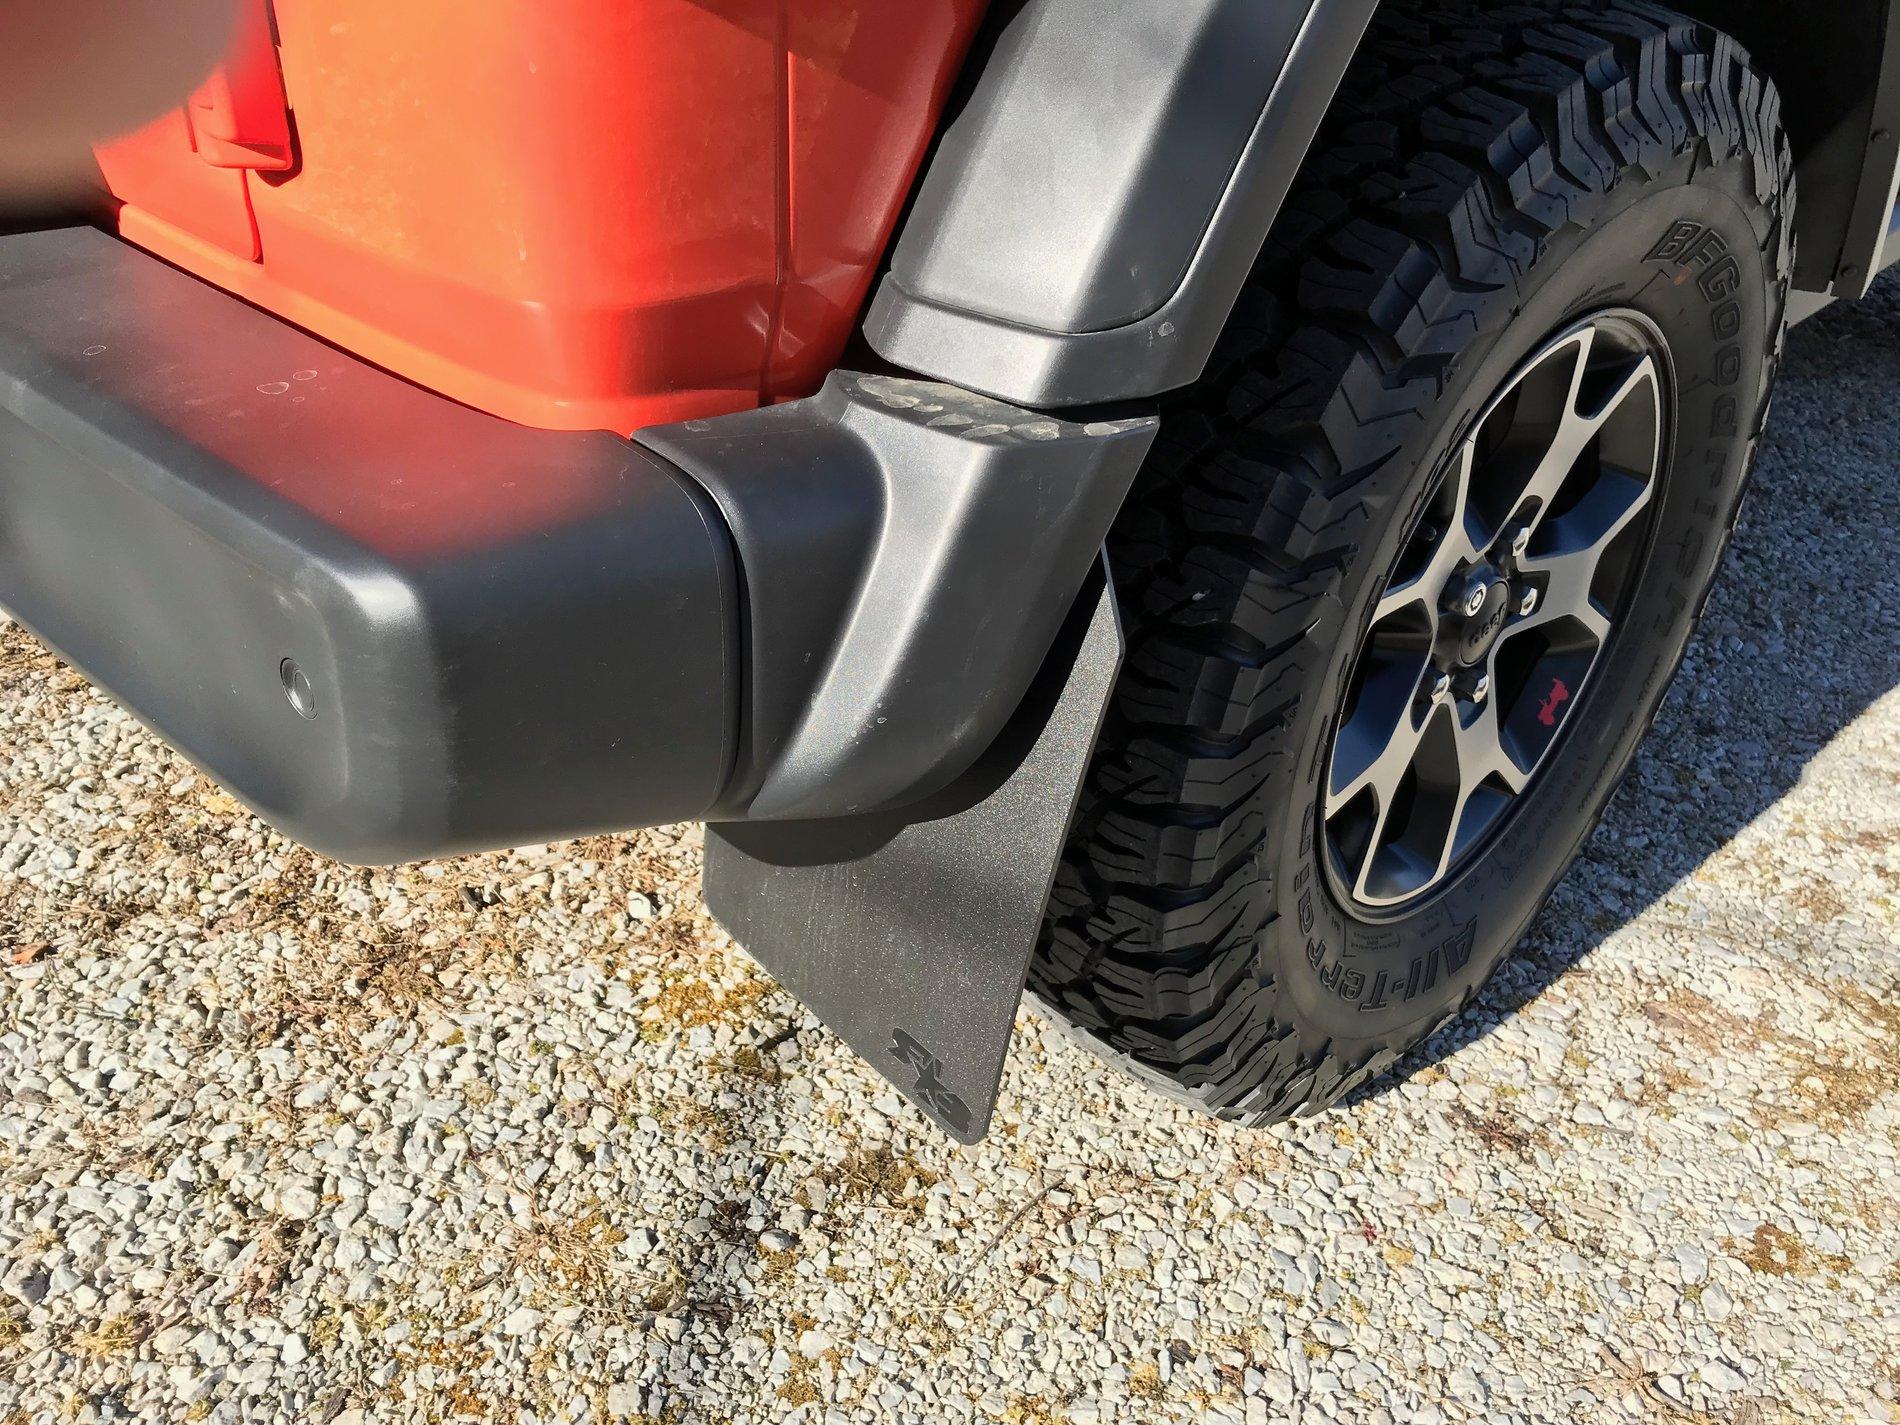
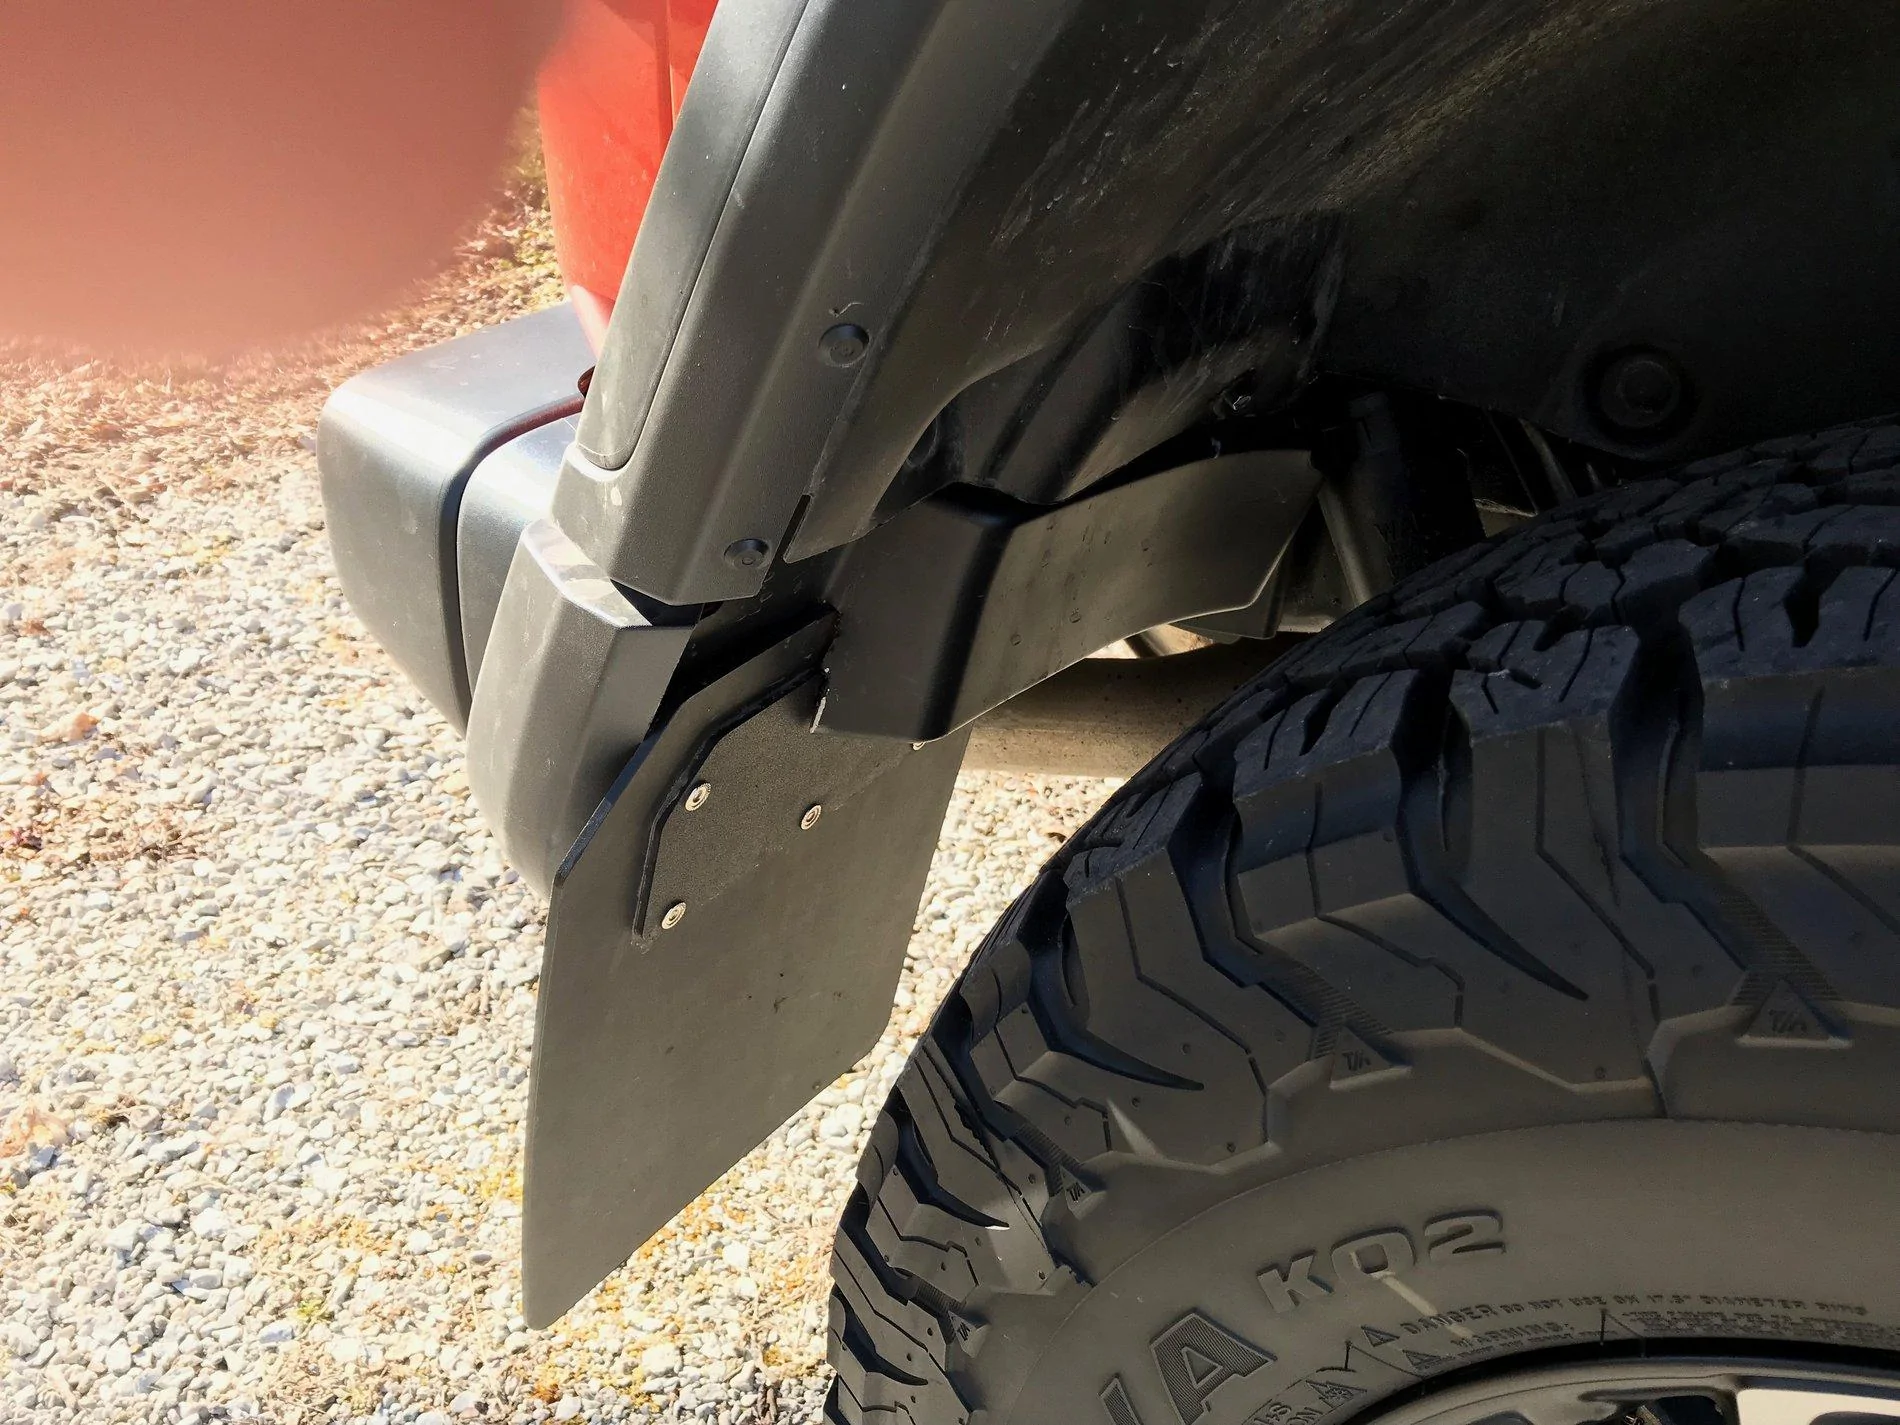
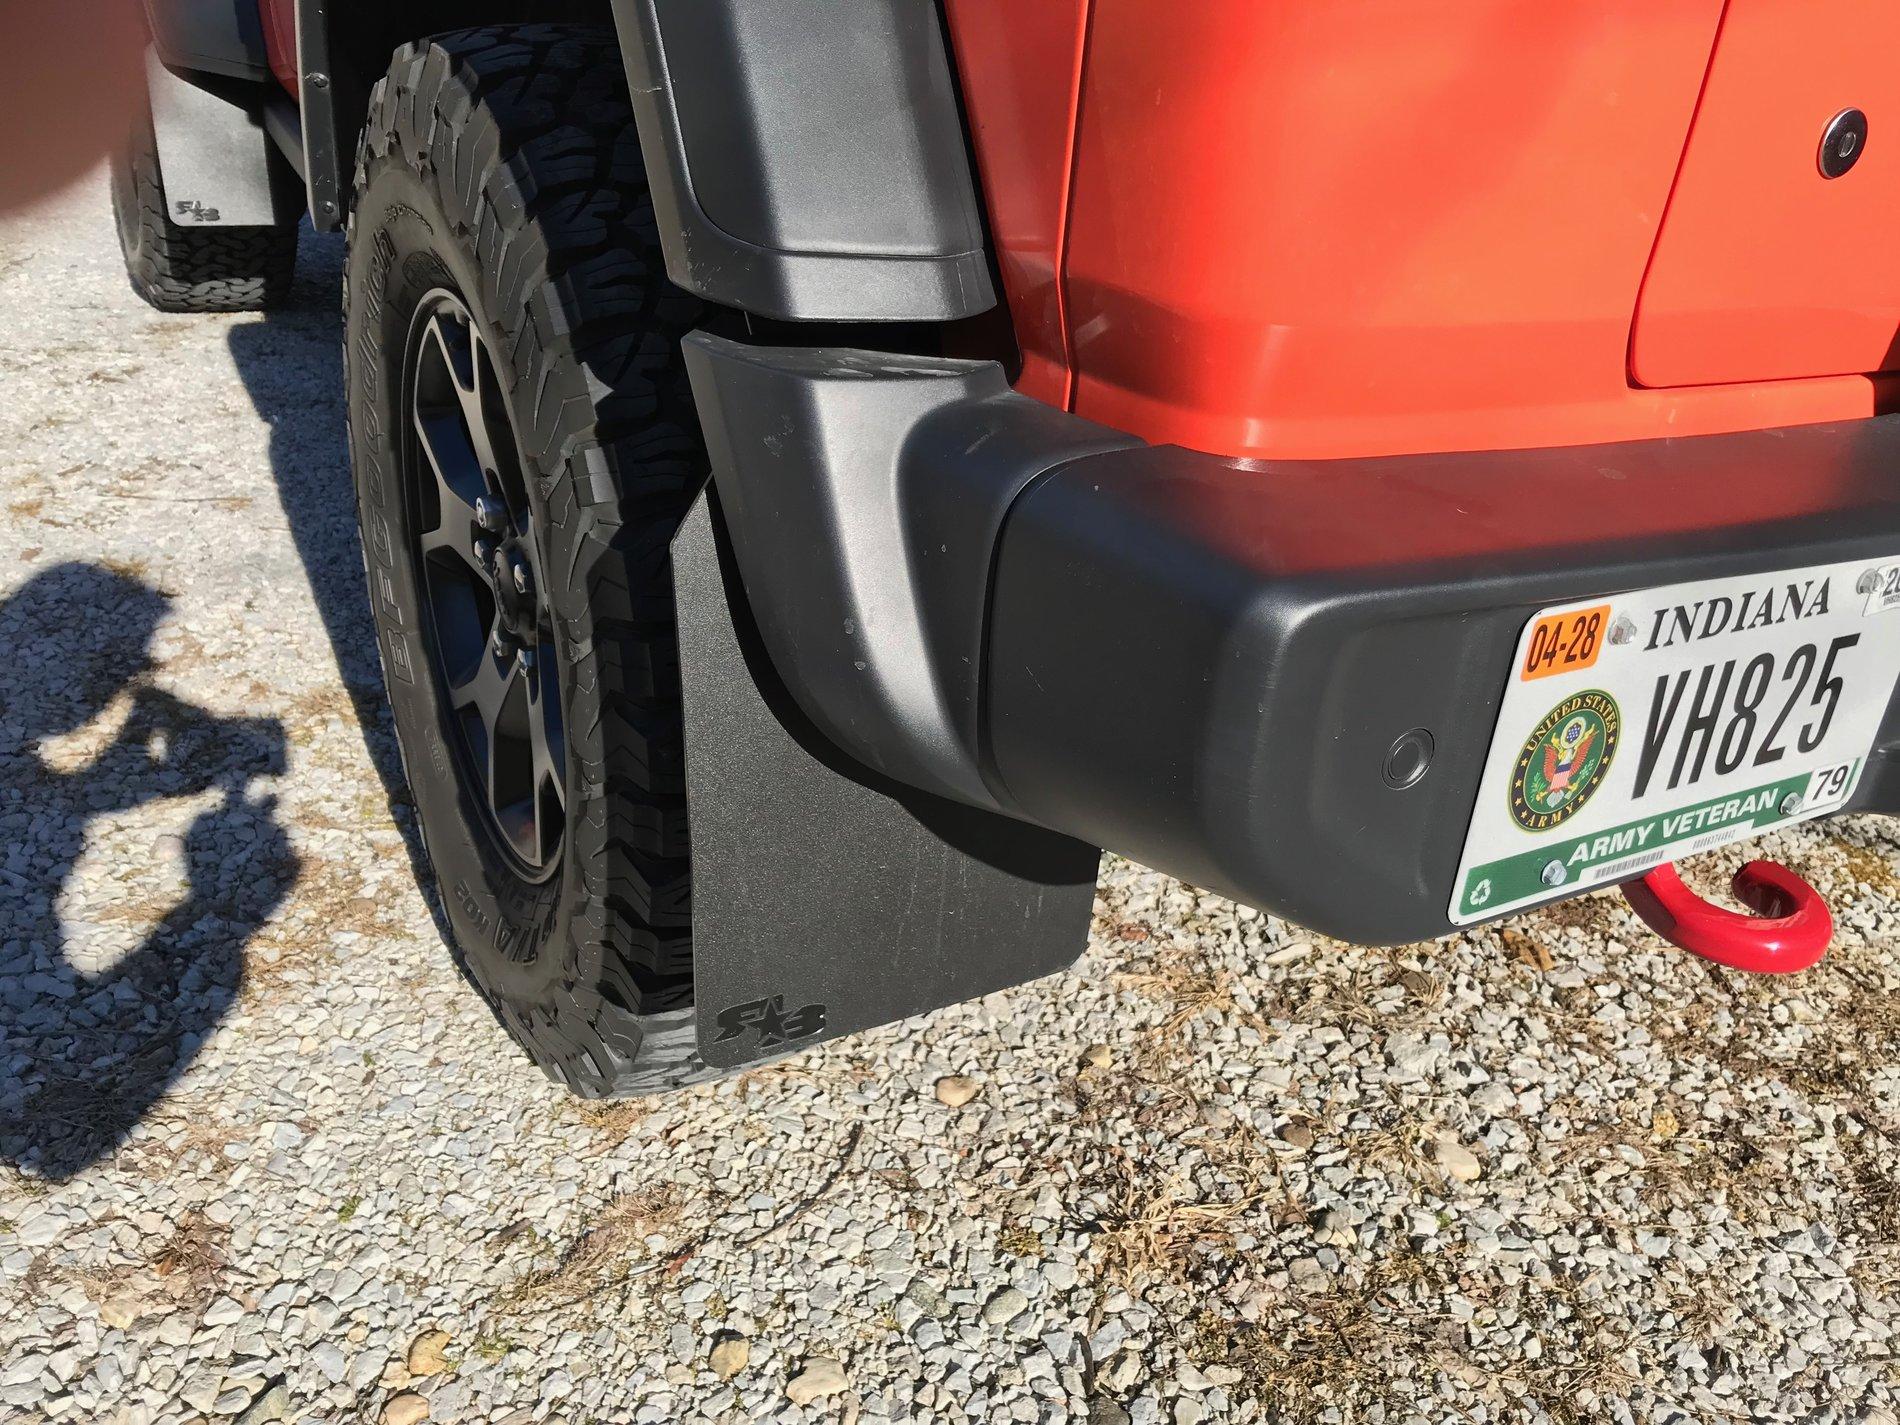
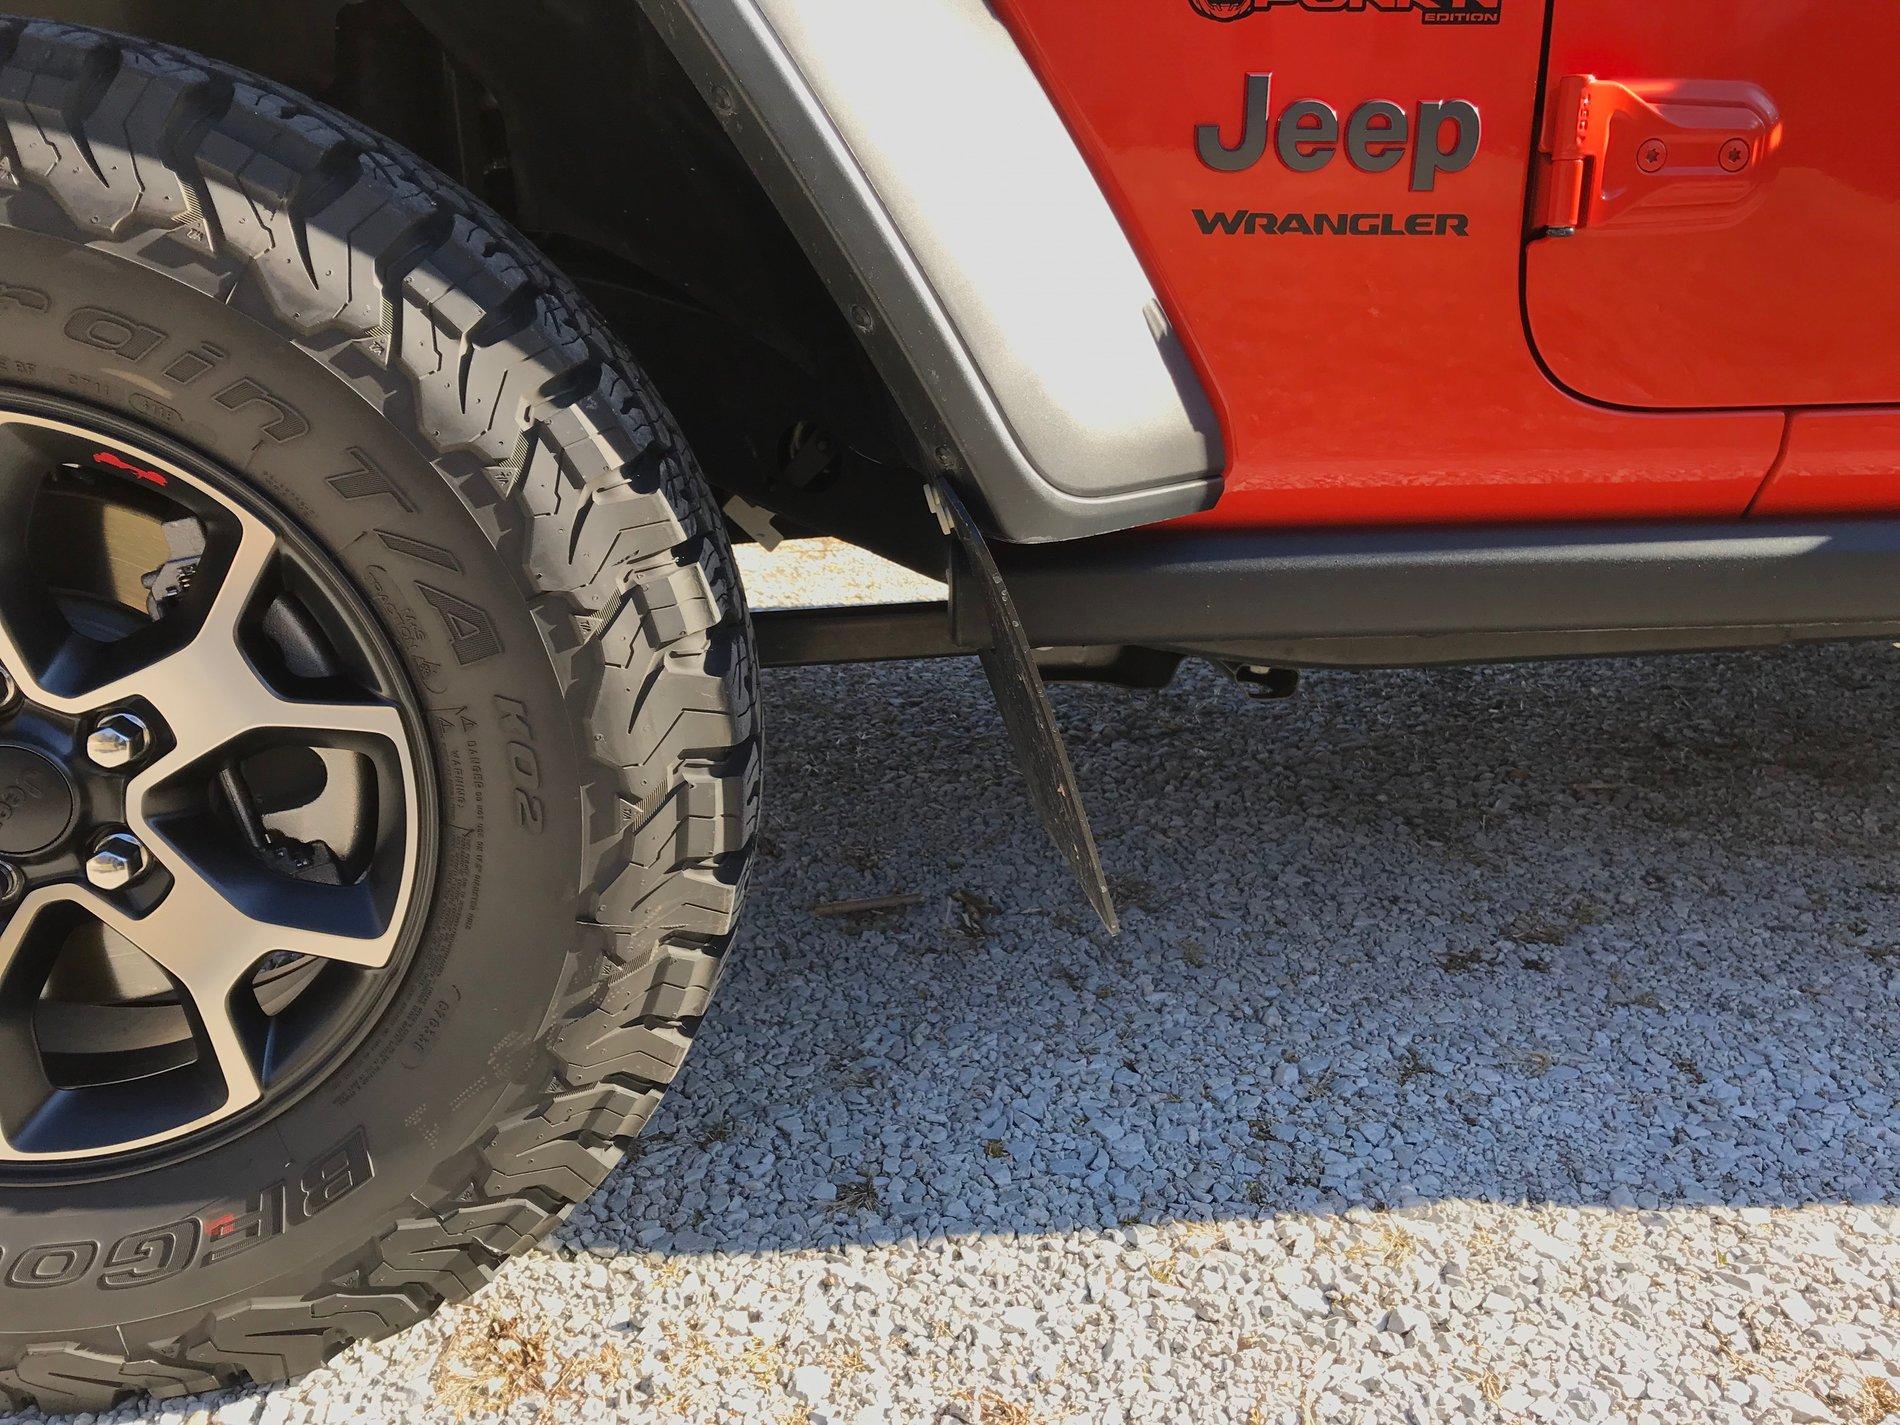
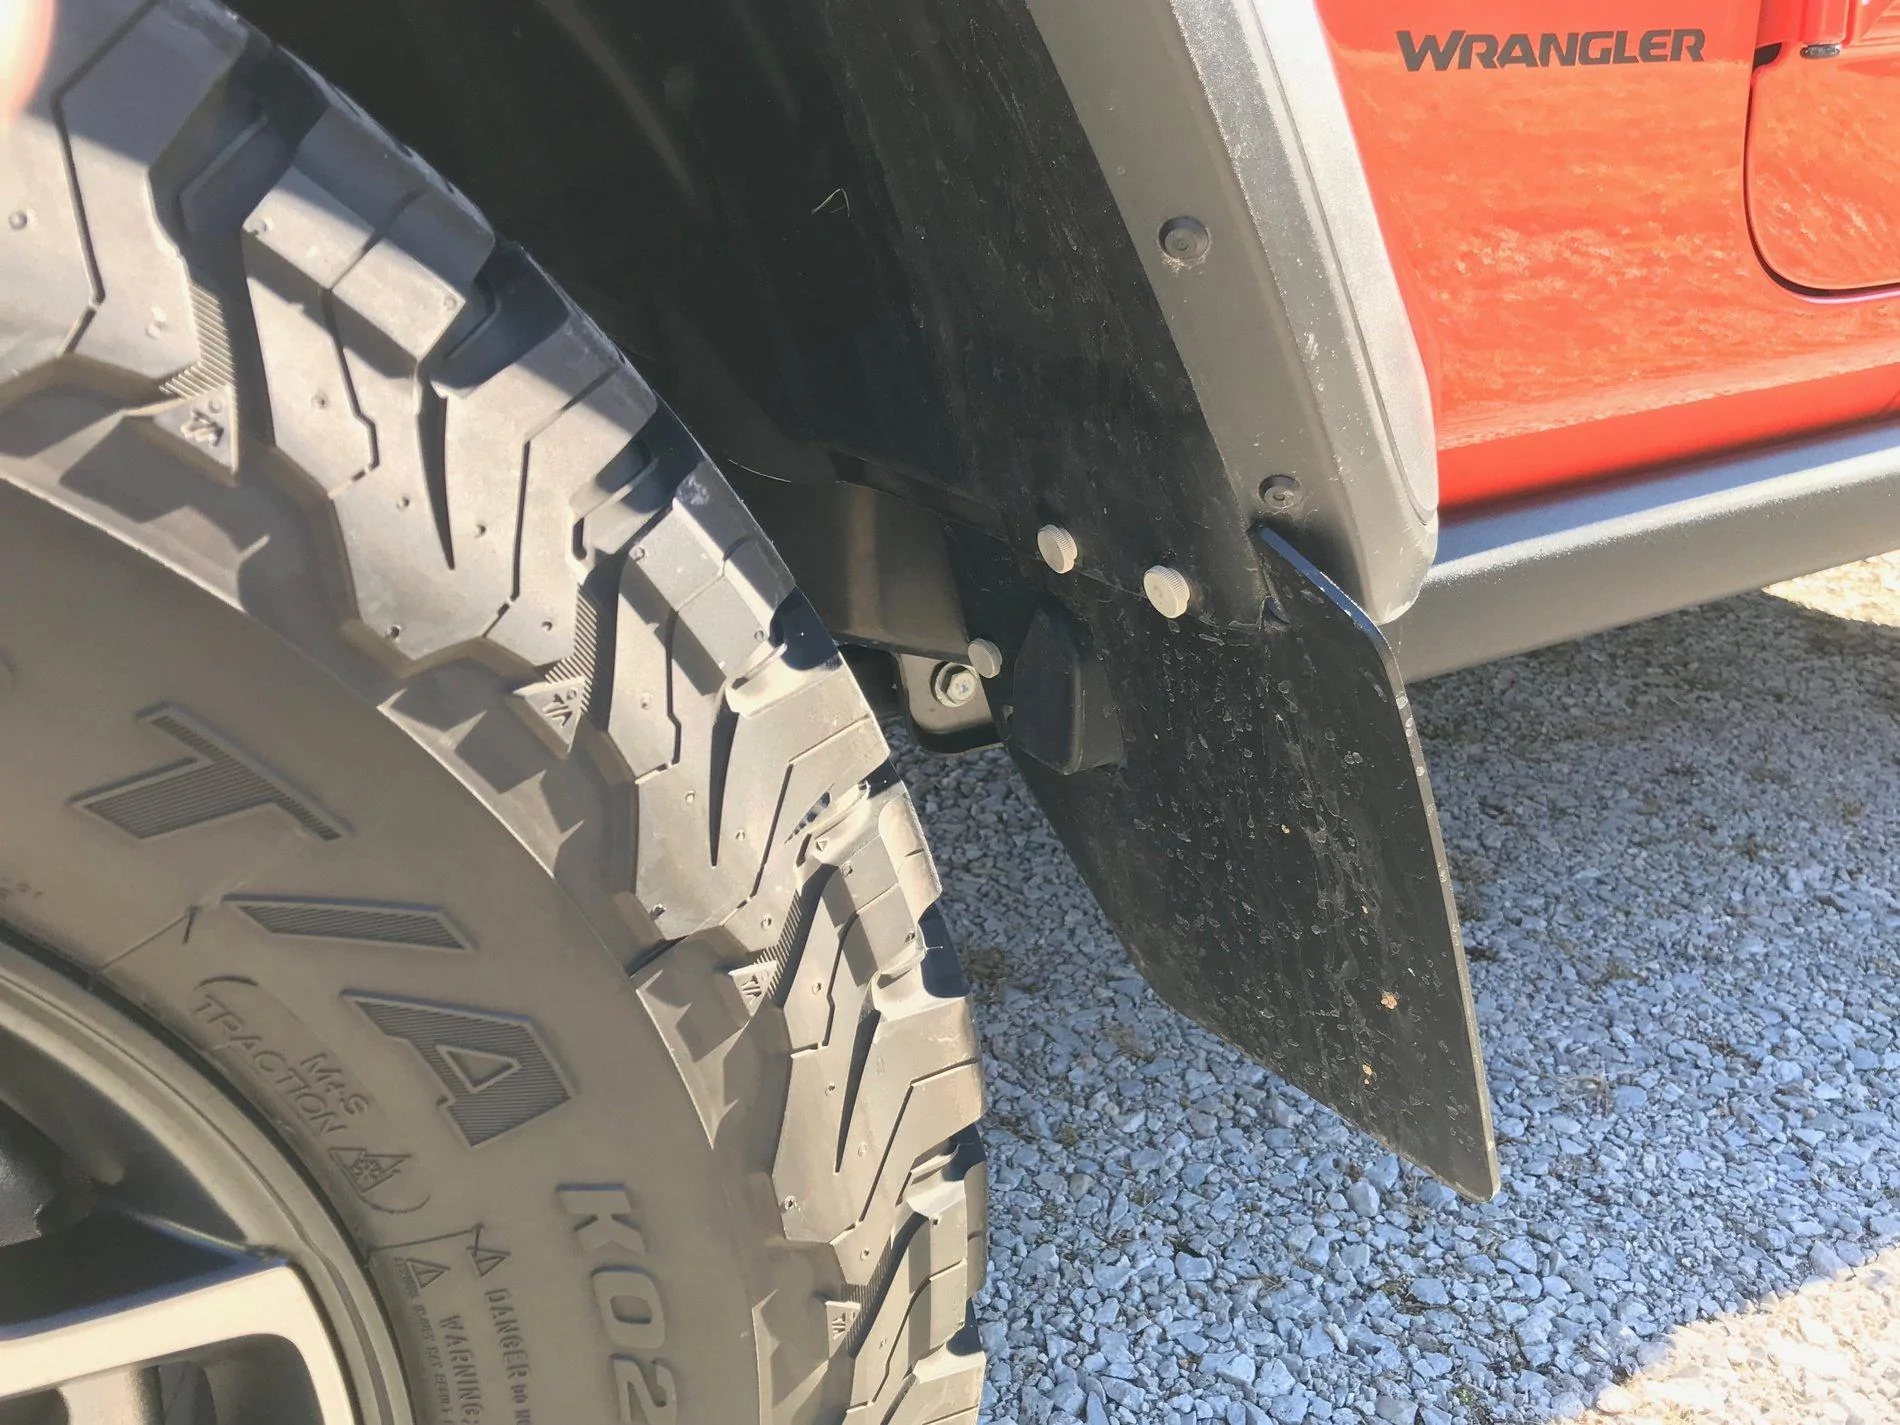
Instructions were vague both ways work however I do not think I would want the plastic screw heads in the well (I know the inside one has to be). I would be concerned those getting broken and beat up,regardless they are easy to get to on the backside like I did and they are protected. regardless I do not have a lot of faith in the hardware provided.I did not attach mine like you did. I put the entire flap behind the front fender liner and ran all 3 of the plastic headed screws in from the front through the fender liner, then the metal connector on the mud flap. This is how I understood the instructions and it makes them easy to remove as all 3 screws are right next to each other inside the fender well.
So Yours Is only supported by the plastic fender liner and the one inside metal whole? whereas mine is supported by the two steel attachment points the fender liner was originally attached to as well as the inside metal attachment point. Am I missing something on yours?
Sponsored