DWS44
Well-Known Member
- First Name
- Dave
- Joined
- Dec 2, 2018
- Threads
- 11
- Messages
- 492
- Reaction score
- 829
- Location
- Rock Hill, SC (Charlotte, NC Area)
- Vehicle(s)
- Toy Box: 2022 JLUR 392 + '17 C7 GS & '21 C8 Vettes
- Occupation
- CAD/IT Manager (Civil/Airport Design)
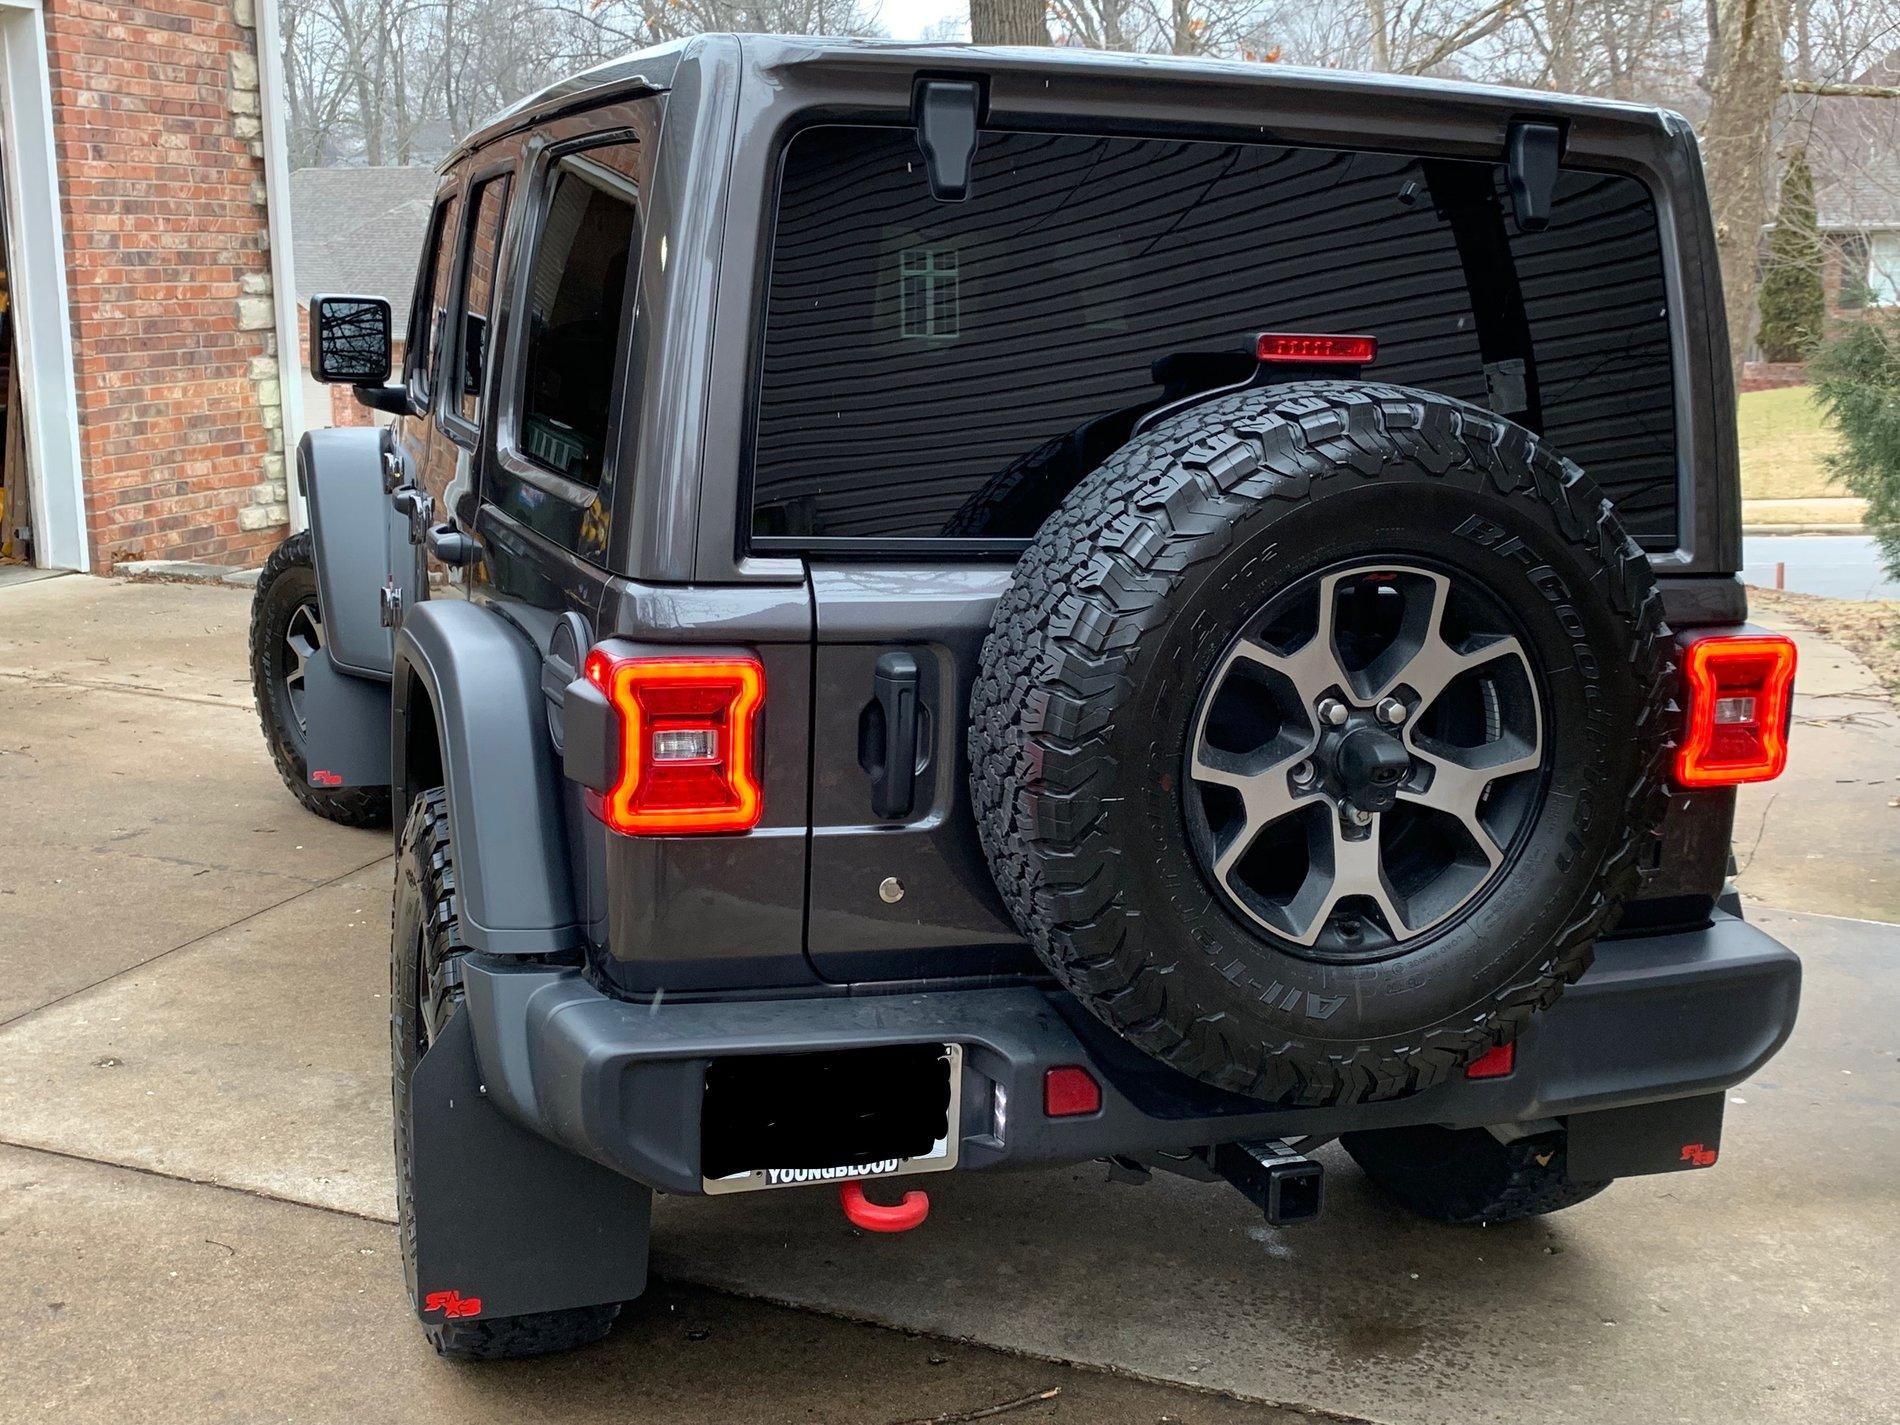
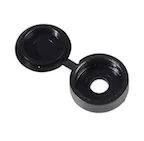
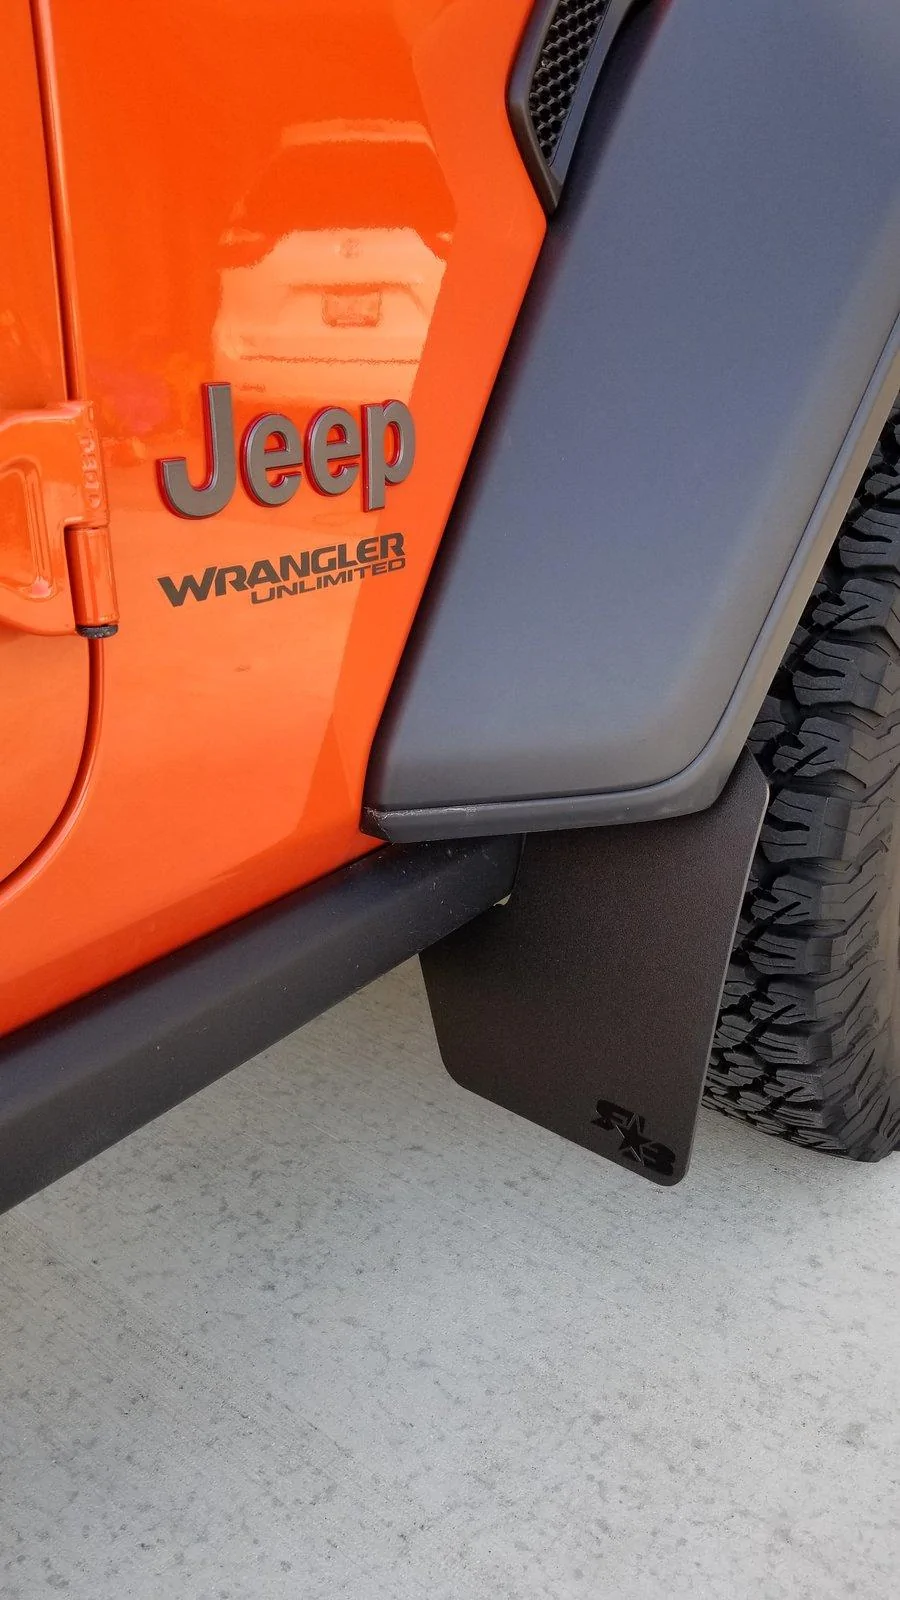
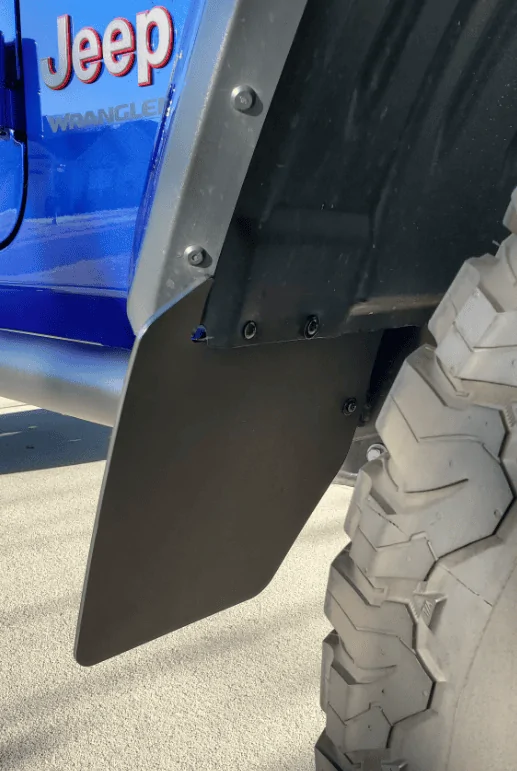
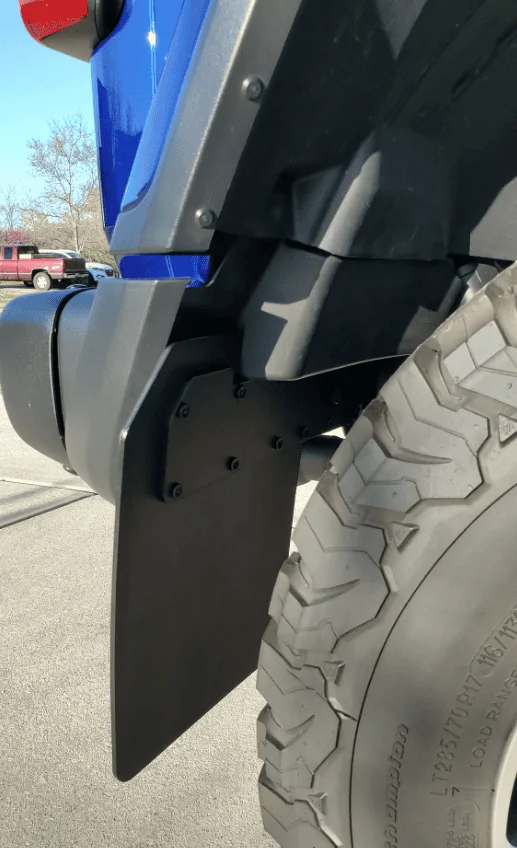
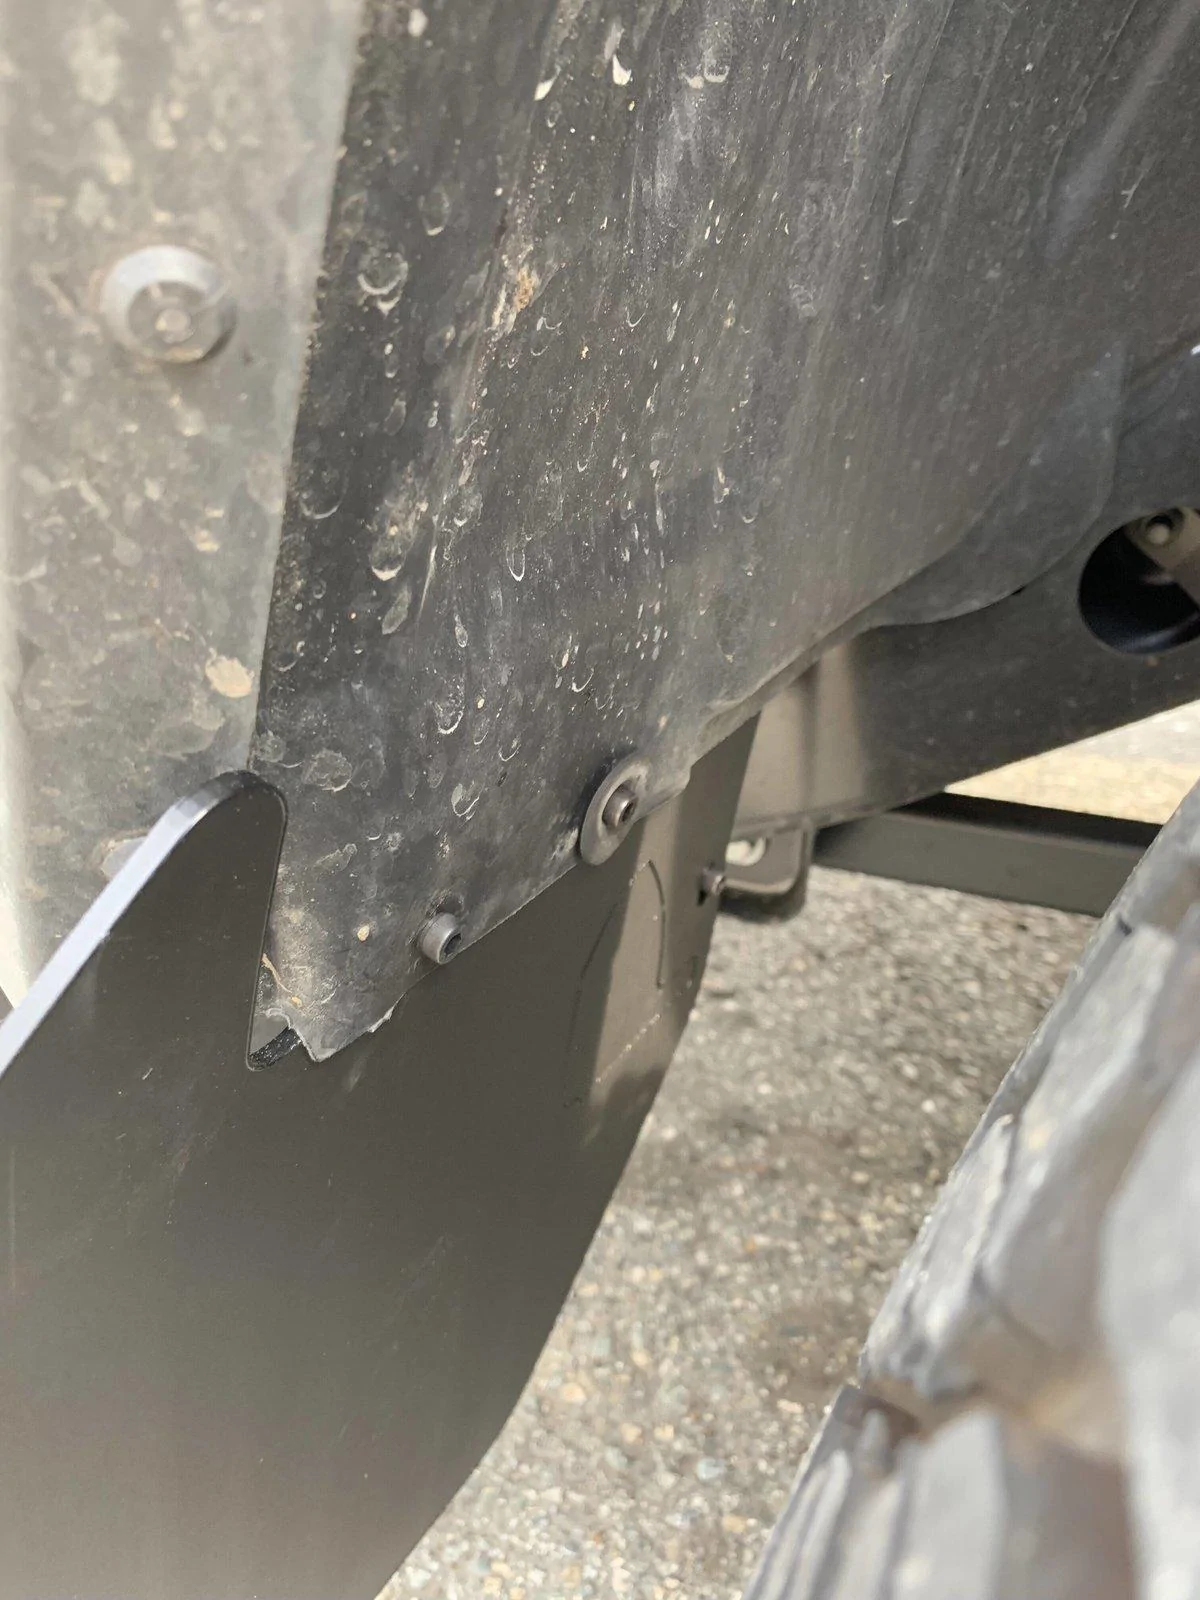
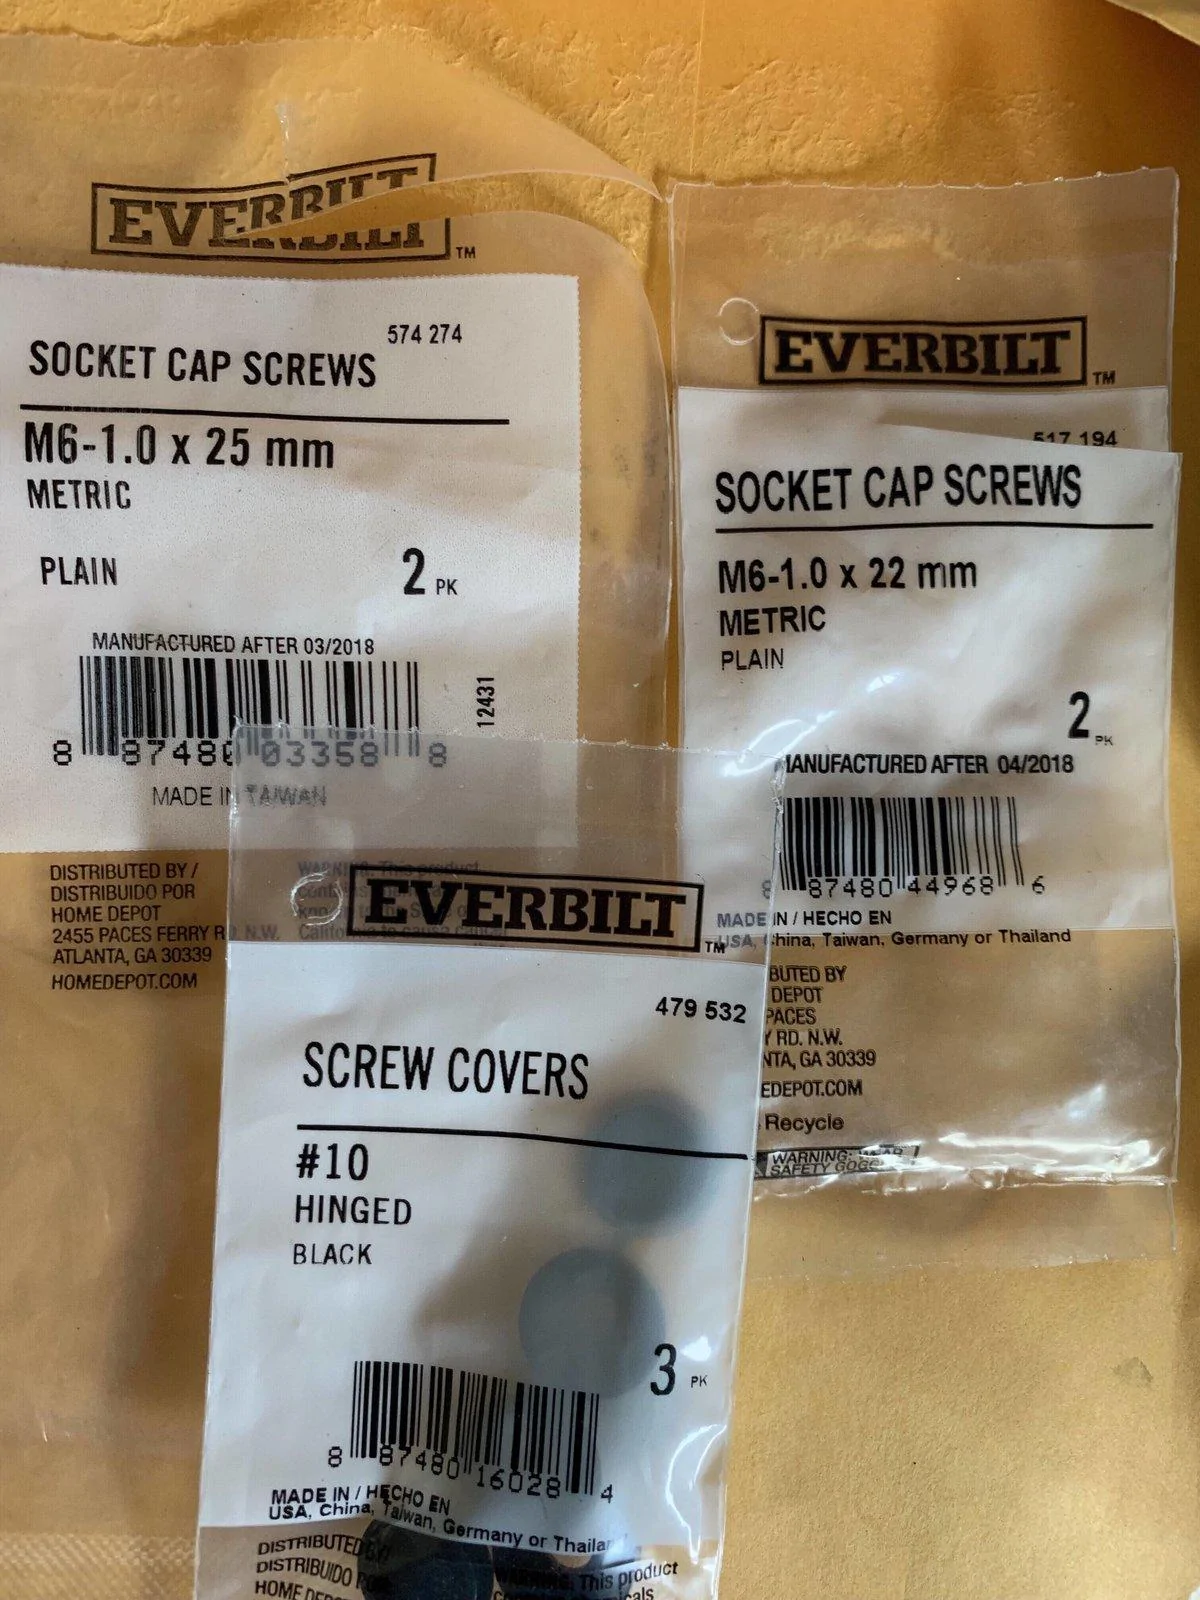
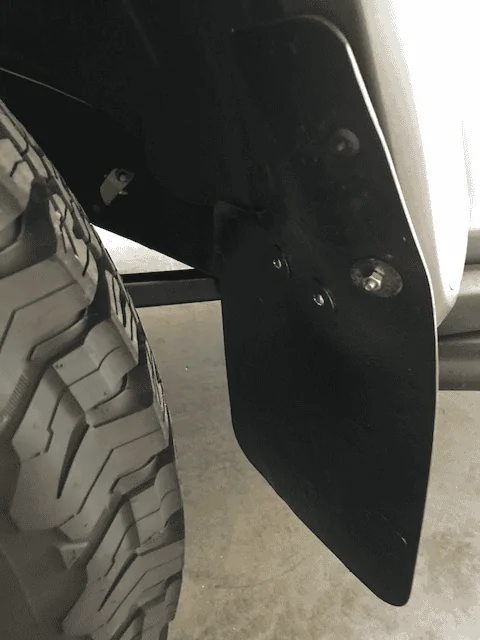
Where did you find the caps...locally or online? Can you give any more details of what you used, or maybe a link of online?I swapped out the supplied thumb screws with black cap head machine screws
I think I finally going to give in and order the regular ones. They don't seem to want to respond to my latest email asking about longer regular length versions, so I assume they aren't interested in doing them.
Sponsored