Davidcogo
Member
Riv-nuts are a lot better idea. I also learned that i should read install instructions first.I just put a riv-nut in that location so no bottom access needed.
Sponsored
Riv-nuts are a lot better idea. I also learned that i should read install instructions first.I just put a riv-nut in that location so no bottom access needed.
did you use the original fasteners that came with the mount or bought fasteners that worked with the riv-nuts? I really like what I call nut-certs but I think I’d have to get bolts to work with them.I just put a riv-nut in that location so no bottom access needed.
Depends on whether or not you have riv-nuts/Nutserts (and the install tool) that match the metric threading of the bolts supplied by ARB. I went this route also, and installed them for both the holes on the front leg of the ARB mounting bracket. Didn't have any interference issues (under the floorboard) with the inboard hole, but it sure was a bear getting a wrench on that inboard bolt head with my manifold installed...D
did you use the original fasteners that came with the mount or bought fasteners that worked with the riv-nuts? I really like what I call nut-certs but I think I’d have to get bolts to work with them.
I have the Astro Pneumatic nut-cert tool that came with nut certs varying in size. I may go to our hardware store and compare what they have that’s similar to fasteners that came with the bracket but I don’t mind climbing under the Jeep also. Maybe tomorrow night I’ll get further if not done with the install if UPS does come through with overnighting the parts.Depends on whether or not you have riv-nuts/nut-certs (and the install tool) that match the metric threading of the bolts supplied by ARB. I went this route also, and installed them for both the holes on the front leg of the ARB mounting bracket. Didn't have any interference issues (under the floorboard) with the inboard hole, but it sure was a bear getting a wrench on that inboard bolt head with my manifold installed...
I had some 1/4-20 nut-certs and bolts so I used those. The factory hardware was metric and I only had limited nut-certs in metric so used what I had.D
did you use the original fasteners that came with the mount or bought fasteners that worked with the riv-nuts? I really like what I call nut-certs but I think I’d have to get bolts to work with them.
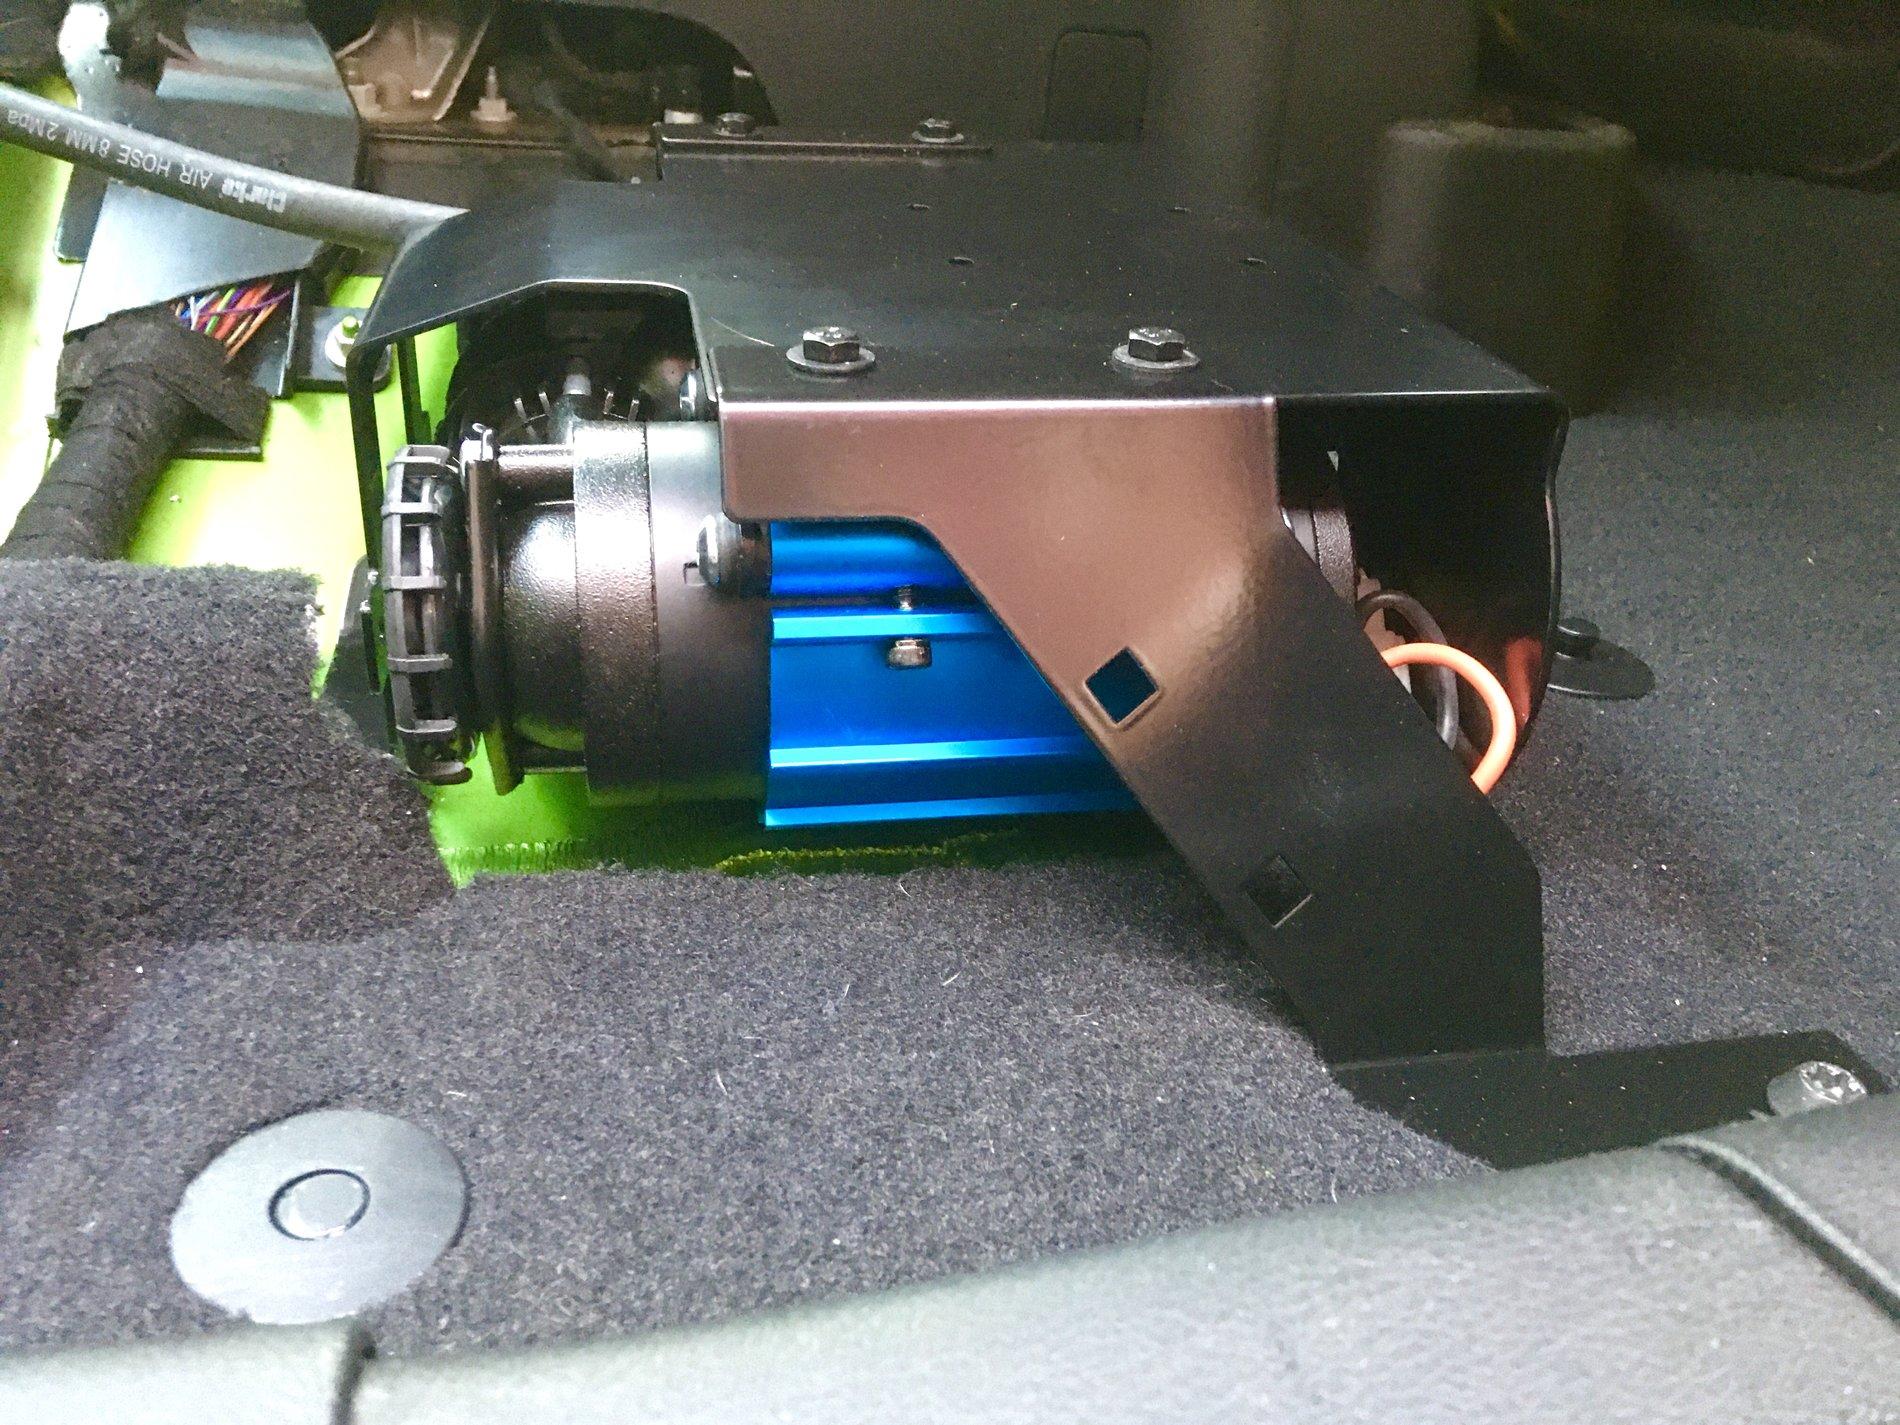
I know you posted this a year ago and maybe shared how your wiring looks but I’m curious since I’m doing the same mounting location and like you wiring is something I’m learning.I installed my ARB dual compressor today using ARB’s new underseat mount. It’s much further under the seat than the other underseat product I’ve seen.
Nice product, terrible instructions!


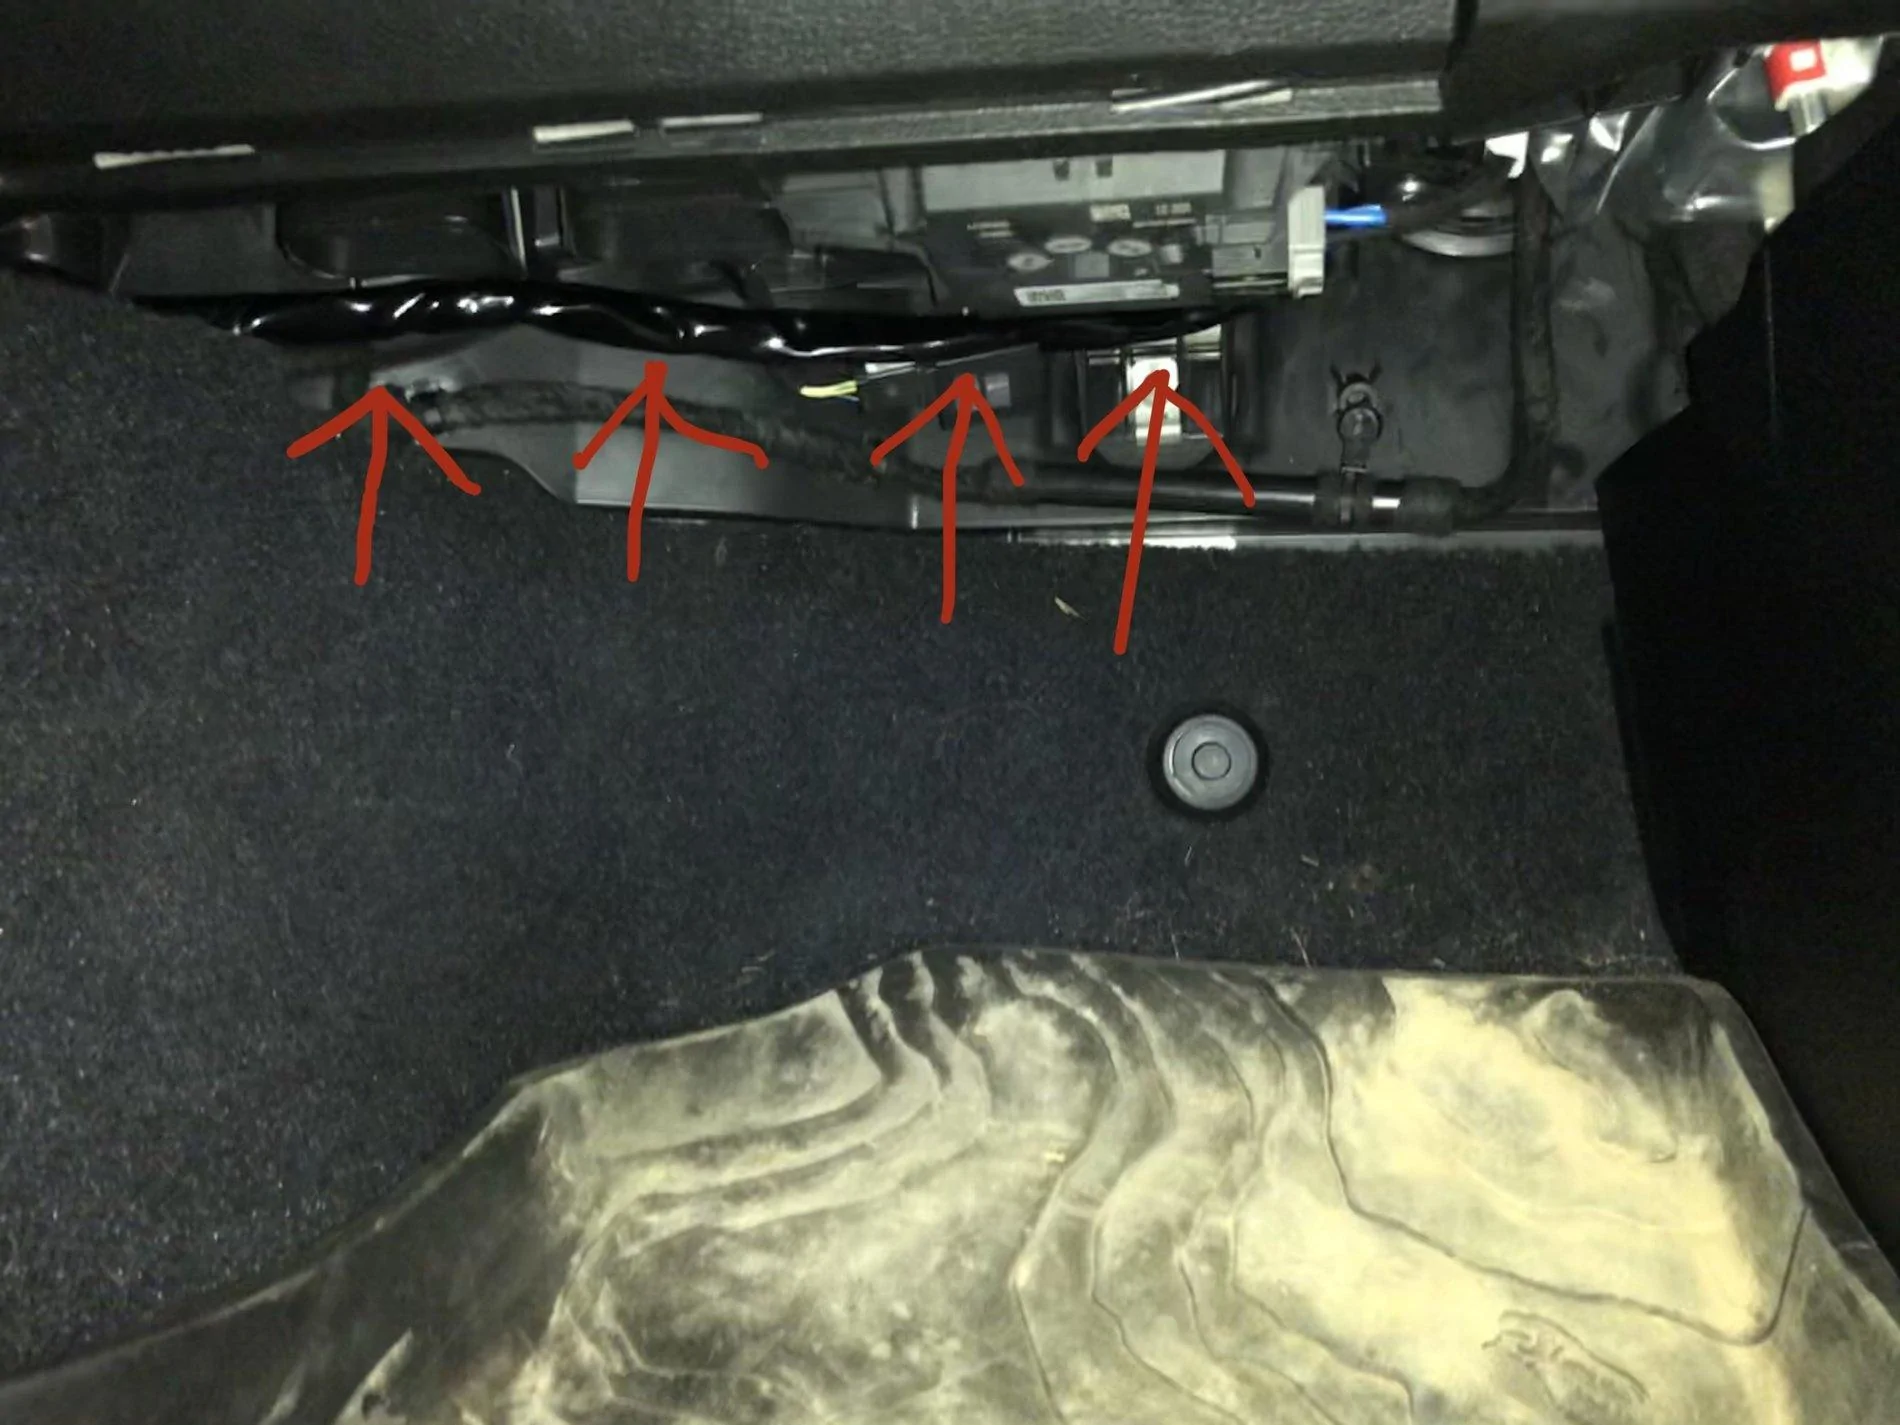
The right way is to use the passenger side nipple grommet they left for running wire though. The challenge here is it means removing the battery and the fuse module to get to it. But it is the cleanest and neatest way to do it.I know you posted this a year ago and maybe shared how your wiring looks but I’m curious since I’m doing the same mounting location and like you wiring is something I’m learning.
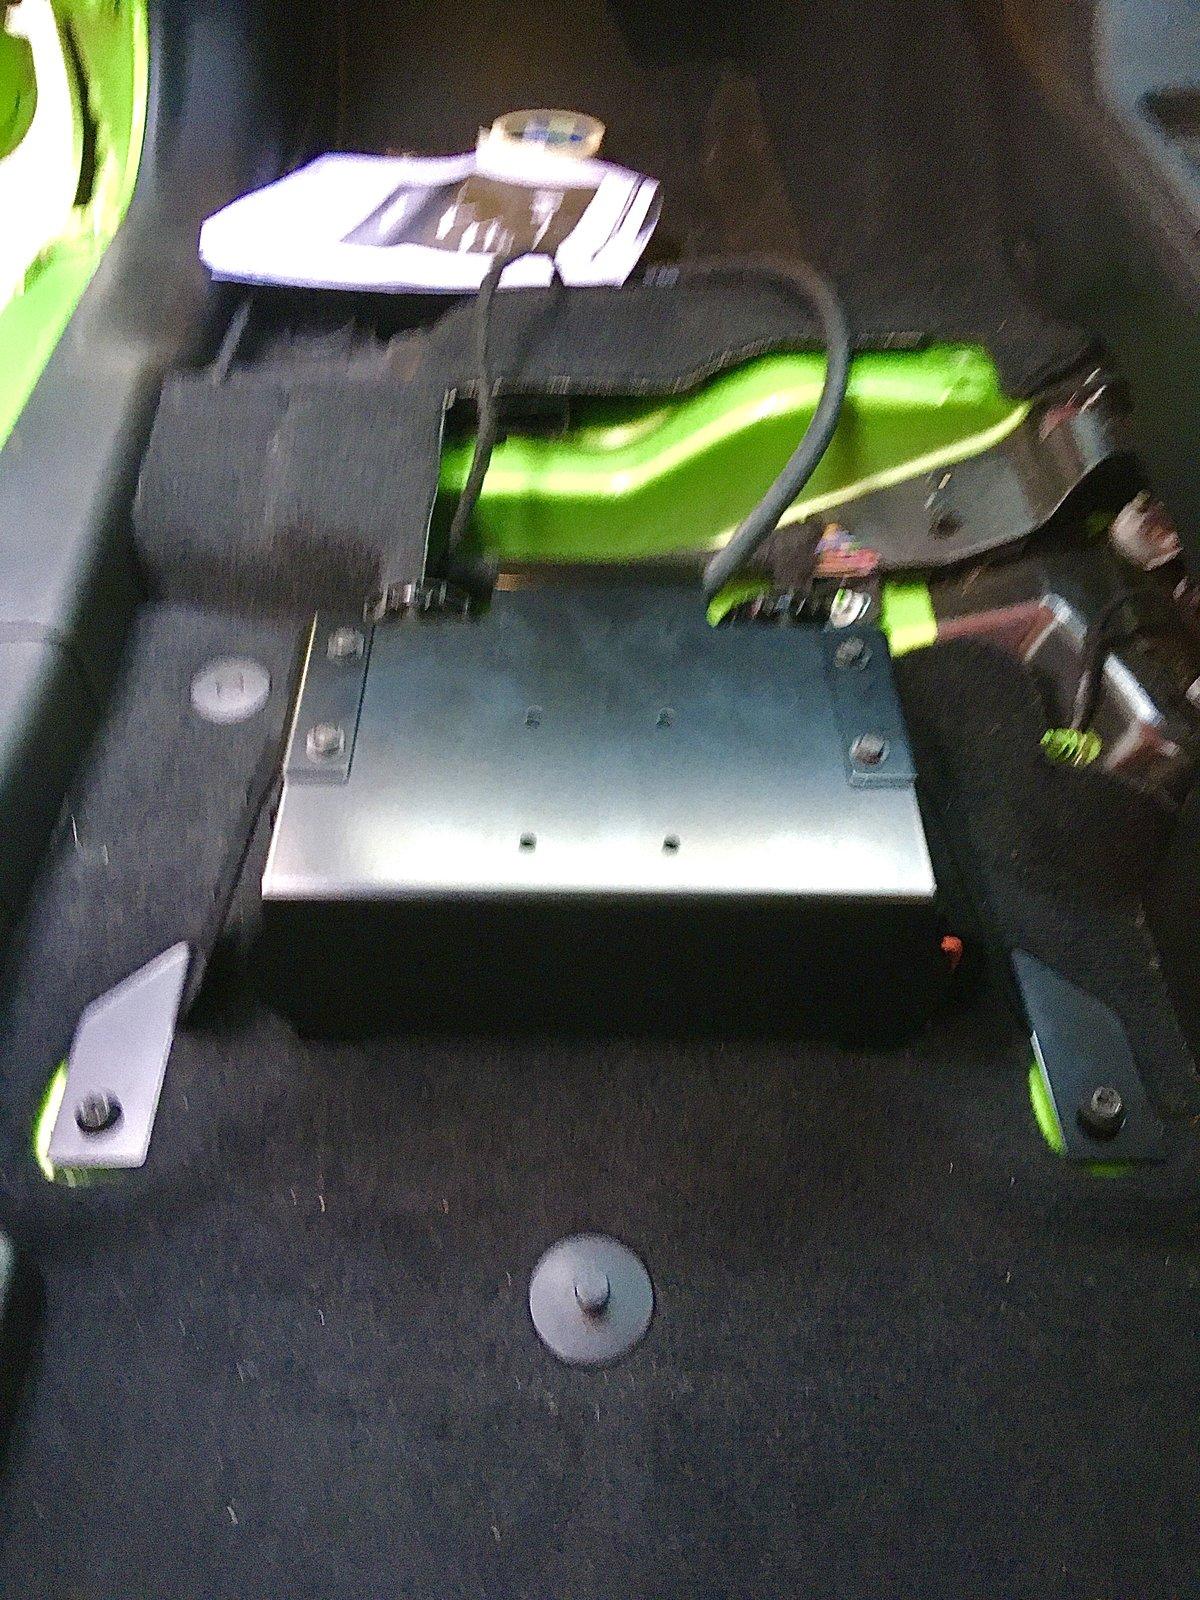
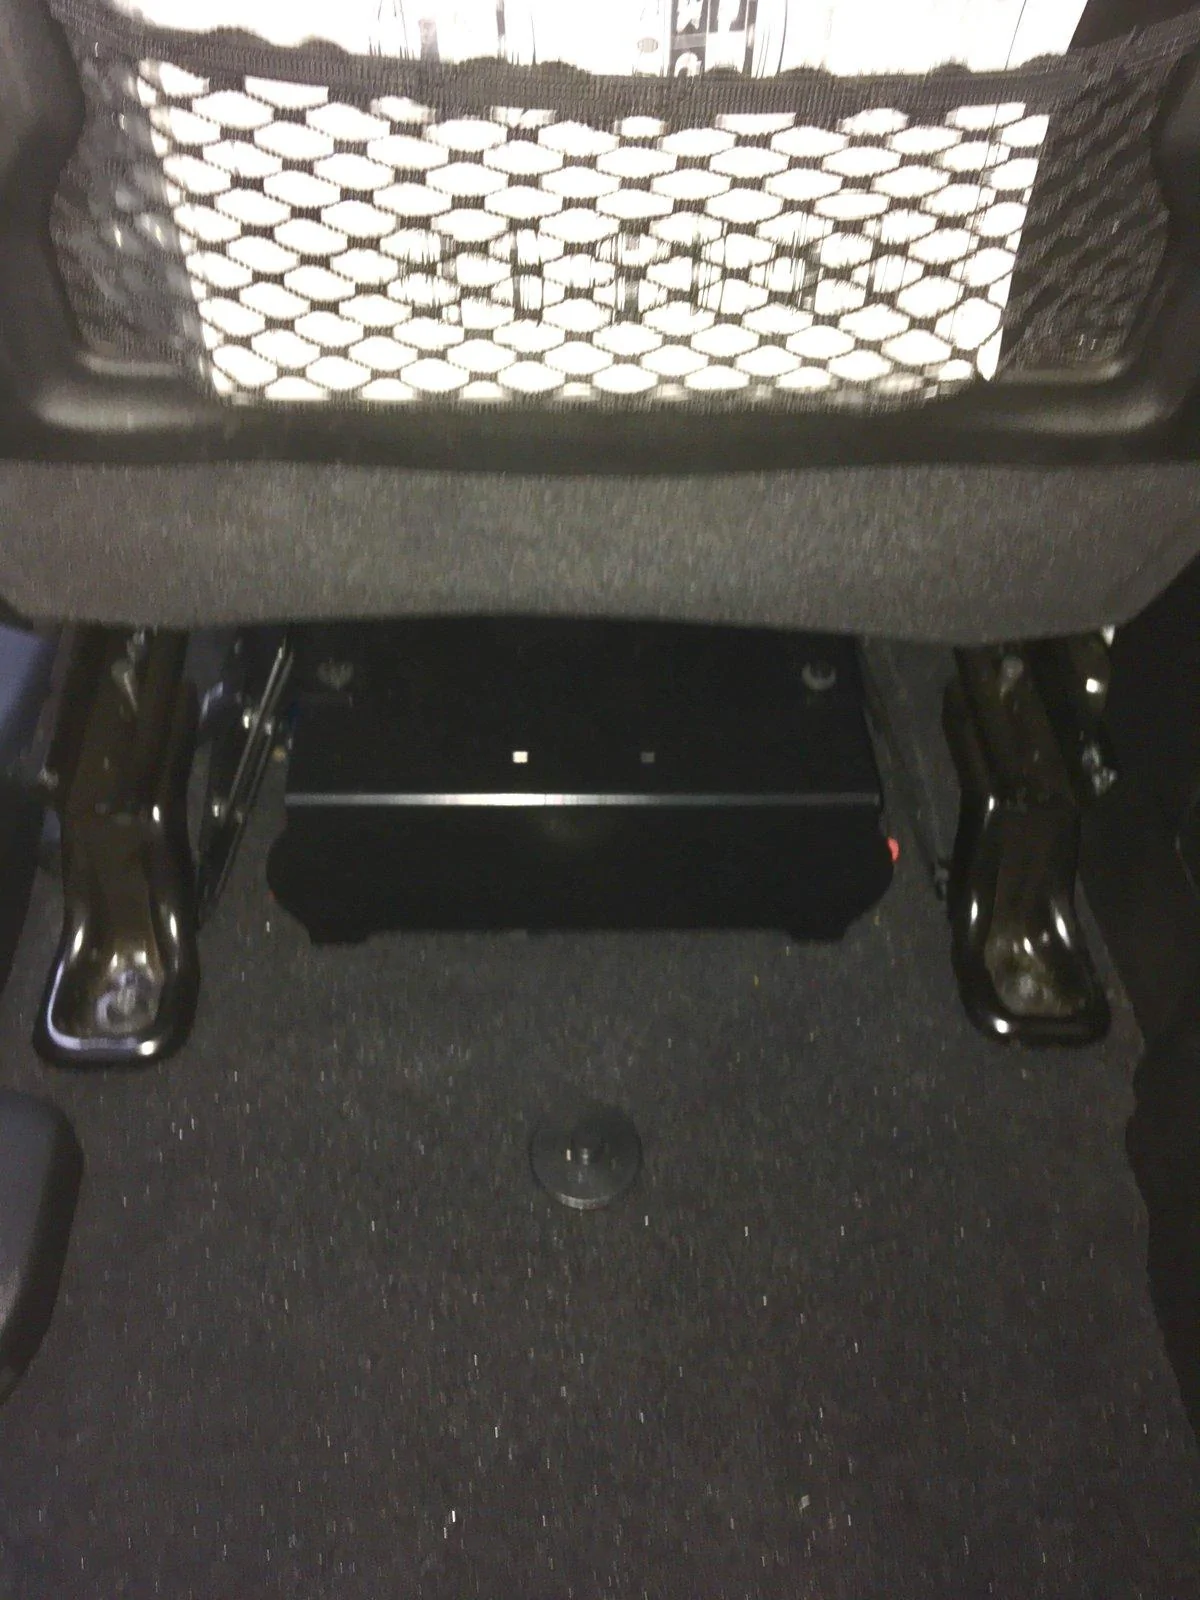
The only change I did from reading the more recent posts to the thread was that I used a nutsert for the hole you have to drill. Since my nutsert tool came with different size nutserts I found one that works with the bolt they supply you with, but now I’m at the headache part of trying to figure out a way to drape the wiring and get my seat back in.
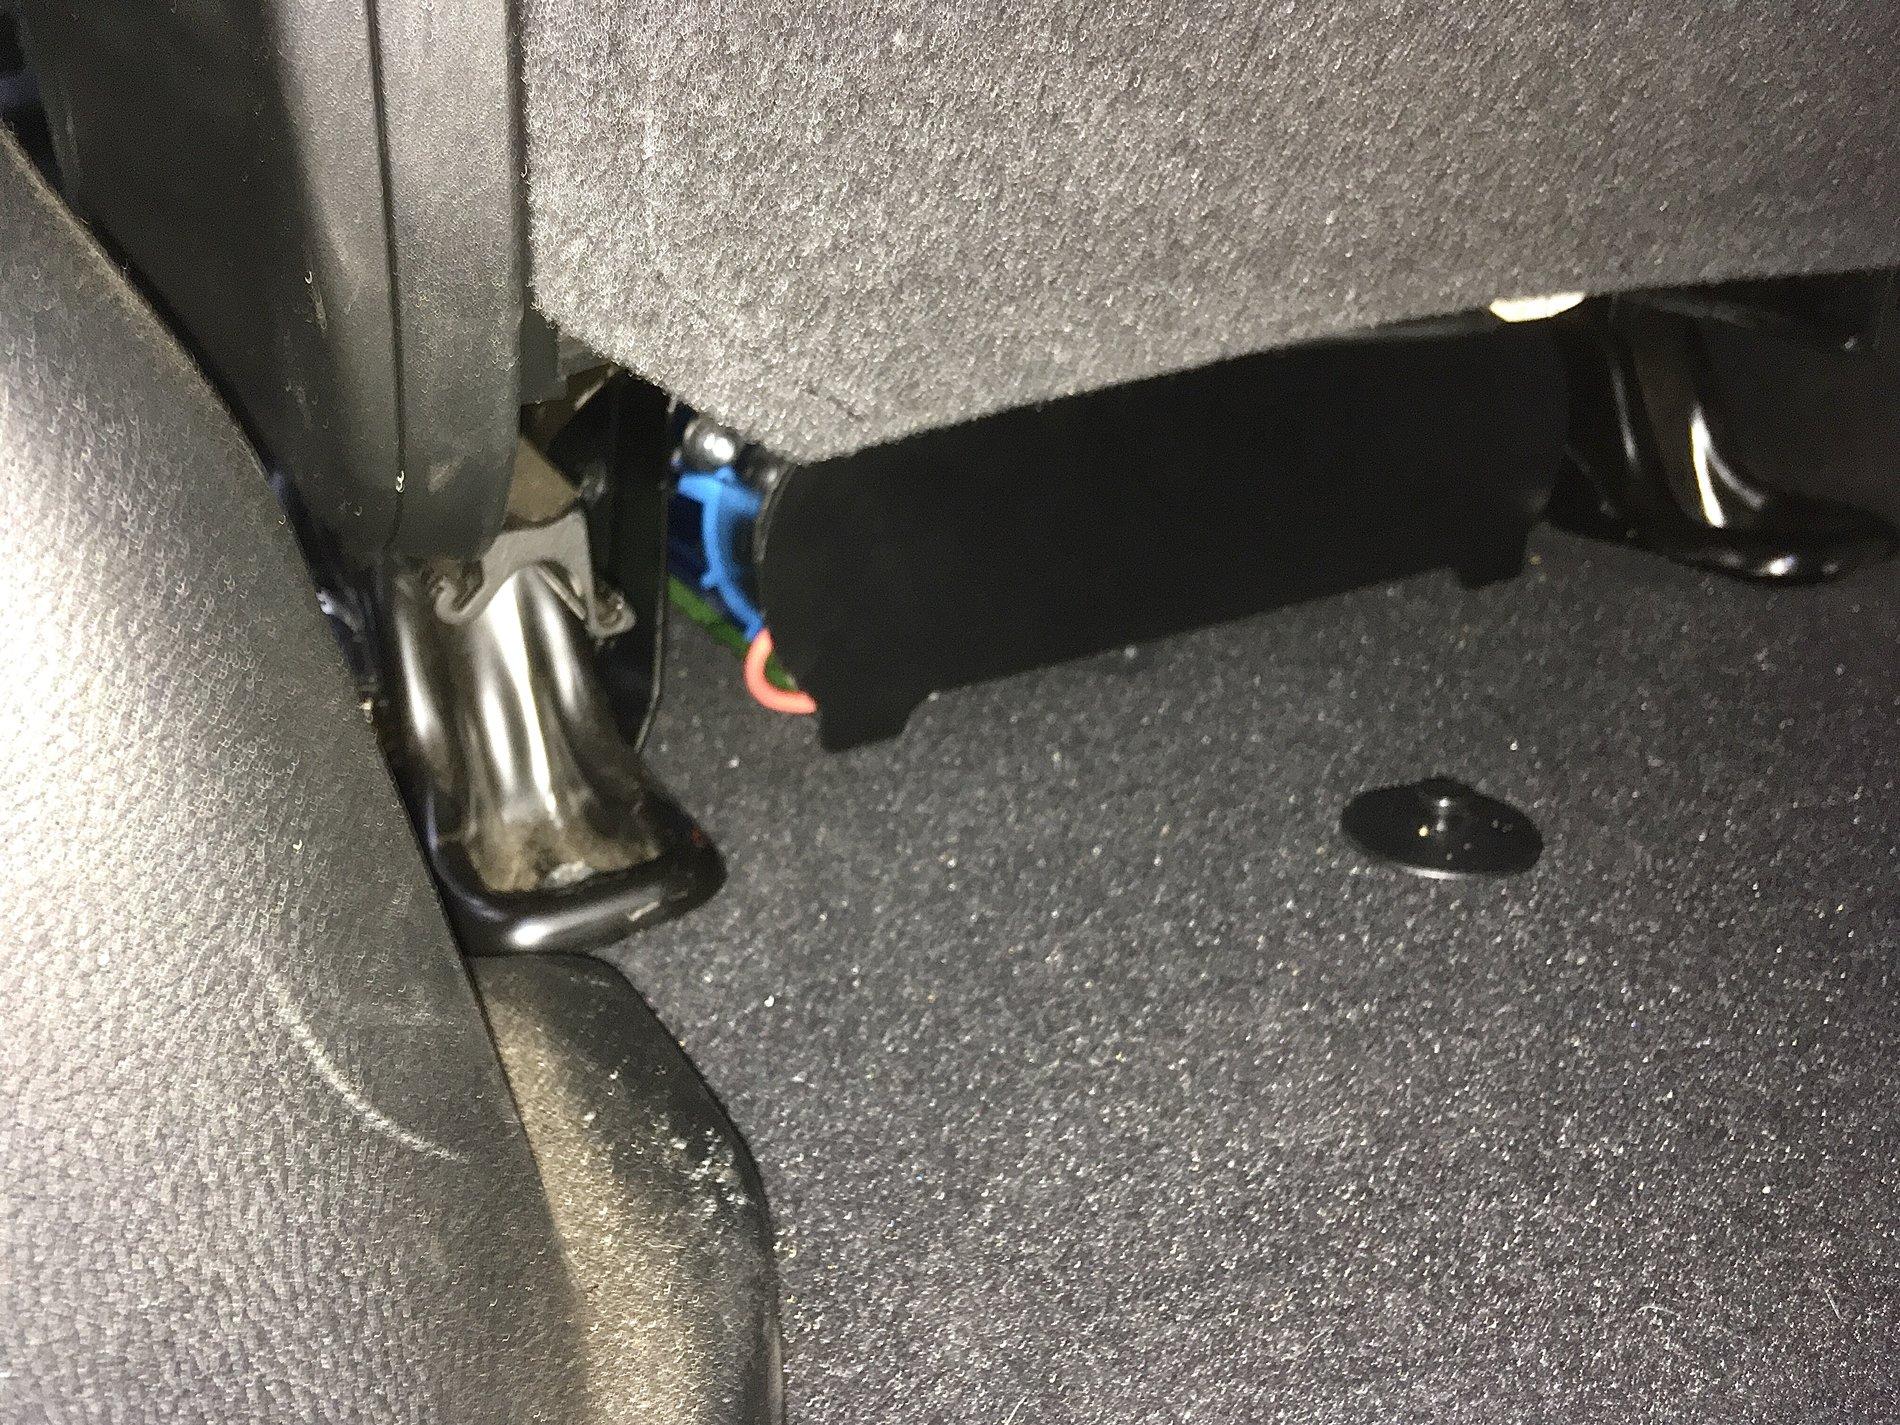
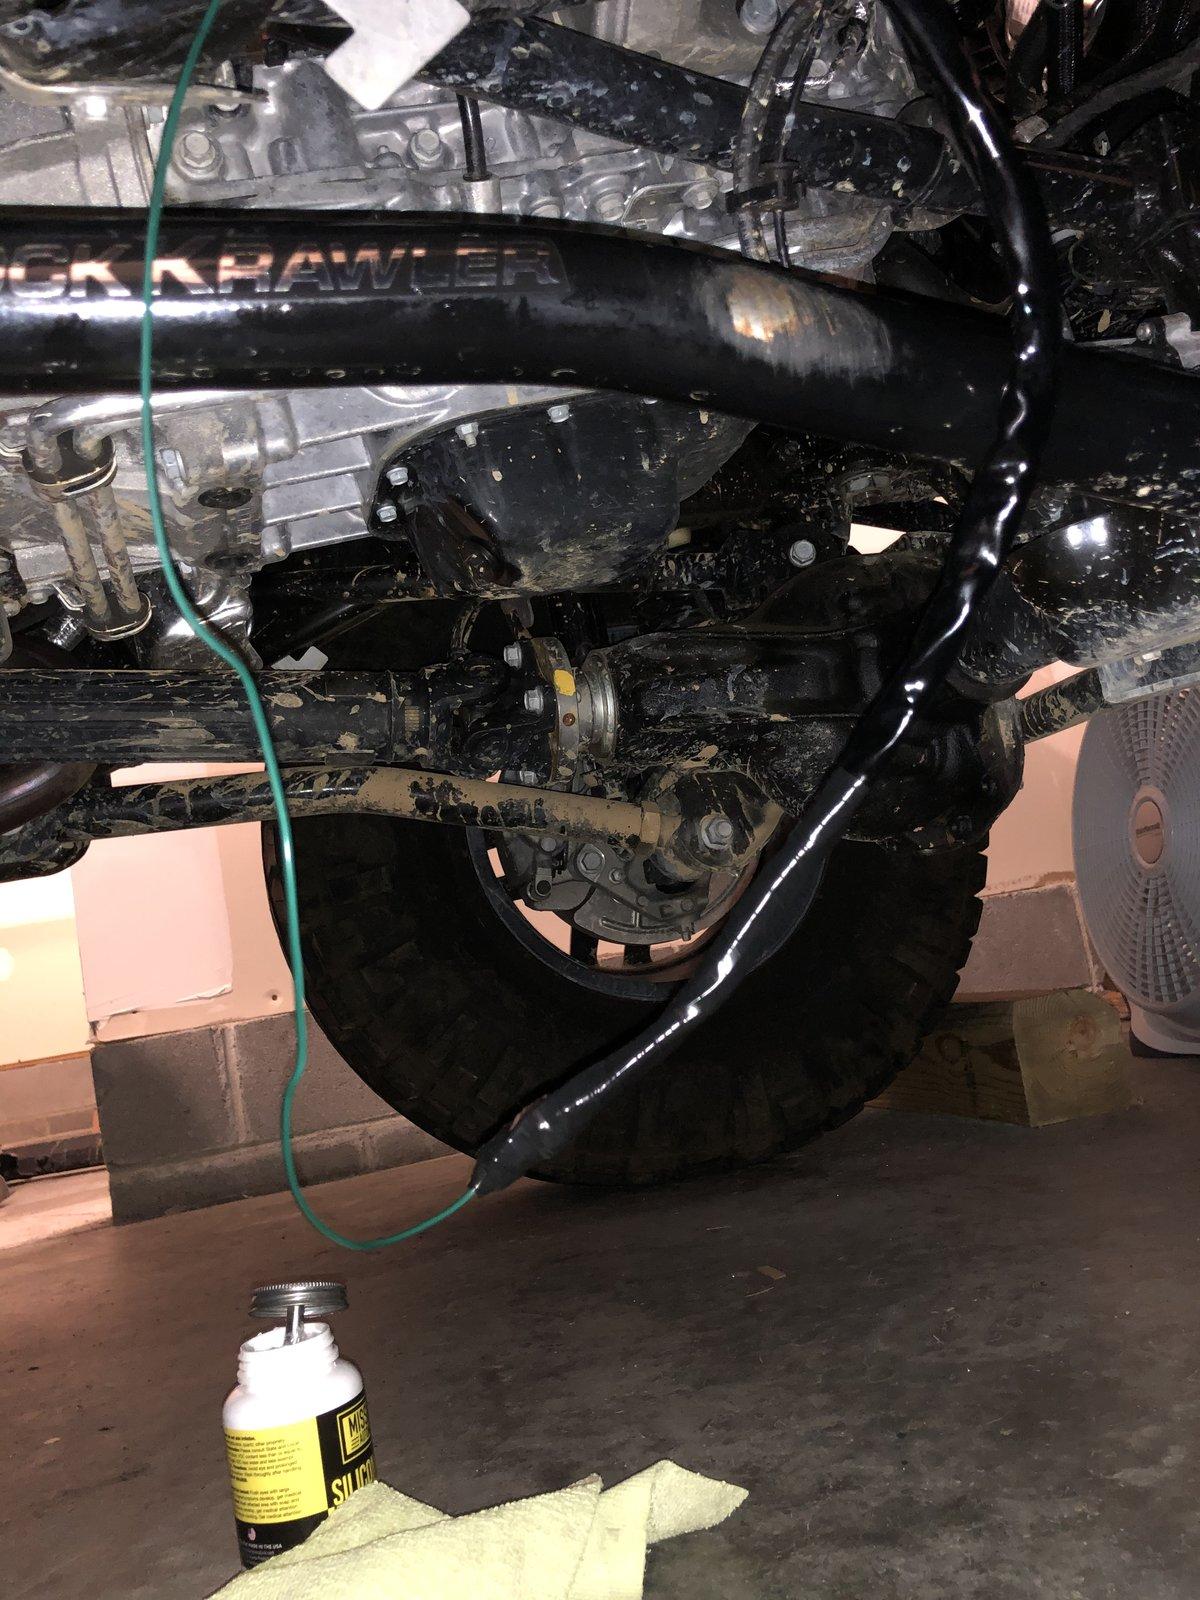
I was planning on going underneath the Jeep and running it back up into the engine bay since it didn’t seem there would be too many loose ends, but now I’m asking around for help with the electrical since I want to preserve my wiring harness for getting air-lockers in the near future. I have the manifold already so it would just be the axle swap basically.The right way is to use the passenger side nipple grommet they left for running wire though. The challenge here is it means removing the battery and the fuse module to get to it. But it is the cleanest and neatest way to do it.
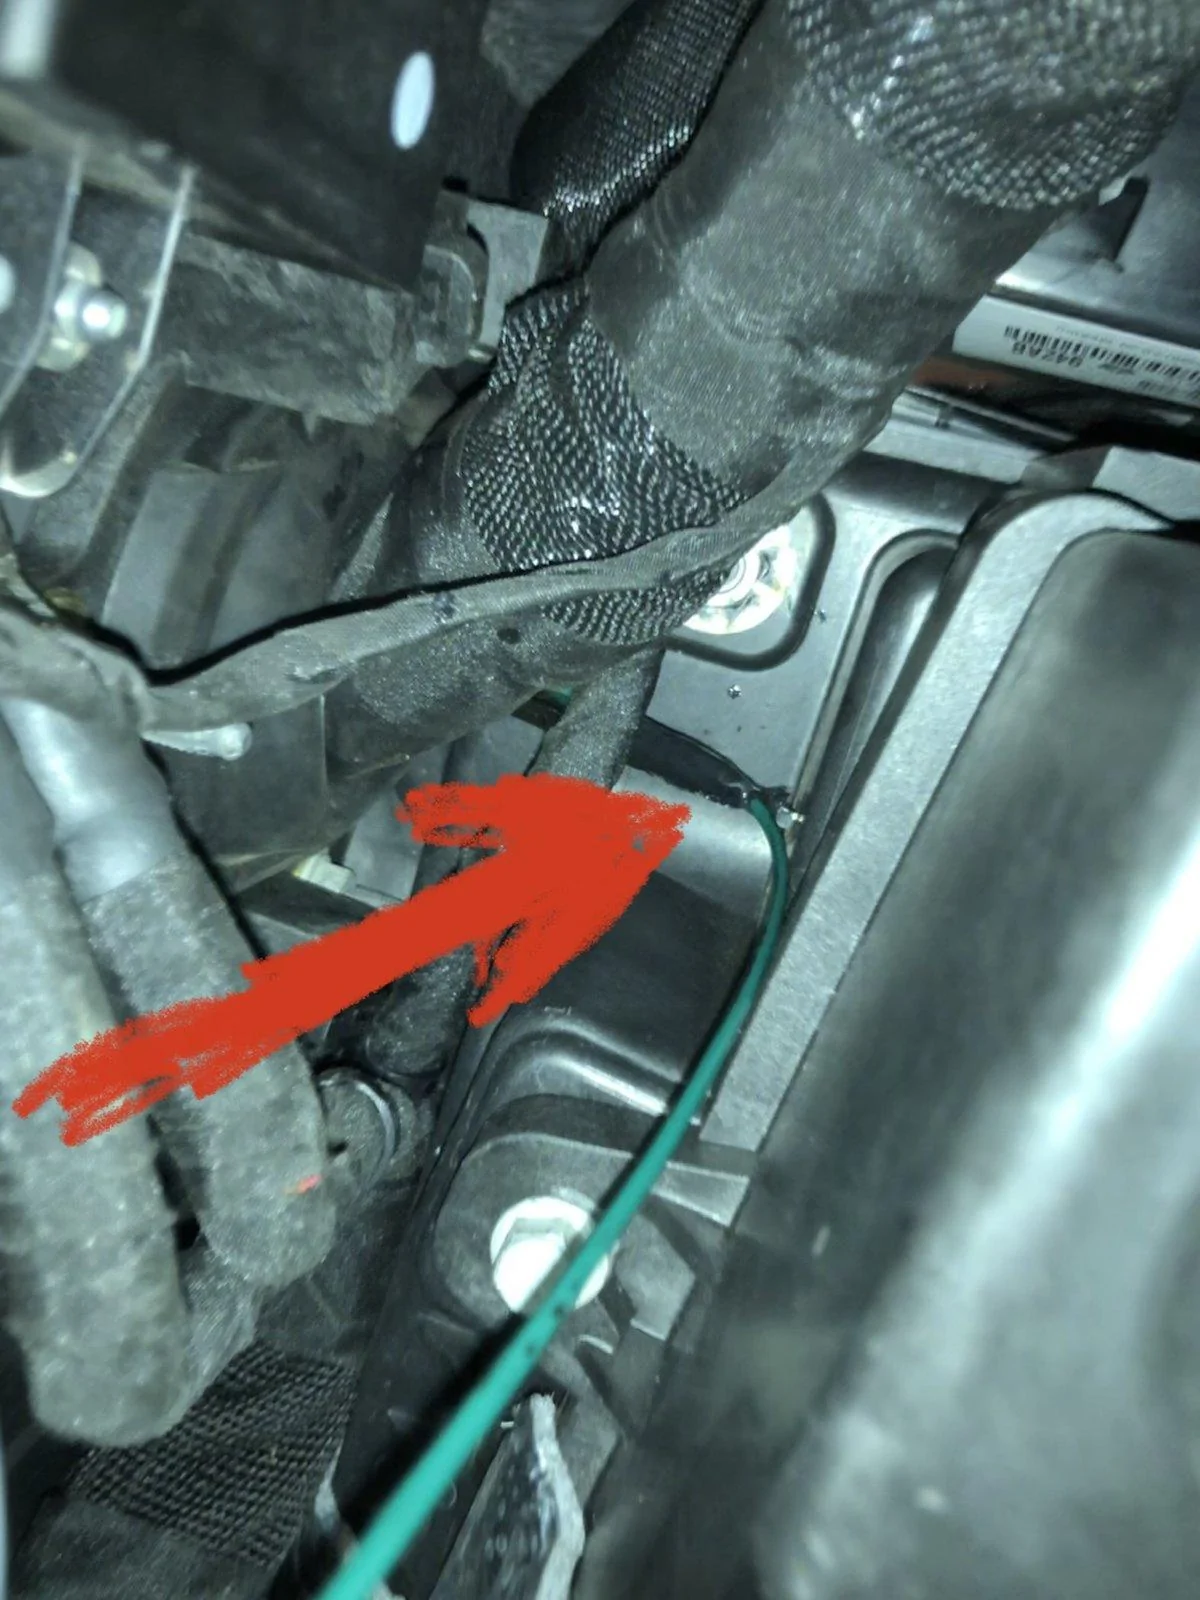
The other way is down and along frame and up through the floor grommet. The issue here is you have wiring under the Jeep which I really dislike especially if you use the Jeep to do Jeep things. Eventually that wiring will get snagged or submerged, etc, etc.
Here are some instructions in this document that tells you how; but ignore the drilling hole option - look on here to find the nipple method.I was planning on going underneath the Jeep and running it back up into the engine bay since it didn’t seem there would be too many loose ends, but now I’m asking around for help with the electrical since I want to preserve my wiring harness for getting air-lockers in the near future. I have the manifold already so it would just be the axle swap basically.
 Luckily I found it on eBay after much searching. I didn’t want to wait on ARB or the shop that ordered it for me.

Looks like you got it done and that is what matters.Well, it took an international treaty, human sacrifice and an act of God, but I managed to get my ARB twin supply harness through the passenger side grommet and under the seat.
It’s a relay I used to wire my BD LP9s. I followed a post I saw on here so that Aux 1 turns on the low beams, then pressing aux 3 with aux 1 on turns on the high beams. The amber running light is wired to my parking lights.Looks like you got it done and that is what matters.
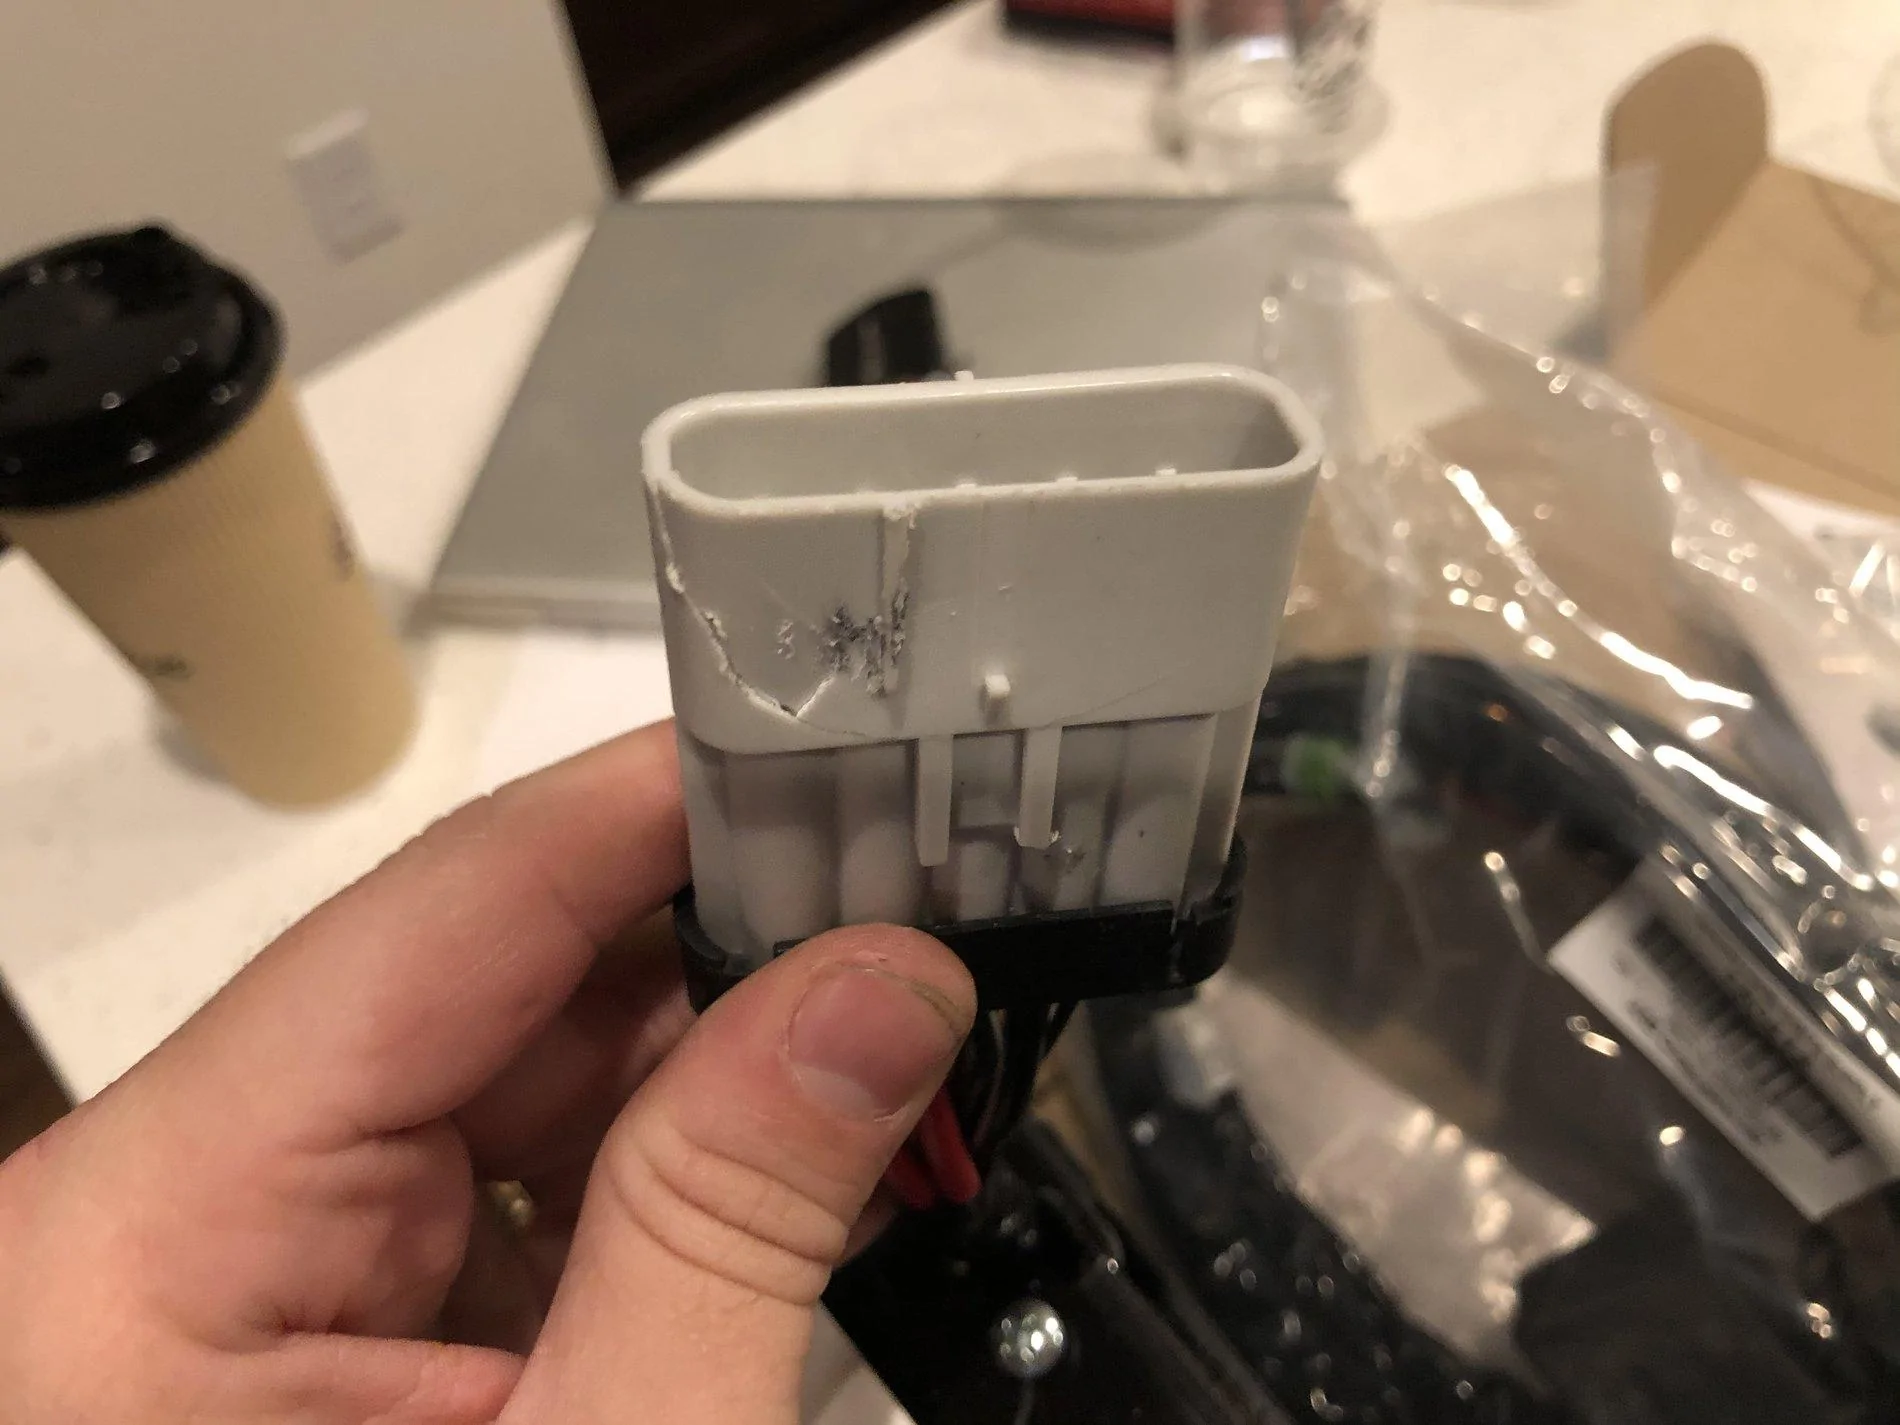
Whats the little PDC box under your hood right above the main fuse box?
PS: Your tires are rubbing your lower front control arms. You can adjust the steering stops to prevent that.
Wow, that's some determination right there! Thought I took a long time to do it. lolI’m honestly embarrassed to explain how long this took, but I was determined to make it through the grommet nipple on the top rather than poking through the bottom of the harness.
I'm looking at LP4/6/9's as my next upgrade. Do you find you need to flip them from low to high?It’s a relay I used to wire my BD LP9s. I followed a post I saw on here so that Aux 1 turns on the low beams, then pressing aux 3 with aux 1 on turns on the high beams. The amber running light is wired to my parking lights.
I was thinking the same - I used your instructions and pulled the fuse box and went the easy way - which still wasn't that easy. Lucky my son is skinny with long arms to get up under dash to pull the 6 gauge through.Wow, that's some determination right there! Thought I took a long time to do it. lol
So did you manage to do that without removing the fuse box? Can't believe you squeezed that big ol' harness through that tiny little nipple...