Sponsored

"Joyride" Hydro JLUSA Build Thread

OP
OP
rcadden

rcadden

Well-Known Member
First Name
Ricky
Joined
May 4, 2021
Threads
89
Messages
2,932
Reaction score
6,321
Location
Asheville, NC
Vehicle(s)
2021 Hydro Blue Sahara Altitude
Build Thread
Link
Occupation
Marketing
Clubs
 
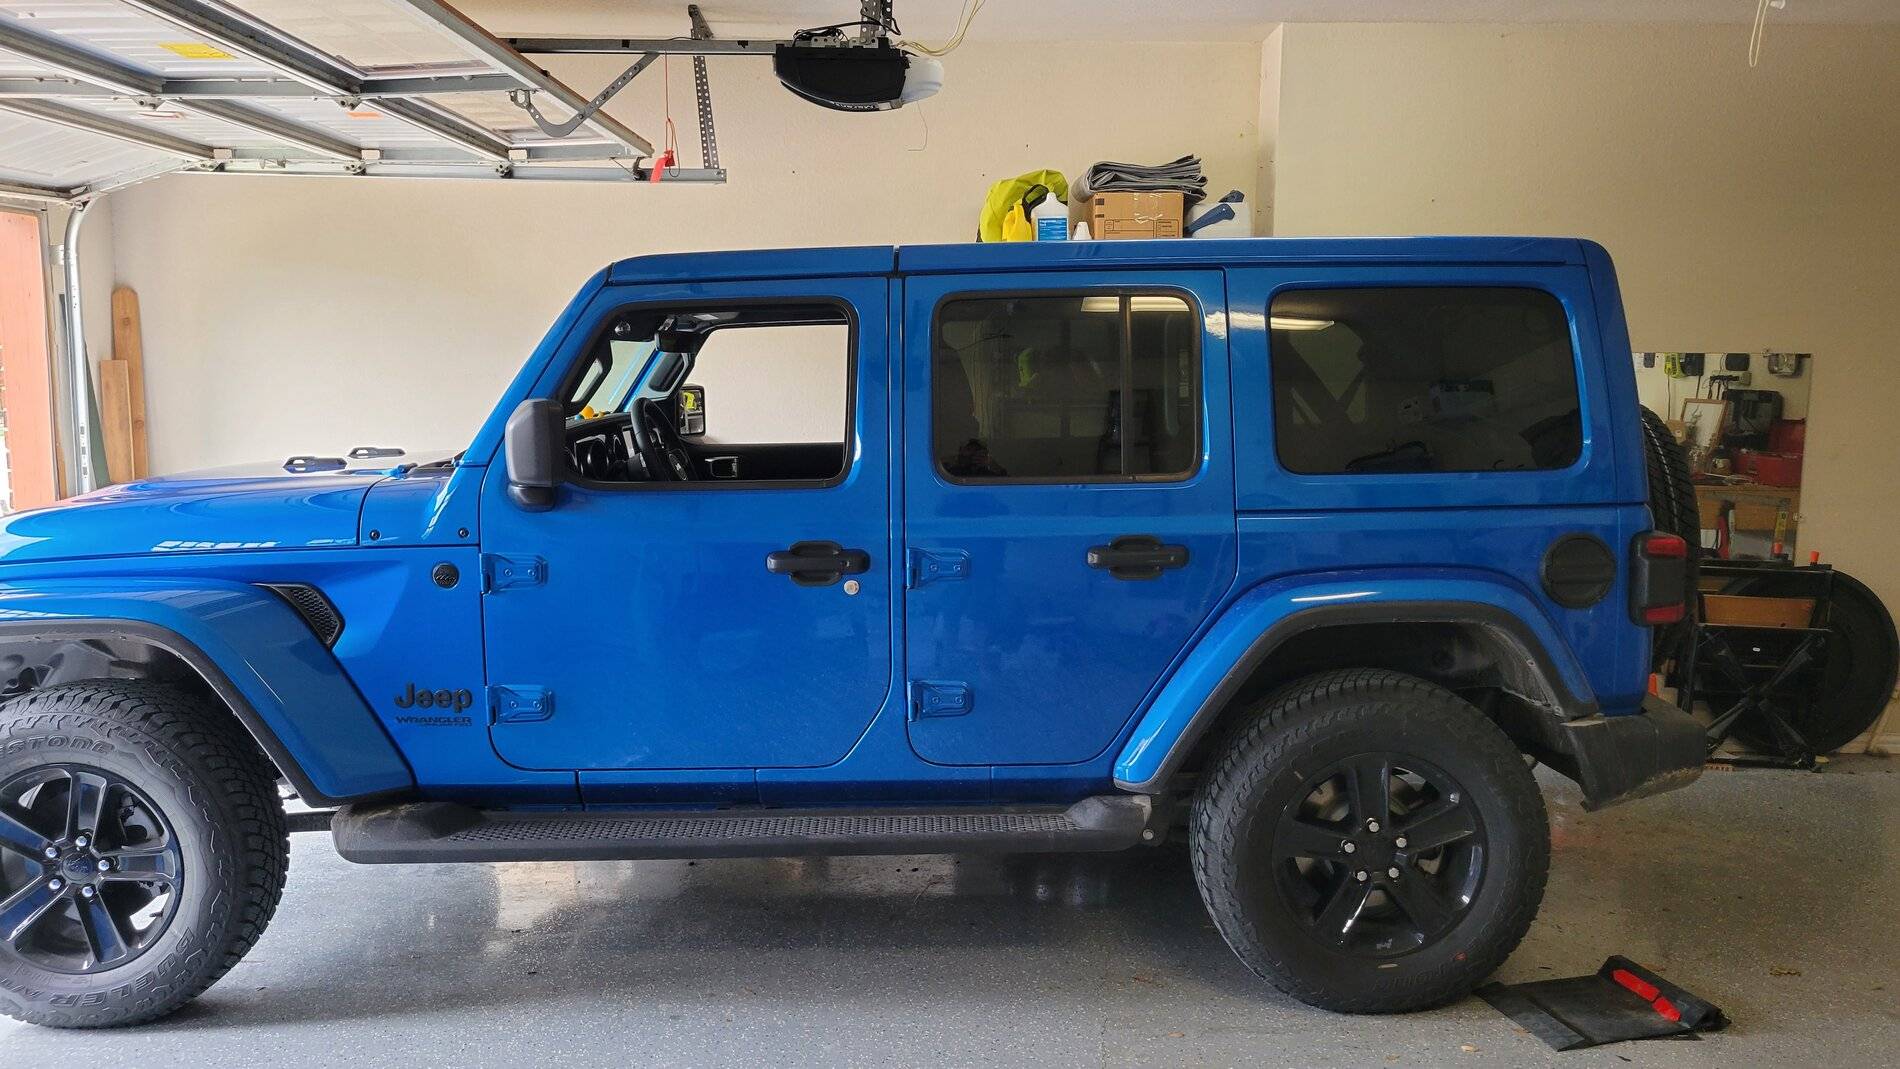
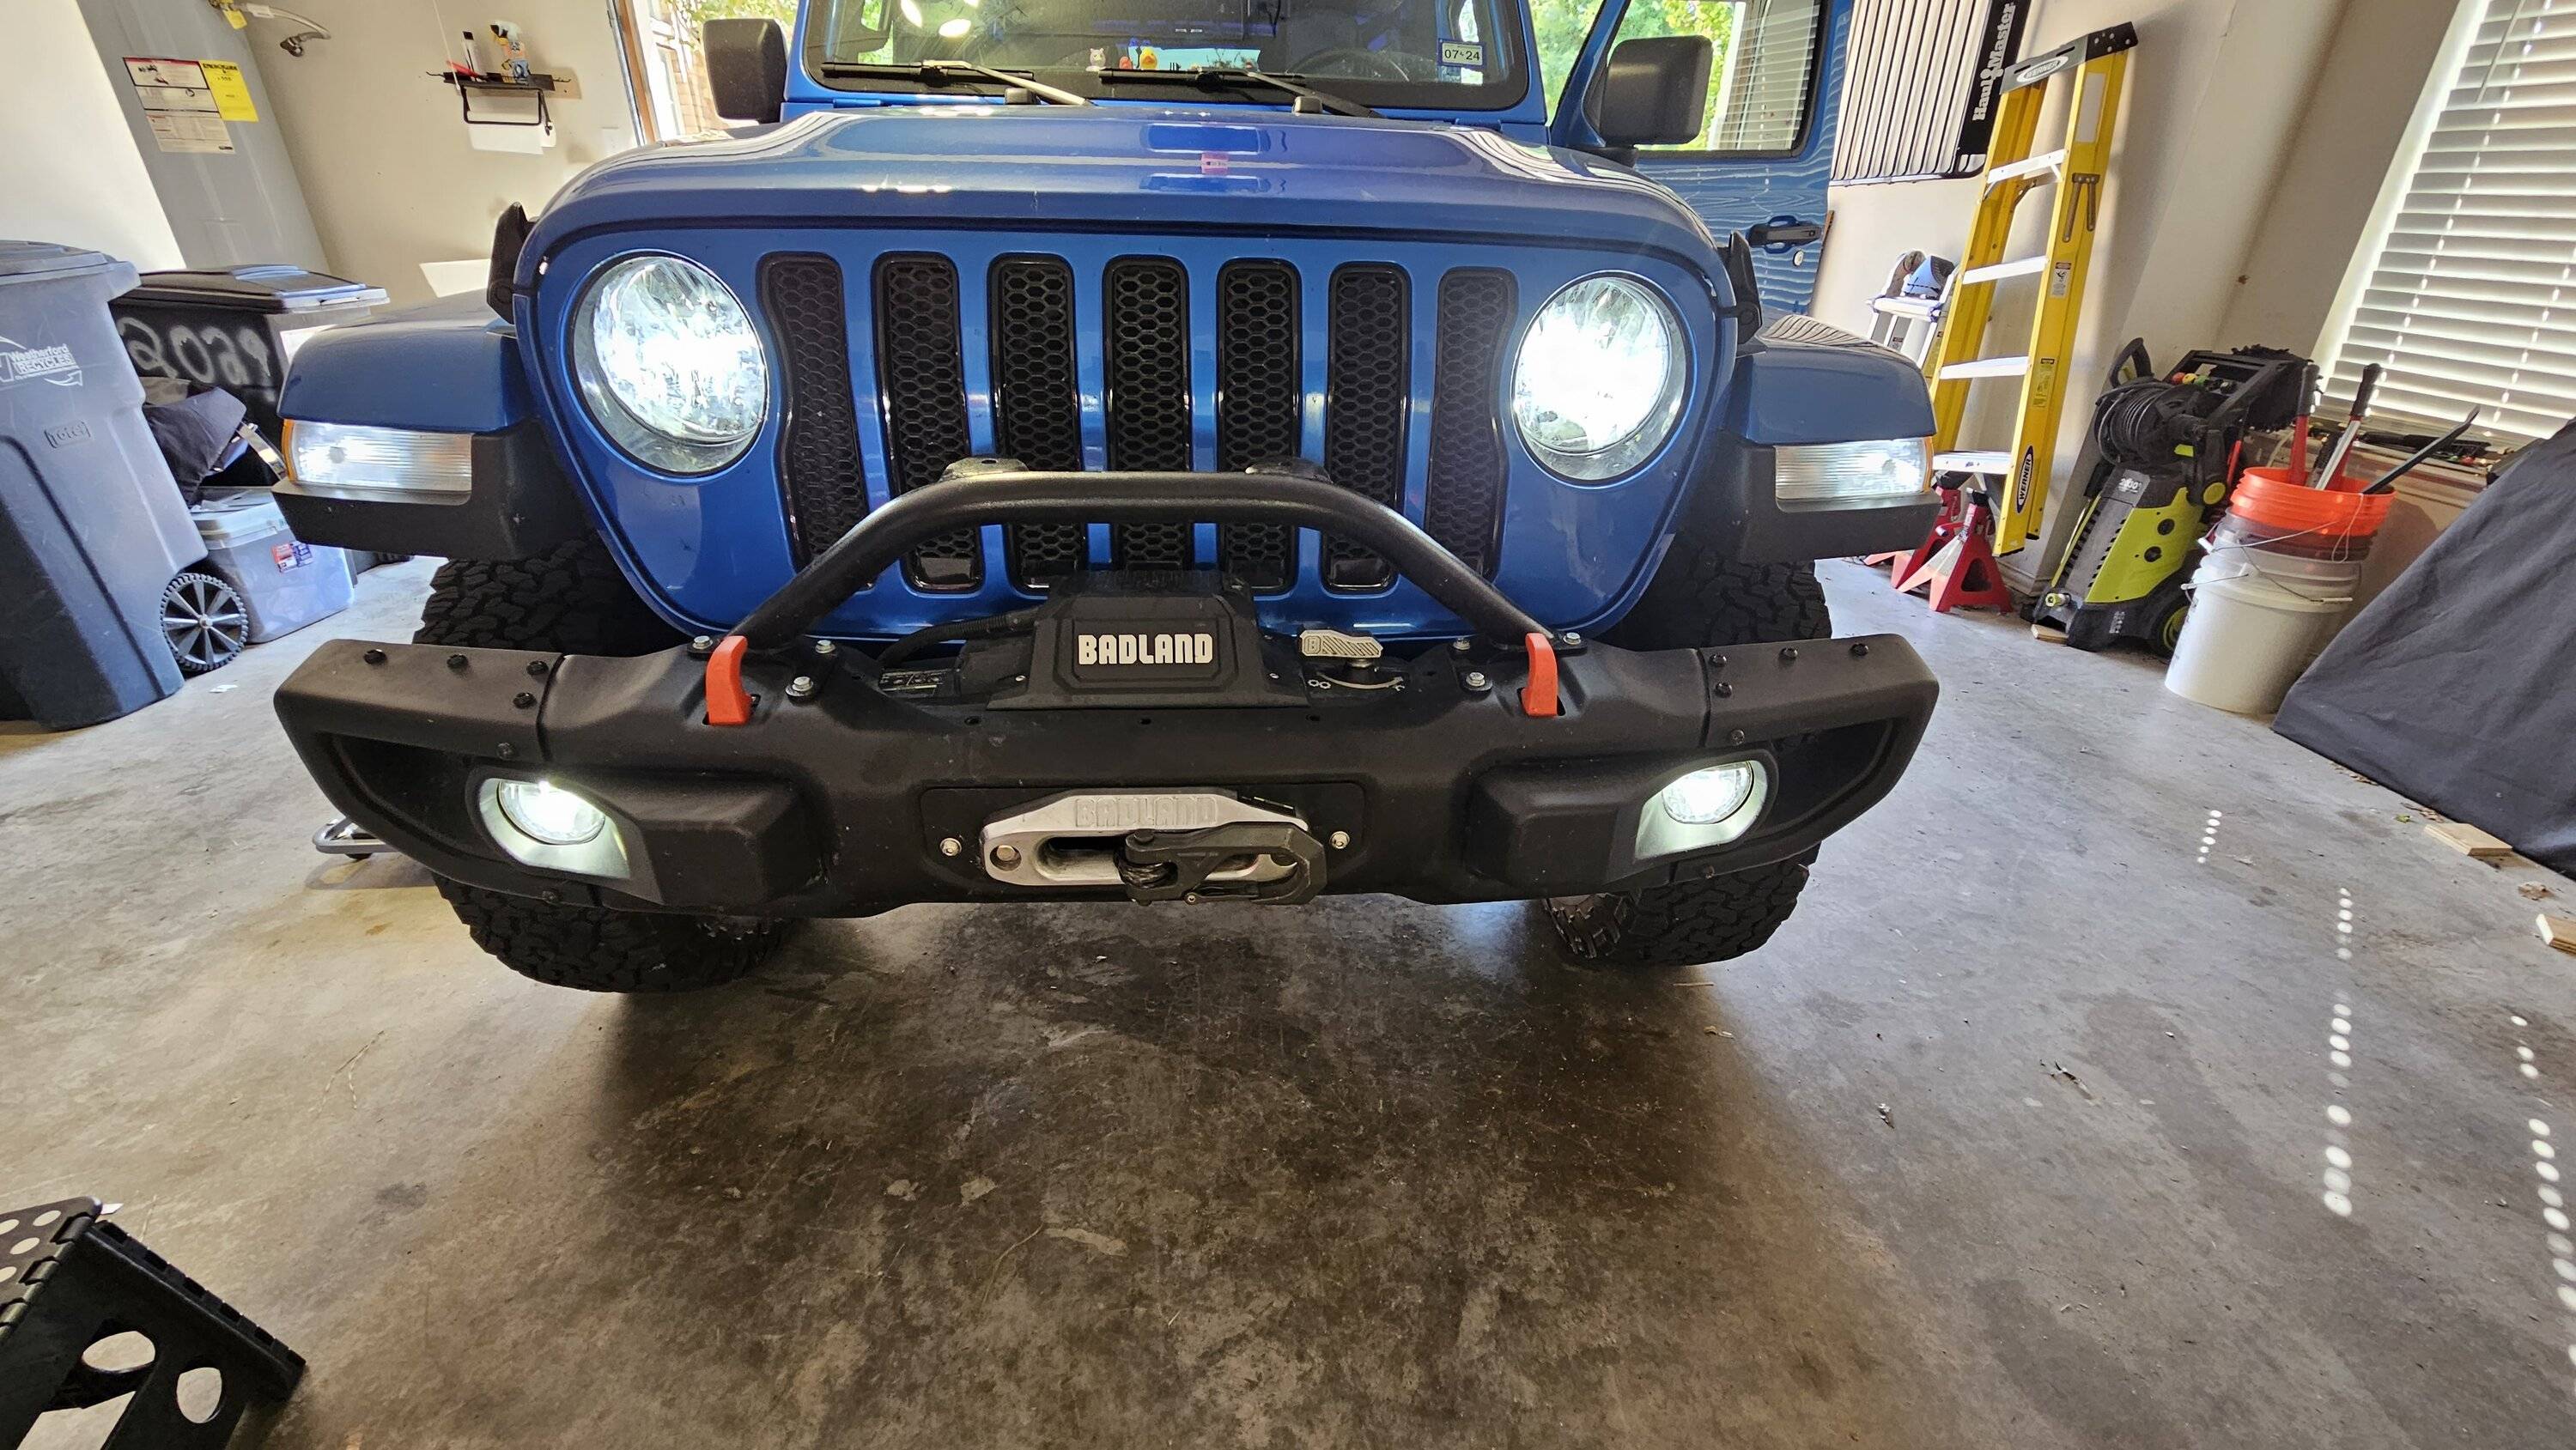
Today's project was to finally bring my 2021 Jeep Wrangler into the 21st century with an LED upgrade. Yes, I know it's a $1.5K option but we shouldn't have to pay $1.5K extra on a $50K vehicle to get LED lights all the way around in 2021 (when I bought my Jeep) OR in 2024. It's ridiculous.

I also *despise* the "robot eyes" look of most of the proper LED headlights out there, and I'm a cheap bastard, so I did some research and have seen many Jeepers on this forum mentioning that they simply swapped the bulbs. Money.

I already had LED taillights due to one of the options I ordered with (also stupid that you can get a partial-LED Jeep) and the front OEM steel bumper that I got came with the LED fogs, so the only thing I was missing was headlights and DRL.

For headlights, I went with these Sealights: https://www.amazon.com/dp/B07KXTP9SY
As advertised, they were plug-and-play, with no issues on my Jeep.

For the DRLs, I went with these @Lasfit (believe they're a forum sponsor?): https://www.amazon.com/dp/B0825M835W

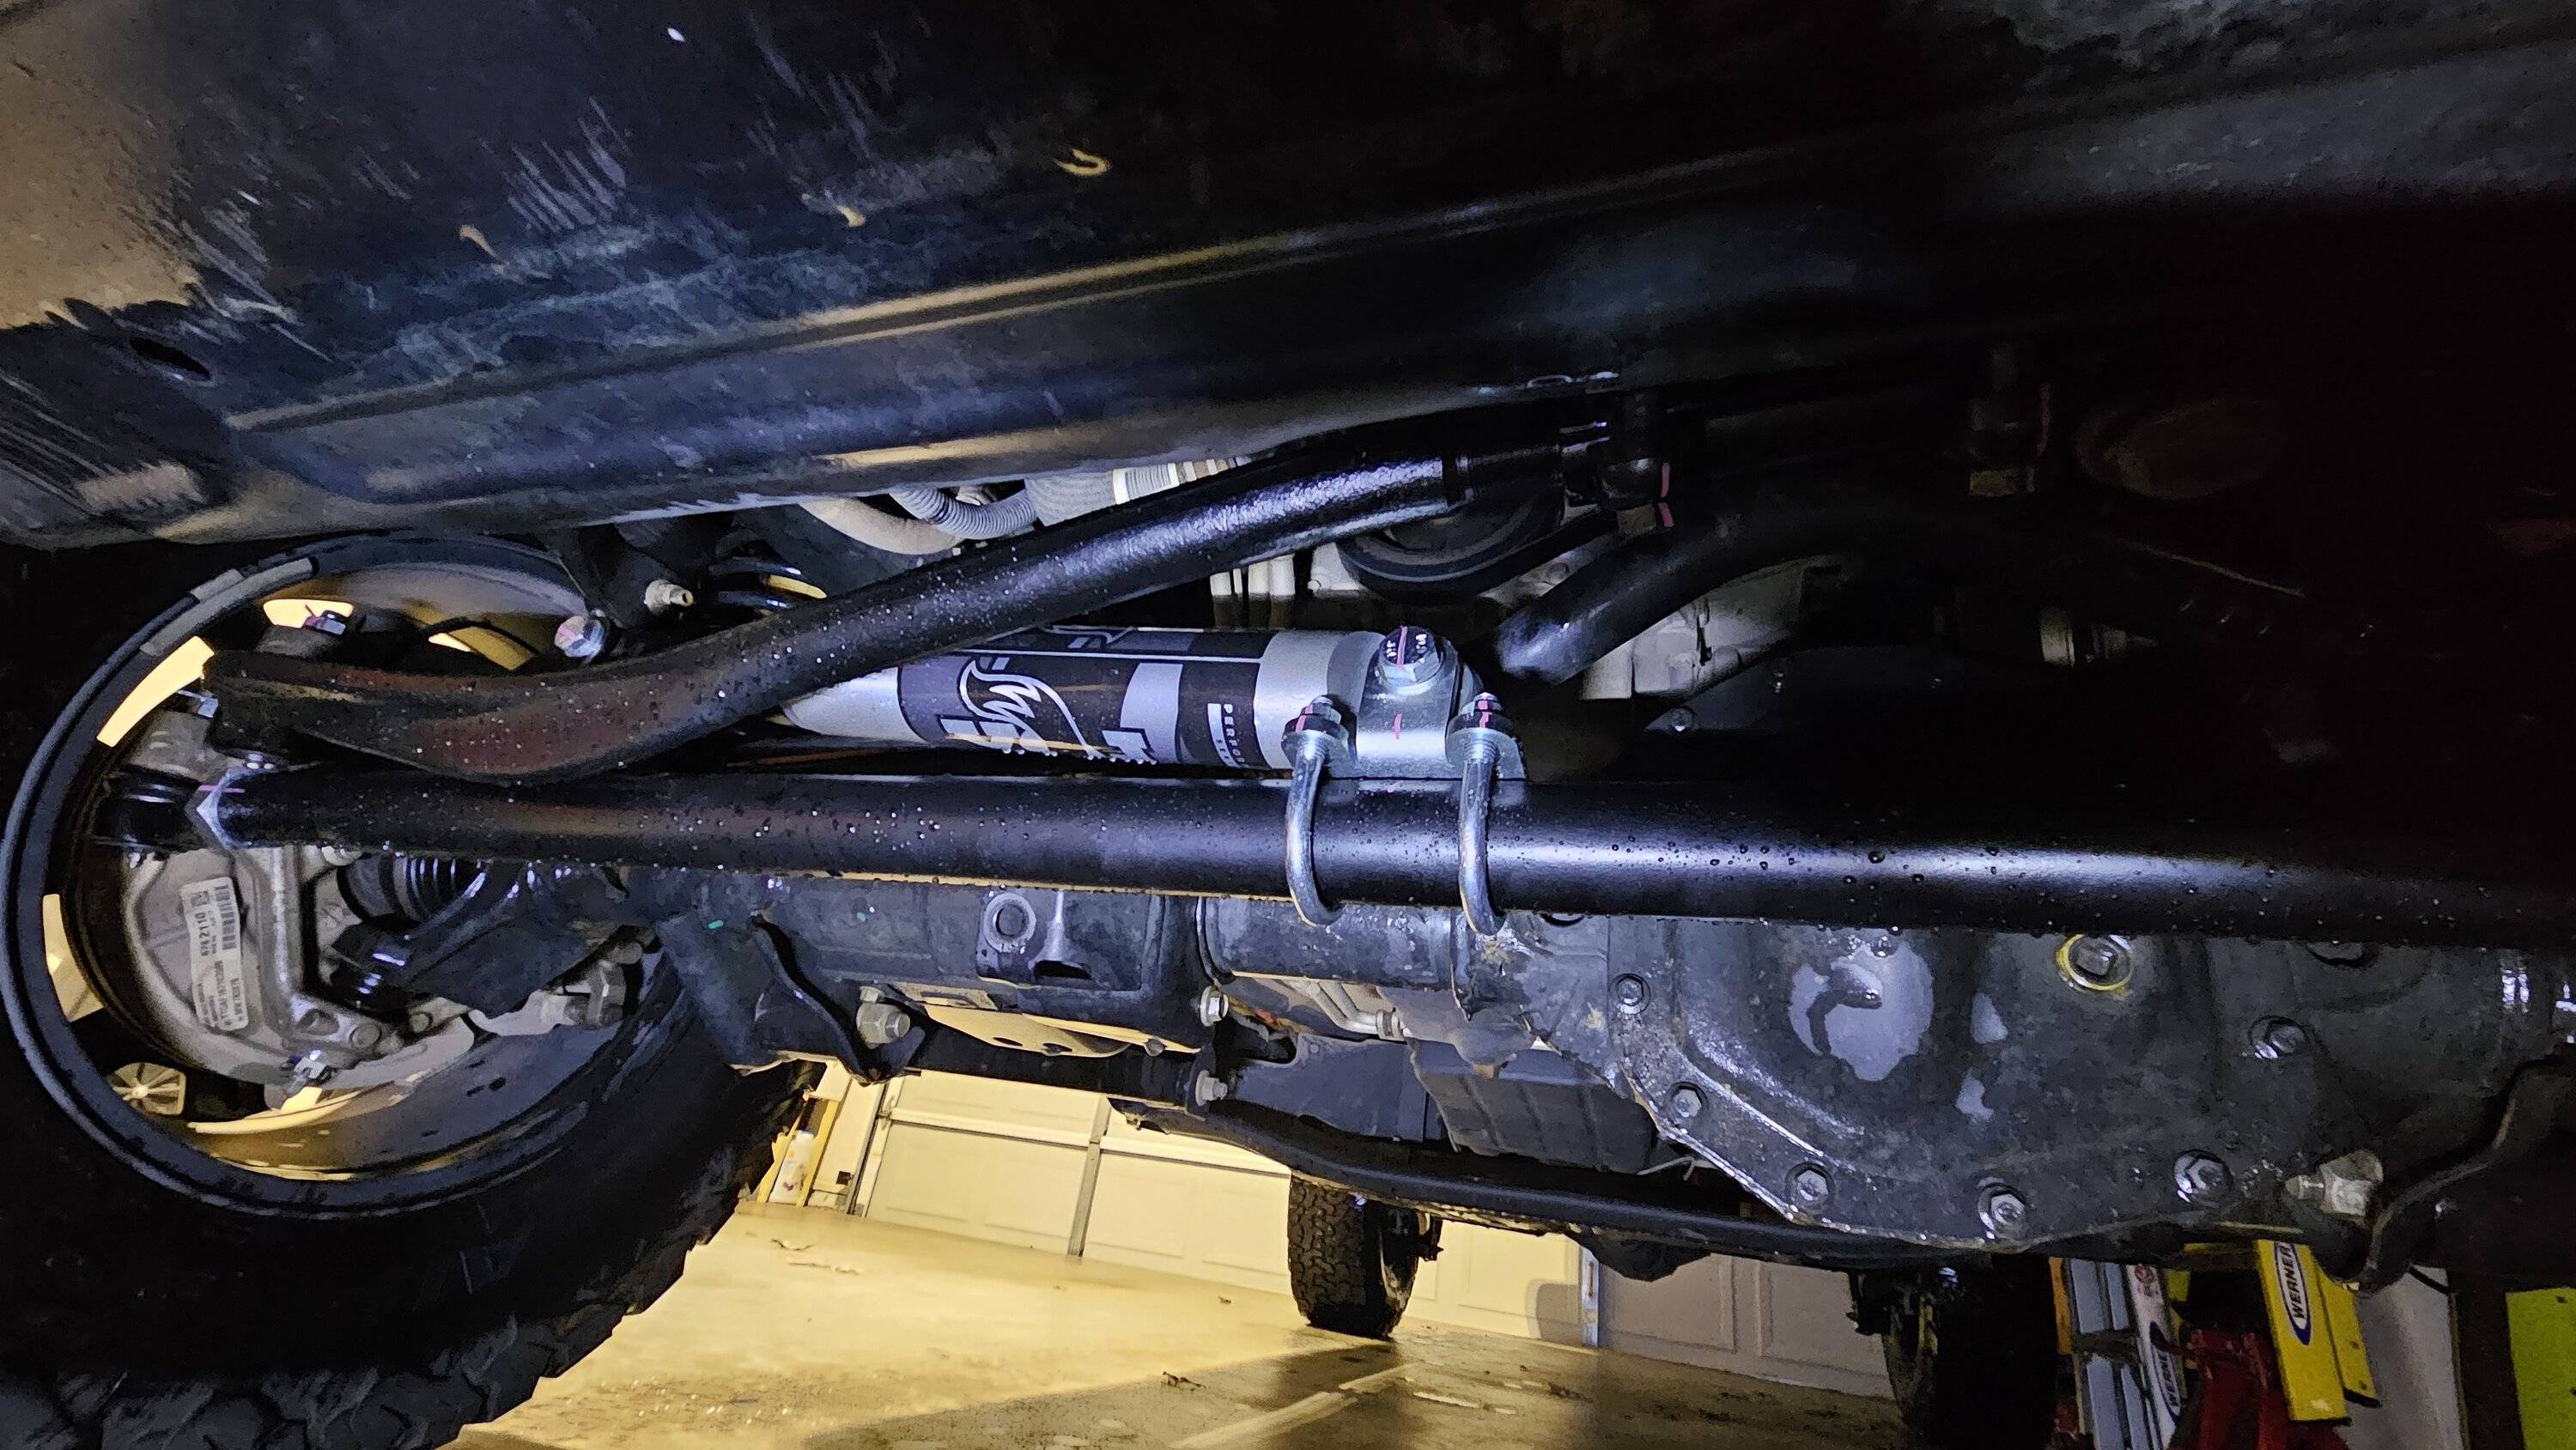
Now, if you'll recall, when I installed my winch, it sits *right* up against my grille, so I *thought* I was going to have to remove the whole bumper. I started with the damn fairlead cover - get the worst out of the way first - and then removed the skid plate and started loosening the 8 bumper bolts.

Which is when I saw that with the skid plate removed, I could actually fairly easily access the four bolts holding my winch to the winch plate. So I figured I could remove those, scoot it forward, and avoid having to remove the whole bumper.

Jeep Wrangler JL "Joyride" Hydro JLUSA Build Thread 20230923_083704


Unfortunately, you still have to *loosen* the 8 nuts holding the bumper on (but you don't have to fully remove it). You can see these retainer clips along the bottom of the grille were *just* a little too long.

The most frustrating part of this realization is that I didn't have to remove the fairlead cover in the first place. I hate that damn cover.

With the grille off, it's super easy. I used this video from [Banned Site]:


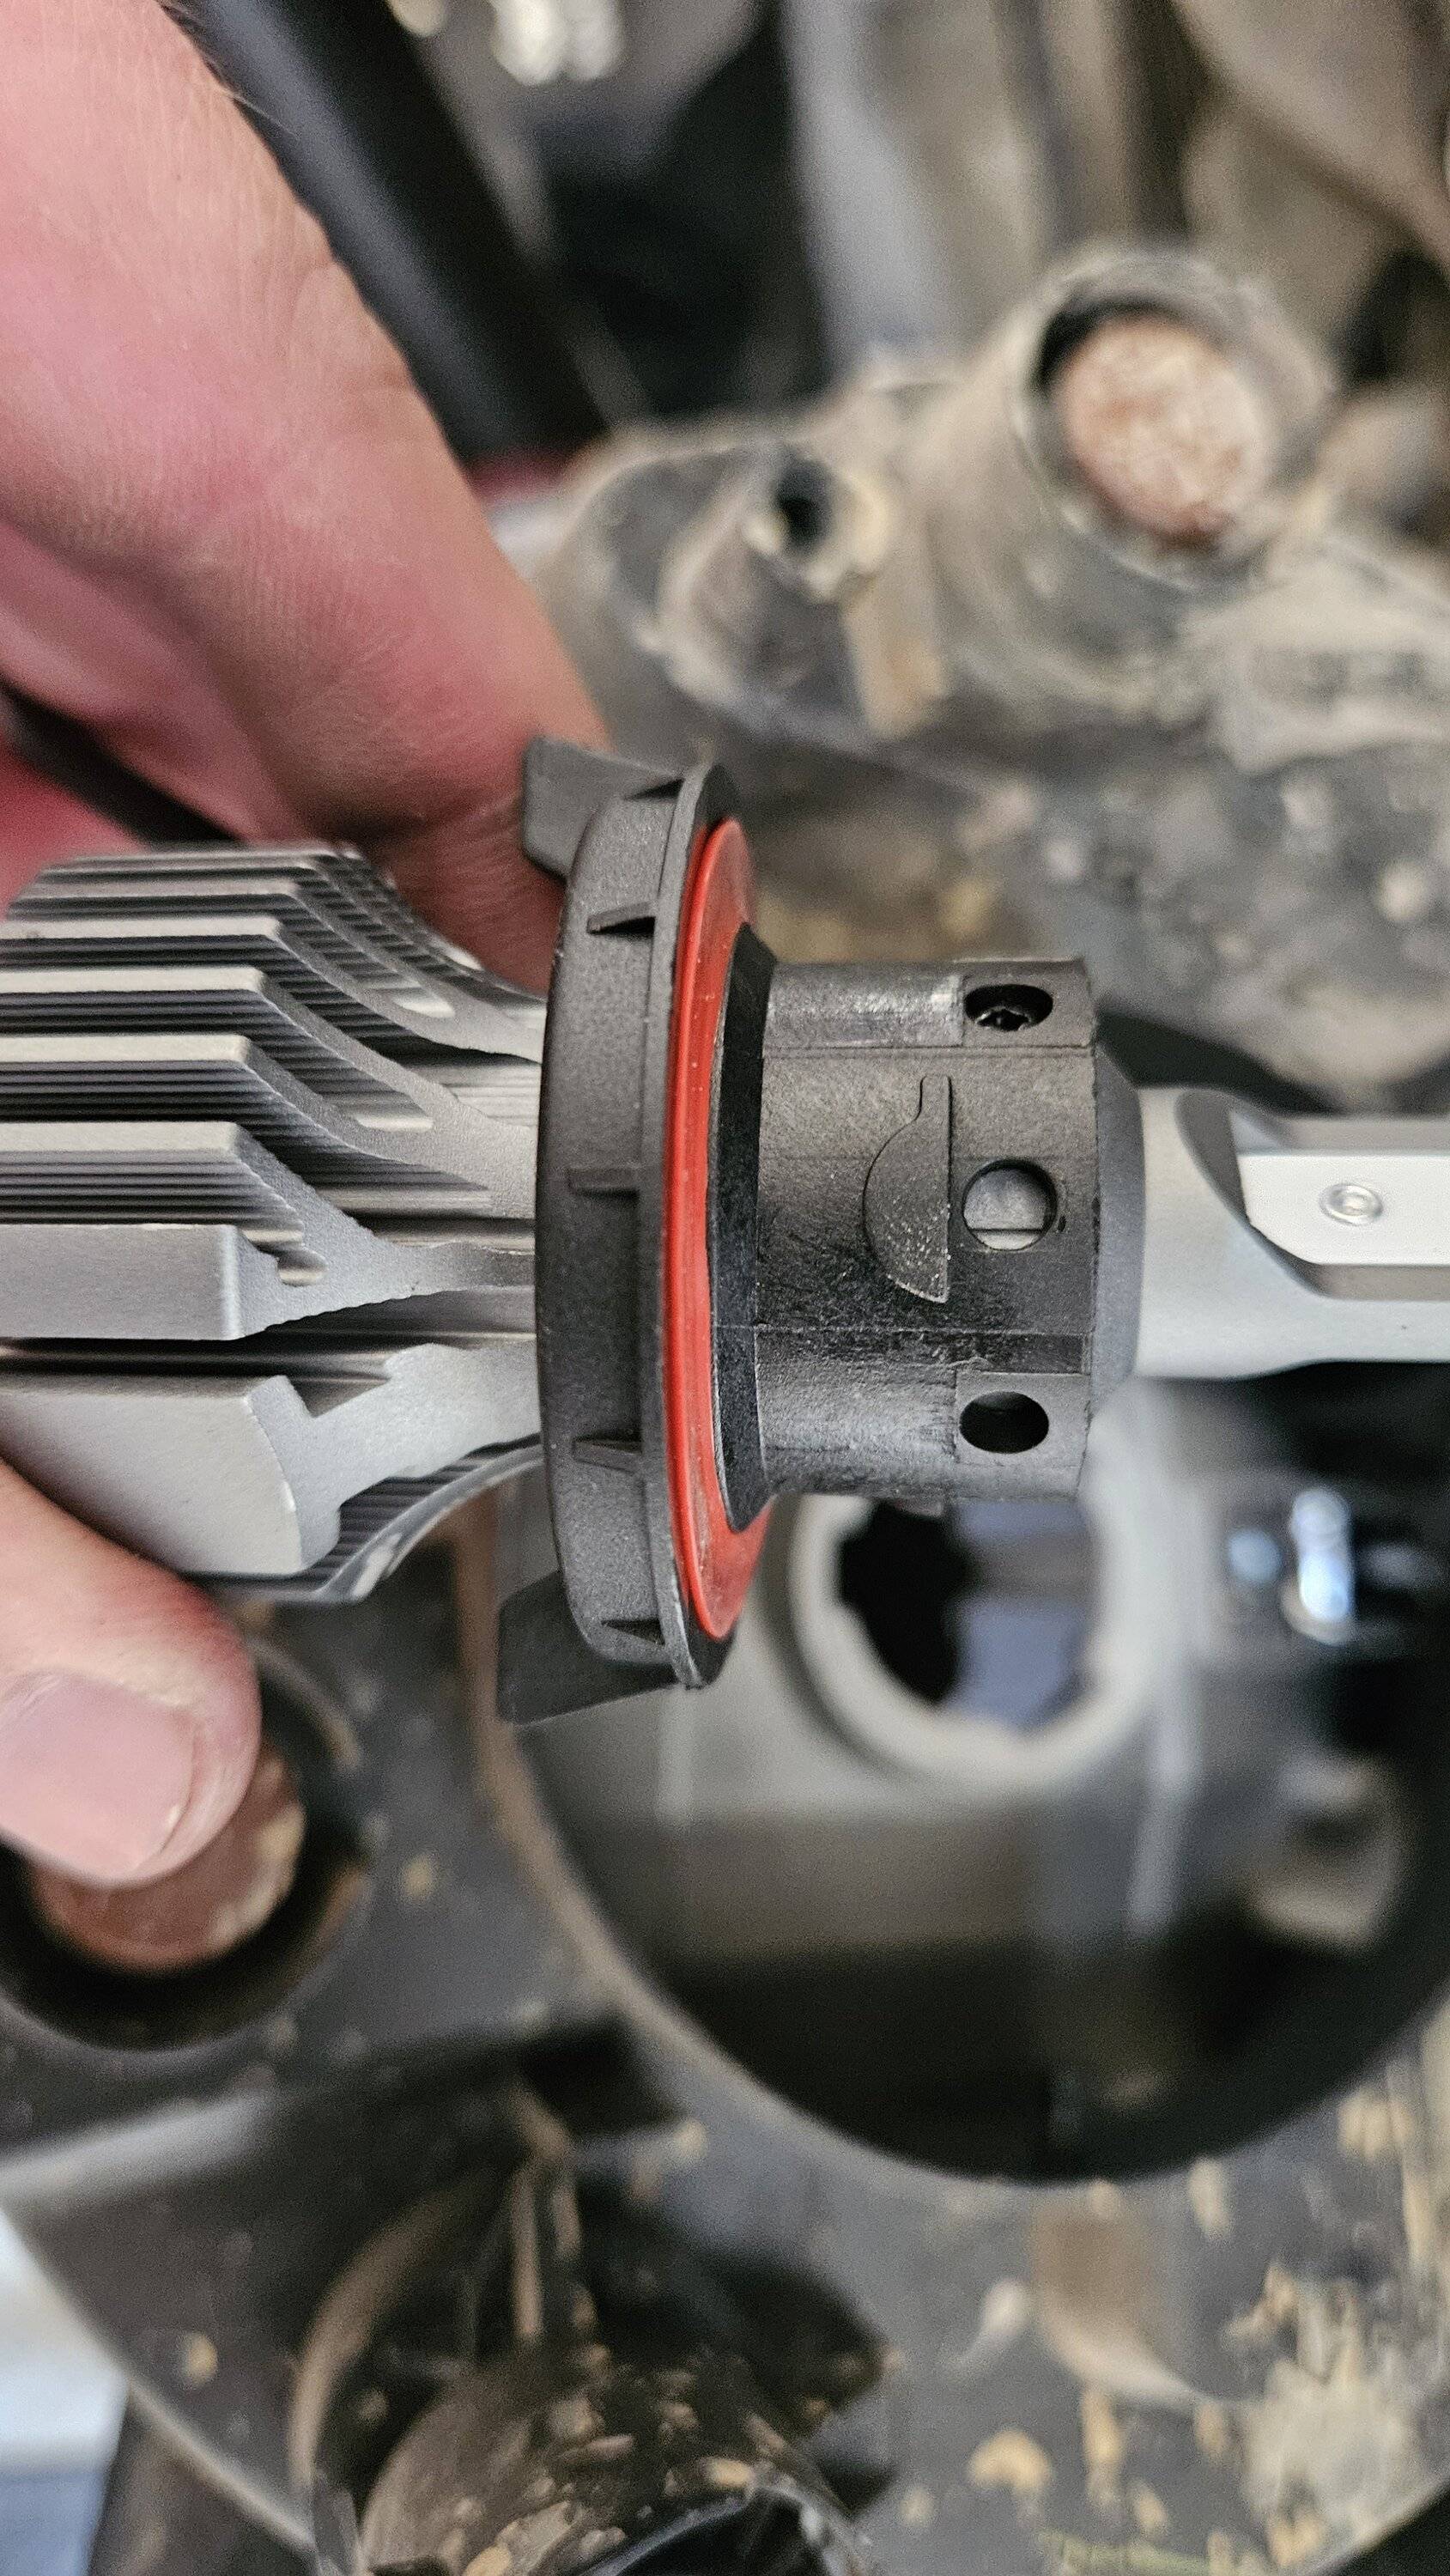
3 10mm bolts on each bulb, pull it out, twist and pull. If you look at the socket, there are three notches, but one is *just* slightly longer than the others. Here, it's the bottom one:

Jeep Wrangler JL "Joyride" Hydro JLUSA Build Thread 20230923_090506


And then if you look on the bulb, one of the little half-moon knobs has little extensions on either side:

Jeep Wrangler JL "Joyride" Hydro JLUSA Build Thread 20230923_090512


So you match the extended-moon to the bigger slot, and then turn. The Sealight documentation also notes that the LEDs on the bulb should be facing 9 o'clock and 3 o'clock, so that's also helpful.

The bulbs do have a bit more wiring than the factory halogens did, but it all fit in there pretty snug:

Jeep Wrangler JL "Joyride" Hydro JLUSA Build Thread 20230923_090654


Big difference:

Jeep Wrangler JL "Joyride" Hydro JLUSA Build Thread 20230923_085850


The DRL/turn signals I'm less confident on, honestly (and I plan to reach out to Lasfit for clarification). Accessing them is simple - in the front of the wheel well, there's a plastic trim tree and a 10mm bolt. Remove those and you can just pull the fender liner back a little reveal the TWO bulb slots.

This is where it got confusing:
  • The LASFIT bulbs have both yellow and white LEDs
  • The inner-most bulb is a yellow halogen bulb, but from the outside, it looks like a white light.
  • The outer-most bulb is a white bulb that looks like a white light.
  • There are also two little bitty bulbs (not sure LED or what) that "power" the outer reflector.
First, I replaced the inner-most yellow halogen with the LASFIT, based on a video that I'd watched. However, I couldn't get it to come on white - only yellow for the turn signal.

When I moved the LASFIT bulb to the outer-most, to replace the white halogen bulb, it functions correctly as a white DRL, but now I still have this yellow halogen turn signal. It's not a *huge* deal - the only way I notice is the speed of the flash (halogens take longer to toggle), but it still seems ... odd? I guess I was expecting the inner most "light" spot to light up with the LED as well?

Either way, I kept the LASFIT bulbs in the outer-most slot and it looks great. It's easy enough to access if they tell me something differently.

Jeep Wrangler JL "Joyride" Hydro JLUSA Build Thread 20230923_104733


I still need to adjust them tonight, but that's easily done. I also discovered while I was under there that I can adjust the angle of my fogs, as well. Cool.
Sponsored

 
OP
OP
rcadden

rcadden

Well-Known Member
First Name
Ricky
Joined
May 4, 2021
Threads
89
Messages
2,932
Reaction score
6,321
Location
Asheville, NC
Vehicle(s)
2021 Hydro Blue Sahara Altitude
Build Thread
Link
Occupation
Marketing
Clubs
 
Also, after literally all of my headlamps died on the last job of installing the Armorlite, I bought these on Amazon and am happy to report that it worked *awesome*.

https://www.amazon.com/dp/B098QCT37S

Highly recommended, and even better that they recharge via USB-C, like literally everything else in my life.
 

Jammer

Well-Known Member
First Name
Jeff
Joined
Mar 9, 2018
Threads
13
Messages
2,939
Reaction score
864
Location
Ft worth
Vehicle(s)
Bright white JL Rubicon
First mods came in from Amazon last night!

20210721_164952.jpg


Clearly, the first thing that had to go was the antenna. This one is a few inches shorter than I thought it would be, but I still like it.

20210721_165213.jpg


Next up is some organization in that teeny-tiny console. Also not sure I'm going to keep this one - it *barely* fits my phone plugged in. But the light-hole is nice, and it's deep enough (takes up ~half of the height)

20210721_165441.jpg


After driving from Nashville back to Texas, I definitely needed a dead pedal. This is the Hooke one - SUPER easy to install and adjust. However, it came with *zero* instructions. Just 3 metal pieces in the box with a handful of nuts and bolts. Had to google to figure out how to assemble/install

20210721_172019.jpg


Last for this batch was a set of black plastic door handle inserts. Admittedly, I haven't actually "installed" these, as I need to clean the spots and prepare the area, etc. But you can set them in to get an idea of how they'll look. I think I like them.

Without:
20210721_165631.jpg


With:
20210721_165652.jpg


I also got a roll of 3M PPF, but am waiting to use it.

Arriving in the next few days is:
1. Weathertech mats (front, back, cargo)
2. Sunrider (Black Twill)
3. Uconnect screen protector
4. Brawlee LED Light Bar for the Rear Glass
5. Rugged Ridge entry guards
6. Black Hinge Covers

Getting the cheap(ish) cosmetic stuff knocked out this month. August is bumpers and possibly a small lift/budget boost.
Does the foot pedal really make a difference in town city driving or just on long trips on the hwy ?
 
OP
OP
rcadden

rcadden

Well-Known Member
First Name
Ricky
Joined
May 4, 2021
Threads
89
Messages
2,932
Reaction score
6,321
Location
Asheville, NC
Vehicle(s)
2021 Hydro Blue Sahara Altitude
Build Thread
Link
Occupation
Marketing
Clubs
 
Does the foot pedal really make a difference in town city driving or just on long trips on the hwy ?
I find it to be more comfortable in all situations, and use it basically whenever I'm in the car.

If you're coming from a larger vehicle (I came from a GMC Sierra) it *does* take a little while to get used to the smaller footwell, but otherwise it's a strong recommend from me.
 

Jammer

Well-Known Member
First Name
Jeff
Joined
Mar 9, 2018
Threads
13
Messages
2,939
Reaction score
864
Location
Ft worth
Vehicle(s)
Bright white JL Rubicon
I find it to be more comfortable in all situations, and use it basically whenever I'm in the car.

If you're coming from a larger vehicle (I came from a GMC Sierra) it *does* take a little while to get used to the smaller footwell, but otherwise it's a strong recommend from me.
Yes I had F-250 and F350 trucks but does it get in the way sometimes if you don't want to put your foot there?
 

Sponsored

OP
OP
rcadden

rcadden

Well-Known Member
First Name
Ricky
Joined
May 4, 2021
Threads
89
Messages
2,932
Reaction score
6,321
Location
Asheville, NC
Vehicle(s)
2021 Hydro Blue Sahara Altitude
Build Thread
Link
Occupation
Marketing
Clubs
 
Yes I had F-250 and F350 trucks but does it get in the way sometimes if you don't want to put your foot there?
I don't find that it gets in the way. I believe that the Quadratec dead pedal has a feature that allows you to rotate it up and out of the way when you don't want it. I'm perfectly happy with the Hooke one but you might want to look into that if you're concerned about it being in the way.
 
OP
OP
rcadden

rcadden

Well-Known Member
First Name
Ricky
Joined
May 4, 2021
Threads
89
Messages
2,932
Reaction score
6,321
Location
Asheville, NC
Vehicle(s)
2021 Hydro Blue Sahara Altitude
Build Thread
Link
Occupation
Marketing
Clubs
 
Finally had a break in the schedule and managed to get the Jeep dirty again. The local off-road park got some rain this week so it was a bit wet.

First time I got to use the Speedflate, which is now my new favorite tool. Makes airing up and airing down SO much better.

Tried to take my own path through the other side of a big puddle and got a bit stuck...


On the bright side, I got to use my winch!


Ratbert

Well-Known Member
First Name
John
Joined
Jun 20, 2020
Threads
159
Messages
16,111
Reaction score
25,119
Location
PNW
Vehicle(s)
2022 AEV JL370 JLURD
Build Thread
Link
Occupation
Software Engineer
Clubs
 
Finally had a break in the schedule and managed to get the Jeep dirty again. The local off-road park got some rain this week so it was a bit wet.

First time I got to use the Speedflate, which is now my new favorite tool. Makes airing up and airing down SO much better.

Tried to take my own path through the other side of a big puddle and got a bit stuck...


On the bright side, I got to use my winch!

Did you make it through without getting yourself covered in mud? Water crossings are great...mud, however, makes me cringe.

Where the guy in the red shirt was standing (the death zone) made me nervous.
 
OP
OP
rcadden

rcadden

Well-Known Member
First Name
Ricky
Joined
May 4, 2021
Threads
89
Messages
2,932
Reaction score
6,321
Location
Asheville, NC
Vehicle(s)
2021 Hydro Blue Sahara Altitude
Build Thread
Link
Occupation
Marketing
Clubs
 
Did you make it through without getting yourself covered in mud? Water crossings are great...mud, however, makes me cringe.

Where the guy in the red shirt was standing (the death zone) made me nervous.
I did! I didn't have to get out at all. He winched me till I had traction and I could drive out. Was REAL glad I'd remembered to grab my winch remote out of the cargo cubby, lol.

I also dislike mud, usually.
 
OP
OP
rcadden

rcadden

Well-Known Member
First Name
Ricky
Joined
May 4, 2021
Threads
89
Messages
2,932
Reaction score
6,321
Location
Asheville, NC
Vehicle(s)
2021 Hydro Blue Sahara Altitude
Build Thread
Link
Occupation
Marketing
Clubs
 
So, shortly after I swapped my halogen bulbs out for LEDs, I started getting a message that my AUX buttons were disabled due to the battery charging. My first thought was that maybe my new bulbs were causing issues, but a little research revealed a much more expensive issue - my battery was dying - ~2 years or 42K miles.

I started researching, and used these two threads to help inform my next steps:
https://www.jlwranglerforums.com/forum/threads/🔋🔧-main-battery-replacement-talk-jl-jt-🪫.100534/
https://www.jlwranglerforums.com/forum/threads/jumperless-aux-battery-bypass.95945/

Basically, my Jeep has two batteries - the main one, like a normal car, and an aux one that's smaller and primarily used to power the Electronic Start/Stop function (where your engine turns off at stoplights and then automatically starts up again when you take your foot off the brake).

There are tons of threads about how much people hate ESS systems. It doesn't really bother me personally, but this battery presented a financial reason to disable it

A new main battery was $277 at AutoZone, after core trade-in. Fine.
A new aux battery was $160.
However, a @SmartStopStart.com dongle was only $130, and even better - I was able to buy a used one off a fellow forum member for $85. Sold.

With ESS disabled, my Jeep has no need for the aux battery at all, and it's actually pretty simple to remove the aux battery from the circuit entirely.

There are two cables connected to the negative terminal on my battery. The small one (#1 below) is for the aux battery. The big one (#2 below) is for everything else.
Jeep Wrangler JL "Joyride" Hydro JLUSA Build Thread 20231015_214705~2


So, removing #1, isolating it, and then re-attaching #2 removes the aux battery from the circuit. However, #1 has the whole mounting bracket, with a bolt that comes through the black wiring. So you have to fully disconnect both and then re-stack #2 on top of the wiring harness box. NOTE: you also need to pull the 10A fuse #42 from your fuse box. Easy to find and pull.

Jeep Wrangler JL "Joyride" Hydro JLUSA Build Thread 20231020_172908


To isolate the smaller cable, I just wrapped it with gorilla tape and zip-tied it back on itself.

Jeep Wrangler JL "Joyride" Hydro JLUSA Build Thread 20231020_172904


I don't have photos of the SmartStopStart installed, but it's pretty basic. You plug it in, then start your vehicle and push the ESS button to disable it. Then turn the engine off and turn it back on again to ensure it saved - if the ESS button light comes on (to indicate that it's disabled) then you're golden.

I've been driving around for a little over a week with this setup now, and everything's golden. The aux buttons message went away and my main battery voltage has remained steady.

At some point, I'll likely get around to removing the aux battery from my vehicle completely - I don't particularly like the idea of an unused battery just rotting away in the engine bay - but that's a task for another day.
 

Sponsored

OP
OP
rcadden

rcadden

Well-Known Member
First Name
Ricky
Joined
May 4, 2021
Threads
89
Messages
2,932
Reaction score
6,321
Location
Asheville, NC
Vehicle(s)
2021 Hydro Blue Sahara Altitude
Build Thread
Link
Occupation
Marketing
Clubs
 
Probably do this in a few posts just to keep things tidy. For Christmas, we spent a week in the Smoky Mountains. Townsend, TN, specifically.

The last time we tried this, I bought one of those big vinyl bags that you strap to the roof, along with cross-bars to mount it to. It went ... poorly. So incredibly loud, flapping everywhere, etc. However, I think that was because I was missing the basket.

This is the Harbor Freight basket ( 150 Lb. Capacity Roof-Mounted Steel Cargo Carrier (harborfreight.com) )

I used these cross-bars, which are ok, though the security locks are garbage. Amazon.com: Snailfly Heavy Duty 220 lbs Capacity Cross Bars Roof Rail Racks Fit for Jeep Wrangler JK JL Gladiator JT 2007-2024 Crossbars : Automotive

Together, these work pretty great, to be honest. Relatively easy to put on, secure, etc. My only real complaint is that the basket is too narrow - it could easily be another foot or two wider to take up more of the roof, but whatever.

Since we were bringing the dog on this trip, I wanted another "travel bag", but I wanted one that specifically fit *inside* the basket. After a bit of googling and measuring, I discovered this one: Amazon.com: Keeper 07202 Weatherproof Rooftop Cargo Bag, 11 Cubic Feet, Black : Automotive

It fits perfectly.

Jeep Wrangler JL "Joyride" Hydro JLUSA Build Thread 20231230_143319


It's not the biggest thing you can get, but we managed to fit 4 carry-on sized suitcases in there, plus another medium sized bag. It has buckles on all four corners to secure it to the basket. I could've ratchet-strapped it, too, but I didn't need to.

Highly recommended - it was quiet, completely waterproof, and folds up pretty small.
 
OP
OP
rcadden

rcadden

Well-Known Member
First Name
Ricky
Joined
May 4, 2021
Threads
89
Messages
2,932
Reaction score
6,321
Location
Asheville, NC
Vehicle(s)
2021 Hydro Blue Sahara Altitude
Build Thread
Link
Occupation
Marketing
Clubs
 
So ... on the drive home from Tennessee a few weeks ago, we got the death wobble 3 times - all when my wife was driving, of course. Came to a stop, all was well - drove the remaining ~500 miles home with no issues.

Then, Thursday night I was driving to Dallas for a work event and got the death wobble 2x on me - super fun while driving 70 MPH down I-30 with a concrete barrier on my left and a semi truck with a superiority complex that doesn't know what cruise control is on your right. Fun.

I had also noticed that my steering had gotten a bit sloppy - there was a ~2" dead spot at the center, etc.

So I took it in to our local 4WP* and had them put it up on the rack. They did this for free - no "diagnostic" or rack fee, which I appreciated. Their diagnosis (which matched up with what I'd researched) was that I needed a new steering system and drag link.

Rather than just fix it, I decided to beef up a little and prevent it. Also factoring in the parts they had in stock, I went with the RockJock Currentlync steering system ( RockJock 4x4 JL/JT Currectlync Steering System - RJ-442100-101 | 4wheelparts.com) and the Fox Performance Series Stabilizer ( FOX 2.0 Performance Series Smooth Body IFP Stabilizer - 985-24-173 | 4wheelparts.com)

Jeep Wrangler JL "Joyride" Hydro JLUSA Build Thread 20240108_082903

Jeep Wrangler JL "Joyride" Hydro JLUSA Build Thread 20240108_082919


Total out the door was $1,847.31, including installation and a 3yr/36K mile product&labor warranty.

Not what I'd planned on dropping $2K on, but if you've not experienced death wobble, it's pretty terrifying, especially at 70 MPH. We have a lot of road trips planned this year, so I wanted to be able to rely on it.

Thus far, it drives much better. The dead spot in the steering is gone and it tracks better overall. It pulled to the left initially but after a bit of driving this weekend it seems to have leveled out. Will keep an eye on that part.

*My local 4WP (Weatherford, TX) is a great group of guys - most of them drive pretty built-up Wranglers/Gladiators personally, and they're really active in our local Jeep clubs. I was pleased with their ability to get me in super quick, and they provided a few different options as far as cost - no hard sell, just here's the OEM replacement cost, here's a little better cost, and here's what I would put on my rig cost type set-up.
 
OP
OP
rcadden

rcadden

Well-Known Member
First Name
Ricky
Joined
May 4, 2021
Threads
89
Messages
2,932
Reaction score
6,321
Location
Asheville, NC
Vehicle(s)
2021 Hydro Blue Sahara Altitude
Build Thread
Link
Occupation
Marketing
Clubs
 
Two Christmas gifts that I hadn't had a chance to post yet included here. Both were pretty cheap/stocking stuffers, but I'm quite pleased with them.

The first is the AZUTO keyhole covers. These are really nice - solid construction, with a good magnet inside to hold them on. They're designed to visually match the fuel door cover, which is a nice touch. https://www.amazon.com/AZUTO-Keyhole-Wrangler-Gladiator-MHG-039/dp/B0BJ2B1MJX/

Jeep Wrangler JL "Joyride" Hydro JLUSA Build Thread 20240108_082952

Jeep Wrangler JL "Joyride" Hydro JLUSA Build Thread 20240108_082949


Next is the YOCTM Under Seat Organizer bag. I like that it has a few different handles - there's a round firm one to pull it in and out, but it also has a shoulder strap to use when you're carrying it around, etc. ( Amazon.com: YOCTM Under Seat Organizer for 2007-2023 Jeep Wrangler JK JL JLU 4XE Sports Rubicon Gladiator JT Backseat Rear Under Seat Storage Bags Black Portable Storage Tool Kits Pocket… : Automotive )

It has a decent structure to it - it's solid, but still flexible, etc. Fits perfectly under the seat - you could have three of these if you wanted to and needed the storage.

Jeep Wrangler JL "Joyride" Hydro JLUSA Build Thread 20240108_083002


The Amazon listing has all the measurements/details. I've currently got an all-in-one survival kit in there, plus a small roll of ratching wrenches. I actually fold my seats down regularly, so I haven't decided if I want to get another one just yet.
 

grandsrus

Well-Known Member
Joined
Jul 1, 2019
Threads
9
Messages
2,665
Reaction score
12,658
Location
DFW, TX/ Melbourne, FL
Vehicle(s)
2019 JLUR
Occupation
Aerospace
So ... on the drive home from Tennessee a few weeks ago, we got the death wobble 3 times - all when my wife was driving, of course. Came to a stop, all was well - drove the remaining ~500 miles home with no issues.

Then, Thursday night I was driving to Dallas for a work event and got the death wobble 2x on me - super fun while driving 70 MPH down I-30 with a concrete barrier on my left and a semi truck with a superiority complex that doesn't know what cruise control is on your right. Fun.

I had also noticed that my steering had gotten a bit sloppy - there was a ~2" dead spot at the center, etc.

So I took it in to our local 4WP* and had them put it up on the rack. They did this for free - no "diagnostic" or rack fee, which I appreciated. Their diagnosis (which matched up with what I'd researched) was that I needed a new steering system and drag link.

Rather than just fix it, I decided to beef up a little and prevent it. Also factoring in the parts they had in stock, I went with the RockJock Currentlync steering system ( RockJock 4x4 JL/JT Currectlync Steering System - RJ-442100-101 | 4wheelparts.com) and the Fox Performance Series Stabilizer ( FOX 2.0 Performance Series Smooth Body IFP Stabilizer - 985-24-173 | 4wheelparts.com)

20240108_082903.jpg

20240108_082919.jpg


Total out the door was $1,847.31, including installation and a 3yr/36K mile product&labor warranty.

Not what I'd planned on dropping $2K on, but if you've not experienced death wobble, it's pretty terrifying, especially at 70 MPH. We have a lot of road trips planned this year, so I wanted to be able to rely on it.

Thus far, it drives much better. The dead spot in the steering is gone and it tracks better overall. It pulled to the left initially but after a bit of driving this weekend it seems to have leveled out. Will keep an eye on that part.

*My local 4WP (Weatherford, TX) is a great group of guys - most of them drive pretty built-up Wranglers/Gladiators personally, and they're really active in our local Jeep clubs. I was pleased with their ability to get me in super quick, and they provided a few different options as far as cost - no hard sell, just here's the OEM replacement cost, here's a little better cost, and here's what I would put on my rig cost type set-up.
Agreed, had it on my 93 ZJ on 33s, NOT fun on I75.
Glad you upgraded. Now save for new BJs, ask me how i know.
 
OP
OP
rcadden

rcadden

Well-Known Member
First Name
Ricky
Joined
May 4, 2021
Threads
89
Messages
2,932
Reaction score
6,321
Location
Asheville, NC
Vehicle(s)
2021 Hydro Blue Sahara Altitude
Build Thread
Link
Occupation
Marketing
Clubs
 
So my other Christmas present from the wife was these a-pillar mounts. I had specifically added these to my list because I liked that they have two mounting points, but don't spill over the side of the cowl.

Of course, since I have mounts, I had to buy the lights. Yes, I went the cheap Amazon NiLight route - it was $40 for the whole set, so if I hate them, it's not much out the door.

This is actually probably my first "mall-crawler" modification. I don't *really* have a need for these lights, I just really like the look. I'm sure they'll come in handy at some point.

SUPPLIES:
A-Pillar mounts
NiLight Spots
NiLight Floods
Harbor Freight heat gun
Electrical tape
Heatshrink
Various electrical pliers, etc.
10mm socket
13mm socket
T40

The mounts are dead easy - remove the T40 bolts from the top, just next to the cowl seam, then remove the ones in the cowl. Removing the cowl makes it SIGNIFICANTLY easier to run the wires.

After watching a few videos, I ran them through this little tunnel, underneath the panel where the wipers mount.
Jeep Wrangler JL "Joyride" Hydro JLUSA Build Thread 20240113_151245


If you didn't want to be so fancy, you could probably run them along the top of the engine bay, along the edge of the hood, I suppose. I used a coat hanger to run them through here. It wasn't easy, but it wasn't too hard, either.

One complaint I have about the NiLights is that they're both the same - i.e. there's no "left" or "right one. This makes wiring a bit of a pain, since I wanted to ensure that the connection was below the hood.

On the driver's side, I ran the front (spot) wiring down through the mount and between the two cowl bolts. There's a slot in the cowl that it fits, but it's snug - I may come back later and cut out a little notch for it in the future. The other one I just ran back by the hood hinge.

Jeep Wrangler JL "Joyride" Hydro JLUSA Build Thread 20240113_151251

Jeep Wrangler JL "Joyride" Hydro JLUSA Build Thread 20240113_151317


On the passenger side, I ran the *rear* light (flood) through the mount and this slot, and ran the front light (spot) just through the hood opening.

Jeep Wrangler JL "Joyride" Hydro JLUSA Build Thread 20240113_163810

Jeep Wrangler JL "Joyride" Hydro JLUSA Build Thread 20240113_163816


I have the factory AUX switches, so these are wired to AUX 3 and AUX 4, currently. TBH, I don't know enough about wattage and amperage and electricity to know if I could move it to the smaller AUX 1 or AUX 2, but I don't have anything else using switches at the moment anyways, so it's fine. I also wanted to be able to flip them on/off separately (spots, floods, or both) so I used up two switches.

I made sure to wire it such that it wouldn't be a ginormous pain to switch it up in the future if I wanted to.

I also have not aimed/adjusted the lights yet. The spots are straight on, while the floods are intended to be a 45° angle, but I didn't measure it. Adjusting the direction is done with a 13mm nut on the bottom of the mount. If I needed to adjust the up/down angle, there are 4 10mm bolts holding the light to its mounting cradle thing - I'd need to loosen those.

I also kept *entirely* too much spare wire, so it's all wrapped up in my engine bay, right there between the battery and the fender, where the AUX pigtail was. Eventually I'll need to go in there and clean that up, but for now all the connectors are properly wrapped and secured, so it should be fine to drive - it's just a bit ugly if you pop the hood.

However, a big winter storm just blew in, so it's like, 35° in my garage right now, so for the time being, they're wired and they work and they don't wobble when I drive.

A FEW NOTES ON THE NILIGHTS:
  • They come with zero documentation with regards to assembly. Took me probably half an hour to figure out the right order to put them together and on the mount.
    • First you install the cradle to the mount, with the washer and lock washer on the nut side, and the bolt coming down through the "top". There are little indentations on the cradle that "grip" the head of the bolt.
    • THEN you can attach the light to the cradle using the four 10mm bolts - these also have washers and lock washers, but they go with the bolt (since there's no nut, they just screw into a block on the light).
  • I bought the ones with the full wiring harness, which turned out to be unnecessary, since I already have the wiring for the AUX switches. The wiring harness includes an inline fuse, a relay, and a lighted switch you could install on your dash or something. After watching a bunch of YouTube videos, I realized I could just cut the cable right before the relay and not use any of that other stuff.
  • The pre-installed/bundled wire connectors and such kind of suck. Several of them came off in my hand, so I had to reattach the plug to the wire, etc. Watching videos, I noticed that some of the more reputable brands have pre-installed plugs - this would have made it *significantly* easier to do the install. I spent a lot of time attaching/re-attaching connectors, using the heat gun, wrapping with electrical tape, etc.
Sponsored


Top