Sponsored

What did you do TO your Jeep JL today?

maestro5531

Well-Known Member
First Name
Paul
Joined
Sep 16, 2022
Threads
0
Messages
272
Reaction score
673
Location
IL
Vehicle(s)
22 HydroBlue TRX , 23 HydroBlue JL Willys
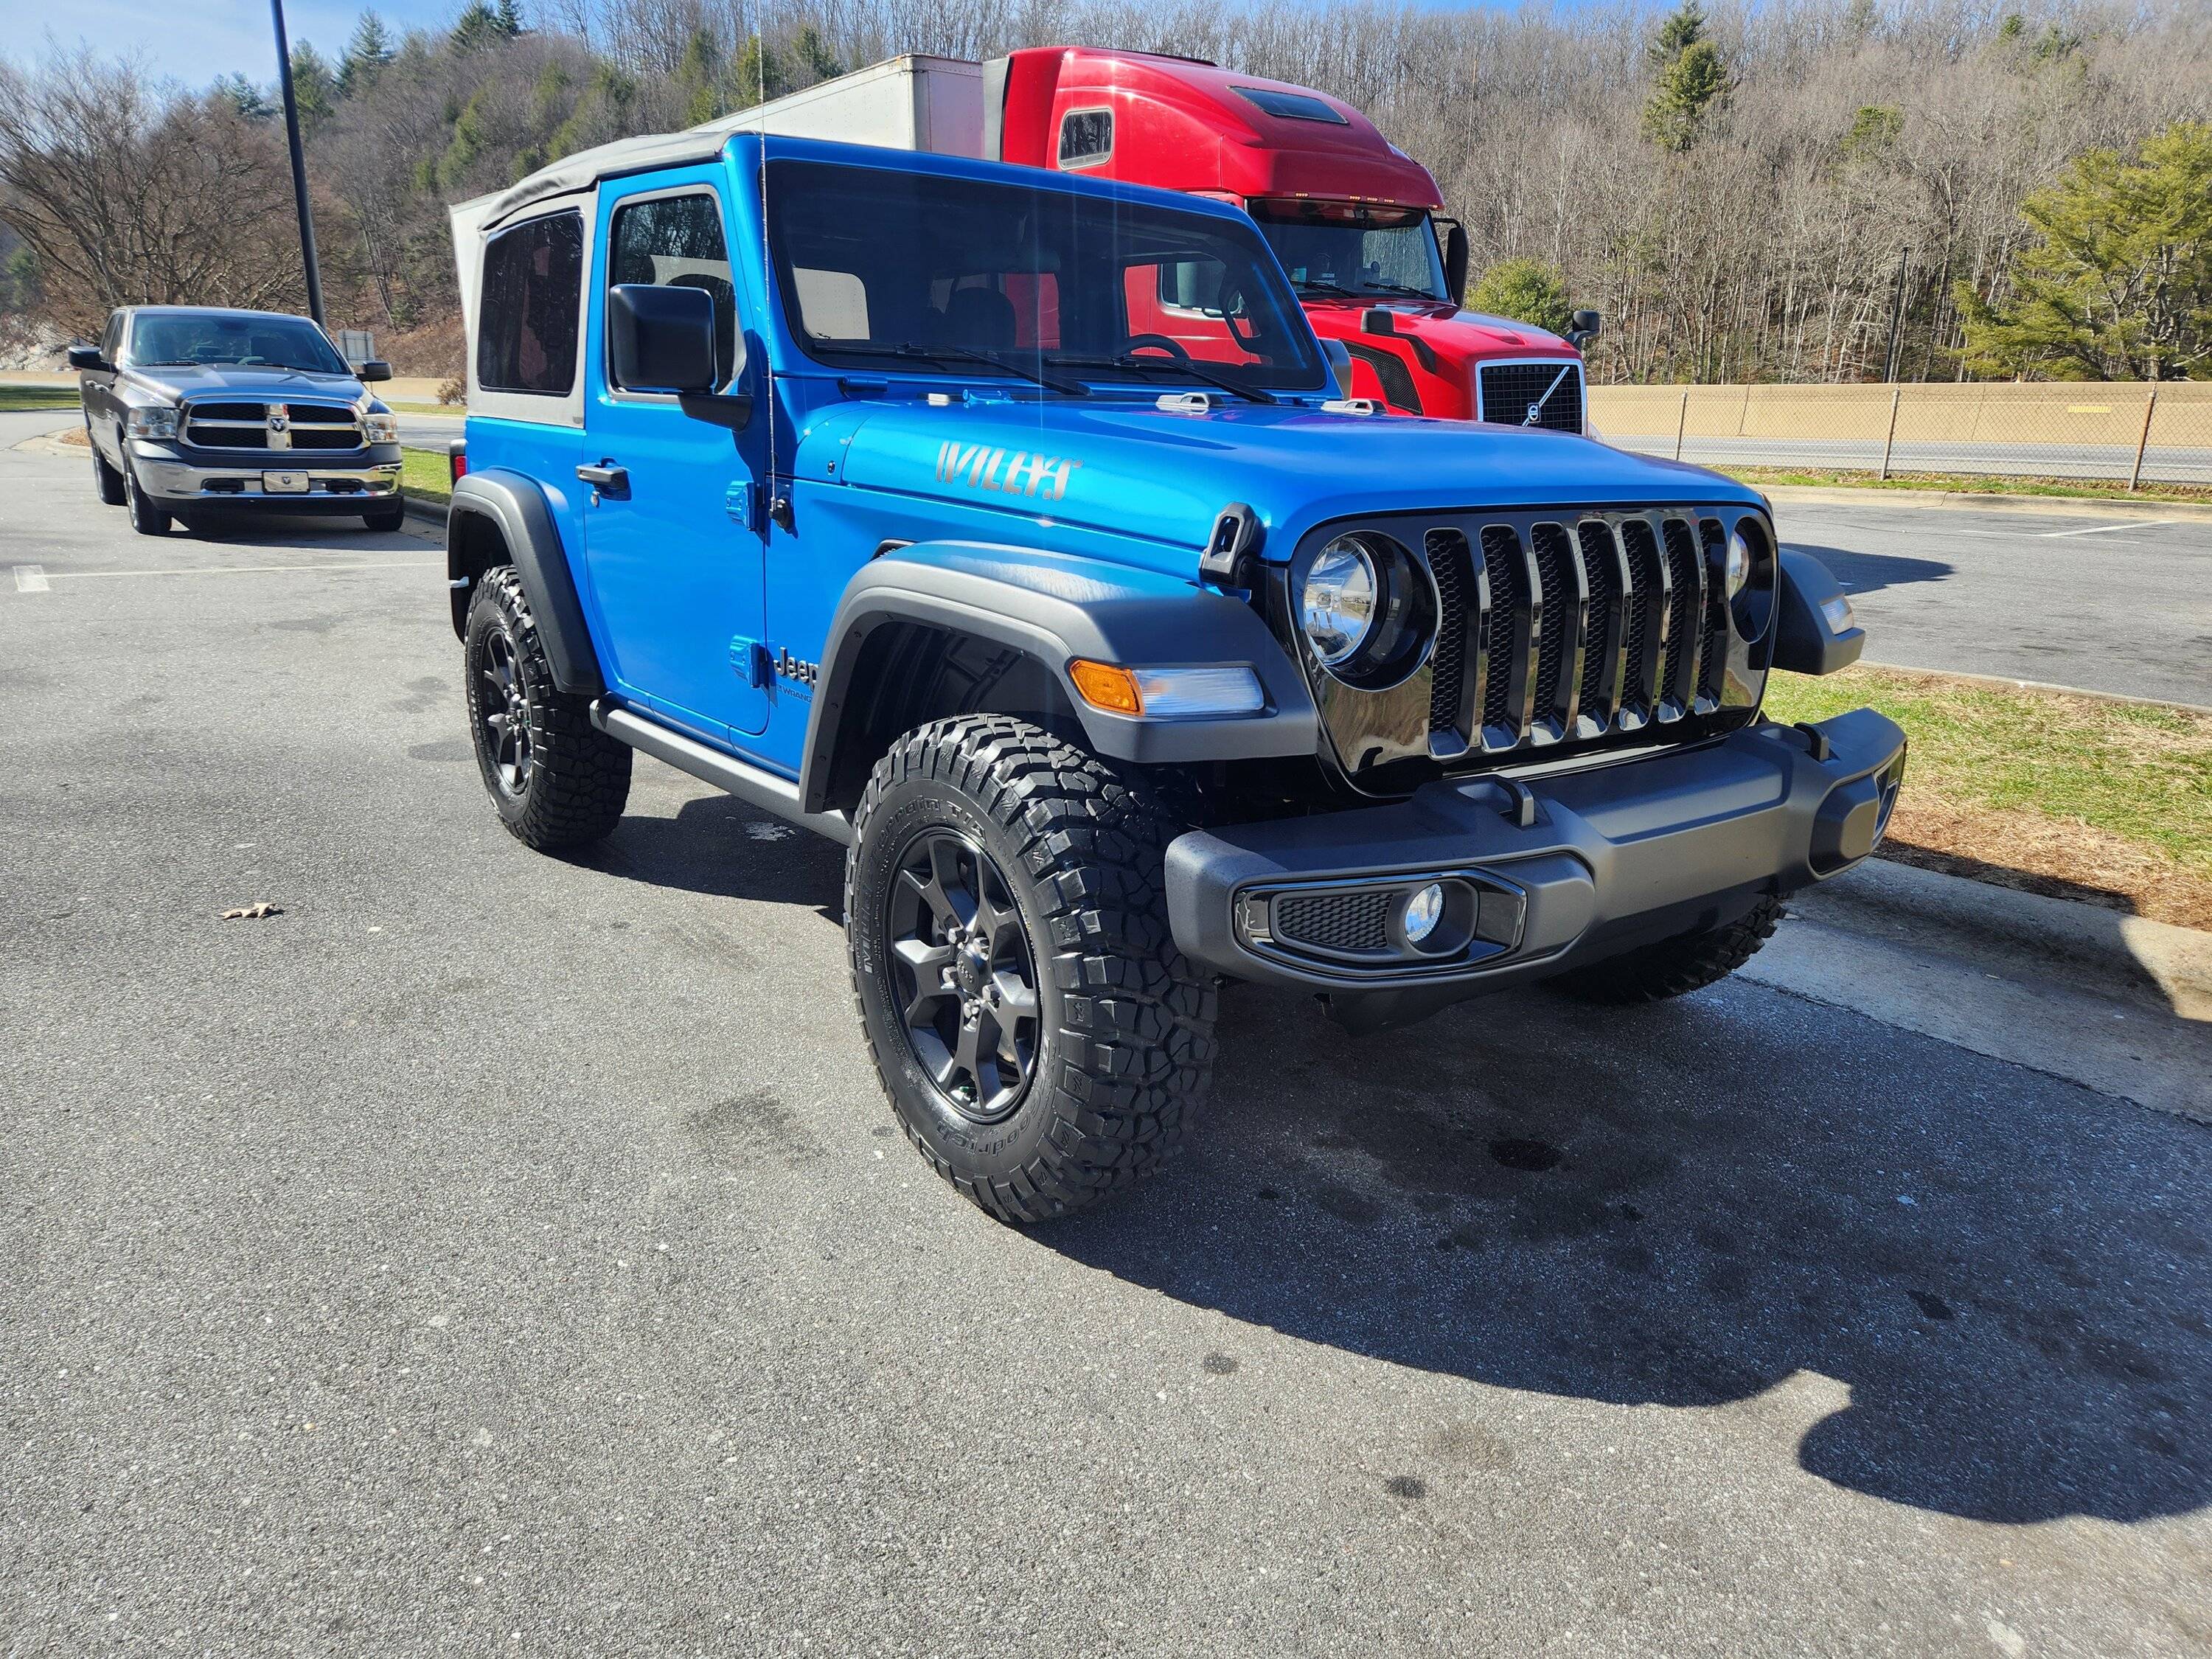
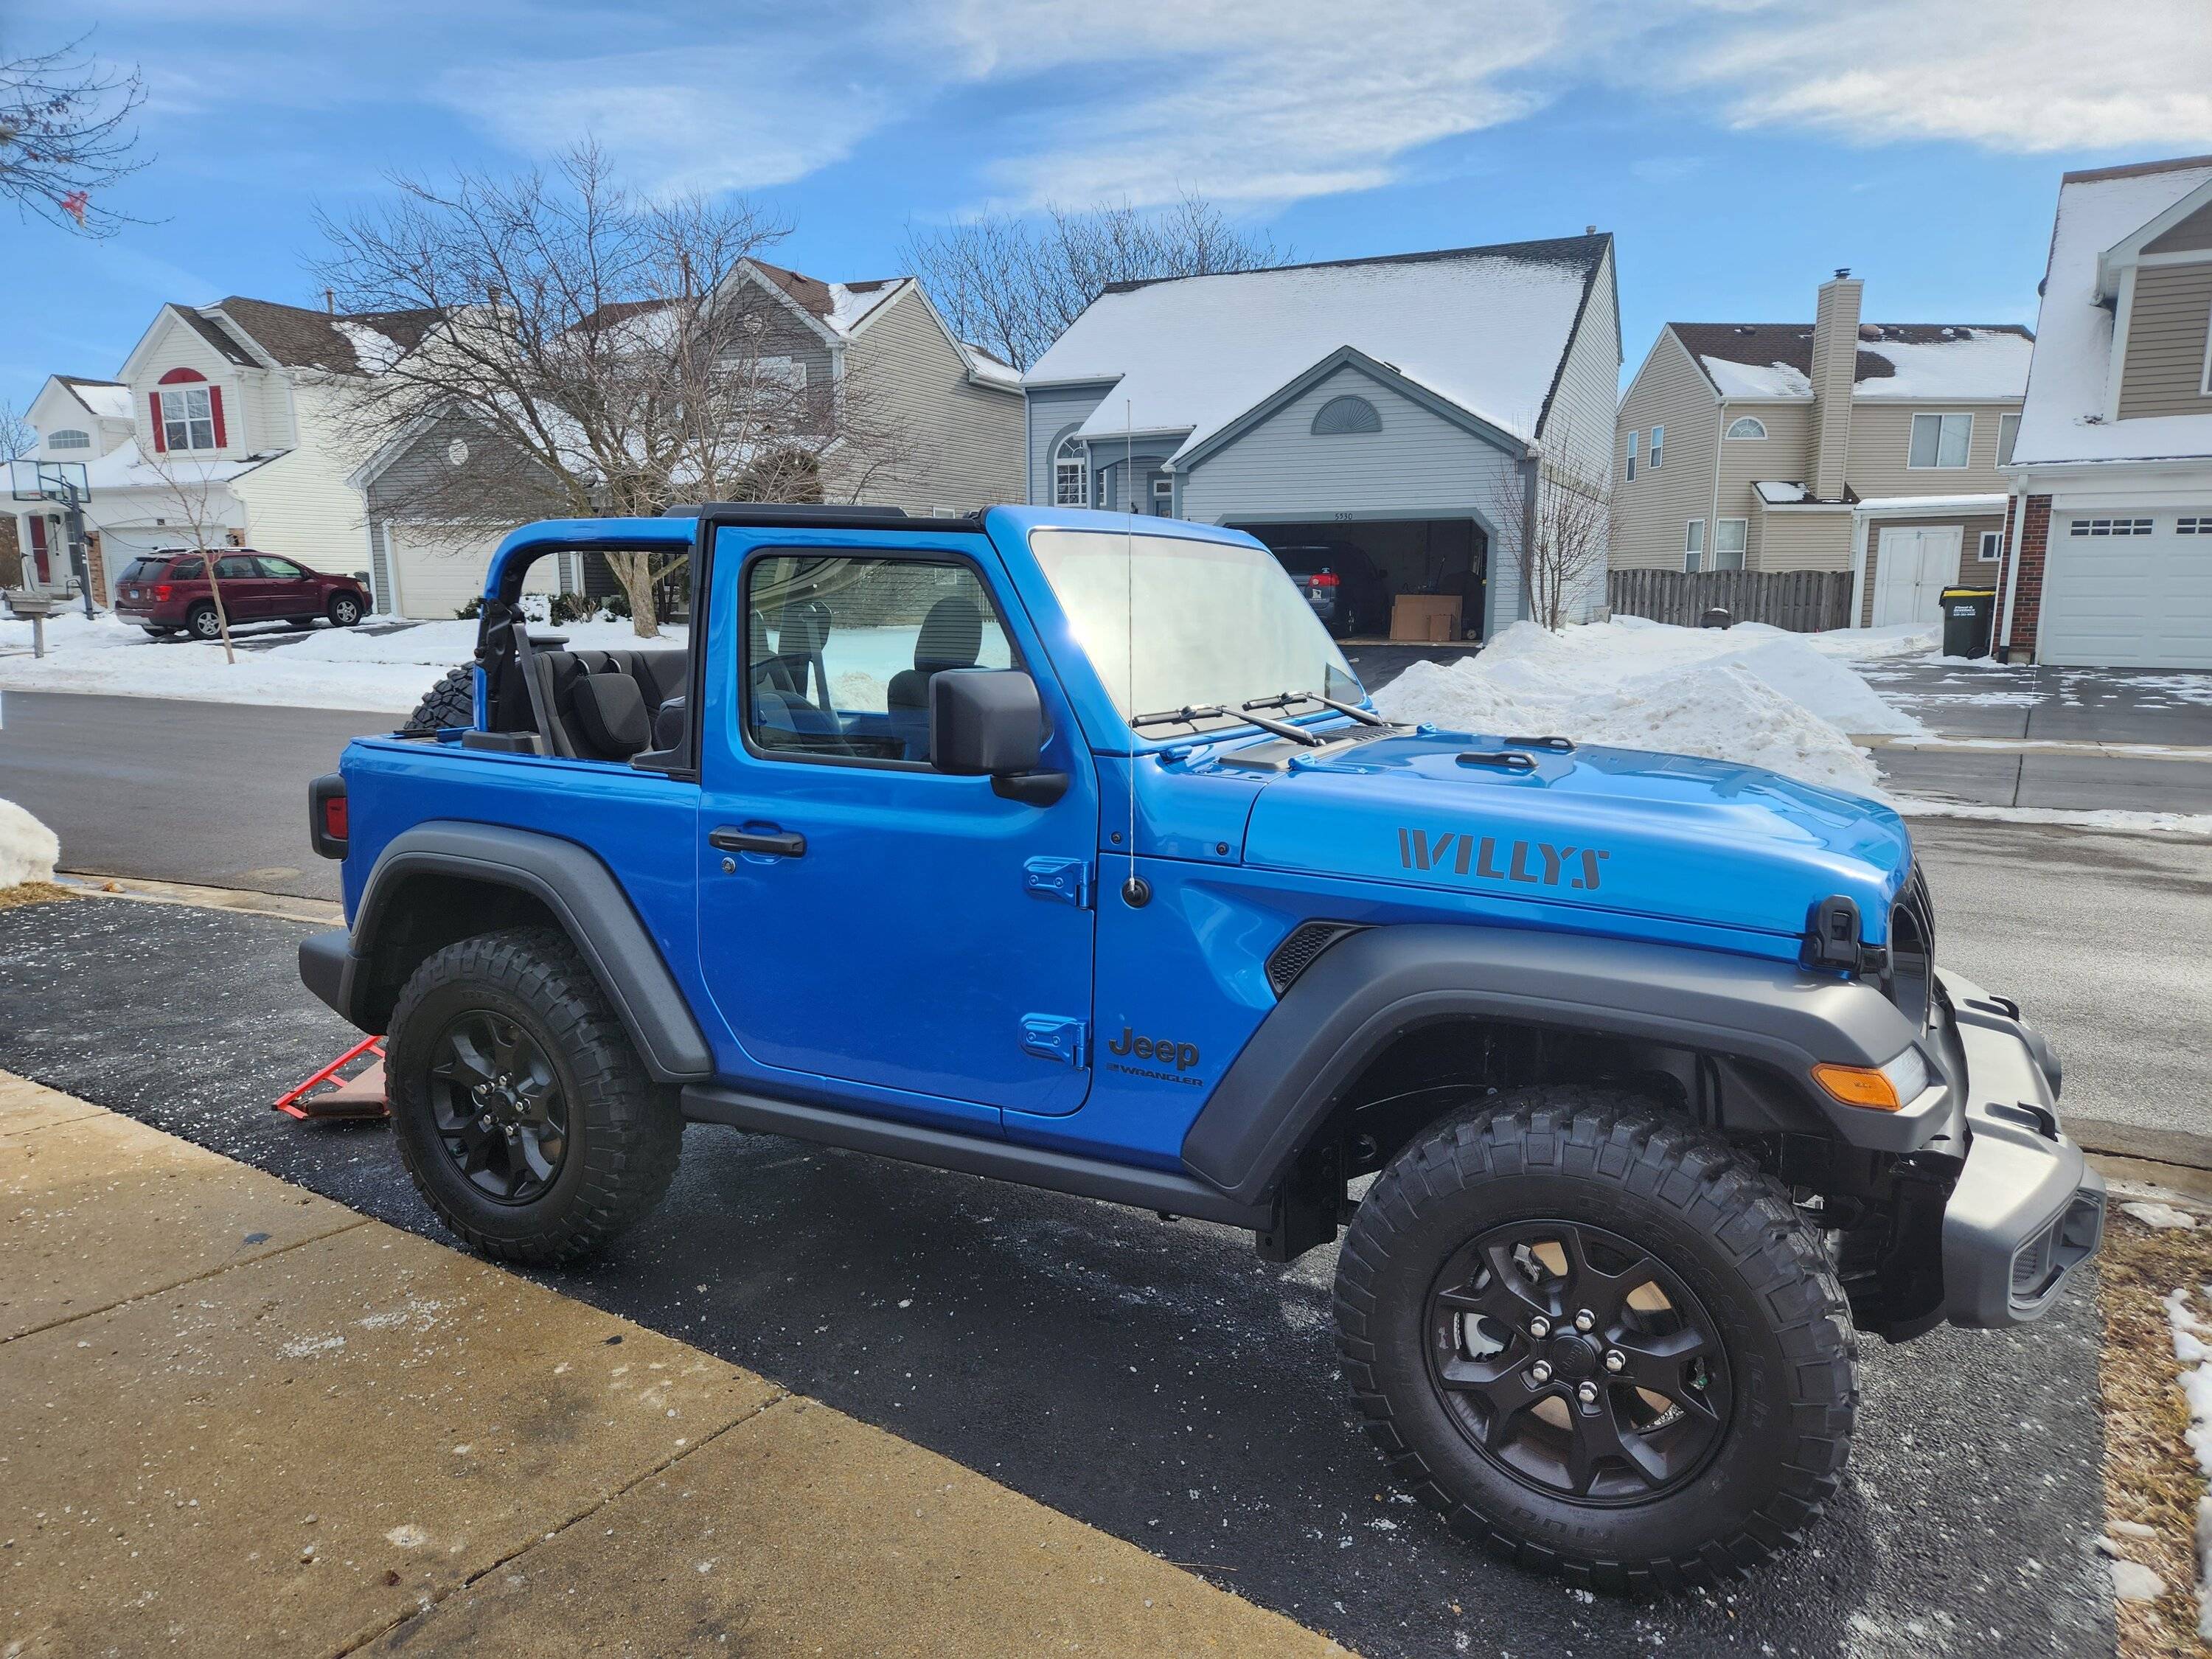
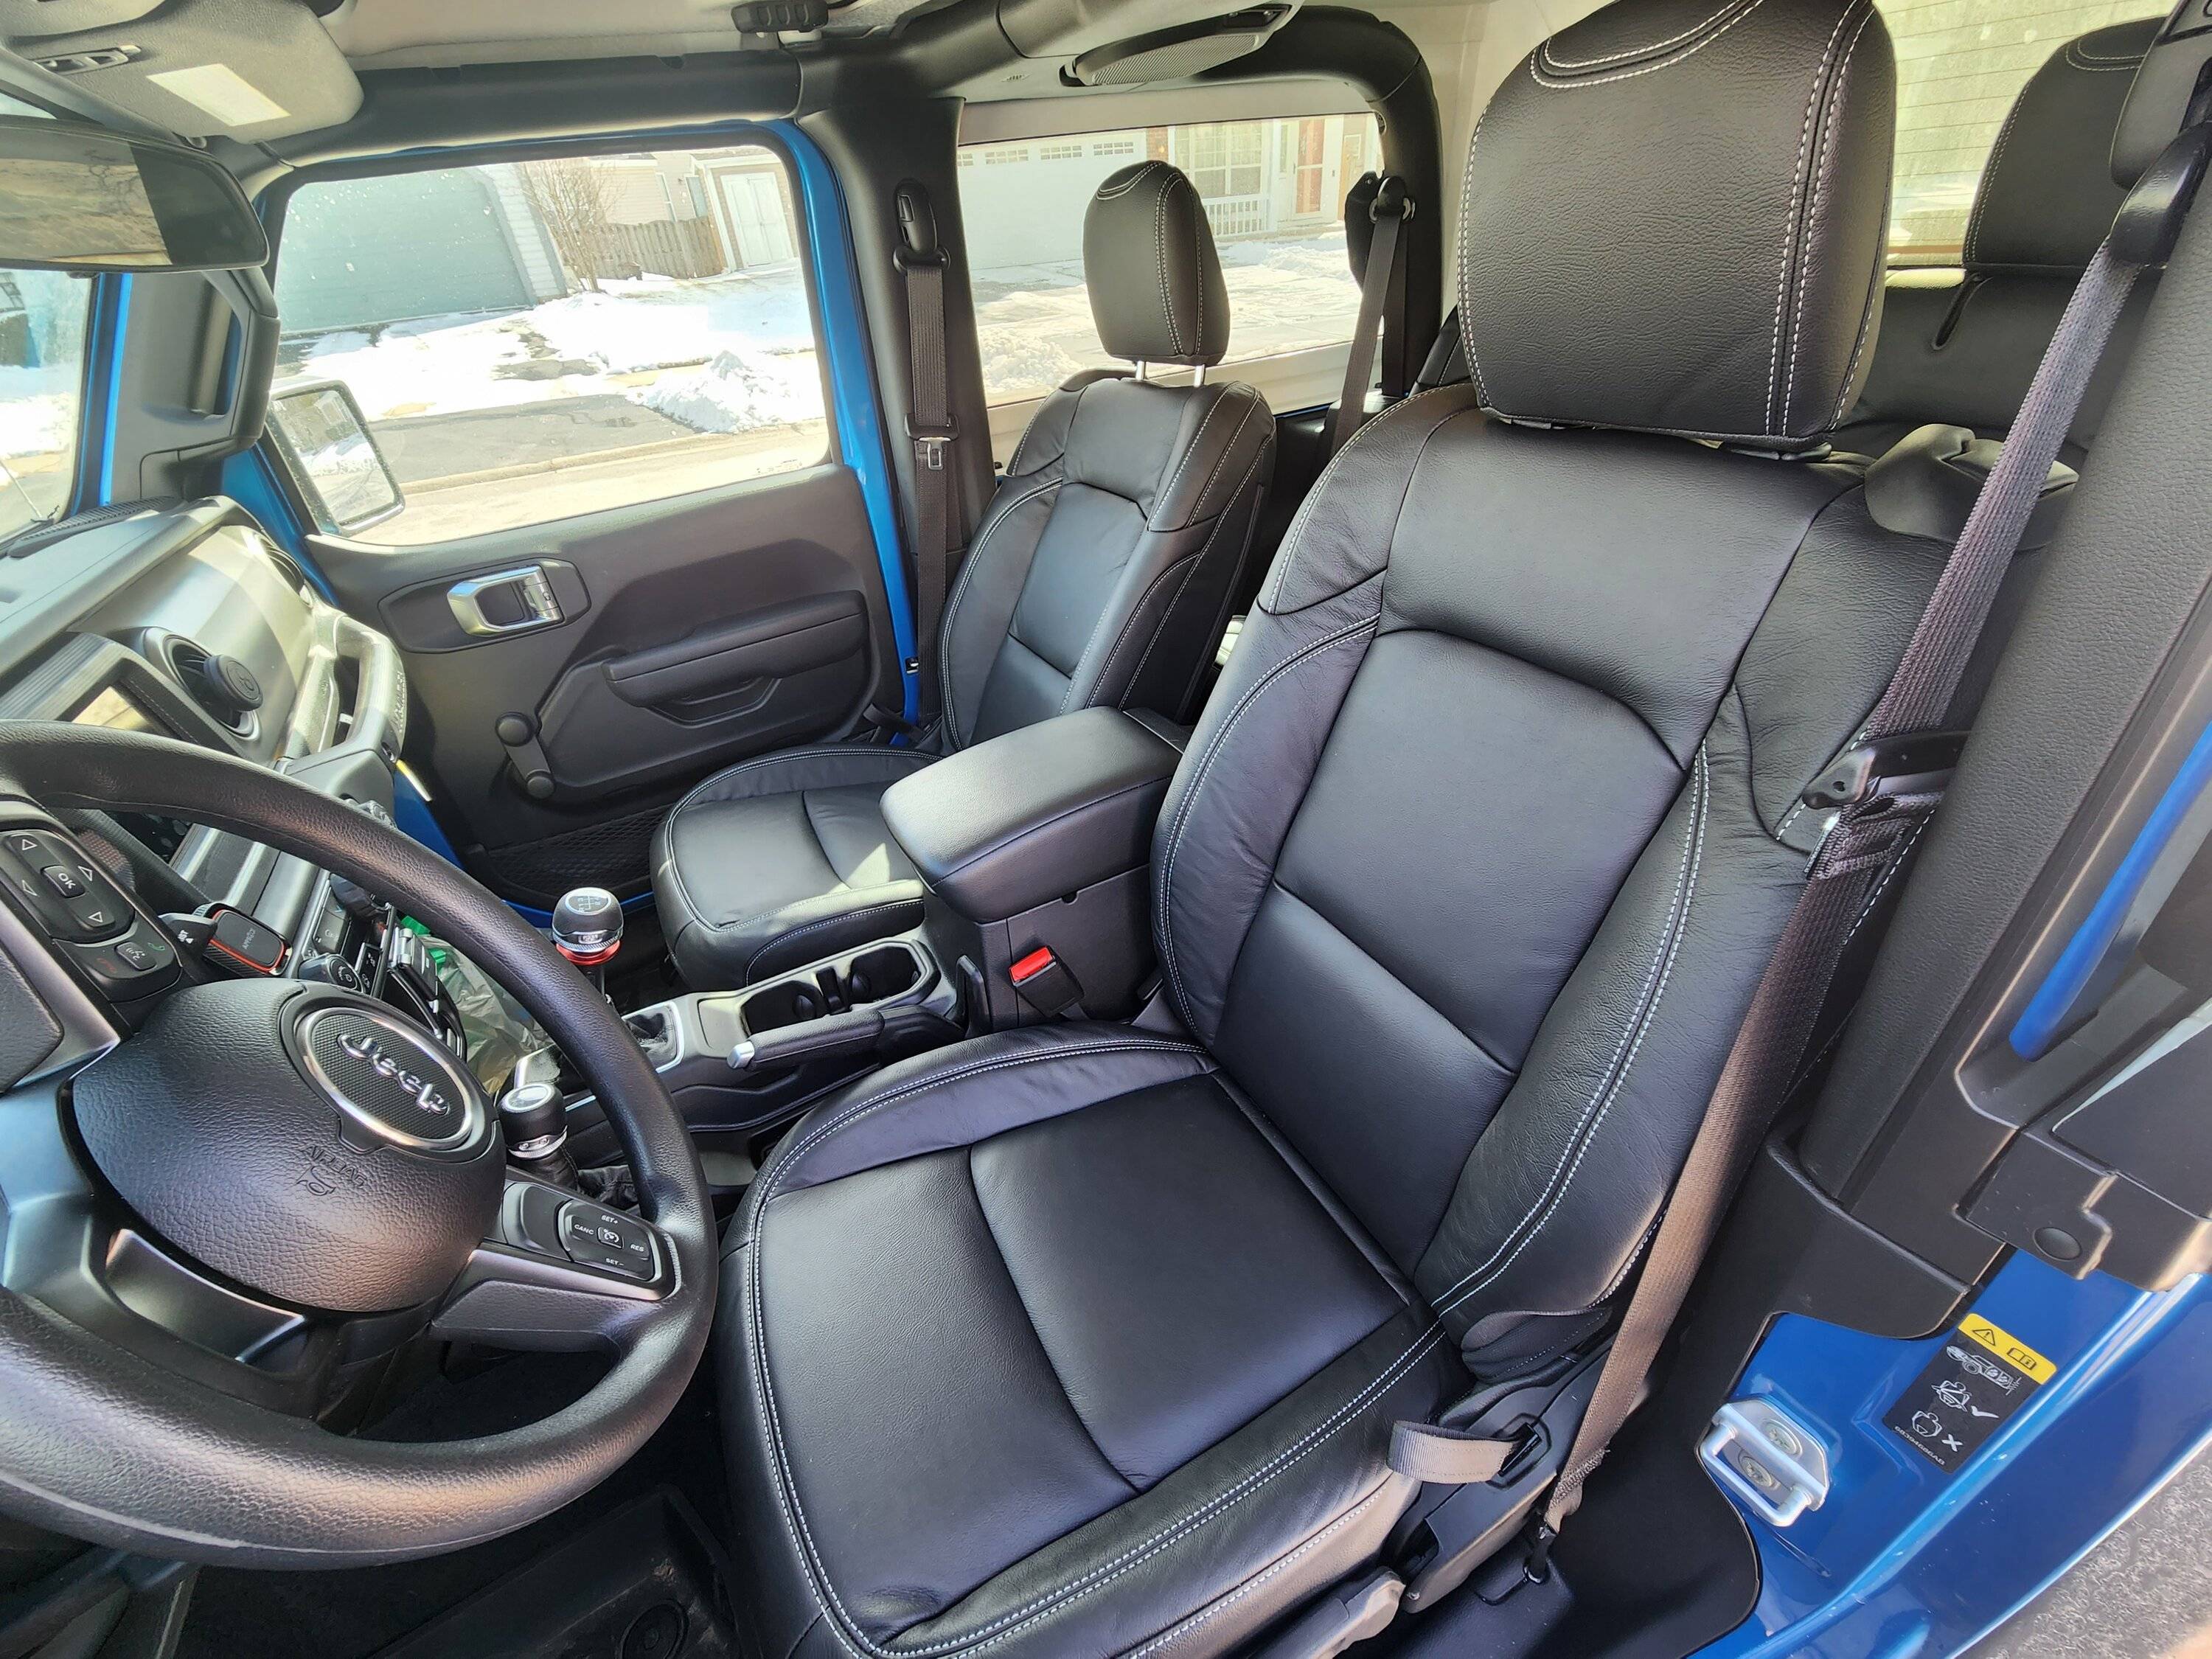
I picked it up 2 weeks ago. Very next day I installed hard top that I picked up from Marketplace. Already replaced headlights, fogs, fender and taillights to LED units. Removed cloth seats and installed Katzkin leather(needs a little more time to releax from sitting in a box for year) and added heated seats.

Jeep Wrangler JL What did you do TO your Jeep JL today? 1
Jeep Wrangler JL What did you do TO your Jeep JL today? 2
Jeep Wrangler JL What did you do TO your Jeep JL today? 3
Jeep Wrangler JL What did you do TO your Jeep JL today? 4
Jeep Wrangler JL What did you do TO your Jeep JL today? 5
Jeep Wrangler JL What did you do TO your Jeep JL today? 6
Jeep Wrangler JL What did you do TO your Jeep JL today? 7
Sponsored


Tpom

Well-Known Member
First Name
Tyler
Joined
Sep 8, 2020
Threads
13
Messages
190
Reaction score
294
Location
Olympic Peninsula - WA
Vehicle(s)
2021 JLUR
Build Thread
Link
Clubs
 
Installed these today. What a difference! They are especially useful if you're running a larger spare on a swing arm carrier that blocks a significant portion of the the OEM reverse lights output. No tapping or splicing of the factory wire was required either.

Jeep Diode Install Small Size.jpg


The C1R operates as a reverse light, running light with the tail lights, and 4th brake light. The SS3 Sport Pod (flood pattern) was wired to only come on as a reverse light. I did this by installing the below DD 7 pin trailer harness and modifying one end with a 2 pin connector for the SS3 pod:

https://www.diodedynamics.com/stage-series-c1r-7-pin-dual-output-trailer-wiring-harness.html

This made for a super clean install and got rid of the need to tap/splice into any OEM wiring. Plus, my tow hitch wiring remains functional.

Here's another 7 Pin trailer wiring harness that could be used for similar auxiliary lighting applications that do not need the brake light function.

C1:
https://www.diodedynamics.com/stage-series-7-pin-dual-output-trailer-wiring-harness.html

Super happy with the result!

Pic of C1R running light with tails (B/W - exposure down):

Jeep Diode Night Shot Small JL.jpg


SS3 Pod Wiring:
Jeep Diode Install Wiring.jpg
Install looks great! I'm installing a Baja designs squadron aux light in my new AEV bumper. What terminal did you pickup for the trailer pin? I like how clean that is (opposed to just soldering in the light positive).
 

iddpaul

Well-Known Member
First Name
Paul
Joined
Sep 24, 2020
Threads
5
Messages
56
Reaction score
186
Location
Central Florida
Vehicle(s)
2025 JLUR
Vehicle Showcase
1
So after changing out the Aux battery on my JLUR and still dealing with charging issues/quirks (thanks Jeep - the most ridiculous implementation and placement of a marginal design idea), I decided I needed a more reliable system for normal running and for powering my accessories.

Decided to only do this once, so yesterday I installed the Genesis dual battery/Gen 3 power hub. The video () is 28 minutes, but you'll need a little more time...haha..!! This is a really easy install as Genesis has done a great job with their video instructions. Super happy and great fit.

Jeep Wrangler JL What did you do TO your Jeep JL today? IMG_2167


Jeep Wrangler JL What did you do TO your Jeep JL today? IMG_2164
 

rickinAZ

Well-Known Member
First Name
Rick
Joined
Jan 2, 2020
Threads
304
Messages
4,127
Reaction score
6,111
Location
Phoenix
Vehicle(s)
2026 MOAB 392
Occupation
Retired CFO. Mayo Clinic volunteer.
1) Installed Mopar longer LCA (lower control arms),… seems to be a little more stable/planted around town but only slightly (didn’t have much of a drivabiltiy issue before), will have to see what it does for improvement on the Freeway. Easy to install, other than the 190ftlbs of torque, and <$100 - so small gain for small price
2) Installed Tazer mini and SGW cord. Some feedback on the Tazer:
  • Huge pain to unplug the factory wire, then even bigger pain to get the SGW plugged into the factory port (took 2+ hours to work this out)
  • Then the SGW male end wouldn’t connect with stock female end on one of the fittings, until I used some needle nose pliers to bend the male prongs back and forth and eventually got it to work (took an hour to work this out)
  • Then couldn’t get the idiot light for tire warning to turn off, so had to unmarry, reconnect factory set up and inflate tires to get the warning off then re-marry and set up the Tazer (should be some clarity in the instructions on this); the take away is make sure your TPMS warnings are all cleared before you try and marry your Tazer. I shutter at the thought of having to do all that connection mess again.
We've all struggled with the SGW access. I added this extension the last time I removed the Tazer.
https://www.zautomotive.com/product/z_sgw_ext/
 

wranglerbro

Well-Known Member
Joined
Oct 18, 2019
Threads
8
Messages
277
Reaction score
574
Location
Mountain Top
Vehicle(s)
Wrangler
Install looks great! I'm installing a Baja designs squadron aux light in my new AEV bumper. What terminal did you pickup for the trailer pin? I like how clean that is (opposed to just soldering in the light positive).
Thanks man! You’re going to love the AEV bumper! I only soldered the SS3 2-pin connector to the ground/reverse wires of the DD harness. Took just a couple of mins and used the provided instructions for the C1R harness to marry the wires up. After that, connected the DD harness to the 7 pin and zip tied the wires out of the way. Super clean.


What rear bumper?
AEV - great design and easy to install.

Jeep Wrangler JL What did you do TO your Jeep JL today? DE8075AA-2D66-4F6E-9FD6-E092BAB98873
 
Last edited:

Sponsored

Maverick909

Well-Known Member
First Name
Brian
Joined
Jan 15, 2019
Threads
50
Messages
5,285
Reaction score
7,454
Location
I.E.
Website
www.instagram.com
Vehicle(s)
2018 JLU Sporticon, 1976 GMC K15, 67 Notchback Barracuda, Indian FTR
Build Thread
Link
Occupation
Electrician/ Industrial Furnace MFG
Clubs
 
Took her and my Daughter to Kings vs Coyotes. GKG
20230218_190217.jpg
Can’t believe the kings almost blew it completely! What a game to have been at though!
 

XX4XEXX

Well-Known Member
First Name
JD
Joined
Sep 18, 2021
Threads
64
Messages
649
Reaction score
687
Location
Ca
Vehicle(s)
2021 Rubicon
Occupation
Mechanical Engineer
Yeah I can't blame Quick it's like they stopped skating in the 2nd, maybe high on 5 to 1.....

Can’t believe the kings almost blew it completely! What a game to have been at though!
 

LCS

Member
First Name
Luis
Joined
Jan 16, 2019
Threads
1
Messages
10
Reaction score
12
Location
NJ
Vehicle(s)
2018 Sihara unlimited
Vehicle Showcase
1
I saw your photos on a previous post and this is exactly how my husband changed my batteries out for me! I’d say I helped but I just was there as moral (nagging I am sure to him!) support. My role was to bungee back the fuse tray haha or show him photos on particular steps!

Thank you for posting this as I can attest this route was not hard, just being careful got it done easily. I was too concerned with the fender clips breaking to go the fender route on my baby and I’m glad I (really he) didn’t! ?
Yeah I didn’t want to have to jack up and get under. I have bad back and knees. Easier for me at standing height.

I didn’t understand the complaints with disconnecting harness connectors. Everything unclipped easy, just make sure protect pos and neg cables from arcing. Couple of old socks did the trick for me.
 

Sponsored

Hercules

Well-Known Member
Joined
Jan 1, 2022
Threads
9
Messages
563
Reaction score
1,178
Location
Clearwater, FL
Vehicle(s)
2012 Ram 2500 Longhorn, 2022 JLURD
First diff oil change. Royal purple 75w-140 went in. Glad I changed it, only18k miles, black as night. Also added DV8s rear diff skid. Install east too bad, like the extra protection it affects the axle too. Went to install DV8s front diff skid- but it won’t fit ?, probably because I didn’t notice their was a mid cycle 21 diff recasting which took out the drain plug. So now I’m back to looking for compatible skids/covers for my 21 JLURD without drain plug.
 

Hilaryl1983

Well-Known Member
First Name
Hilary
Joined
Jun 17, 2020
Threads
0
Messages
56
Reaction score
81
Location
Illinois
Vehicle(s)
2020 ocean blue Jeep Wrangler unlimited rubicon
Yeah I didn’t want to have to jack up and get under. I have bad back and knees. Easier for me at standing height.

I didn’t understand the complaints with disconnecting harness connectors. Everything unclipped easy, just make sure protect pos and neg cables from arcing. Couple of old socks did the trick for me.
Yes! Someone got awfully angry with me on another thread for explaining your method worked for my husband and I earlier today haha.

But your photos made the job super easy! I followed it down to the socks even lol! I really did appreciate you taking the time to show all of the steps. Everything clipped out/in easily with issues or concern for damaging pins. We took our time and worked out perfect!
 

BUSHRVN

Well-Known Member
First Name
MONTE
Joined
Nov 30, 2021
Threads
4
Messages
272
Reaction score
632
Location
ALBERTA
Vehicle(s)
WRANGLER JLU SAHARA HIGH ALTITUDE 3.0
I have seen several now where the crack started in the same place. Mine started in the exact location but went the other direction.

A4920D0B-DC5D-4486-9C88-A31E19C33F0D.jpeg
Yep, mine starts at the same spot and heads to the passenger side. It’s gotta be a window frame flex/stress point in the design triggering these. Just plain dumb!
 

Mx5red

Well-Known Member
First Name
Paul
Joined
May 6, 2020
Threads
25
Messages
1,676
Reaction score
2,665
Location
San Diego
Vehicle(s)
2020 JTR, 2020 JLUR
Build Thread
Link
Yep, mine starts at the same spot and heads to the passenger side. It’s gotta be a window frame flex/stress point in the design triggering these. Just plain dumb!
When these JLs first came out this was common and seemed to often relate to defrost heat being focused there, then people came up with defroster vents or using scrabble tiles etc to even out defroster flow more evenly.
Not sure if that could be a factor here.
 

dragoneggs

Well-Known Member
First Name
Mark
Joined
Dec 14, 2021
Threads
73
Messages
9,342
Reaction score
40,849
Location
Seabeck, WA
Vehicle(s)
'22 Snazzberry Pearl JLR
Build Thread
Link
Clubs
 
When these JLs first came out this was common and seemed to often relate to defrost heat being focused there, then people came up with defroster vents or using scrabble tiles etc to even out defroster flow more evenly.
Not sure if that could be a factor here.
Wasn’t a factor for me. Normal temp no defrost on, and happened while driving. I have since added those tiles to push the air towards the sides and try to even it out some. Horrible flow design.
Sponsored


Top