CaseOfAle
Well-Known Member
- Thread starter
- #1
Howdy, all -
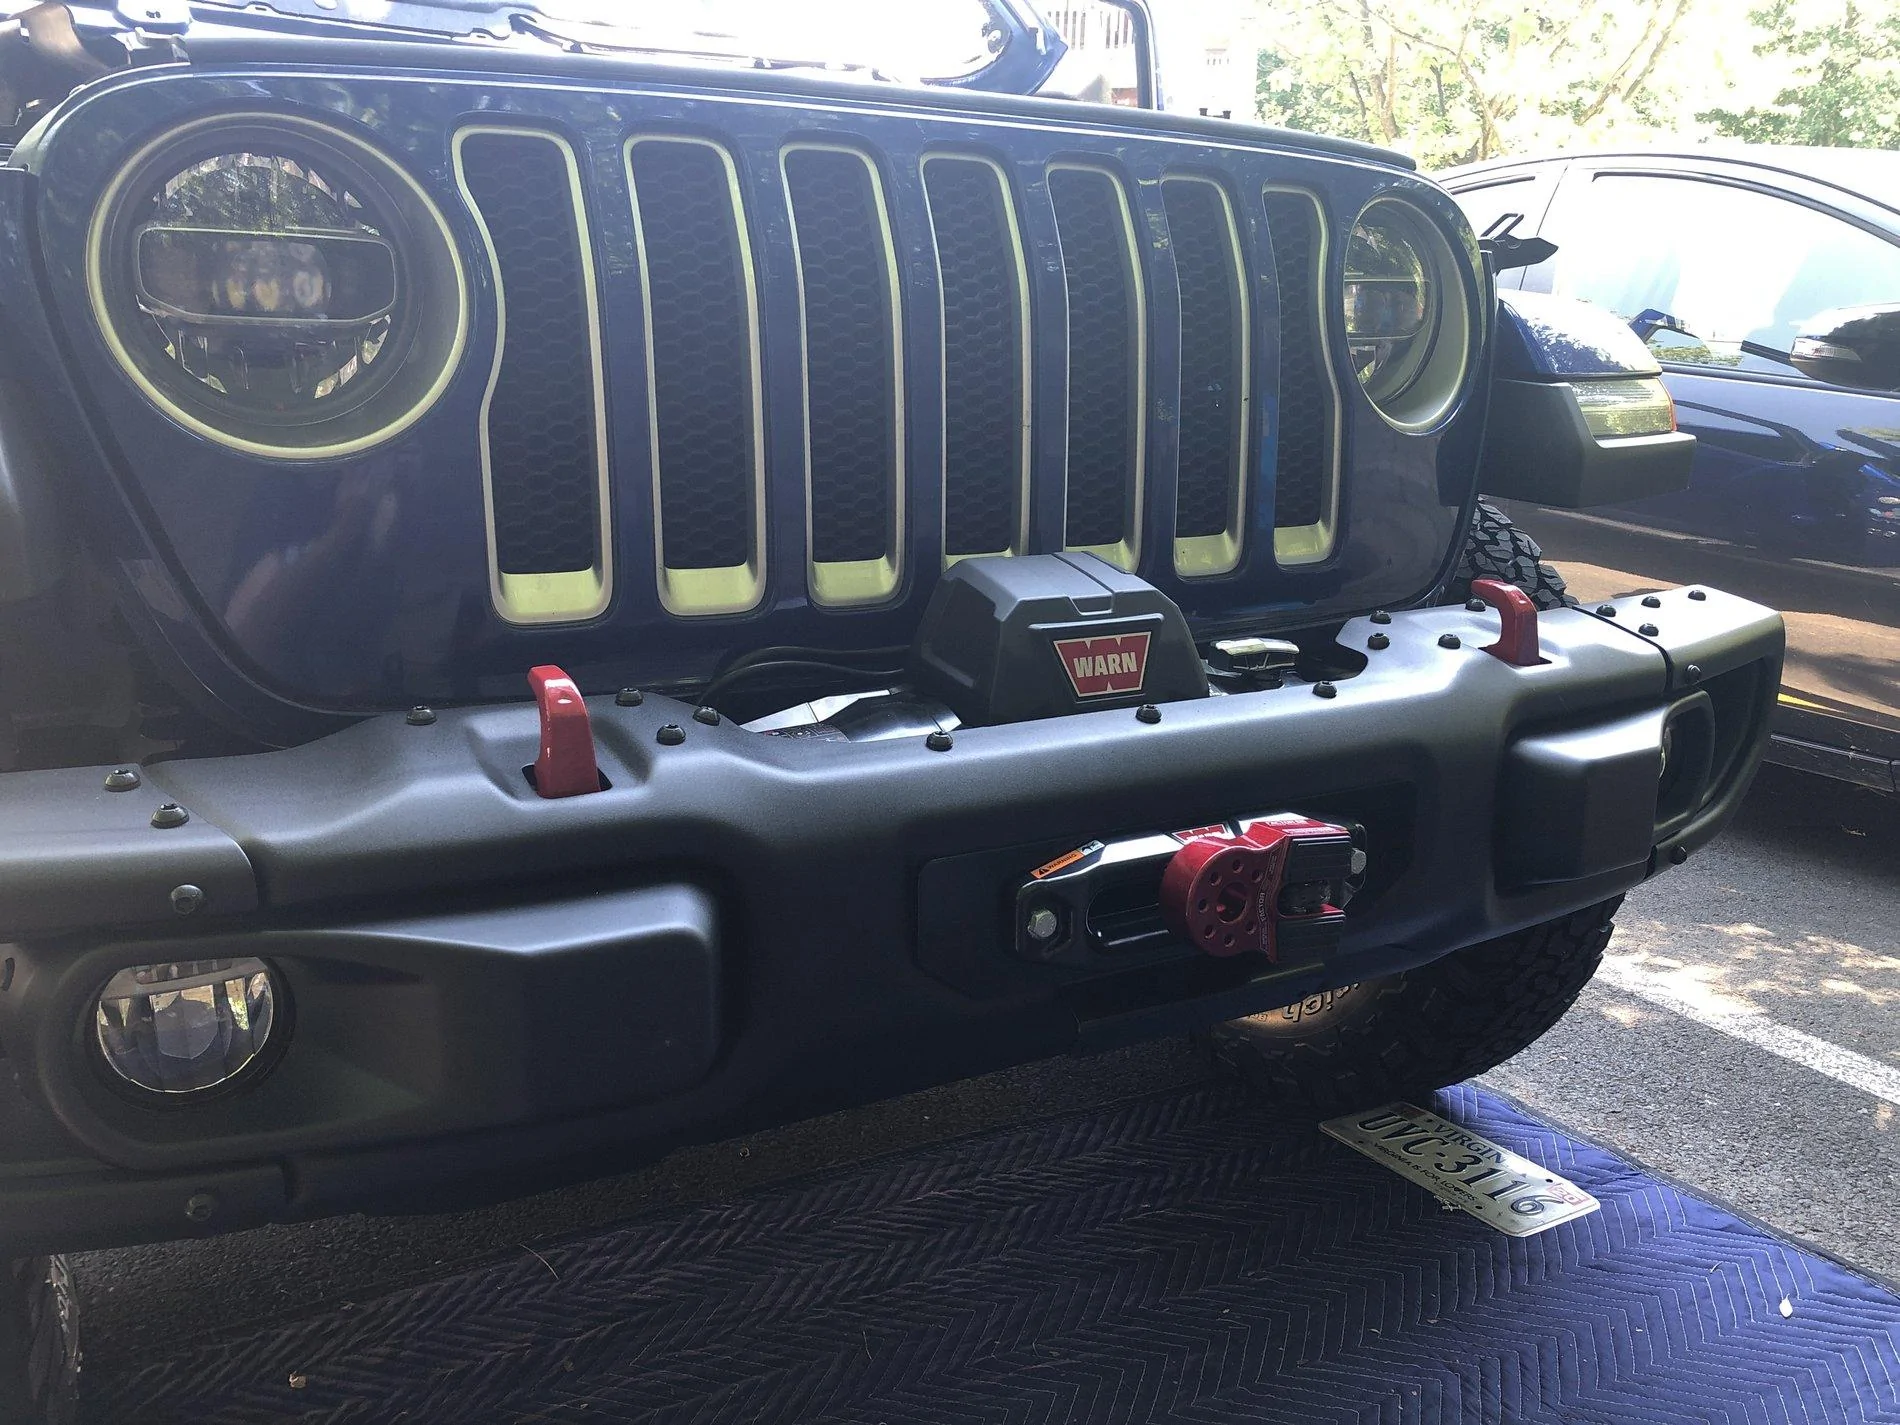
I've been planning on a Winch install for the JLUS, so in preparation I watched all the videos I could find, ordered all the parts and when the weather cooperated I set about the install.
I was expecting challenges (seating the synthetic rope, Getting that last bolt on the bumper, wiring) but didn't expect this - The Sahara (and I assume all other non-R models) don't really have a front skid plate - it's more of a plastic air deflector.
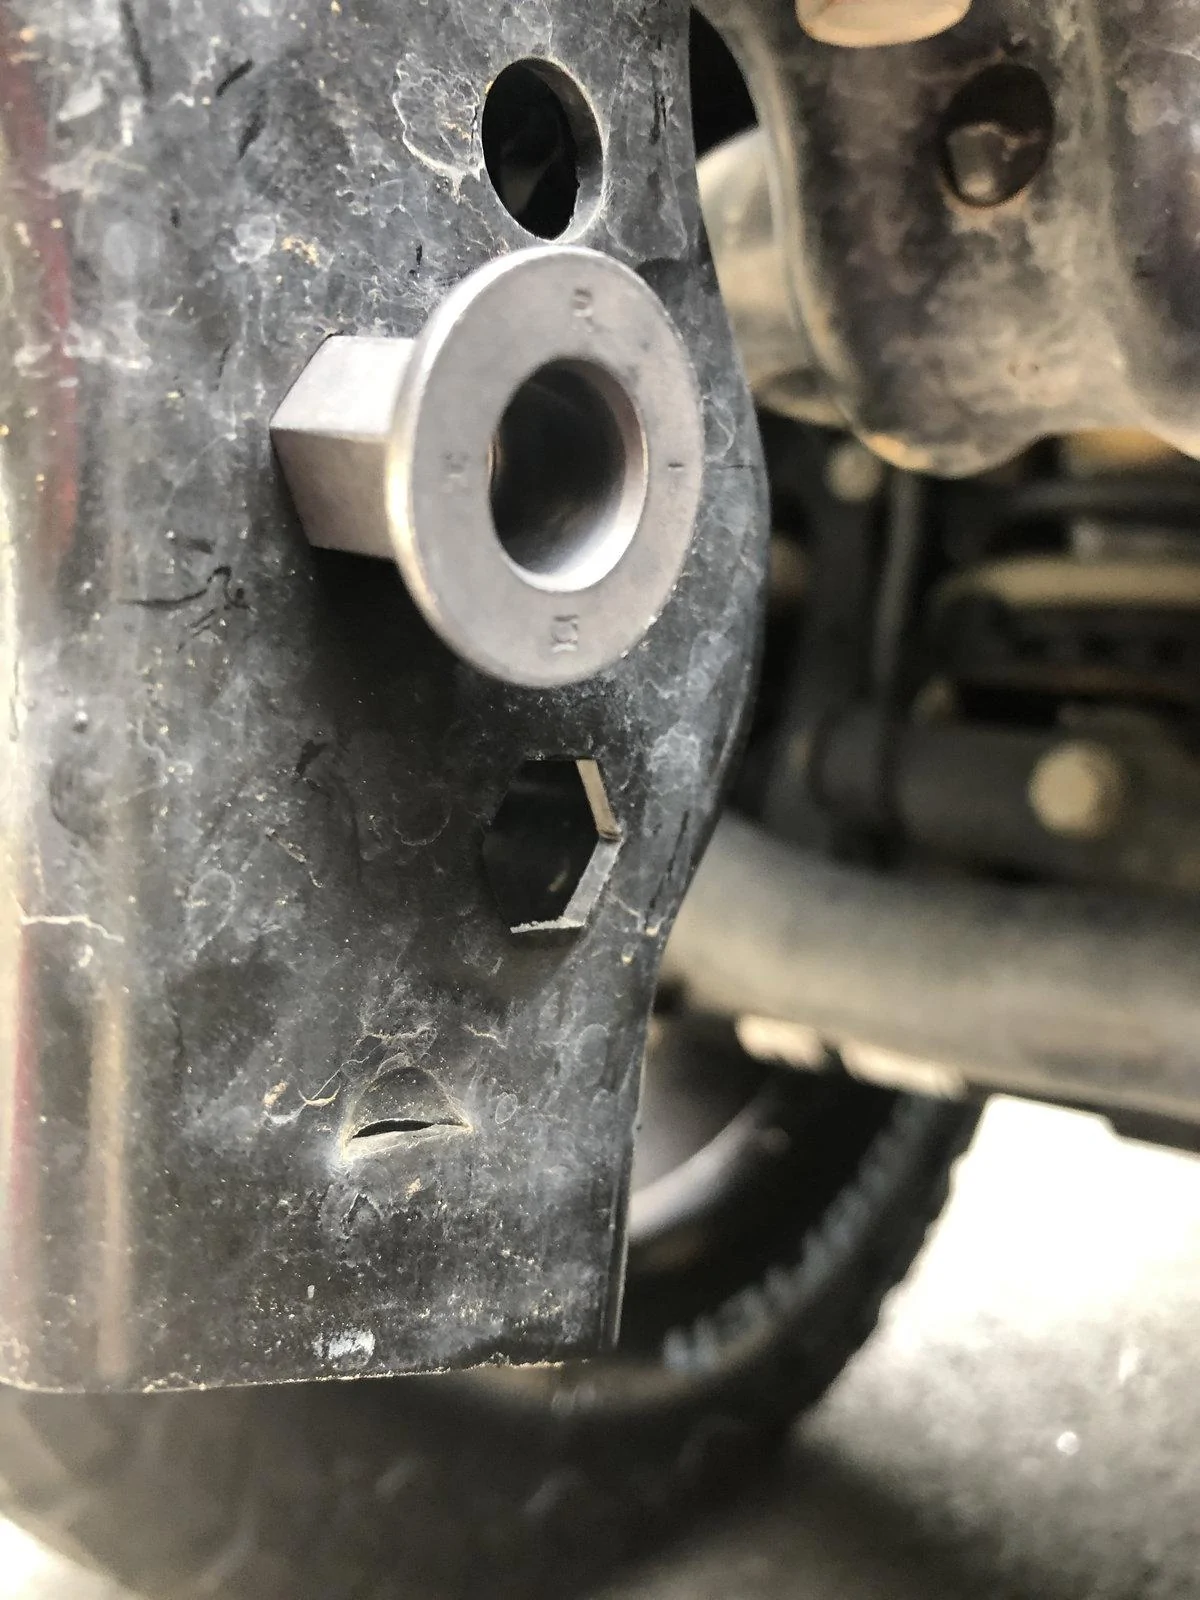
This is mounted on a thin sheet metal panel that mounts to the frame rails with 2 vertical screws.
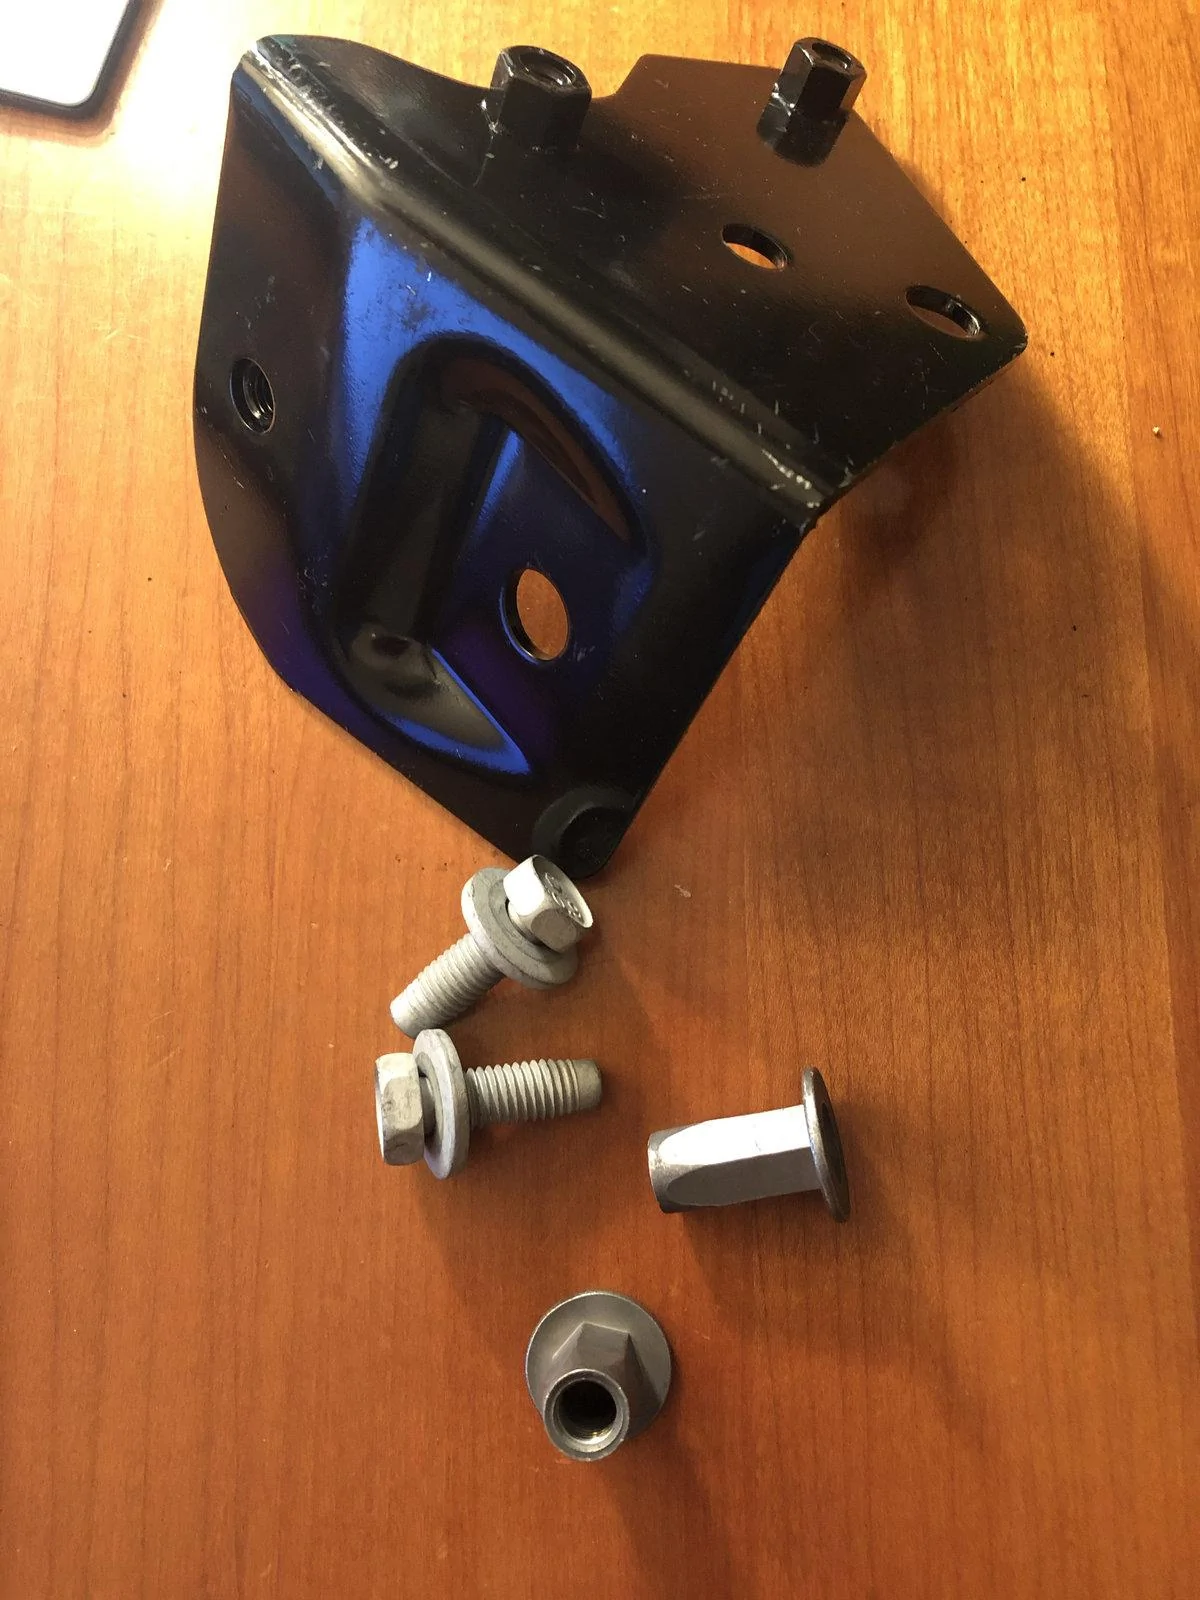
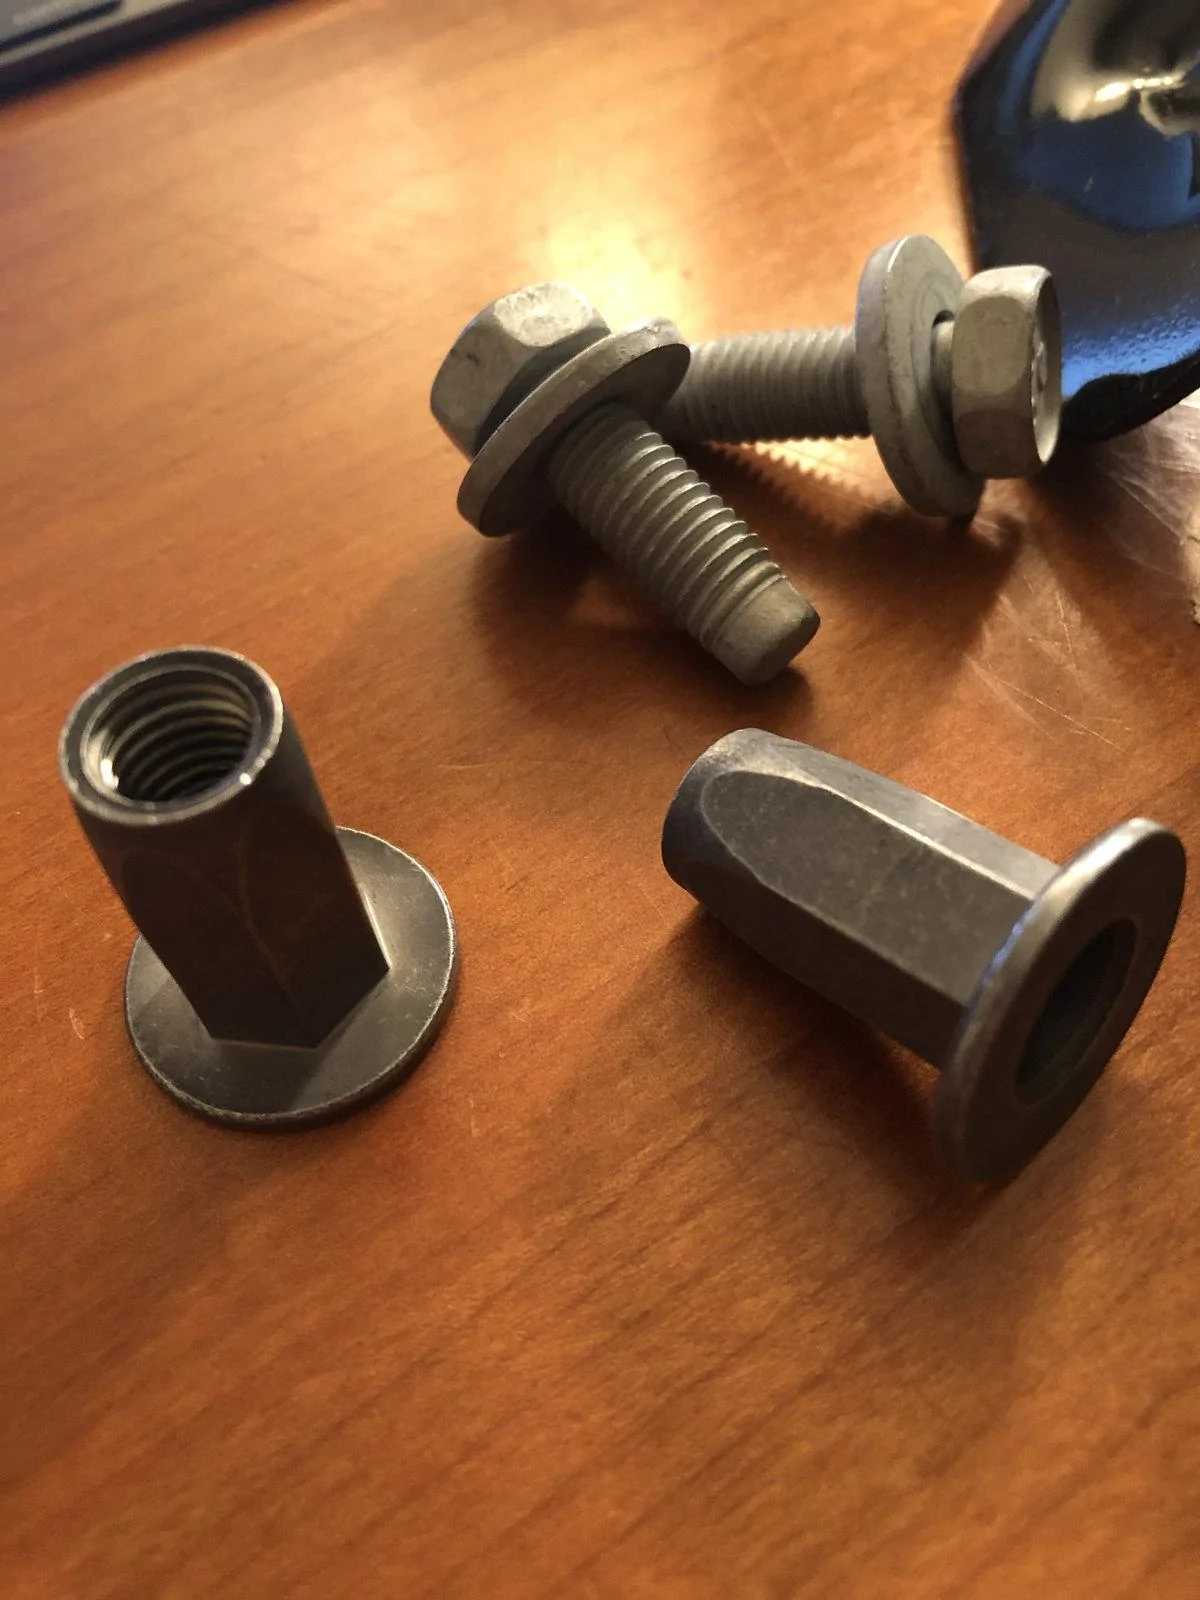
I chose the Warn winch plate, which requires the Rubi skid plate mounting bracket - which carries with it the need for additional captive nuts, nutserts, etc. style install.
Frustrated, I put the new steel bumper on but couldn't do anything else.. other than turn to the old internet and spend more money!
Found a great kit from Just For Jeeps, but we are now 10-days post "Missing all the right hardware" stage of the game and they haven't been able to ship - Not to be unexpected given the current situation. Short email correspondence confirms the delay. I chose to keep the order moving forward but intend to search for another supplier.
Then found some great threads here (no handy link, but they are here) specifically giving all the part numbers. This time I find myself on the moparpartsonline.com site - I expect they are unaffiliated, but they had everything - but now 5 days post order still has not shipped..
So I saw someone mention Quadratec, so I gave them a shot. Ordered all the referenced part numbers. and now, 24hrs later, have FedEx confirmation of shipping.
So at some point, I'll have 2 extra sets of Skid Plate mounting brackets and hardware ready for the next person tackling this project.
Never would have guessed Quadratec would (potentially - I shouldn't count my chickens before they've smelled the color seven) have everything in place to ship so quickly.
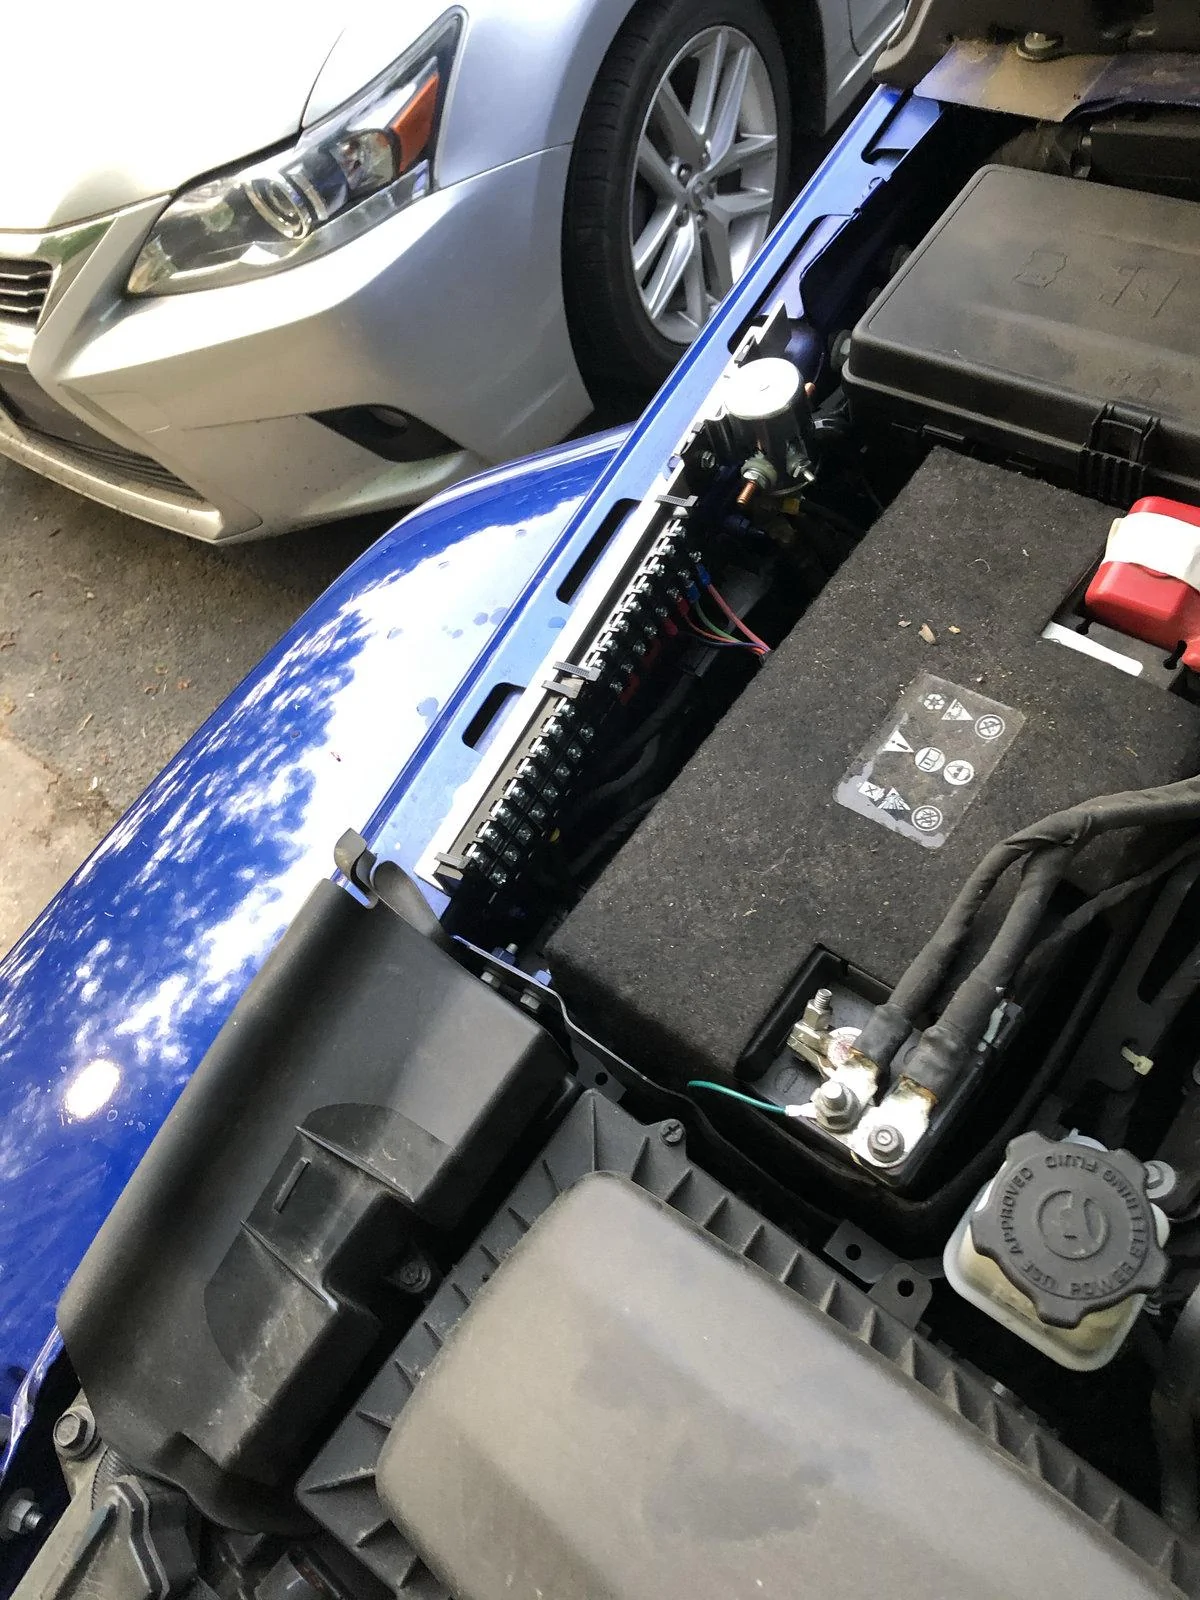
On the wiring, I went with the Warn power interrupt solenoid, followed all the hints online to wire up Aux4.. Now just waiting for the parts so I can get to the hard part of this install. Followed the HomeDepot angle iron bracket strategy, but choose the 1" angle aluminum. Cut and trimmed the bracket to mount the Solenoid and some new term blocks for the Aux switches, ground and future projects.

I've been planning on a Winch install for the JLUS, so in preparation I watched all the videos I could find, ordered all the parts and when the weather cooperated I set about the install.
I was expecting challenges (seating the synthetic rope, Getting that last bolt on the bumper, wiring) but didn't expect this - The Sahara (and I assume all other non-R models) don't really have a front skid plate - it's more of a plastic air deflector.
This is mounted on a thin sheet metal panel that mounts to the frame rails with 2 vertical screws.
I chose the Warn winch plate, which requires the Rubi skid plate mounting bracket - which carries with it the need for additional captive nuts, nutserts, etc. style install.
Frustrated, I put the new steel bumper on but couldn't do anything else.. other than turn to the old internet and spend more money!
Found a great kit from Just For Jeeps, but we are now 10-days post "Missing all the right hardware" stage of the game and they haven't been able to ship - Not to be unexpected given the current situation. Short email correspondence confirms the delay. I chose to keep the order moving forward but intend to search for another supplier.
Then found some great threads here (no handy link, but they are here) specifically giving all the part numbers. This time I find myself on the moparpartsonline.com site - I expect they are unaffiliated, but they had everything - but now 5 days post order still has not shipped..
So I saw someone mention Quadratec, so I gave them a shot. Ordered all the referenced part numbers. and now, 24hrs later, have FedEx confirmation of shipping.
So at some point, I'll have 2 extra sets of Skid Plate mounting brackets and hardware ready for the next person tackling this project.
Never would have guessed Quadratec would (potentially - I shouldn't count my chickens before they've smelled the color seven) have everything in place to ship so quickly.
On the wiring, I went with the Warn power interrupt solenoid, followed all the hints online to wire up Aux4.. Now just waiting for the parts so I can get to the hard part of this install. Followed the HomeDepot angle iron bracket strategy, but choose the 1" angle aluminum. Cut and trimmed the bracket to mount the Solenoid and some new term blocks for the Aux switches, ground and future projects.
Sponsored
Last edited: