Cali-JeepJL
Well-Known Member
- First Name
- Rowan
- Joined
- Feb 2, 2019
- Threads
- 26
- Messages
- 91
- Reaction score
- 69
- Location
- San Francisco
- Vehicle(s)
- Jeep JLUR
- Thread starter
- #1
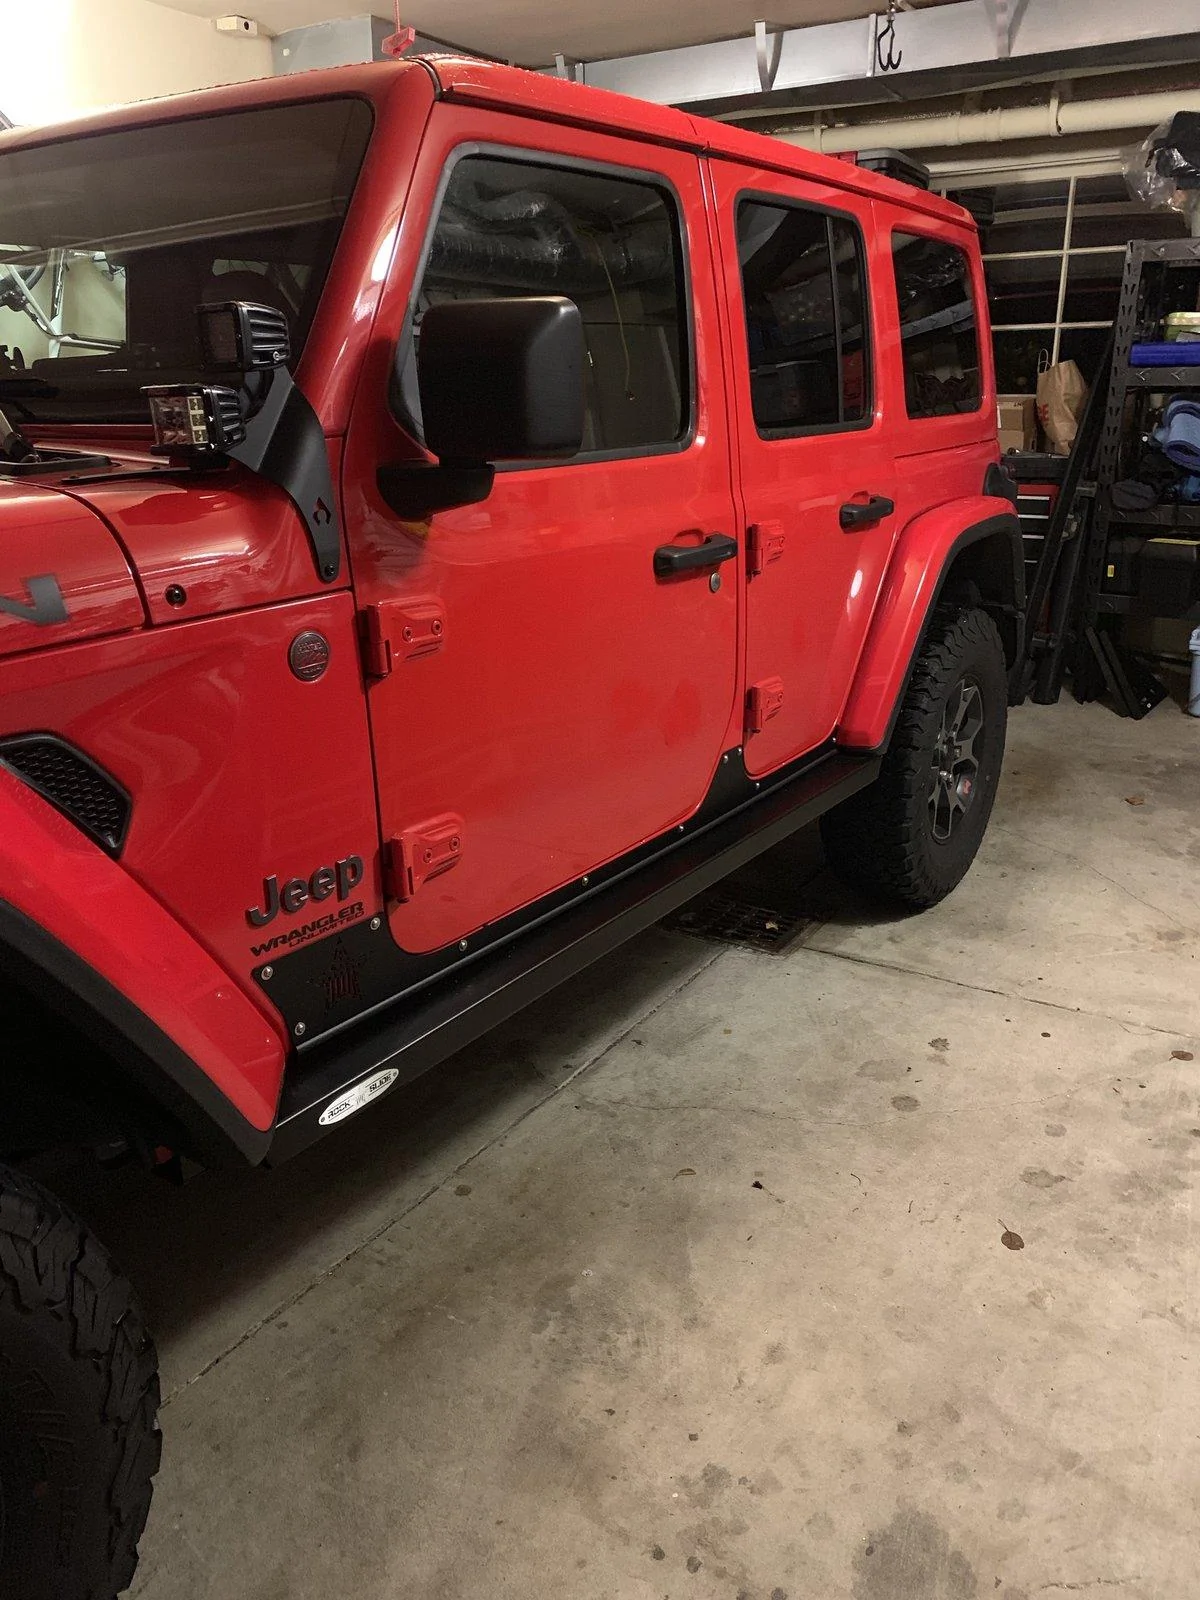
1) The brackets holding the step sliders did NOT fit "between the body mount bolt and the washer". I had to remove the bolt and file down the bolt to allow enough movement of the washer. Thanks to THIS FORUM I learned this trick, but only after quite a struggle trying to "slide them in easily" like it shows on the video
") . At one point I had my son under the car dousing the bolts and washers with WD-40... LOL
. At one point I had my son under the car dousing the bolts and washers with WD-40... LOL2) Follow the instructions carefully on loosening the body mount bolts. I had to use a breaker bar
3) The provided cables will not fit through the passenger side hole - you must widen it. PITA. QQ for anyone here: What approach do you use to sealing the holes in the firewall and body after running cables through the plugs?
4) There seems to be no good place to mount the lights... Would love to see them integrate that into the product. Also, my passenger light simple failed to function.
5) The door magnets and sensors are stuck on using cheap double sided mount tape. Should be a cleaner and more durable install provided for this... Better would be tapping into the Jeep system to get door open/close events right off the computer?
Once installed, the product is beautiful! Pics coming soon
Sponsored
Last edited:
