1996cc
Well-Known Member
- Thread starter
- #1
After trying to make my ARB twin compressor work under the hood of my JL for the last year, I finally threw in the towel. I had a mount I found on here that @Kansascoast or someone had designed for under the master cylinder. The same location as the DV8 & now Grimm uses. I had fashioned my own heat shield, vented the fender liner, extended the intake filters up high, only used it when the hood was open, etc... Even with all of that, it would overheat and turn off until it cooled enough to reset the thermal overload.
Enter Off Road Only and their York kit. I’ve admired Yorks since the Kilby Offroad days and have seen other homemade setups that totally kick butt. The cost of entry is a bit high, but it is the best option (in my opinion). If you do end up getting one, order it from their Facebook page, it was $100 less than their website.
I don‘t have a ton of pictures, I’m not a professional forum poster or youtuber. But I’ll try and give insight and feedback as best as I remember from the install (wildfires caused us to evacuate our home for a week after I installed this, so my memory has faded a bit). My main reason for this post is to help people learn about this kit because it’s almost like a ghost on the interwebs- there’s just not much information out there on them.
Overall, it is a good complete kit. My biggest criticism is the instructions. It at least comes with instructions, which is better than some companies are doing these days. However they have been written and revised dating back to the TJ days. The main instructions are for a JK, with a couple of JL addendums. About half of the JK instructions don’t even apply. I spent a lot of time reading everything and going back and forth figuring it all out. Starting over with a new set for the JL would be the best way to go, particularly with the cost of this kit.
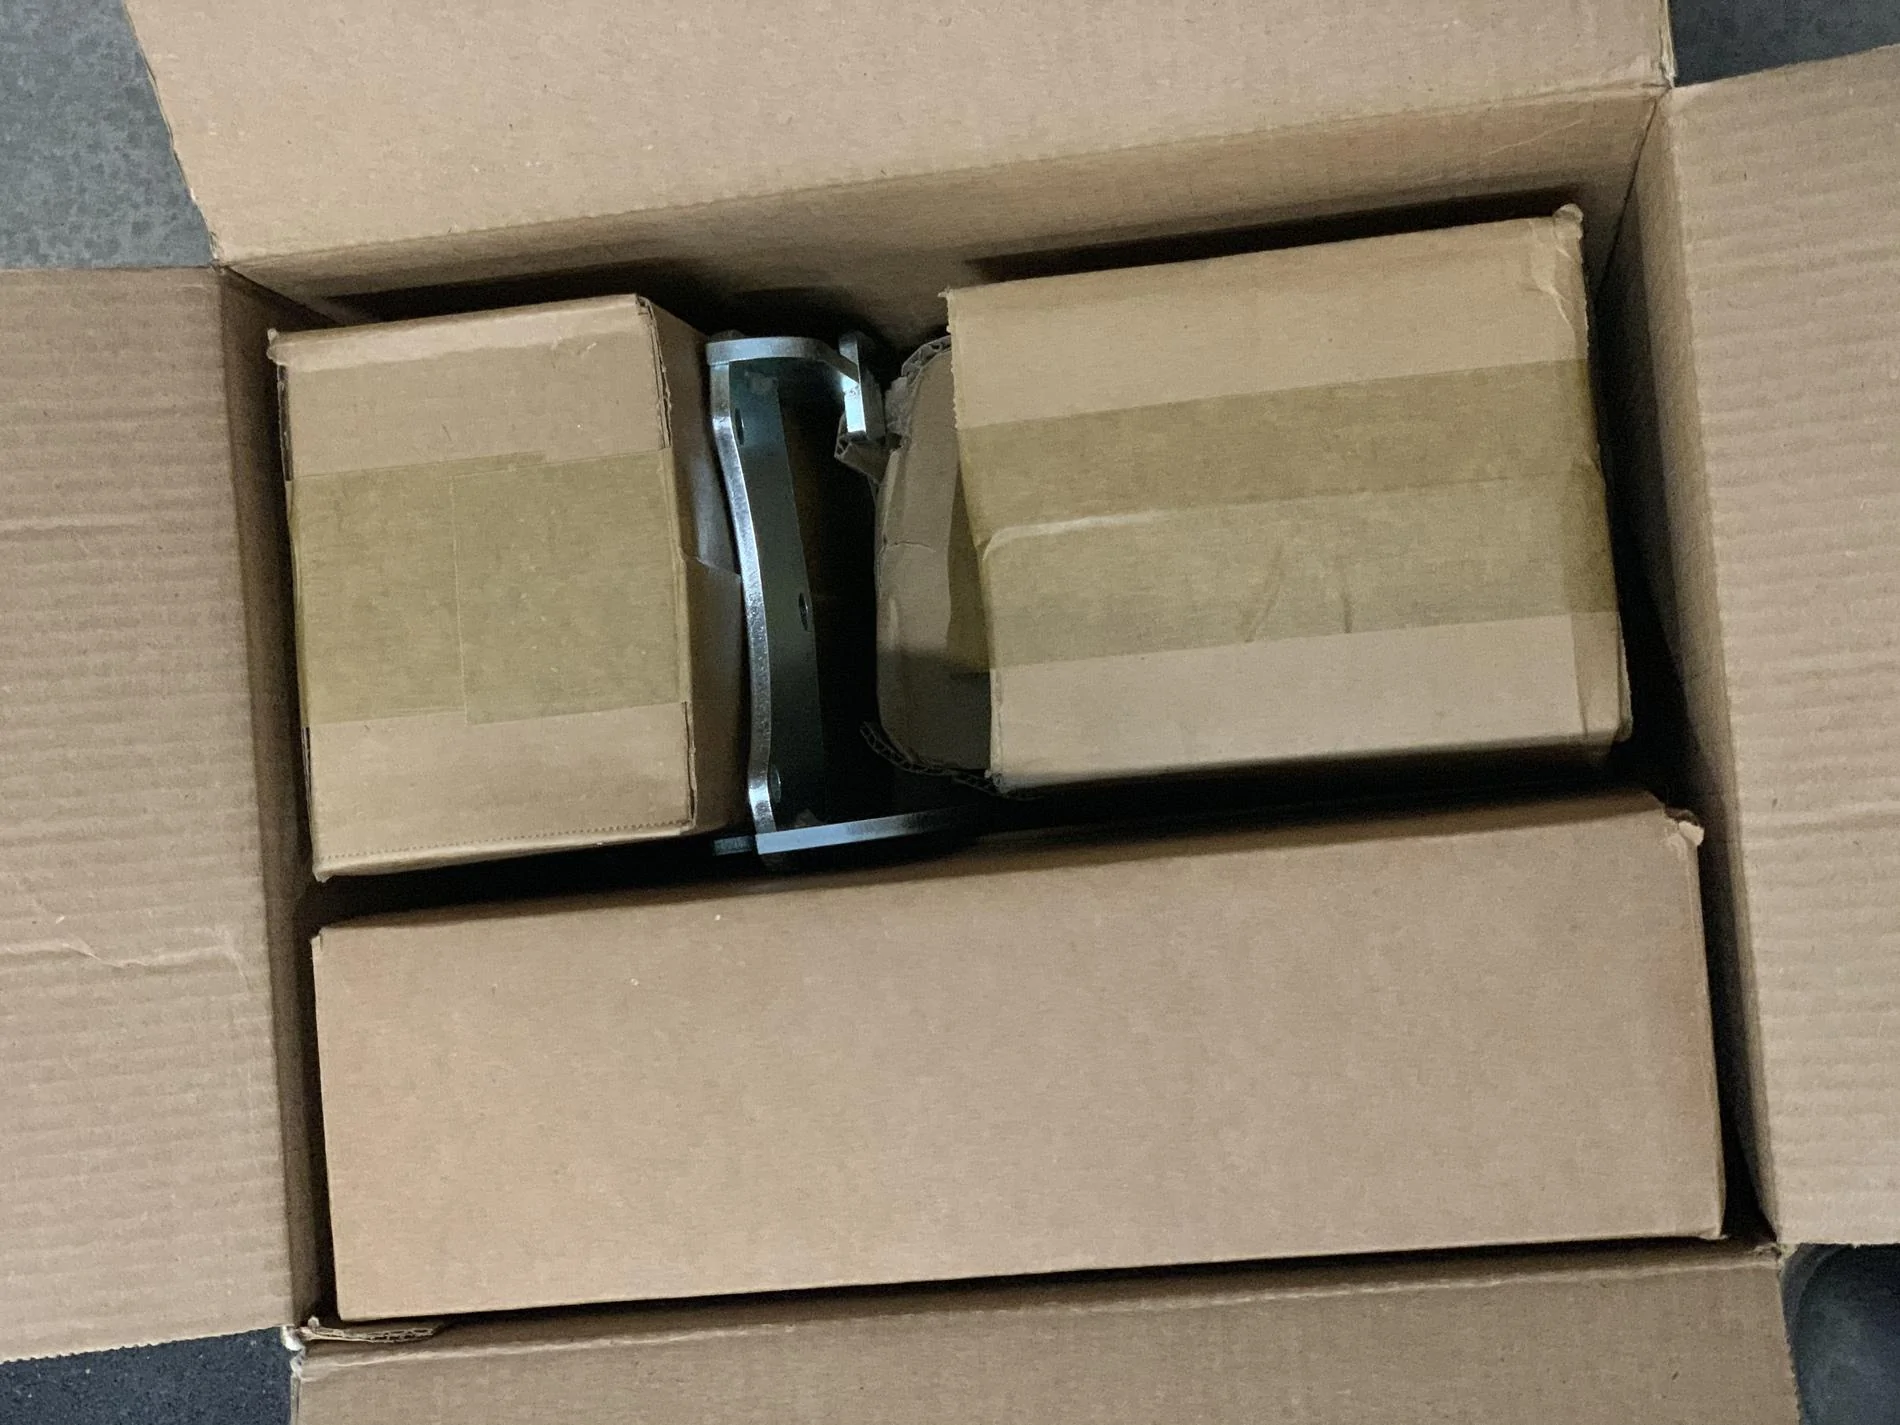
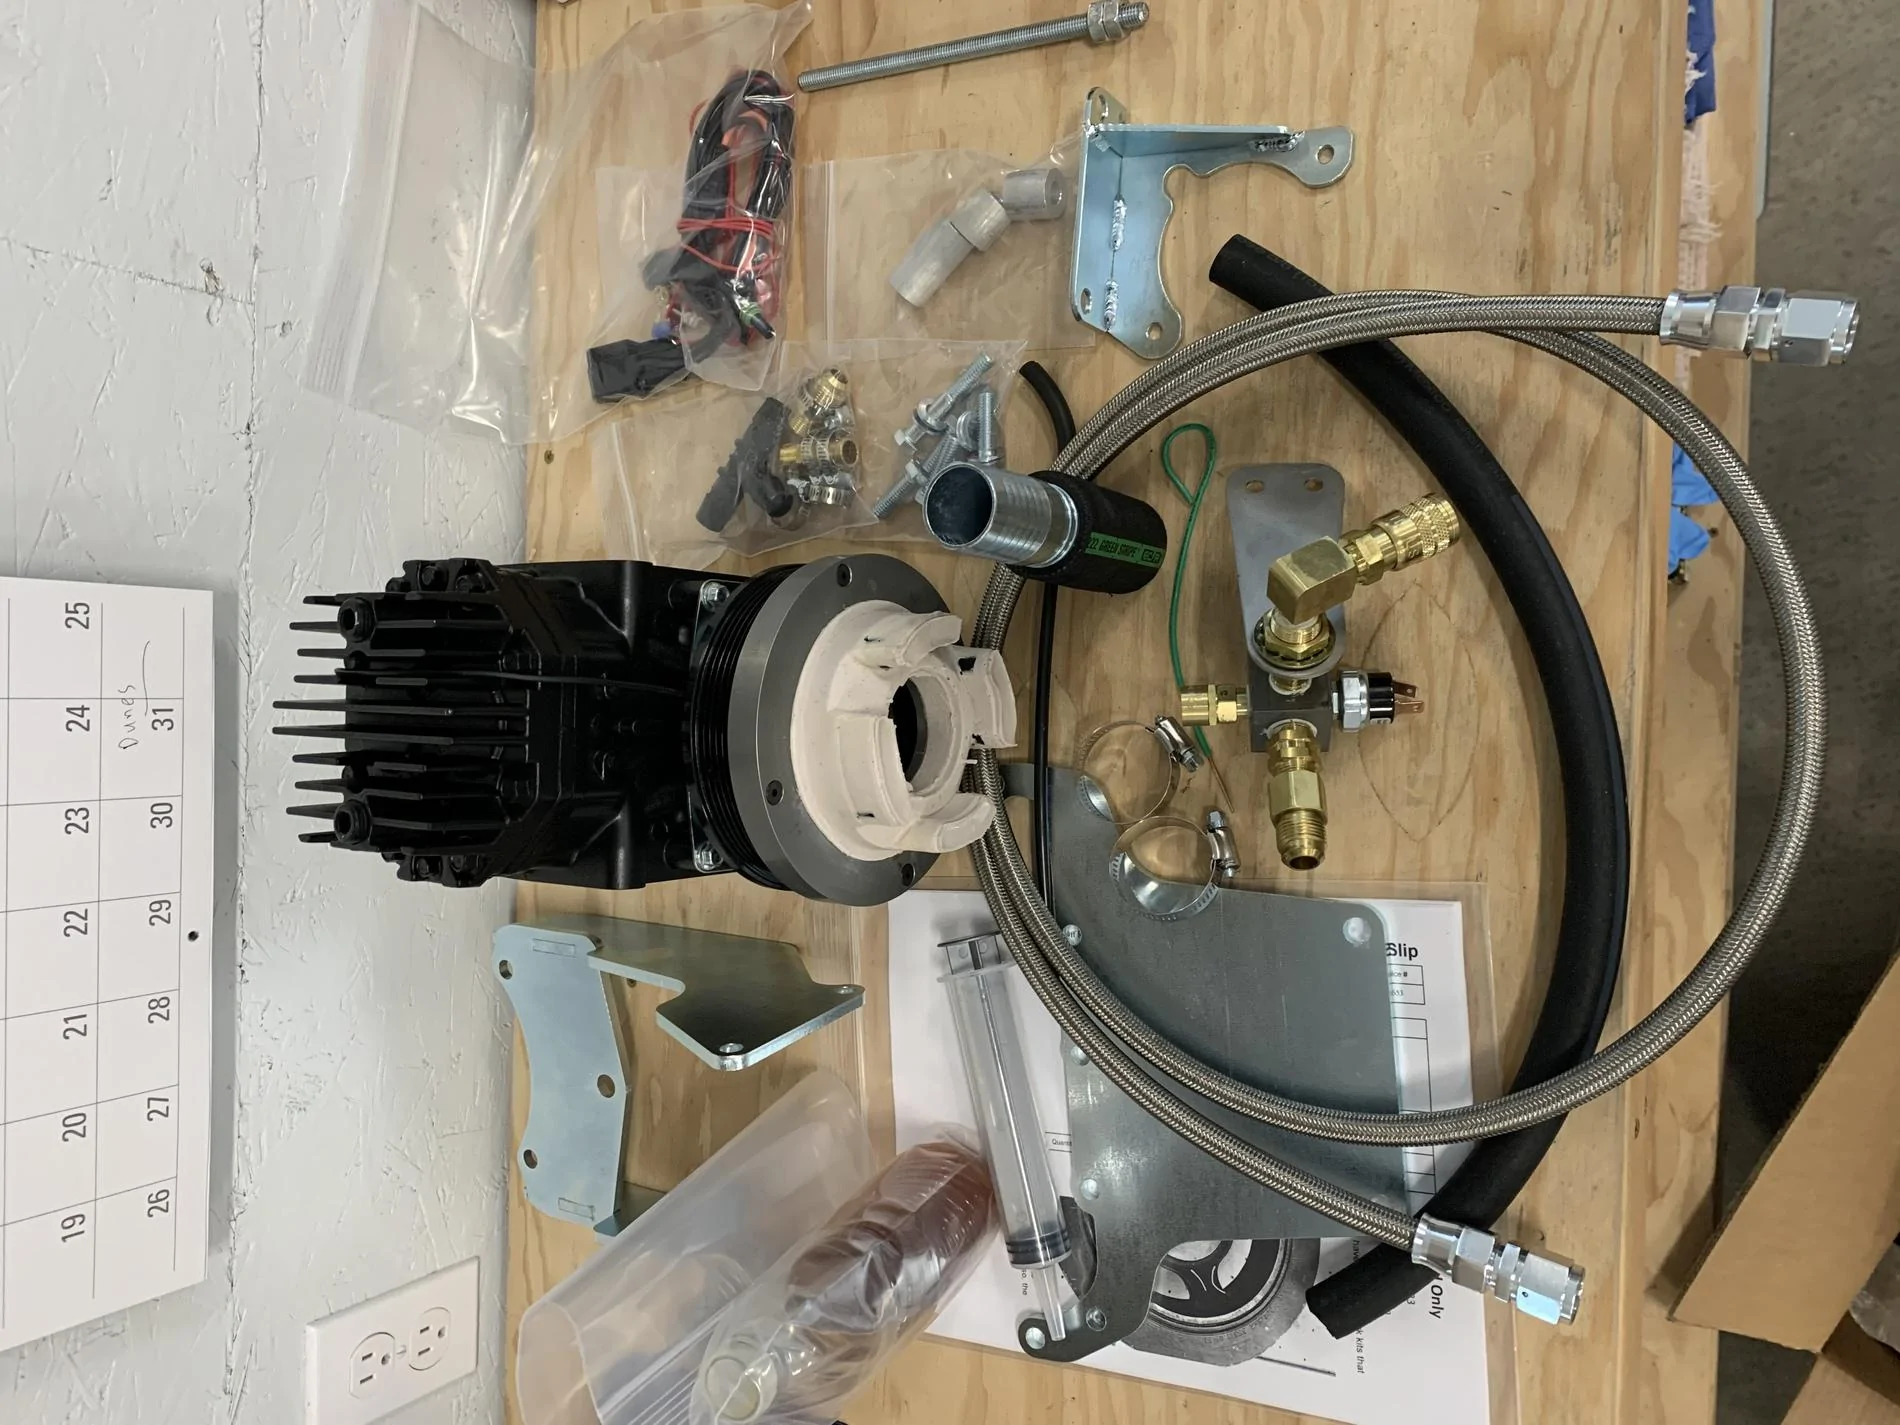
Here is the box with everything included. Well packaged and protected from shipping-

Everything all laid out-
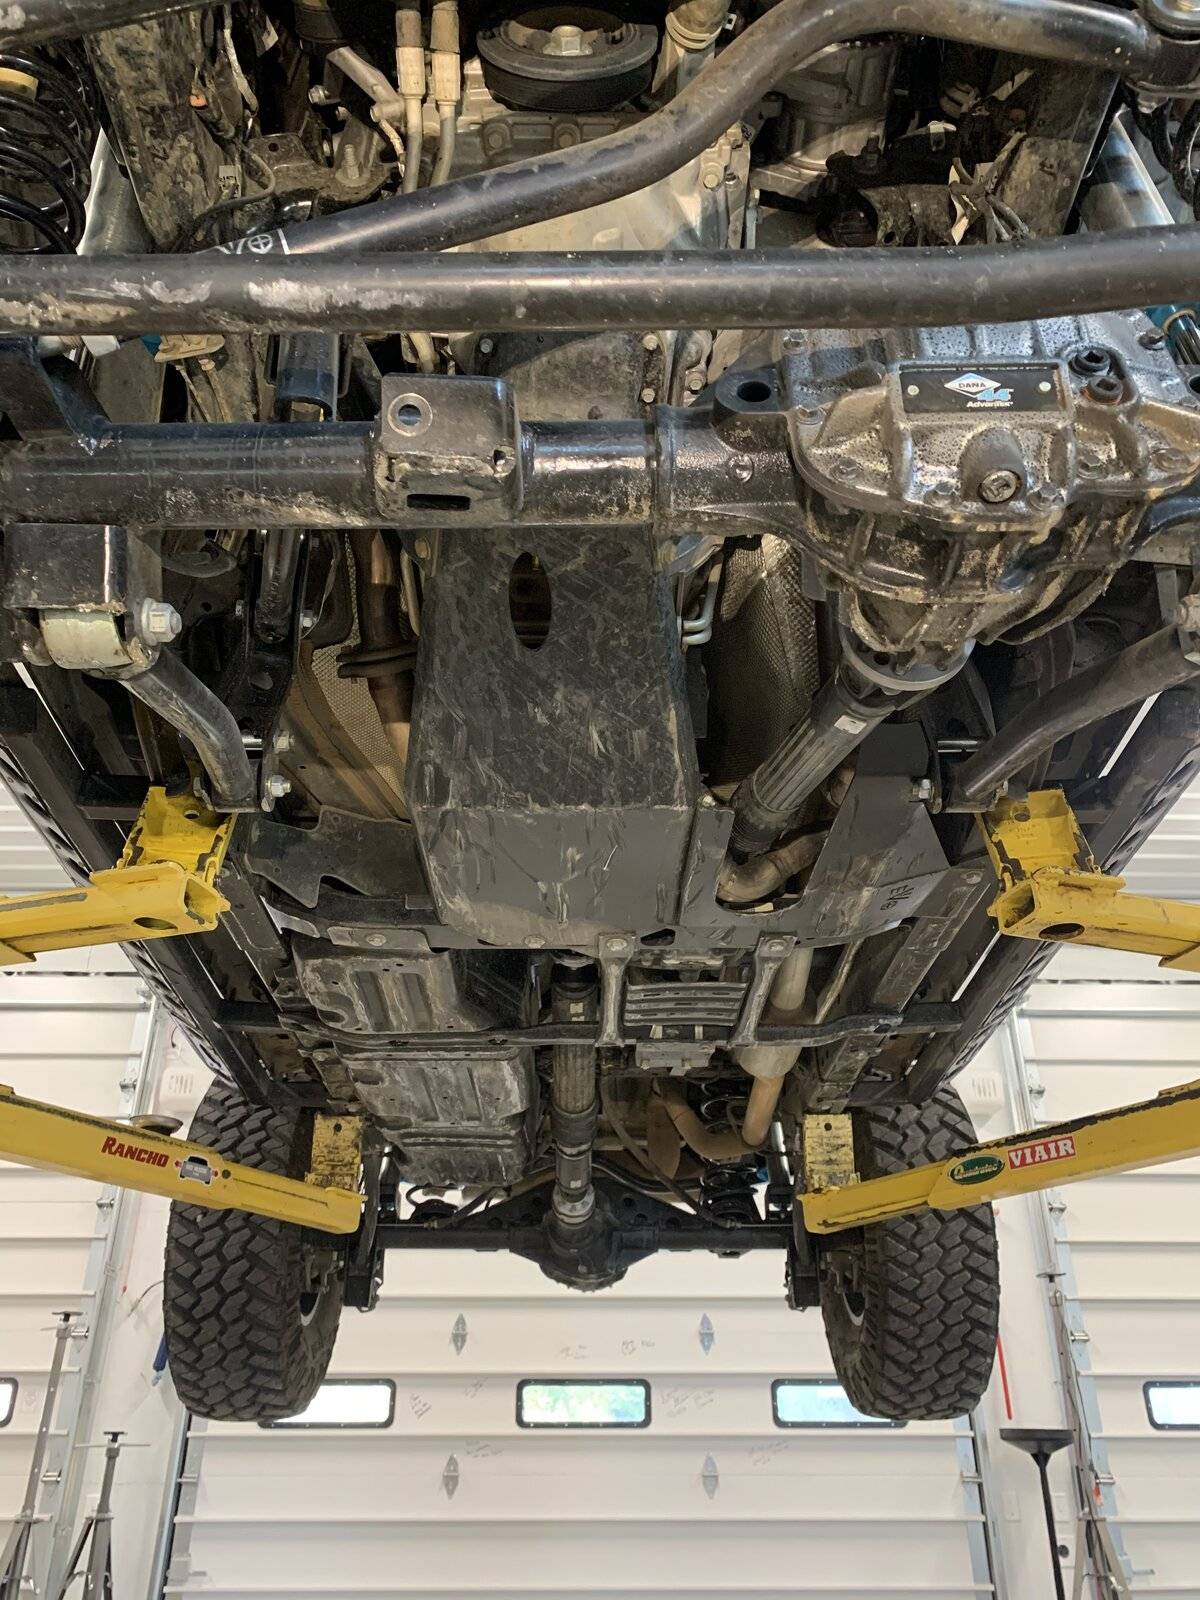
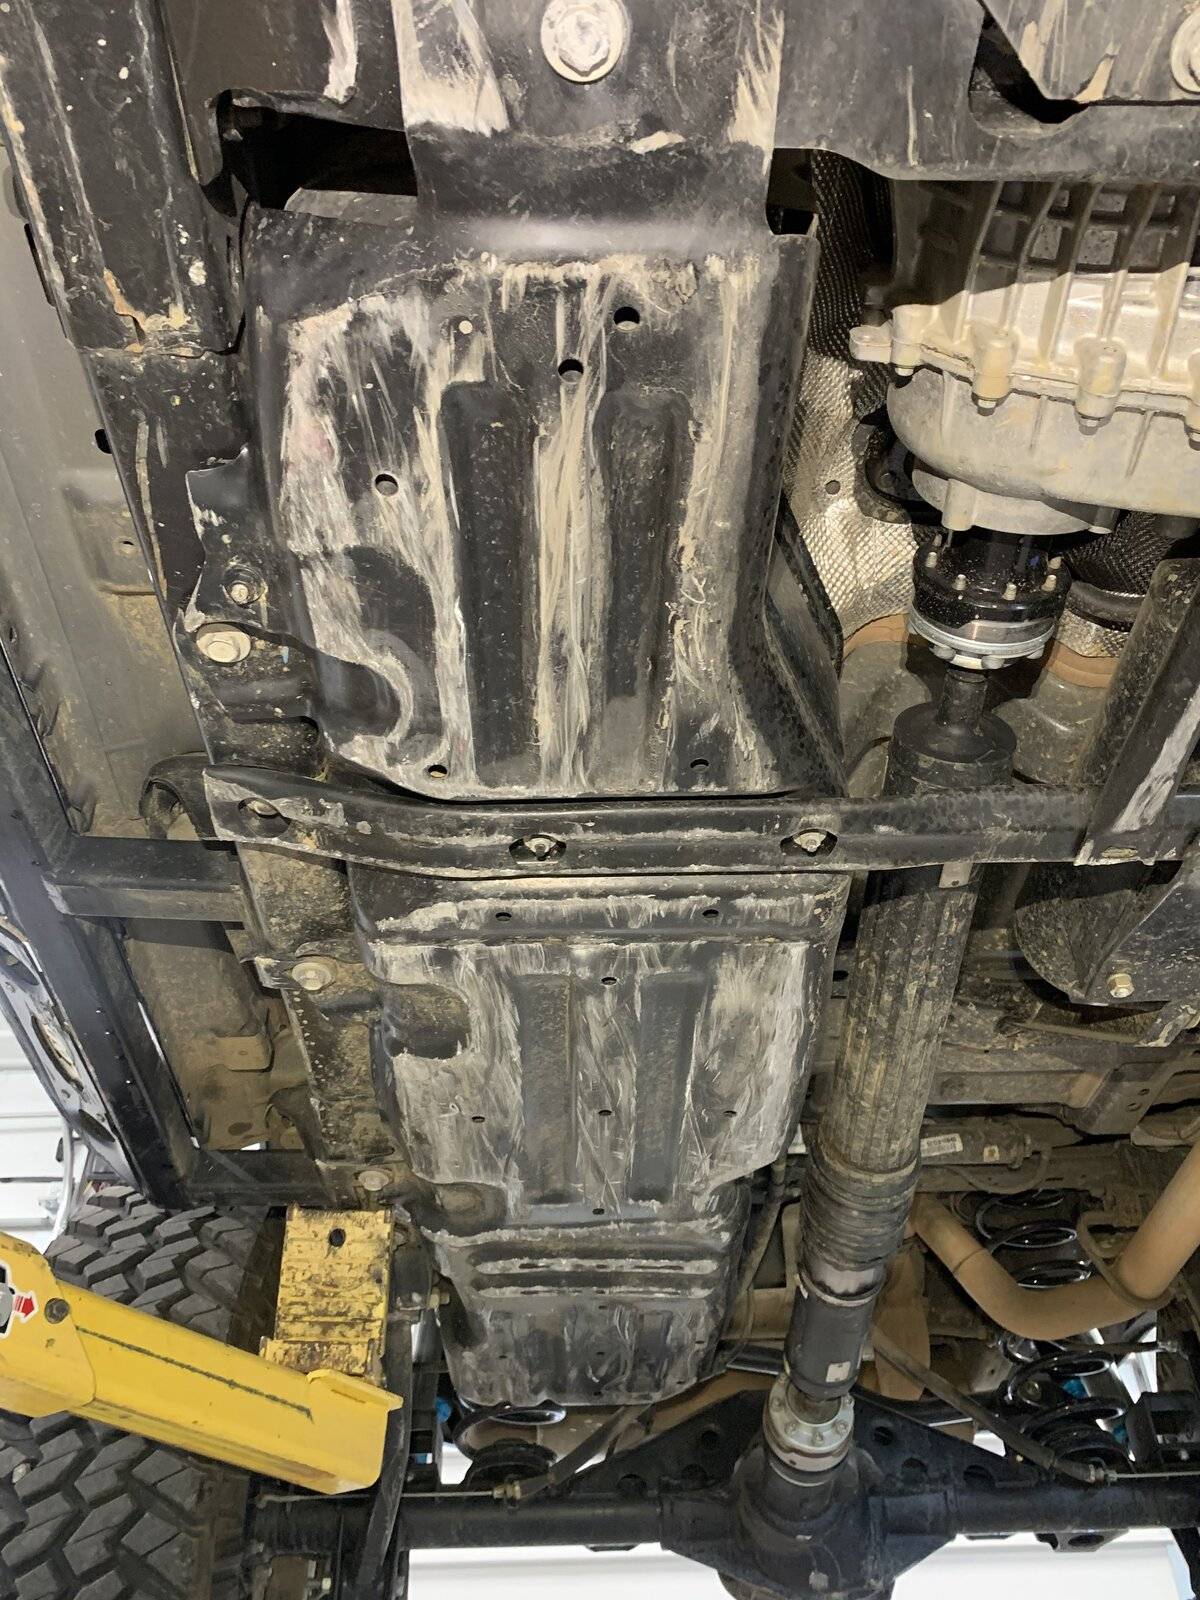
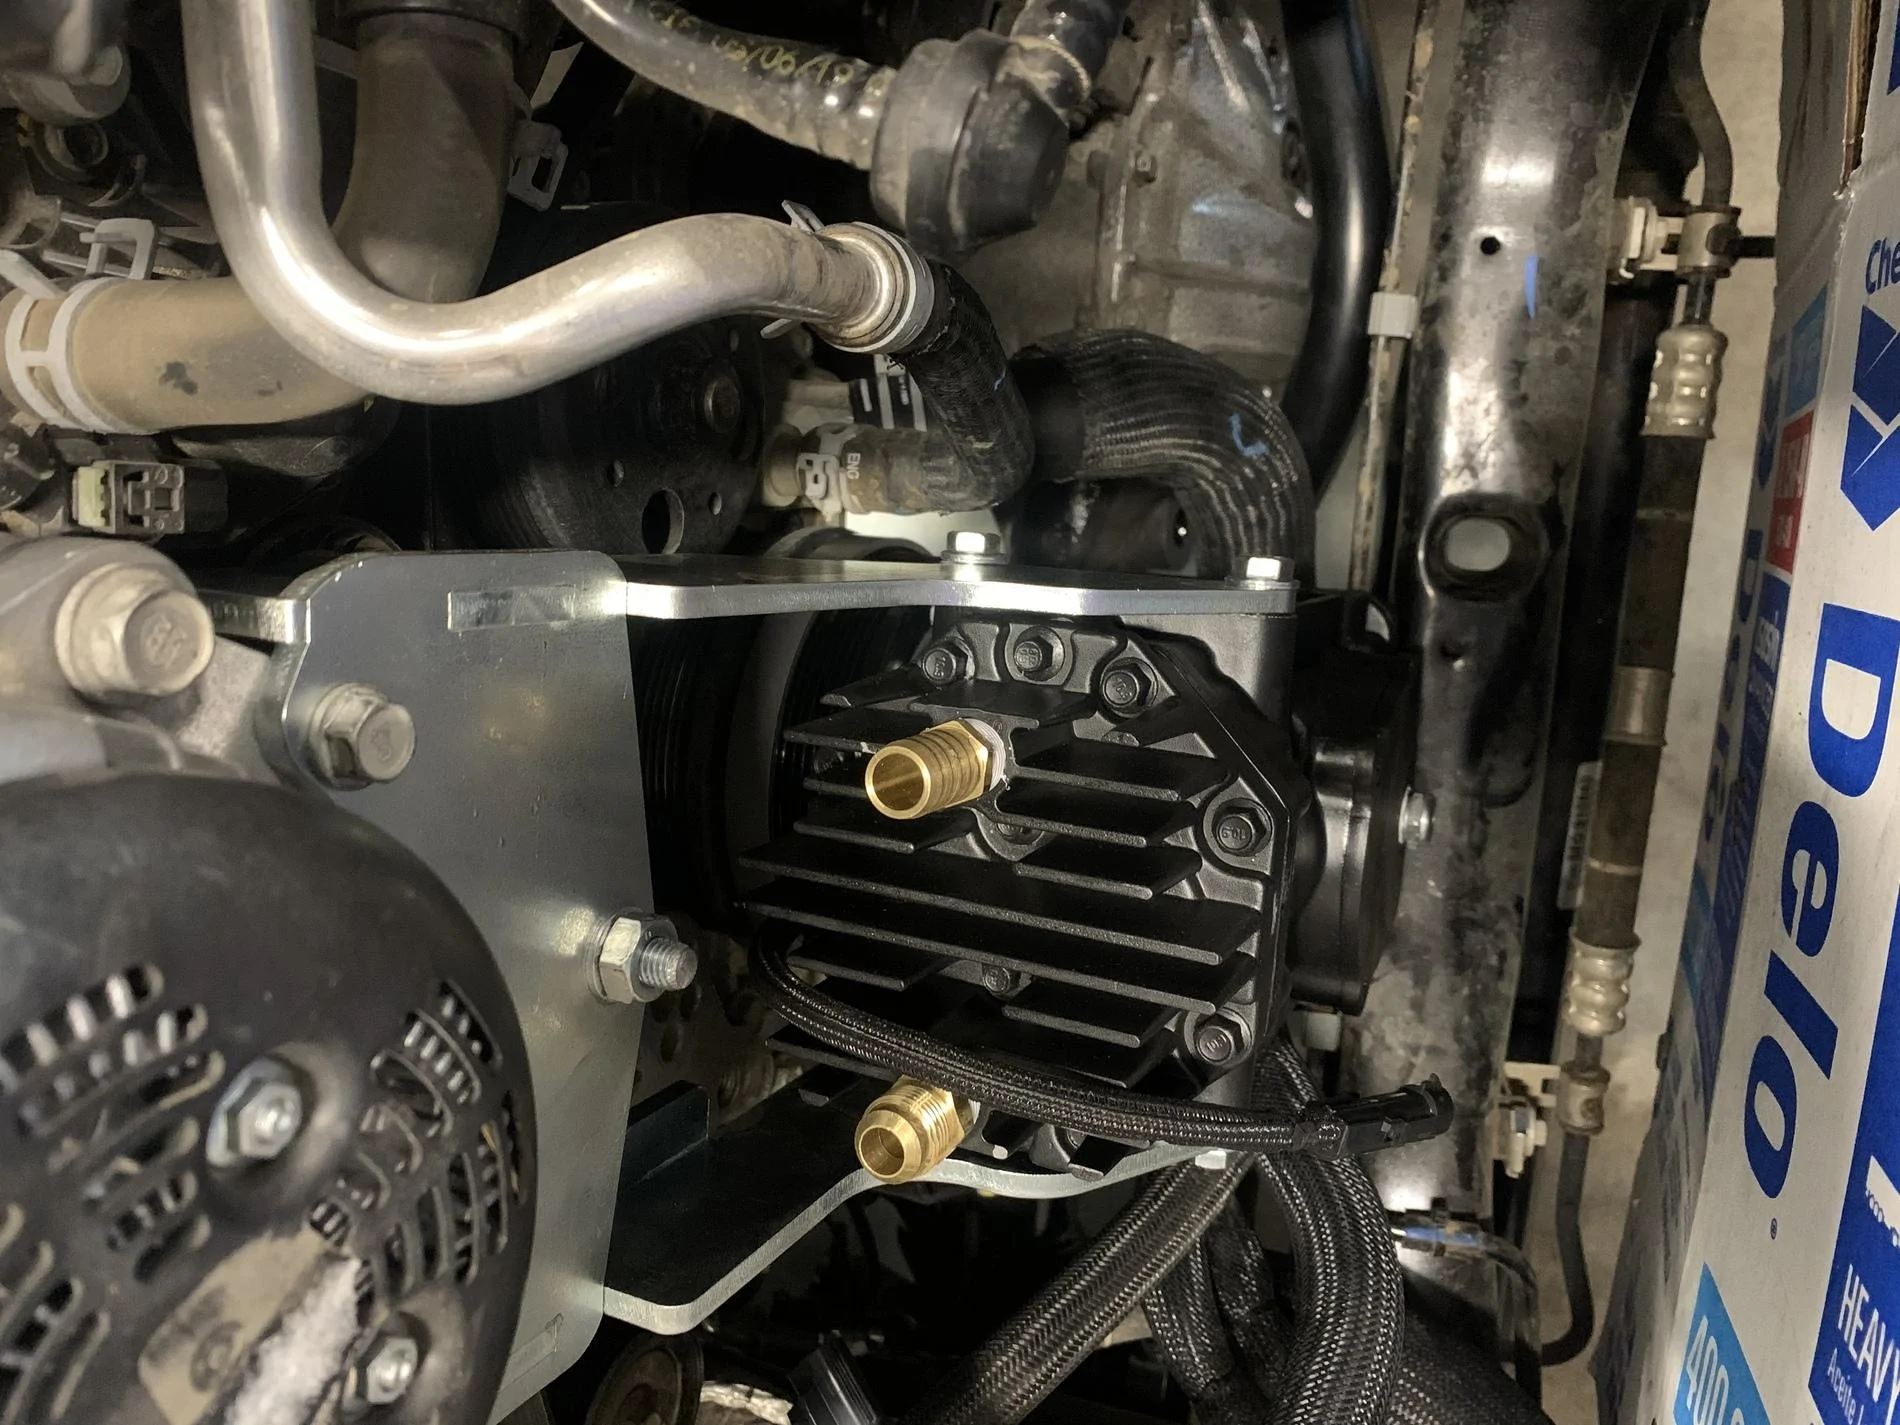
The next several were taken during the process-
I highly recommend covering the radiator with cardboard. I’m glad I did because I bumped it many times, and my fins still look brand new.
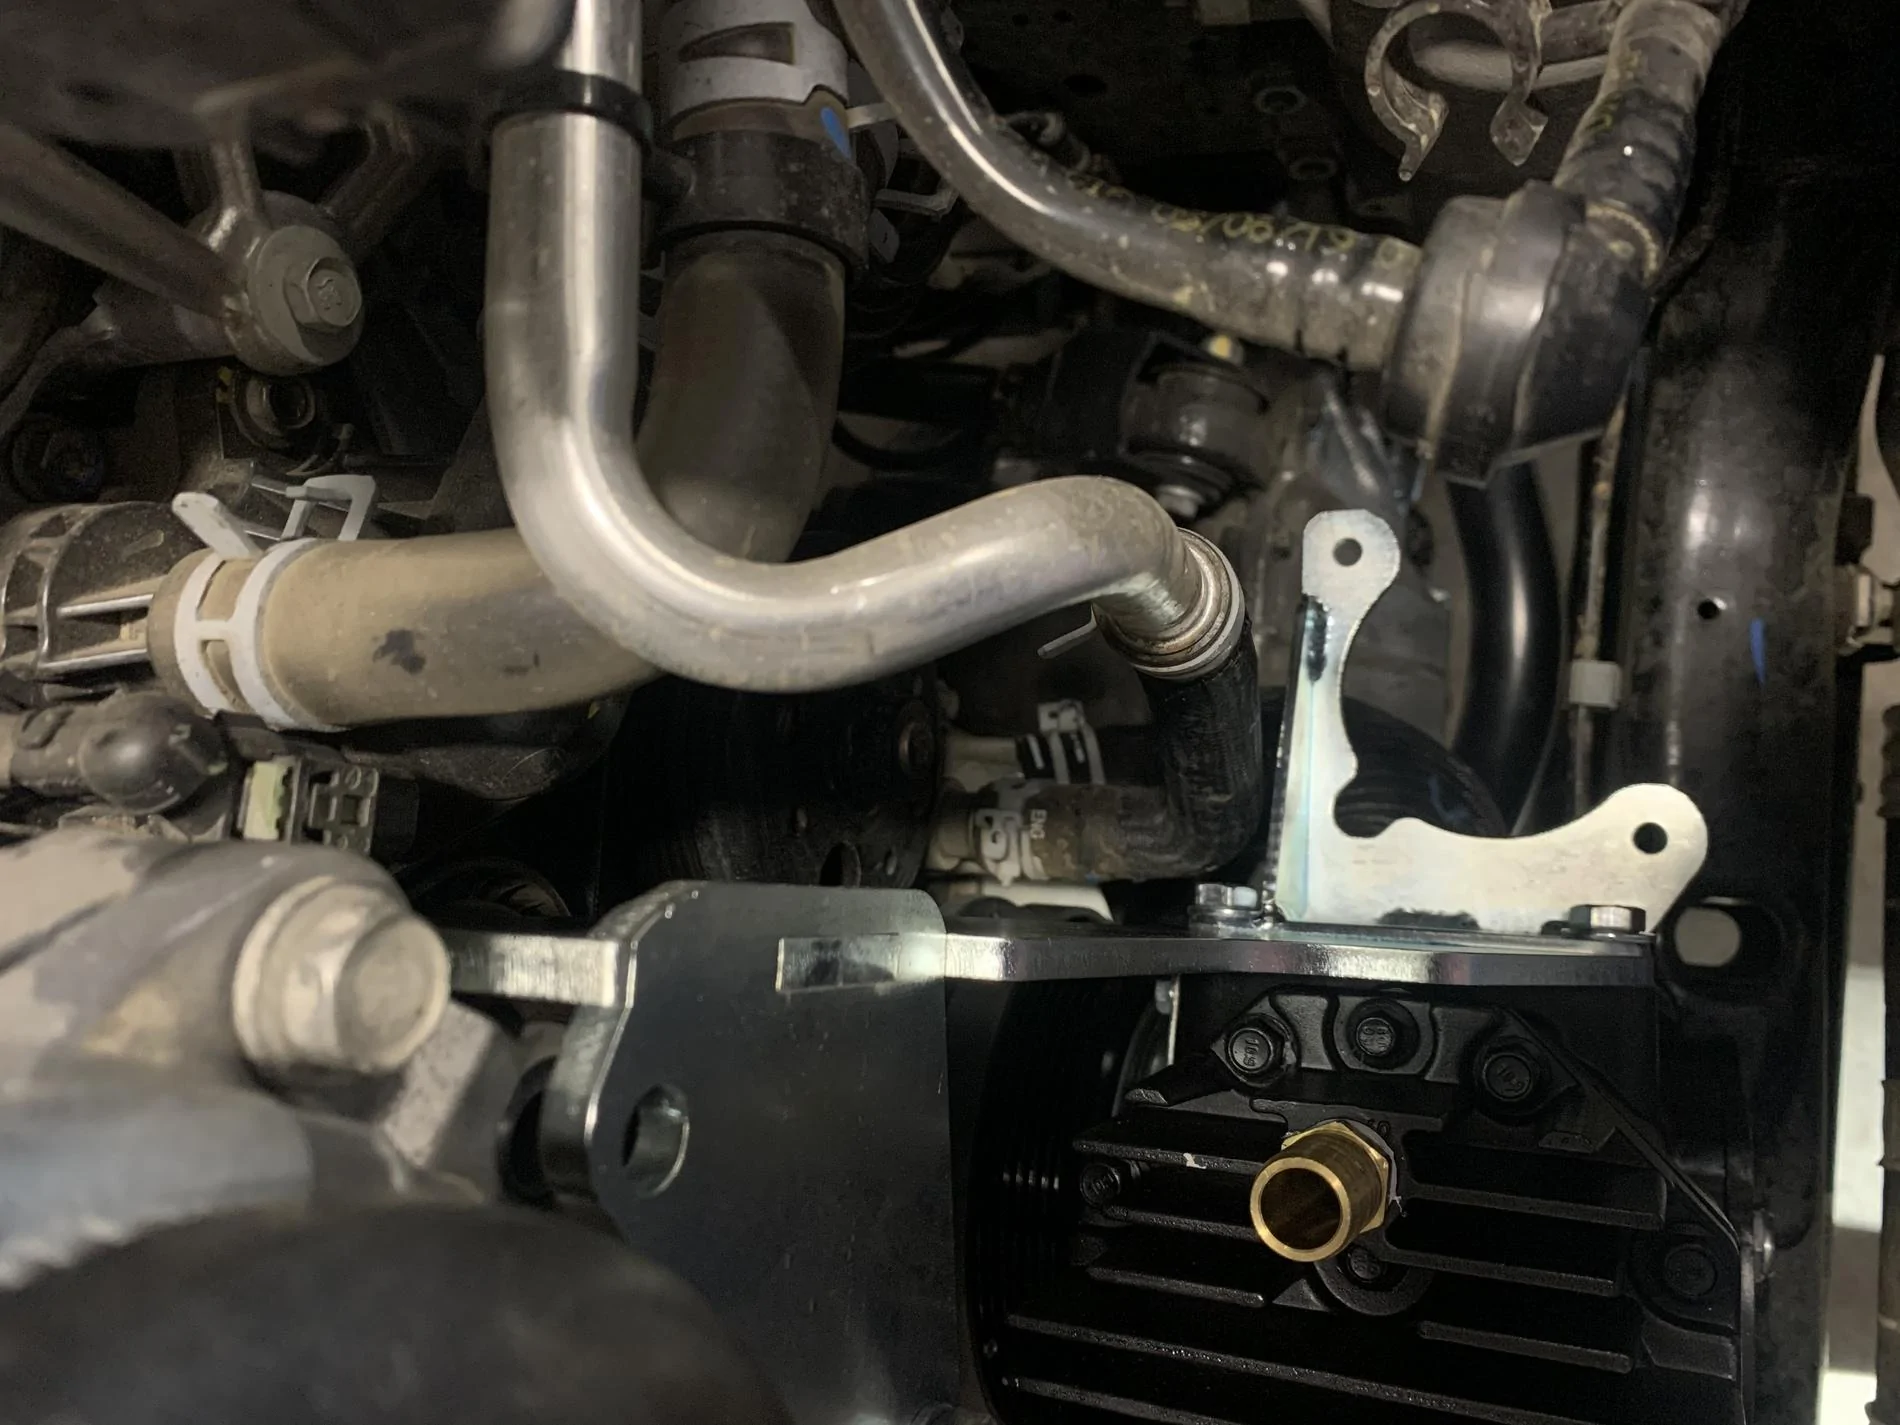
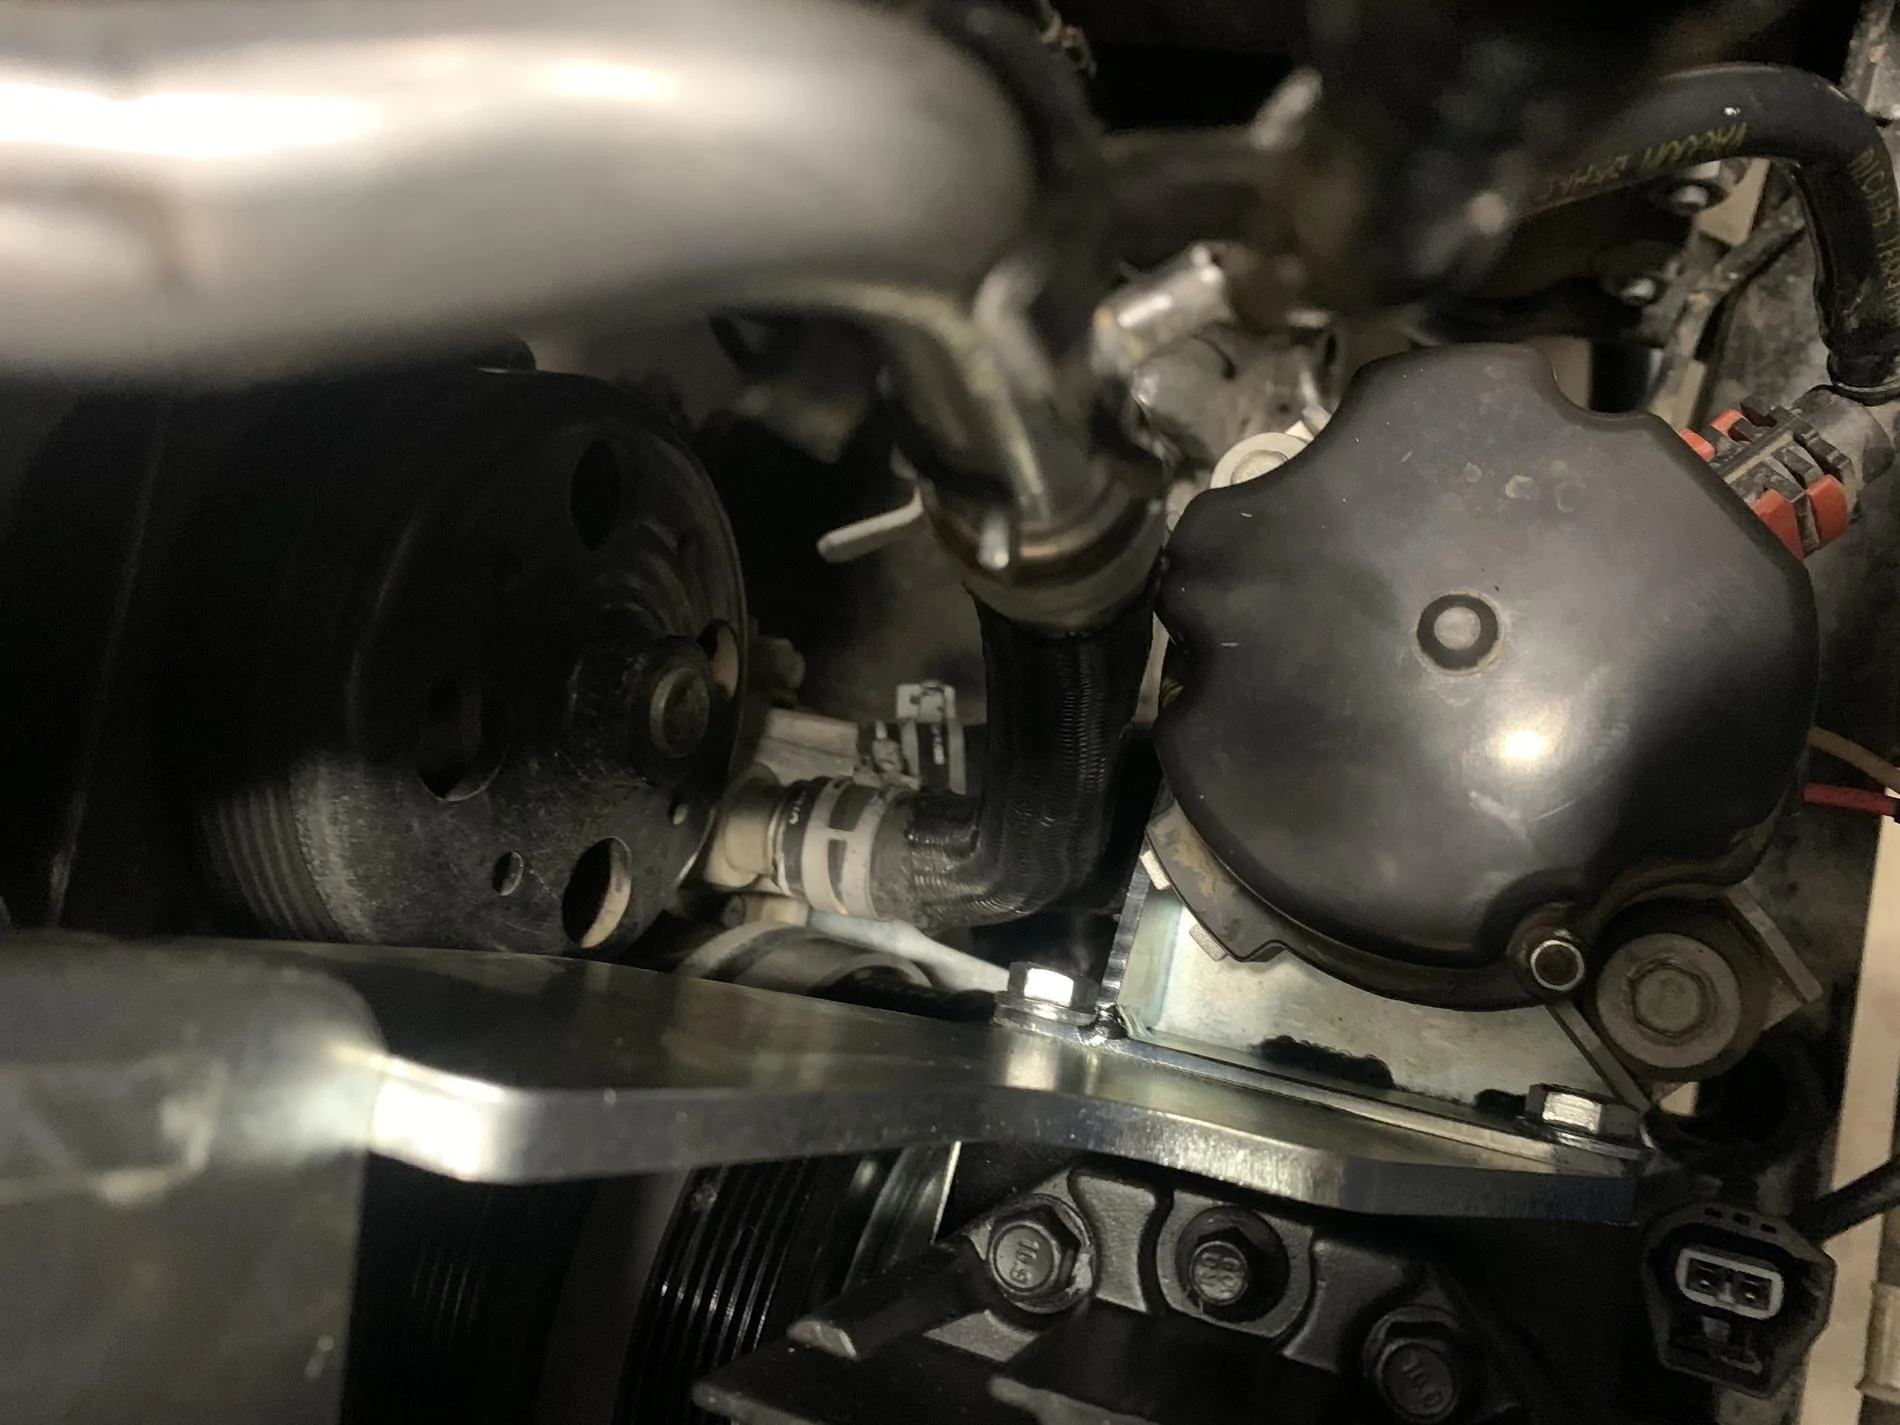
The instructions tell you that the all thread with nut in the next 2 pics under the alternator should be threaded in 2” or until it stops. I had to make my best judgement there by using the bracket to see what length it needed. It would be too deep if you threaded it all the way in.
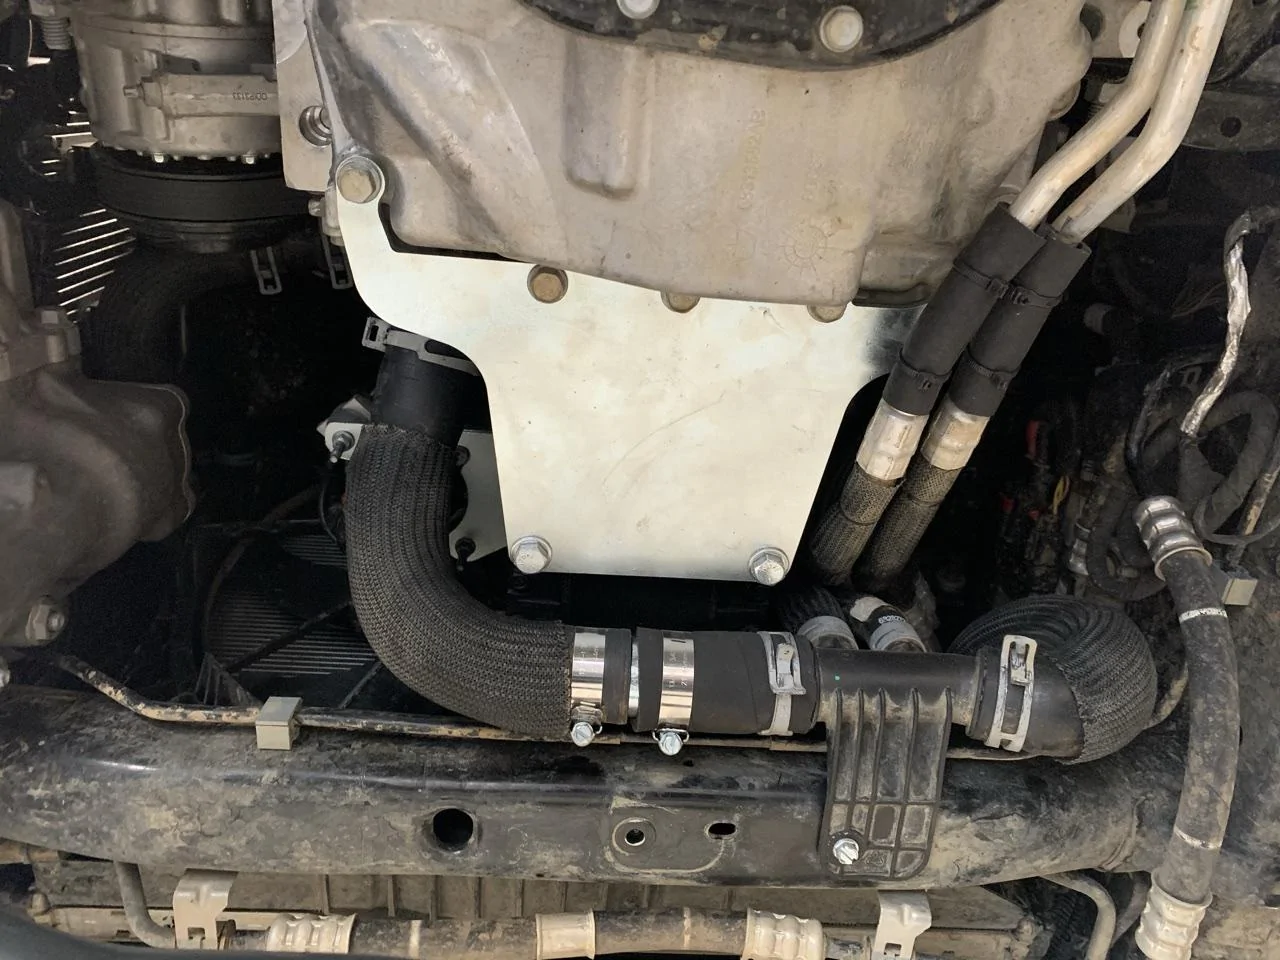
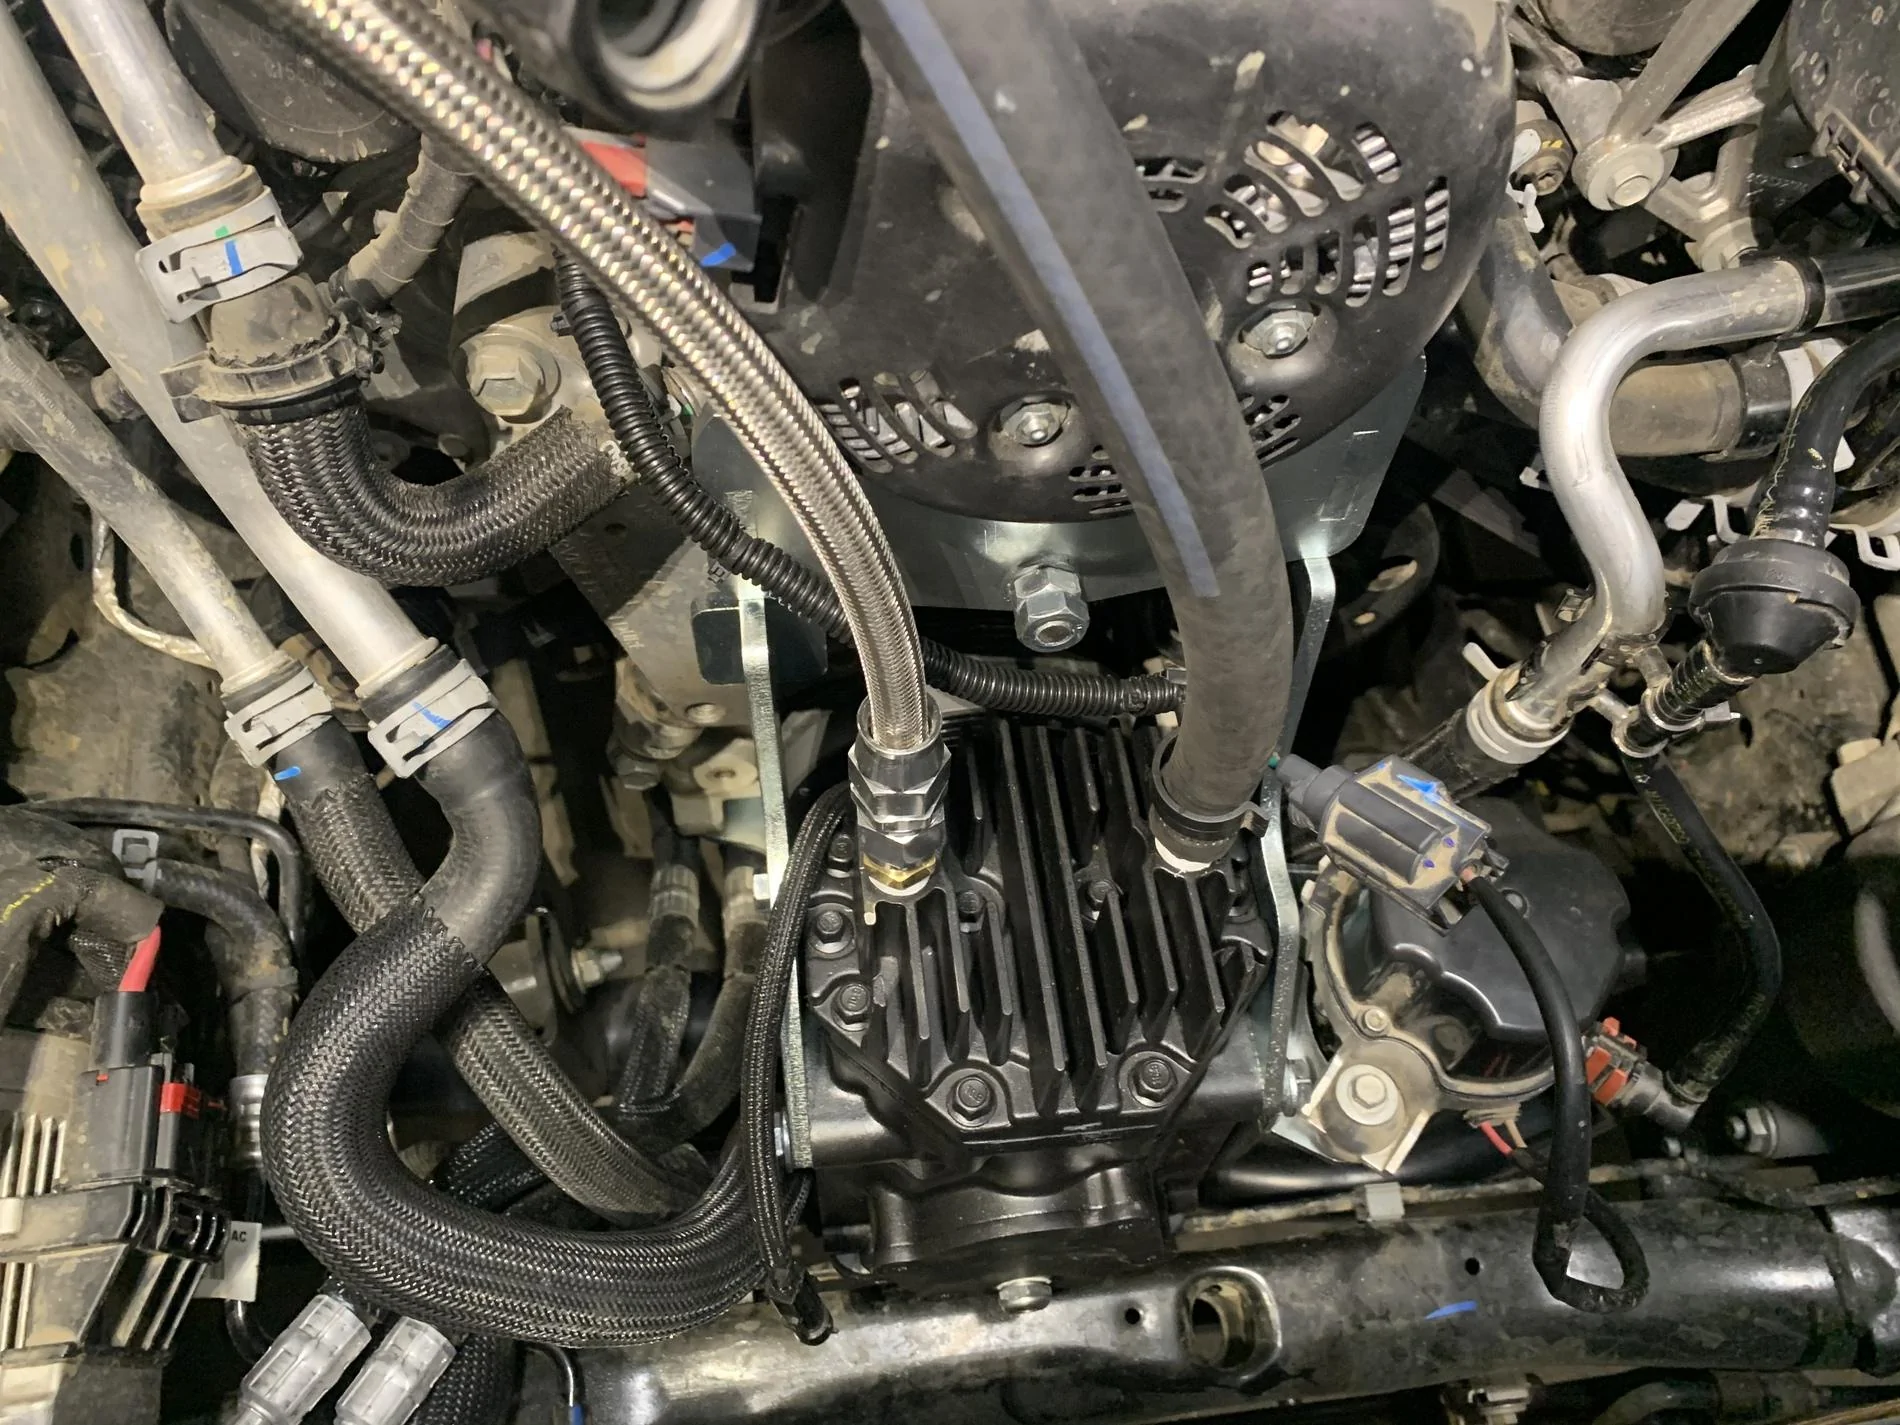
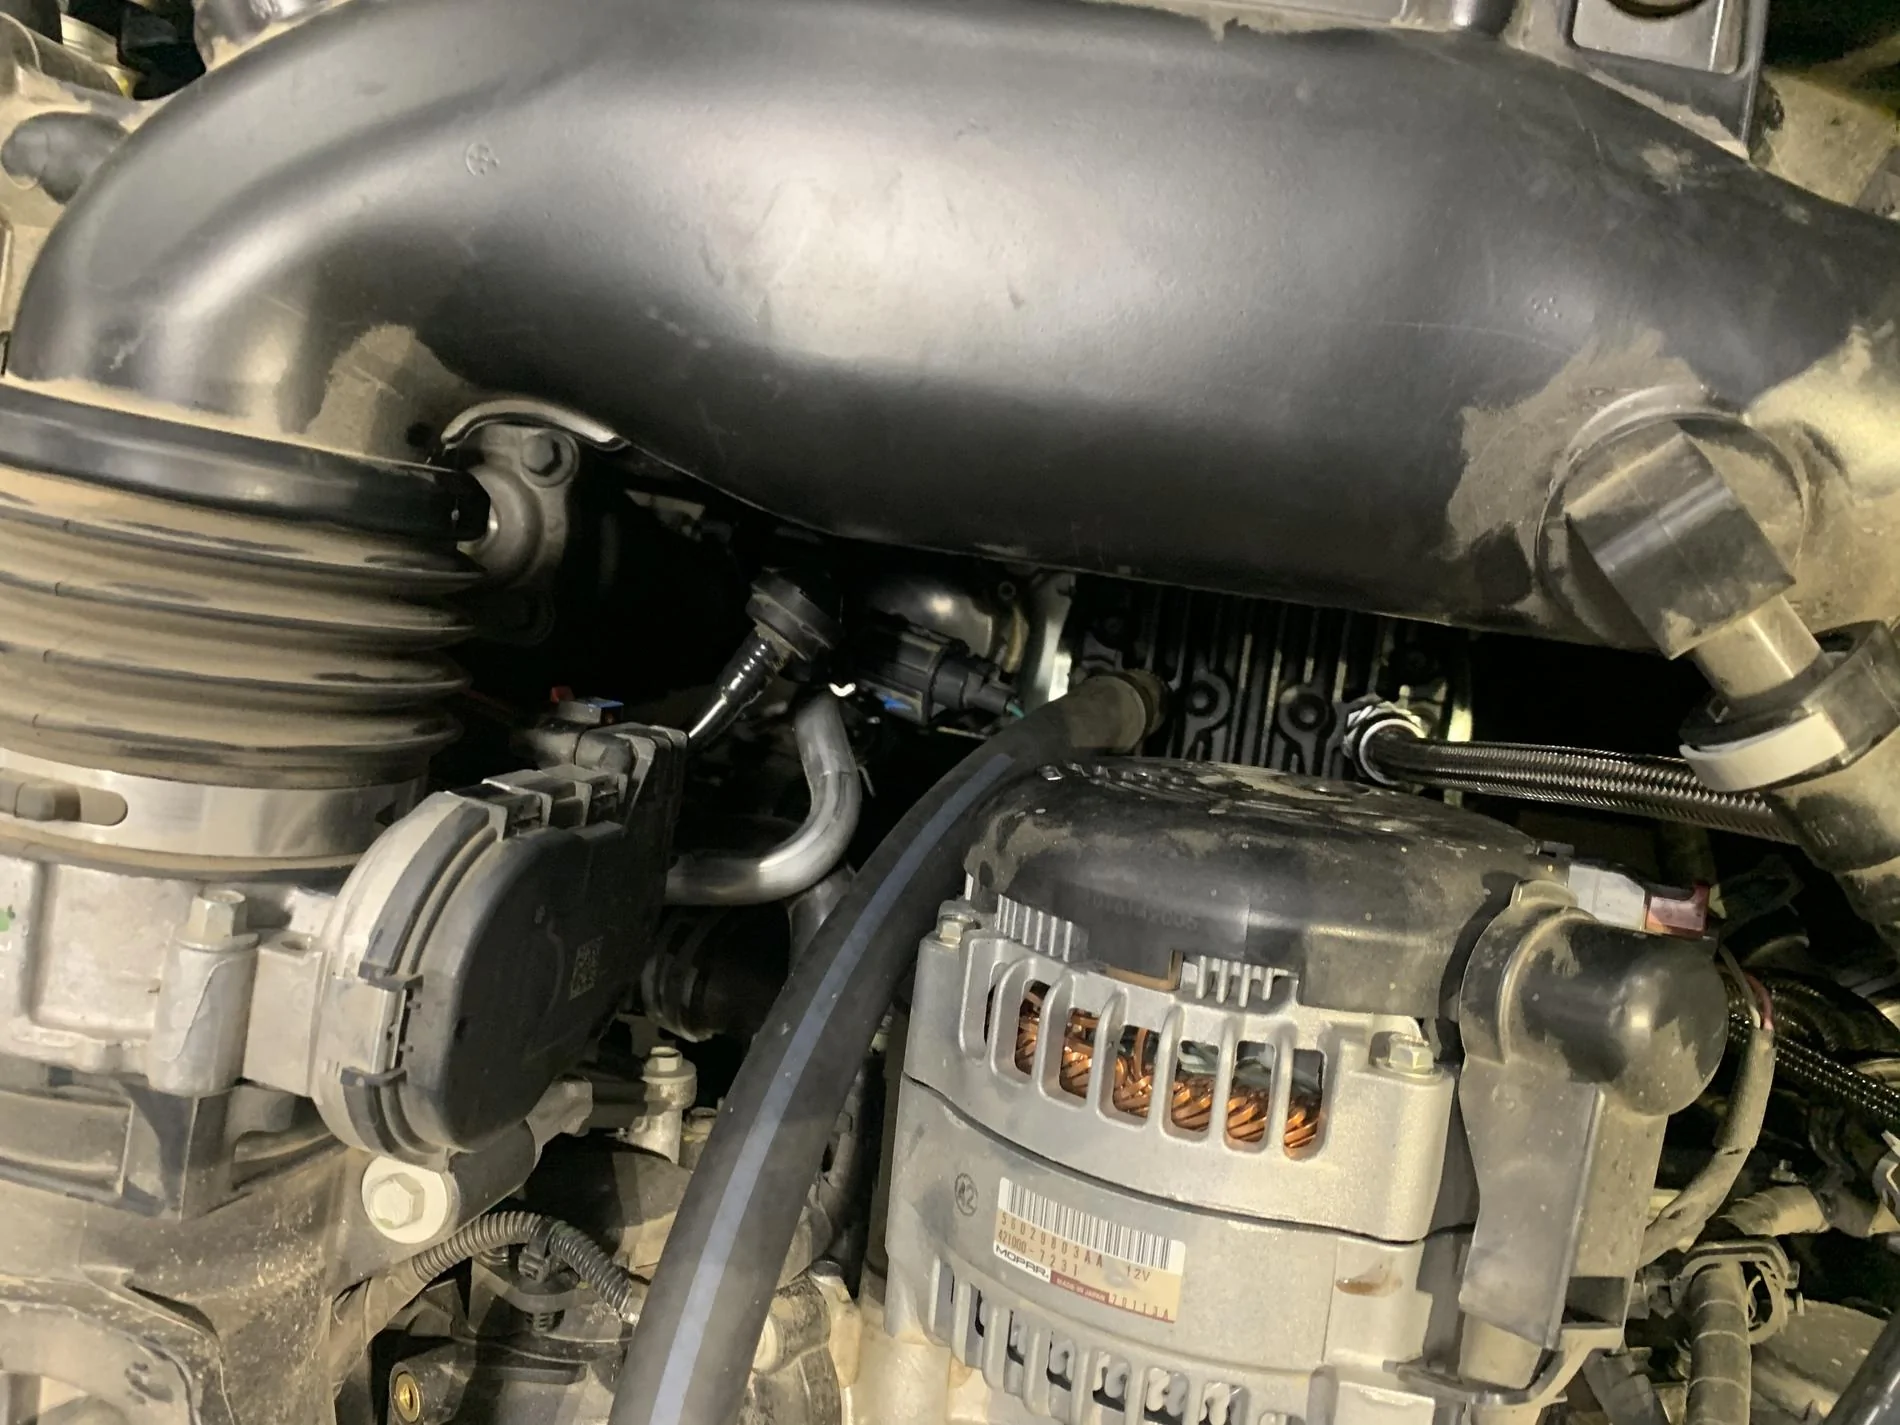
The coolant hose behind the relocated vacuum canister is shown here after I cut it. I think the instructions say to make sure it clears, but I don’t think it says you need to cut the hose to move it closer to the motor. (The pic above shows it before it was cut)
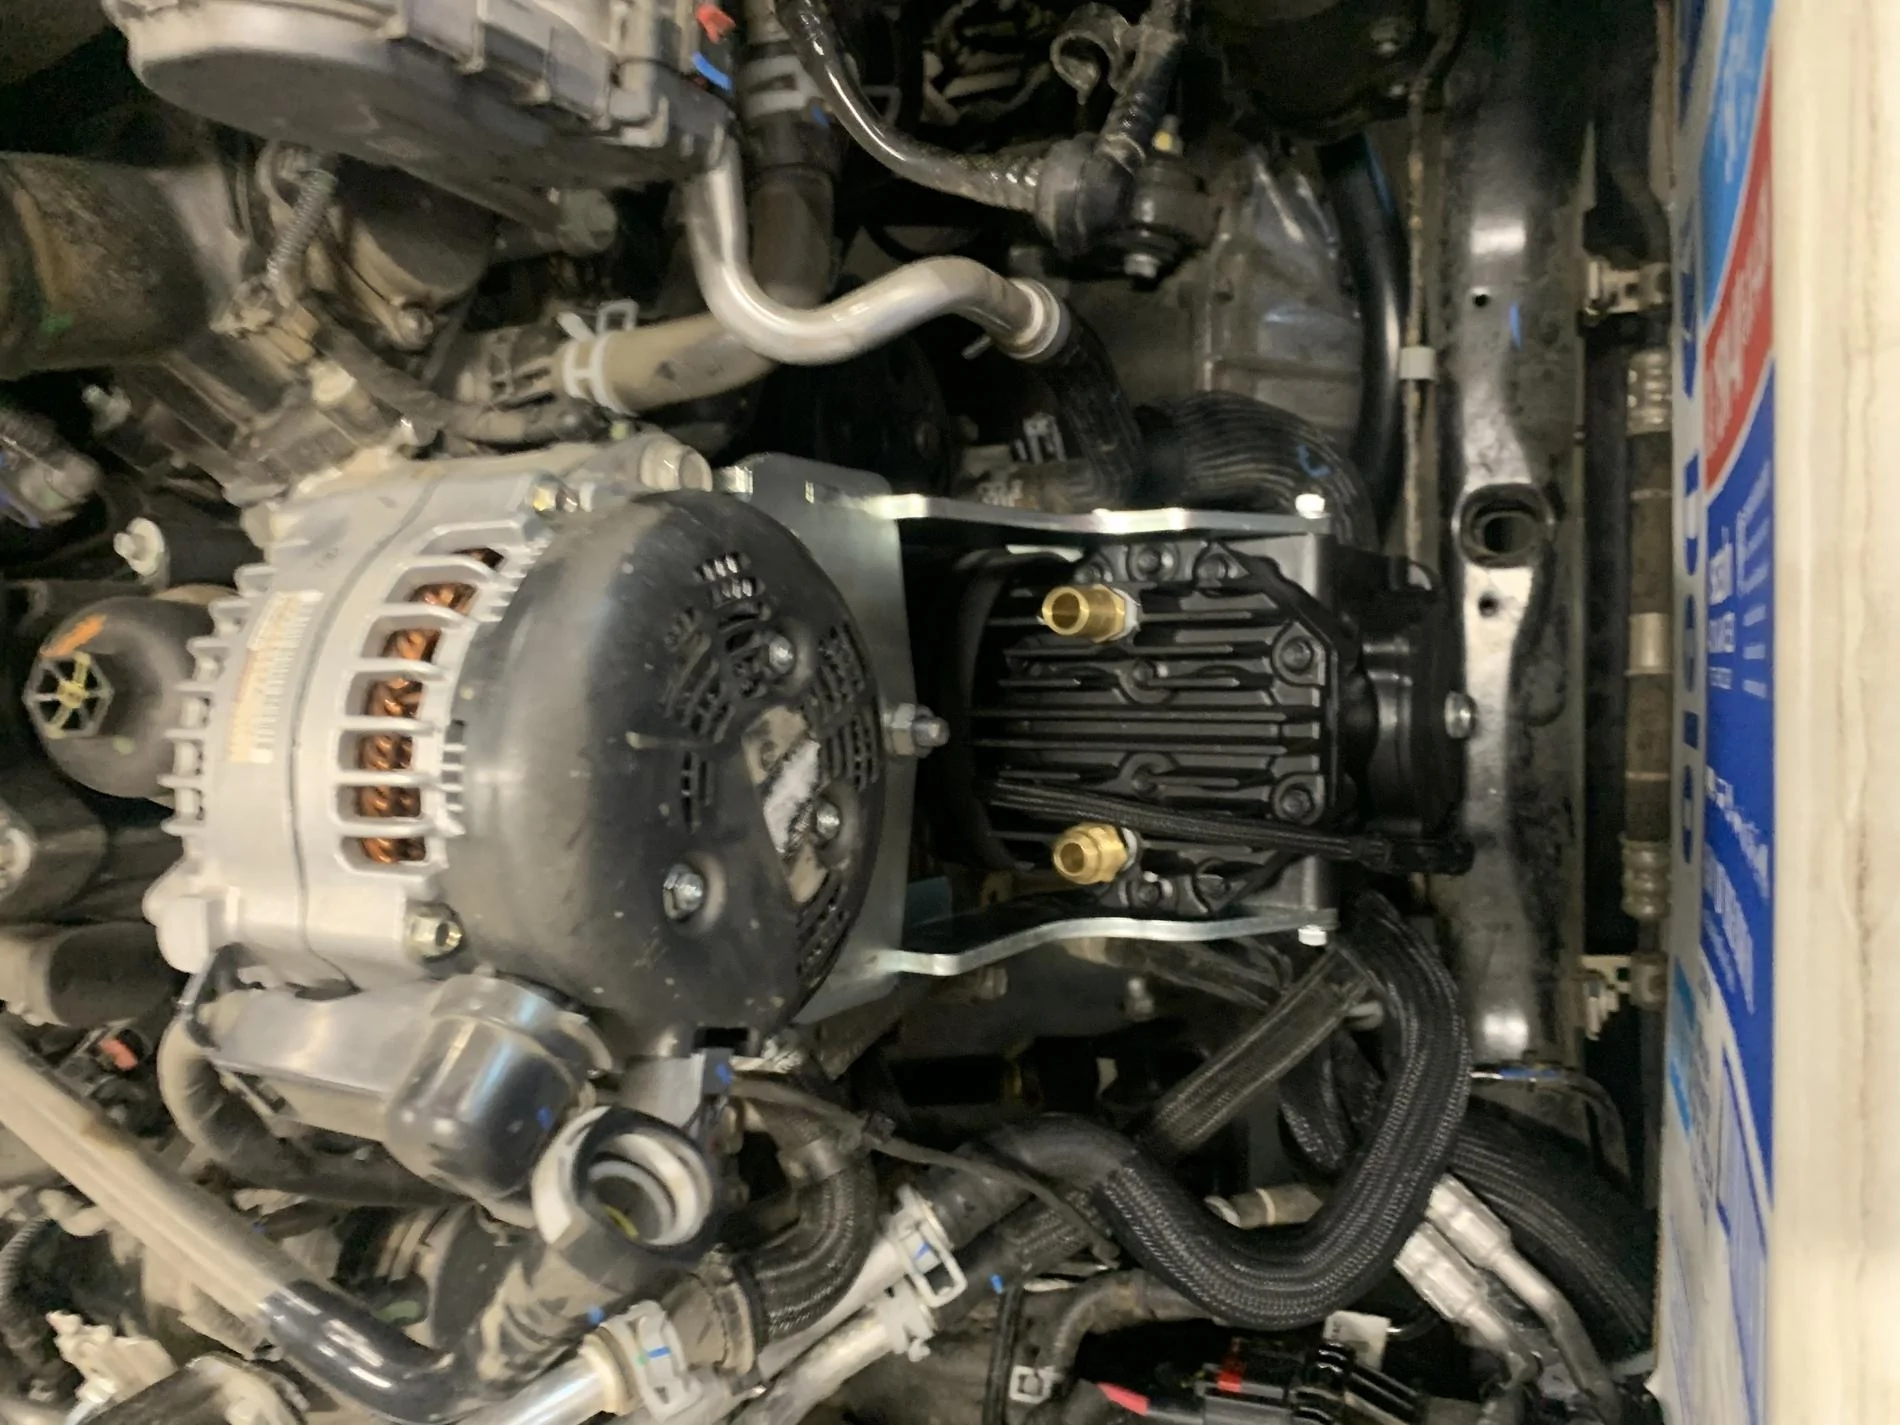
You can barely see it, unless you look directly down in front of the motor.
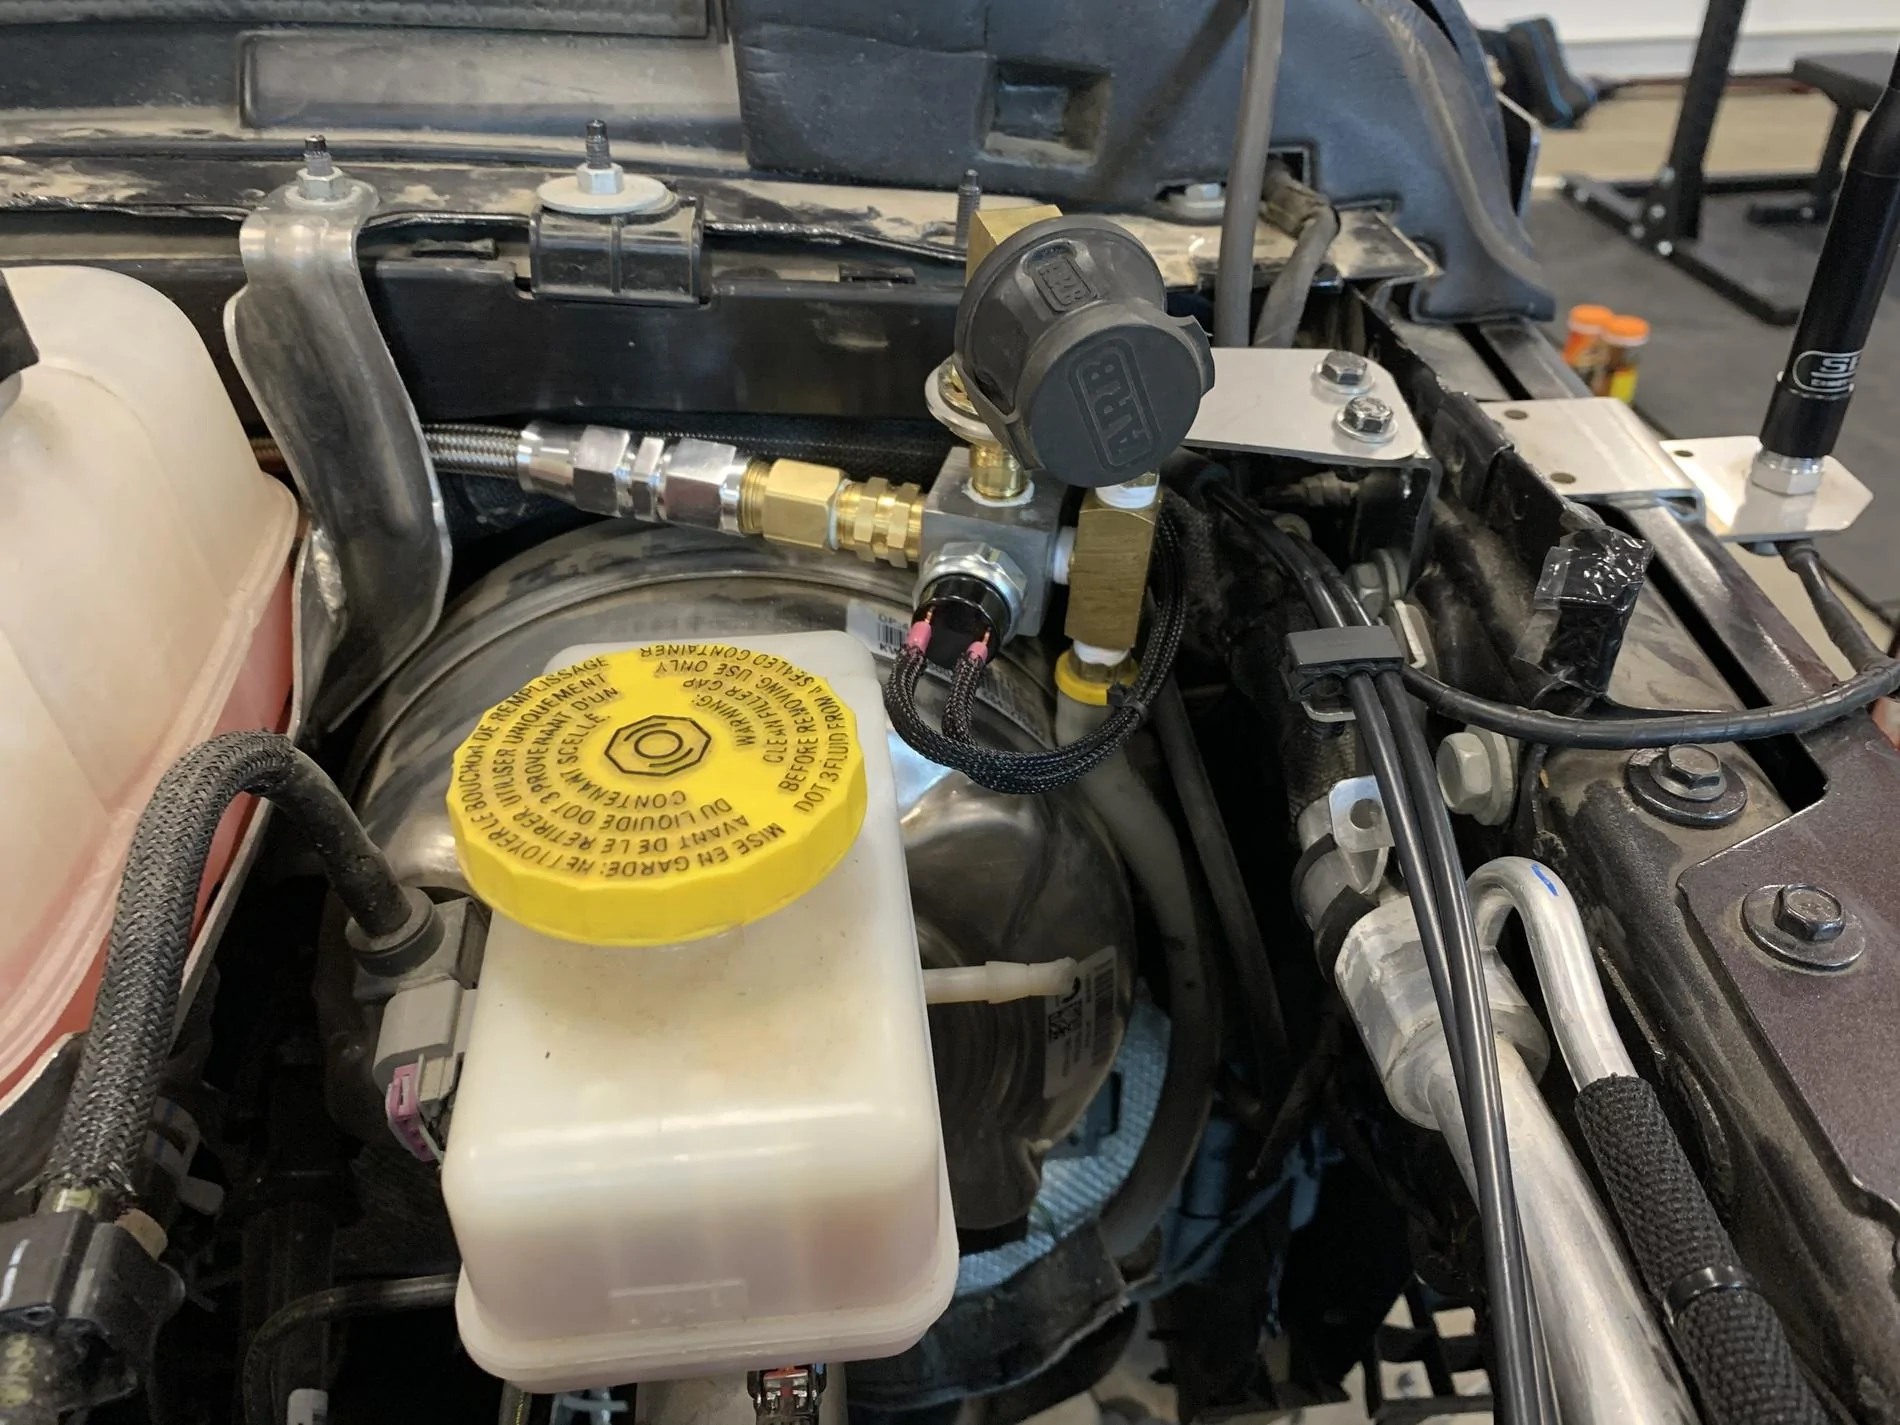
This is the included manifold, but I modified it some. I like the ARB air chuck, so i put that on instead of the included one. I added the 90° bracket for mounting and I have a line going down the firewall to my 2 gallon Viair tank under the Jeep. I also only used parts of the wiring harness. There was enough included wire to get them from here all the way over to the battery area where my Switch-Pros harness and factory AUX wiring is. I opened the rectangular black plastic wiring channel that runs across the top of the firewall to run the wires inside of for a clean factory install.
All done-
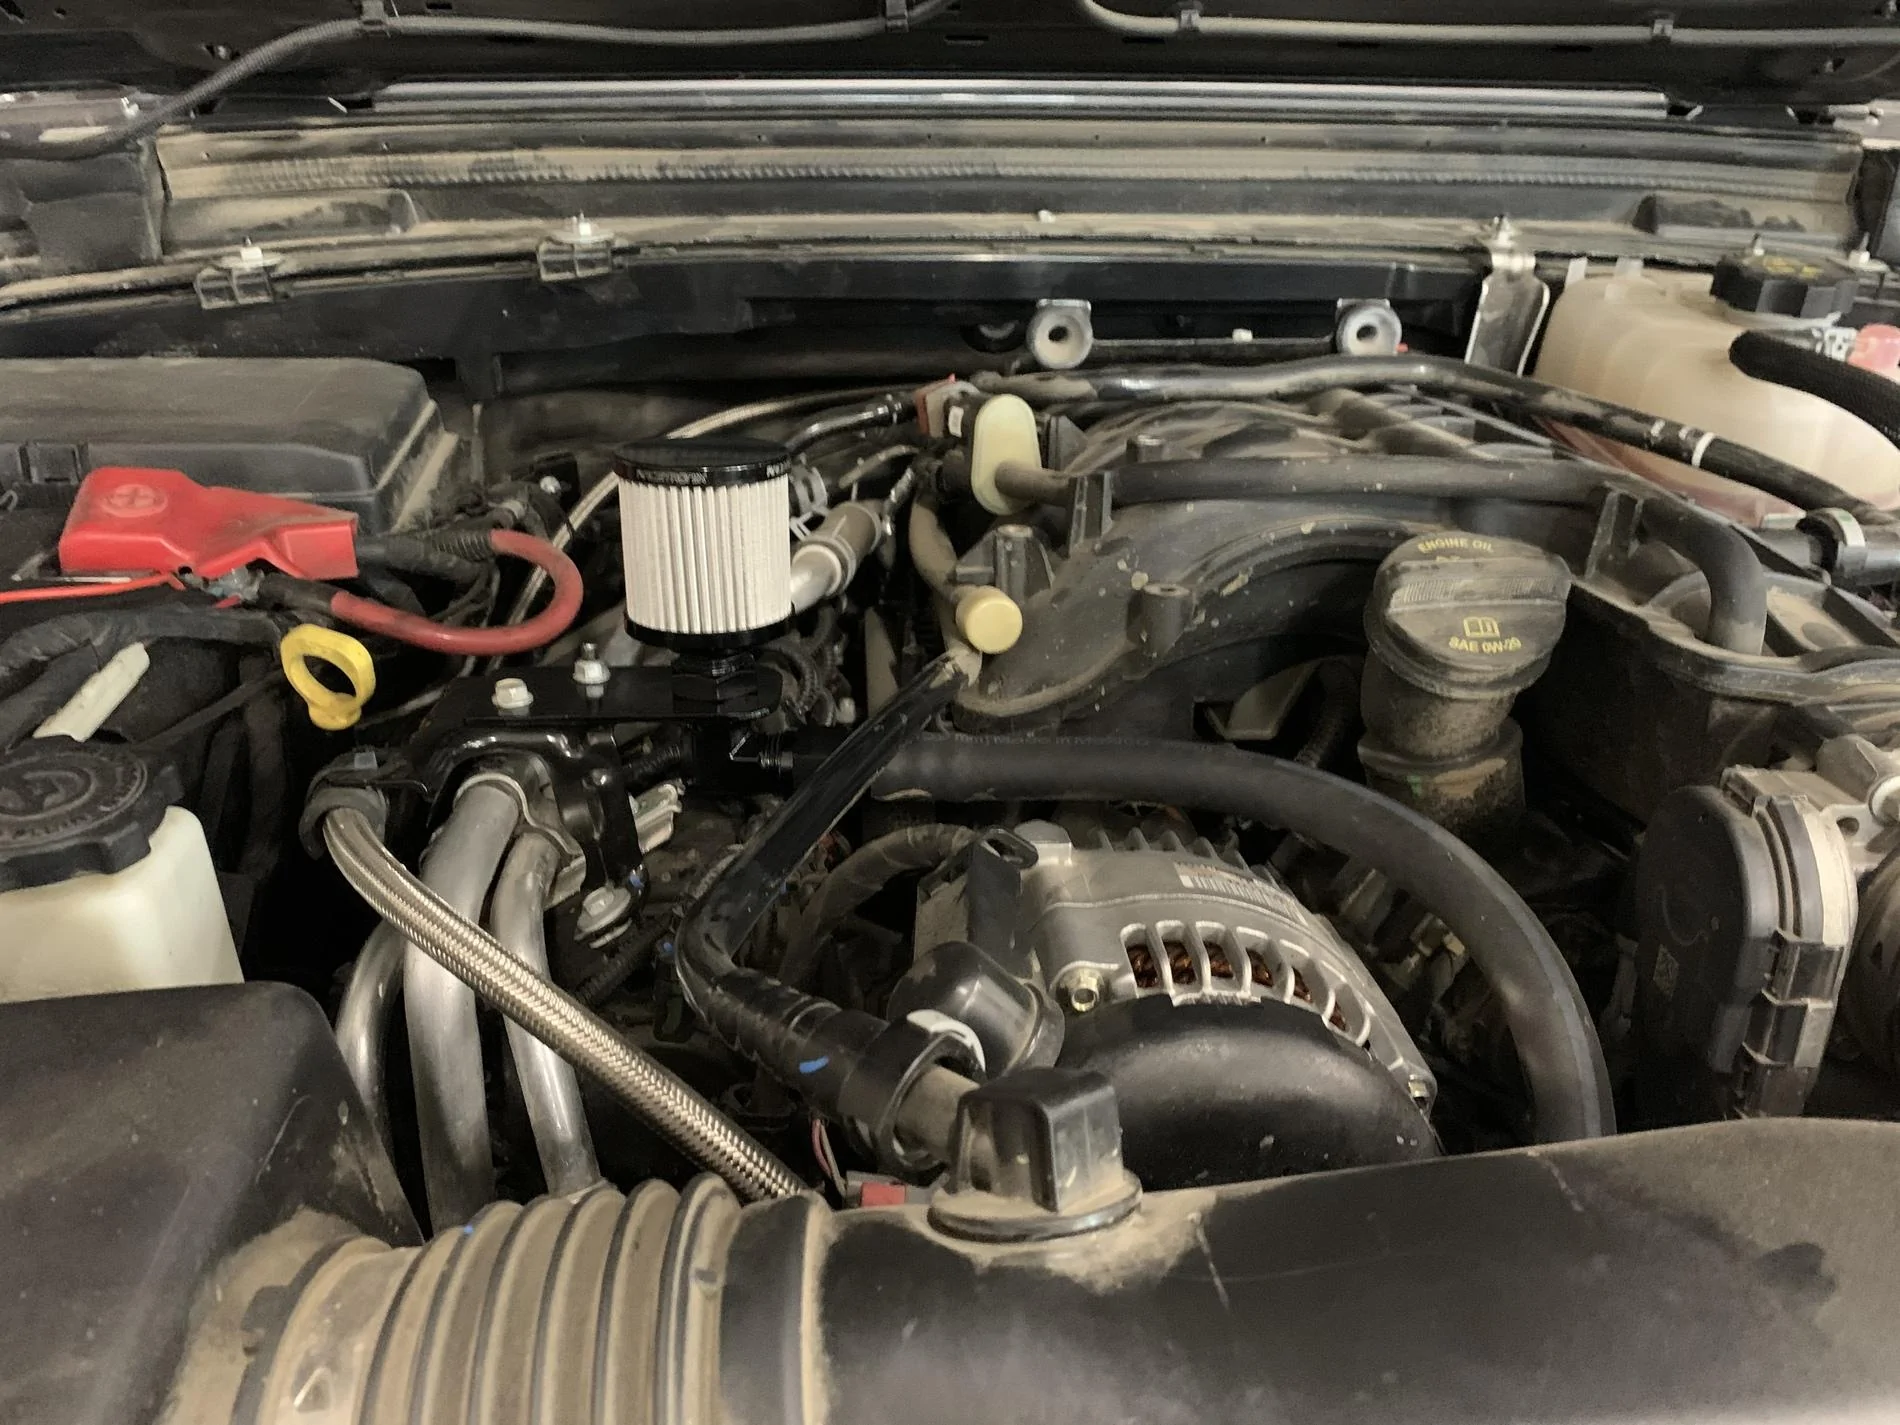
The other thing I modified was the air intake. ORO includes fittings to tap into the crankcase vent (running right above my intake hose in these pics). I don’t love that idea (hot oil-filled air). I emailed them to ask before I went this route, and based on his reply, I should be fine (honestly it was a bit too engineer-speak to totally understand). I found this Racetronix stainless steel mesh catch can breather filter that is perfect and not overly expensive. It can also be cleaned and reused. I made my own bracket to mount to the engine cover mount and got fittings from a local supplier. I also contacted Outerwears and am awaiting a custom made prefilter. I was surprised that it was only a $15 custom fee and $10.95 for the prefilter! You never know unless you ask! That will help repel any water that may get splashed up there and keep debris out of the pleats. You can also see my routing of the stainless outlet hose from near the bottom of this photo, up along the dipstick, by the battery and then up along the firewall to the manifold.
So far I’m very happy with this kit. Dealing with the lower coolant hose was kind of a pain (coolant is always a mess), I didn’t take any pics of the mess. Don’t bother trying the petcock on the radiator, I turned it and nothing happened. I was able to capture 90+% of the coolant and reuse it (I did filter it before pouring back in), I don’t live in an extremely cold area (Oregon) so I topped it off with distilled water.
Today I dropped my tires to 8 psi and aired them up to 27. I have 37/12.50x17 Nitto Trail Grapplers. I took this video of it (again, not a professional YouTuber) to document the total time it took to air up. It took 8:15, and I was fiddling with my phone taking the video. You can also hear how quiet it is - dramatically quieter than my ARB twin was.
YouTube air up video
Feel free to ask any questions. This wasn’t meant to replace the included instructions, but supplement them and help people become more familiar with it.
Enter Off Road Only and their York kit. I’ve admired Yorks since the Kilby Offroad days and have seen other homemade setups that totally kick butt. The cost of entry is a bit high, but it is the best option (in my opinion). If you do end up getting one, order it from their Facebook page, it was $100 less than their website.
I don‘t have a ton of pictures, I’m not a professional forum poster or youtuber. But I’ll try and give insight and feedback as best as I remember from the install (wildfires caused us to evacuate our home for a week after I installed this, so my memory has faded a bit). My main reason for this post is to help people learn about this kit because it’s almost like a ghost on the interwebs- there’s just not much information out there on them.
Overall, it is a good complete kit. My biggest criticism is the instructions. It at least comes with instructions, which is better than some companies are doing these days. However they have been written and revised dating back to the TJ days. The main instructions are for a JK, with a couple of JL addendums. About half of the JK instructions don’t even apply. I spent a lot of time reading everything and going back and forth figuring it all out. Starting over with a new set for the JL would be the best way to go, particularly with the cost of this kit.
Here is the box with everything included. Well packaged and protected from shipping-
Everything all laid out-
The next several were taken during the process-
I highly recommend covering the radiator with cardboard. I’m glad I did because I bumped it many times, and my fins still look brand new.

The instructions tell you that the all thread with nut in the next 2 pics under the alternator should be threaded in 2” or until it stops. I had to make my best judgement there by using the bracket to see what length it needed. It would be too deep if you threaded it all the way in.
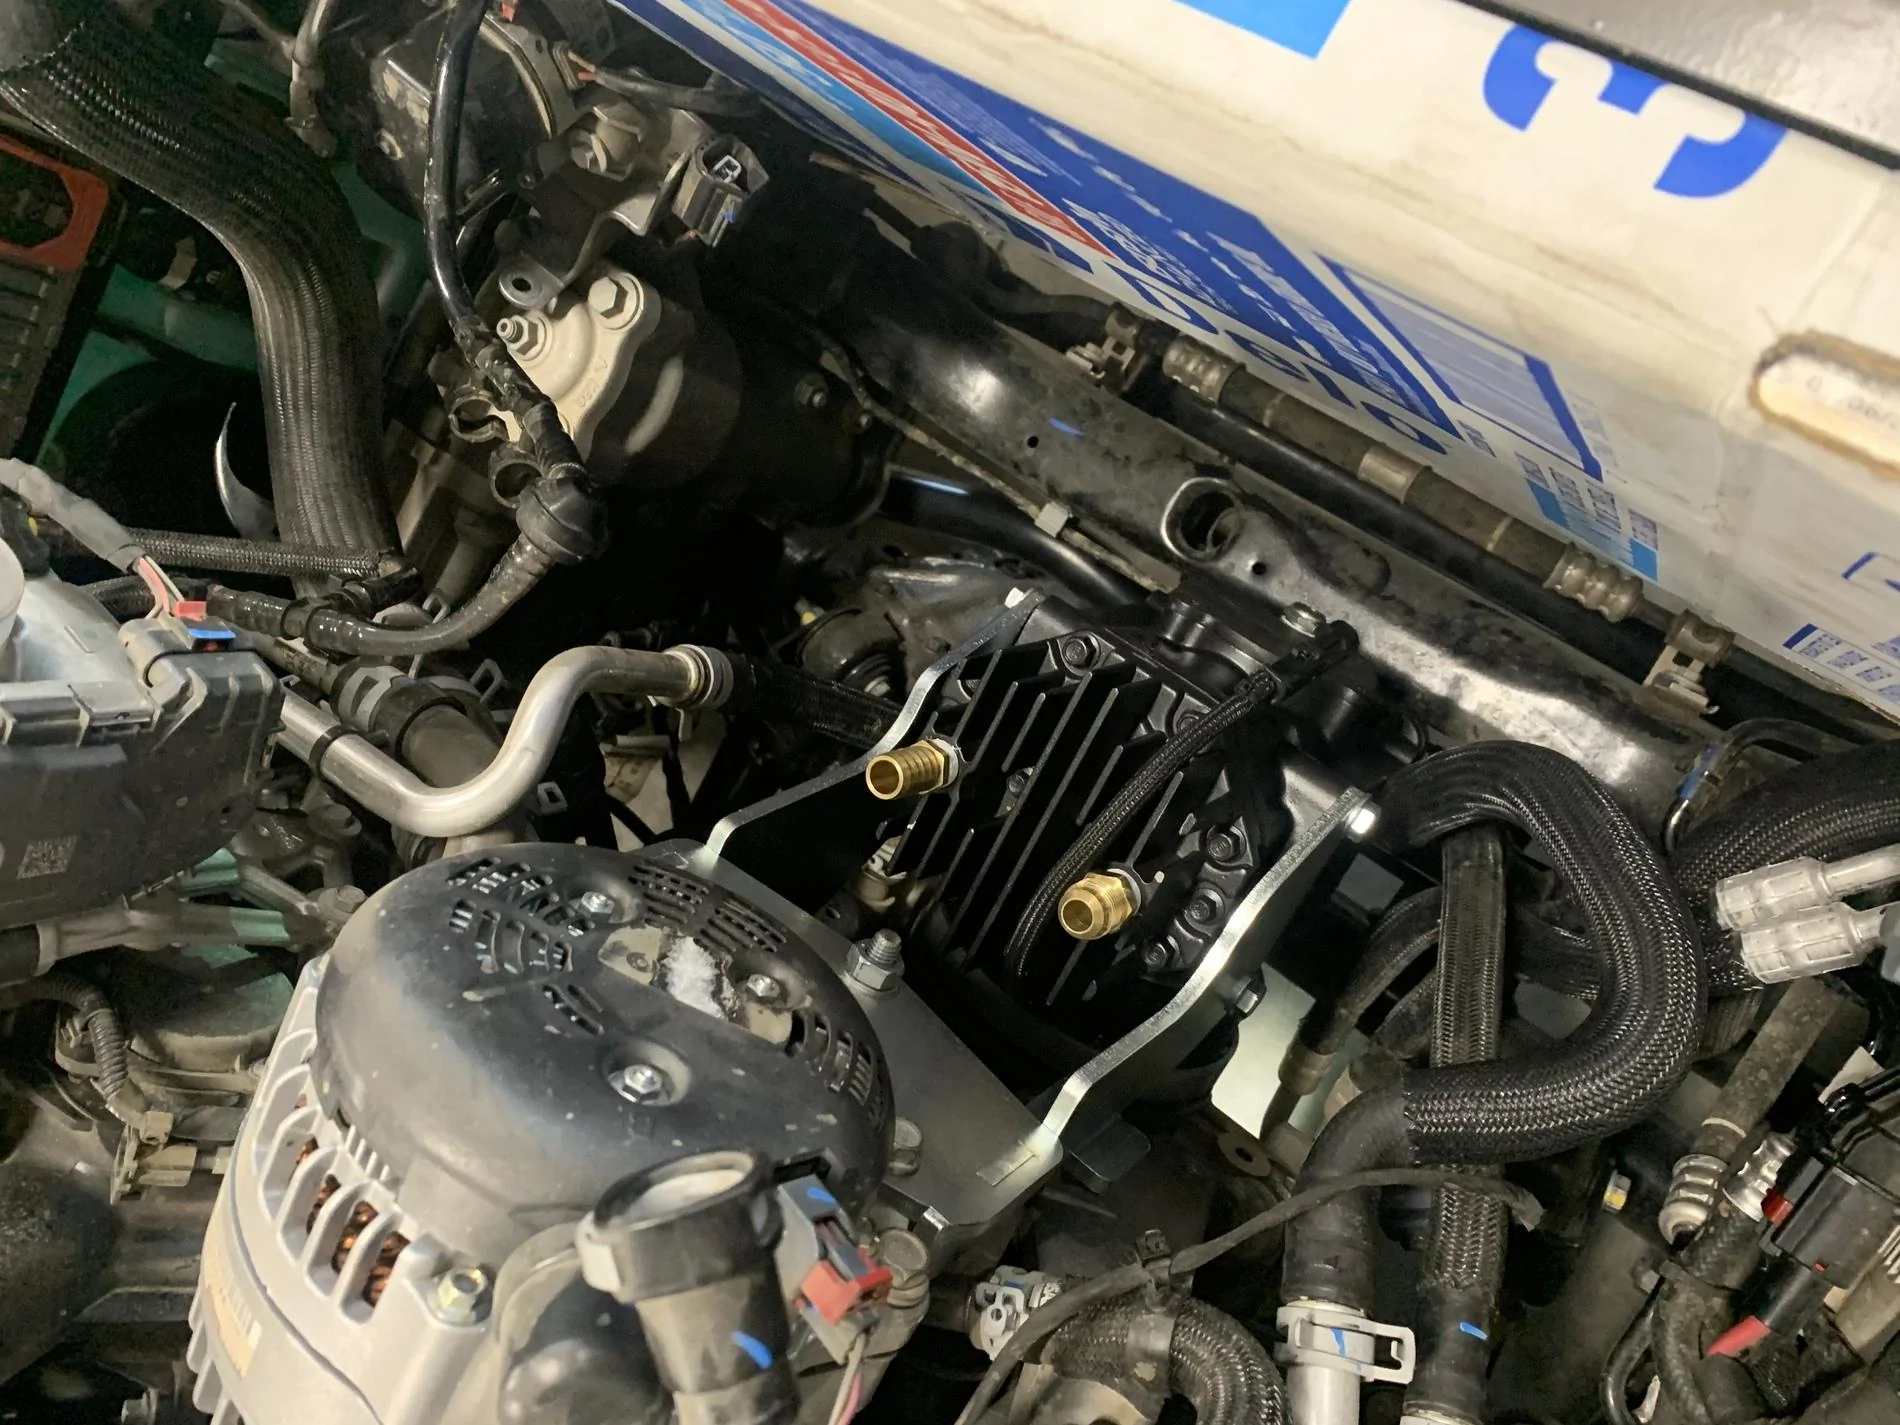
The coolant hose behind the relocated vacuum canister is shown here after I cut it. I think the instructions say to make sure it clears, but I don’t think it says you need to cut the hose to move it closer to the motor. (The pic above shows it before it was cut)
You can barely see it, unless you look directly down in front of the motor.
This is the included manifold, but I modified it some. I like the ARB air chuck, so i put that on instead of the included one. I added the 90° bracket for mounting and I have a line going down the firewall to my 2 gallon Viair tank under the Jeep. I also only used parts of the wiring harness. There was enough included wire to get them from here all the way over to the battery area where my Switch-Pros harness and factory AUX wiring is. I opened the rectangular black plastic wiring channel that runs across the top of the firewall to run the wires inside of for a clean factory install.
All done-
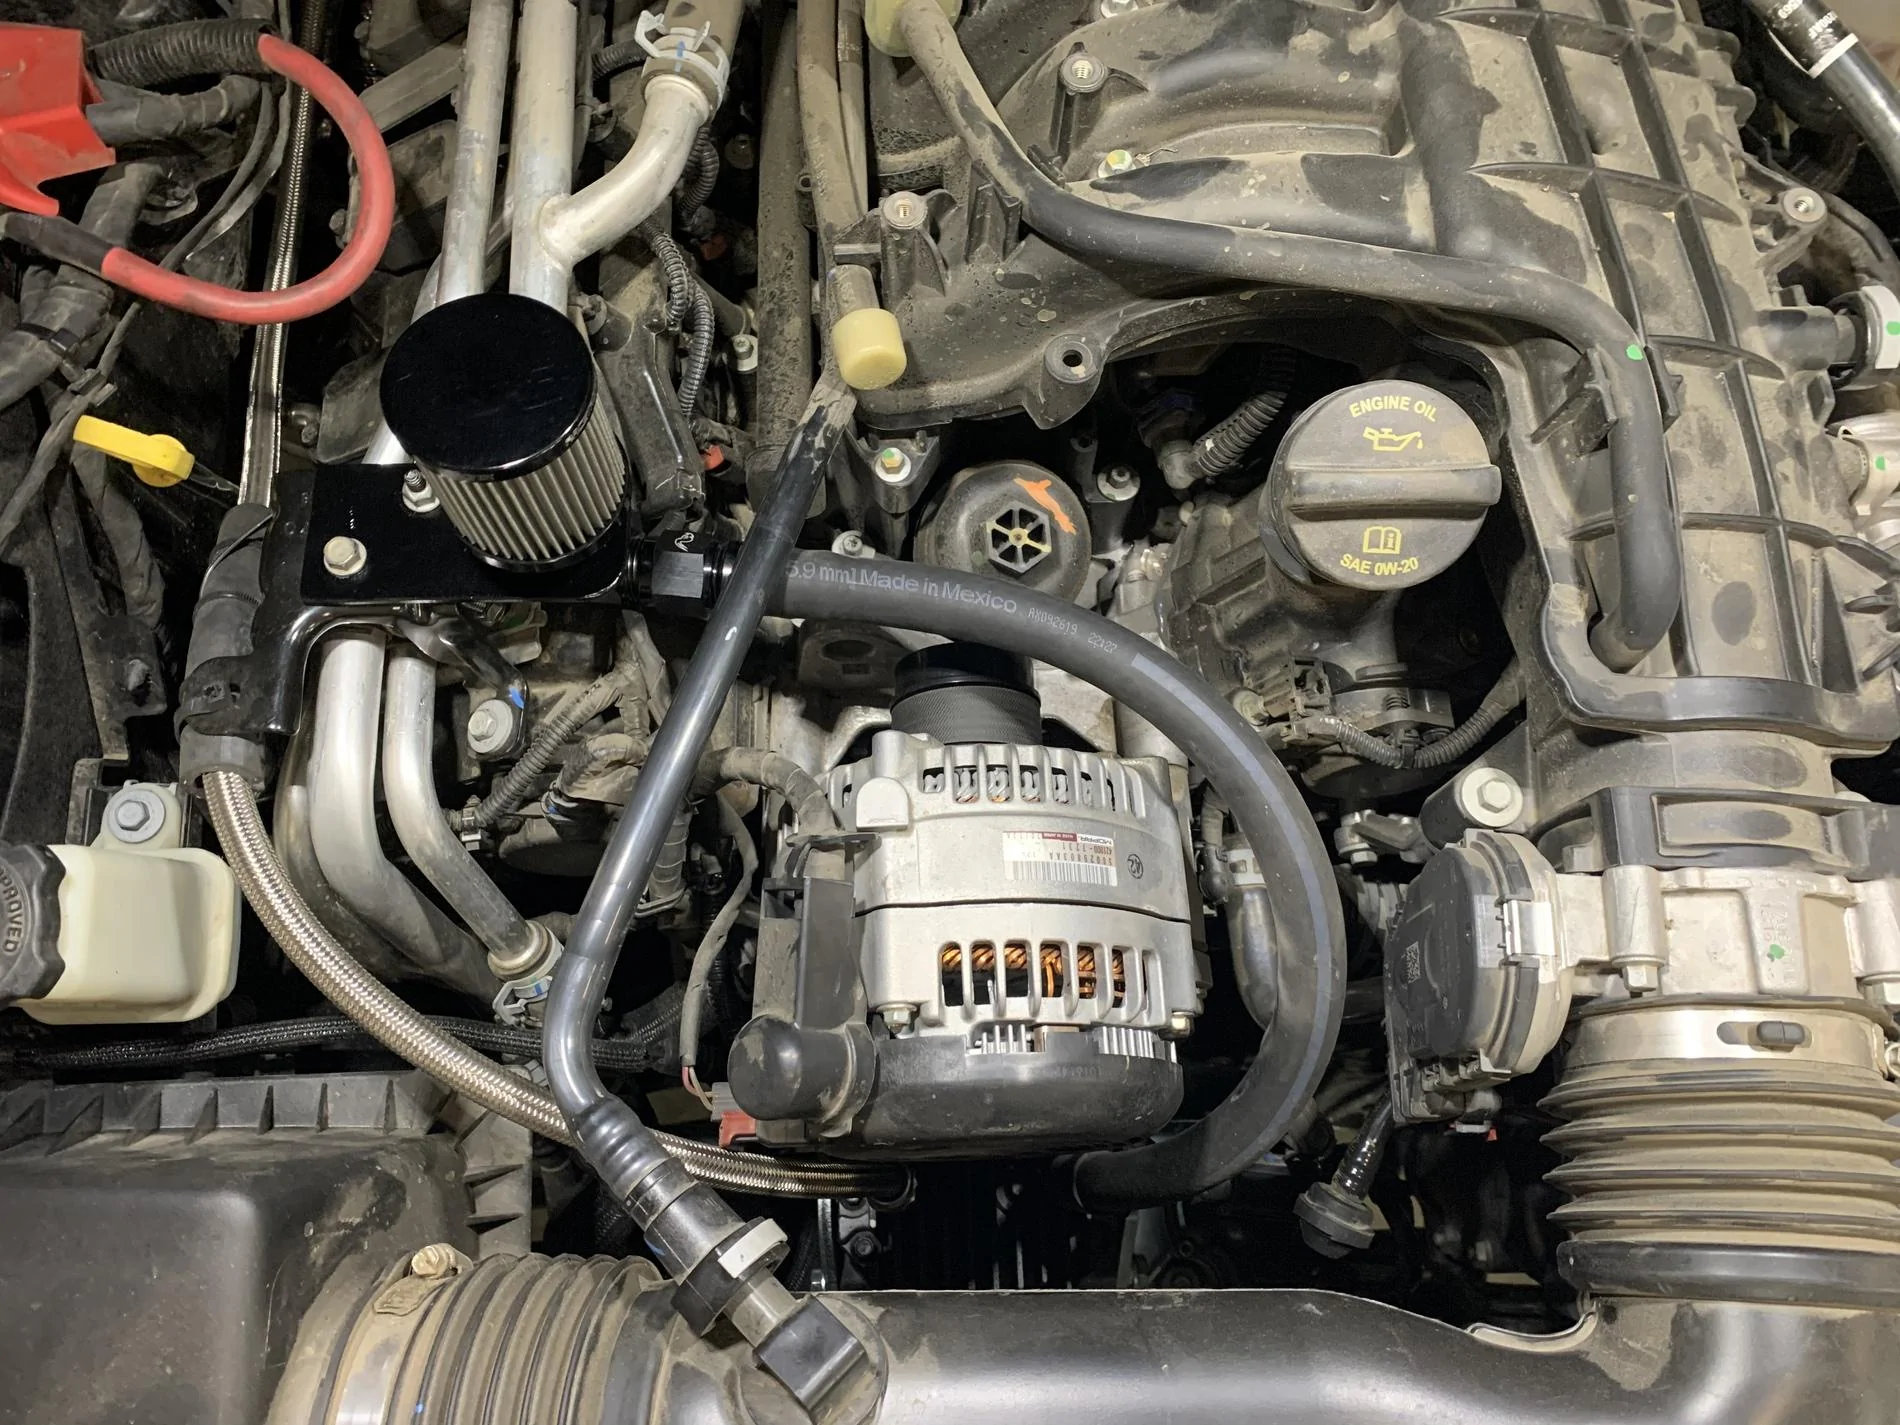
The other thing I modified was the air intake. ORO includes fittings to tap into the crankcase vent (running right above my intake hose in these pics). I don’t love that idea (hot oil-filled air). I emailed them to ask before I went this route, and based on his reply, I should be fine (honestly it was a bit too engineer-speak to totally understand). I found this Racetronix stainless steel mesh catch can breather filter that is perfect and not overly expensive. It can also be cleaned and reused. I made my own bracket to mount to the engine cover mount and got fittings from a local supplier. I also contacted Outerwears and am awaiting a custom made prefilter. I was surprised that it was only a $15 custom fee and $10.95 for the prefilter! You never know unless you ask! That will help repel any water that may get splashed up there and keep debris out of the pleats. You can also see my routing of the stainless outlet hose from near the bottom of this photo, up along the dipstick, by the battery and then up along the firewall to the manifold.
So far I’m very happy with this kit. Dealing with the lower coolant hose was kind of a pain (coolant is always a mess), I didn’t take any pics of the mess. Don’t bother trying the petcock on the radiator, I turned it and nothing happened. I was able to capture 90+% of the coolant and reuse it (I did filter it before pouring back in), I don’t live in an extremely cold area (Oregon) so I topped it off with distilled water.
Today I dropped my tires to 8 psi and aired them up to 27. I have 37/12.50x17 Nitto Trail Grapplers. I took this video of it (again, not a professional YouTuber) to document the total time it took to air up. It took 8:15, and I was fiddling with my phone taking the video. You can also hear how quiet it is - dramatically quieter than my ARB twin was.
YouTube air up video
Feel free to ask any questions. This wasn’t meant to replace the included instructions, but supplement them and help people become more familiar with it.
Sponsored