SwissSteph
Well-Known Member
- First Name
- Steph
- Joined
- Oct 29, 2019
- Threads
- 14
- Messages
- 347
- Reaction score
- 255
- Location
- Switzerland
- Website
- www.swissjeepjl.com
- Vehicle(s)
- JL Wrangler Rubicon - Hella Yella - 2.2 Diesel
- Vehicle Showcase
- 1
Thanks again for this topic!
Thanks to the very clear explanations of the first message AND the video, I managed to make my back.
Although for the moment it's the front that is broken (my dealer is not motivated to do something, justice will take over!), I put the cable of Z_Automotive (on the front) and this removed the witnesses on my dashboard.
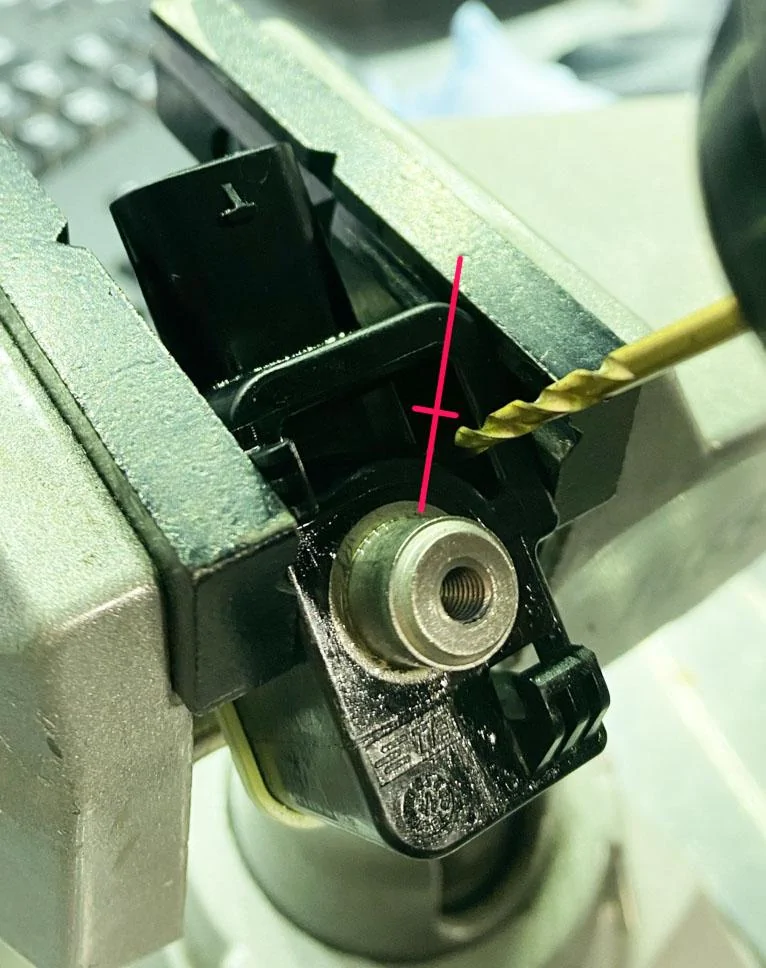
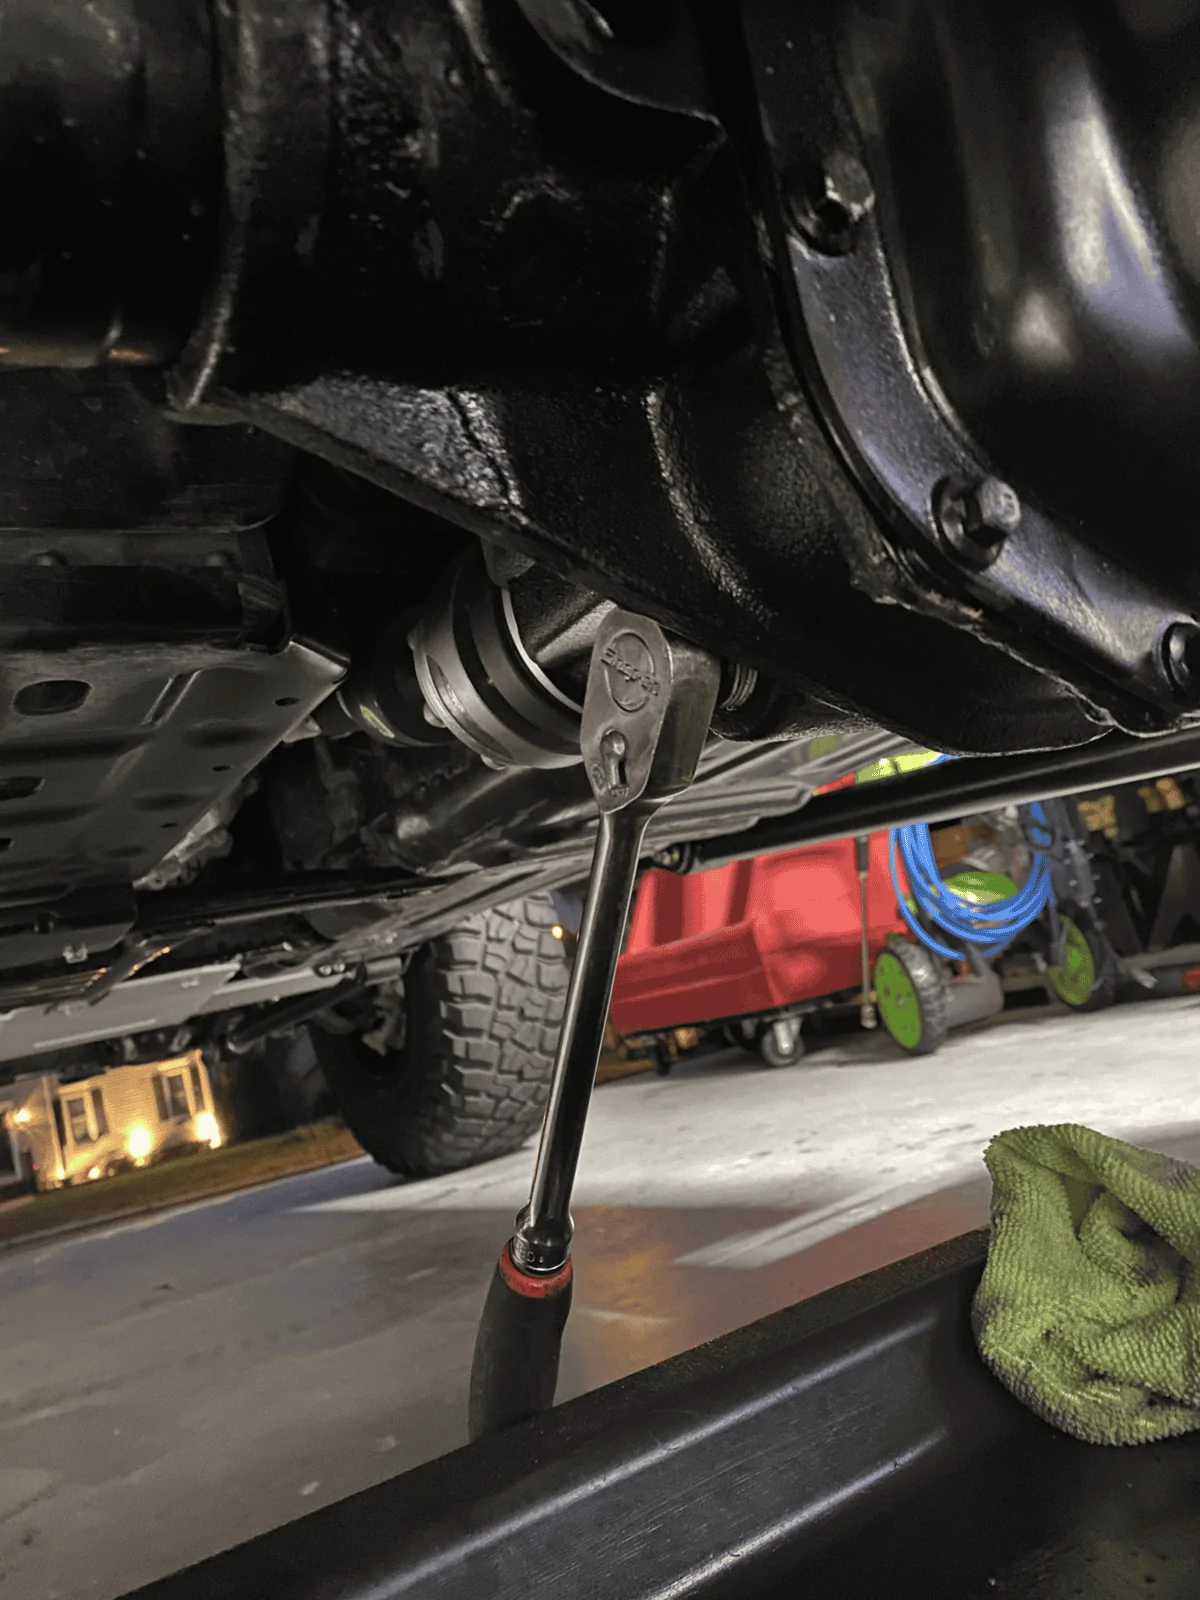
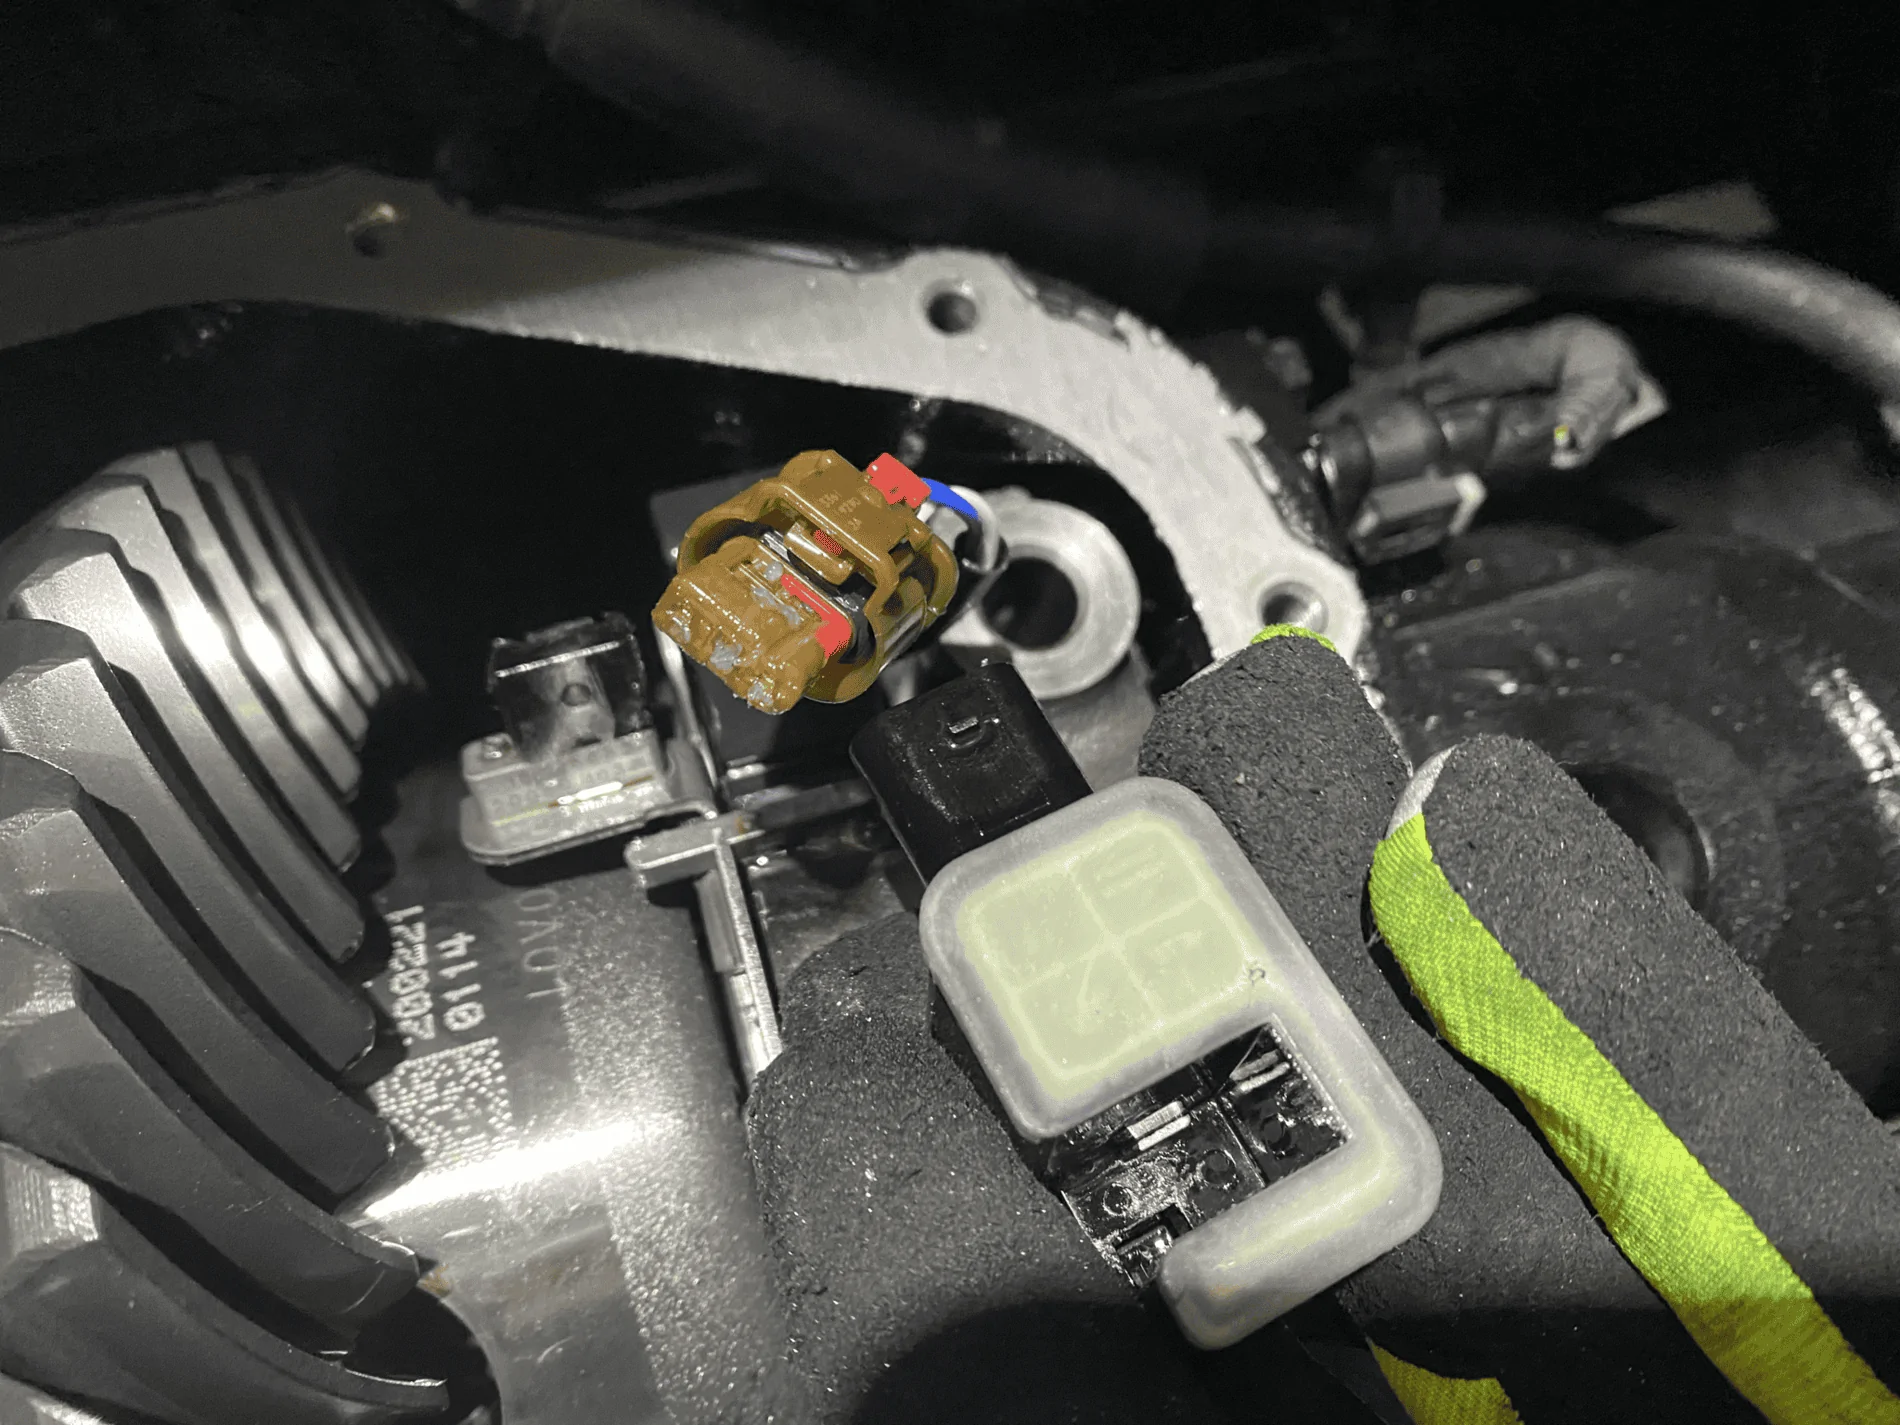
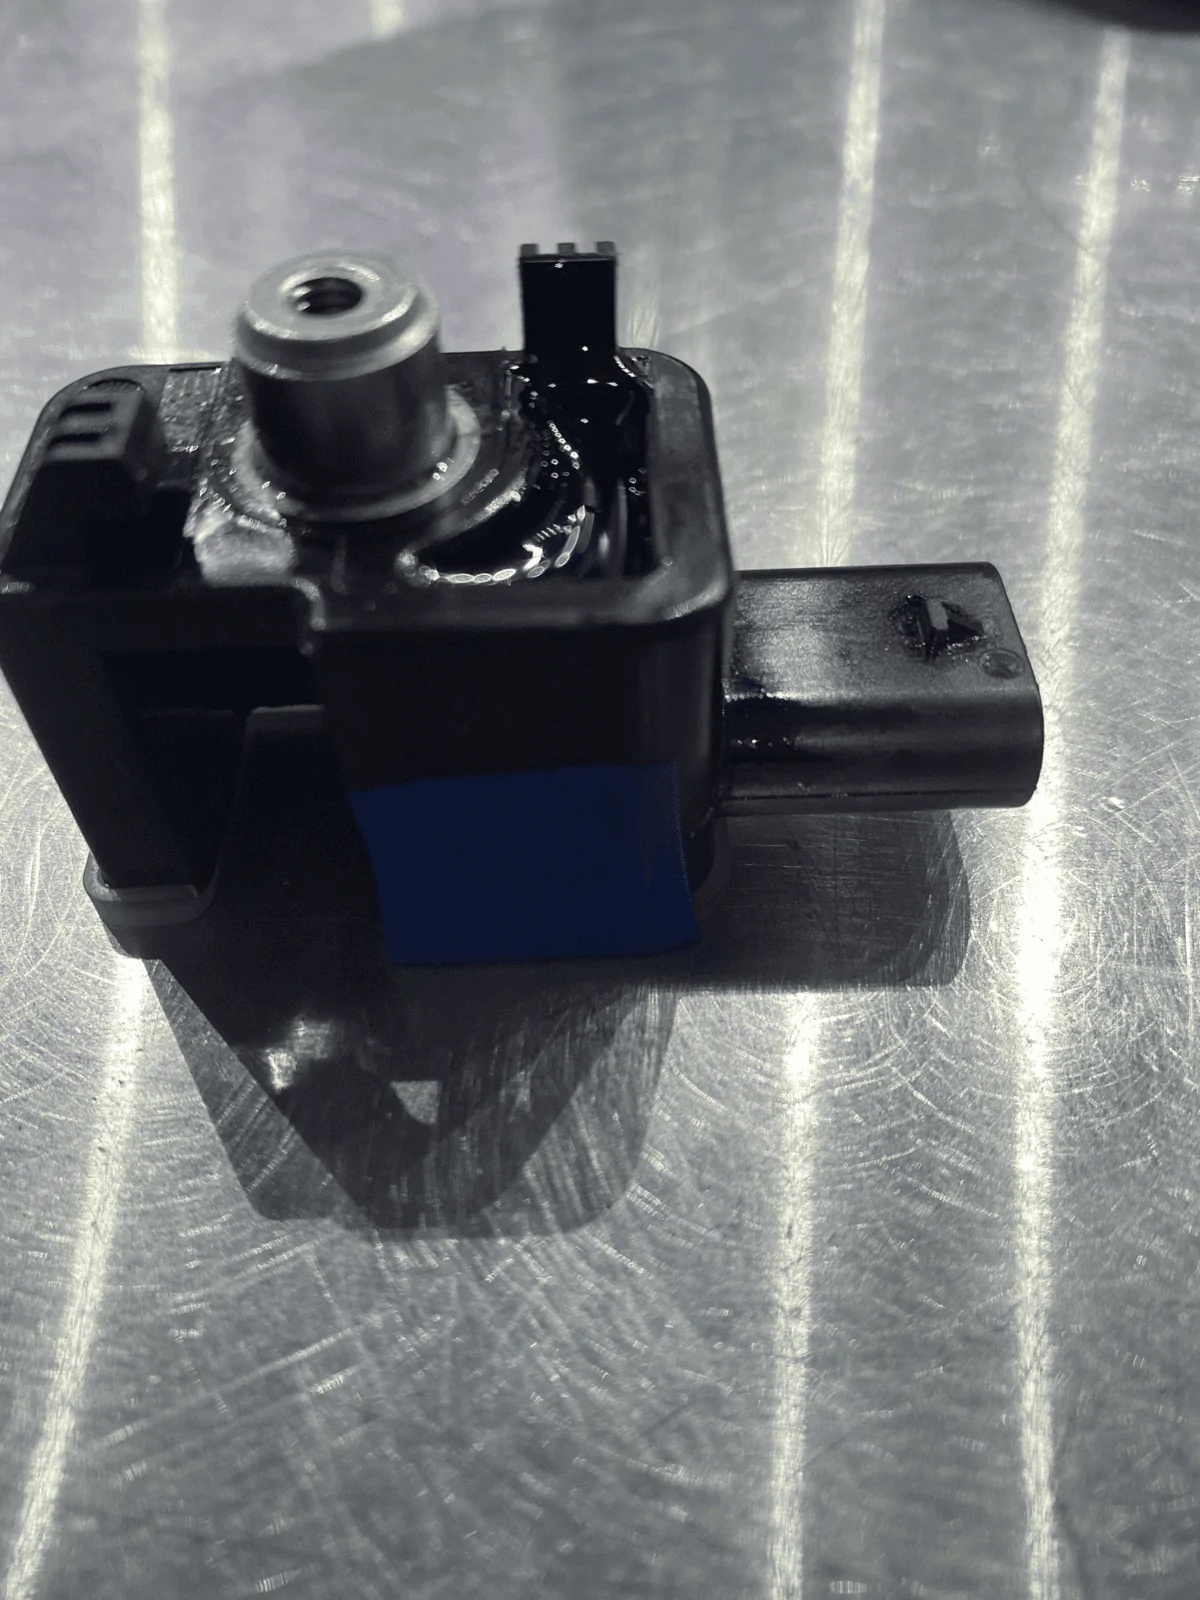
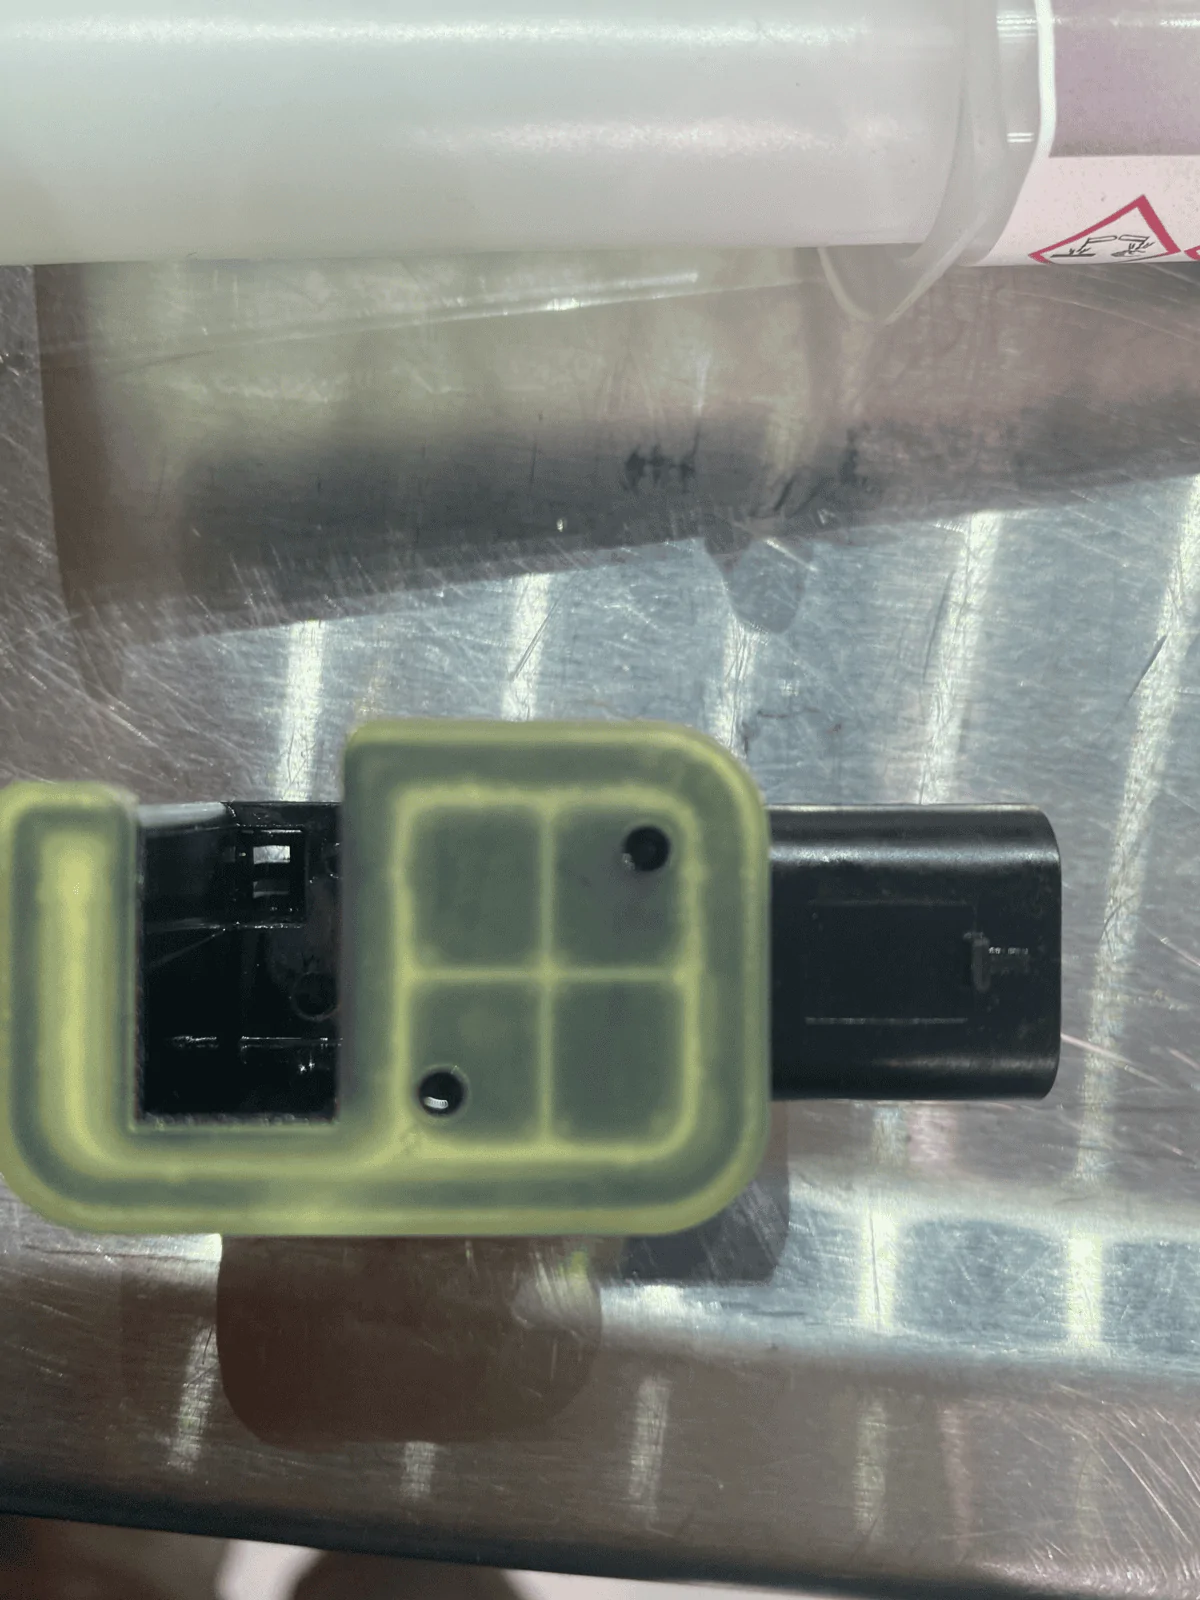
This morning, when I took off the rear, I already had some oil in it, I drilled the three holes, cleaned it with fein cleaner, put the seal on and reassembled it this morning. Not yet checked if it's good or not, normally I had no more lights on my dashboard. I hope my modification didn't make the situation worse when I cleaned the oil inside.
Anyway.
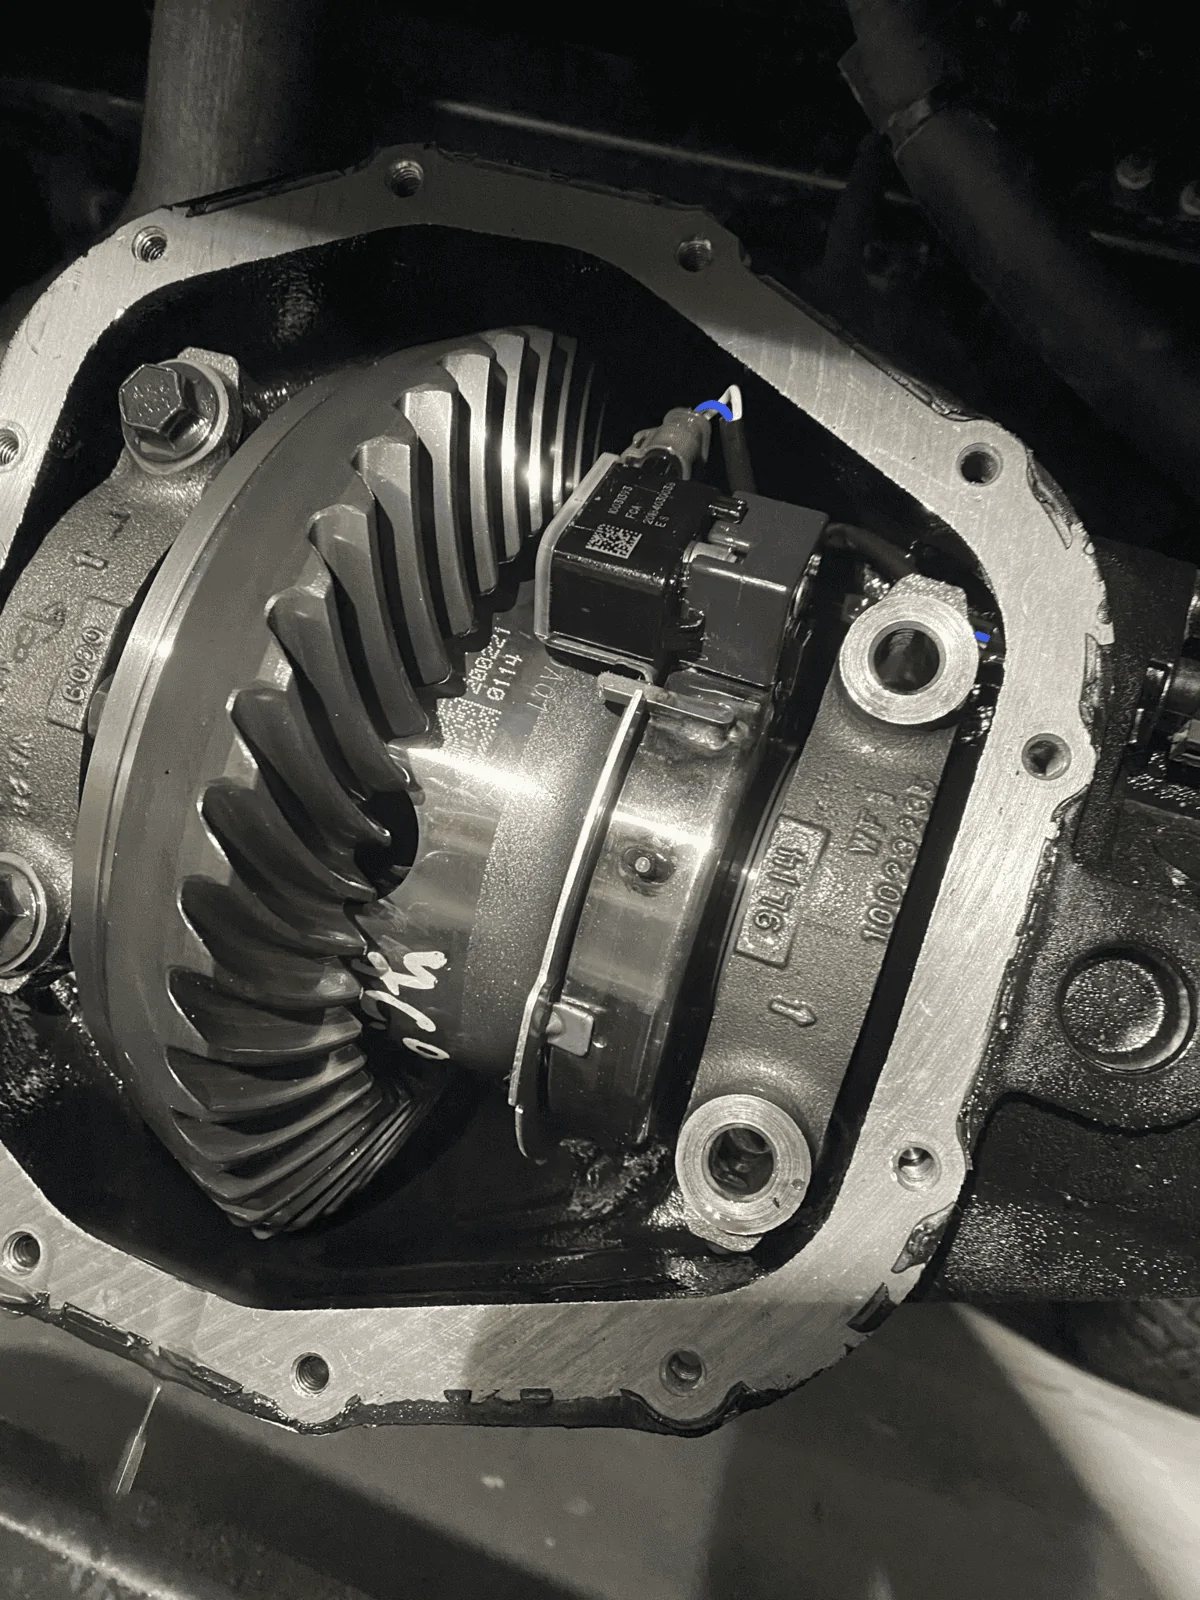
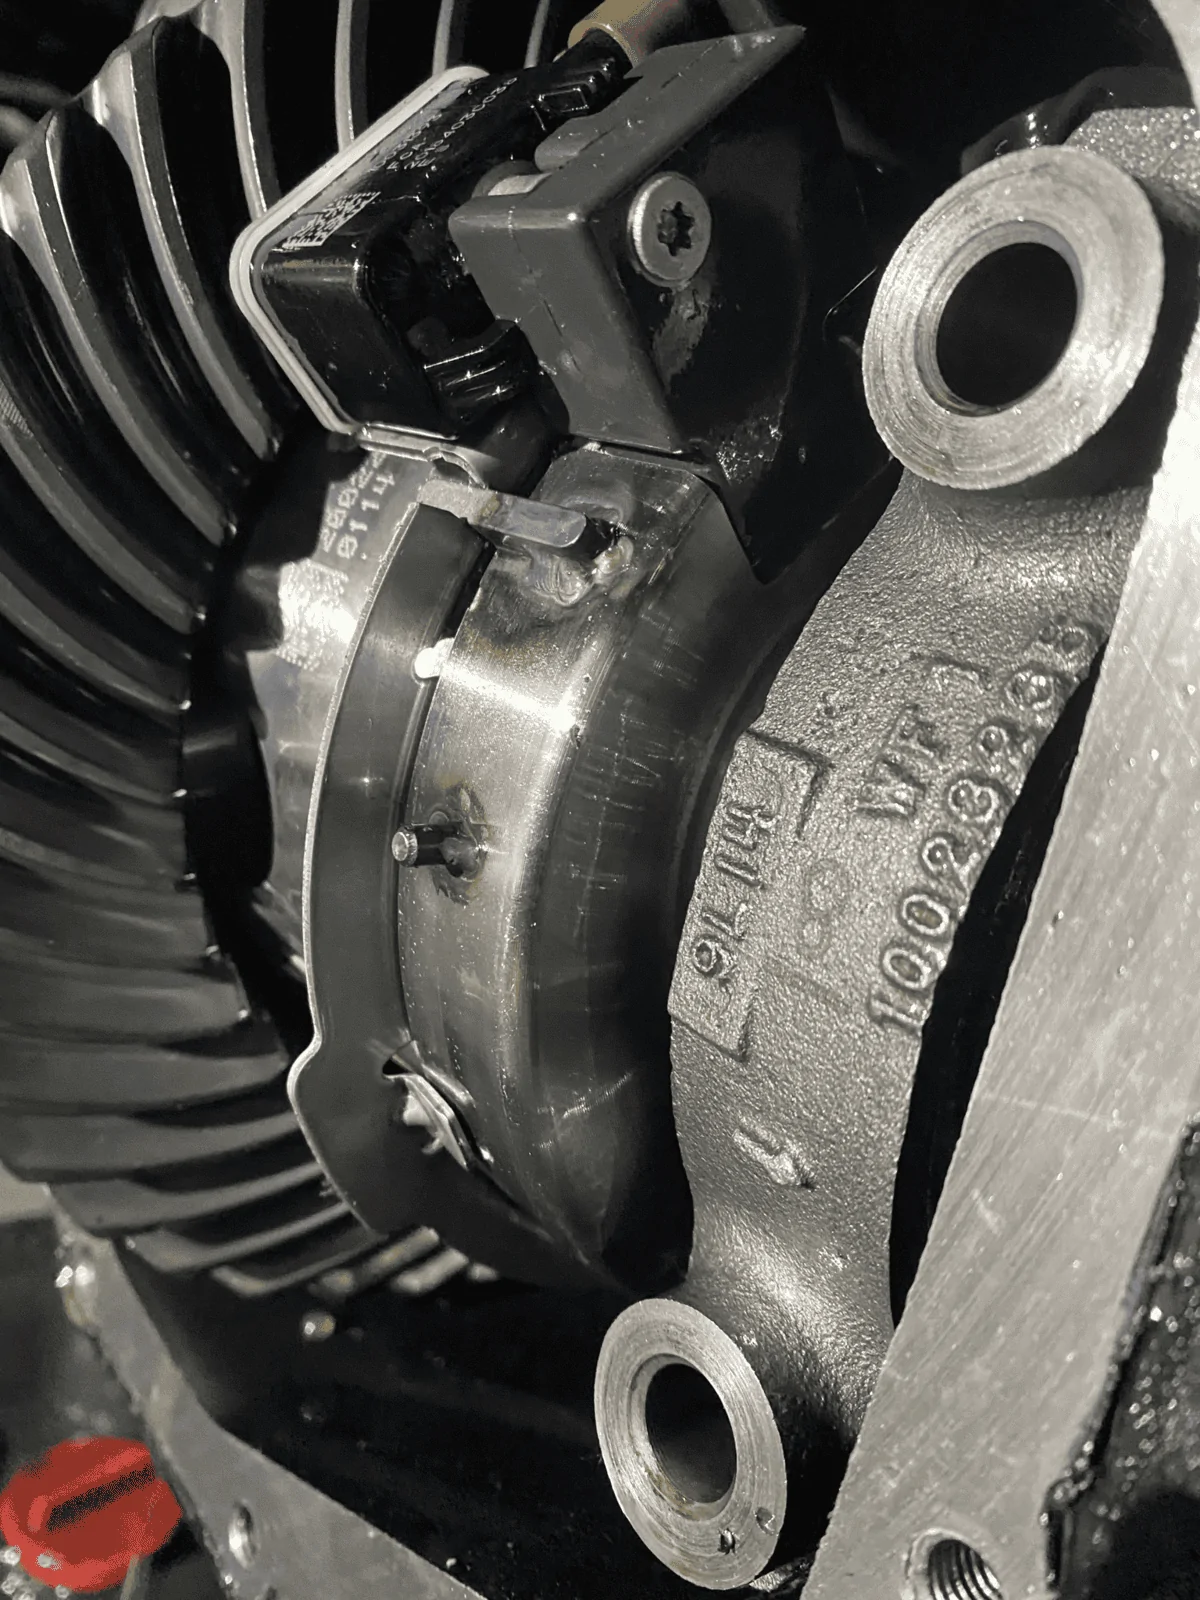
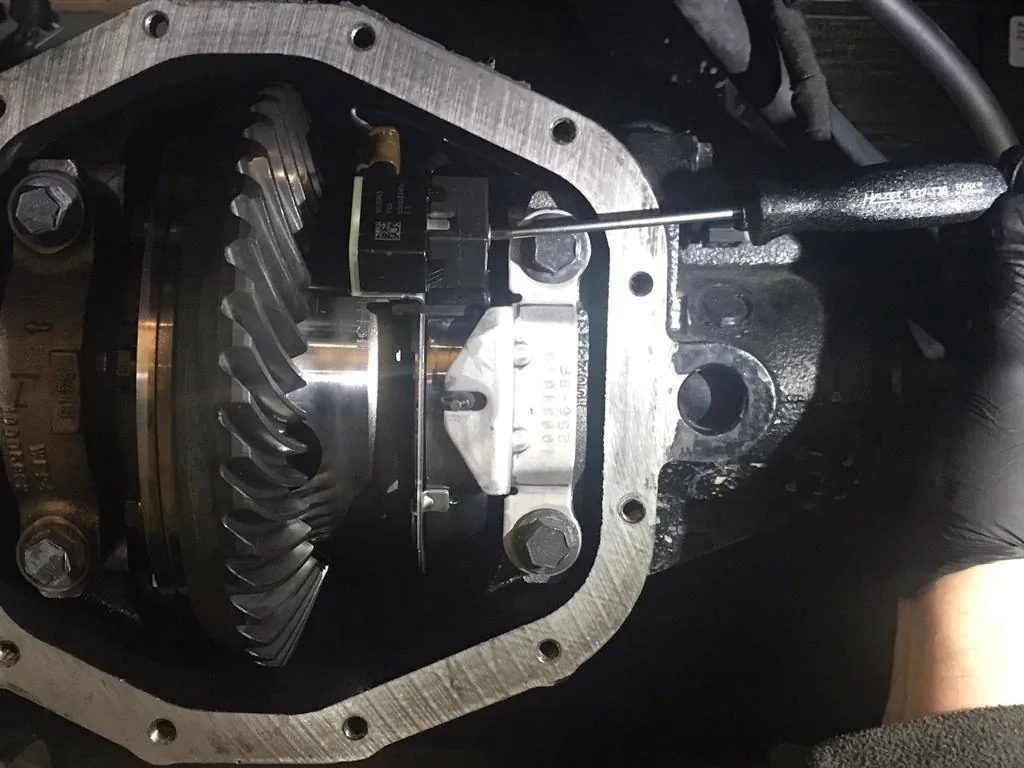
I noticed that with a simple "Torx T20" screwdriver it's possible to remove the screw from the part WITHOUT touching the "Cap bolt" (which is a plus for me, I had a lot of stress having to remove these two bolts)
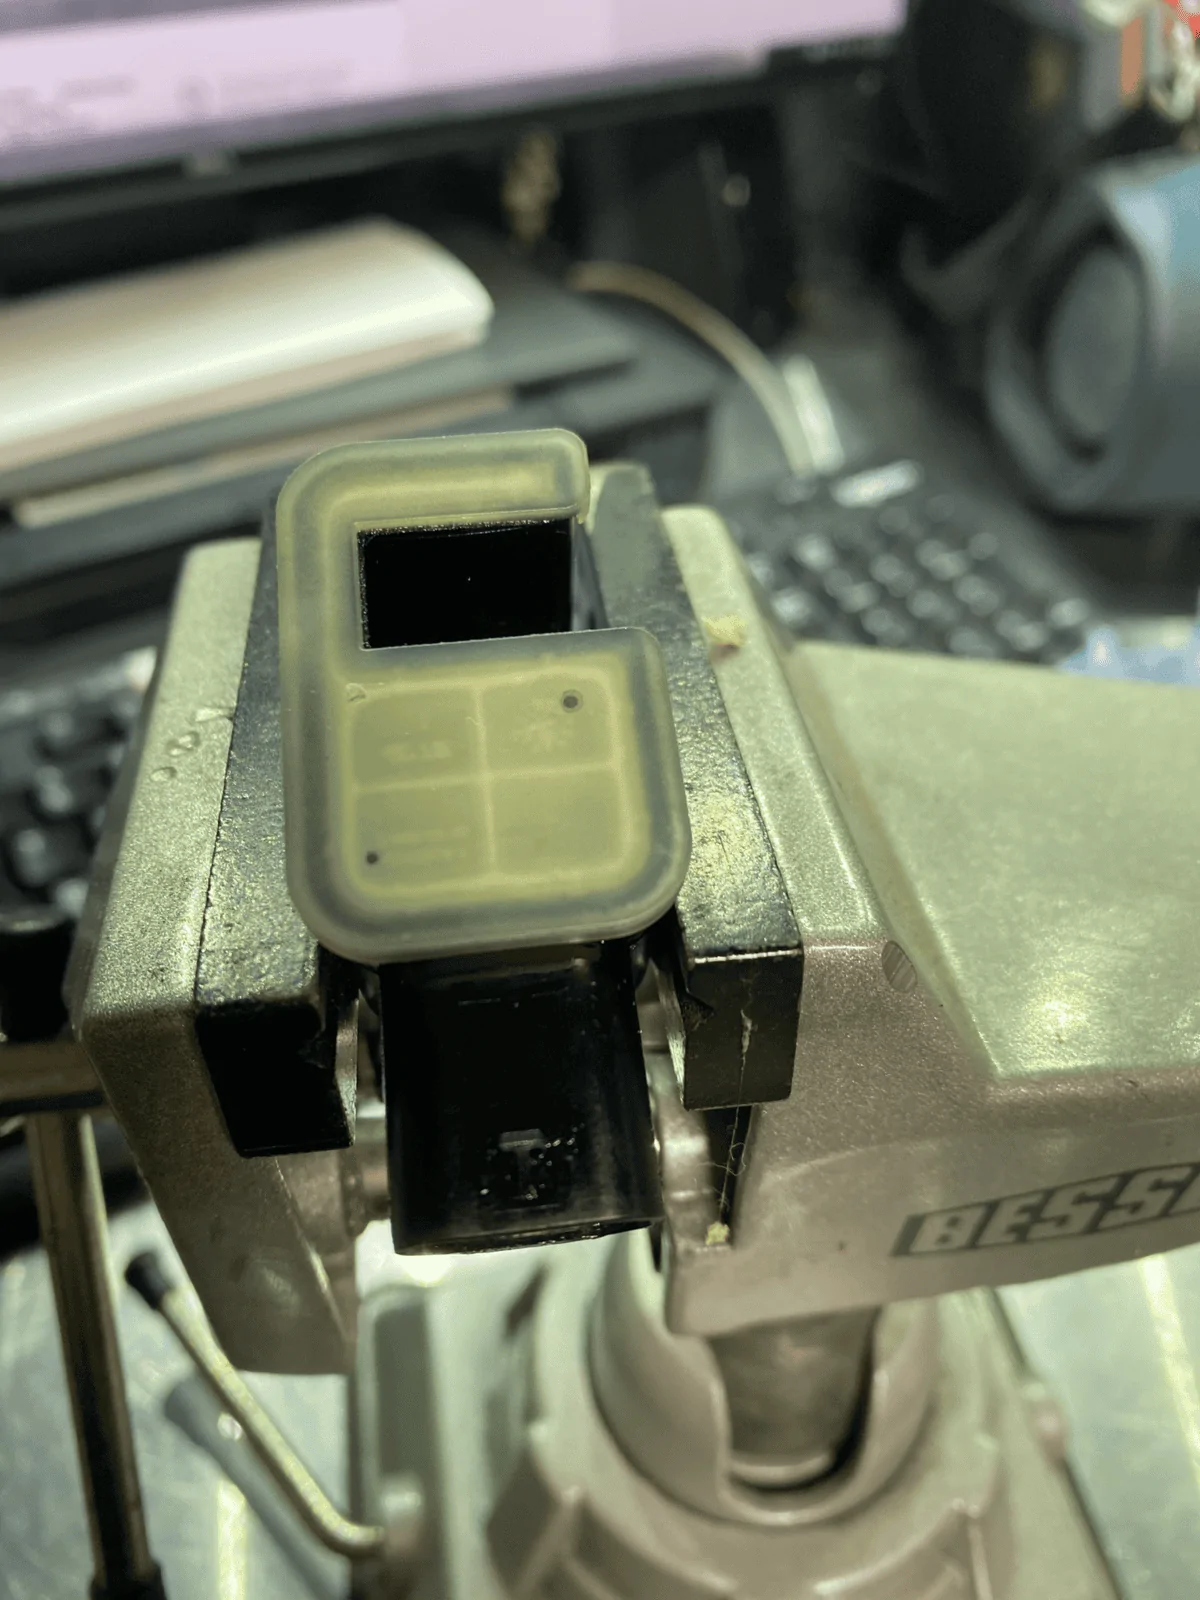
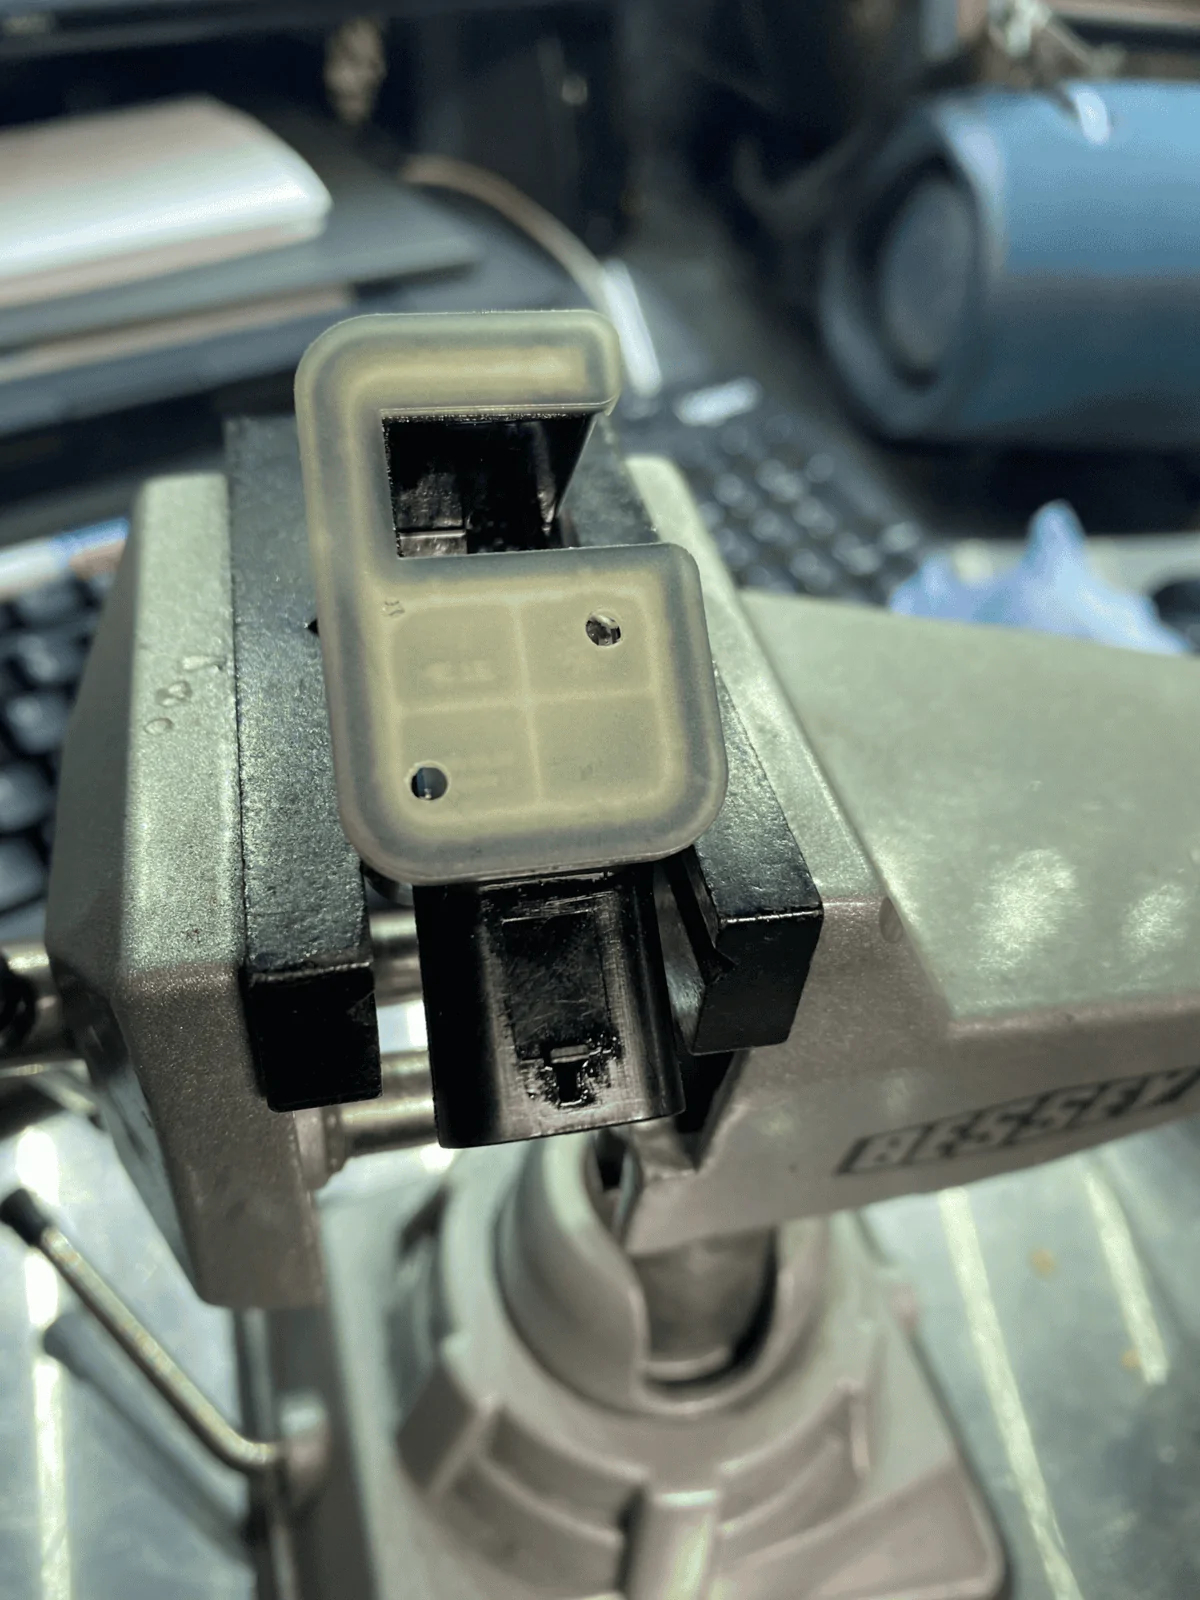
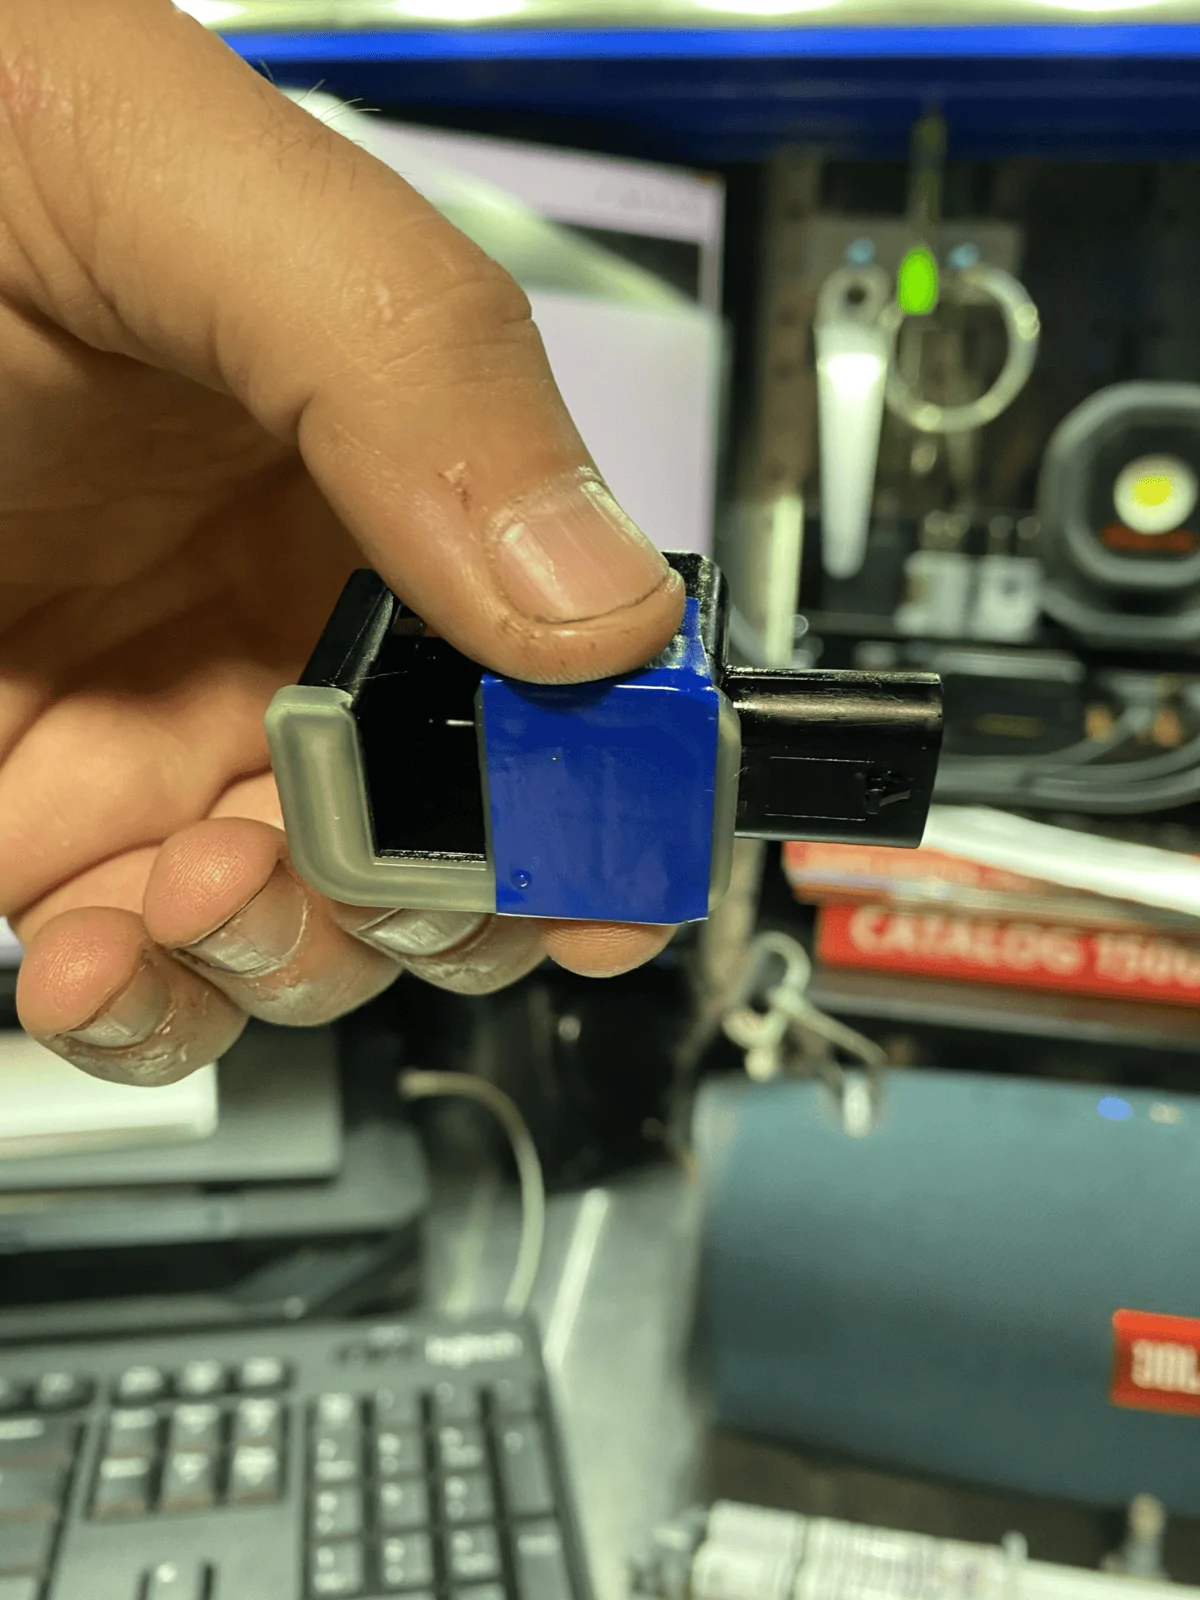
As mentioned above by a member, I managed to clean 100% of the "pot" injector in my kitchen with hot tap water, perhaps this information could be useful to others.

Thanks to the very clear explanations of the first message AND the video, I managed to make my back.
Although for the moment it's the front that is broken (my dealer is not motivated to do something, justice will take over!), I put the cable of Z_Automotive (on the front) and this removed the witnesses on my dashboard.
This morning, when I took off the rear, I already had some oil in it, I drilled the three holes, cleaned it with fein cleaner, put the seal on and reassembled it this morning. Not yet checked if it's good or not, normally I had no more lights on my dashboard. I hope my modification didn't make the situation worse when I cleaned the oil inside.
Anyway.
I noticed that with a simple "Torx T20" screwdriver it's possible to remove the screw from the part WITHOUT touching the "Cap bolt" (which is a plus for me, I had a lot of stress having to remove these two bolts)
As mentioned above by a member, I managed to clean 100% of the "pot" injector in my kitchen with hot tap water, perhaps this information could be useful to others.
Sponsored
")