OP
OP
jlewissystem
Well-Known Member
- Thread starter
- #106
Cold weather time! Hard tops go back on! Saw a few others paint the inside of the hard top, so did that as well. We decided to do it with Plasti-Dip and not truck bed or other paint. We like the idea of being able to remove if wanted, even though it would be a pain in the @$$. Since it was cold, i painted it in my basement. If you do this, be warned that it's not preferred - LOL. We all had headaches, even though i tried to ventilate as much as possible. I will consider it worth it, but it sucked for that day/night.
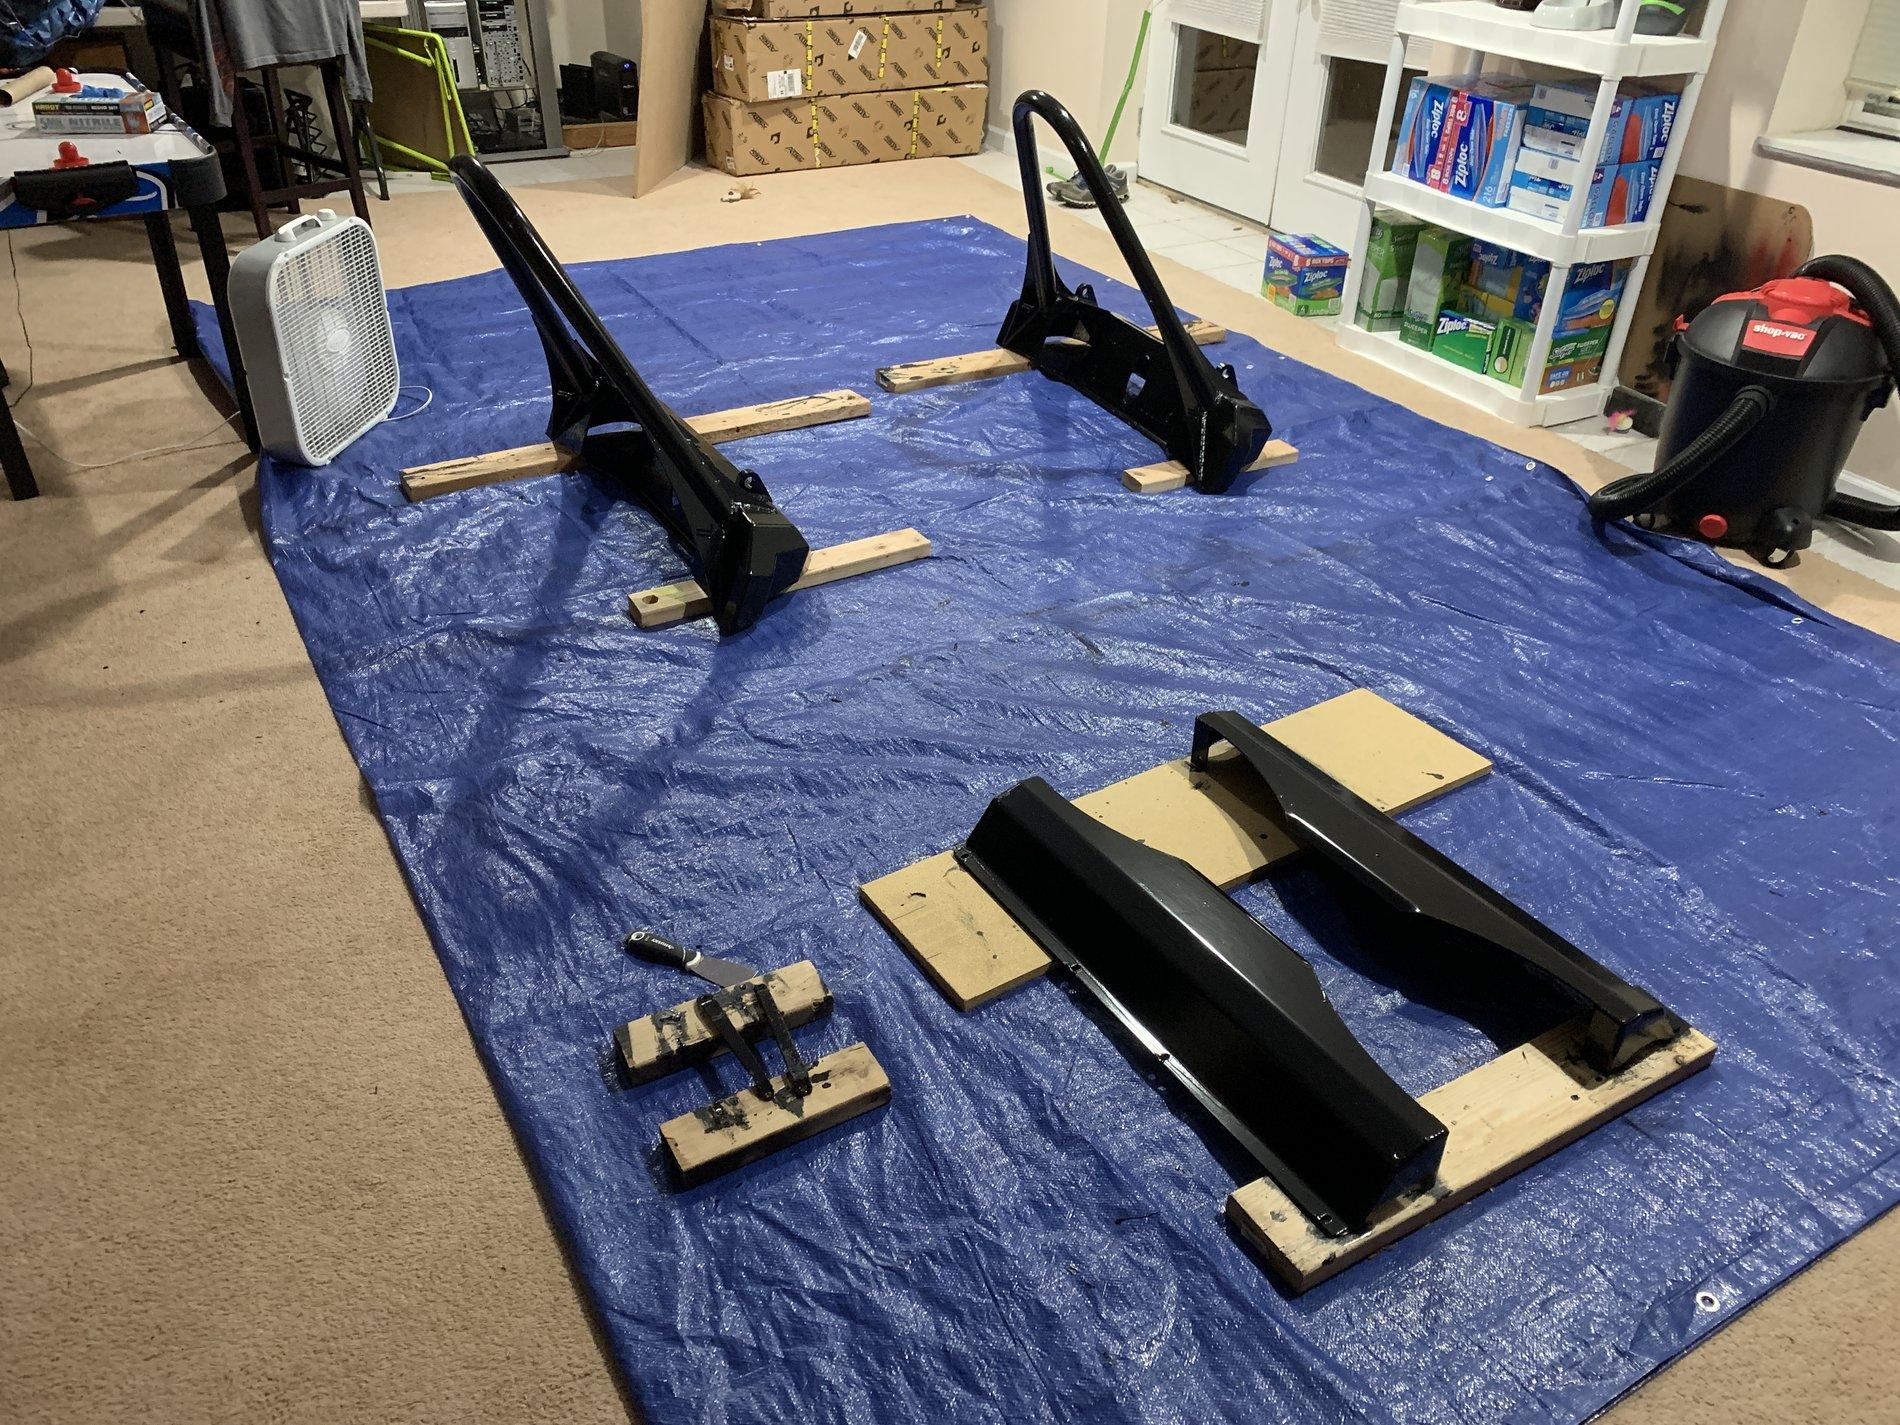
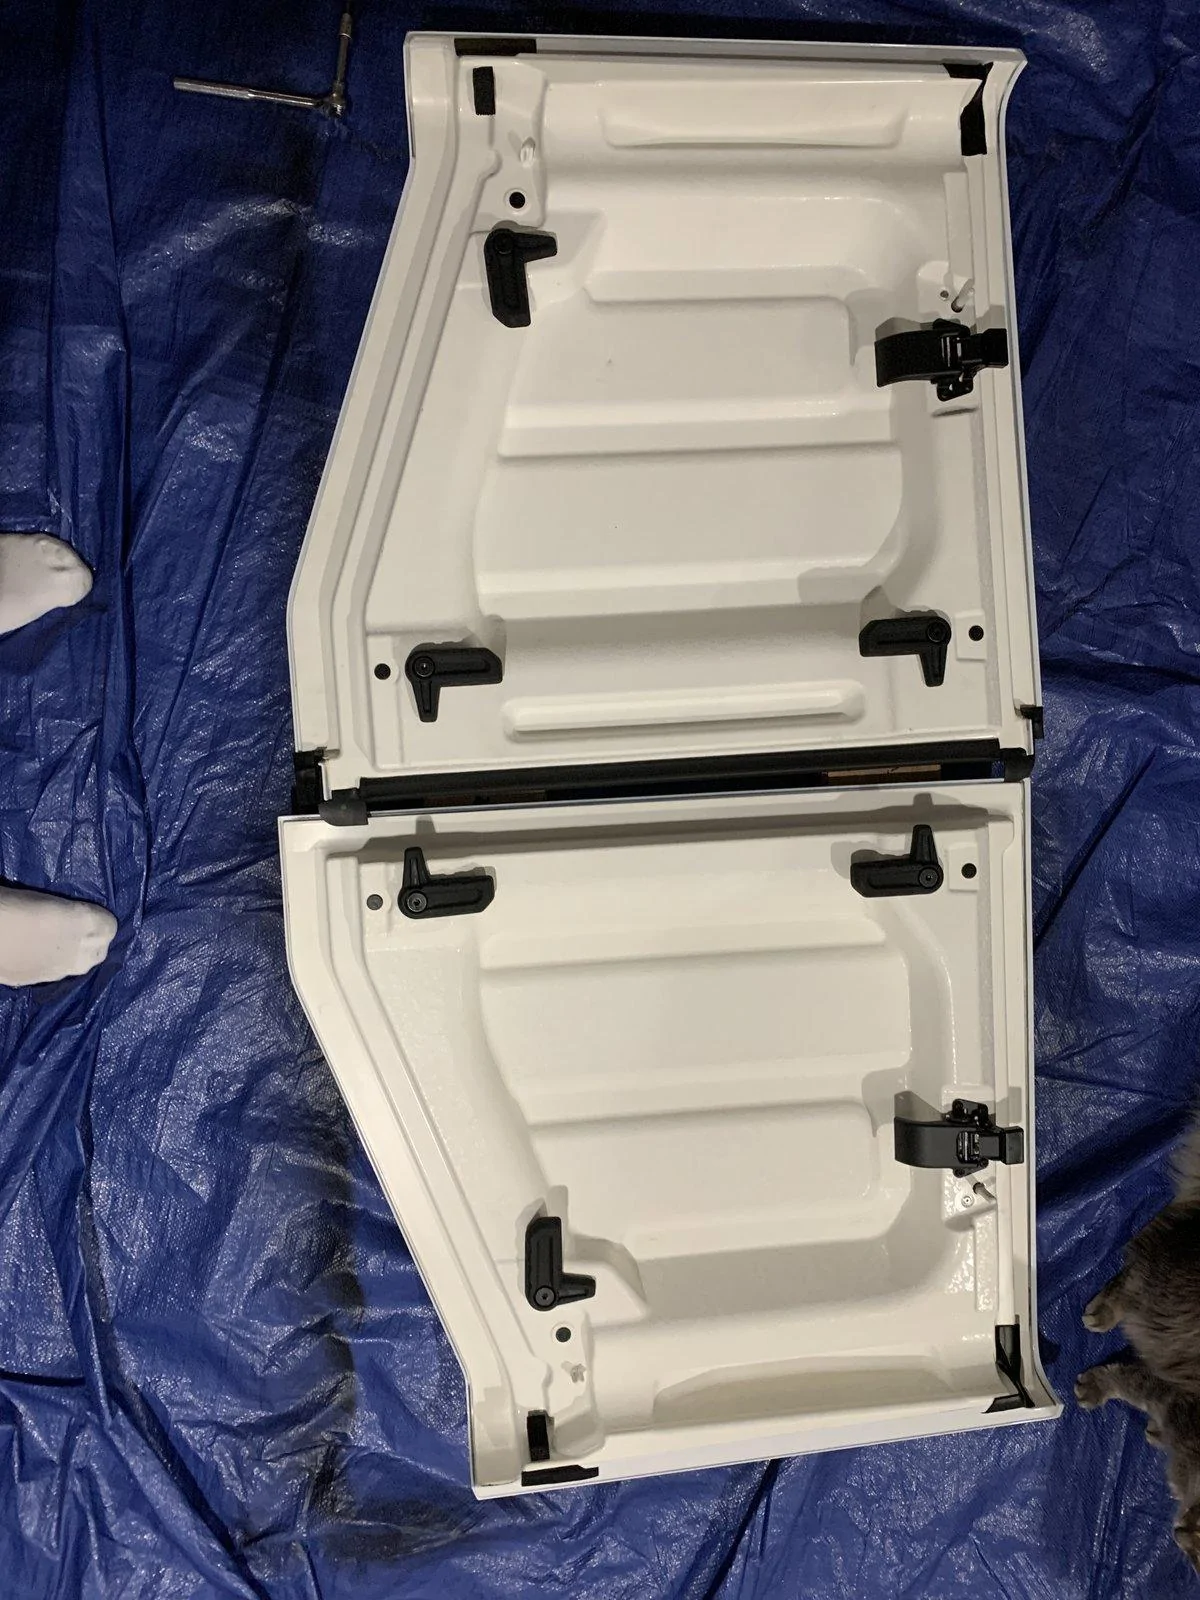
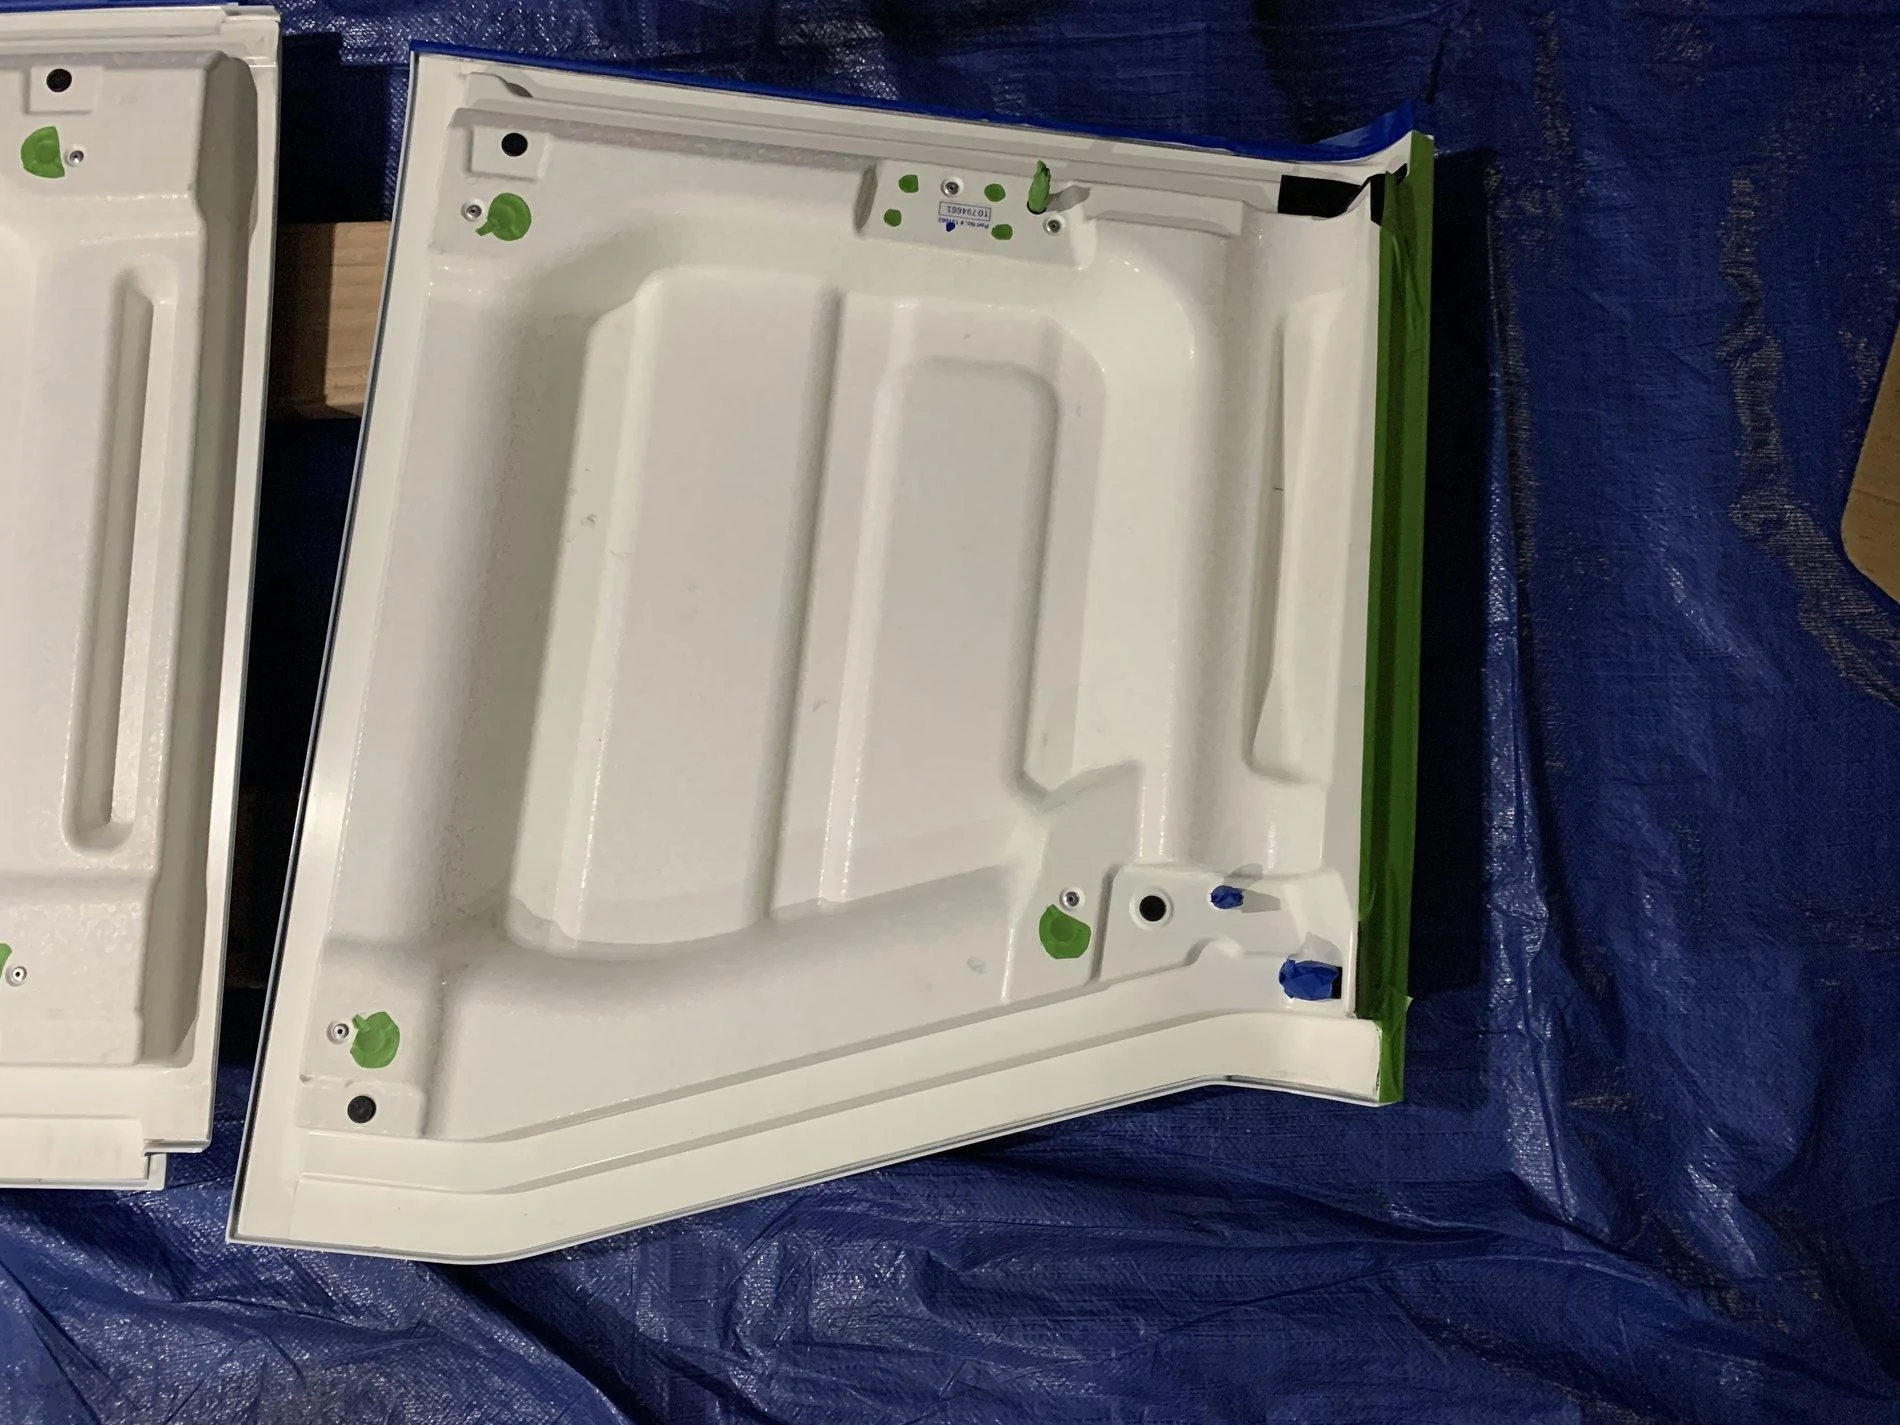
Panels before:

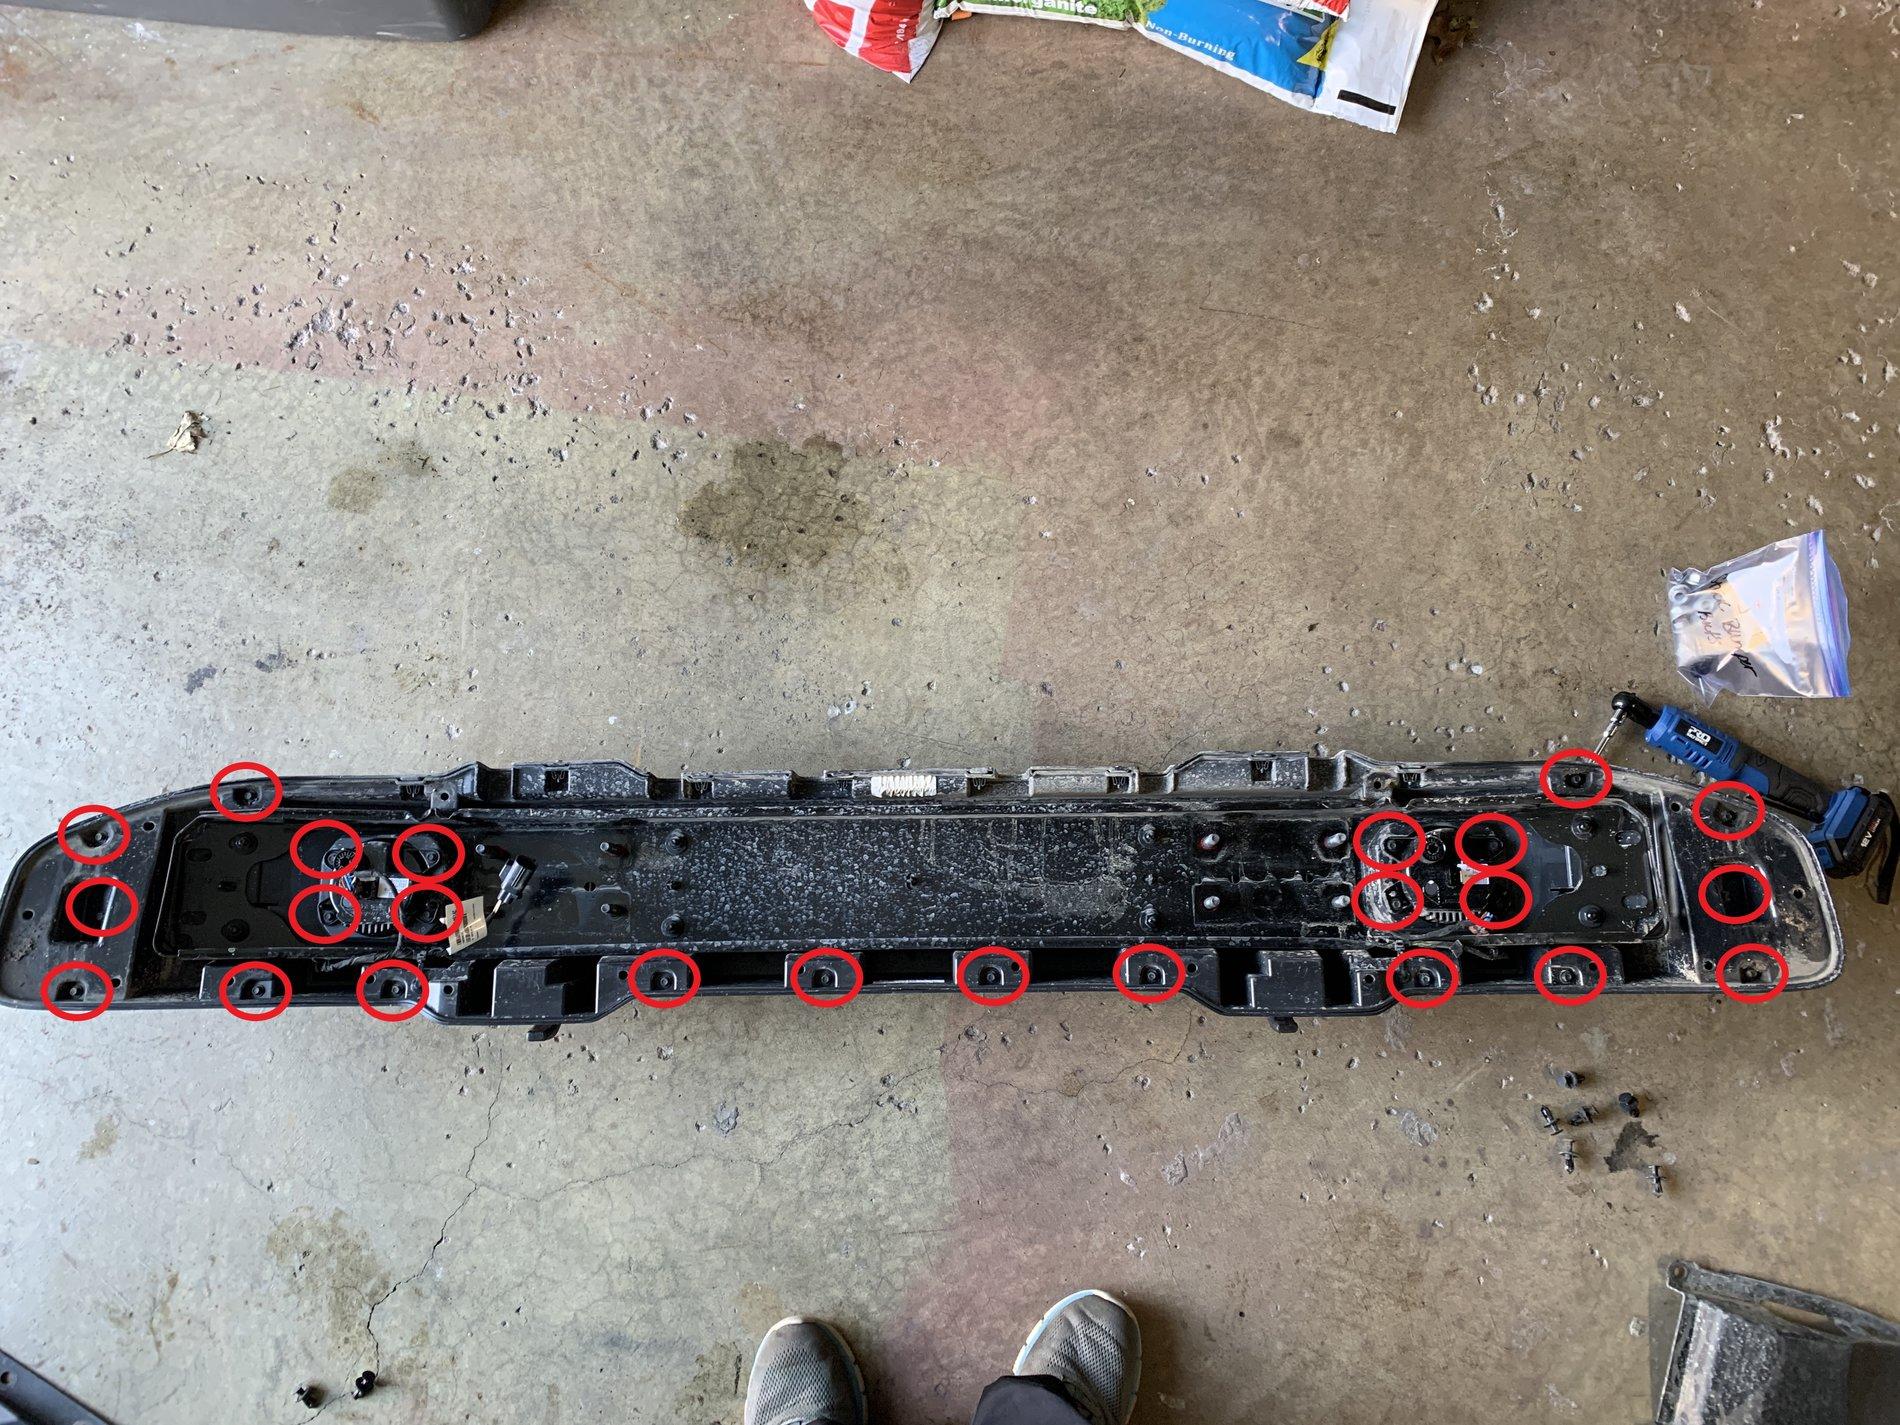
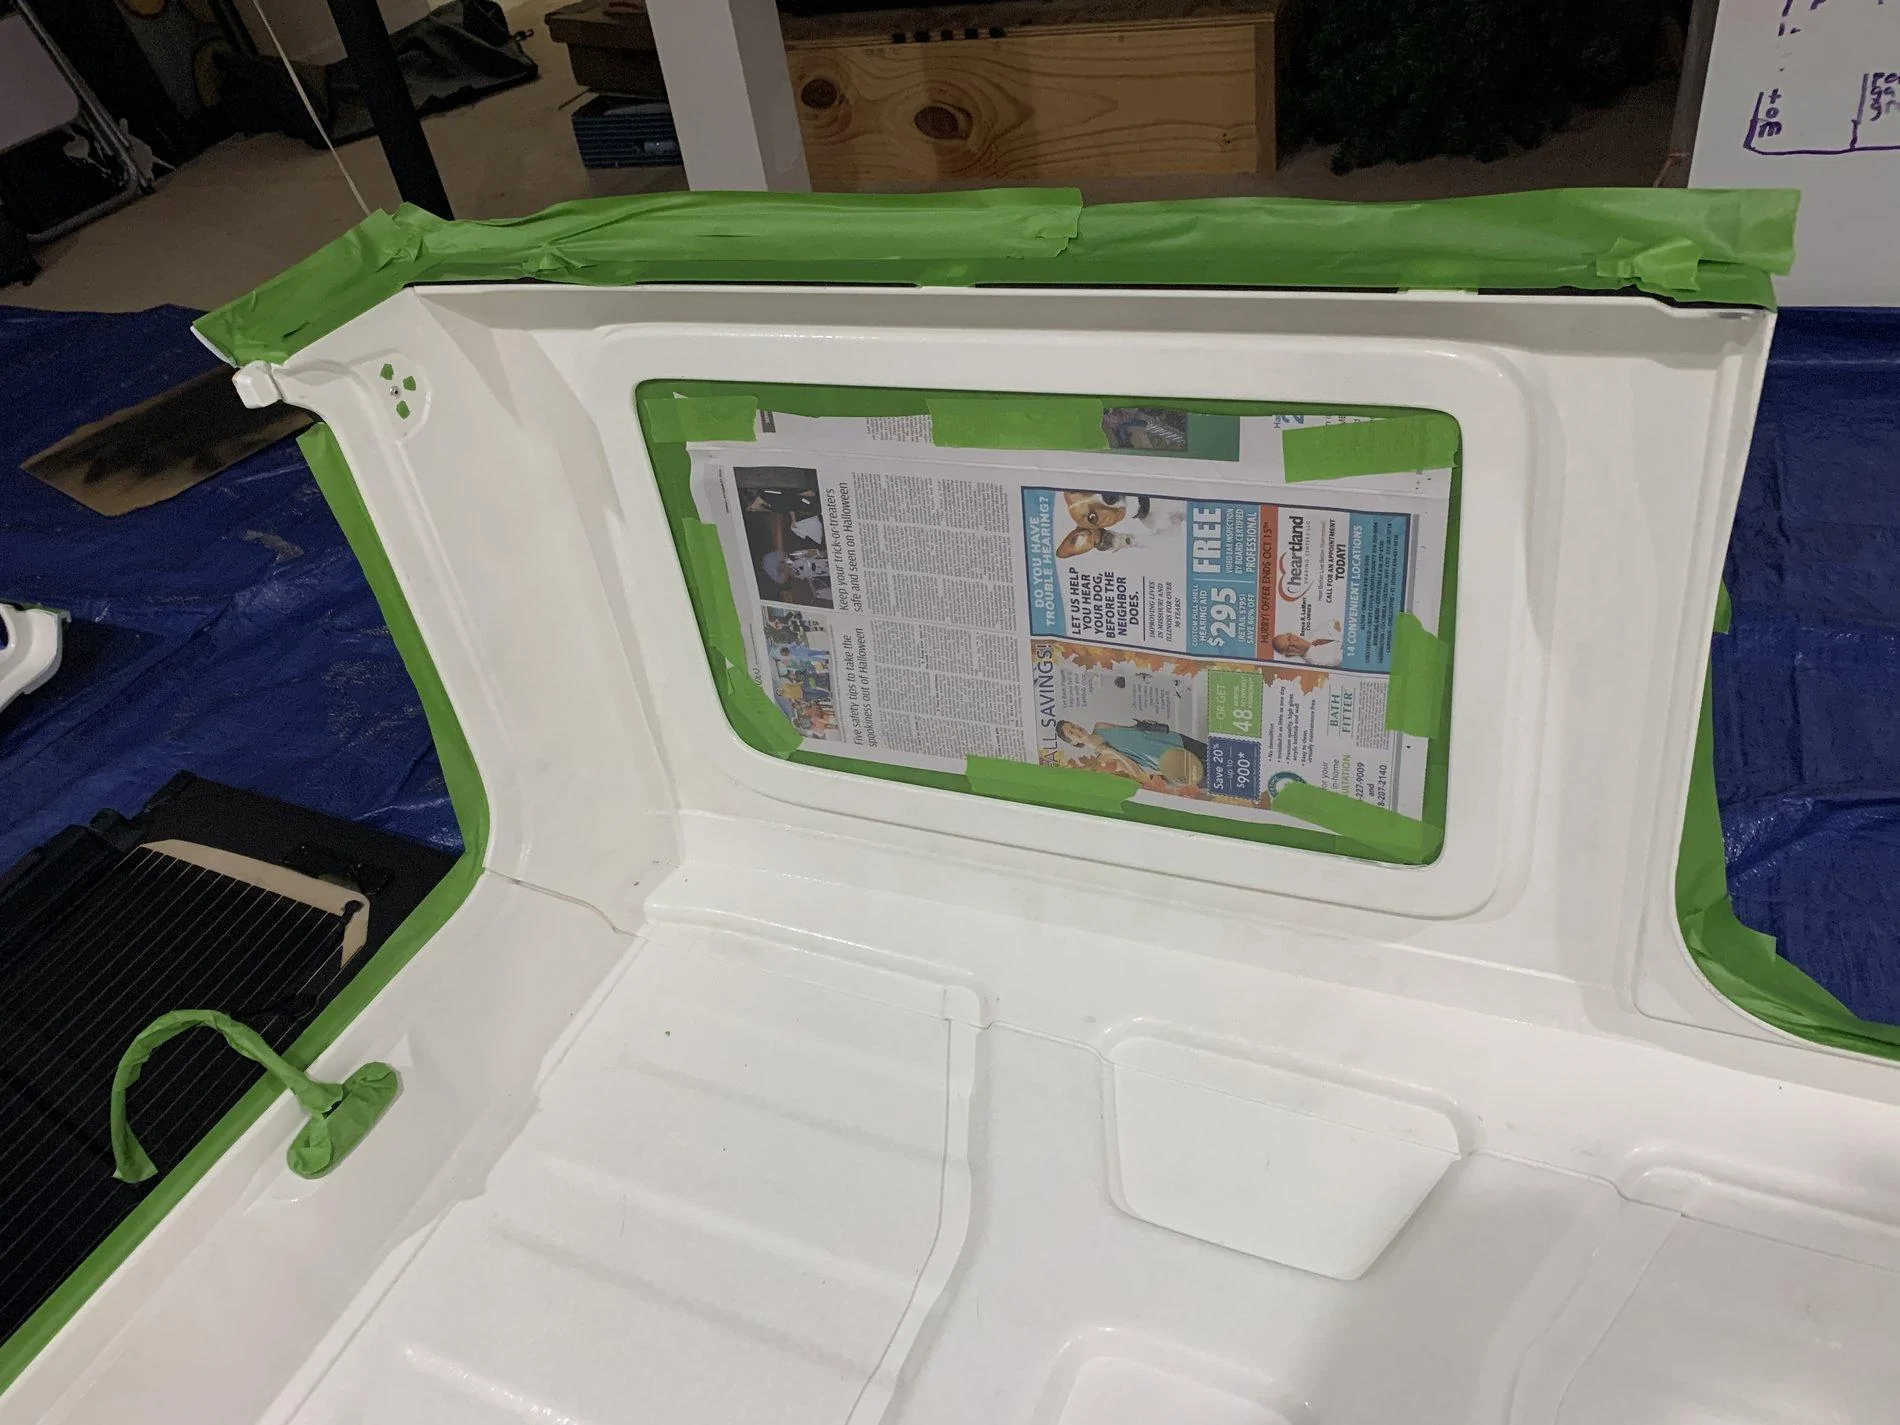
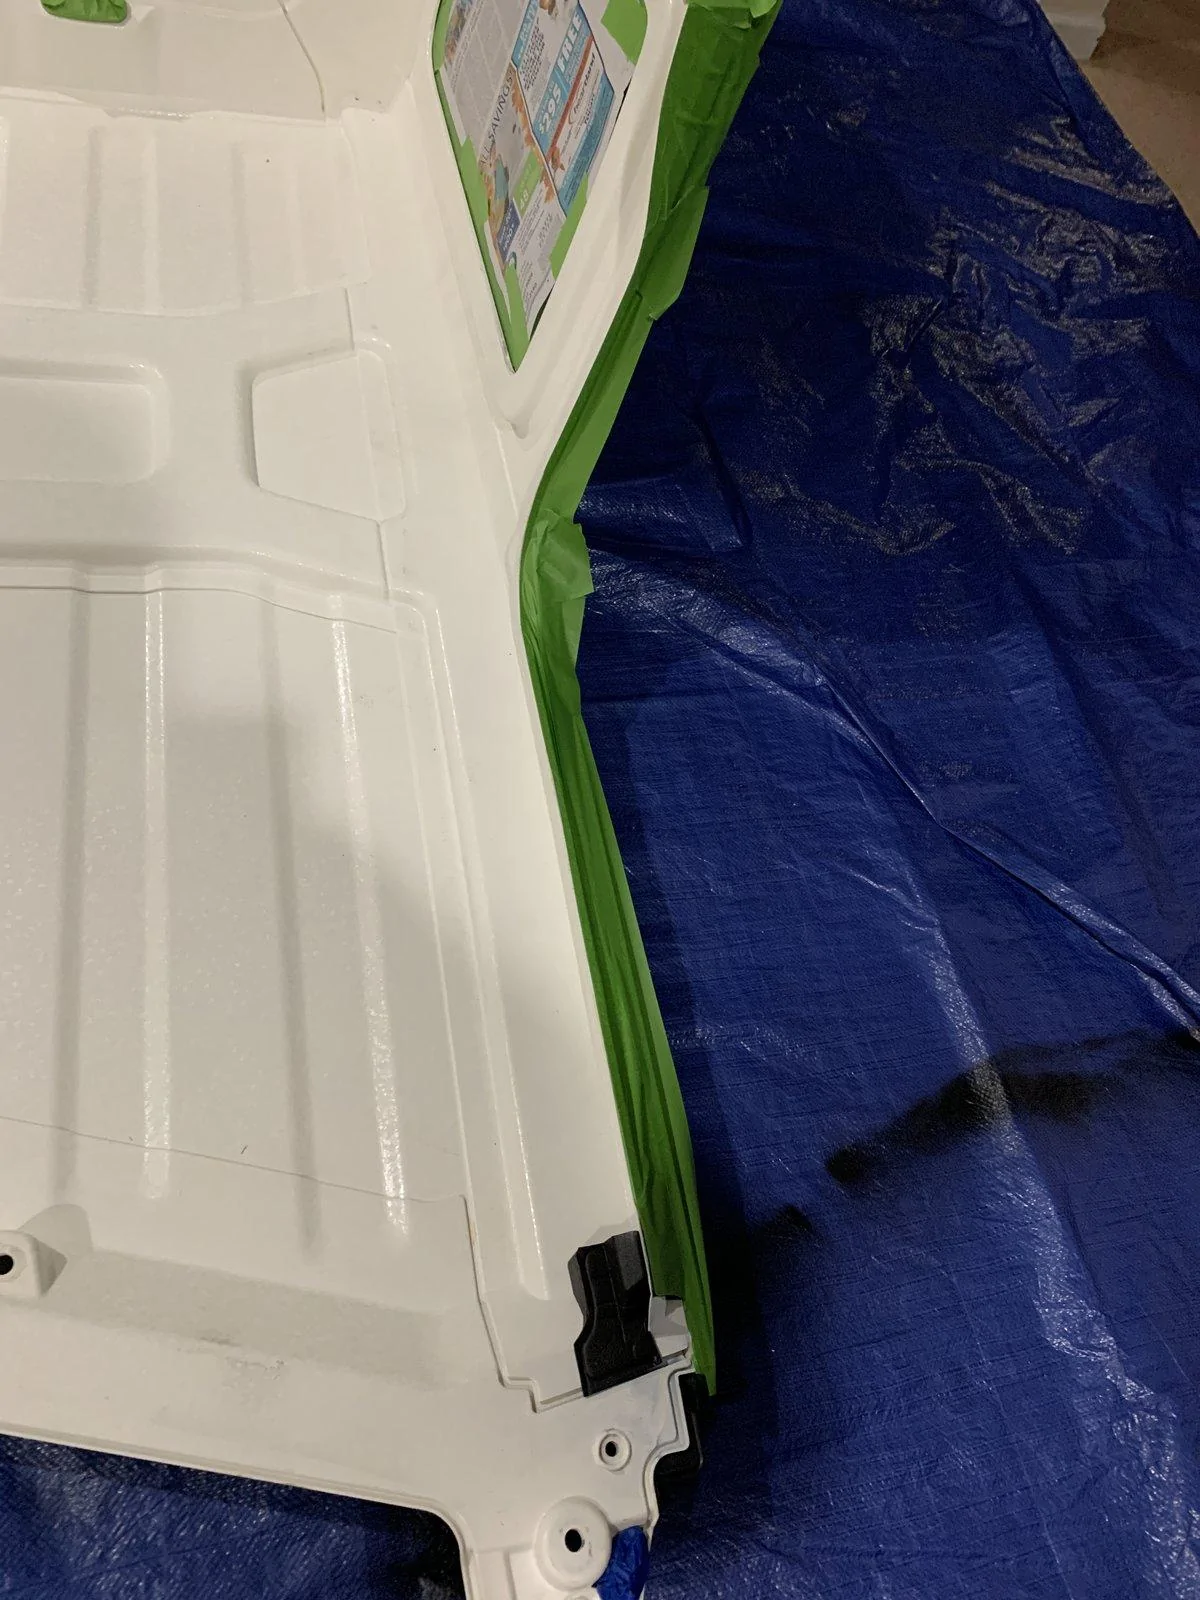
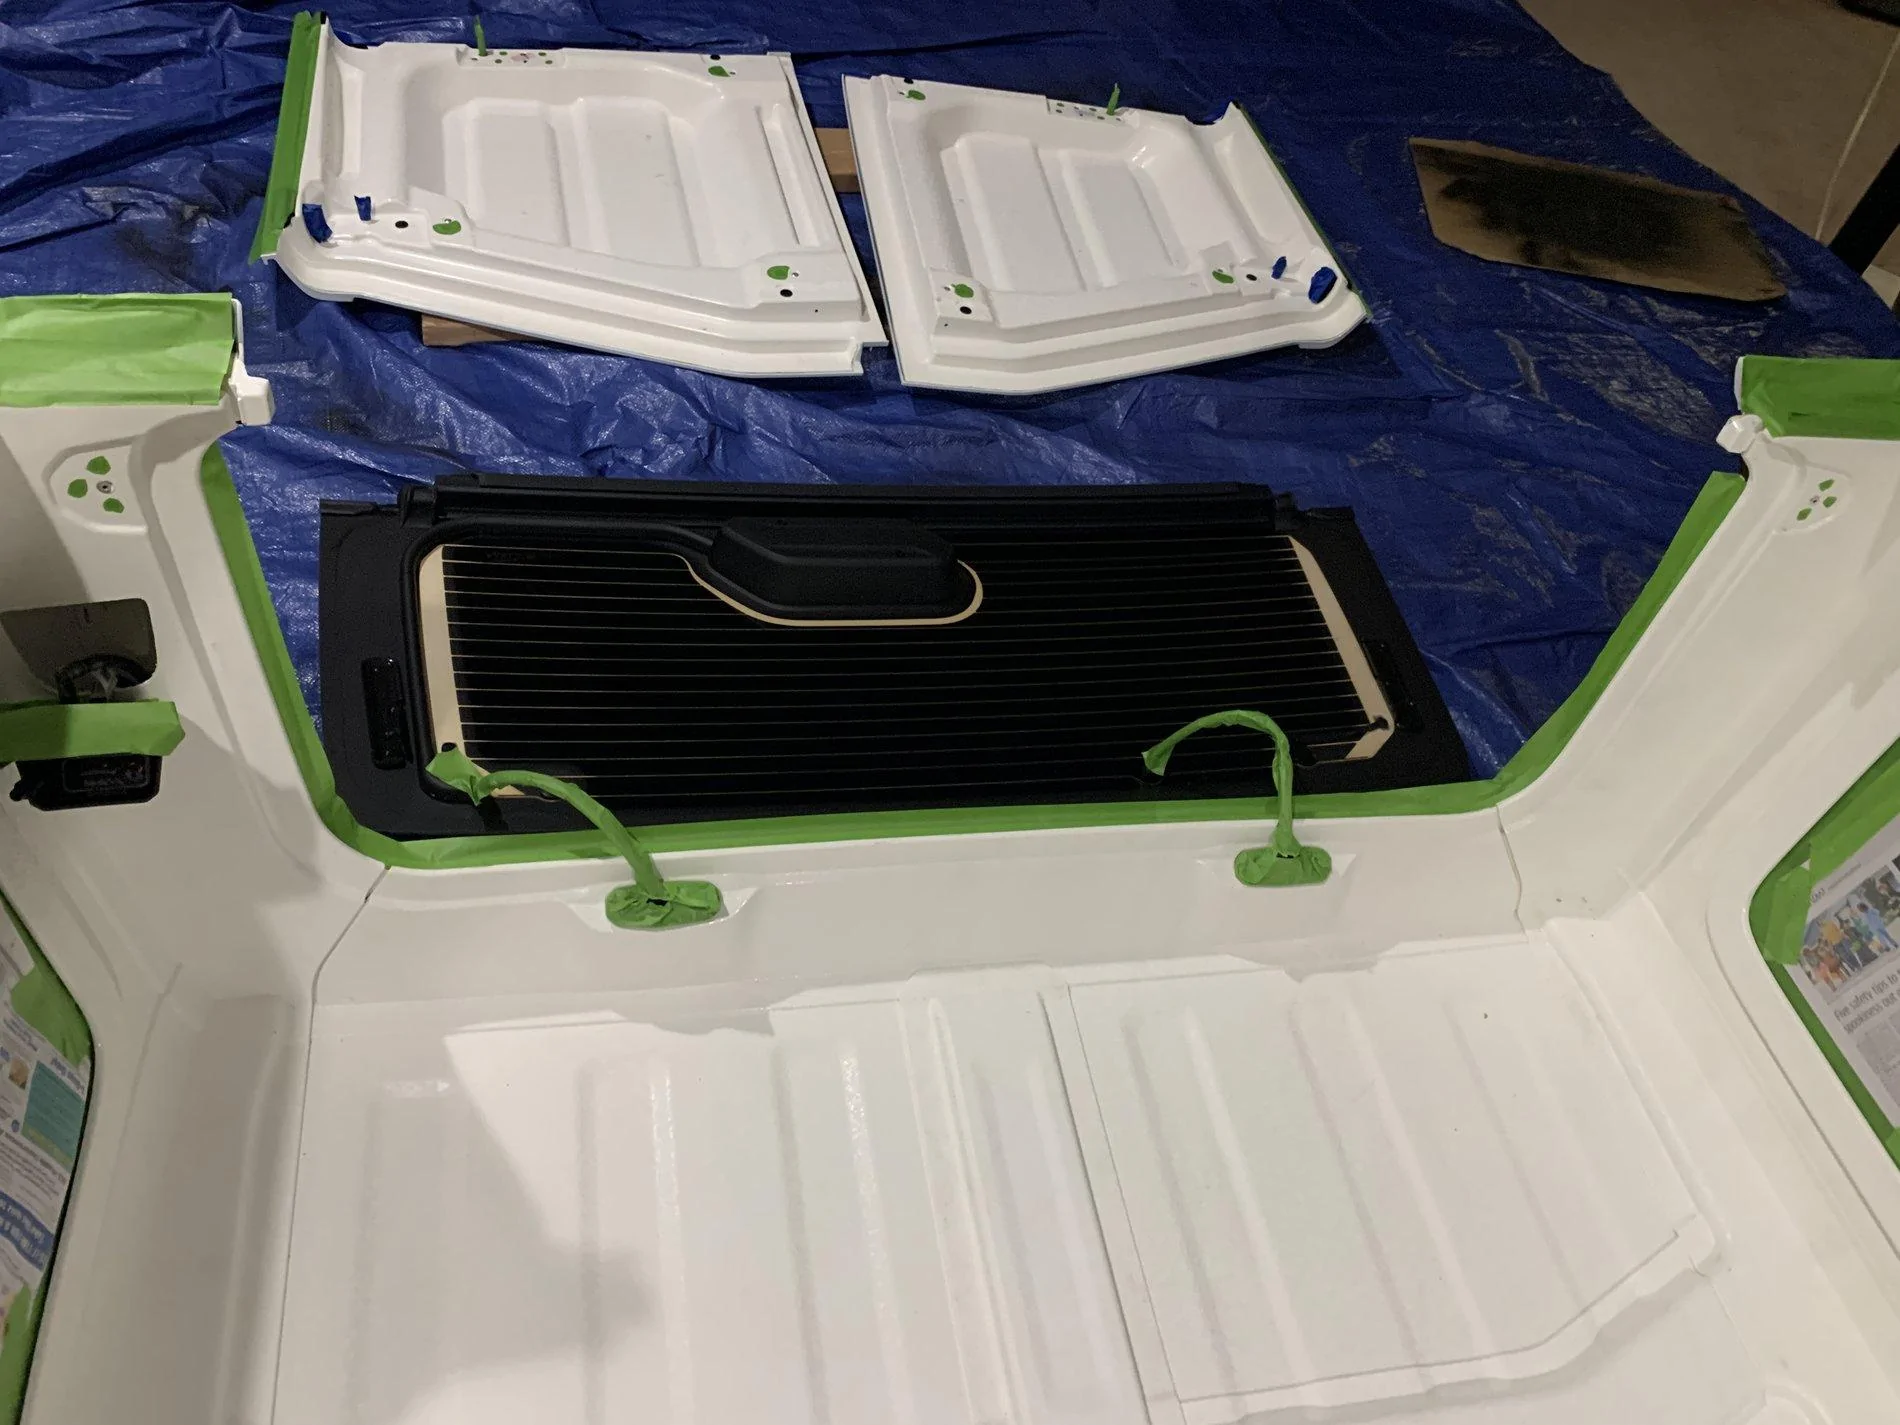
Remove the weather-strip and hardware and taped. I used an exacto-knife to cut the circles. This pattern can be visible when you're done, so think about if/how you want to do this:

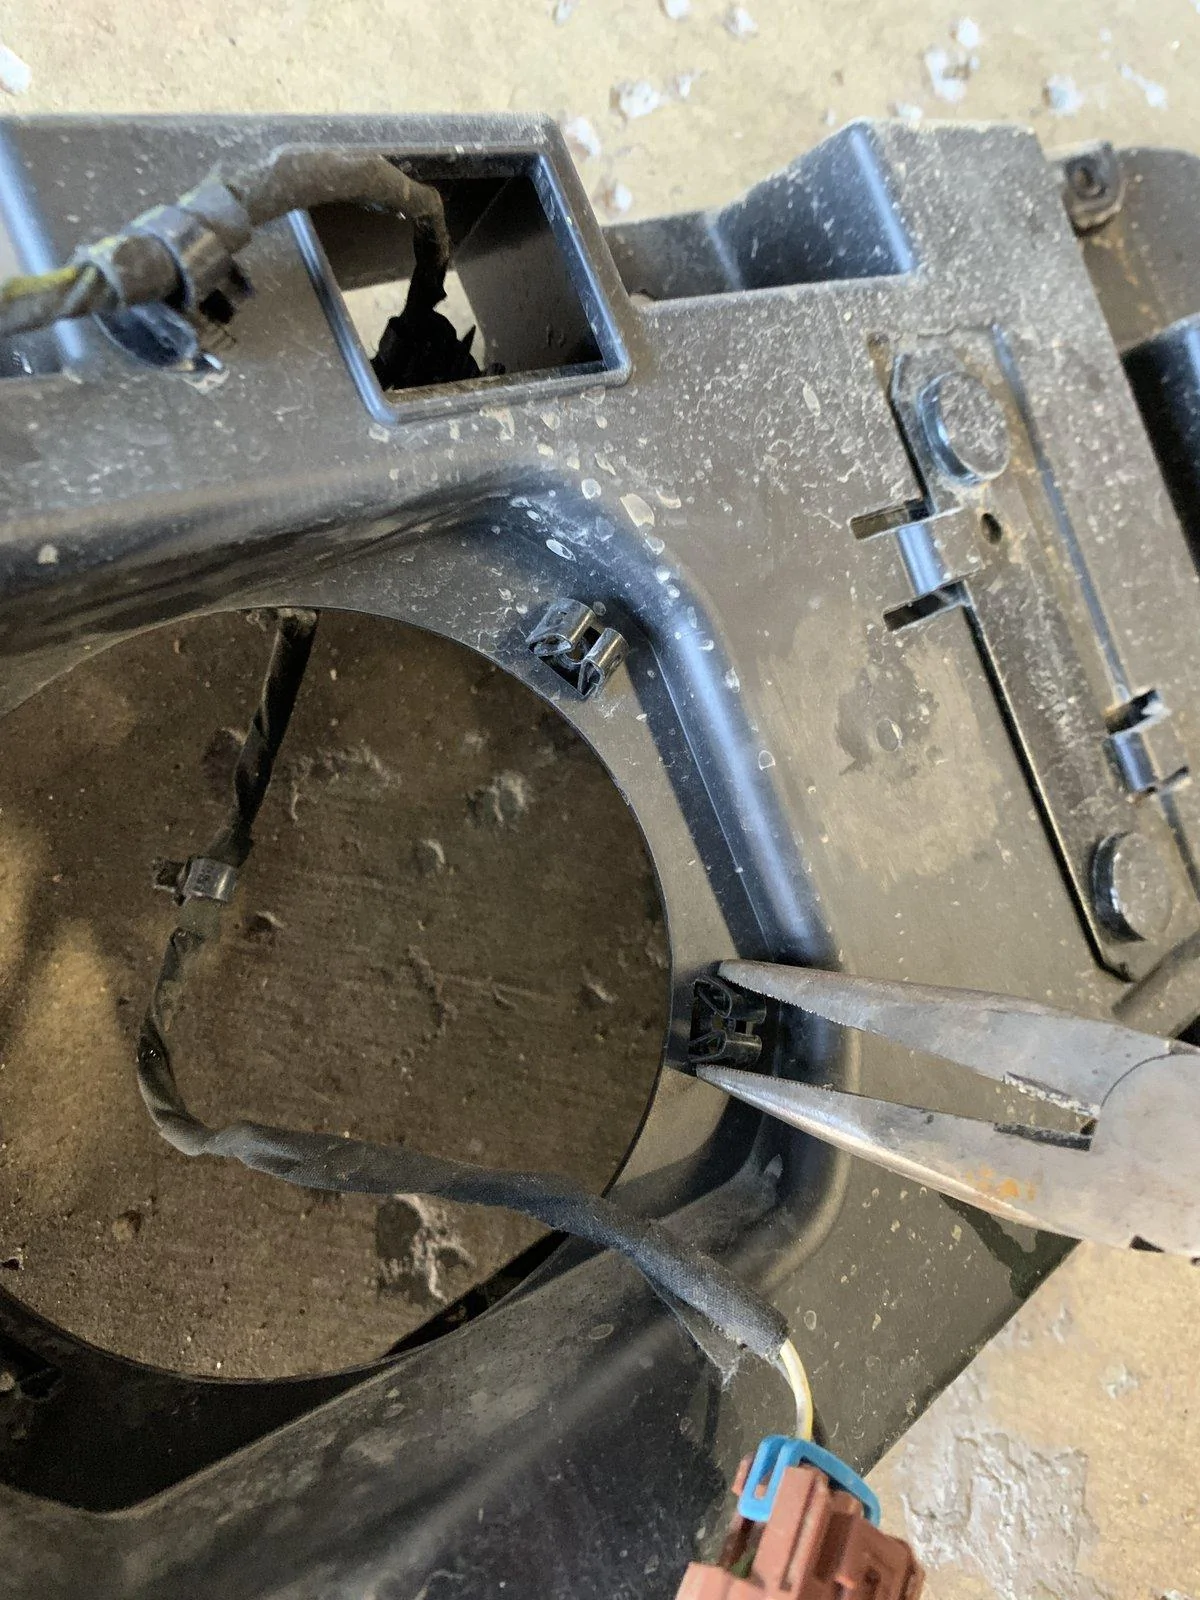
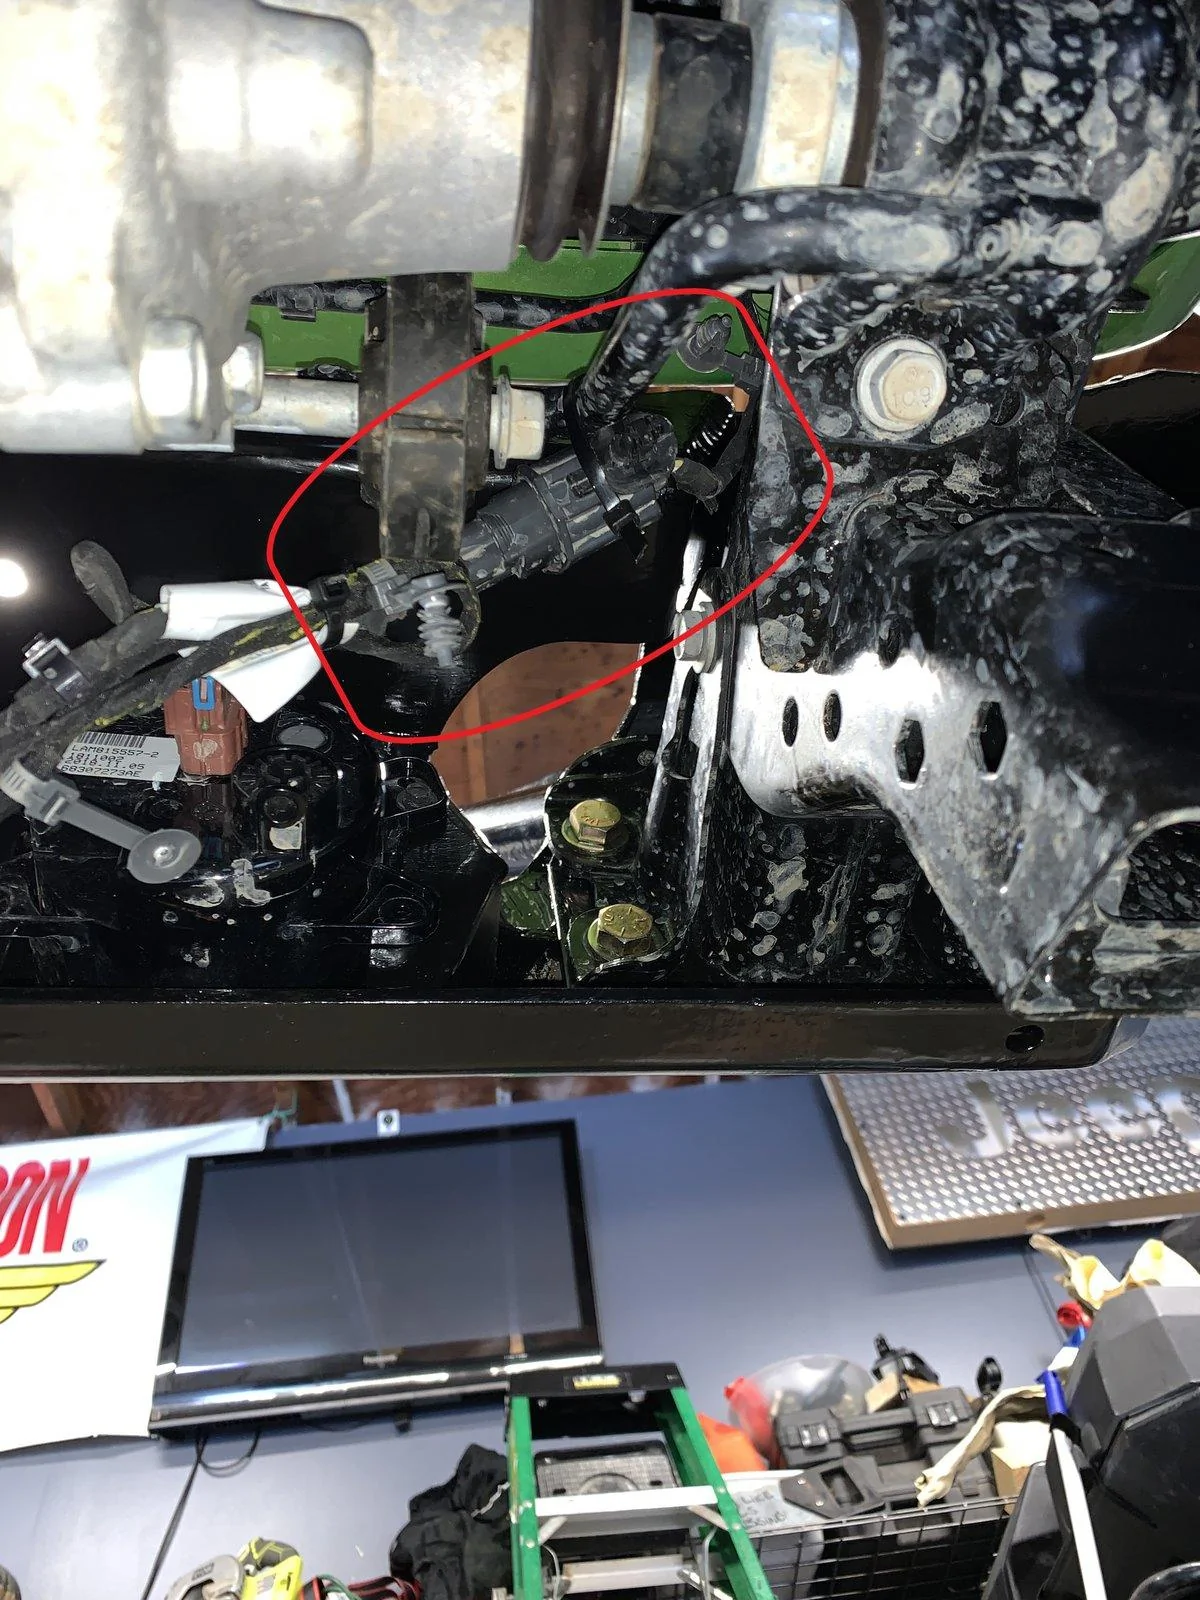
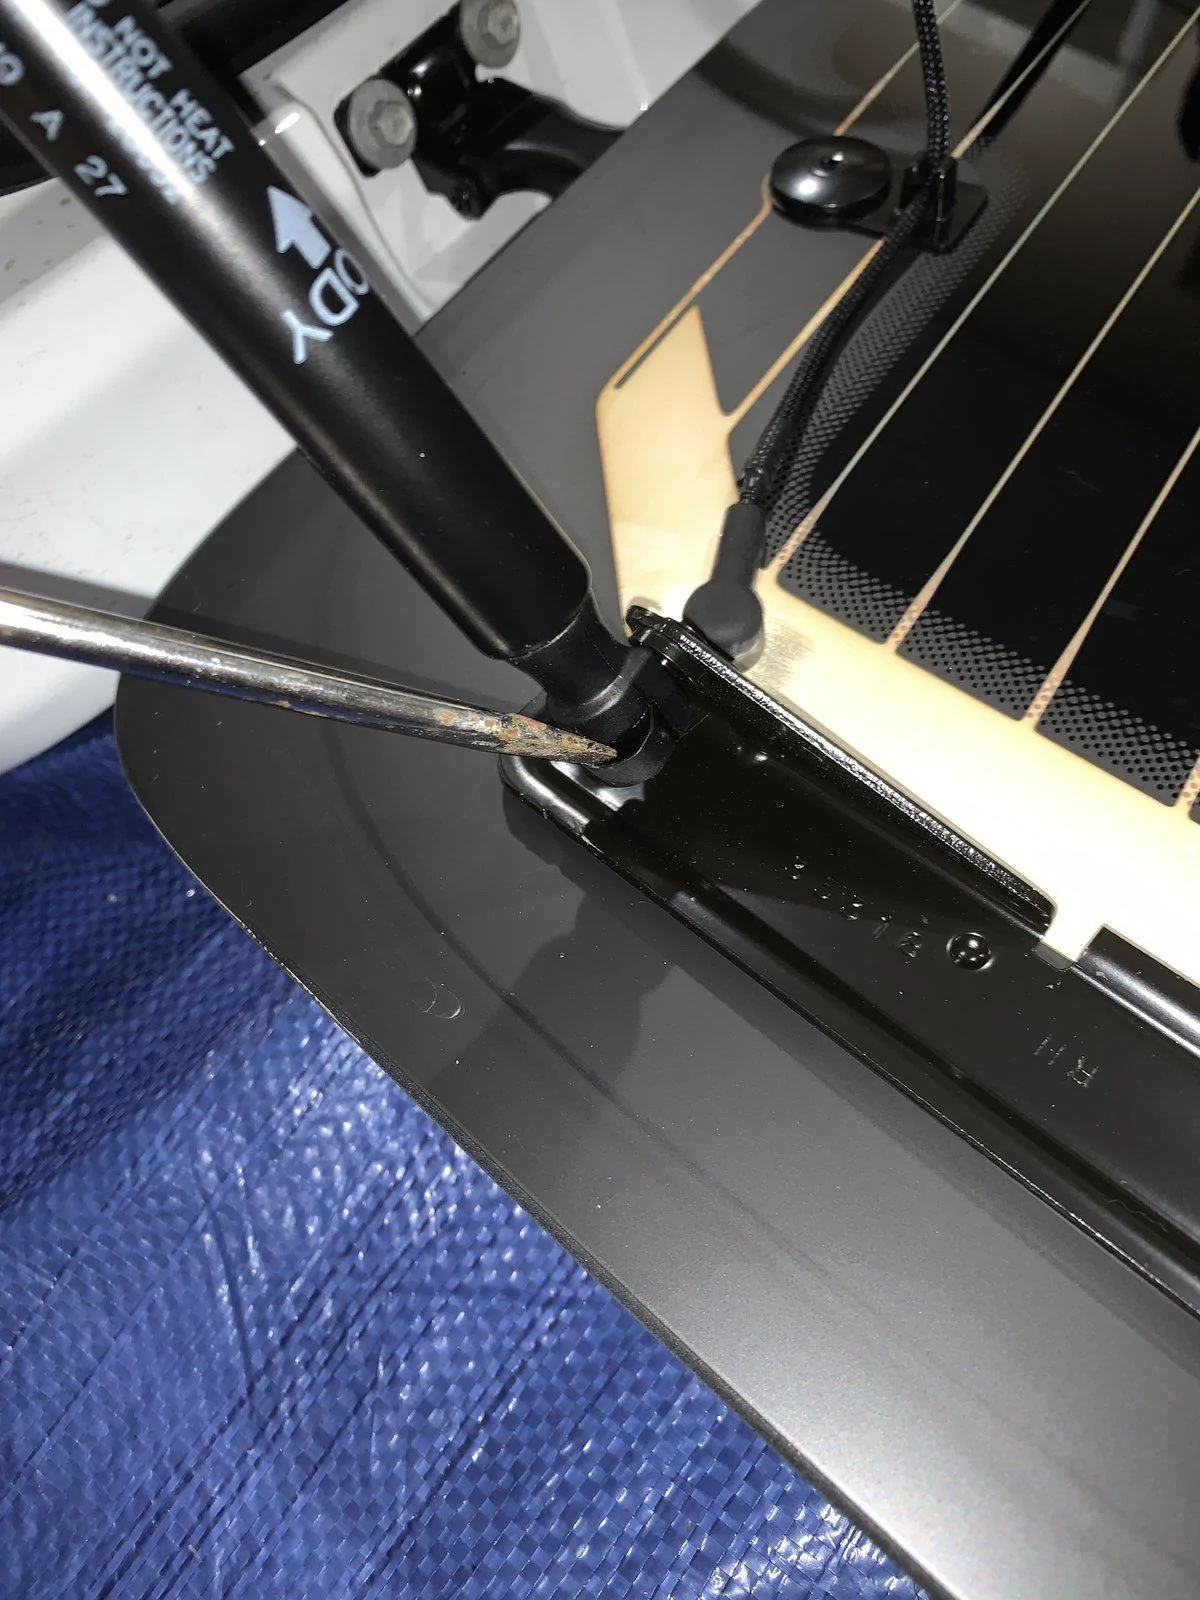
On the hard top, i removed the glass-struts, hardware and taped. For the struts, use a flat-head to pry the c-clamp out, compress and pull off:
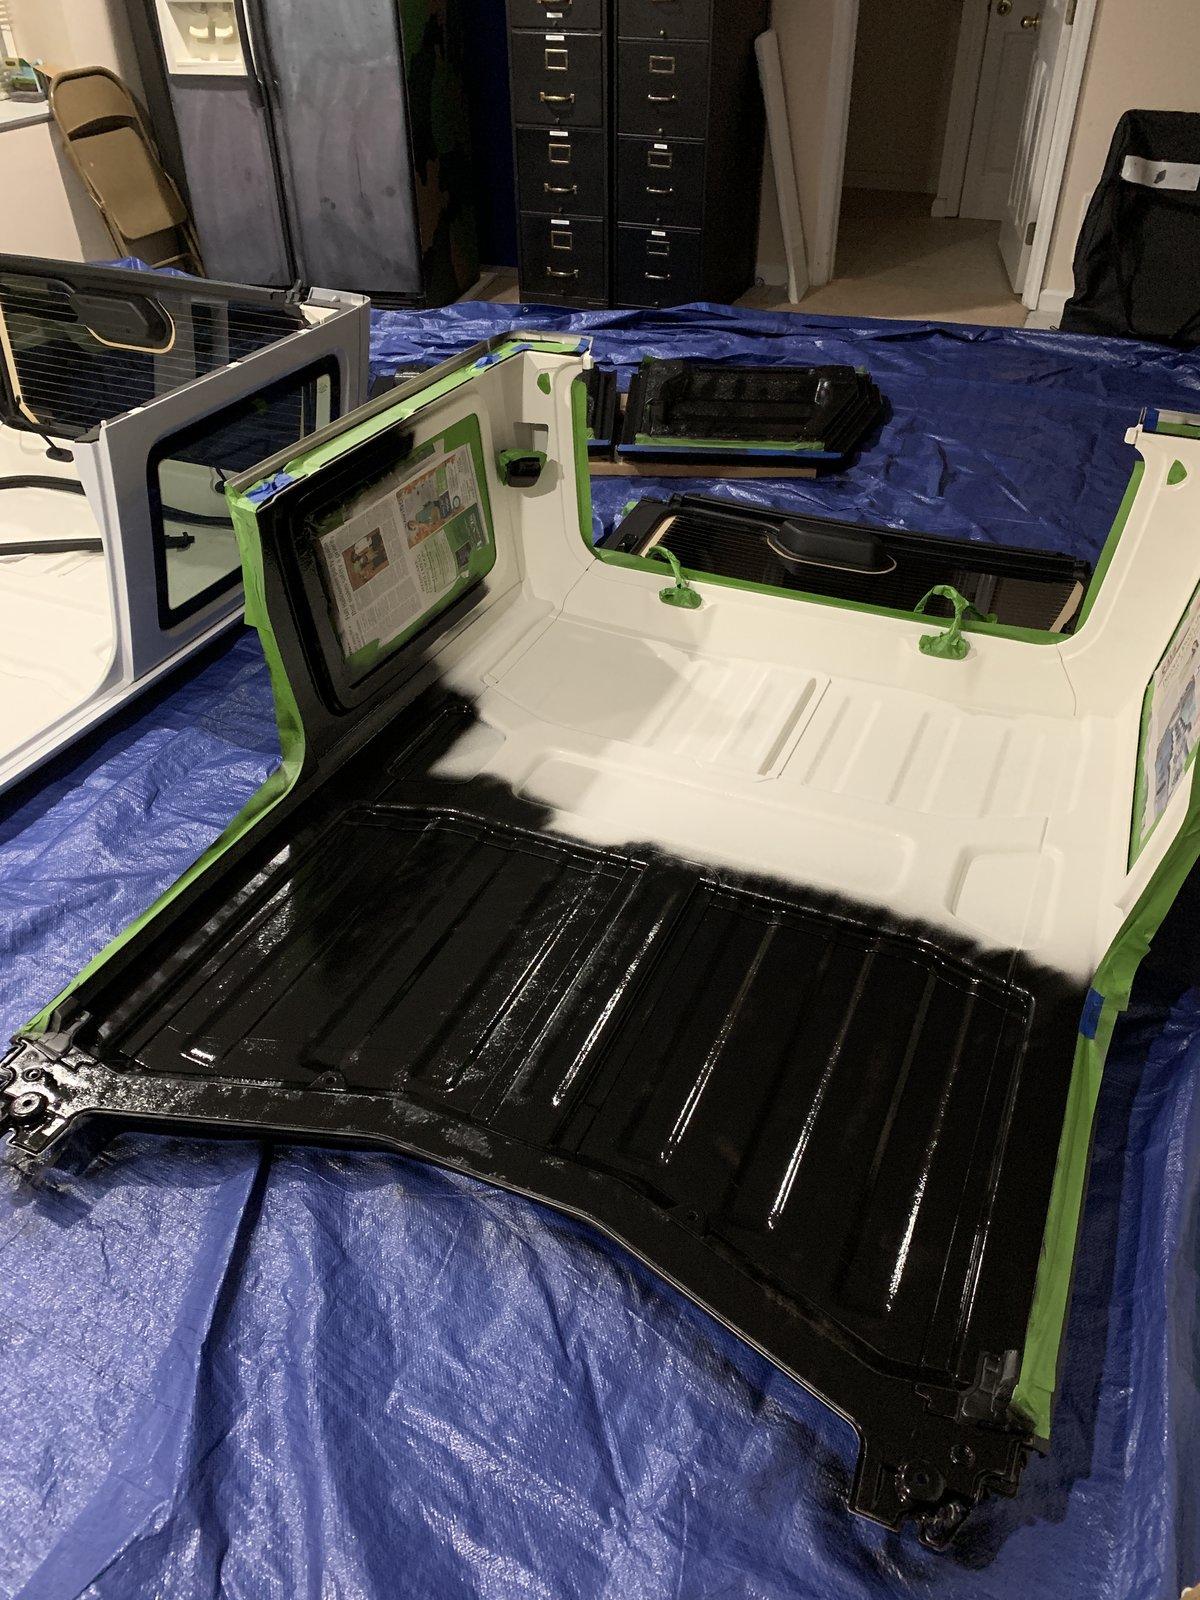
I used 4-6 cans of Plasti-Dip per coat. I did 2 LIBERAL coats, so each coat costed $25-$40, depending on how much you use.
Mid-coat:
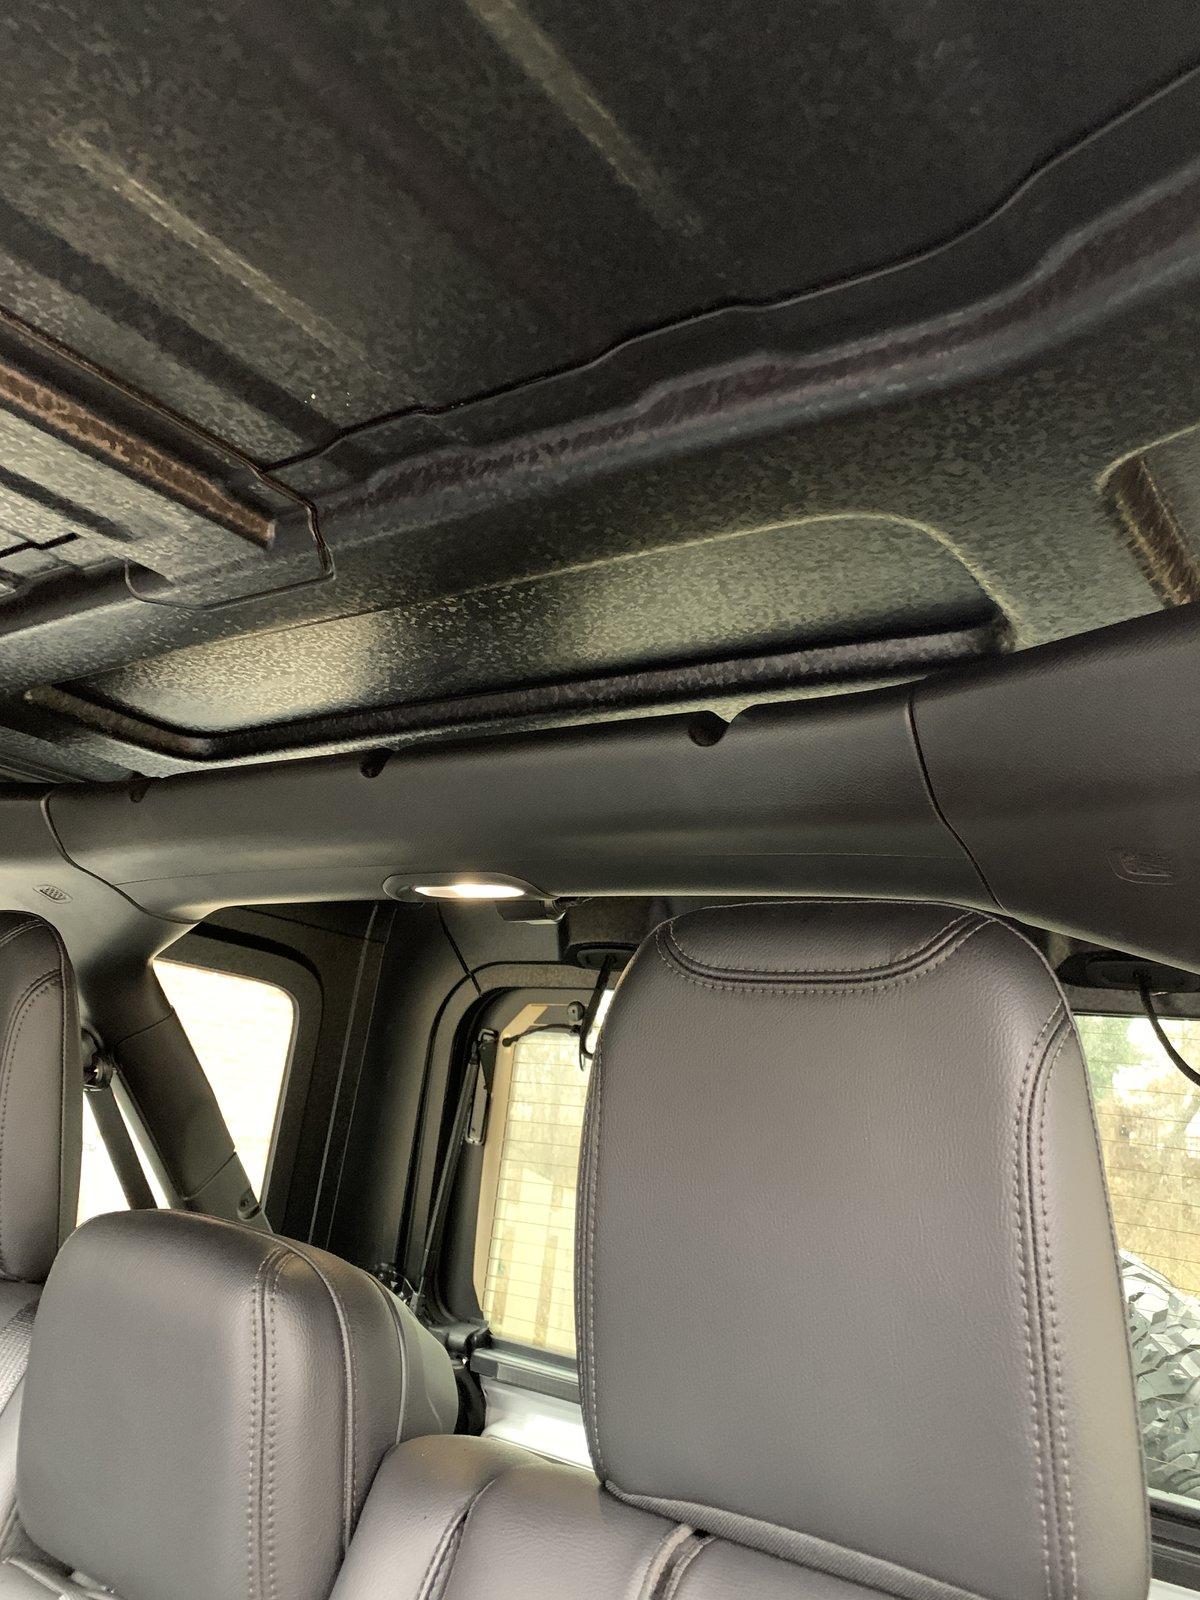
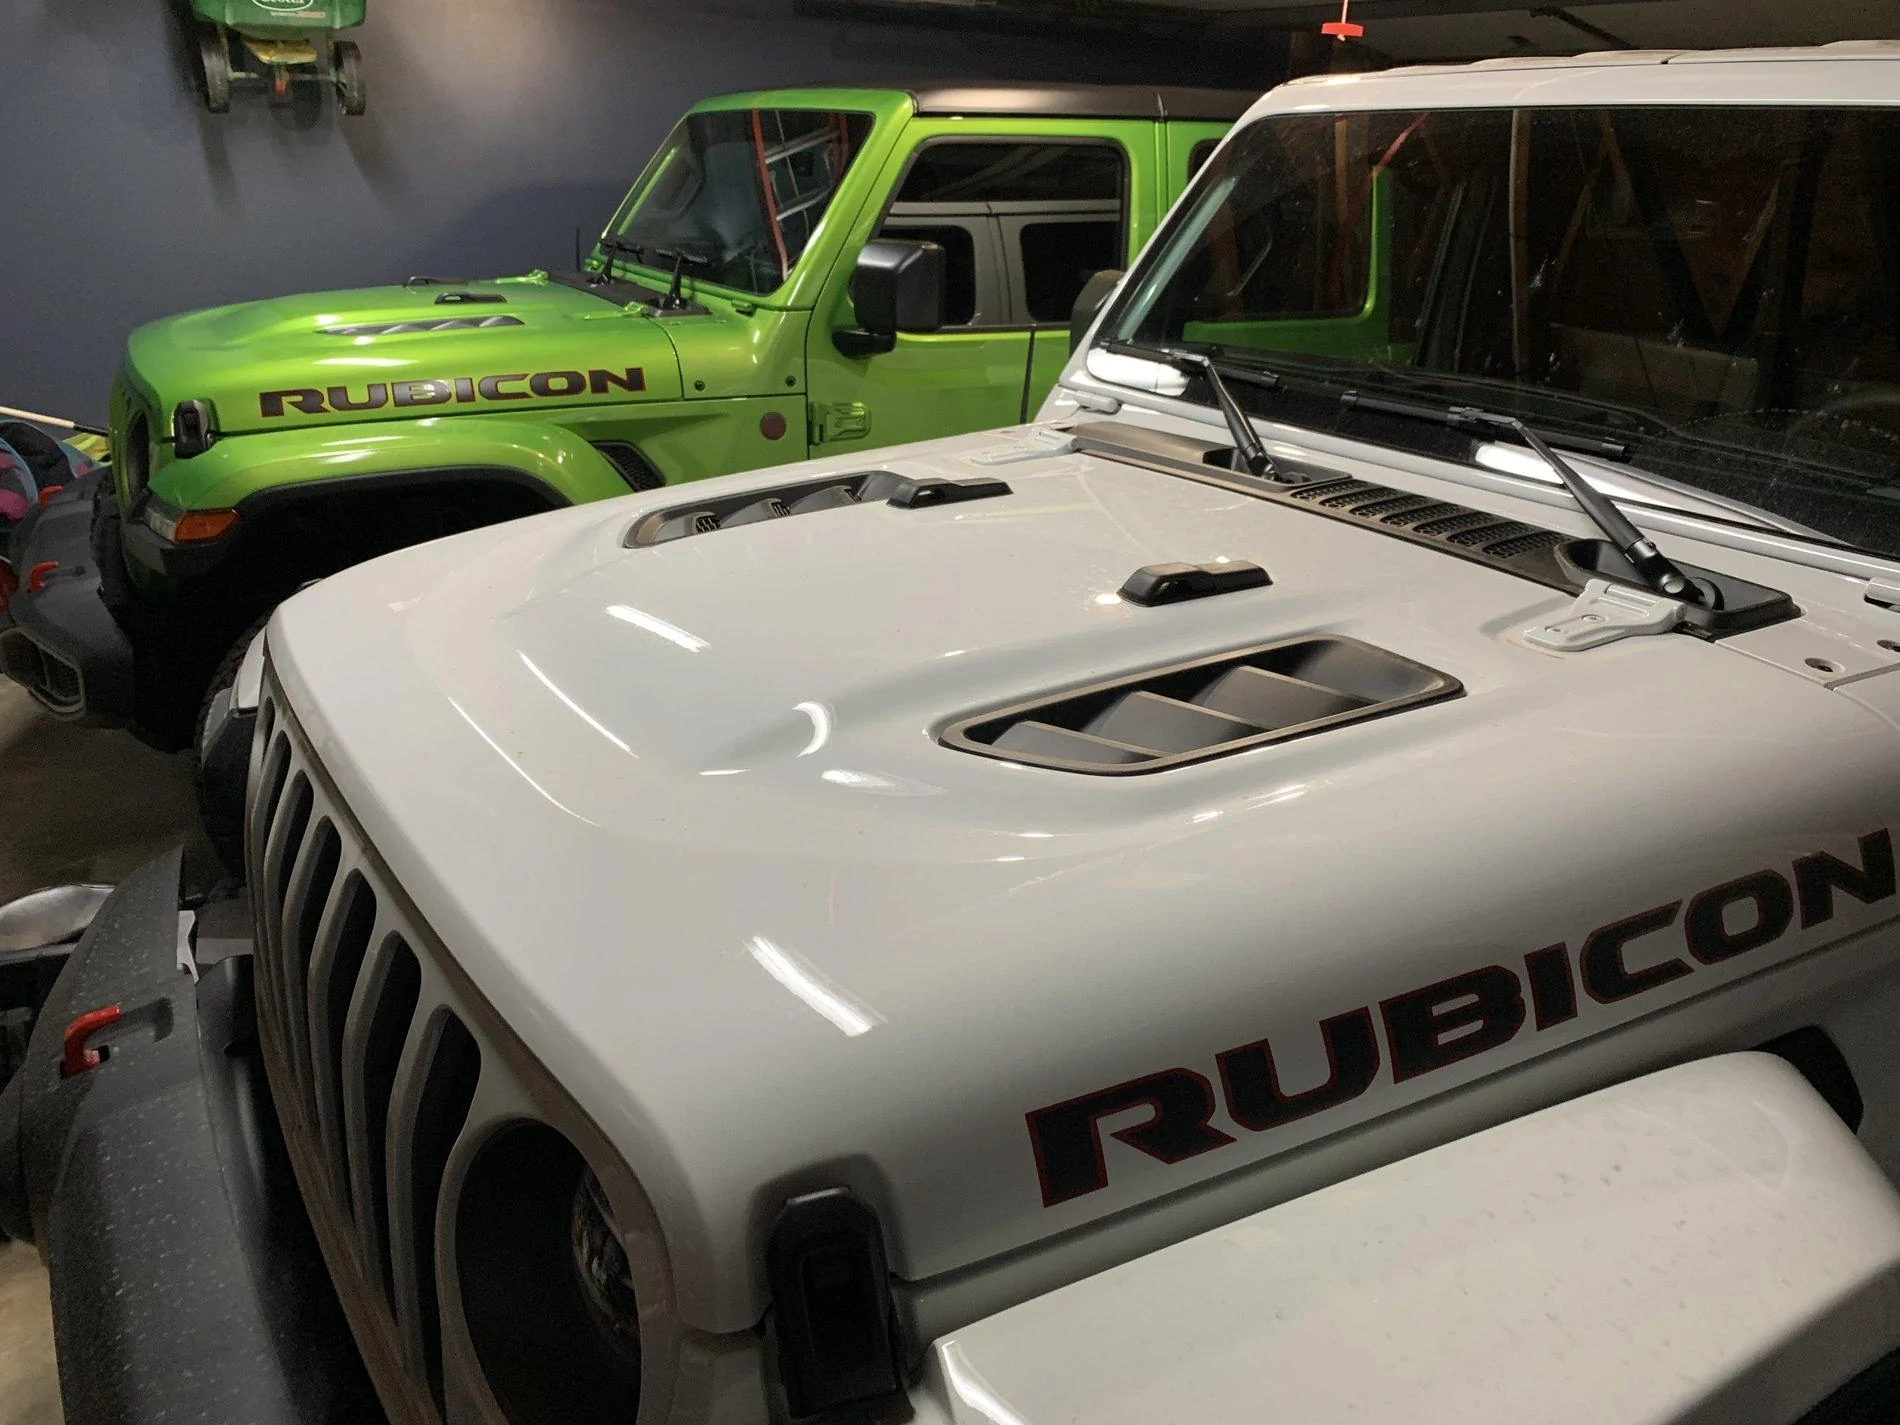
Done - side by side:
Love how it turned out. When you re-install, there MAY be some plastic "creaking", but my wife's didnt have it.
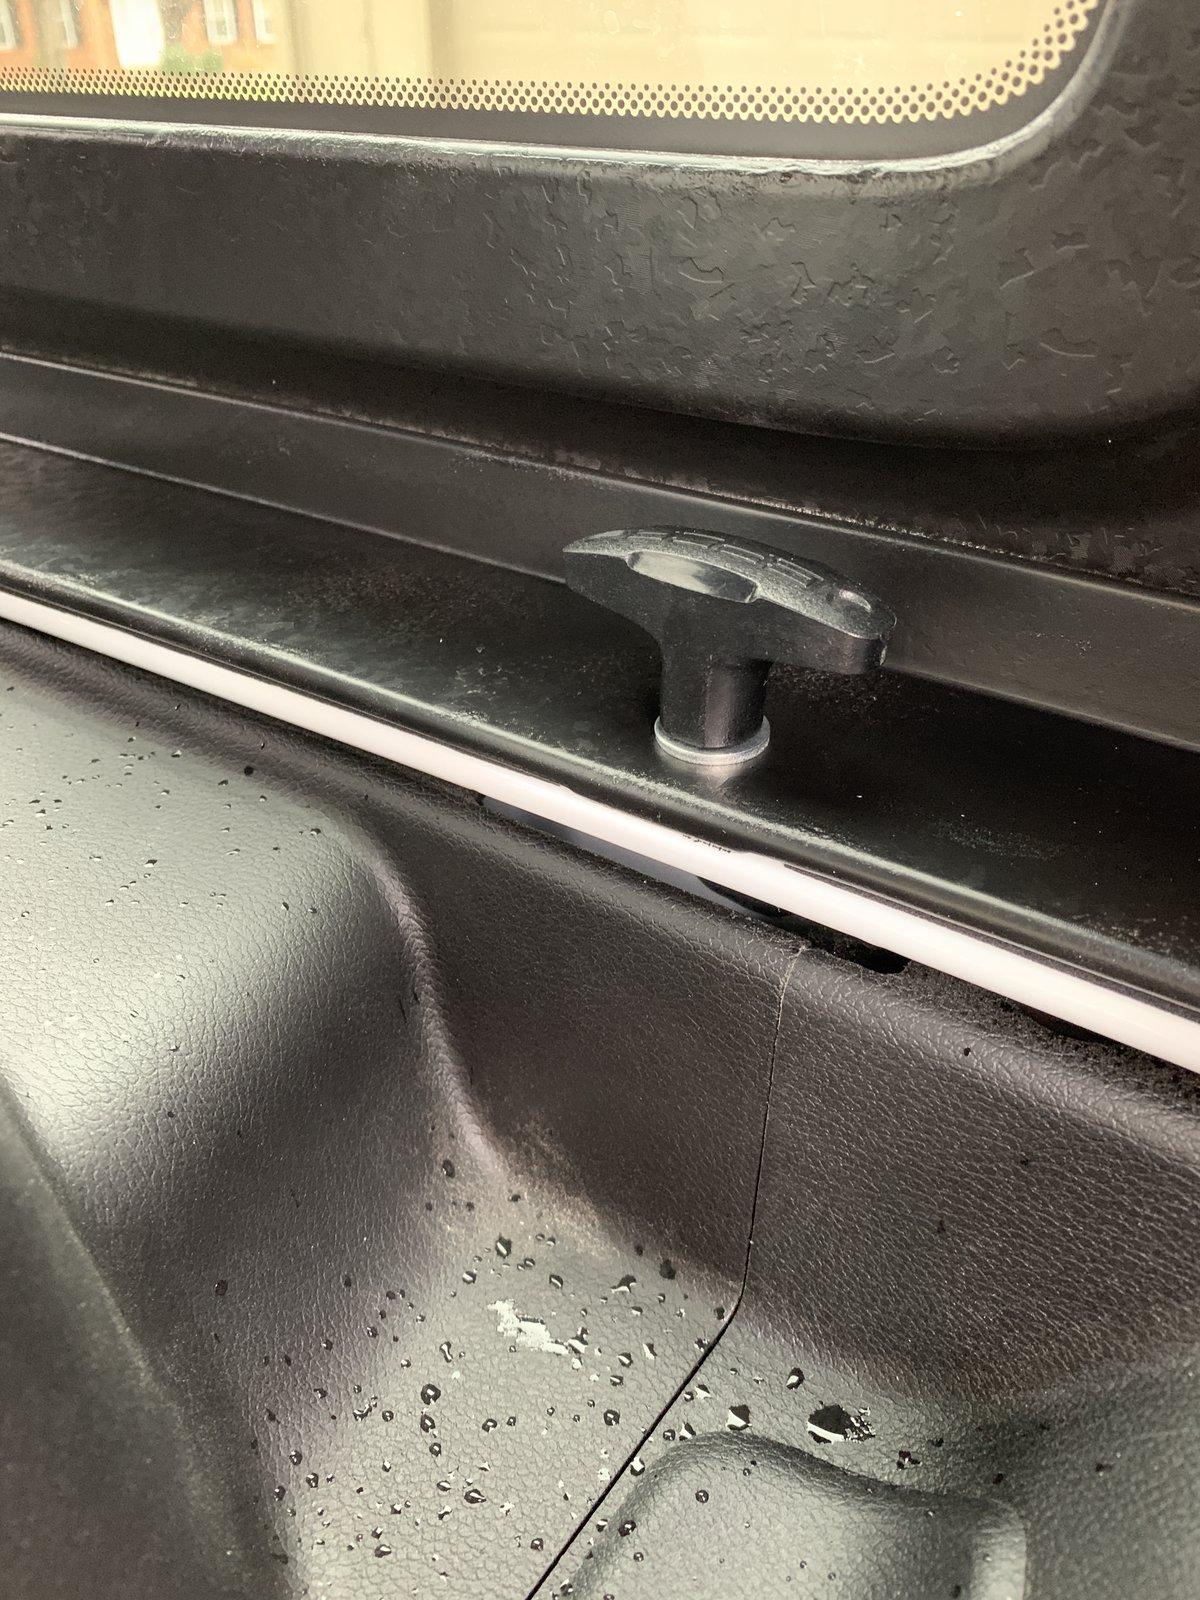
We also re-mounted the top with T-handles - https://www.amazon.com/gp/product/B07BFH6119/ref=ppx_yo_dt_b_asin_title_o09_s00?ie=UTF8&psc=1
We like these - nice and big and have optional tie-down hardware. The end result looks great and can touch-up very easy:
Panels before:
Remove the weather-strip and hardware and taped. I used an exacto-knife to cut the circles. This pattern can be visible when you're done, so think about if/how you want to do this:
On the hard top, i removed the glass-struts, hardware and taped. For the struts, use a flat-head to pry the c-clamp out, compress and pull off:
I used 4-6 cans of Plasti-Dip per coat. I did 2 LIBERAL coats, so each coat costed $25-$40, depending on how much you use.
Mid-coat:
Done - side by side:


Love how it turned out. When you re-install, there MAY be some plastic "creaking", but my wife's didnt have it.
We also re-mounted the top with T-handles - https://www.amazon.com/gp/product/B07BFH6119/ref=ppx_yo_dt_b_asin_title_o09_s00?ie=UTF8&psc=1
We like these - nice and big and have optional tie-down hardware. The end result looks great and can touch-up very easy:

Sponsored
")


 I feel a Tazer around the corner.