OP
OP
Overwatch
Well-Known Member
- First Name
- Dave
- Joined
- Sep 7, 2021
- Threads
- 30
- Messages
- 305
- Reaction score
- 560
- Location
- Los Angeles
- Vehicle(s)
- 2016 JKUR, Sarge Green 392
- Thread starter
- #16
Thank you! This is fantastic help and very detailed. I’m going to start next weekend!@Overwatch
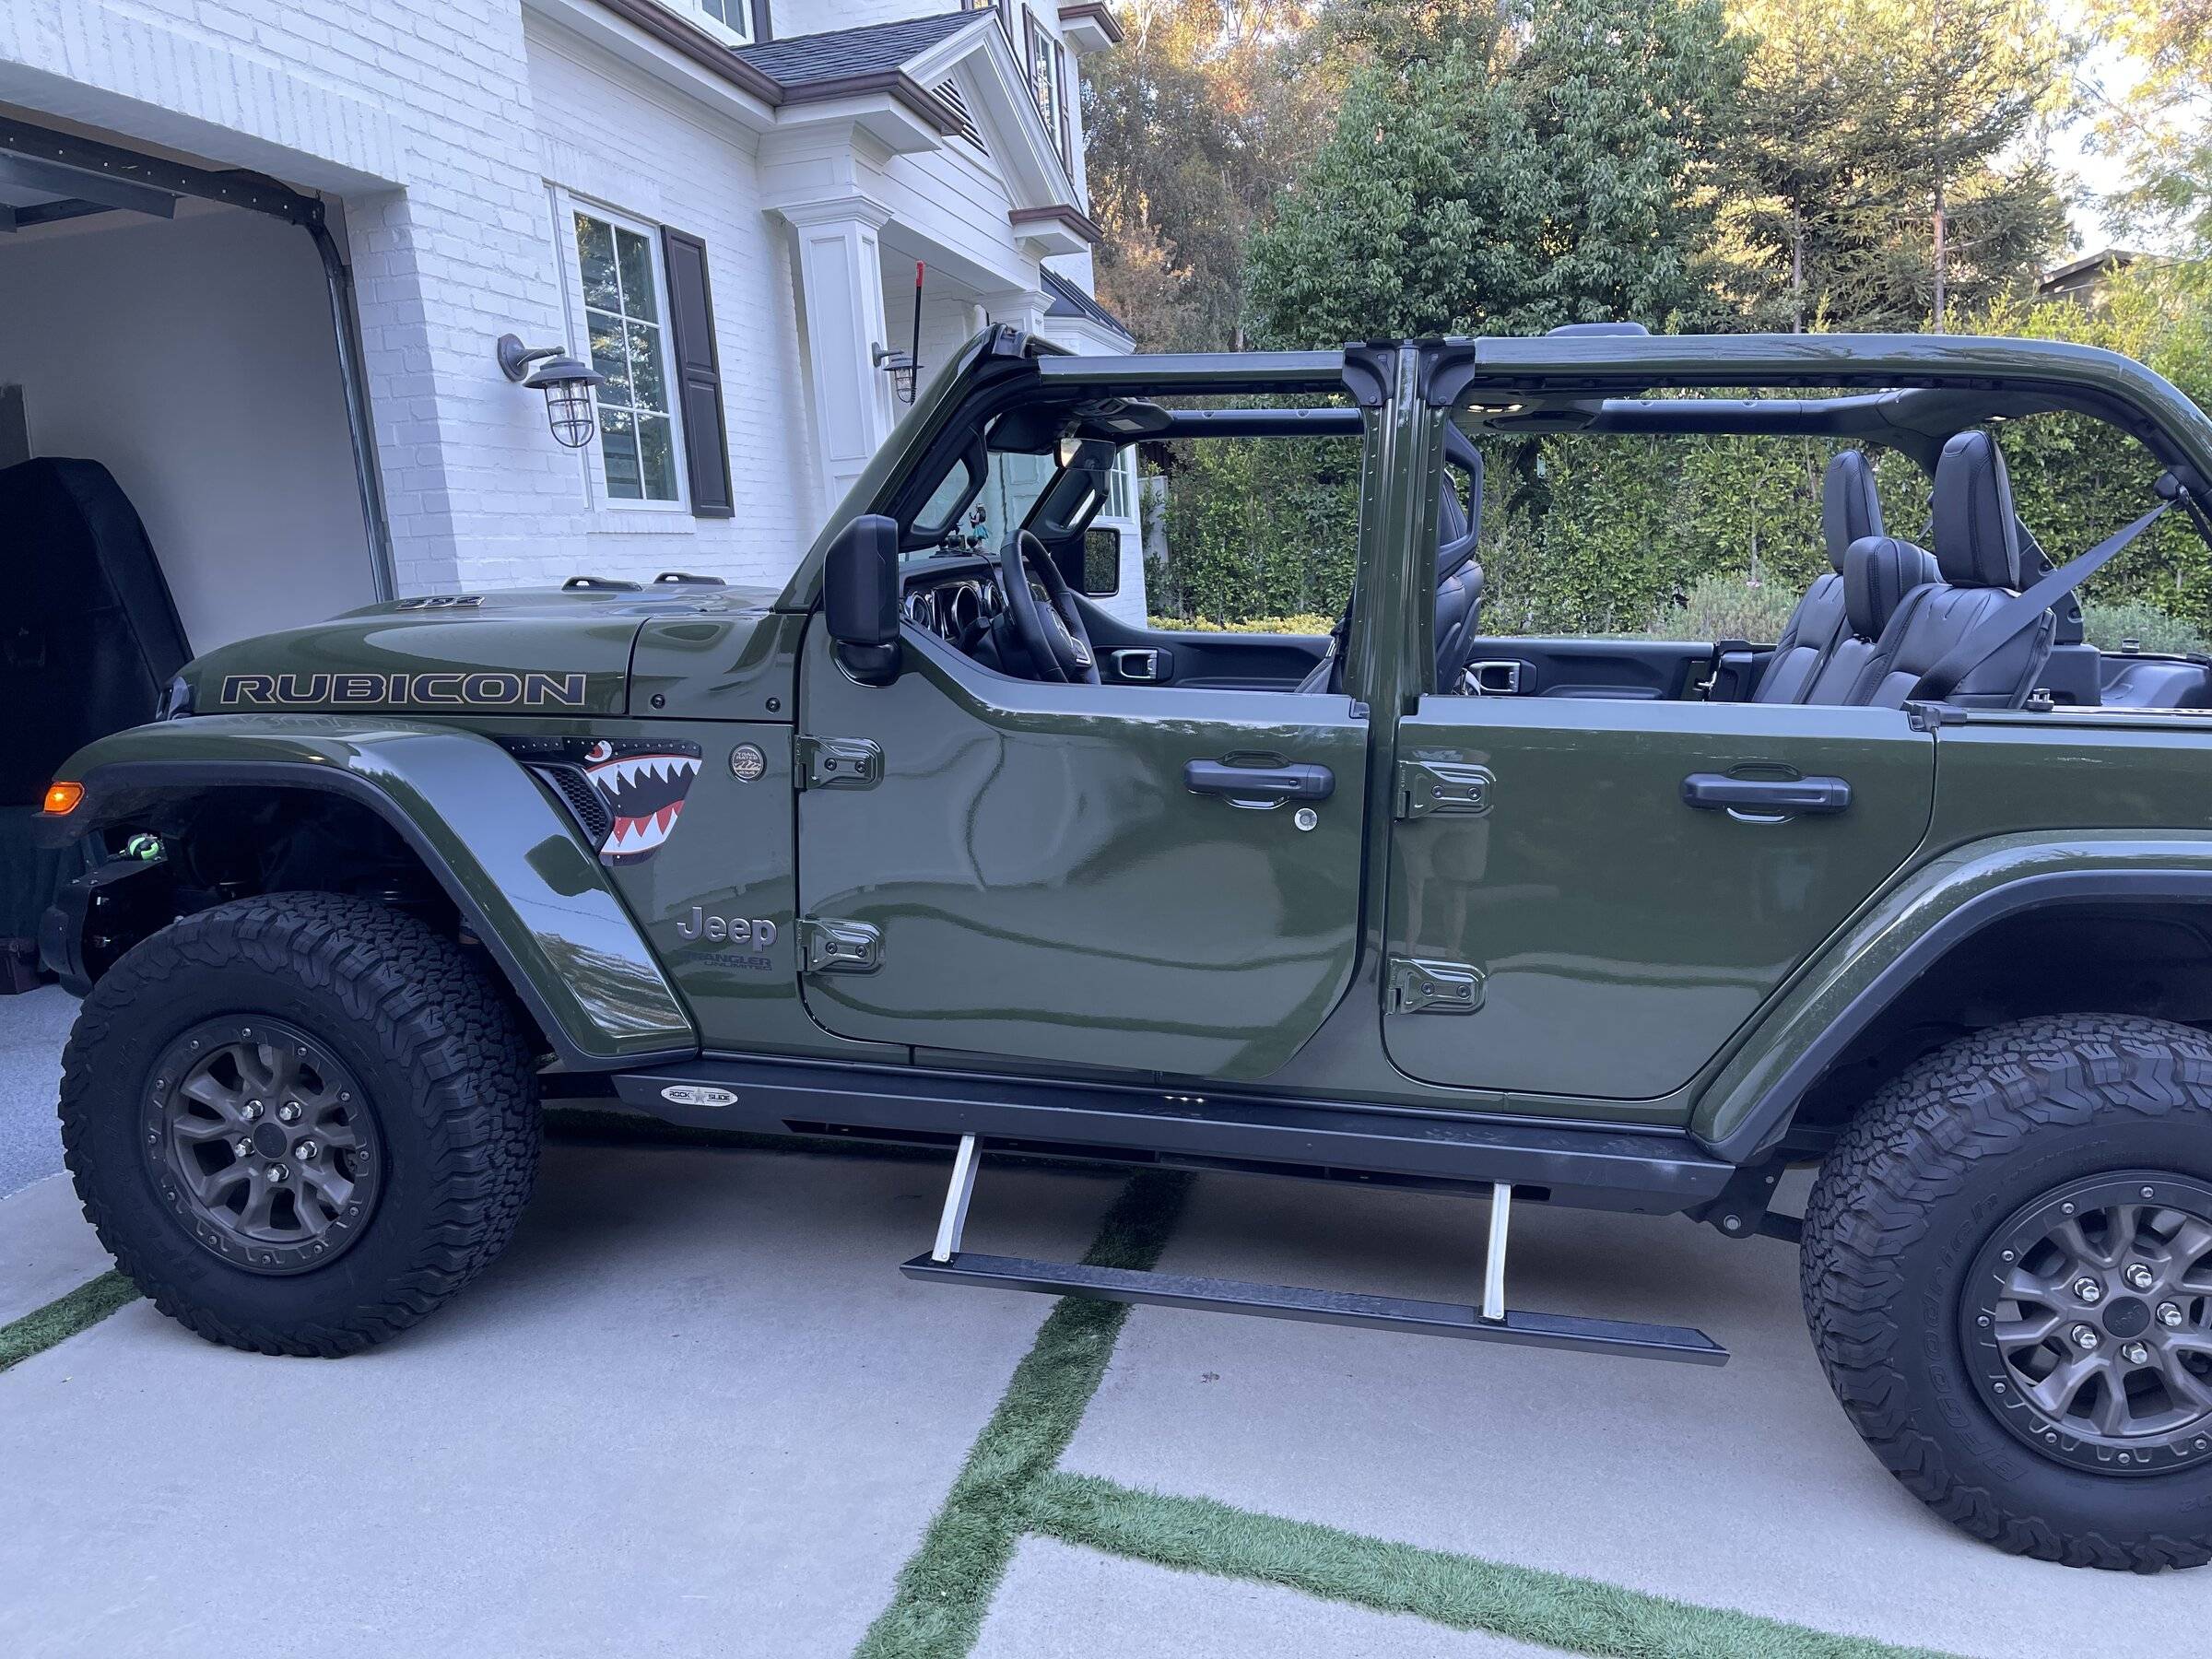
Finished installation of the RSE Gen 3 sliders today. Wiring harness installation and step mounting took me about the same time and total was about 7 hours. Next set I could do in 5.
Nothing complicated for the wiring harness or the step installation, just takes some time. Body bolts came loose fine, just went carefully with a few back-n-forth if there was any binding.
You need a decent selection of tools:
1/2 drive ratchet or breaker bar, a 3" x 1/2" drive extension & an 18 mm socket
1/2 drive torque wrench
3/8" drive ratchet, flex joint and a short extension
3/8" drive torque wrench
7/16" & 1/2" standard sockets
10mm, 7/16" & 1/2" deep sockets
Some tips that might help:
1) Instructions say to loosen the body bolts 1/4". What you really need is about an 1/8" between the head of the bolt and the washer. That's the trick, as the washer is not always enthusiastic about making room on the bolt. Some of my mount brackets slipped right in, a couple tapped into place with a rubber mallet, and one required removal and filing the threads near the washer a little. Put on the brackets and lightly tighten them just to hold the brackets in position.
2) The bolt tightening sequence indicated wasn't entirely clear. Correct order is pinch seam bolts, bracket bolts, body bolts. The last two pinch seam bolts (OEM/10mm) have to go in with the steps deployed.
3) The connectors for the lighting do not come with caps. If you don't install the lights you may want to cover the connector and zip tie it up out of harms way.
LF
Sponsored