Sponsored
DanW
Well-Known Member
I see you went with the white driving combo. I'm debating betwen the driving combo or the spot. How well does the driving combo throw the light at a distance? I'm wondering if these are so powerful that the spot is even necessary?I just did this installation. However, in order to preserve the lights, but still use the aux switches, I created my own wiring harness using a 5 pin relay (Panasonic CB1-T-R-M-12V). @BajaDesigns you may want to create a harness like this to sell to people with a JL + Aux switches, as I'm sure many people will want to do this installation but not want to create their own harness like I did. You'll just have to figure out how/what you want to tap into for the amber back-lighting. You can wire it to another Aux switch or tap into the DRL/Fogs/etc.
Relay wiring (see above for relay model) is as follows:
85: Chassis ground
30: Aux1/40a
86: Aux3/15a
87a: LP9 low beam
87: LP9 high beam
Harness to lights has an additional ground wire (attached to chassis ground, same as relay) and another wire for amber circuit. It's just not terminated at this point, until I figure out what I want to do with it (if anything). I don't have the amber back-light wired right now. I'm debating if I want to tap into the fog lights, DRL, or do something else (I'll test it out later to see how bright it is).
This way, 'Aux 1' turns the LP9s on or off, and 'Aux 3' off == low beam, 'Aux 3' on == high beam. This protects the circuit on the LP9s from being energized on both low and high beam at the same time, which is obviously a no-no and something previous posters had worried about.
I used 12AWG stranded and wrapped in Techflex Insultherm, with heatshrink at all joints. I spliced in (solder joint) for the second headlight off the run for the first. I used self-fusing silicon tape at these joints, as well as to wrap up the relay, which is connected via crimped tab terminals, so it can be removed and replaced if needed. The lights are just bolted onto the JLUR steel bumper using the hardware provided by BD. They work wonderfully.

OP
OP
1idrod
Well-Known Member
- First Name
- David
- Joined
- Feb 27, 2018
- Threads
- 13
- Messages
- 273
- Reaction score
- 291
- Location
- Stephens City, VA
- Website
- ritterhomesinc.com
- Vehicle(s)
- 06 GMC 3/4 Diesel, 02 V-Rod
- Occupation
- Builder
- Thread starter
- #48
I live in Virginia and I can't see where you would ever need the spot. The combo shoots out a very long way in my opinion. Farther than I need for sure but i love them.I see you went with the white driving combo. I'm debating betwen the driving combo or the spot. How well does the driving combo throw the light at a distance? I'm wondering if these are so powerful that the spot is even necessary?
ormandj
Well-Known Member
- Joined
- Aug 19, 2018
- Threads
- 32
- Messages
- 549
- Reaction score
- 399
- Location
- San Antonio, TX USA
- Vehicle(s)
- 2024 JLUR X 4xe
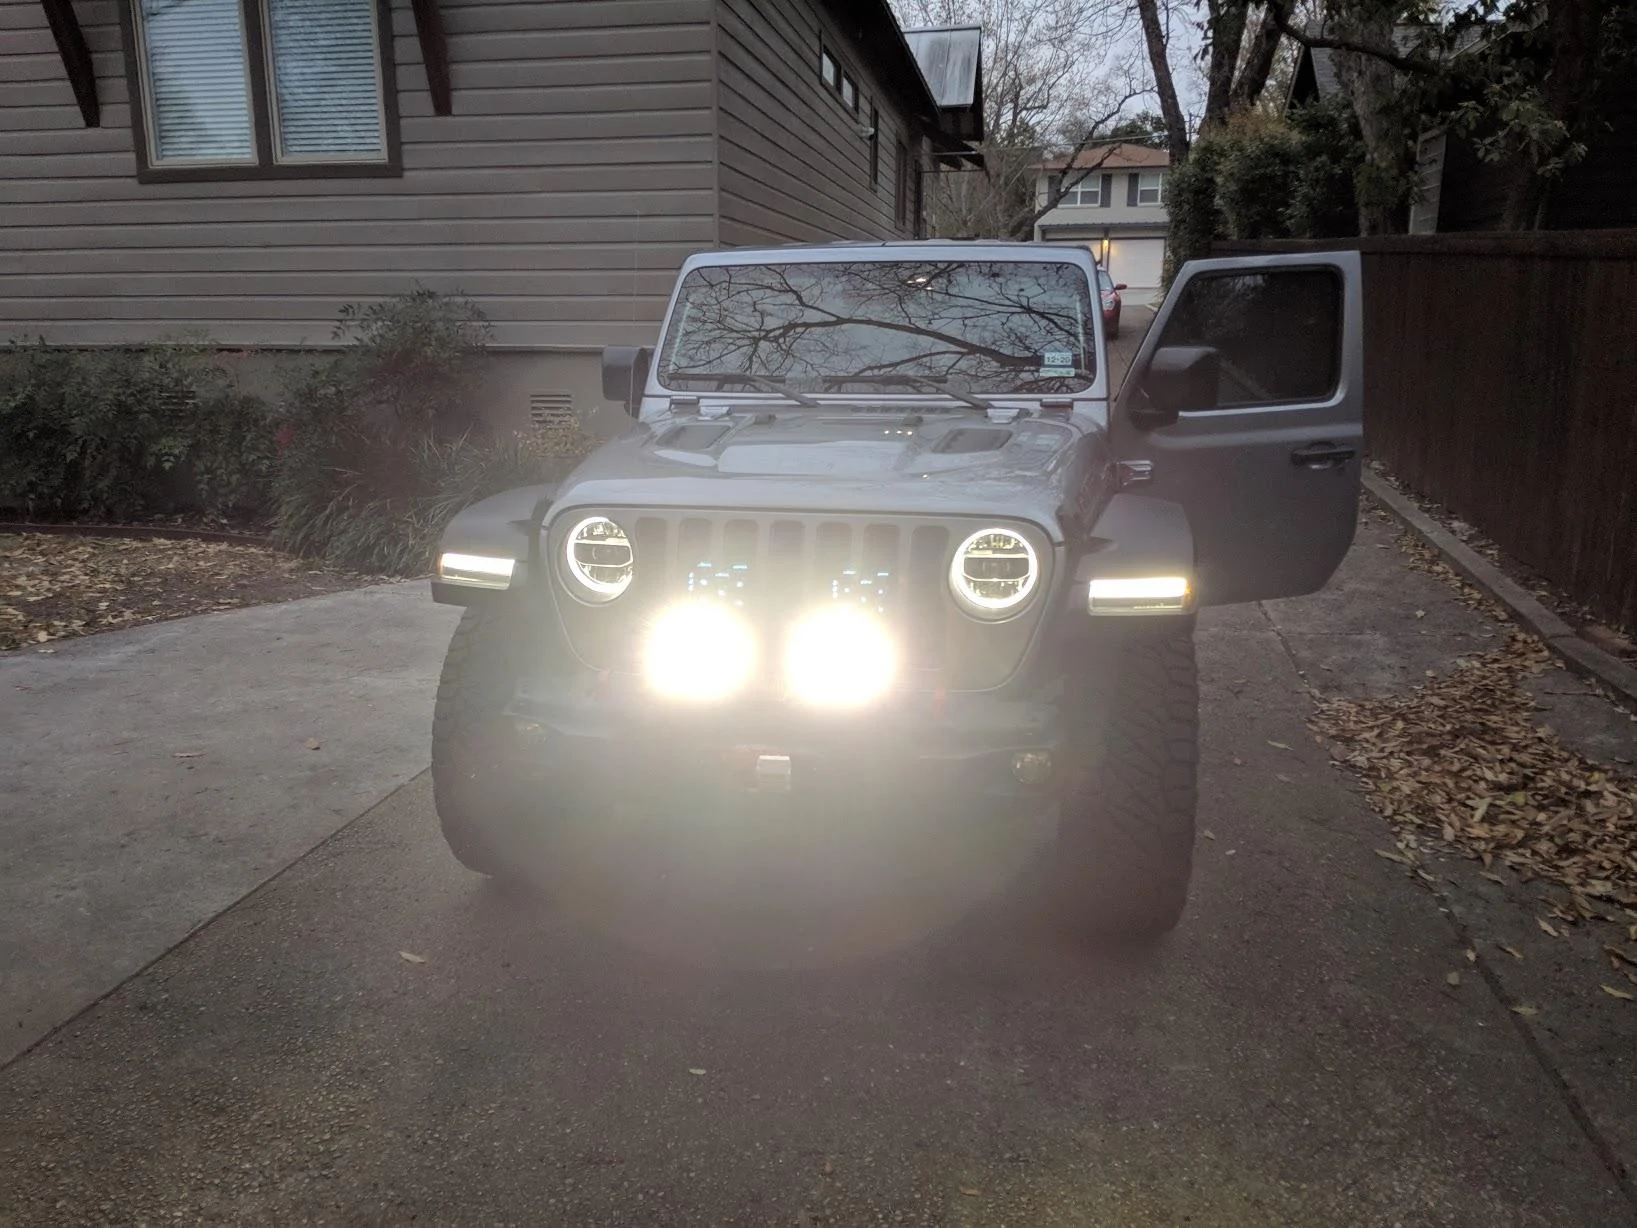
On low, it's like stock headlights but with almost physics defying coverage of the front area. On high I have them aimed where there is light beyond where I can make out any detail. There's no need for spot unless you're desert running at night in something that is not a Jeep. You couldn't even begin to get these up to a speed you need more throw.I see you went with the white driving combo. I'm debating betwen the driving combo or the spot. How well does the driving combo throw the light at a distance? I'm wondering if these are so powerful that the spot is even necessary?
Sven
Active Member
Ormandj, How many feet of Techflex Insultherm did you use for your LP9 install? Did you use 3/8" or 1/2"?
Do you have any photos of the wiring from the install?
Thanks,
Sven
Do you have any photos of the wiring from the install?
Thanks,
Sven
Sponsored
DanW
Well-Known Member
I received my LP6 lights and am looking forward to installing them. The wiring is the big question for me, too. The BD wiring harness is great, but the bundle to the switch is just too thick for me to be able to run it through to the cockpit. With the manual transmission, I don't have the plug in the firewall that the autos have, unless someone knows of another.
I am beneath the basic level of ability with electrical wiring, so if someone uses the BD wiring harness and cuts it up to work with the aux switches, please keep it simple and be ready for some questions. Right now I'm really thinking the aux buttons are the best option. I won't be turning on the high/low at the same time, but if there is a protection that can be set up, I'd love it.
I am also interested in seeing where people tap into the parking lights for the back lighting.
jimbobbeg
Active Member
- First Name
- Jim
- Joined
- Jun 19, 2019
- Threads
- 2
- Messages
- 42
- Reaction score
- 102
- Location
- New Mexico
- Vehicle(s)
- 2019 JLUR
I just installed a pair of LP9 combo driving lights over the weekend. I know I'm late to this thread, but still wanted to share how I set up my wiring. I started with the BD wiring harness but got rid of most of it. I wanted to use the relay as a relay is intended to be used. I also wanted to use a single factory Aux switch, not 2 or 3.
So I used the connectors and wires to each light and the relay. I tossed the 3-way switch. I wired the relay as follows:
30: Aux #1/40amp power supply
85: Ground
86: Jump lead from right headlight high beam wire
87: LP9 High Beams
87a: LP9 Low Beams
LP9 Yellow Wires: Jump lead from individual right/left turn signal wires
I ended up with a single main power switch, Aux #1. The LP9s are matched up with the factory headlights operationally. With Aux #1 on, I turn on the high beams via the factory stalk and the headlights and LP9s are synced on high. Same with the low beams. The only drawback I've found is with the headlights off and Aux #1 on I can only activate the LP9 high beams by holding the factory turn signal stalk back. The LP9 low beams work fine, but there's no way to actuate the relay (high beams) other than holding the stalk back. That's really not a problem since I can't imagine a scenario where I'd want to use the LP9s and not the headlights.
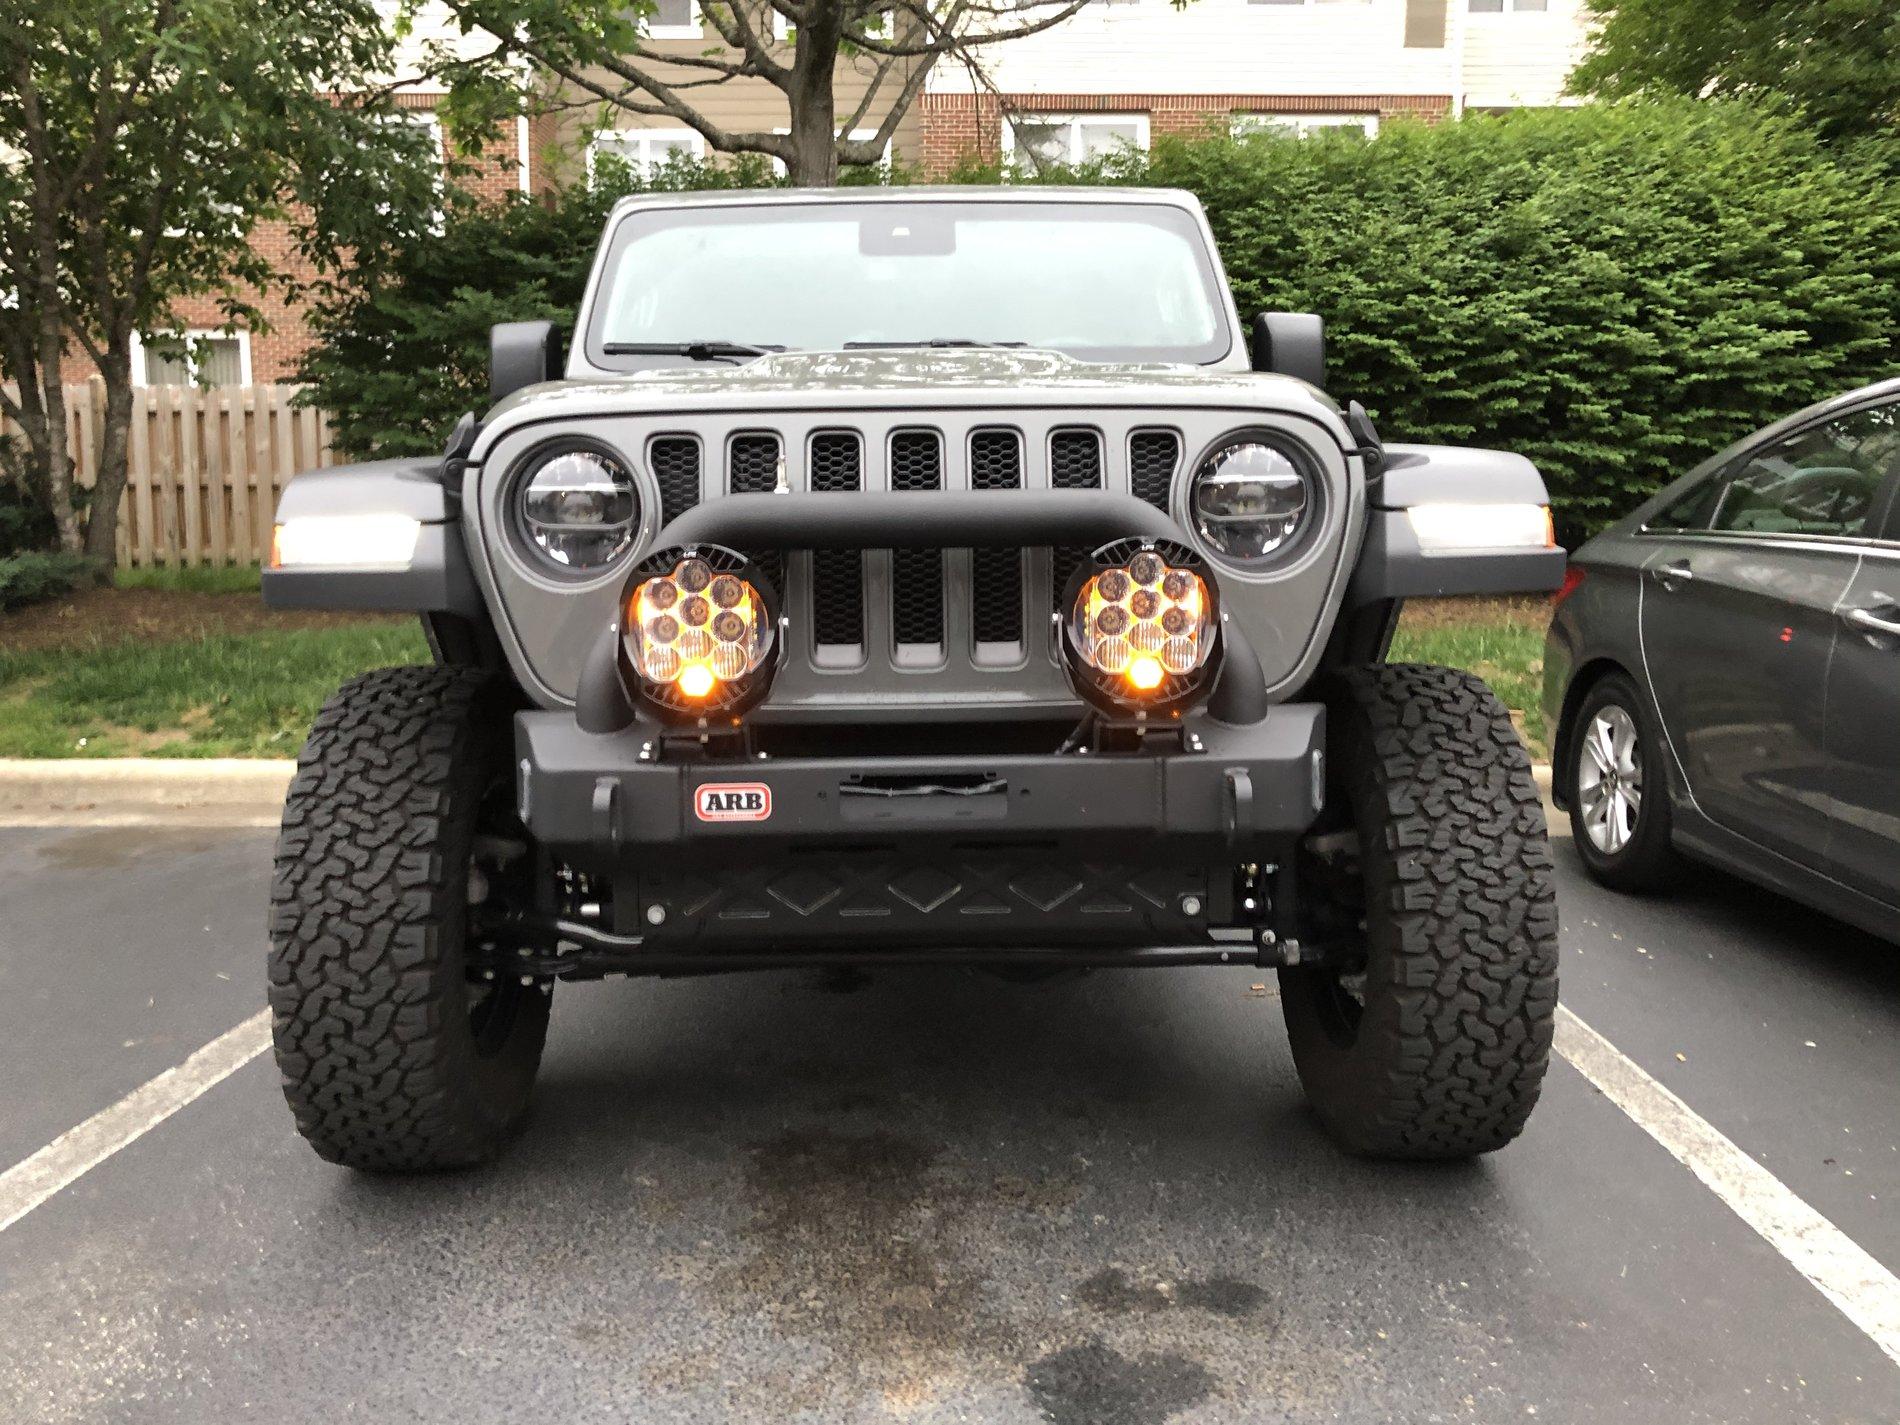
I also wired the yellow backlight wires to each front turn signal wire individually. Now the backlight flashes simultaneously with the turn signal on each side. They work with the emergency flashers as well.
As far as the LP9s themselves, HOLY CRAP! On low beam, they literally light up the sidewalk on both sides of the street. On high beam, I think the stucco on the house at the end of the block started smoking. I can't wait to use them on the trails I frequent in Southern Colorado.
So I used the connectors and wires to each light and the relay. I tossed the 3-way switch. I wired the relay as follows:
30: Aux #1/40amp power supply
85: Ground
86: Jump lead from right headlight high beam wire
87: LP9 High Beams
87a: LP9 Low Beams
LP9 Yellow Wires: Jump lead from individual right/left turn signal wires
I also wired the yellow backlight wires to each front turn signal wire individually. Now the backlight flashes simultaneously with the turn signal on each side. They work with the emergency flashers as well.
As far as the LP9s themselves, HOLY CRAP! On low beam, they literally light up the sidewalk on both sides of the street. On high beam, I think the stucco on the house at the end of the block started smoking. I can't wait to use them on the trails I frequent in Southern Colorado.
Last edited:
Krazyk86cu
Well-Known Member
I realize this is an old thread, but thanks for this write up. I wired mine just like this and it worked perfectly. I ended up buying a parking lamp/drl tap harness that quadratec sells to wire in the amber backlights. I LOVE how these look. I just about gave myself a tan while aligning the beams.I just did this installation. However, in order to preserve the lights, but still use the aux switches, I created my own wiring harness using a 5 pin relay (Panasonic CB1-T-R-M-12V). @BajaDesigns you may want to create a harness like this to sell to people with a JL + Aux switches, as I'm sure many people will want to do this installation but not want to create their own harness like I did. You'll just have to figure out how/what you want to tap into for the amber back-lighting. You can wire it to another Aux switch or tap into the DRL/Fogs/etc.
Relay wiring (see above for relay model) is as follows:
85: Chassis ground
30: Aux1/40a
86: Aux3/15a
87a: LP9 low beam
87: LP9 high beam
Harness to lights has an additional ground wire (attached to chassis ground, same as relay) and another wire for amber circuit. It's just not terminated at this point, until I figure out what I want to do with it (if anything). I don't have the amber back-light wired right now. I'm debating if I want to tap into the fog lights, DRL, or do something else (I'll test it out later to see how bright it is).
This way, 'Aux 1' turns the LP9s on or off, and 'Aux 3' off == low beam, 'Aux 3' on == high beam. This protects the circuit on the LP9s from being energized on both low and high beam at the same time, which is obviously a no-no and something previous posters had worried about.
I used 12AWG stranded and wrapped in Techflex Insultherm, with heatshrink at all joints. I spliced in (solder joint) for the second headlight off the run for the first. I used self-fusing silicon tape at these joints, as well as to wrap up the relay, which is connected via crimped tab terminals, so it can be removed and replaced if needed. The lights are just bolted onto the JLUR steel bumper using the hardware provided by BD. They work wonderfully.

BernJLUR
Well-Known Member
- First Name
- Bern
- Joined
- May 9, 2019
- Threads
- 22
- Messages
- 354
- Reaction score
- 944
- Location
- Bradenton FL
- Vehicle(s)
- 2019 Ocean Blue JLUR (on order), 2015 Anvil JKU, 1995 4.0L YJ
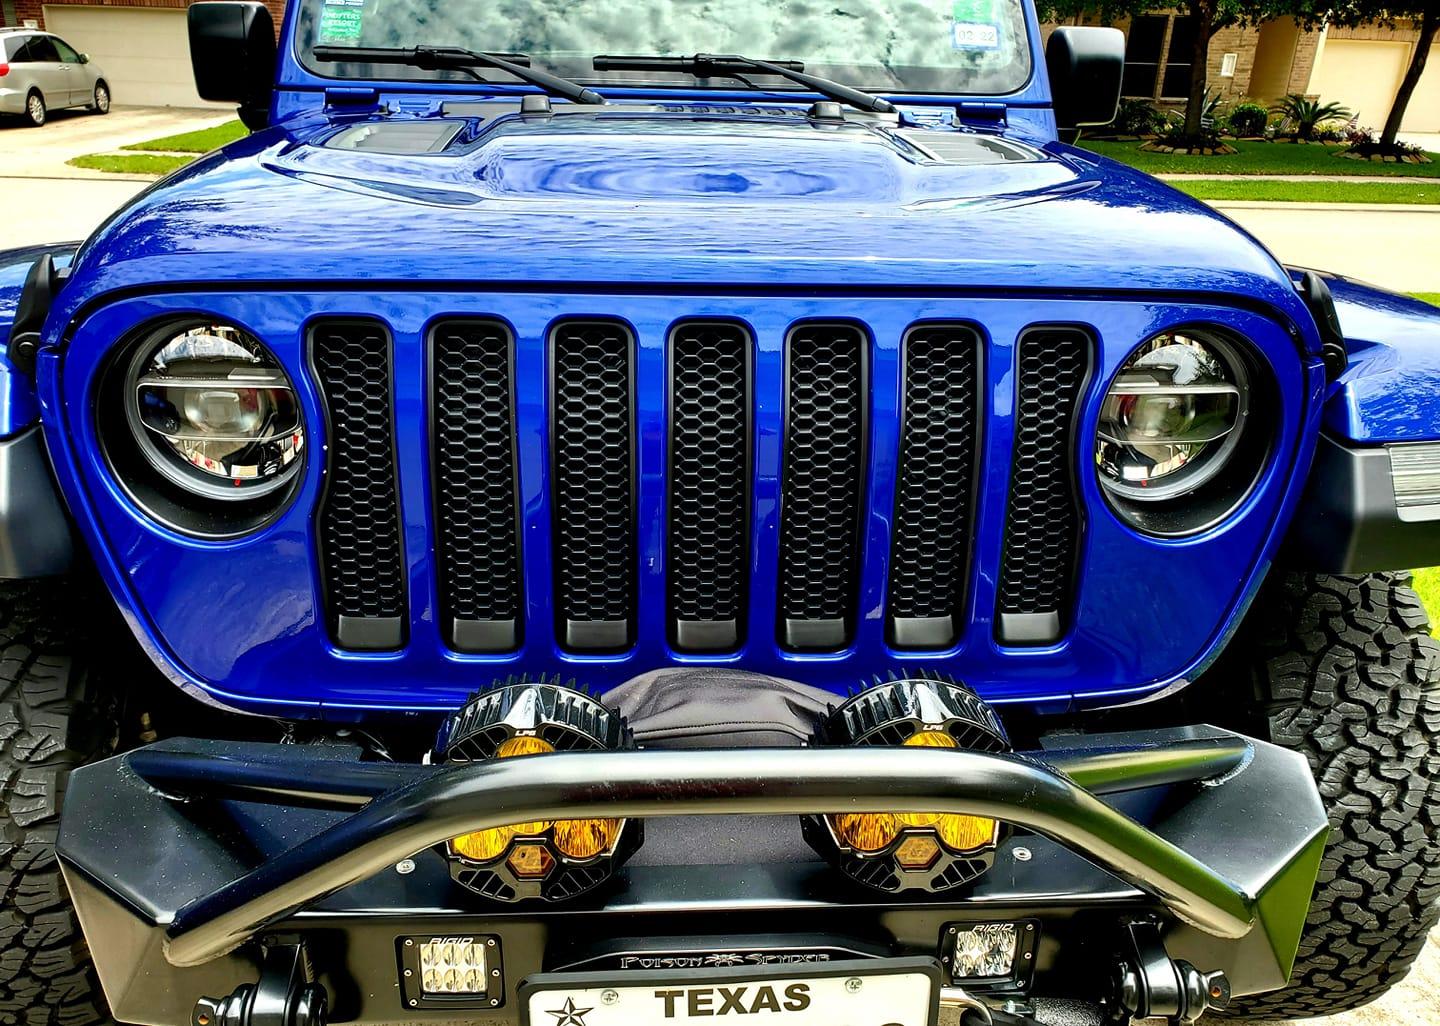
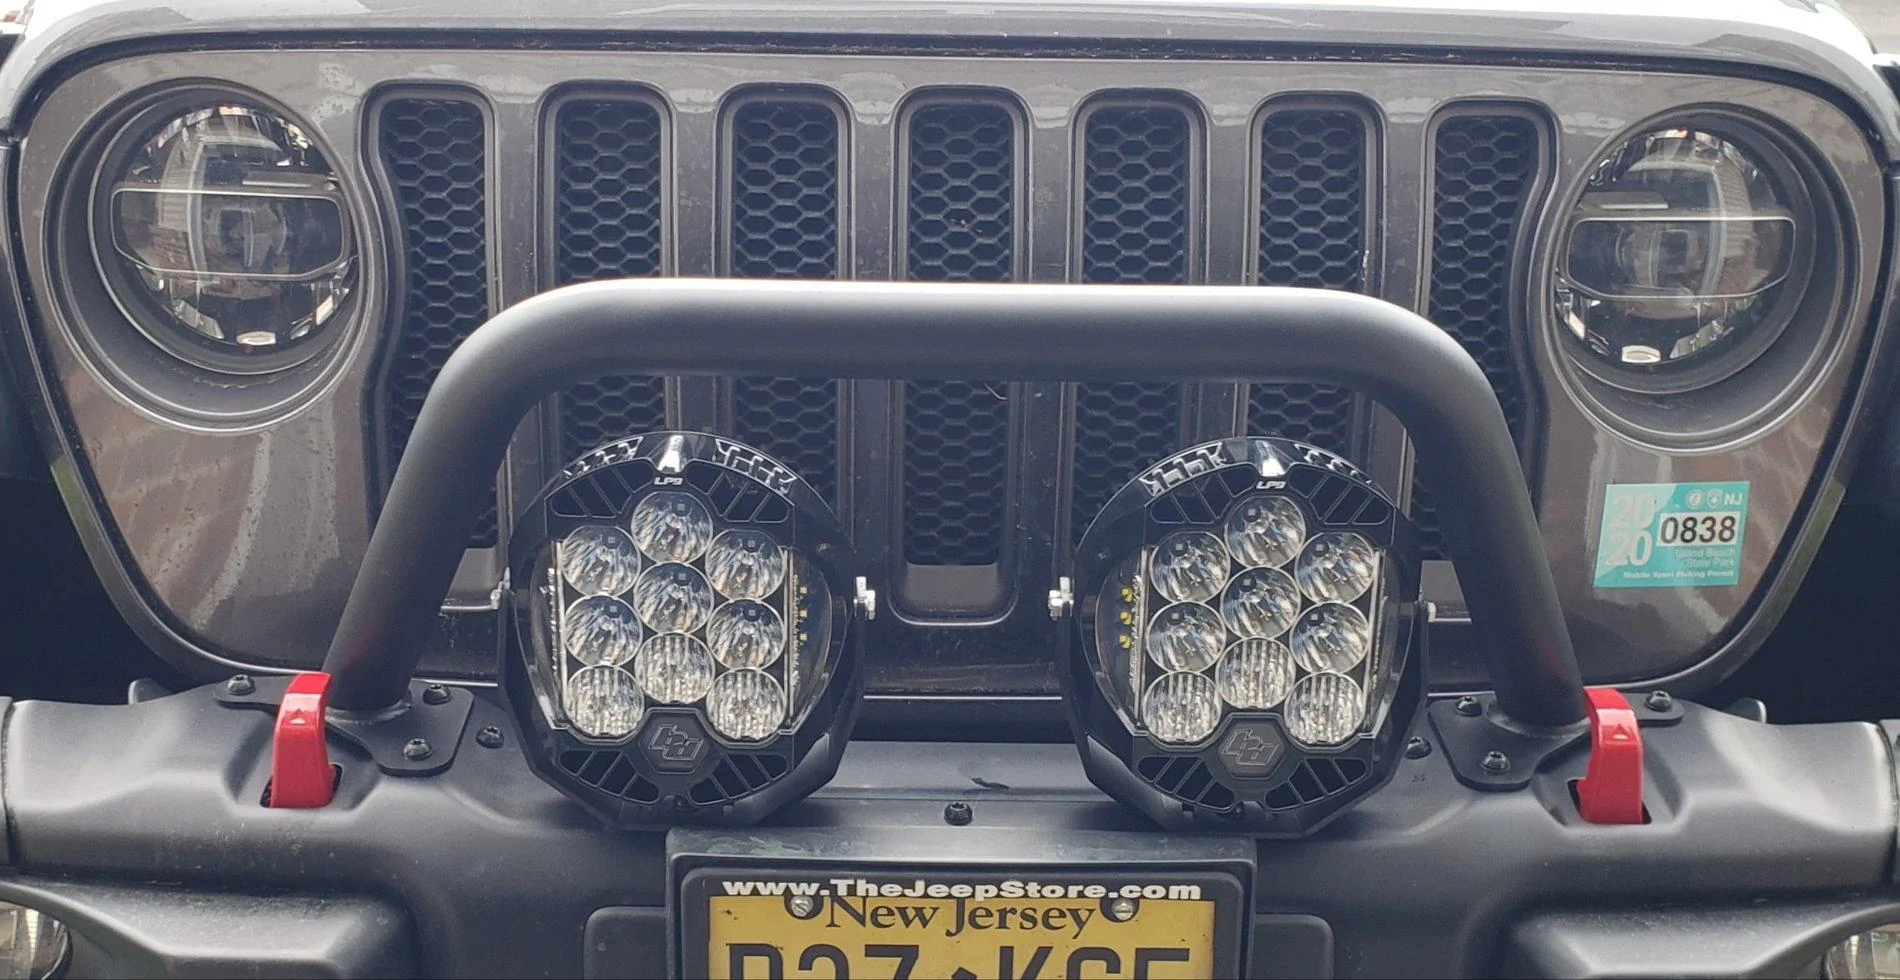
What bull bar add-on is that? I love how the lights tuck right underneath it, yet it isn’t overwhelming like a big add-on stinger bar.
rcliff1
Well-Known Member
- First Name
- Robert
- Joined
- Feb 20, 2018
- Threads
- 6
- Messages
- 217
- Reaction score
- 474
- Location
- Cypress, TX
- Vehicle(s)
- 2000 tj, 2014 Mustang GT, 2017 Ford F350 Dually, 2020 Diesel Rubicon on order
Here was easy to follow instructions I was given to install two LP6's into the factory switch's.
https://www.jlwranglerforums.com/fo...riendly-with-their-harness.26015/post-1084513

https://www.jlwranglerforums.com/fo...riendly-with-their-harness.26015/post-1084513
Sponsored
Wicked Weasel
Well-Known Member
- First Name
- Bob
- Joined
- Jul 15, 2018
- Threads
- 4
- Messages
- 101
- Reaction score
- 325
- Location
- New Jersey
- Vehicle(s)
- 2018 Rubicon JL - Build date 06/18
Thanks for the write up. Using the Baja wiring harness I followed this and for now attached the amber back lighting to Aux4 as its not being used today. I did buy the DRL wiring harness in case I need Aux4 for something else, but for now it is all done.I just did this installation. However, in order to preserve the lights, but still use the aux switches, I created my own wiring harness using a 5 pin relay (Panasonic CB1-T-R-M-12V). @BajaDesigns you may want to create a harness like this to sell to people with a JL + Aux switches, as I'm sure many people will want to do this installation but not want to create their own harness like I did. You'll just have to figure out how/what you want to tap into for the amber back-lighting. You can wire it to another Aux switch or tap into the DRL/Fogs/etc.
Relay wiring (see above for relay model) is as follows:
85: Chassis ground
30: Aux1/40a
86: Aux3/15a
87a: LP9 low beam
87: LP9 high beam
Harness to lights has an additional ground wire (attached to chassis ground, same as relay) and another wire for amber circuit. It's just not terminated at this point, until I figure out what I want to do with it (if anything). I don't have the amber back-light wired right now. I'm debating if I want to tap into the fog lights, DRL, or do something else (I'll test it out later to see how bright it is).
This way, 'Aux 1' turns the LP9s on or off, and 'Aux 3' off == low beam, 'Aux 3' on == high beam. This protects the circuit on the LP9s from being energized on both low and high beam at the same time, which is obviously a no-no and something previous posters had worried about.
I used 12AWG stranded and wrapped in Techflex Insultherm, with heatshrink at all joints. I spliced in (solder joint) for the second headlight off the run for the first. I used self-fusing silicon tape at these joints, as well as to wrap up the relay, which is connected via crimped tab terminals, so it can be removed and replaced if needed. The lights are just bolted onto the JLUR steel bumper using the hardware provided by BD. They work wonderfully.
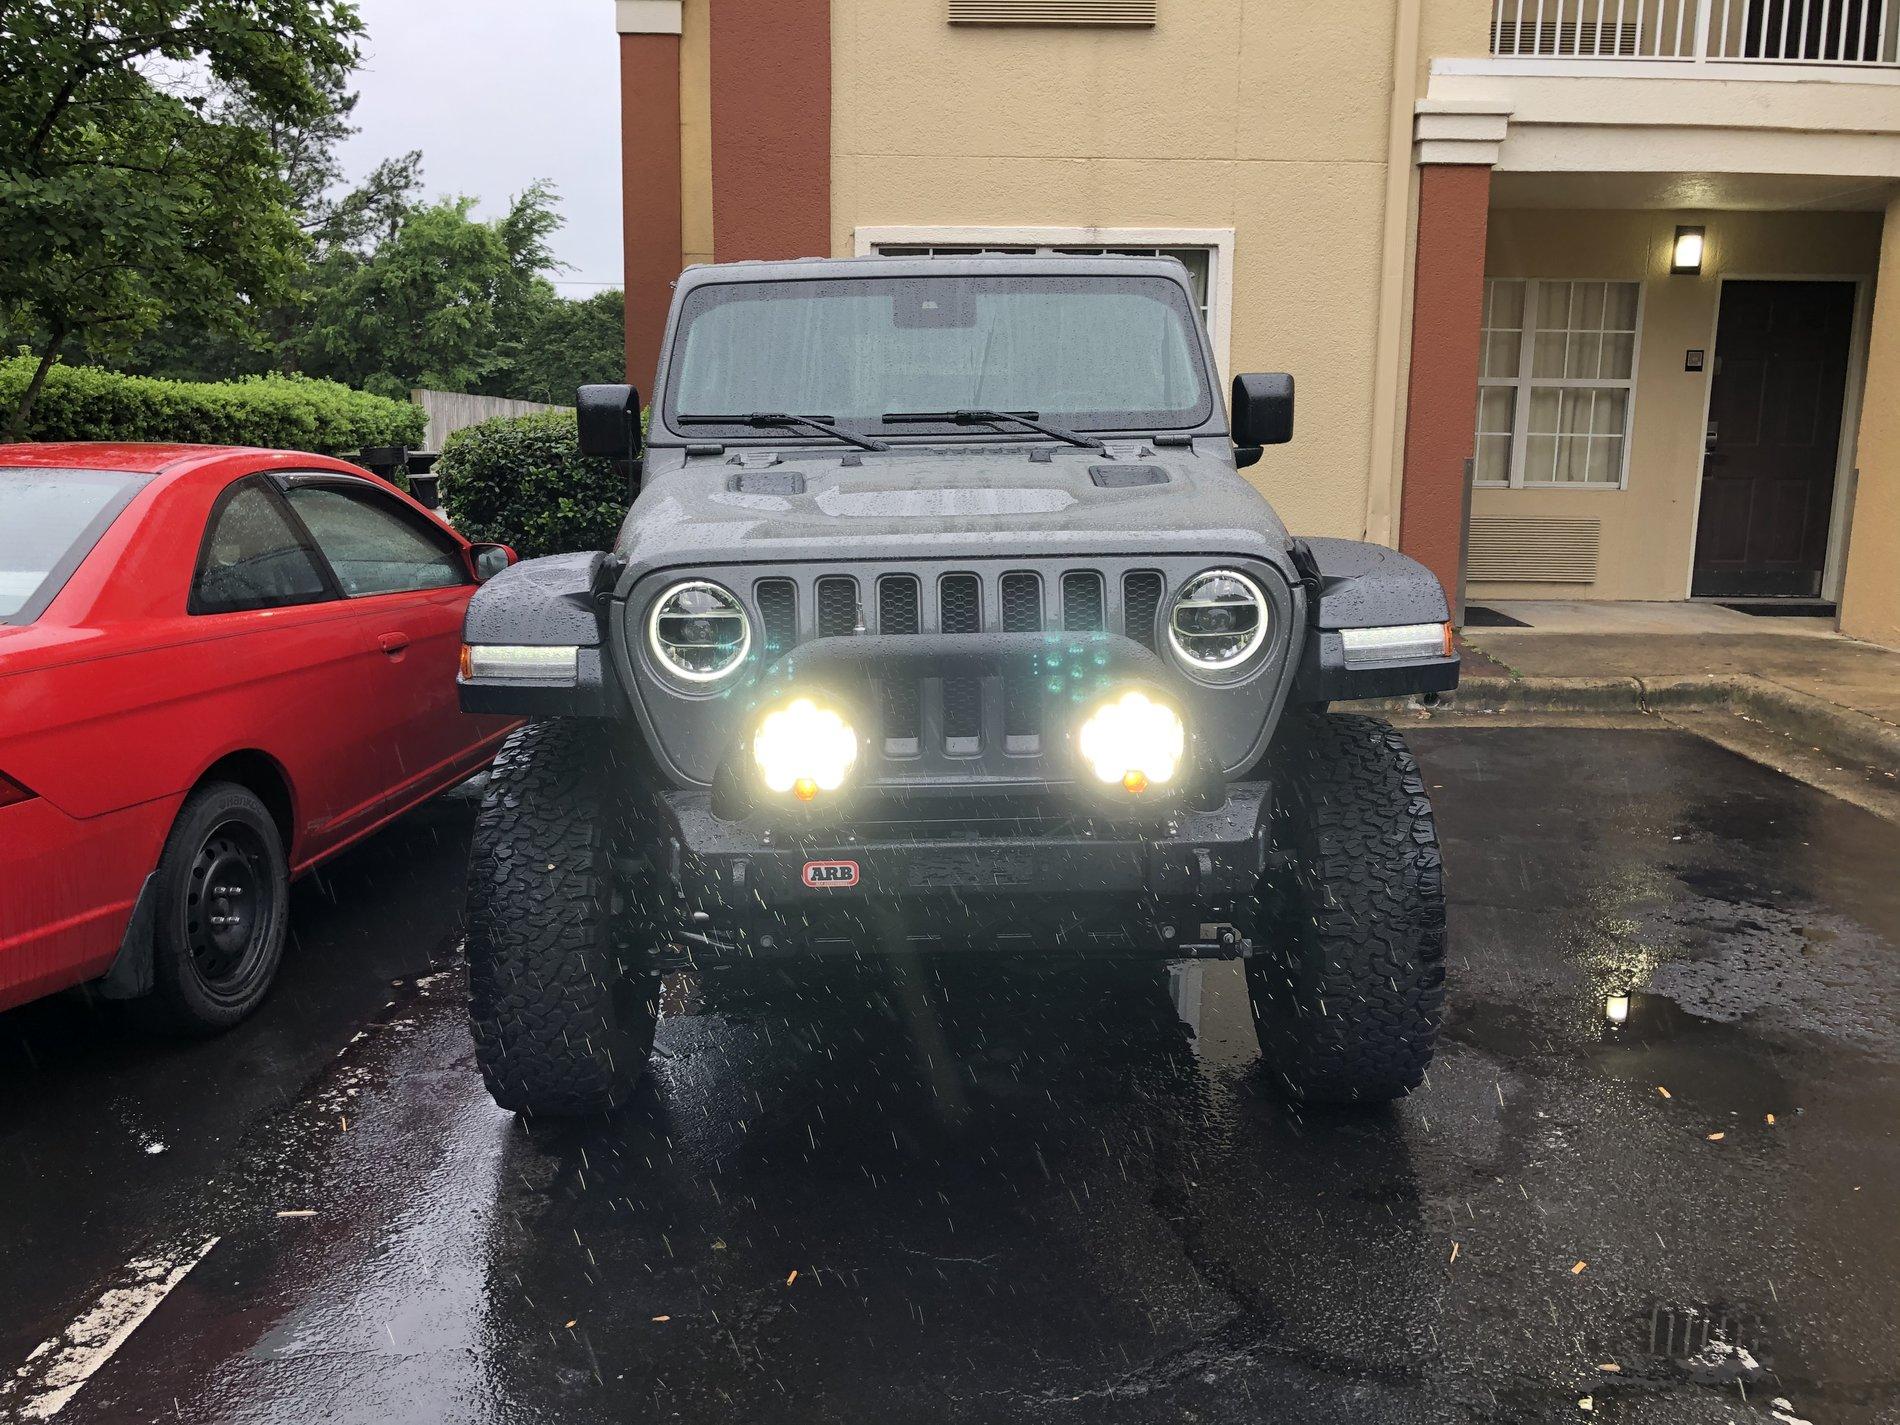
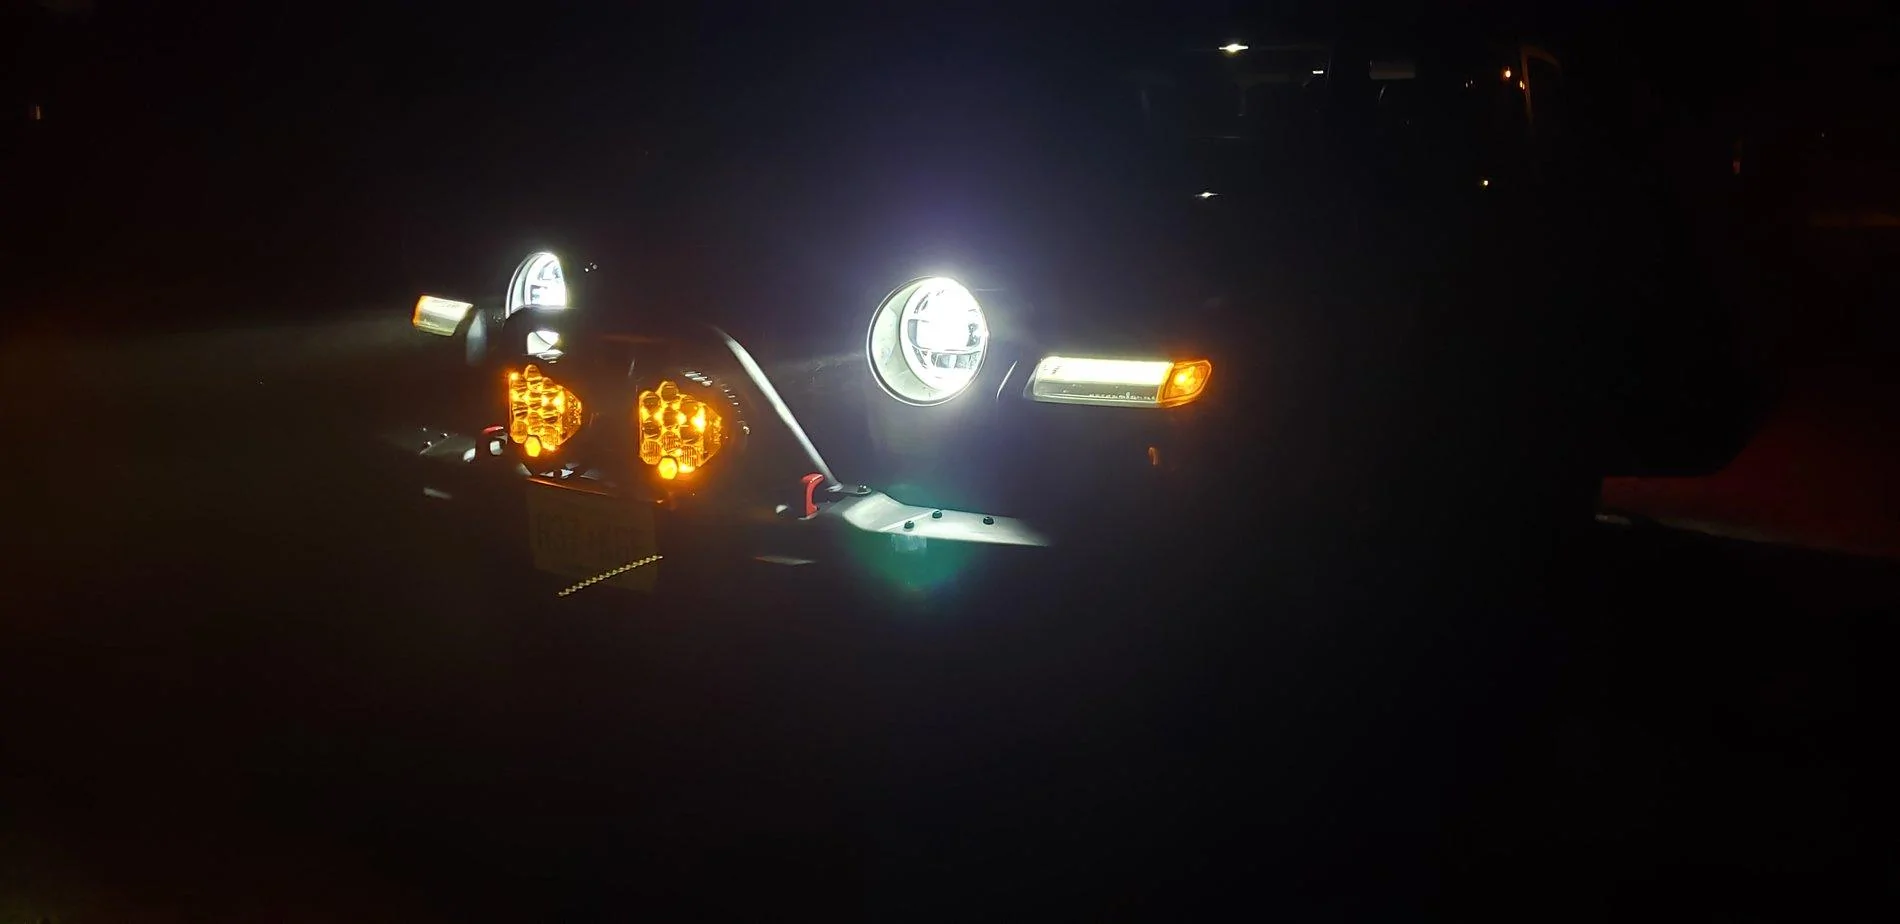
On a side note it always feels good to do your own work. Hardest part was figuring out how to run the wire from the lights to the Aux wires. After that (due to your write up) it was a few crimps, heat gun and some loom.
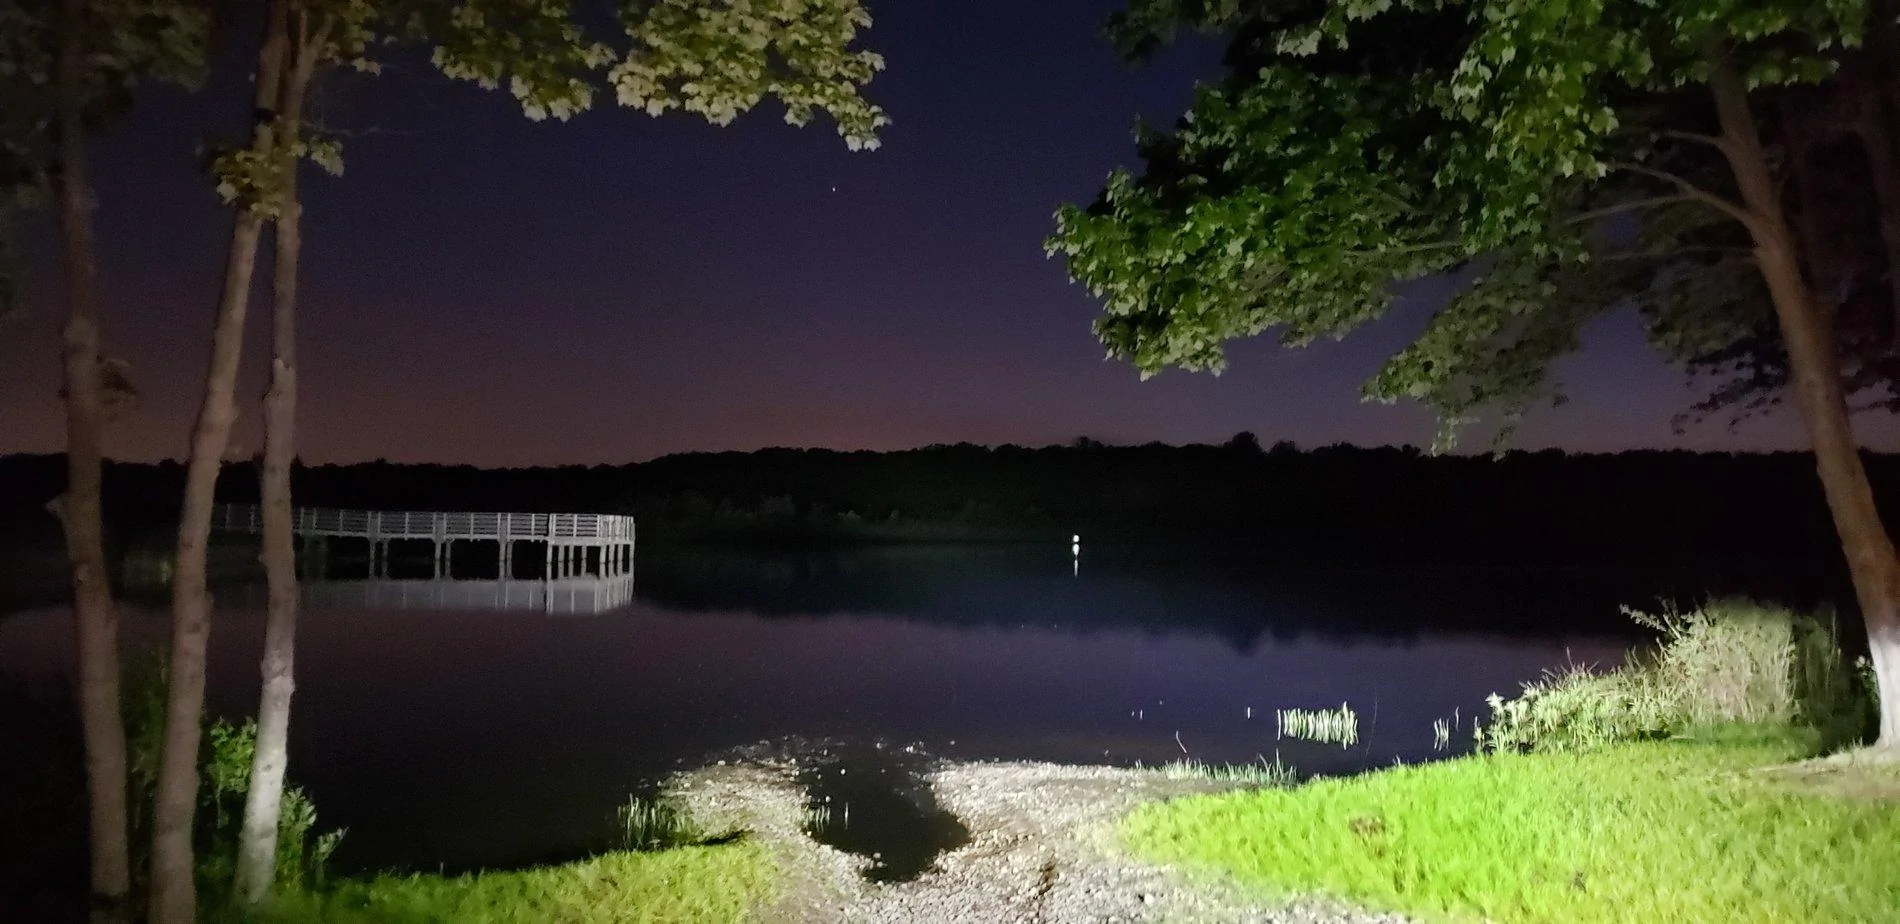
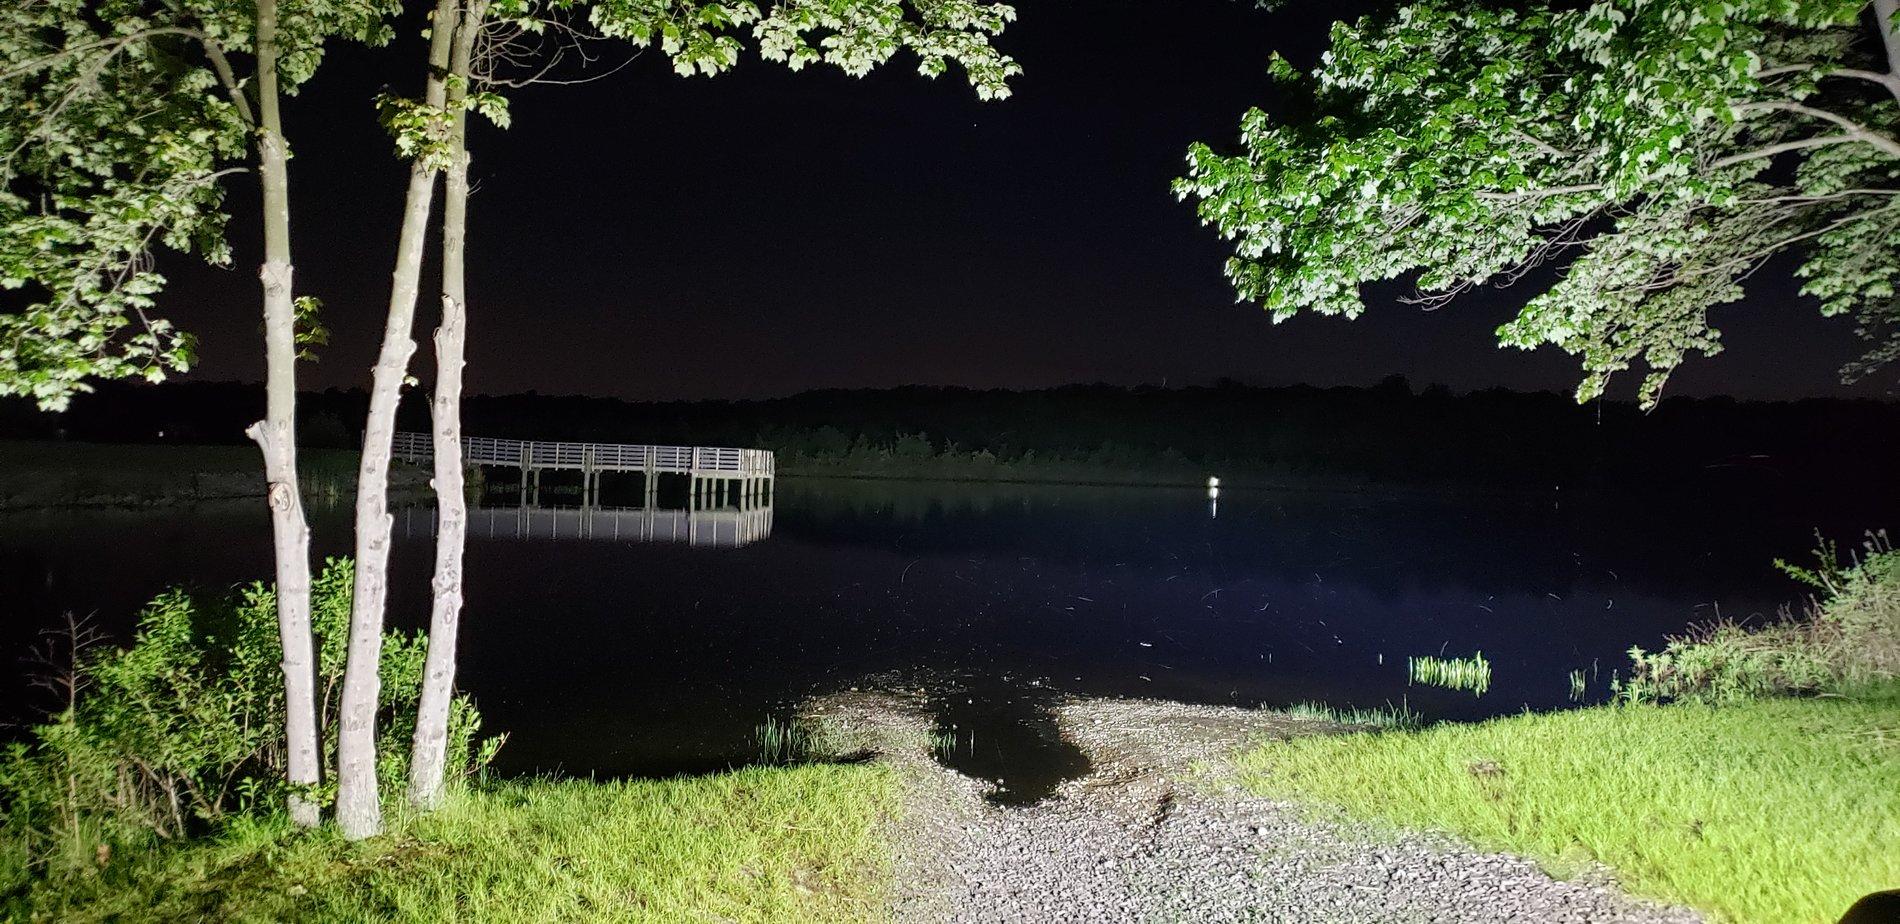
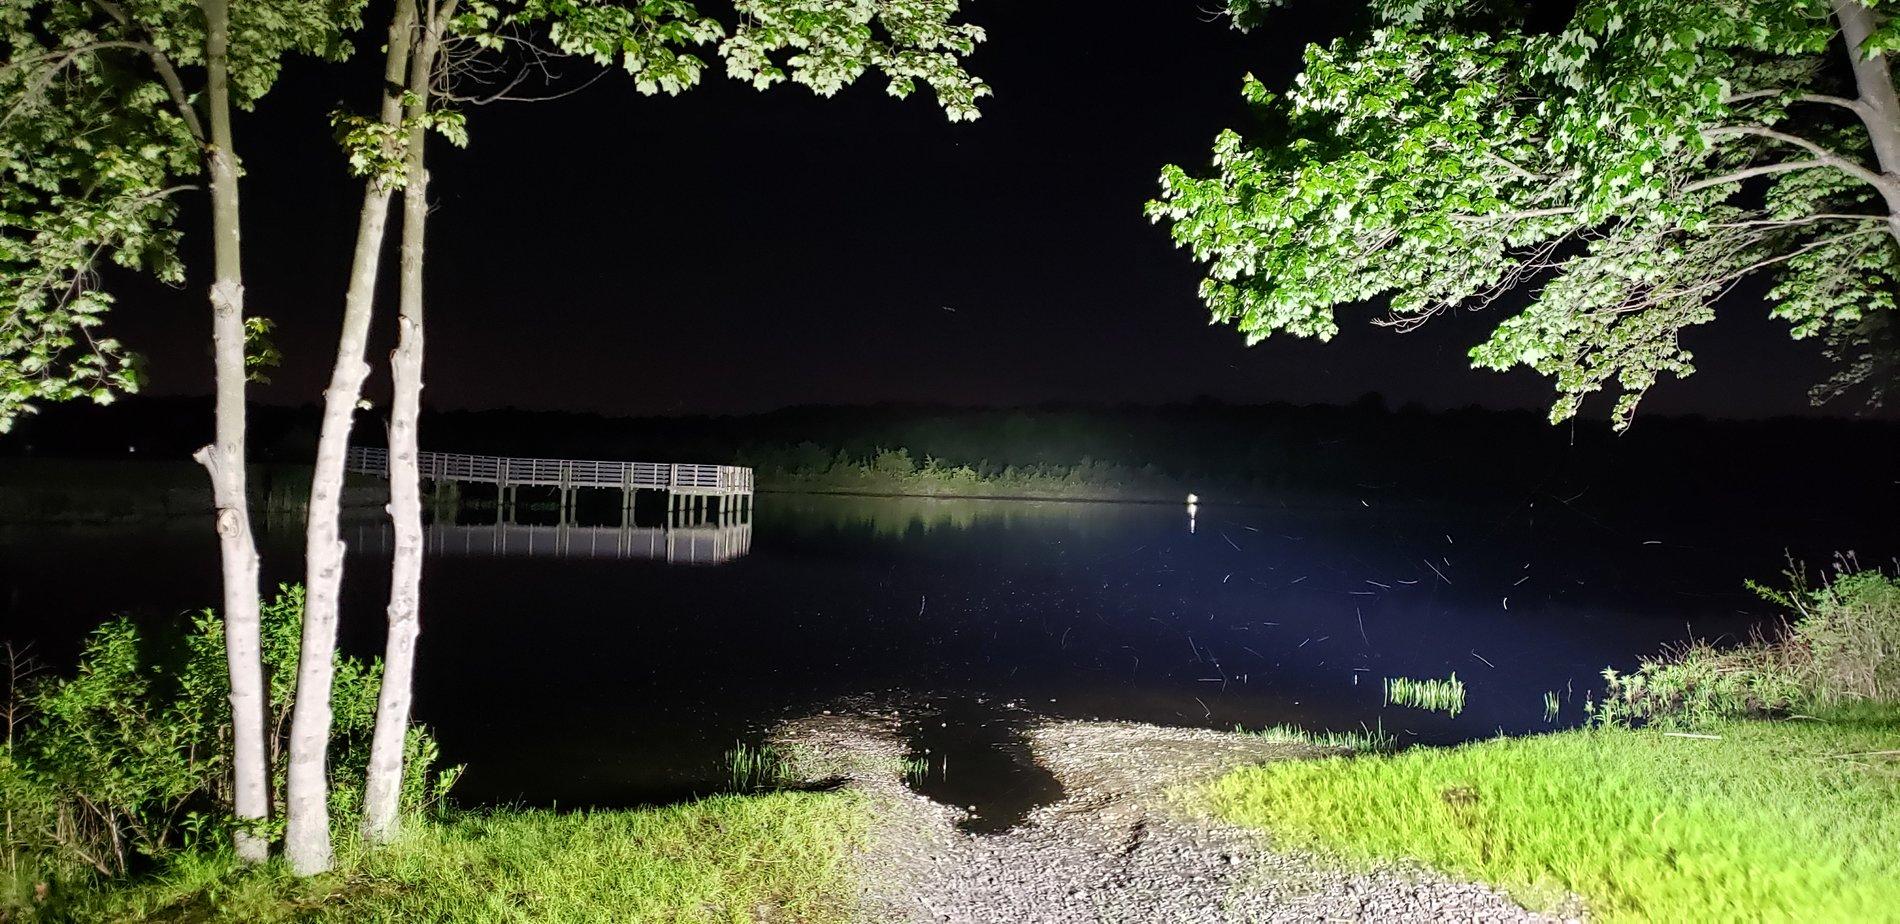
The pic of the lights is 1- amber back light, 2 -LED low beam, 3 - LED low beam with baja low beam, 4-LED low beam with baja high beam.
joegrasse
Well-Known Member
I am also interested in what bull bar that is.
angrynewyorker
Well-Known Member
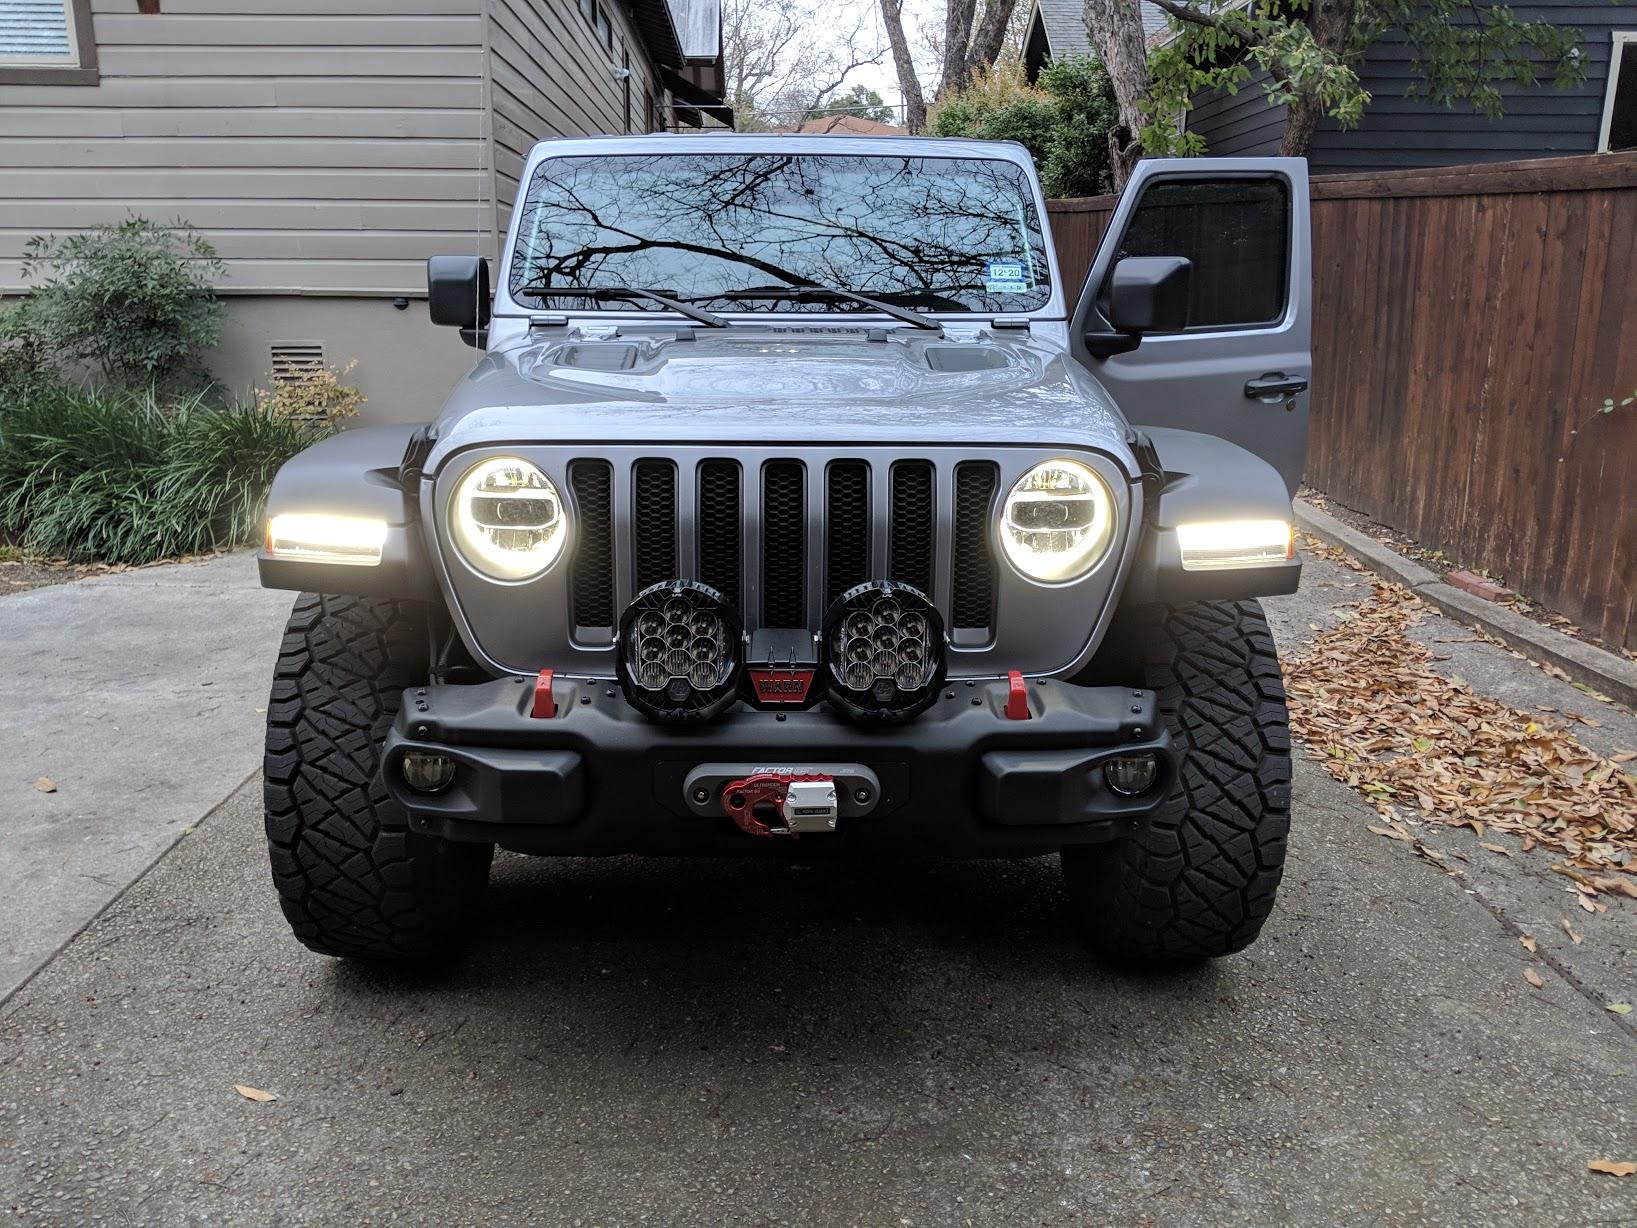
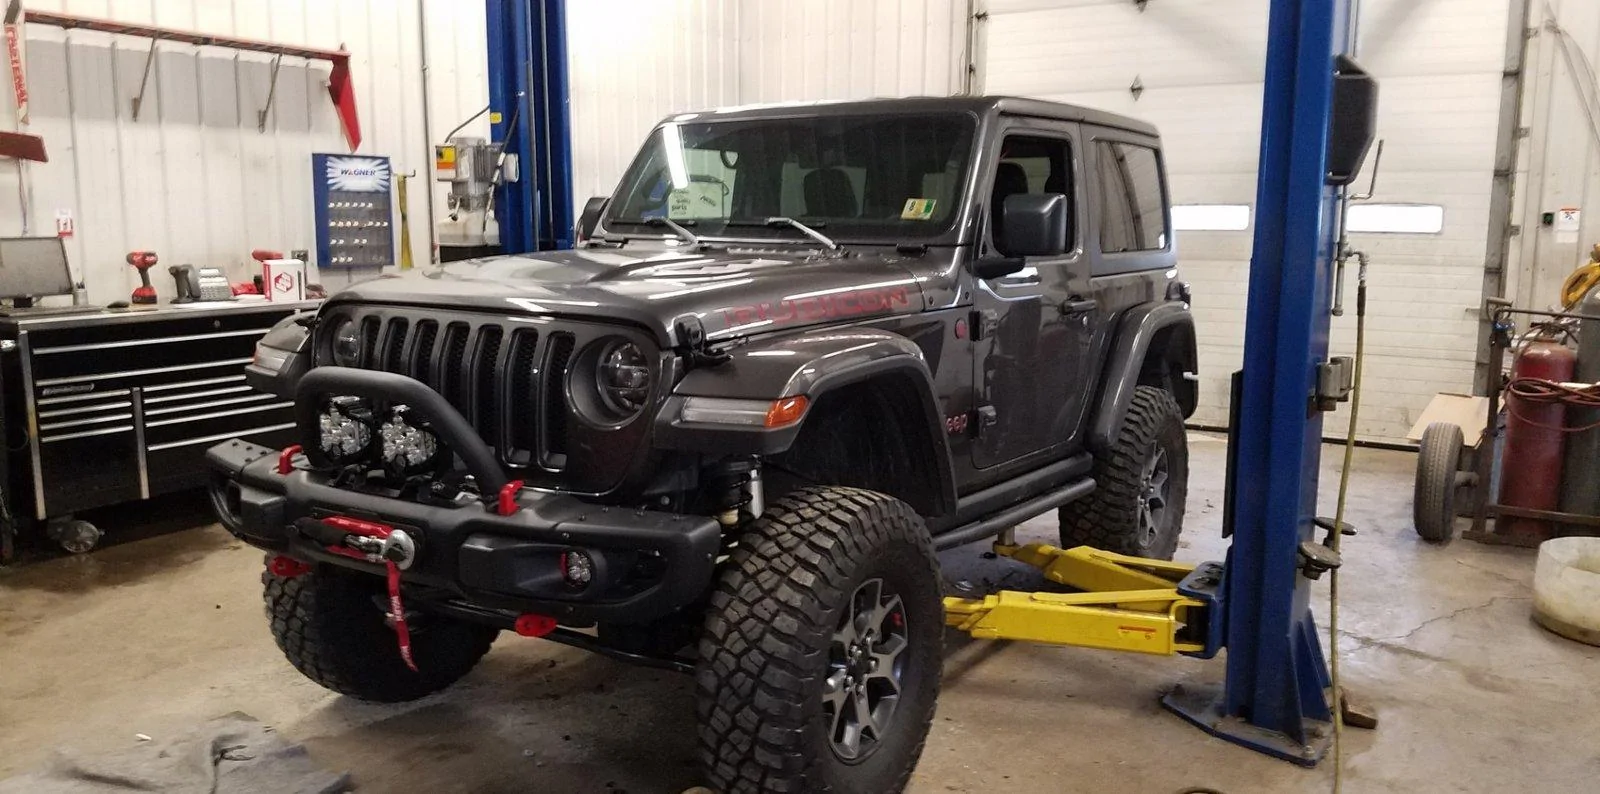
What winch is that? Is that the Evo or the Zeon? I was planning on getting these lights and the Warn Zeon 10s, but I want to mount them where yours are and am not sure if the 10S is too big to do so.I just did this installation. However, in order to preserve the lights, but still use the aux switches, I created my own wiring harness using a 5 pin relay (Panasonic CB1-T-R-M-12V). @BajaDesigns you may want to create a harness like this to sell to people with a JL + Aux switches, as I'm sure many people will want to do this installation but not want to create their own harness like I did. You'll just have to figure out how/what you want to tap into for the amber back-lighting. You can wire it to another Aux switch or tap into the DRL/Fogs/etc.
Relay wiring (see above for relay model) is as follows:
85: Chassis ground
30: Aux1/40a
86: Aux3/15a
87a: LP9 low beam
87: LP9 high beam
Harness to lights has an additional ground wire (attached to chassis ground, same as relay) and another wire for amber circuit. It's just not terminated at this point, until I figure out what I want to do with it (if anything). I don't have the amber back-light wired right now. I'm debating if I want to tap into the fog lights, DRL, or do something else (I'll test it out later to see how bright it is).
This way, 'Aux 1' turns the LP9s on or off, and 'Aux 3' off == low beam, 'Aux 3' on == high beam. This protects the circuit on the LP9s from being energized on both low and high beam at the same time, which is obviously a no-no and something previous posters had worried about.
I used 12AWG stranded and wrapped in Techflex Insultherm, with heatshrink at all joints. I spliced in (solder joint) for the second headlight off the run for the first. I used self-fusing silicon tape at these joints, as well as to wrap up the relay, which is connected via crimped tab terminals, so it can be removed and replaced if needed. The lights are just bolted onto the JLUR steel bumper using the hardware provided by BD. They work wonderfully.
cosine
Well-Known Member
i have the lp4 clear driving combo mounted on the bull bar and it lights up very well. i do have a pair of lp4 spot coming to replace the a pillar light i have now.I see you went with the white driving combo. I'm debating betwen the driving combo or the spot. How well does the driving combo throw the light at a distance? I'm wondering if these are so powerful that the spot is even necessary?
ValkyrieFalling
Well-Known Member
Jim,I just installed a pair of LP9 combo driving lights over the weekend. I know I'm late to this thread, but still wanted to share how I set up my wiring. I started with the BD wiring harness but got rid of most of it. I wanted to use the relay as a relay is intended to be used. I also wanted to use a single factory Aux switch, not 2 or 3.
So I used the connectors and wires to each light and the relay. I tossed the 3-way switch. I wired the relay as follows:
30: Aux #1/40amp power supply85: Ground86: Jump lead from right headlight high beam wire87: LP9 High Beams87a: LP9 Low BeamsLP9 Yellow Wires: Jump lead from individual right/left turn signal wiresI ended up with a single main power switch, Aux #1. The LP9s are matched up with the factory headlights operationally. With Aux #1 on, I turn on the high beams via the factory stalk and the headlights and LP9s are synced on high. Same with the low beams. The only drawback I've found is with the headlights off and Aux #1 on I can only activate the LP9 high beams by holding the factory turn signal stalk back. The LP9 low beams work fine, but there's no way to actuate the relay (high beams) other than holding the stalk back. That's really not a problem since I can't imagine a scenario where I'd want to use the LP9s and not the headlights.
I also wired the yellow backlight wires to each front turn signal wire individually. Now the backlight flashes simultaneously with the turn signal on each side. They work with the emergency flashers as well.
As far as the LP9s themselves, HOLY CRAP! On low beam, they literally light up the sidewalk on both sides of the street. On high beam, I think the stucco on the house at the end of the block started smoking. I can't wait to use them on the trails I frequent in Southern Colorado.
I have sent you a DM. Would appreciate it if you’d please check and reply.
Thank you!
Sponsored
Similar threads

- Replies
- 14
- Views
- 2,941