HardRock
Well-Known Member
- First Name
- Dave
- Joined
- Apr 9, 2018
- Threads
- 0
- Messages
- 296
- Reaction score
- 203
- Location
- Beverly Hills, CA
- Vehicle(s)
- 2015 Rubicon JK Hard Rock Edition (FL); 2018 Rubicon JL (CA)
All about the beer time...
Sponsored
Is 10awg adequate enough from engine bay all the way to the rear to not blow the fuses?The large wiring harness which goes directly to the battery is too short so I had to extend it by 10 feet. You will need 2 black 10awg wires, 2 red 10awg wires and 1 black 18awg wire. I recommend staggering the splices so you don't end up with one area of the wires that is really bulky.
Yes. The dual ARB runs a max load of about 34.3 amps per red wire. If you are okay with a 5% voltage drop then you can get away with 17.5 feet of 10awg wire which is all you should need. Also, 34.3 amps is max load and normal working load is more like 25 amps.Is 10awg adequate enough from engine bay all the way to the rear to not blow the fuses?
Nah im running 10s much easier. Thanks for the info though. Thats what i was looking forYes. The dual ARB runs a max load of about 34.3 amps per red wire. If you are okay with a 5% voltage drop then you can get away with 17.5 feet of 10awg wire which is all you should need. Also, 34.3 amps is max load and normal working load is more like 25 amps.
You could run 8awg if you want less voltage drop but I haven't had any issues with 10awg.
https://www.wirebarn.com/Wire-Calculator-_ep_41.html
Nah im running 10s much easier. Thanks for the info though. Thats what i was looking for
Haha i hear ya, rains made it pretty difficult! Video should be good man look forward to it. Thatll be sweet havin it off the ignition too. Mines just switched on the compressor its self since its the portable version and i didnt want to dismantle it haha. Not sure if mine has that 16 gauge ill have to check. Your Wire loom looks good though
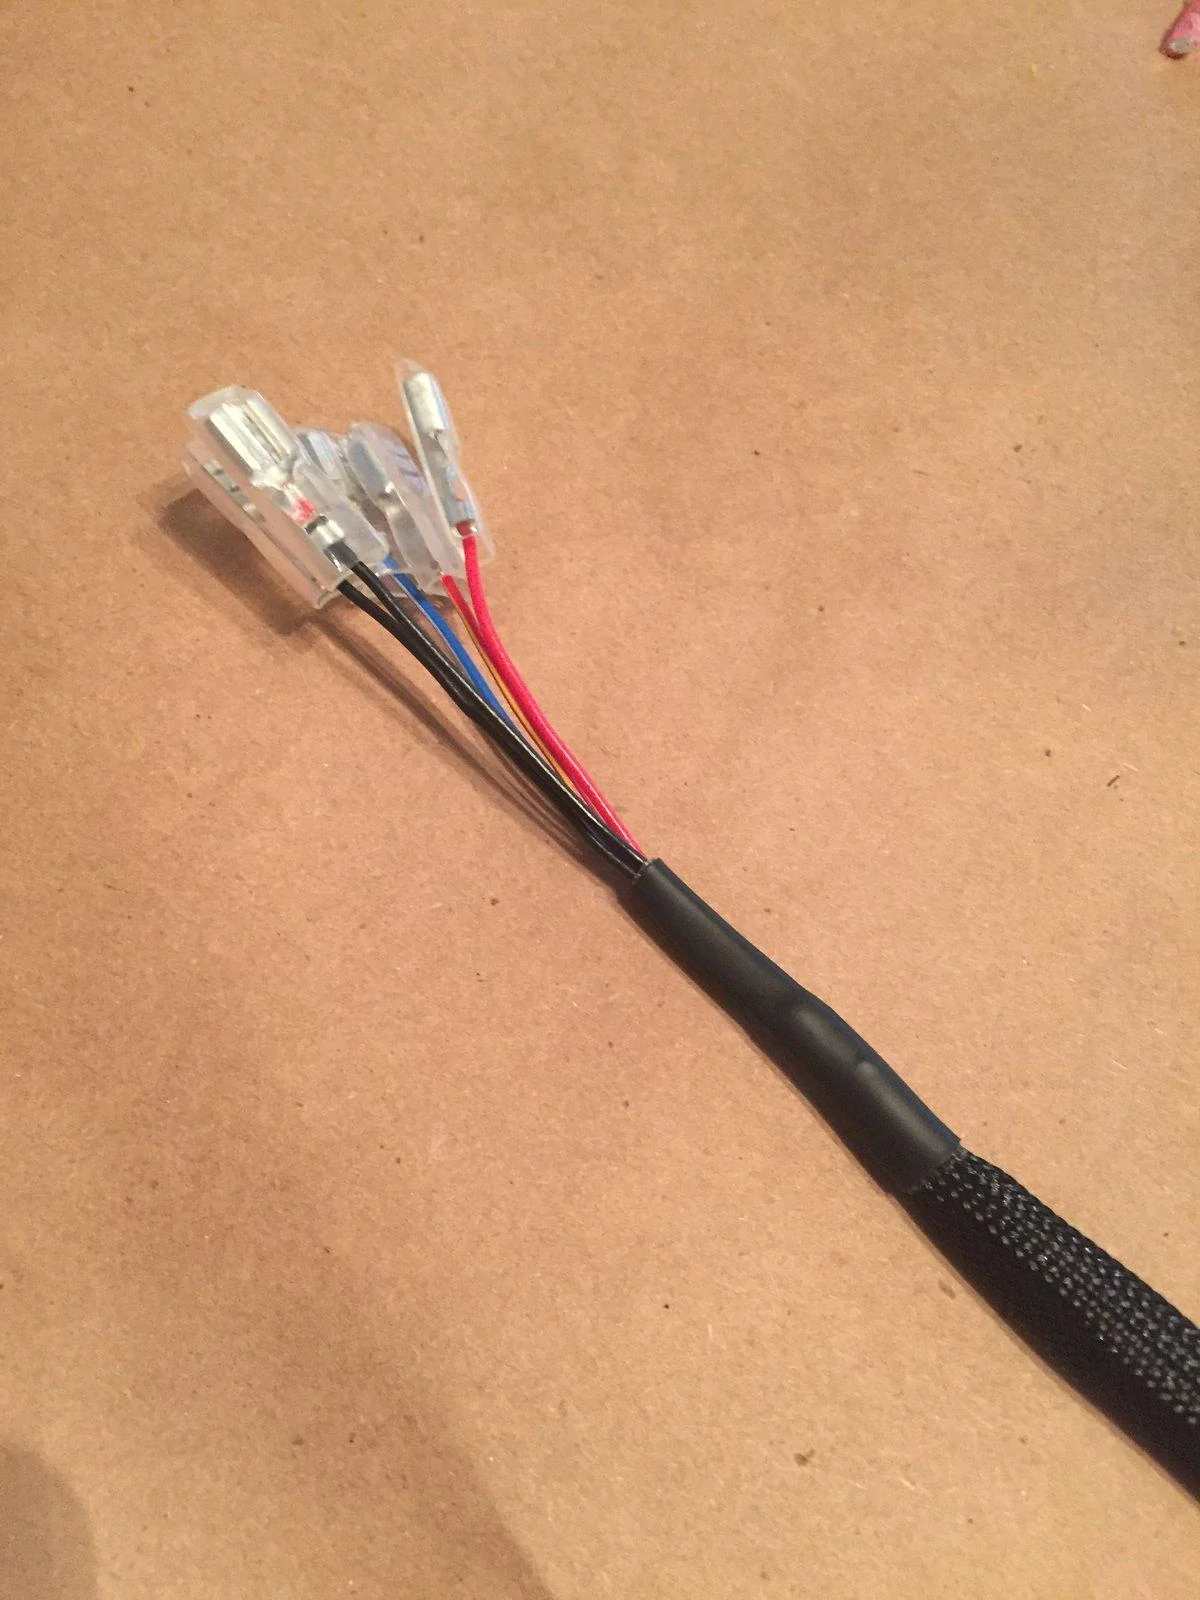
Hopefully I can post a install video by this weekend. The rain is slowing me down! I am also running two Red 10s, a Black 8, and Black 16 from the battery to the ARB. I just made a new harness from the compressor to the switch on the MORE bracket (pictures attached). Going to do the same type of thing for the cables to the battery. Then a Red 16 to my ignition wires that will plug into the red connector.
Thanks! Trying to get ready for MOAB!Haha i hear ya, rains made it pretty difficult! Video should be good man look forward to it. Thatll be sweet havin it off the ignition too. Mines just switched on the compressor its self since its the portable version and i didnt want to dismantle it haha. Not sure if mine has that 16 gauge ill have to check. Your Wire loom looks good though
Hell yeah Man i want to get out there at some point too!Thanks! Trying to get ready for MOAB!
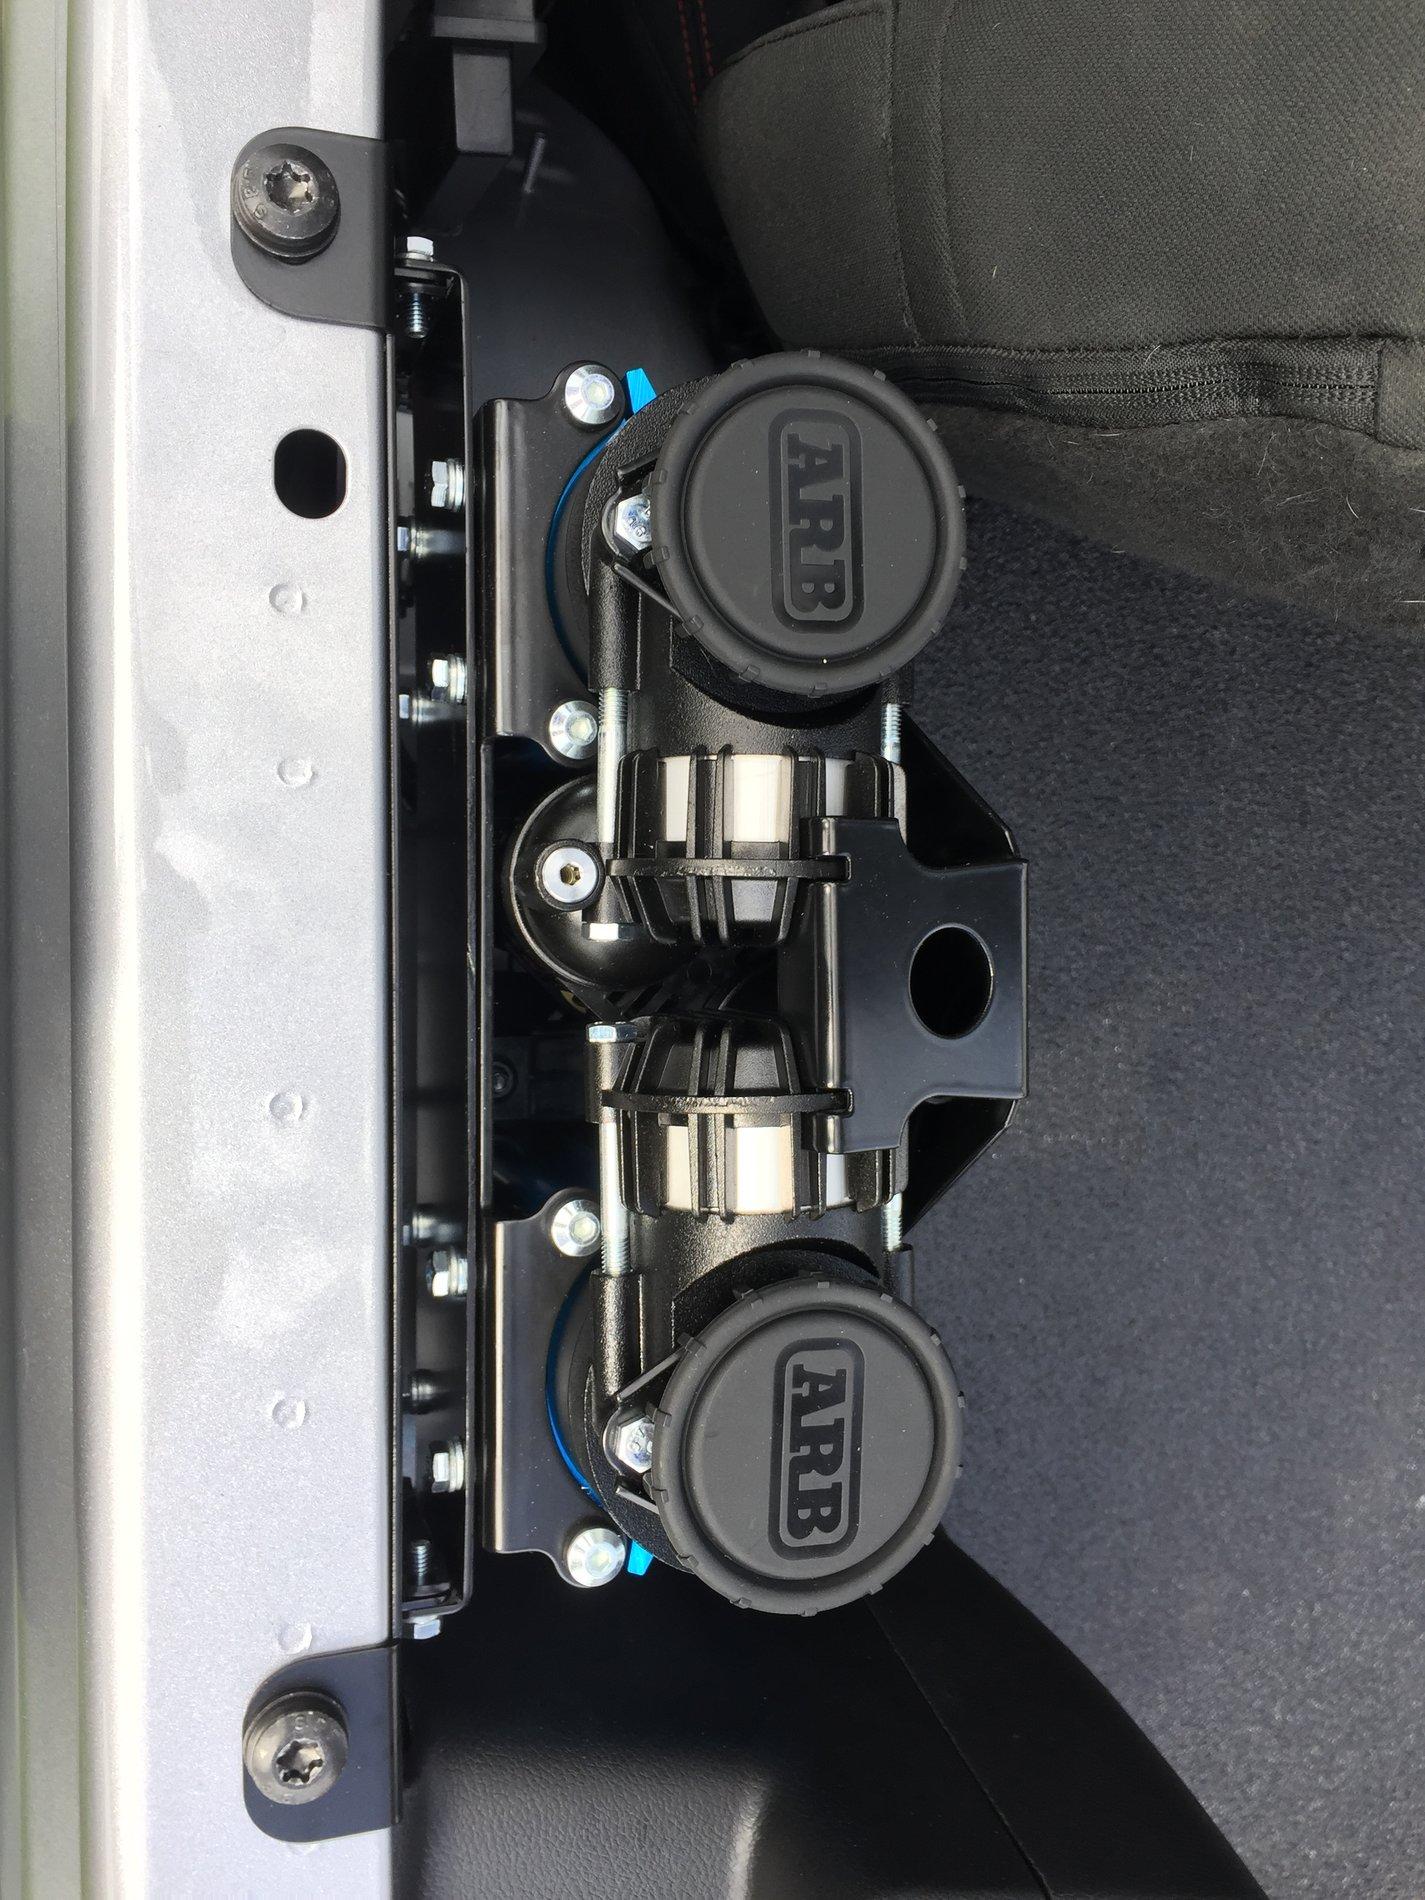
I think the compressor would stick up to much for their cover. You might need to mount this under a seat for it to work with the slipstream.Does anyone have this setup modified to work with a diabolical slipstream?
Mine are grounded directly to the negative of the main battery and my ESS is working fine.I am wondering where you grounded the black wires. I attached mine to the black battery terminal. Now the Auto Stop Start is showing a warning on the dash.
Should moving the ground to the body bolt solve this?
I am wondering where you grounded the black wires. I attached mine to the black battery terminal. Now the Auto Stop Start is showing a warning on the dash.
Should moving the ground to the body bolt solve this?
Mine is hooked up directly to the battery also. It shouldn't cause an ESS error.Mine are grounded directly to the negative of the main battery and my ESS is working fine.
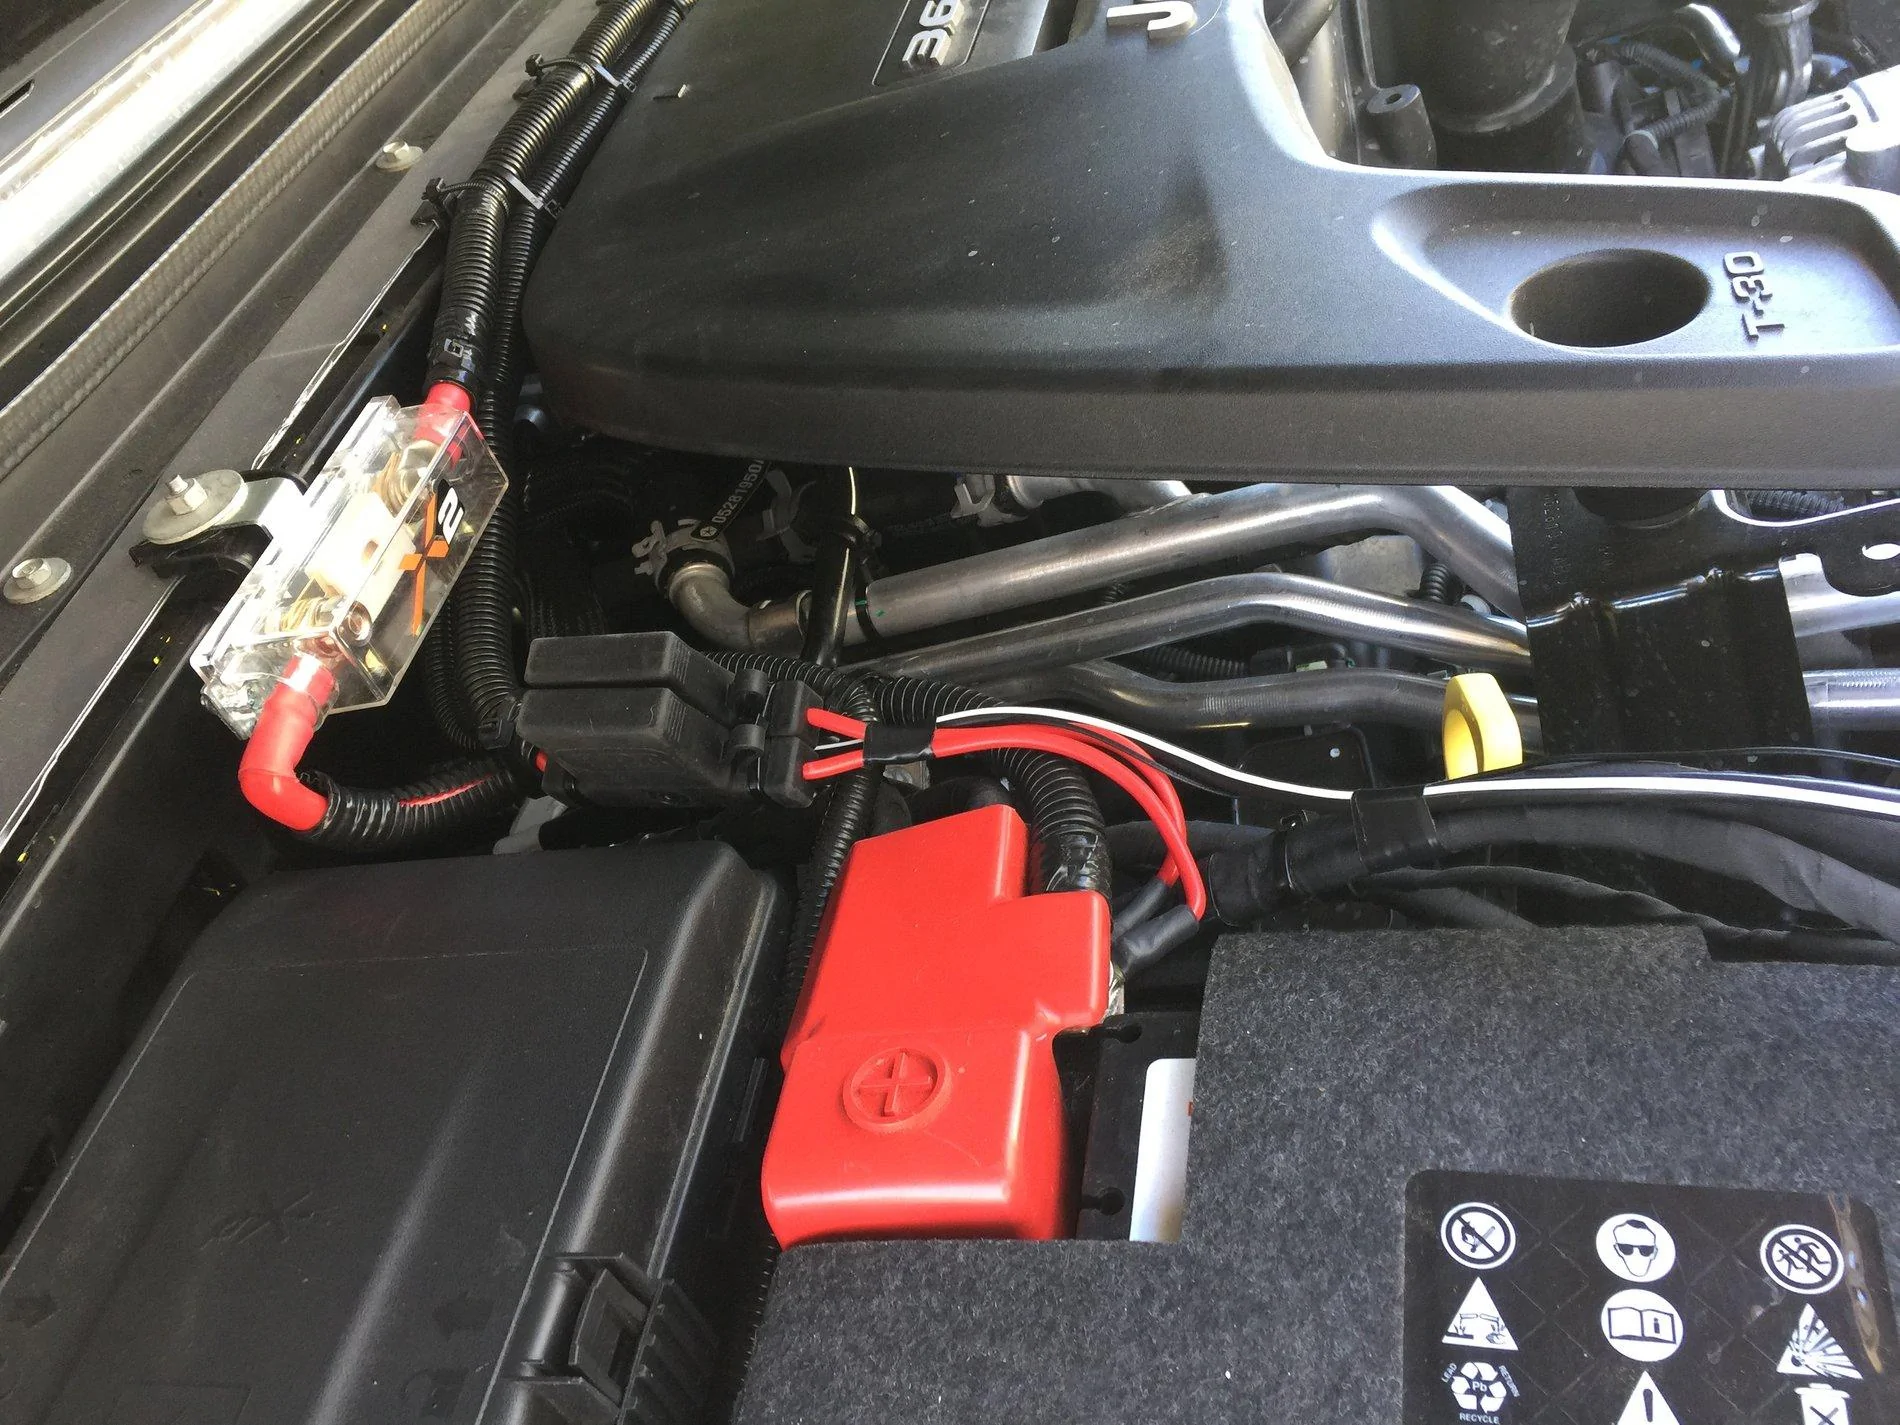
You will need to change the power cable running to the battery. 10awg is not enough the compressor has a maximum draw of 60amps on a 12volt installation. Meaning you need 6awg or at least 8awg ( this one is 40amps rated) just like the maxi fuse 40amp.I just installed my dual arb compressor using the Mountain Offroad bracket and thought I would share what I did.
Here is the end result:

I planned on using one of the four Aux switches so I cut off the switch mount from the MORE bracket along the red line:

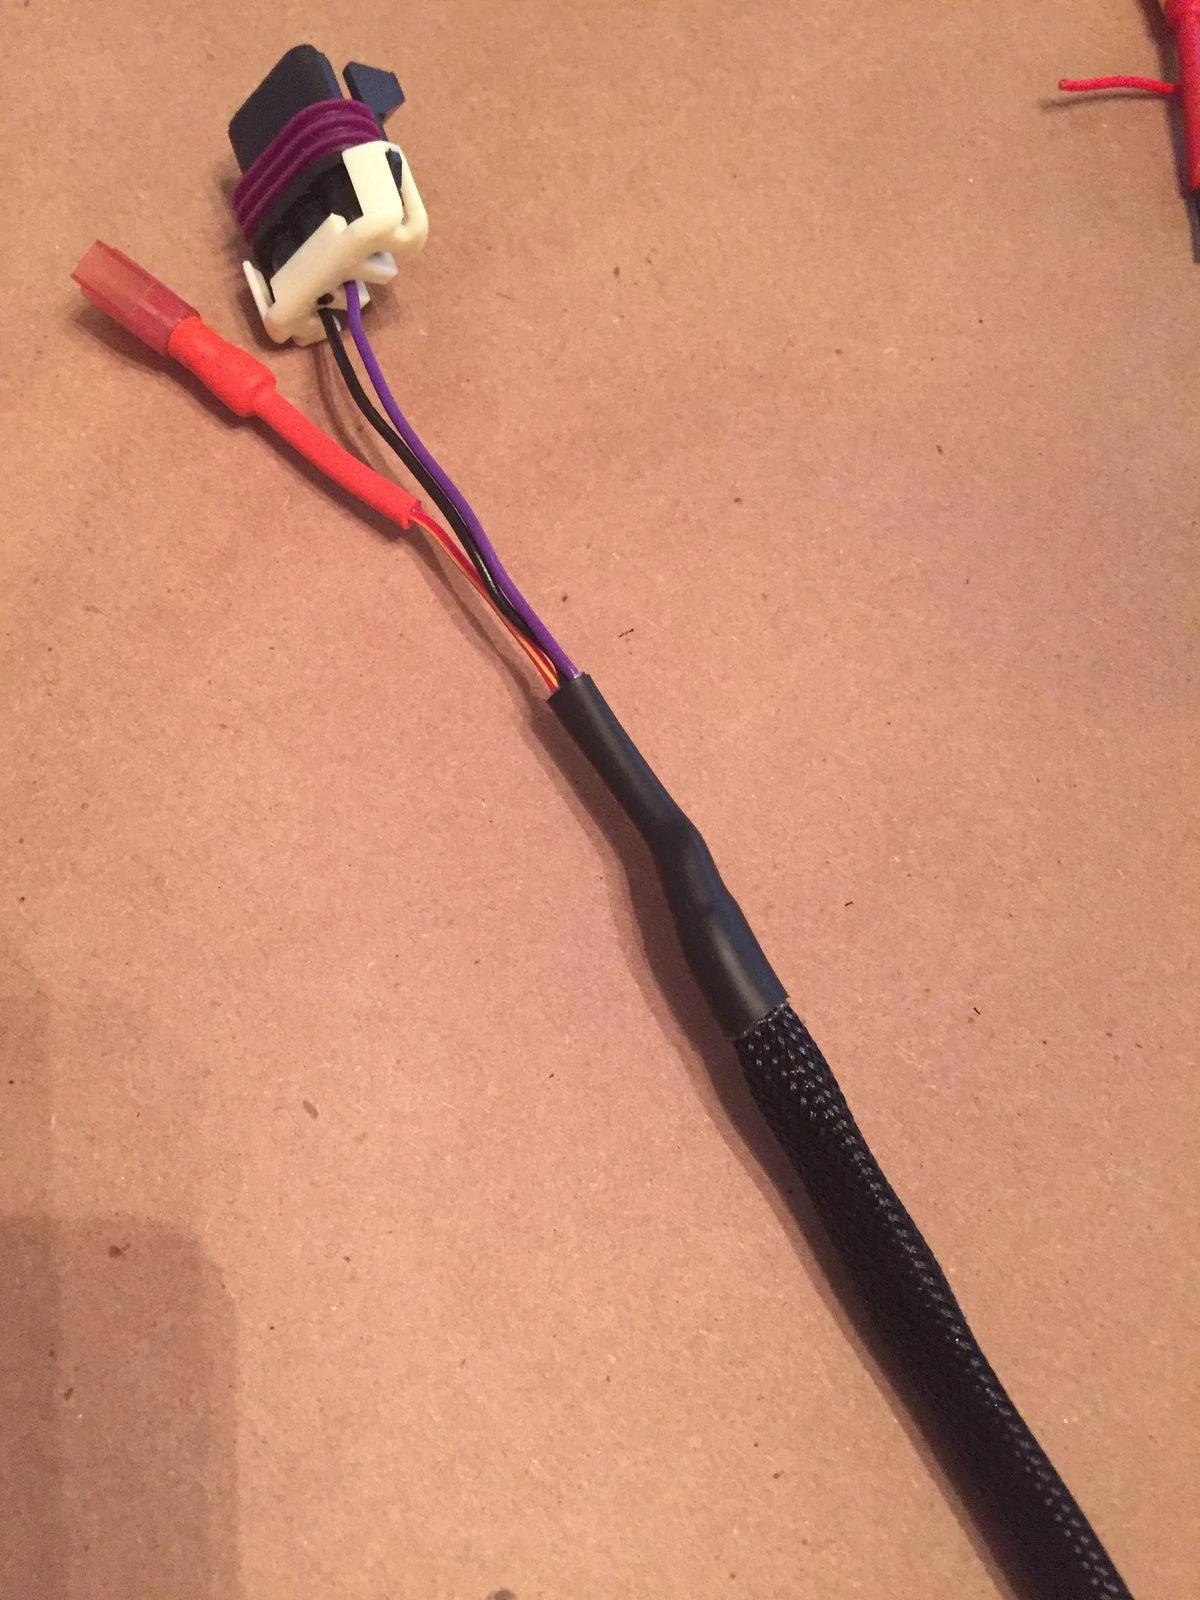
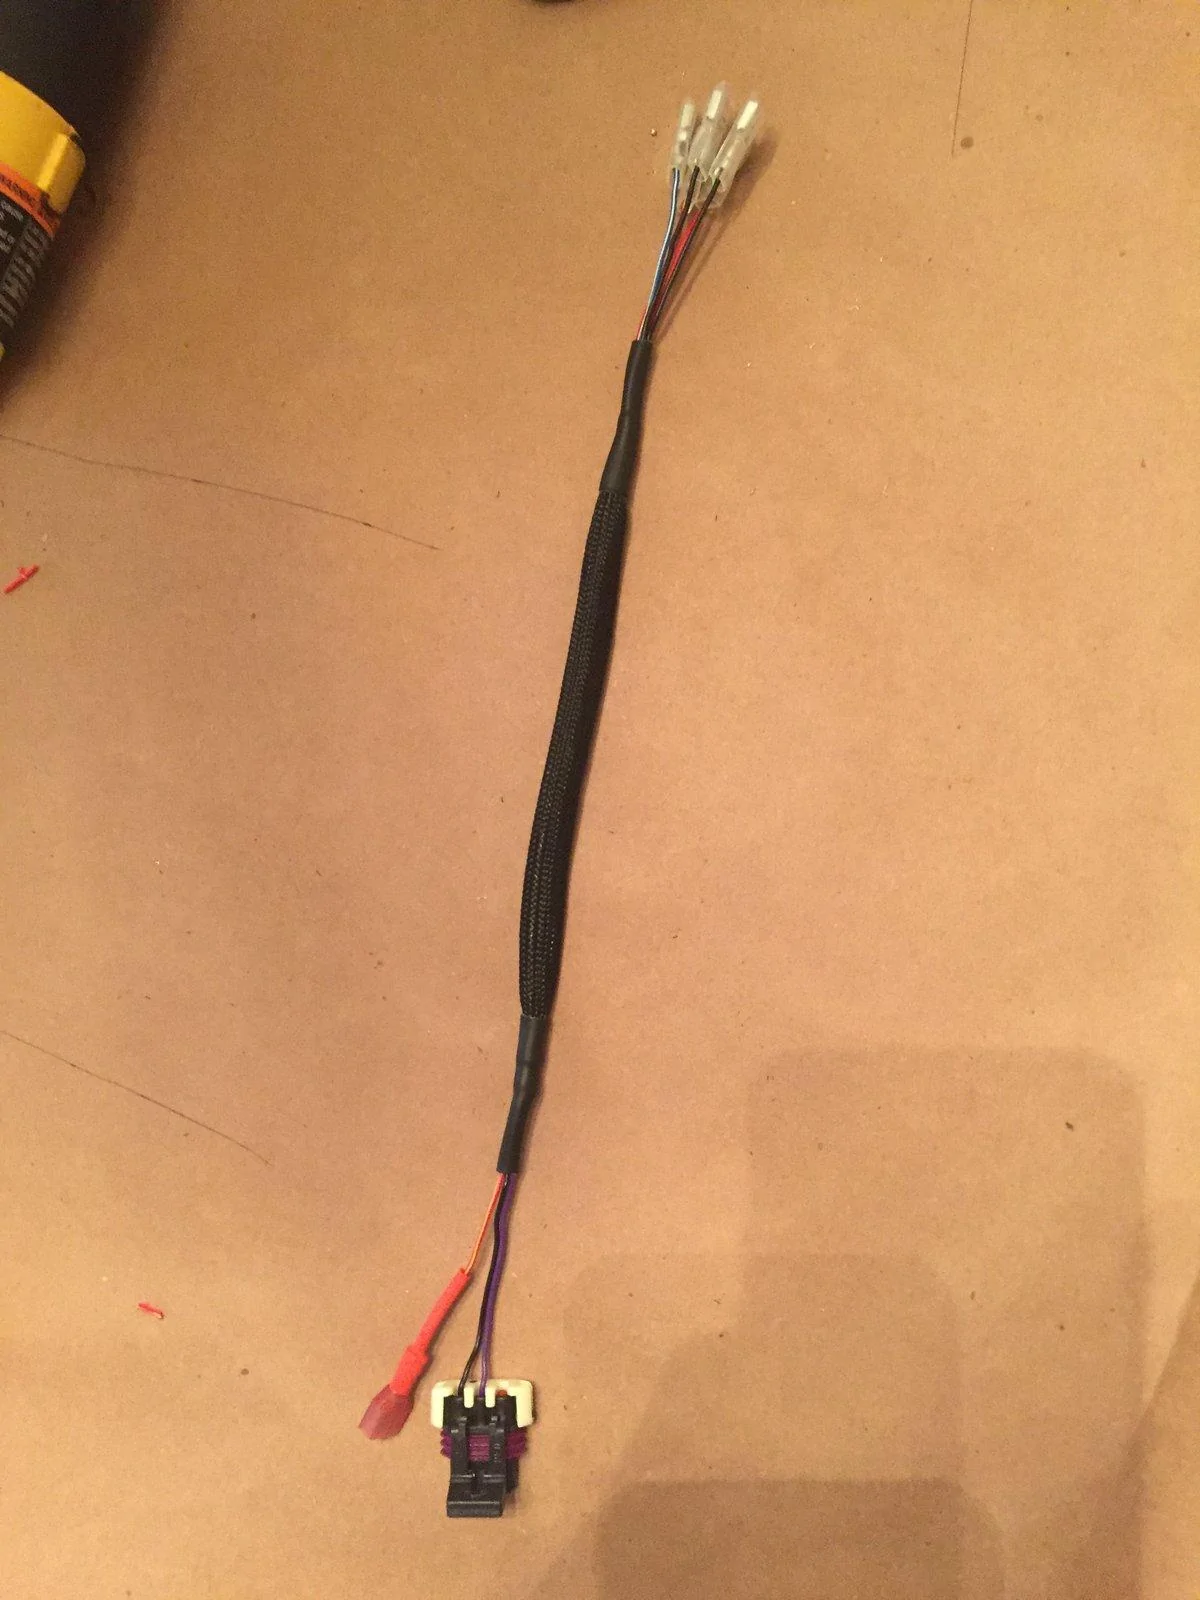
The compressor has to plugs. One huge one that goes directly to the battery and a smaller one for the switches. Here is the smaller plug:

There are three wires going to this plug. Red, Black, and Purple. Red is capped off and I have no idea why it is there. As I found out later, black (the ground) isn't even needed. It's probably used for all the other switches you can have like front and back ARB lockers which I don't have.
I tossed that wiring harness, cut off the plug and wired the purple directly to my aux2 switch. Nice and simple. I routed the aux2 wire down the passenger side and then over to the drivers side underneath the back seat carpet. I also taped the wire down to the floor so it wouldn't move around. Sorry, no pictures of that.
The large wiring harness which goes directly to the battery is too short so I had to extend it by 10 feet. You will need 2 black 10awg wires, 2 red 10awg wires and 1 black 18awg wire. I recommend staggering the splices so you don't end up with one area of the wires that is really bulky.
Here are some tips on splicing 10awg wire:
Push the two wires together while wiggling them a bit. The small wires will intermingle. Then wrap a single strand around the two wires to hold it:
Solder the wires together. I used a Weller 200/260watt soldering iron. You need a lot of heat.
And then finally shrink wrap it:
The large wire harness is covered with a black plastic loom which I tossed the cover before exending the wires by 10 feet each.
Here I am laying down the two red wires to line up the fuses:
The next step is to lay down the two black wires:

I then taped the wires together every foot and then wrapped the wires with a wire loom for protection.
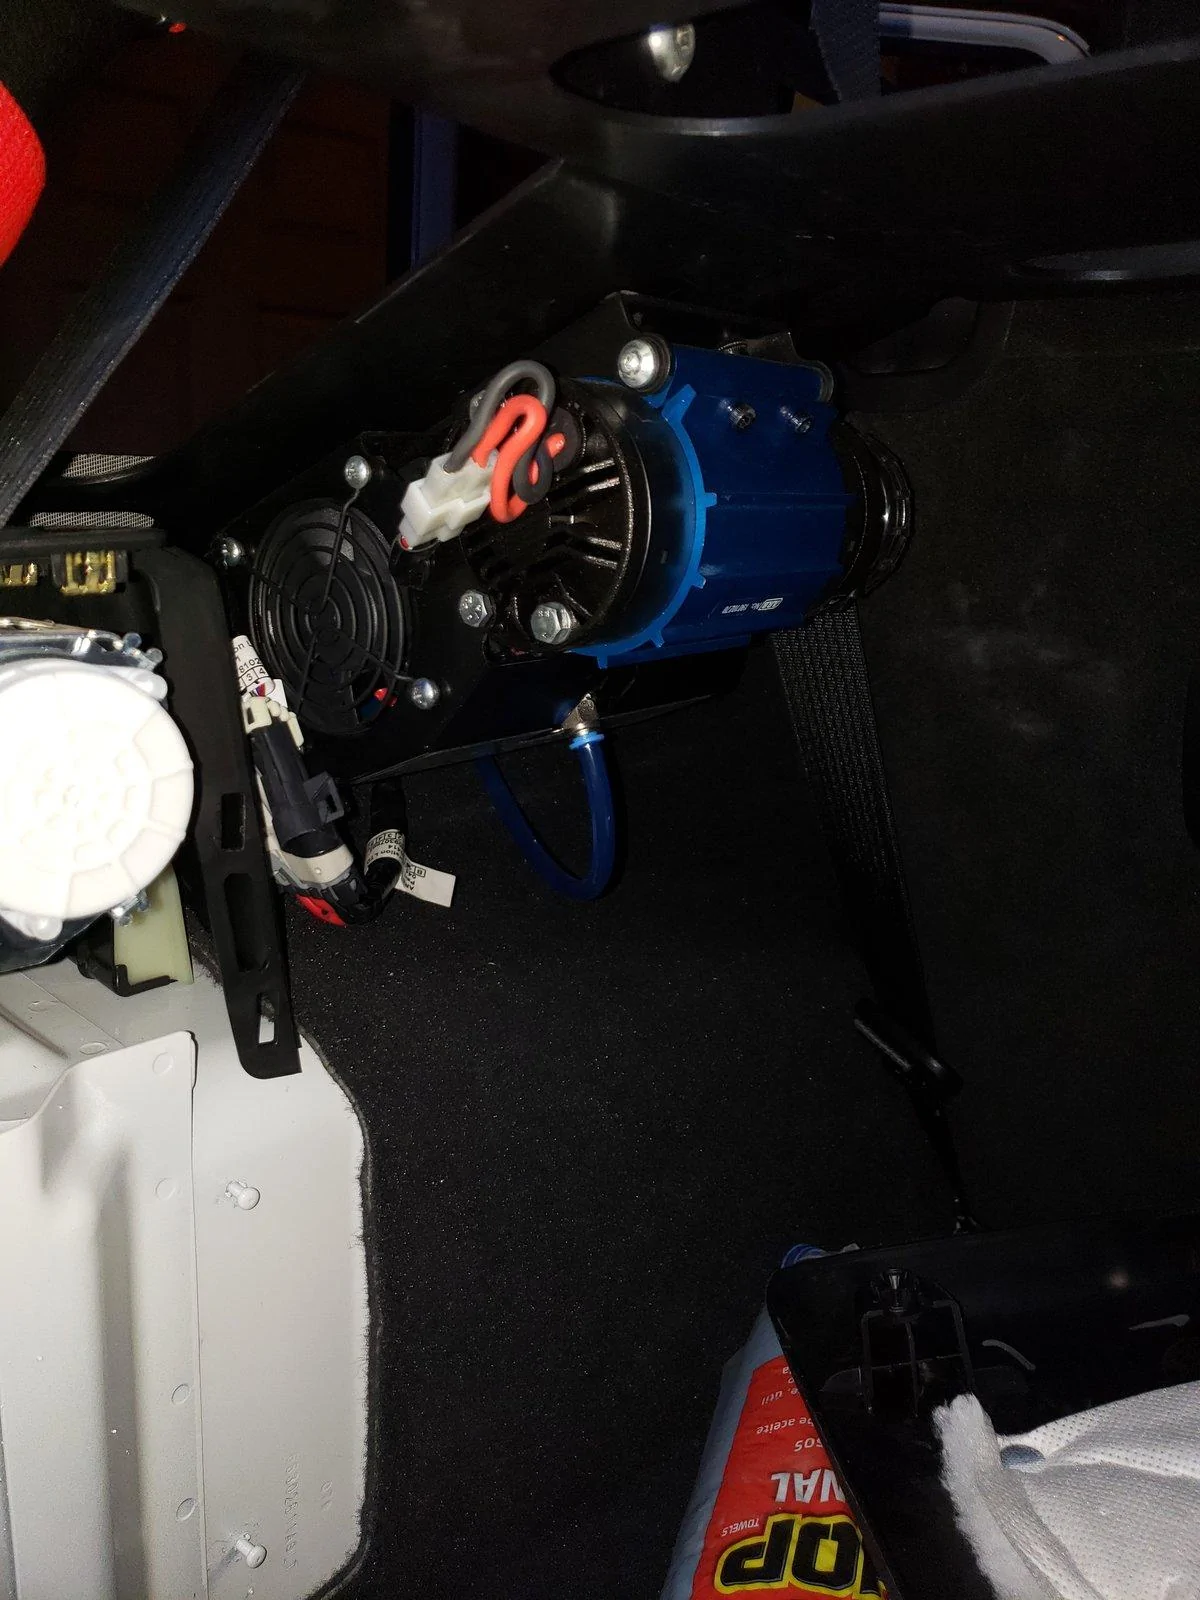
The best way to get through the firewall is through a plastic plug on the drivers side above/left of the pedals:

I drilled a hole through the plastic plug, pushed the wires through it and then siliconed the plug in place. I actually used Sekaflex 291 not silicone.
Here is a picture of the wires going to the firewall hole:
Follow the lower wire loom. The top one is for my winch relay.
It's important to route the wire carefully so as to not cover any of the black plastic side panel clips:
I decided to pull apart the large harness plug so that I wouldn't need to splice any more wires. In hind sight I wish I just cut the wires a foot away from the plug and spliced them.
Dang it! I the rubber melted away on one of the wires!
Here is the the plug on the new wires complete with shrink wrap covering my mistake
View attachment 42046