ResqFE
Well-Known Member
- First Name
- Ron
- Joined
- Feb 22, 2018
- Threads
- 112
- Messages
- 390
- Reaction score
- 241
- Location
- Ensenada Baja MX
- Vehicle(s)
- 2018 JL Unlimited
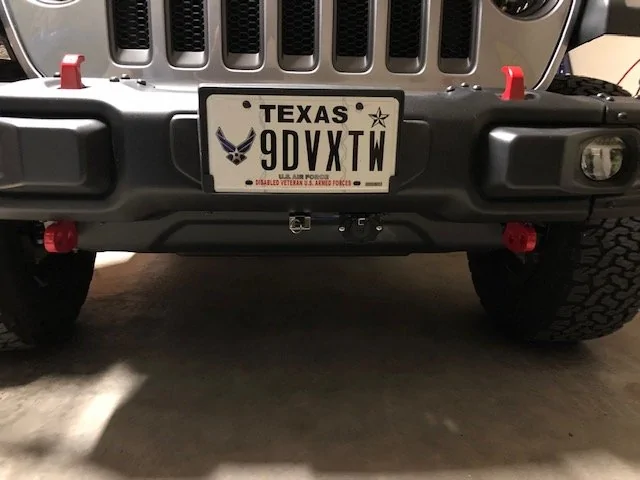
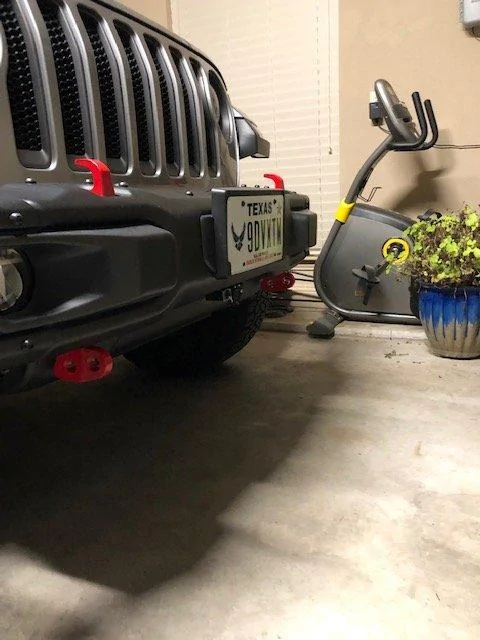
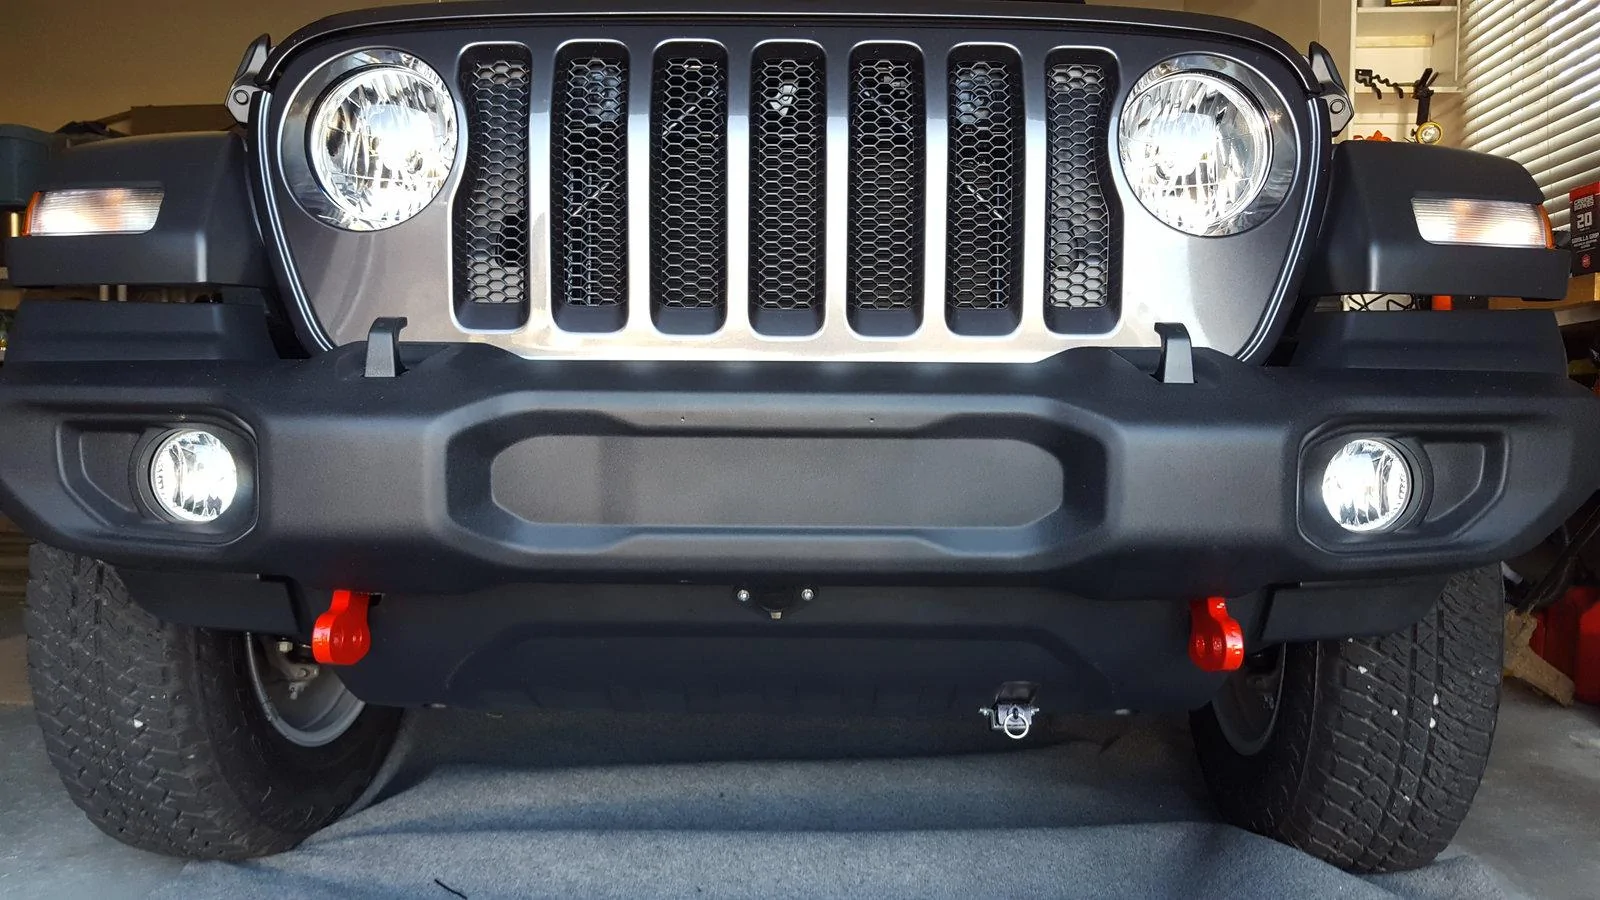
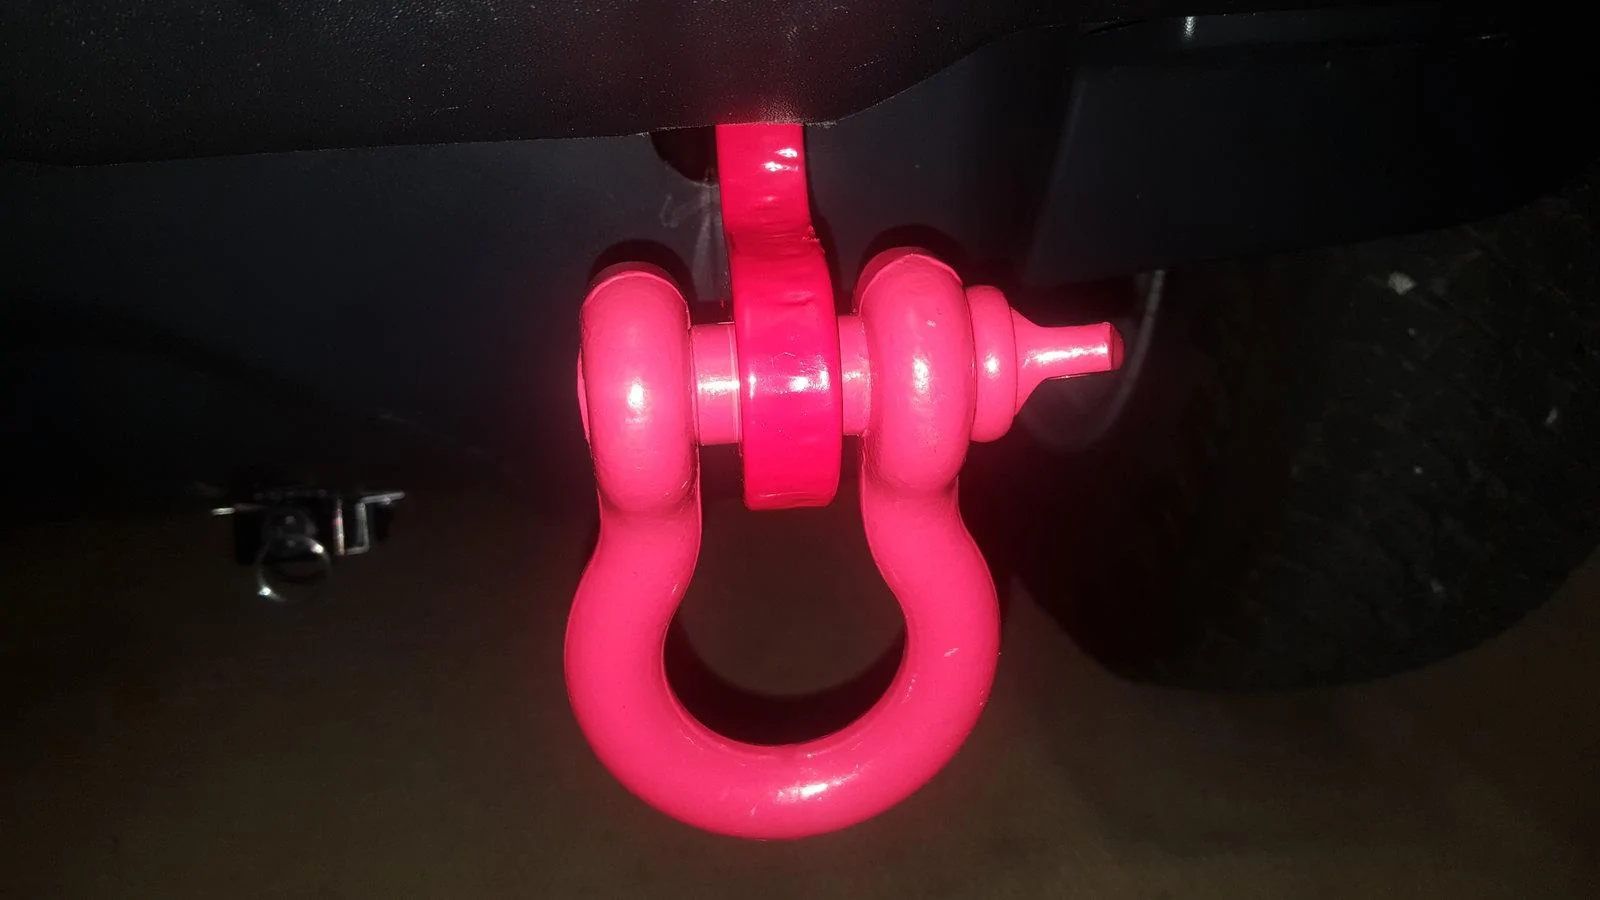
Can you share install directions? I would like to see where on Jeep it connects to. I have a barricade bumper and hope I can make this work safely. ThanksI have a JL Sport and installed the Maximus 3 tow points. A little different than their Rubicon instructions, but are the same points with a little different cutting and lots of wrenching. Available in black or red.
https://maximus-3.com/jl-bumper-accessories-/jl-d-ring-loops#/
I installed all of the below:
Maximus 3 and Blue Ox both have terminations which work with their tow points.
Remove the BO tow points and add the items designed for Maximus 3 tow points.
I installed lighting using a Roadmaster Harness Kit with diodes.
Also installed a batter charger from RVi.
Brake System is RVi3.
I couldn't wait any longer to install the lights, but eventually both Hopkins and Curt Group said they will have JL Harnesses that will be more plug and play using matching plugs to the lights with built in prewired diodes. Either way the routing of wiring and install the breakaway switch takes some time, you just don't have to do the cutting and splicing of the wires to the tail light. ETrailer has a very good installation video. Follow it step by step and the lighting will work fine.
I passed on CoolTech following a review of their product and installation.
-----
Greetings Dennis, first post here and I am researching how to flat tow my forthcoming 2-door Rubicon. Good to see everyone's setups and preferences - and some great looking rigs. I, too, like the cleaner look of the Maximus tow loops as opposed to the bar hanging under the bumper. My RV is a View, so very much like yours and I plan to use the RVIbrake as well.
Questions. . . you mention not liking the Cooltech wiring harness - may I ask why to help me understand the differences in options? At face value and per other posts, it looks like a relatively easy install, clean, and ready to go with the flip of a switch.
You have a Blue Ox tow bar. . . which model did you choose and why? I would actually like to use a Roadmaster tow bar, but there is no compatible adapter to connect it to the Maximus tow loops. You chose the Maximus adapters and it appears there is a BO offering, too. How did you decide on the Maximus?
Thank you for any feedback you can share on your decisions. And good luck with the transfer case / manual problem.
Sponsored


 Ok, maybe that's not in your plans, so I'll start making calls with the hope of finding a shop that has previously done an install.