gt5426c
Active Member
- Thread starter
- #1
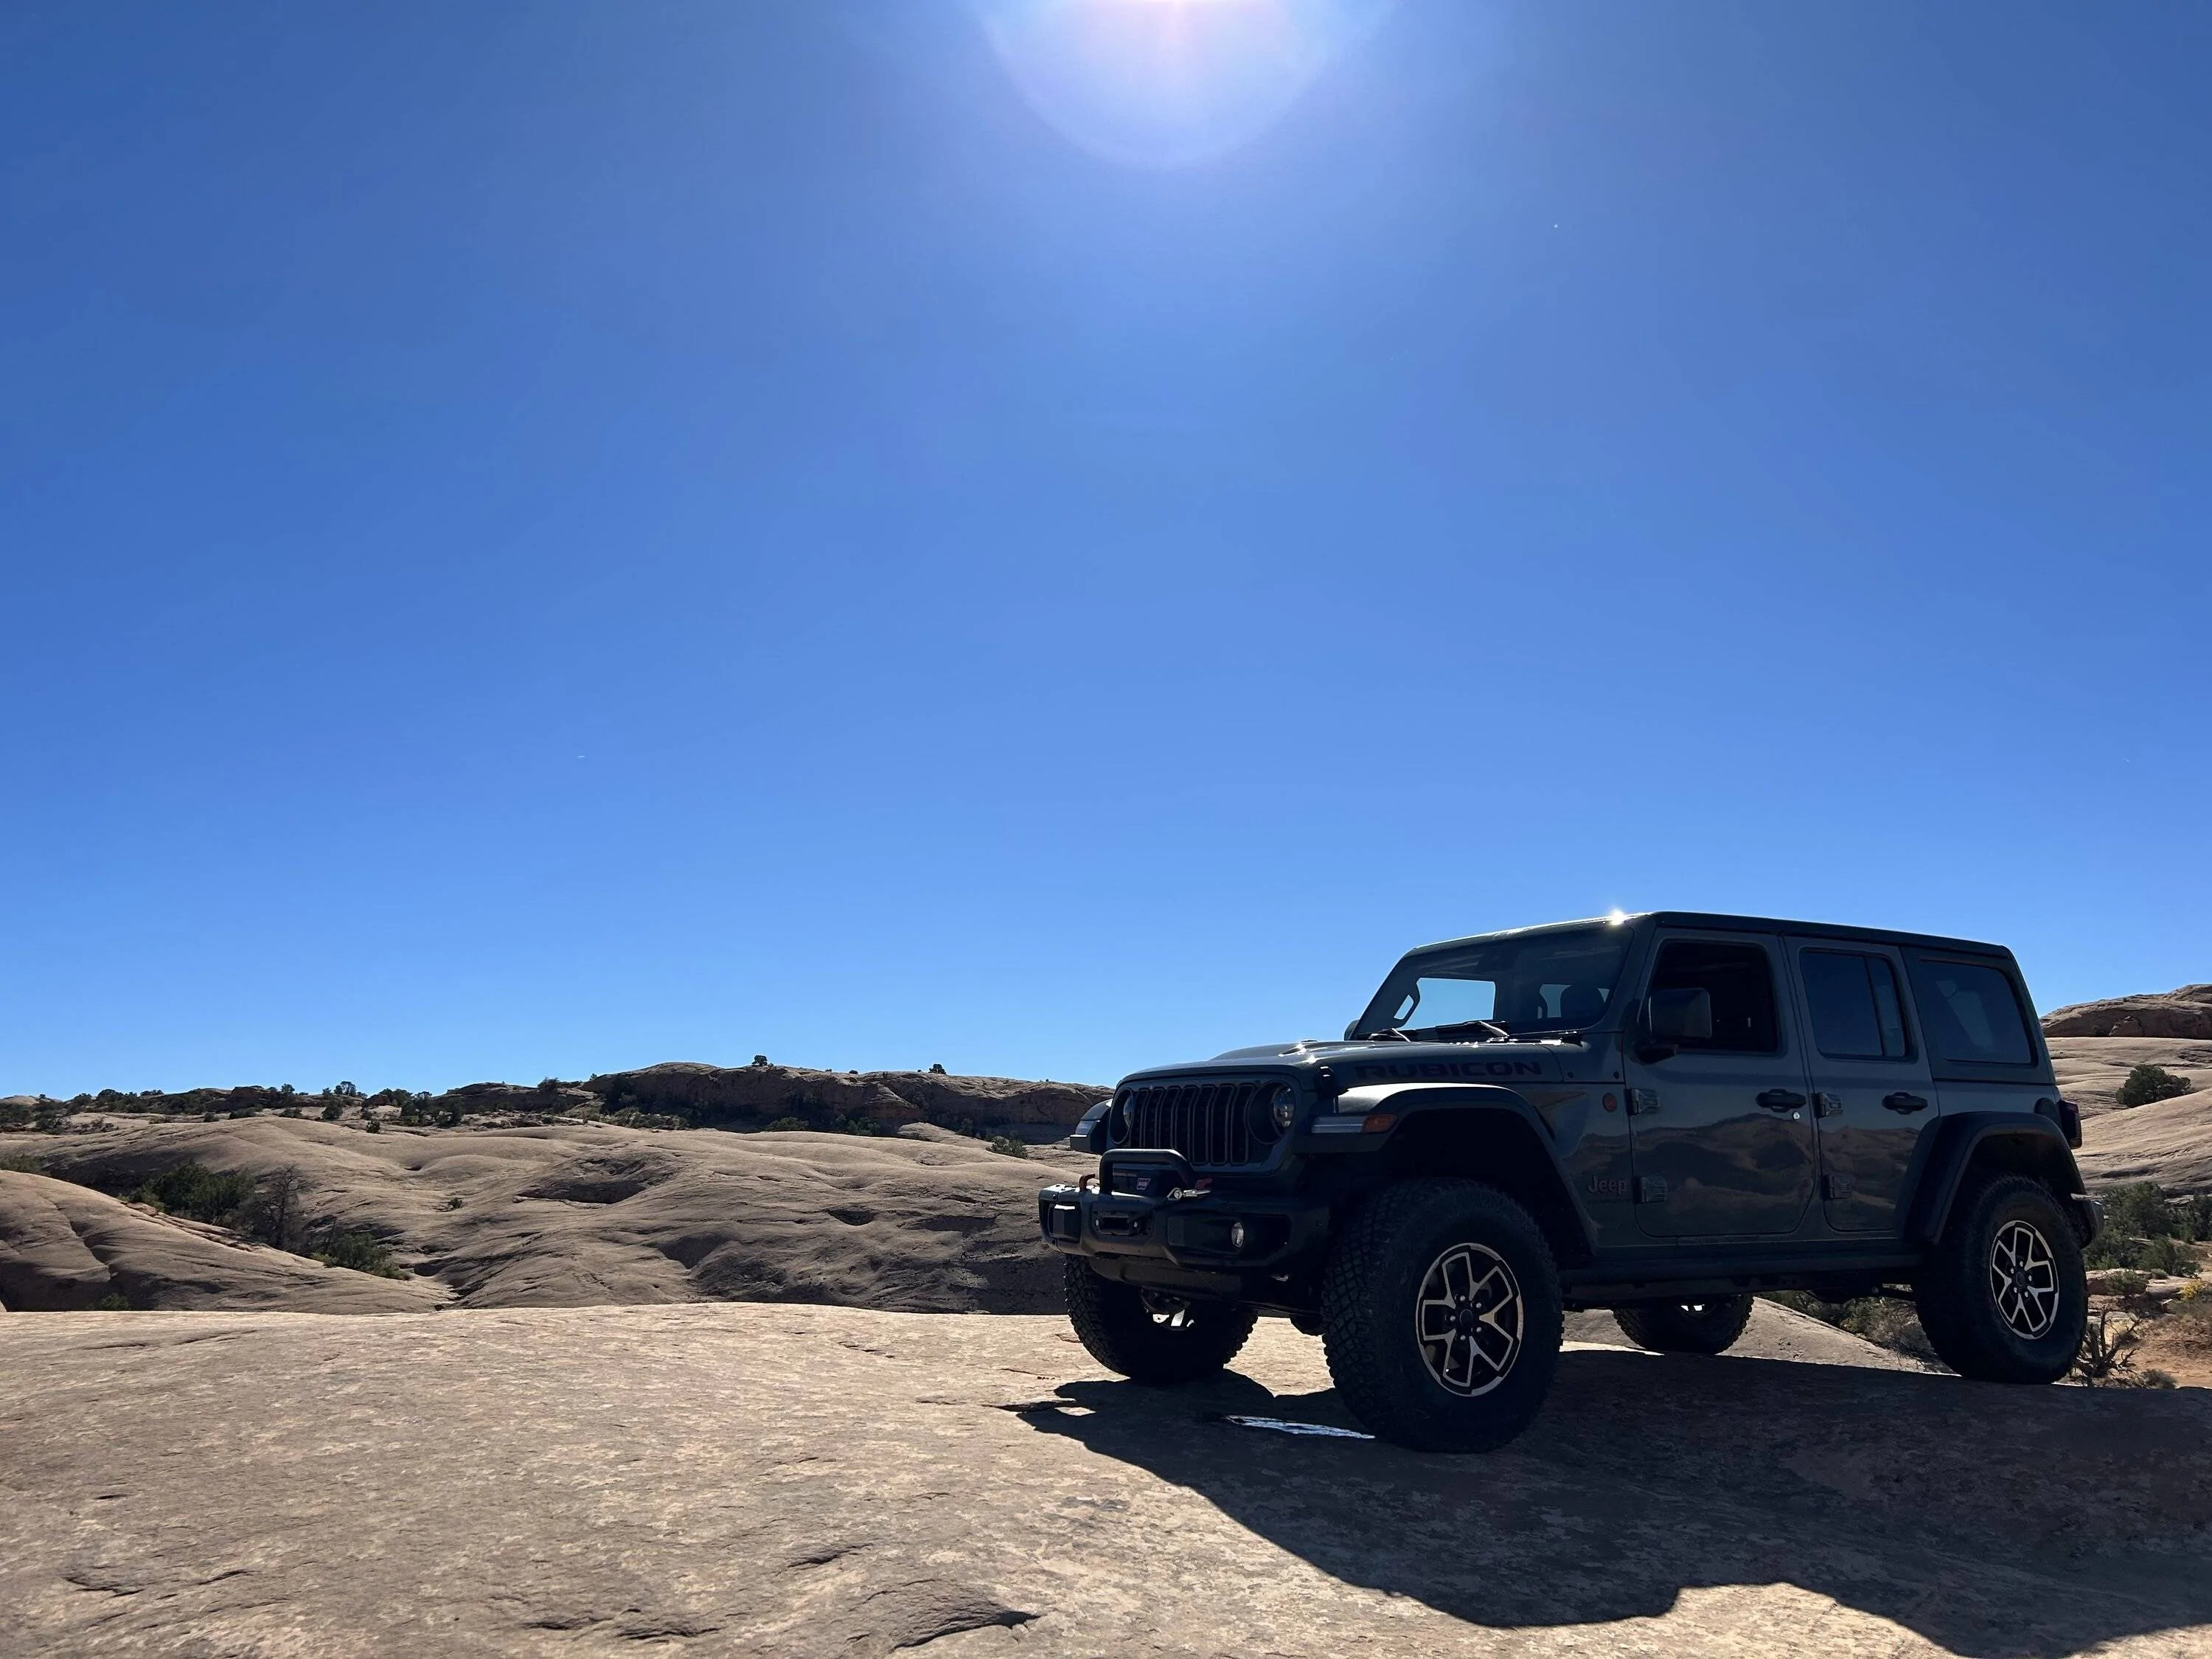
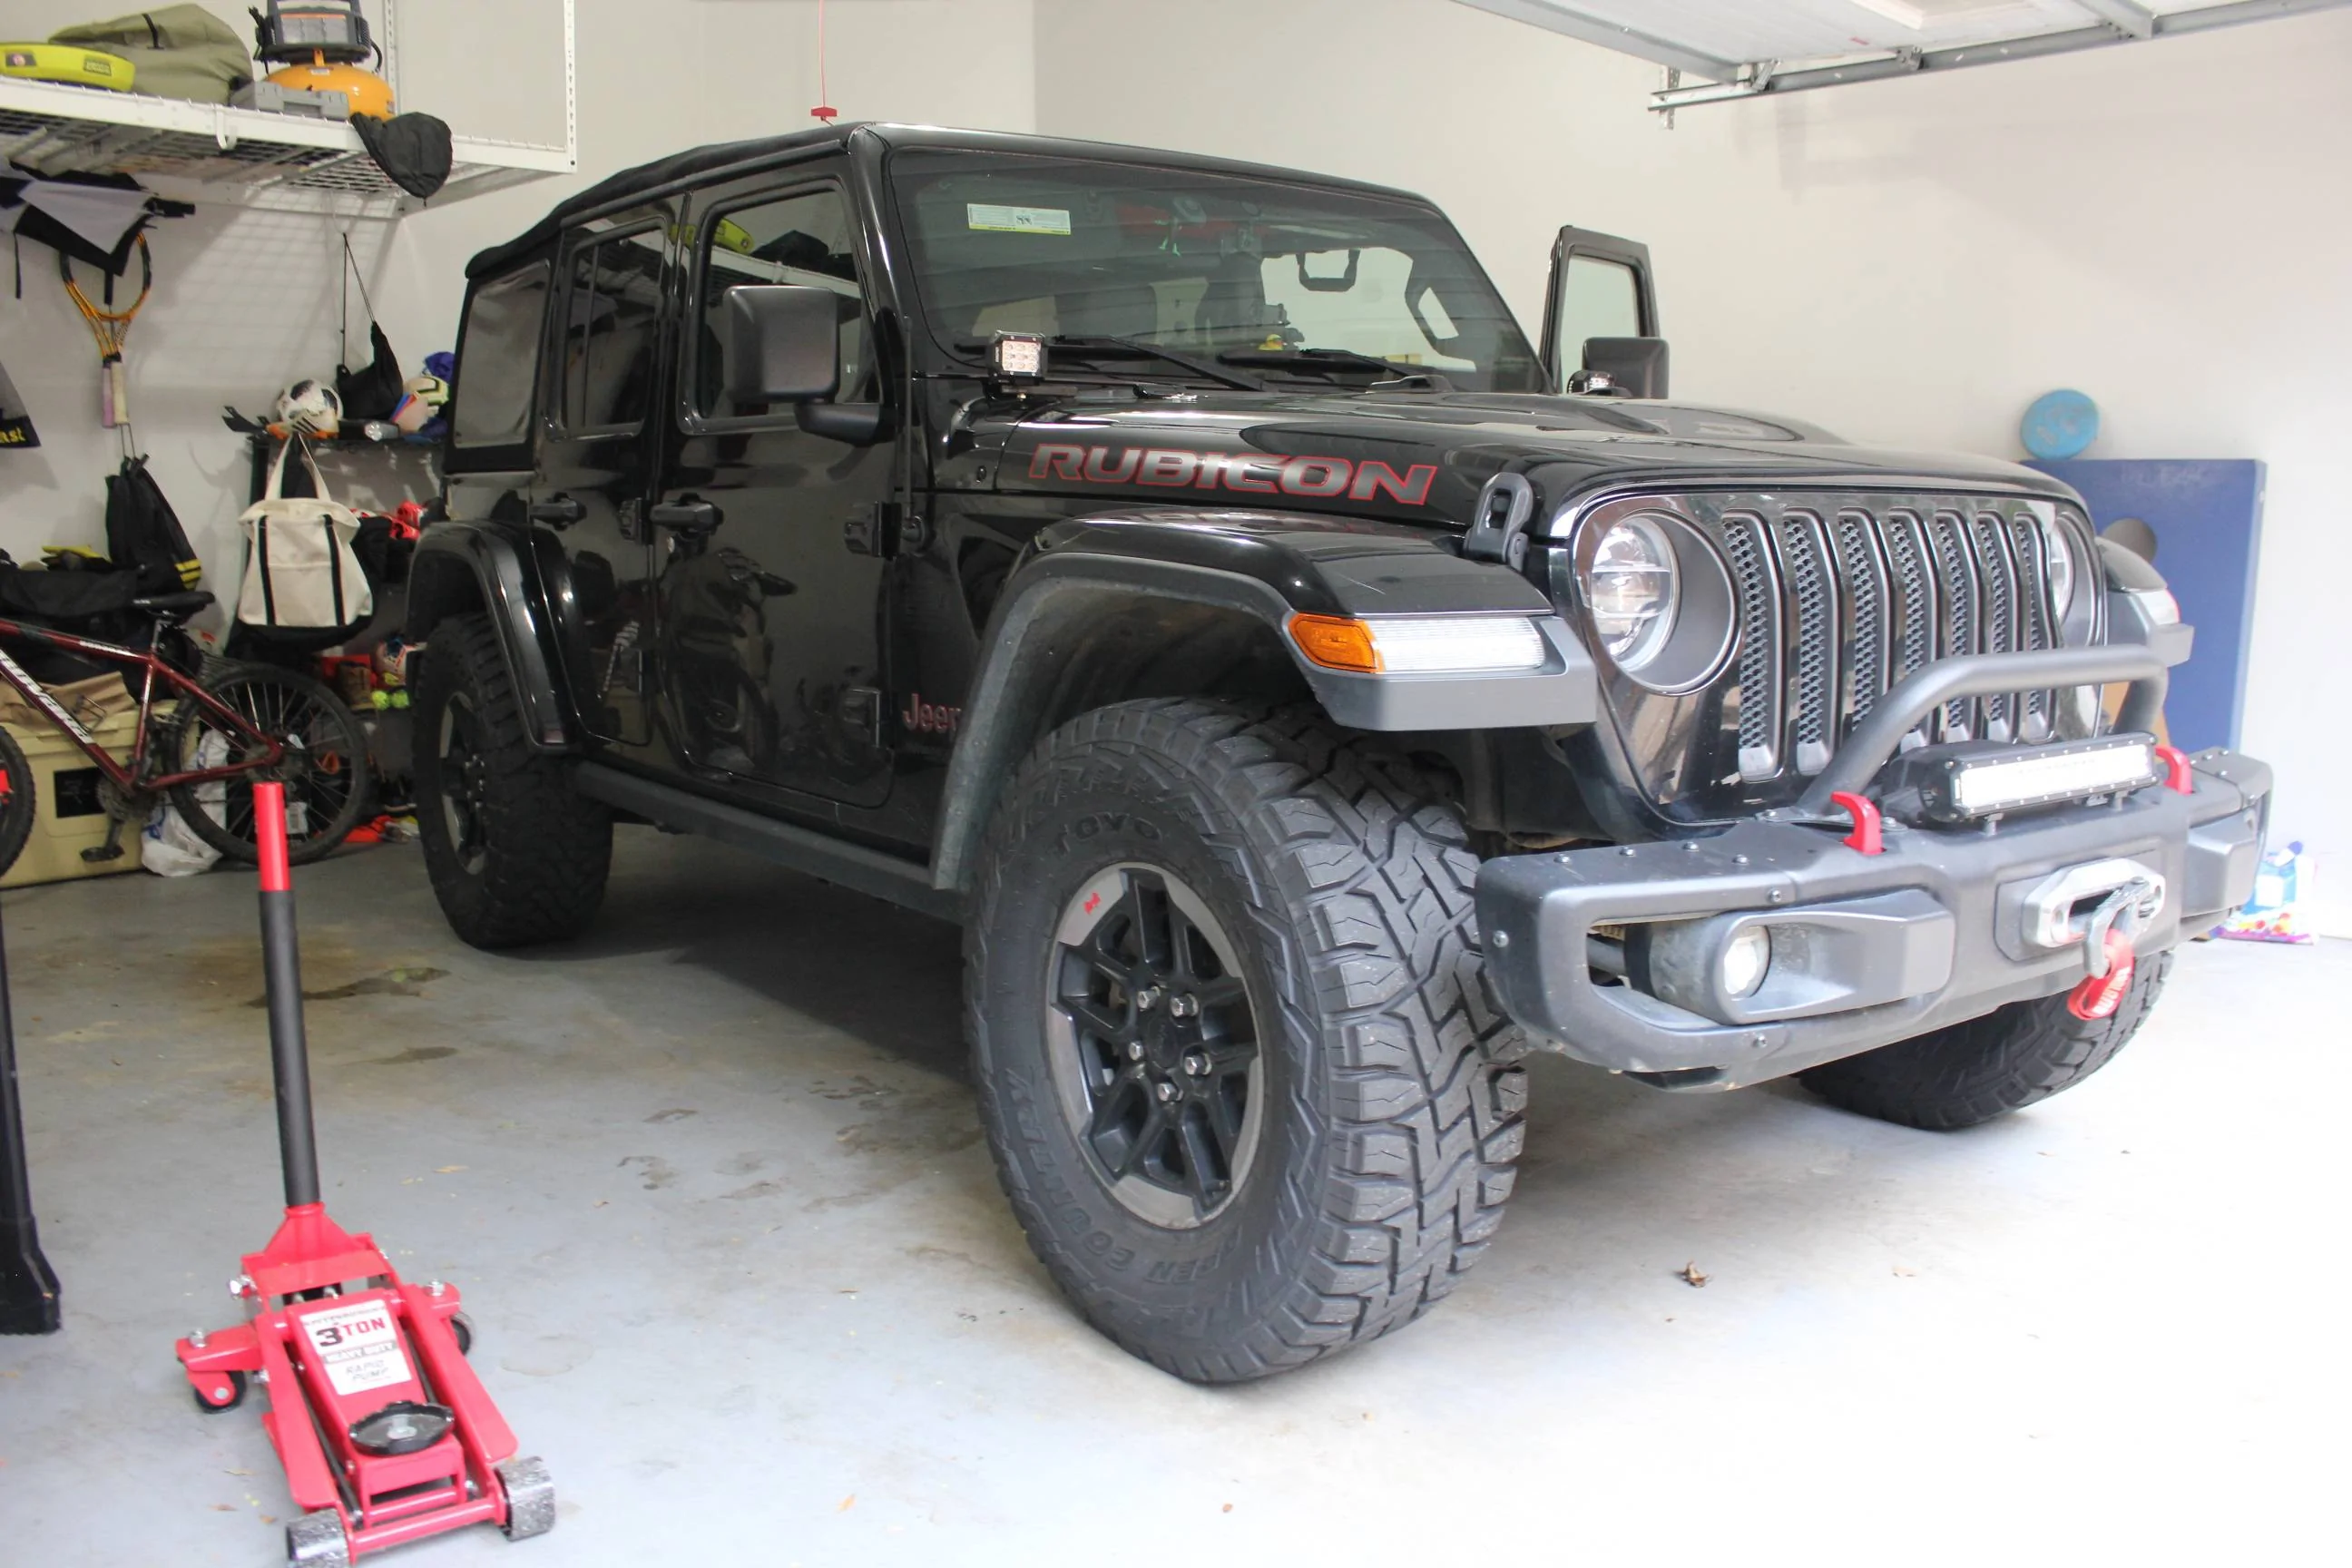
I installed a 392 takeoff suspension this past weekend and was pleasantly surprised with how the Rubicon turned out when I finished. It cost less than $500 and I came away with 2.1" of total lift (within 1/10 on front and back) and drives as I would expect. This is with the Mopar front and rear steel bumper with winch.
I thought it might be helpful to pull together all the information I used for anyone looking to do the same. So here are the details below. If anyone has any additions or corrections please feel free to jump in.
First, I heavily utilized the post from @Herson for this project. Thank you so much for the information and work you put into that.
Before geting started with I familiarized myself with two youtube videos and the 2" lift installation guide:
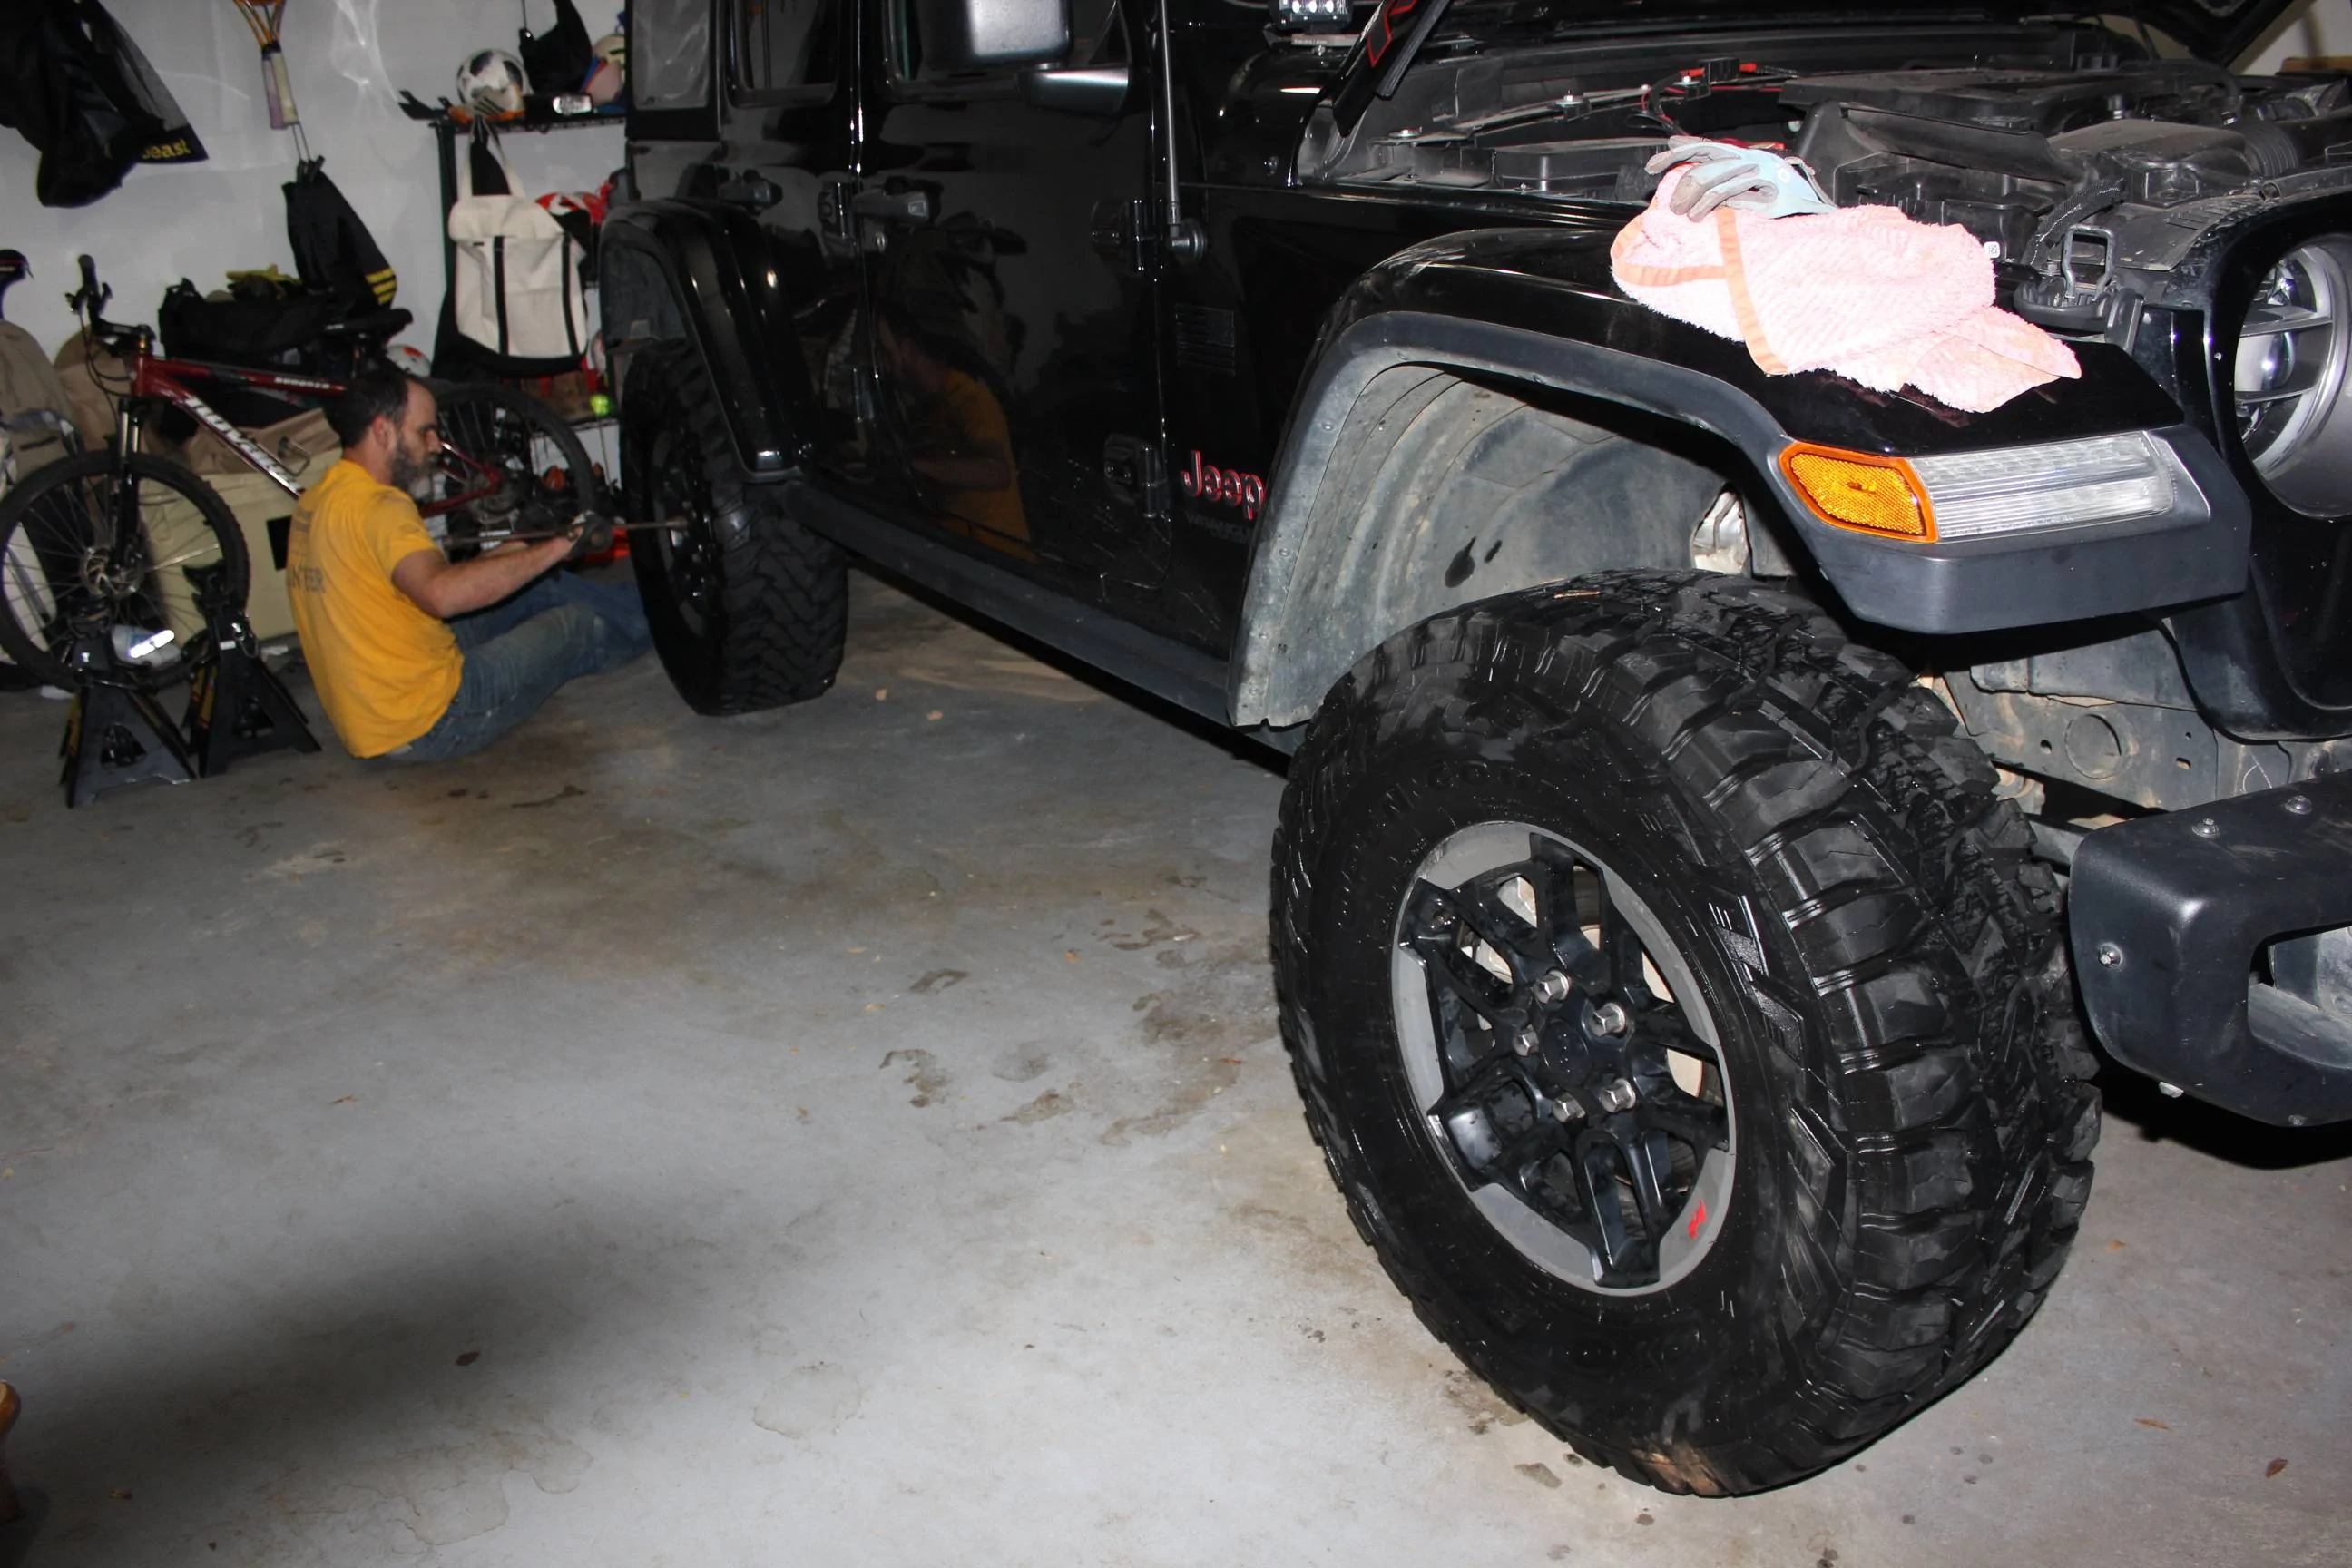
Having two floor jacks for rasing and lowering specific side of suspension was very helpful. This was my first time having all four corners on jack stands. I used 6 ton jacks stands and referenced this video:
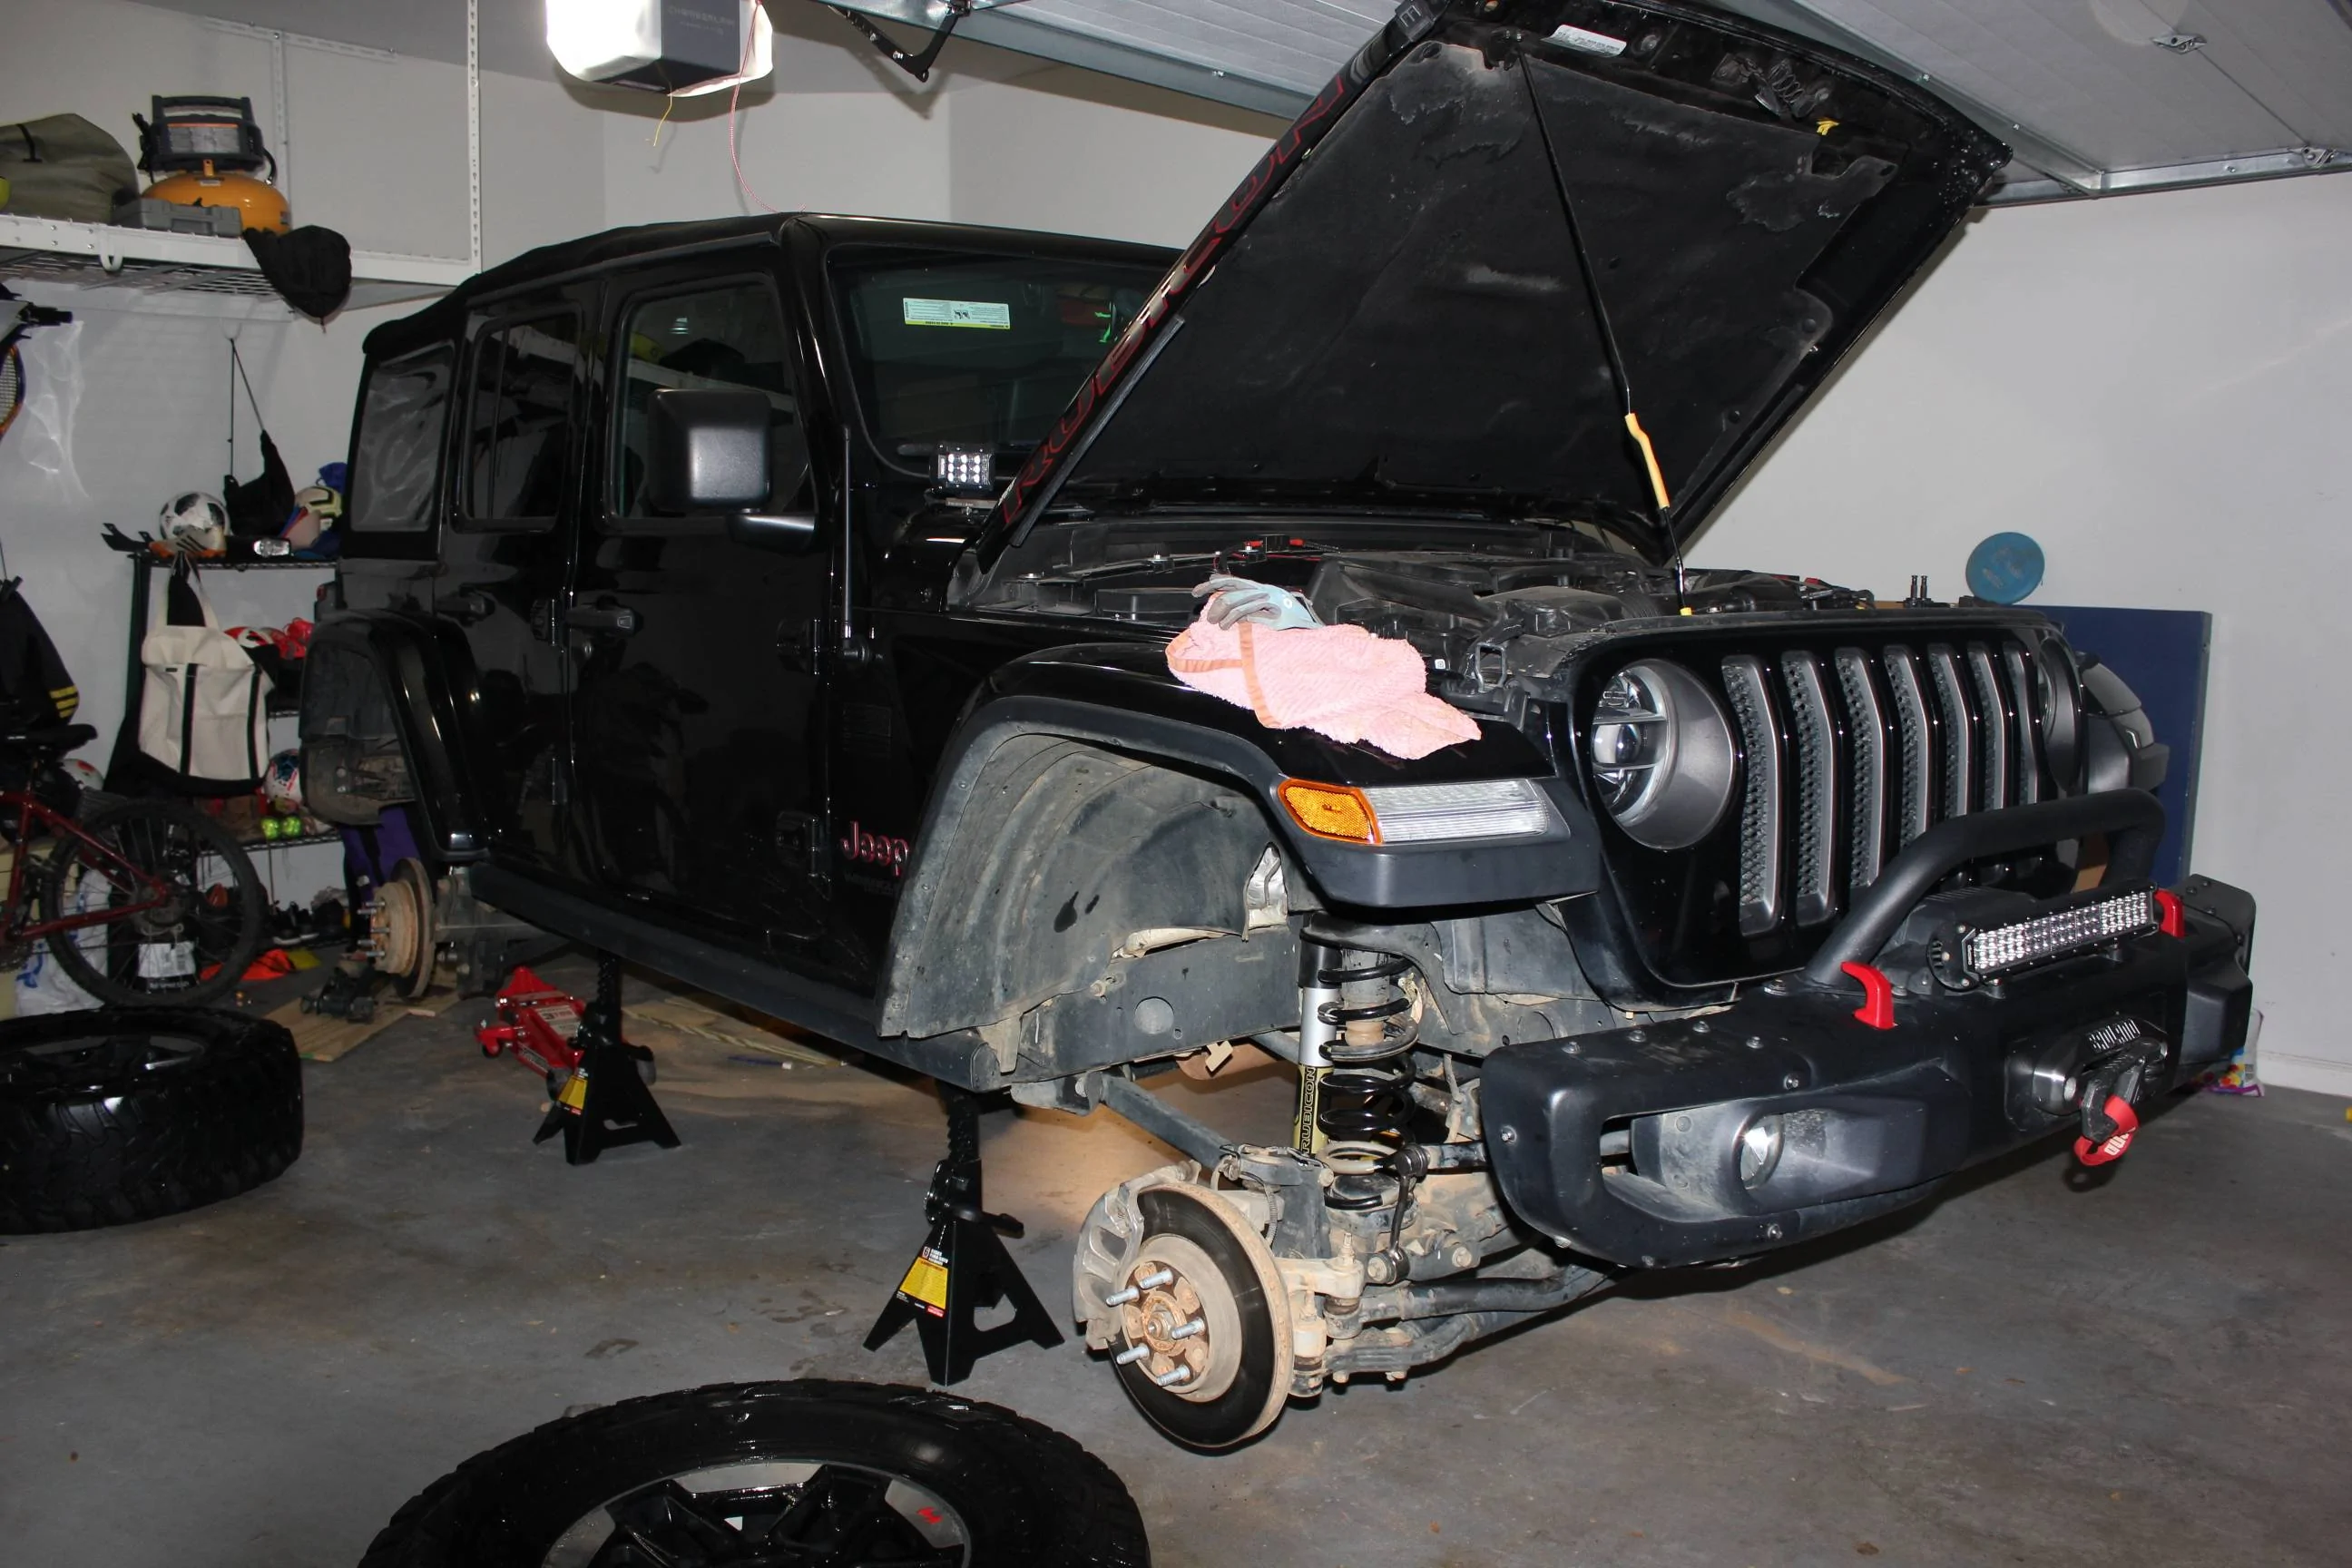
The only parts needing to be installed are the springs, shocks, and swaybar links. Before beginning the install I took painters tape and labeled every part by location. Shocks only need to be labled front or back, springs need to be labeled by corner. This was tremendously helpful.
I walked through Mopar's 2" lift kit install guide, step by step. IMPORTANT: Be sure to loosen all parts as detailed and obviously don't remove any parts you aren't replacing. Keep all nuts and bolts for reuse.
Finally, here are a few notes that I found to be important:
Before:

During:
After:
I thought it might be helpful to pull together all the information I used for anyone looking to do the same. So here are the details below. If anyone has any additions or corrections please feel free to jump in.
First, I heavily utilized the post from @Herson for this project. Thank you so much for the information and work you put into that.
Before geting started with I familiarized myself with two youtube videos and the 2" lift installation guide:
- Helpful overview:
- Helpful because it's a driveway install and because he details which step he was on so if you ever get stuck you can reference his step do the directions:
- Install directions: https://www.jlwranglerforums.com/forum/threads/mopar-2-lift-instructions-pdf.3697/
Having two floor jacks for rasing and lowering specific side of suspension was very helpful. This was my first time having all four corners on jack stands. I used 6 ton jacks stands and referenced this video:
The only parts needing to be installed are the springs, shocks, and swaybar links. Before beginning the install I took painters tape and labeled every part by location. Shocks only need to be labled front or back, springs need to be labeled by corner. This was tremendously helpful.
I walked through Mopar's 2" lift kit install guide, step by step. IMPORTANT: Be sure to loosen all parts as detailed and obviously don't remove any parts you aren't replacing. Keep all nuts and bolts for reuse.
Finally, here are a few notes that I found to be important:
- Remember that on the initial install, bolts should be snug, but not tightened. You don't torque everything down until after the Jeep has been lowered.
- Be sure to remove all electronics before dropping suspension for spring and shock removal. This includes the front axle disconnect which I don't believe is mentioned on the directions. There is a red tab on many of these that has to be popped out. This is a bit challenging and I found a trim removal tool helpful.
- One of the the fixed bolt on the sway bar links was spinning when I turned the bolt (both on set I removed and set I installed). I very carefully used a channel lock wrench to hold part on inside to keep it from spinning to remove and when tightening bolts.
- Getting the needed leverage for some of these bolts can be very challening. Having a long handled wrench or extension (pipe) you can use with your wrench can be helpful.
- For rear suspension I did not remove parking break, I did ensure it was not engaged.
- Pay attention to how springs fit in to top collar, there is a ridge on the inside there that keeps it from rotating.
- It's not overwhelmingly clear which end is up on rear springs. Smaller opening goes up.
- One last note for the springs, if you are having issues installing, try adjusting lift under opposite axle to see if it raises or drops the axle you are working on. If suspension still isn't getting into place, make sure you've sufficiently loosened all associated components. Also, it may help to have someone push on the hub.
- Rear driver spring was very challenging for me to install, I ultimately had to install it with spring rotated opposite from it's final position and then slowly work it into place. It was a pain to get the nub into the hole, but ultimately I was able to get it there.
- I did not remove the inner fender liner.
- After the install, you will likely need to adjust the draglink to get the steering wheel straight. Will most likely rotate front to back to rotate the wheel clockwise.
Before:
During:
After:
Sponsored
Last edited:
")