LeoTheDragon
Well-Known Member
- Joined
- Sep 18, 2018
- Threads
- 13
- Messages
- 192
- Reaction score
- 452
- Location
- In my Jeep
- Vehicle(s)
- 2019 JLUR
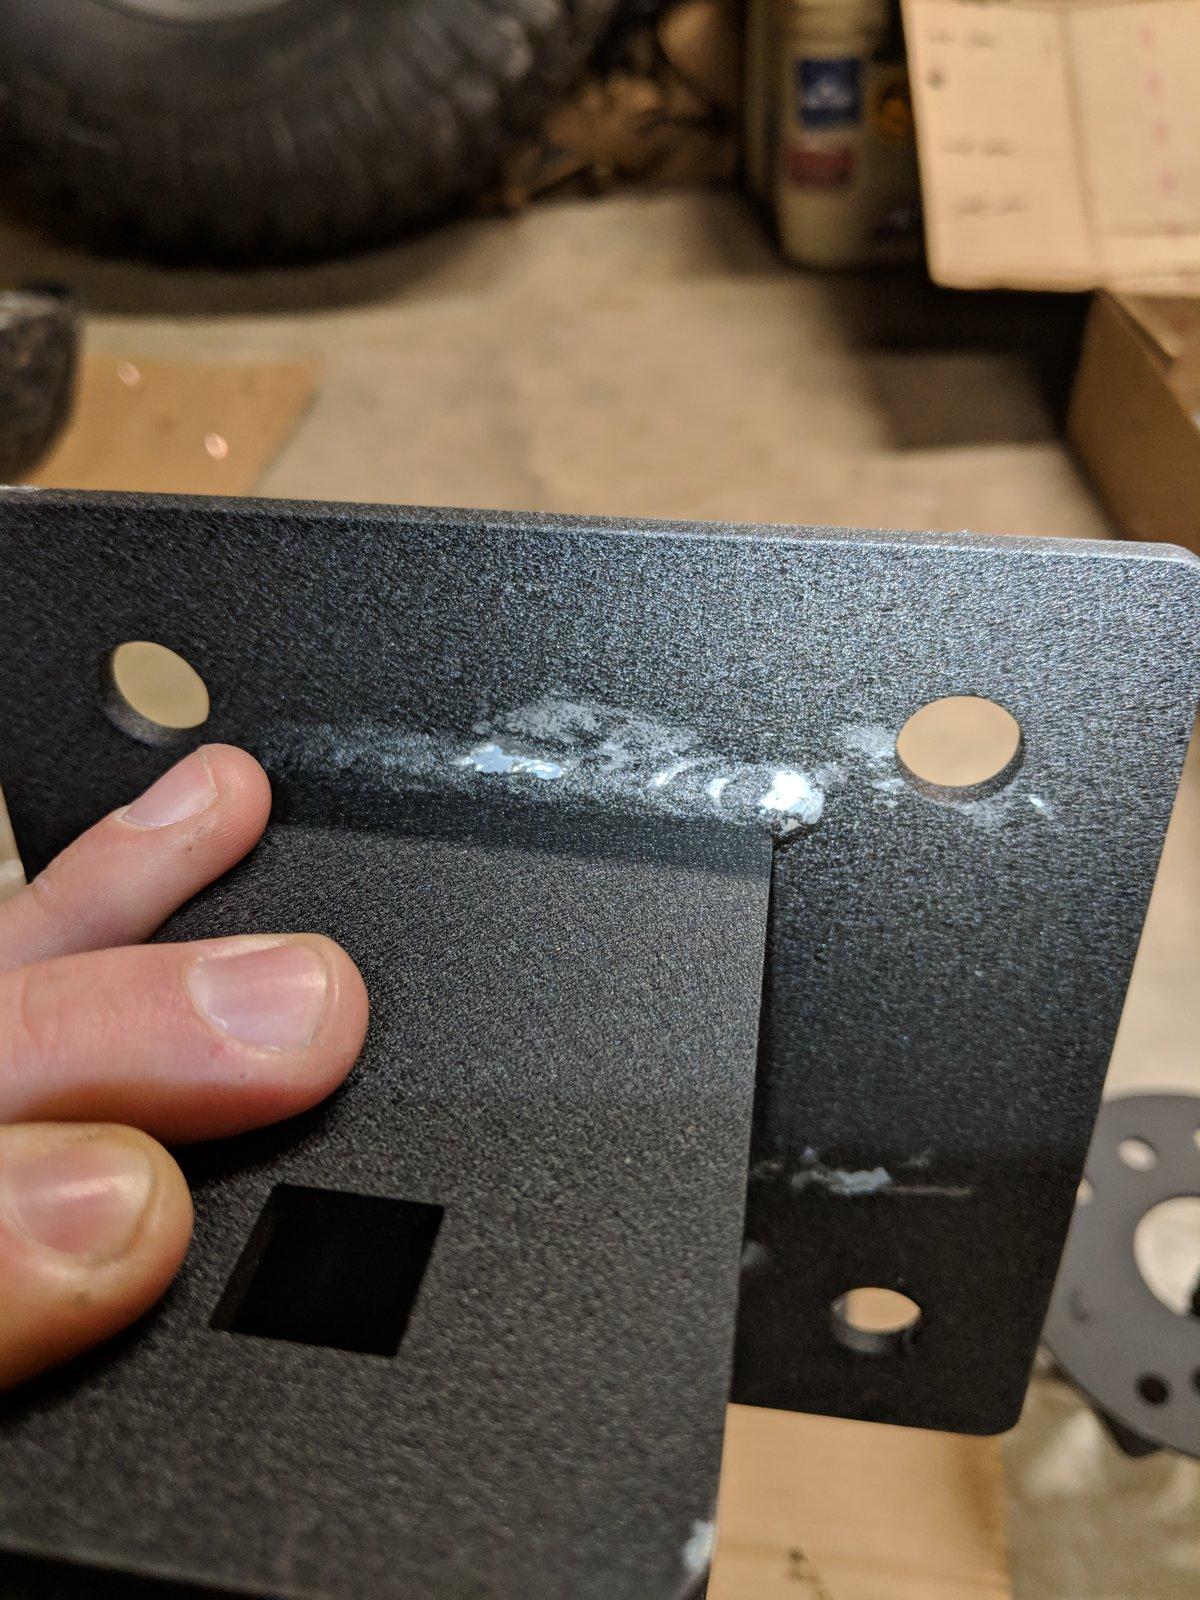
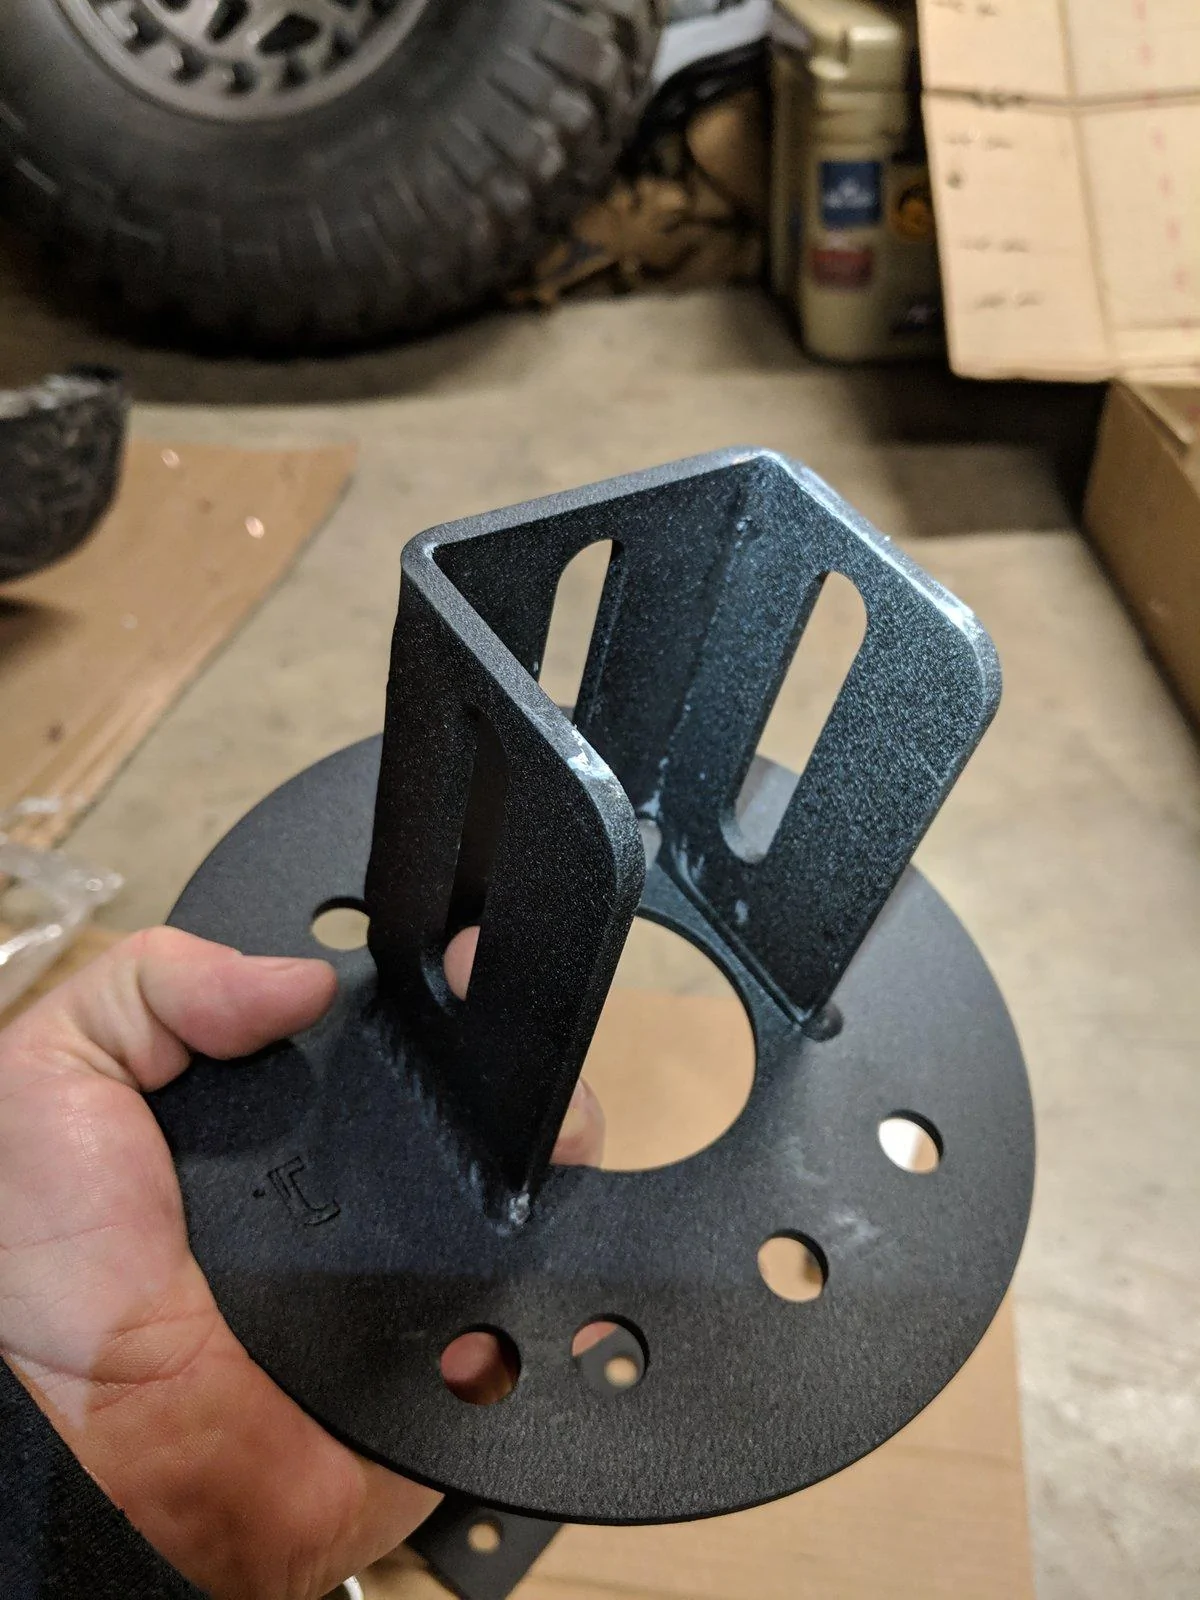
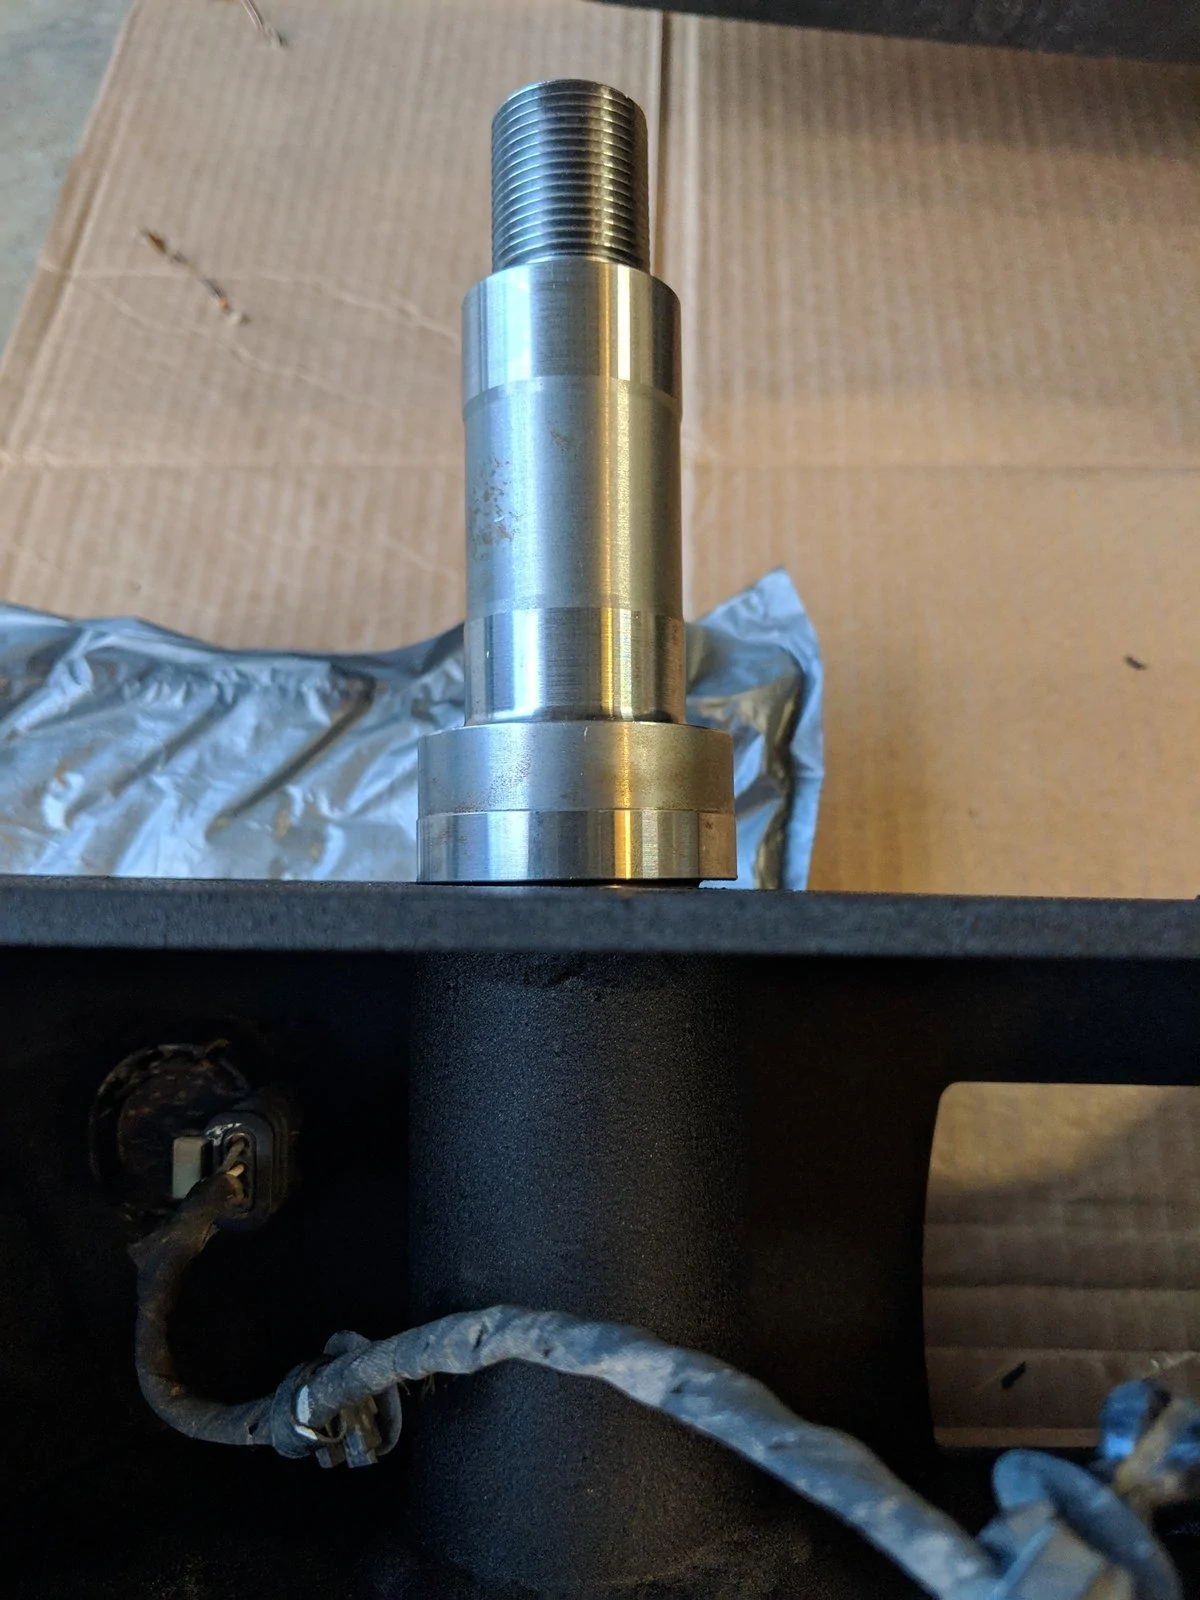
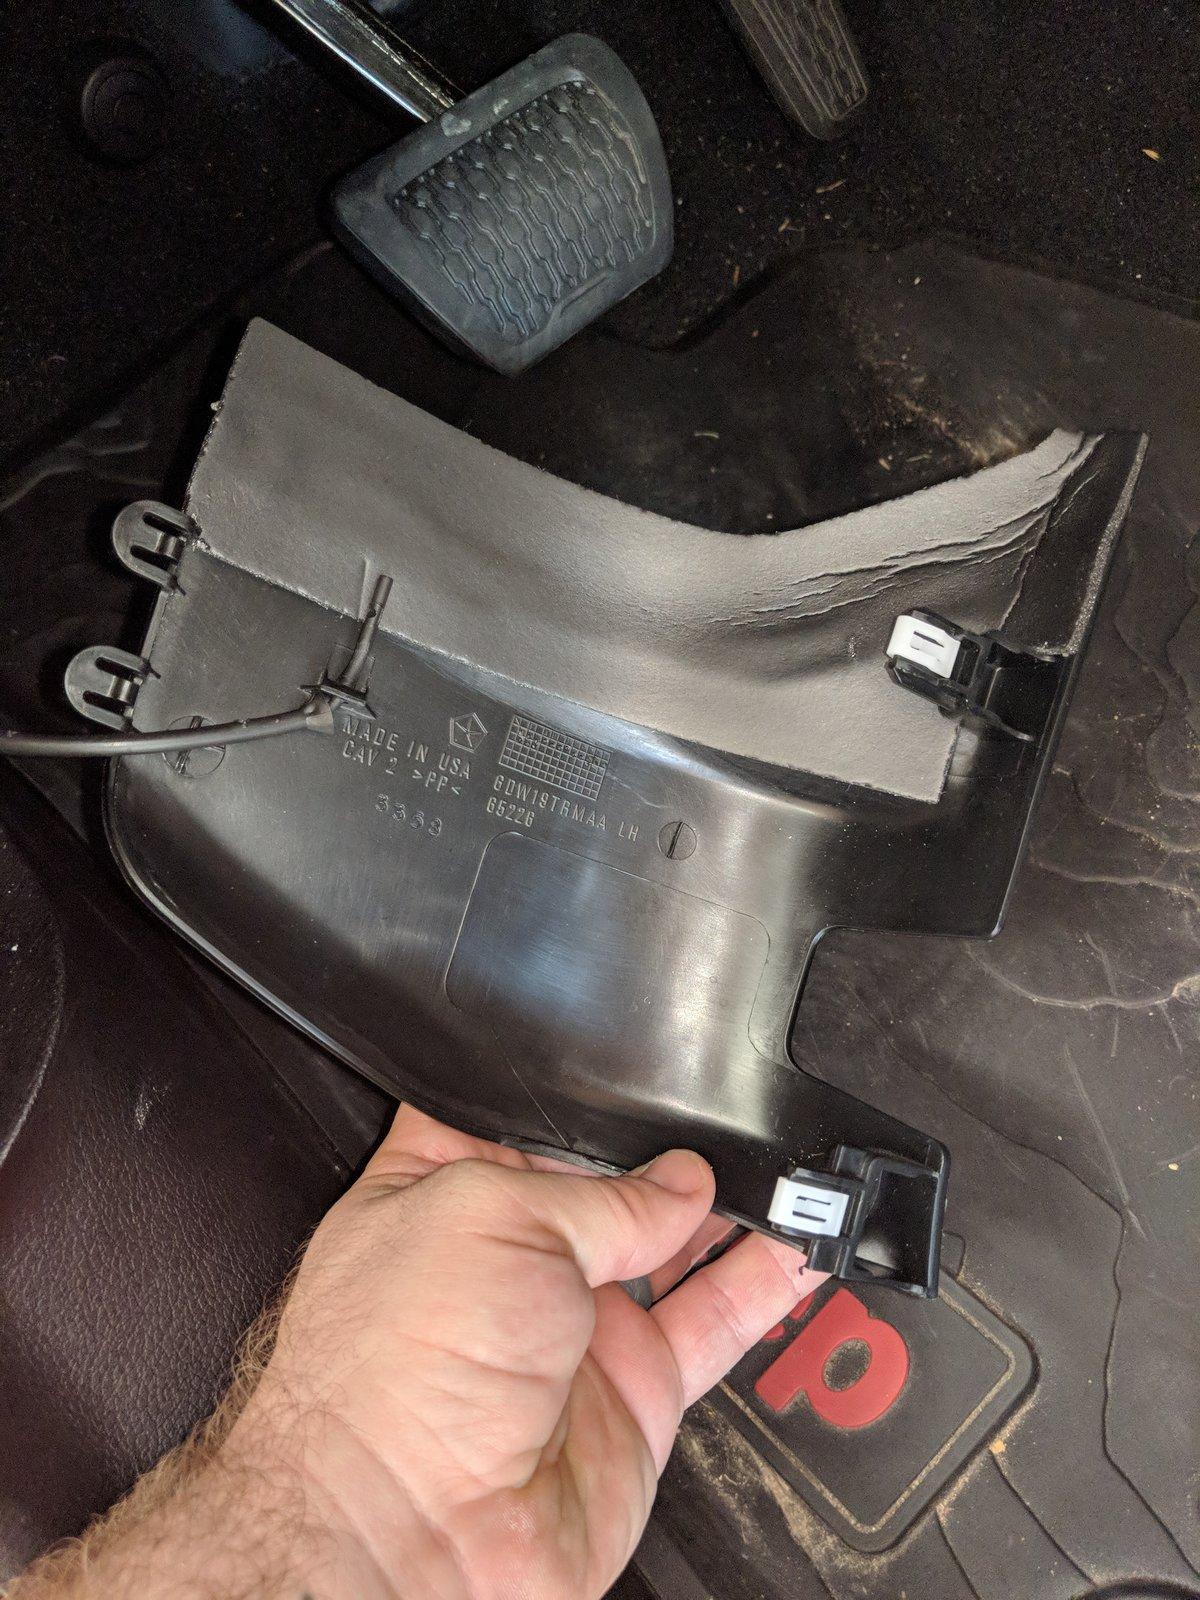
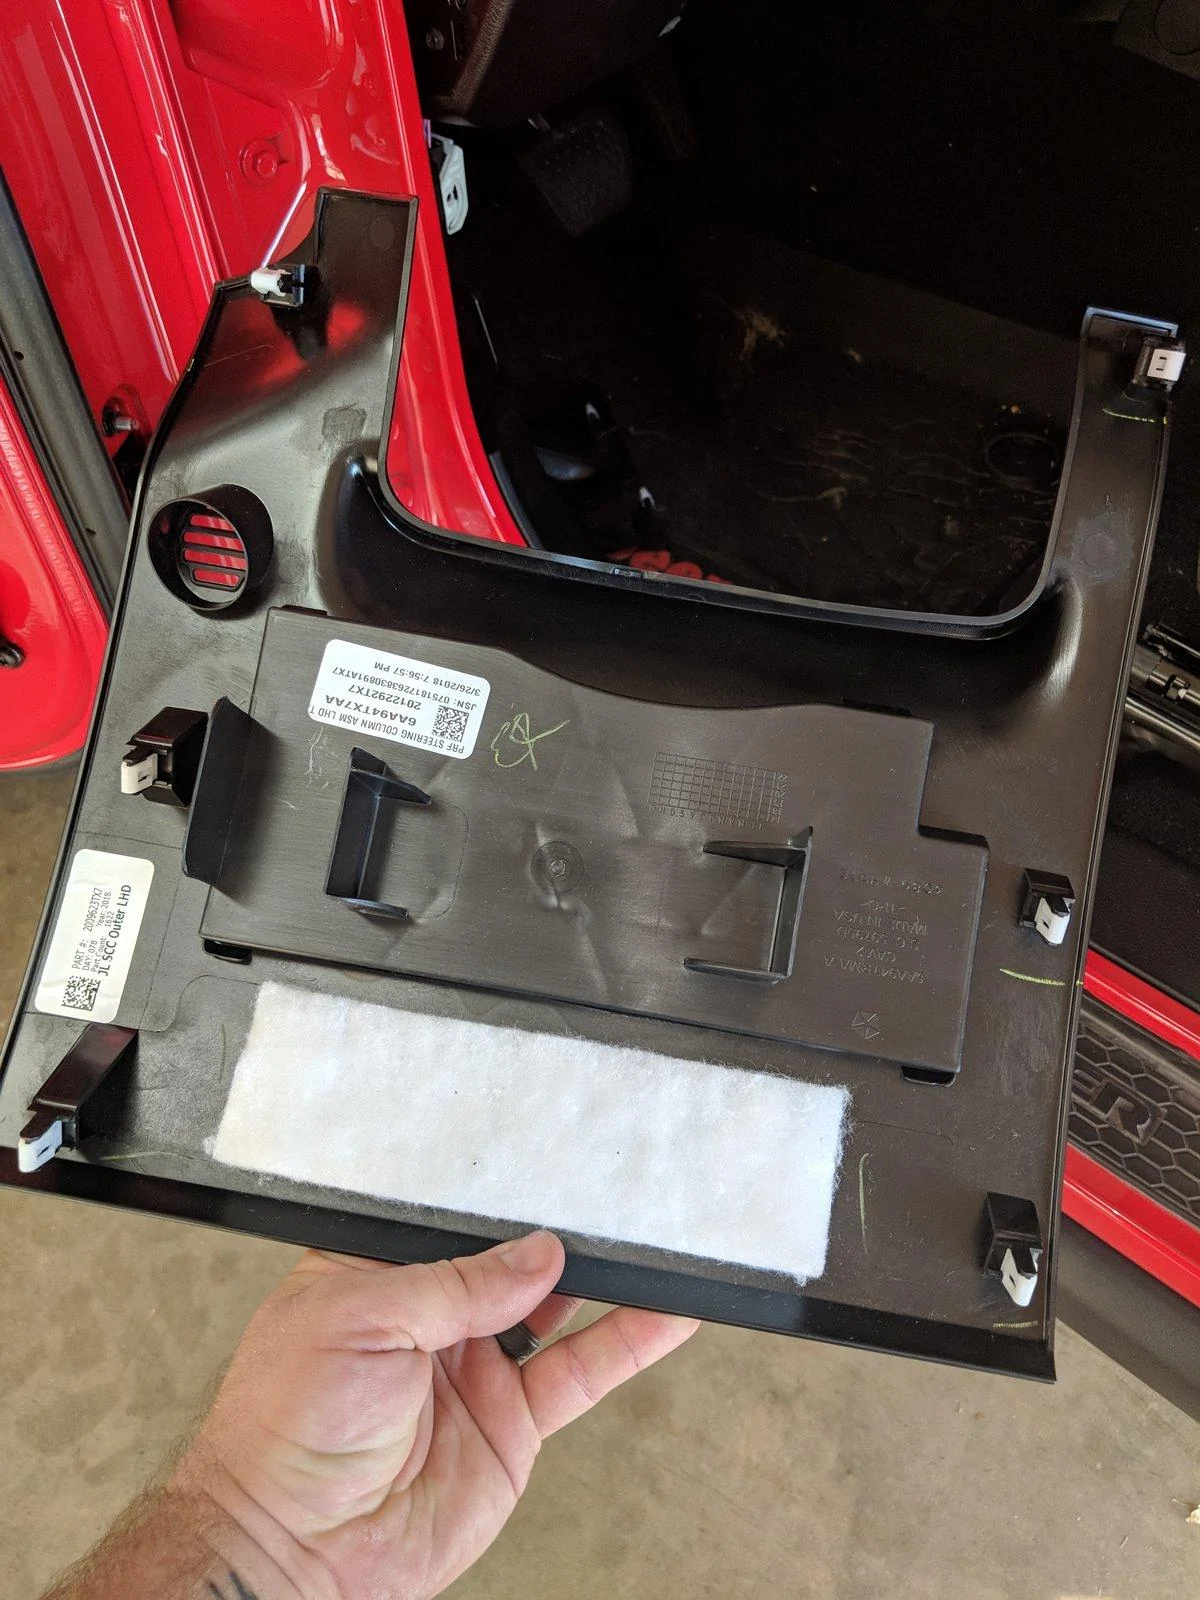
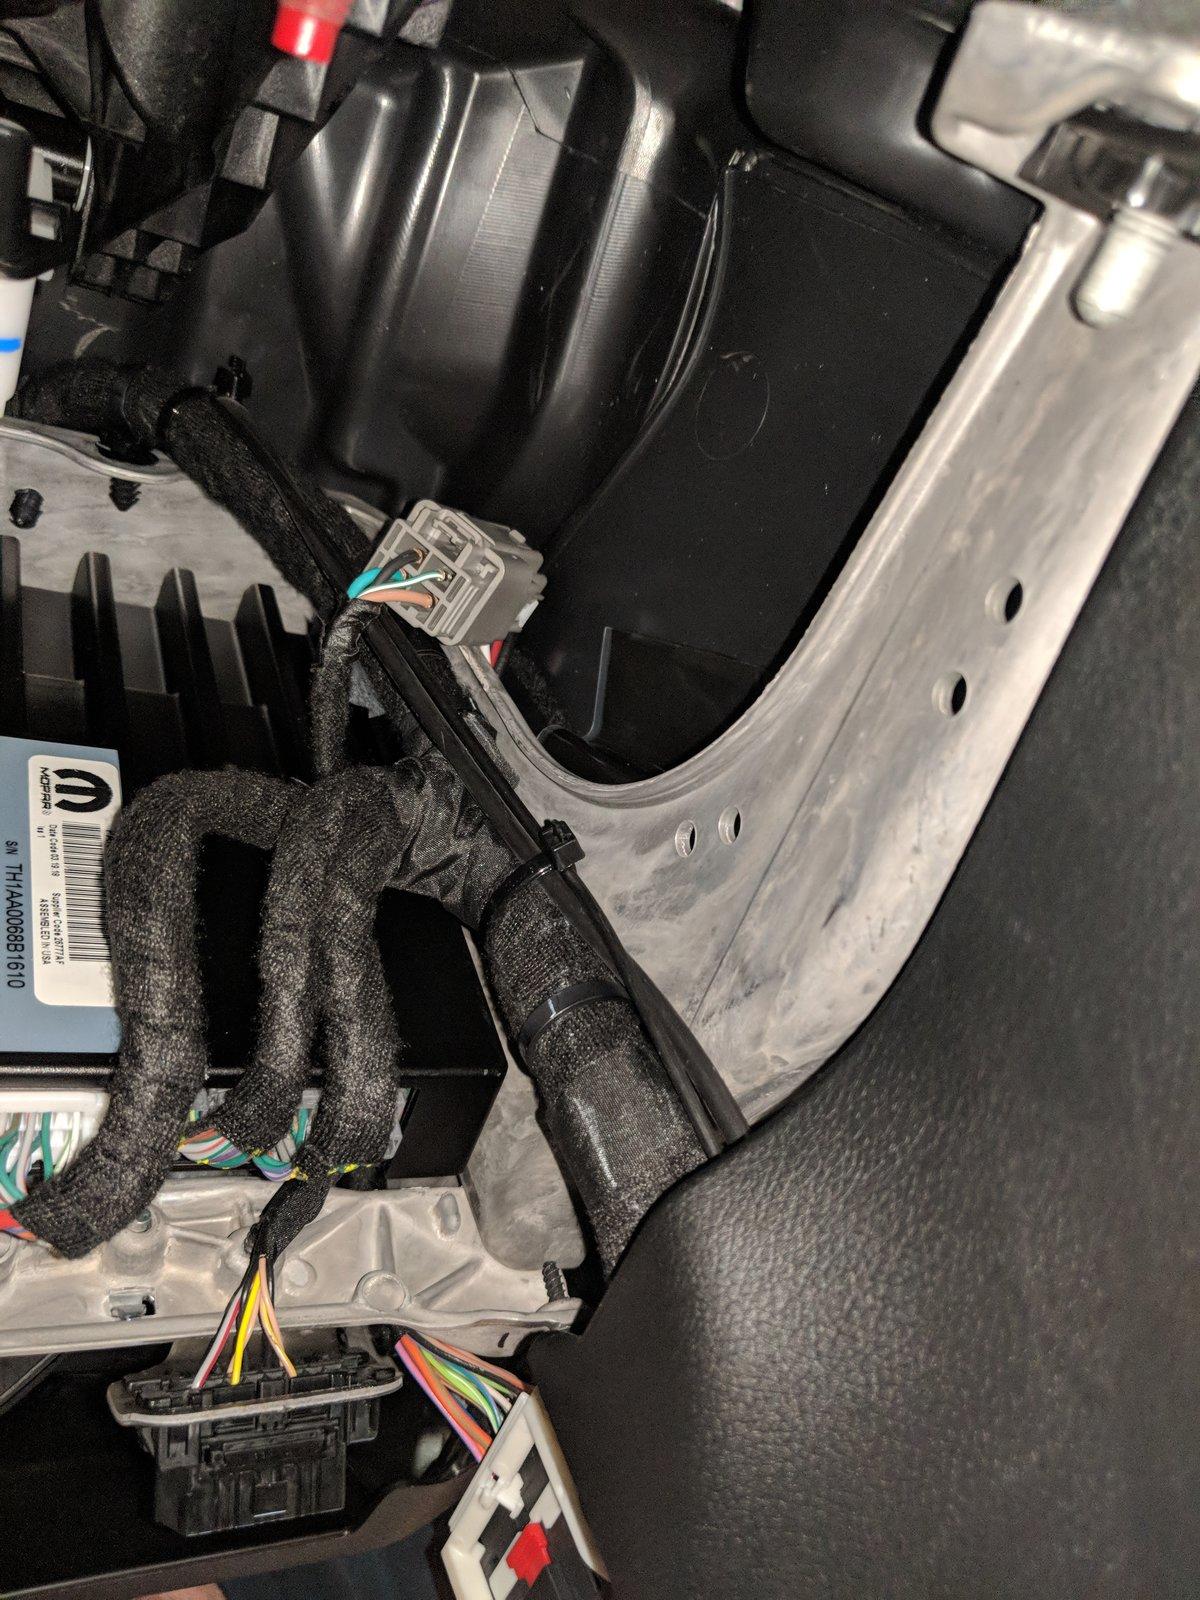
What issues did you have with the JCR winch plate and how is the Warn one better? I just installed the JCR yesterday and... For something so simple, it sure as hell was a pain in the ass and I wanna see if your struggles were the same.Thanks! Sorry for the slow reply.
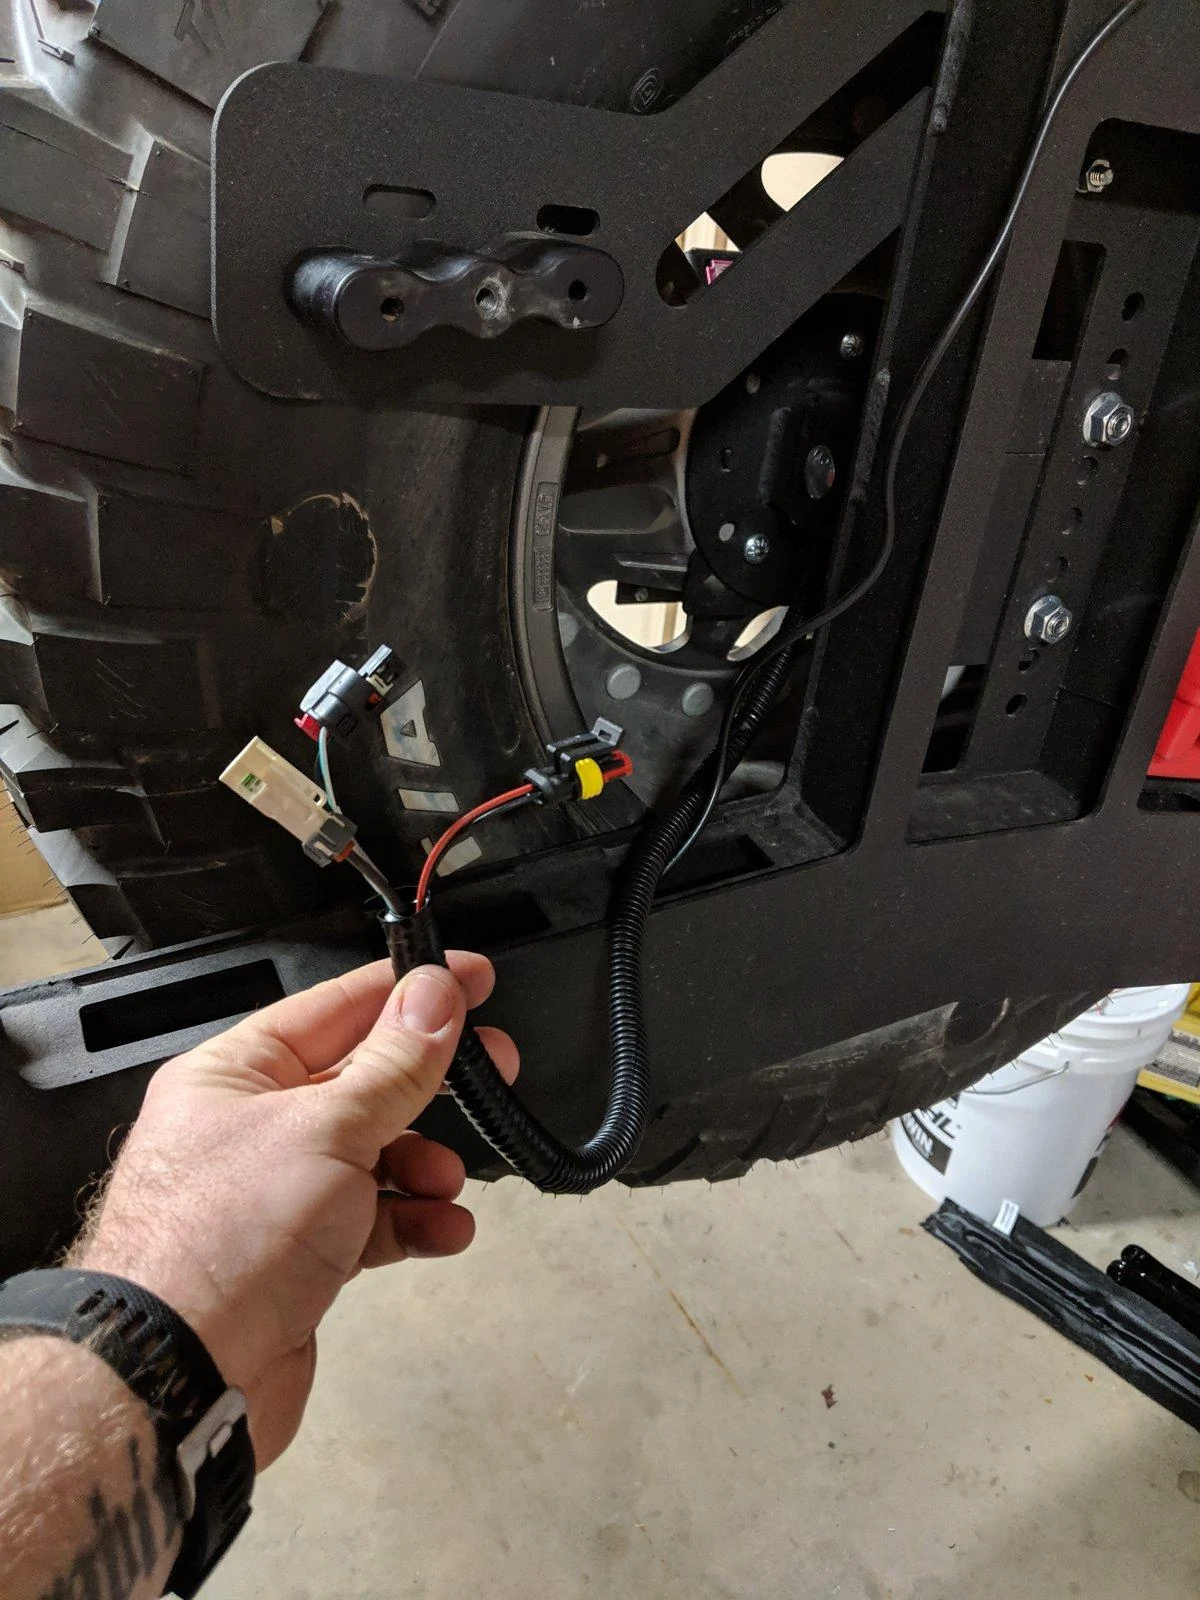
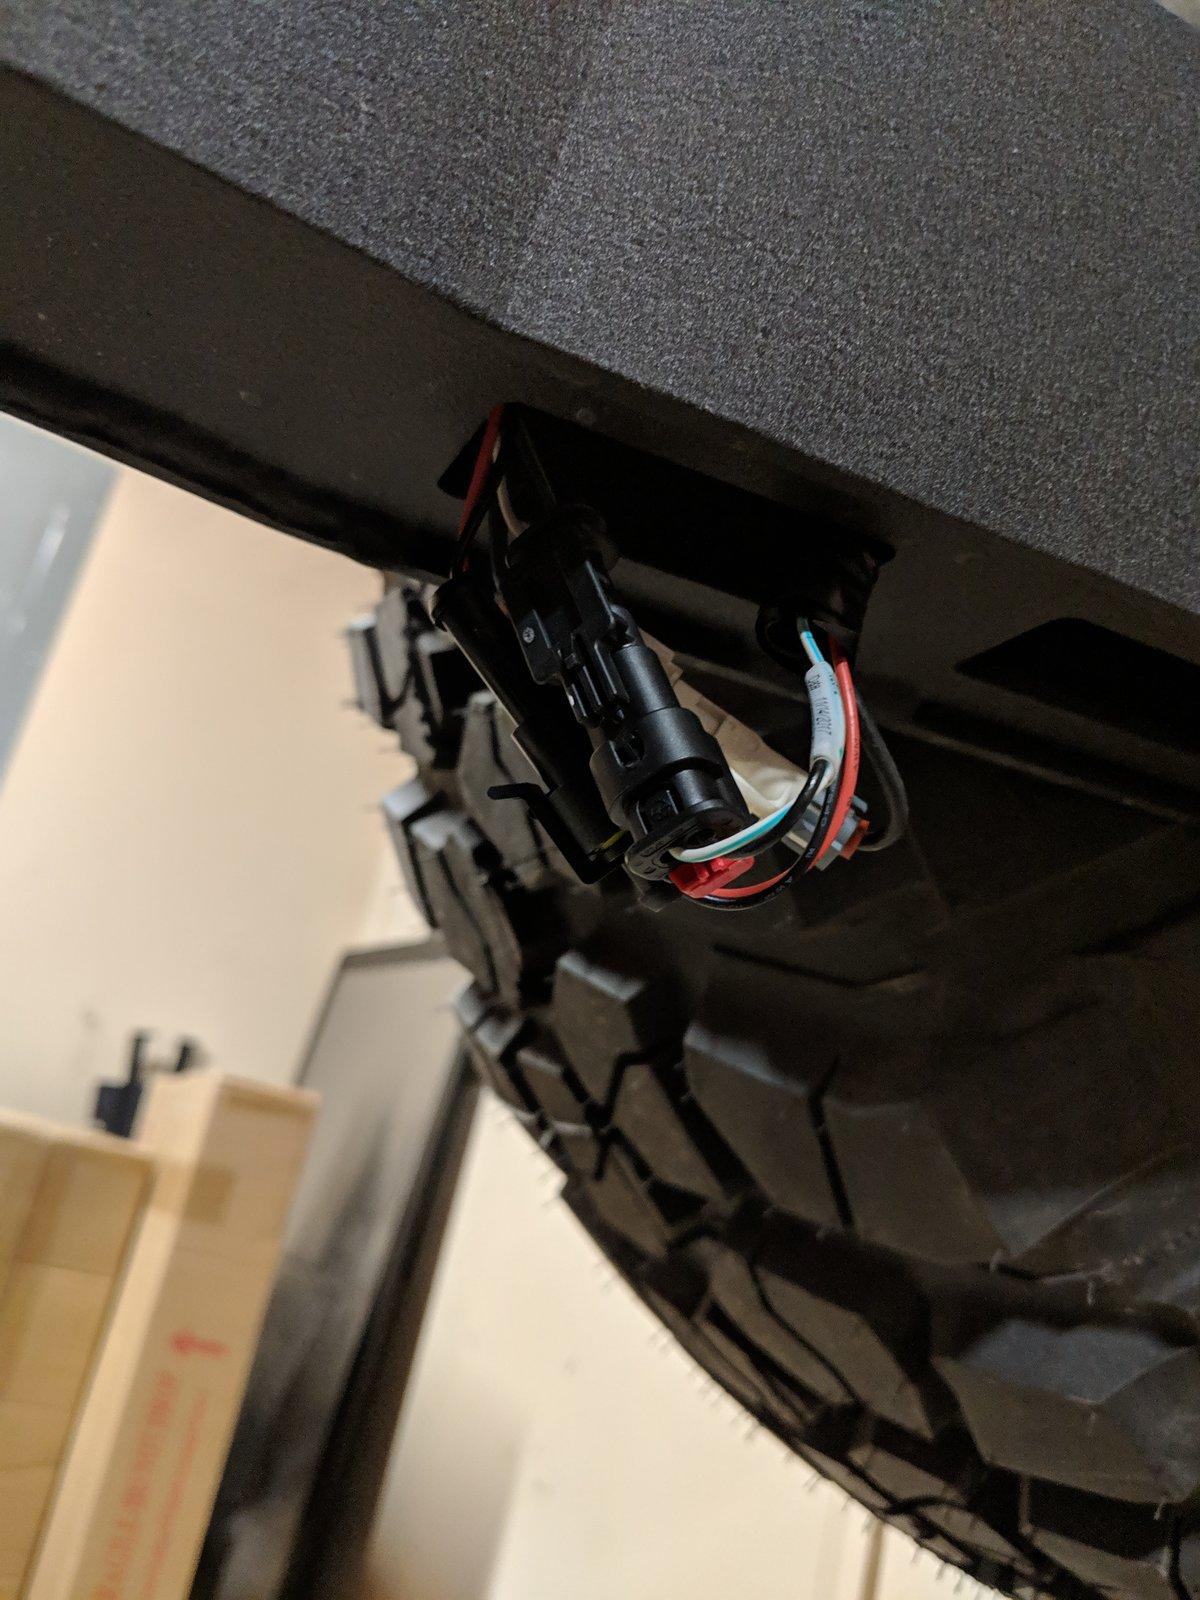
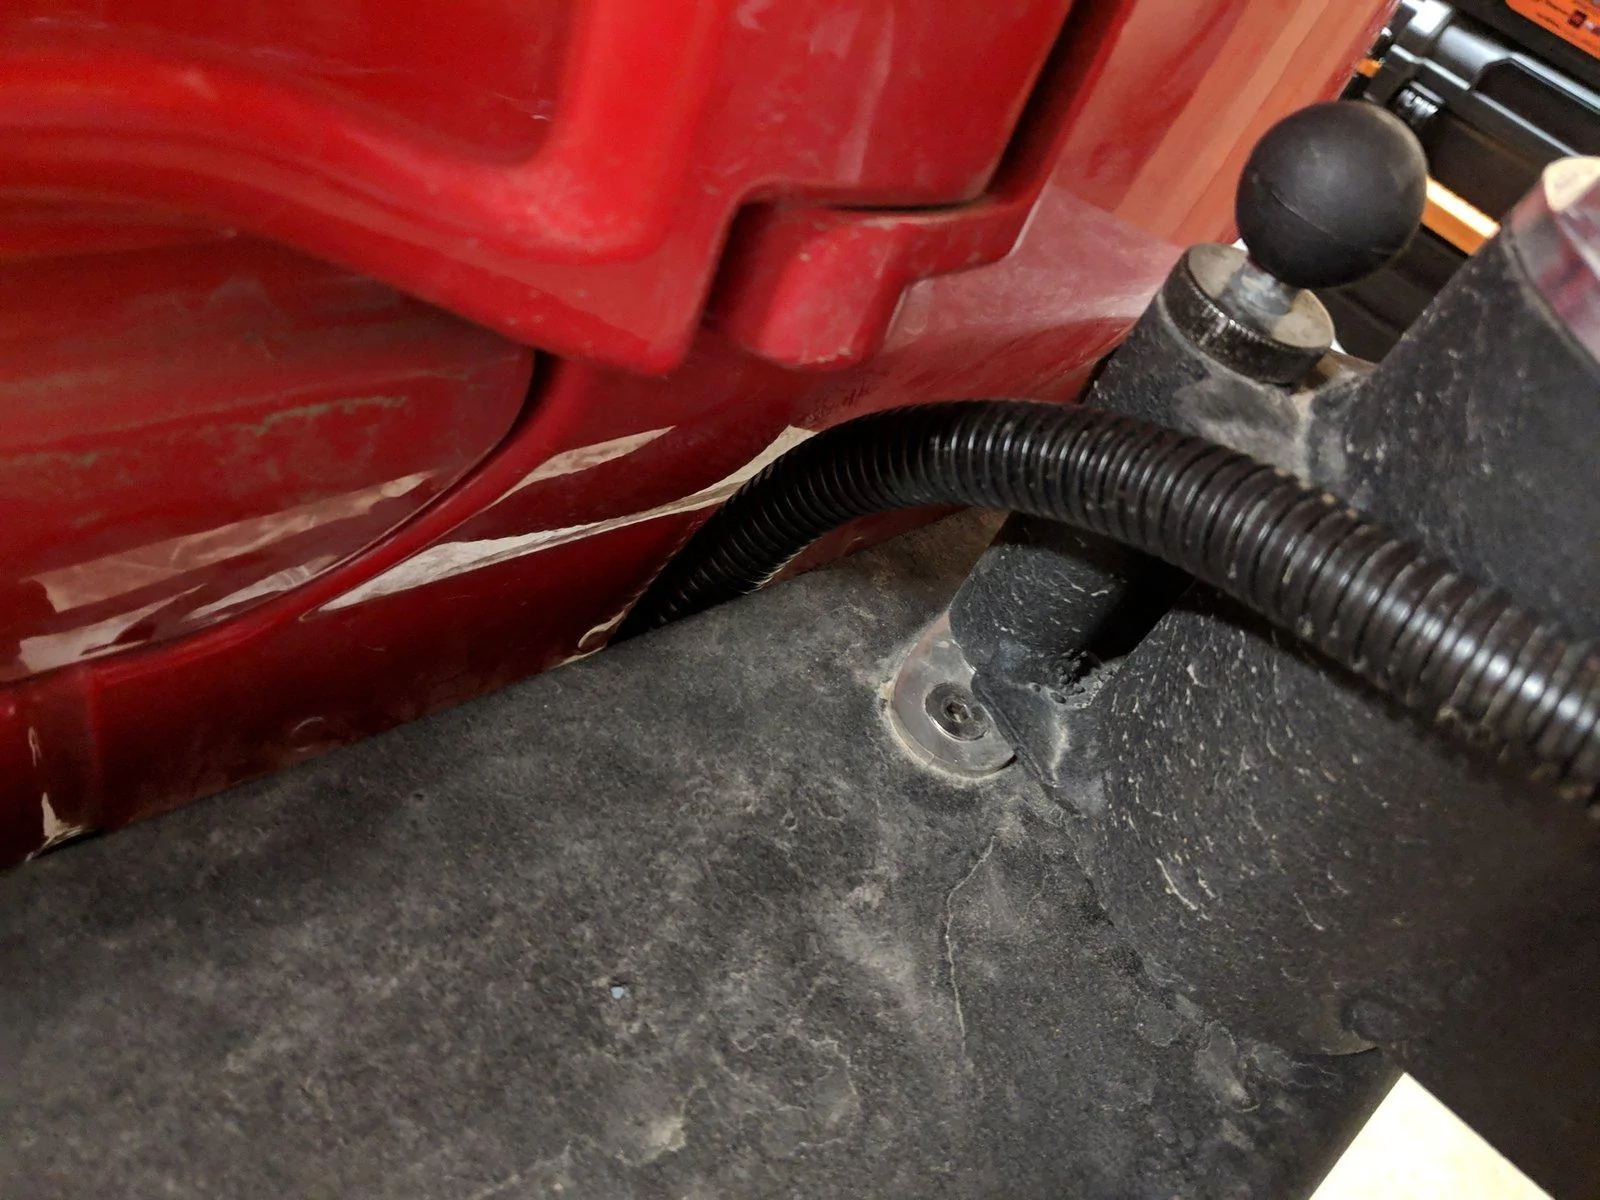
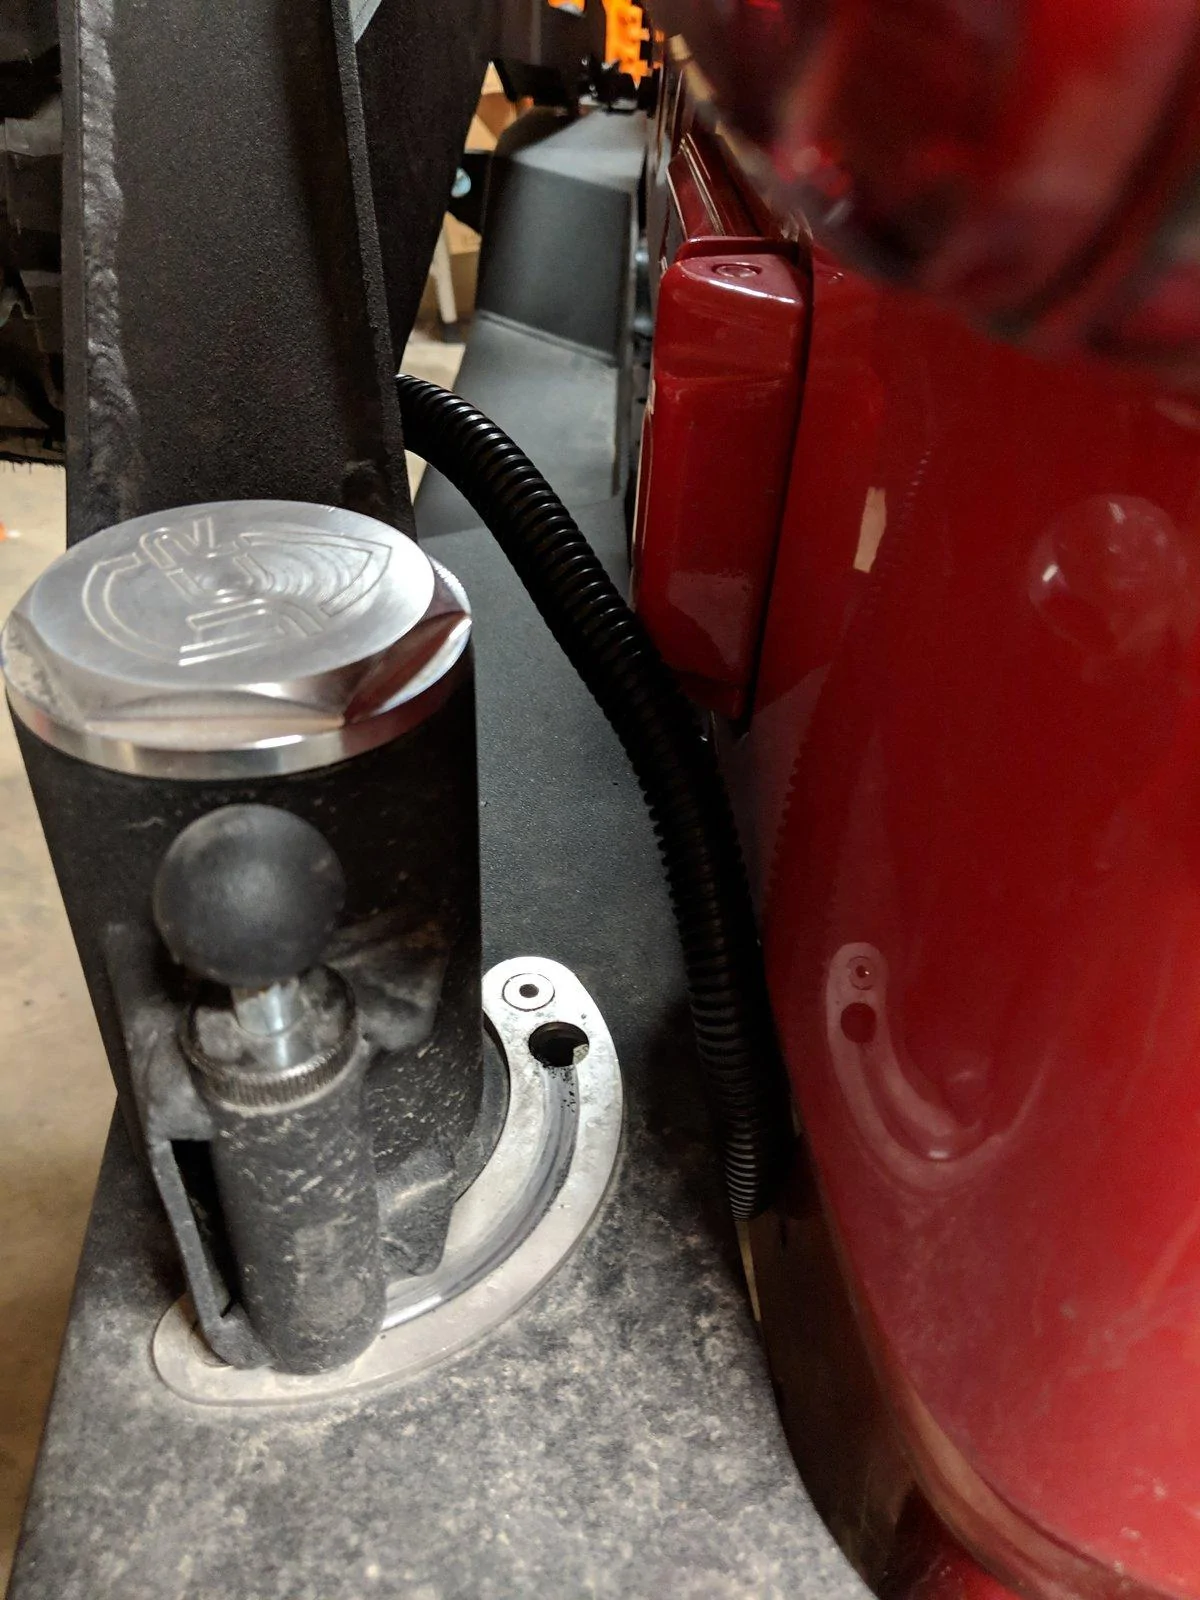
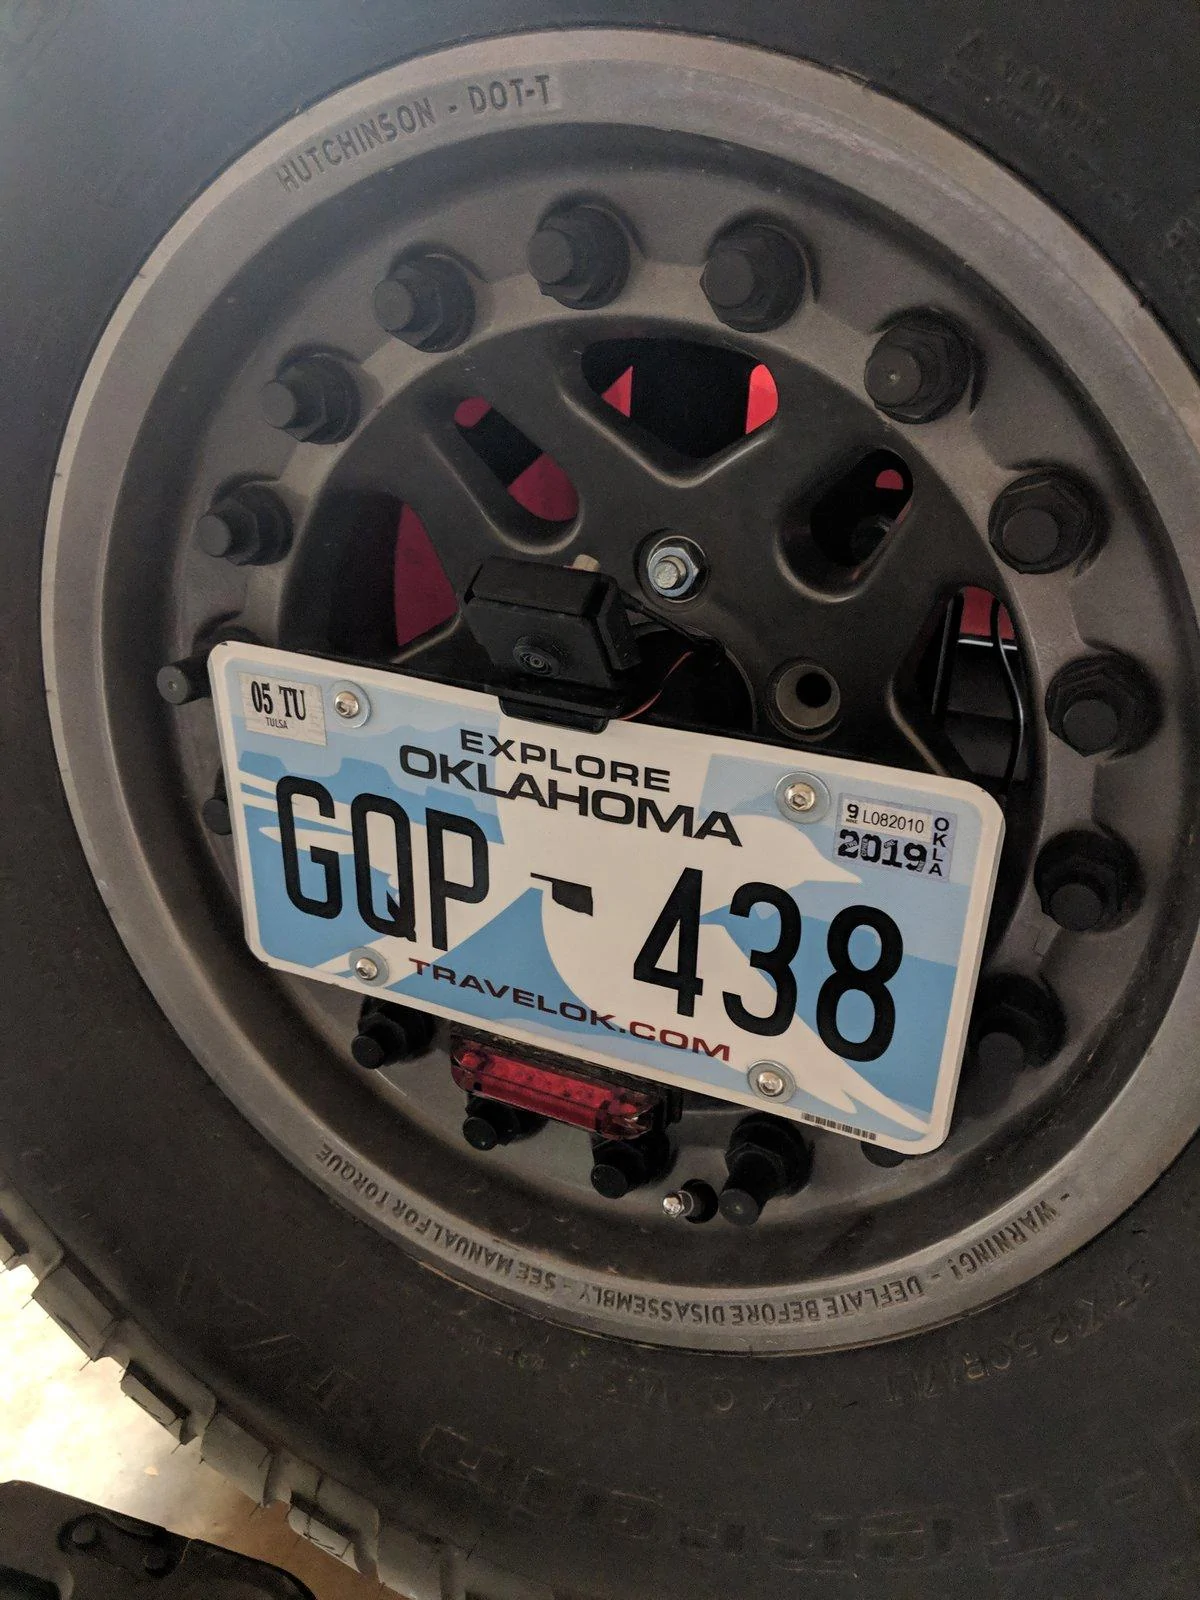
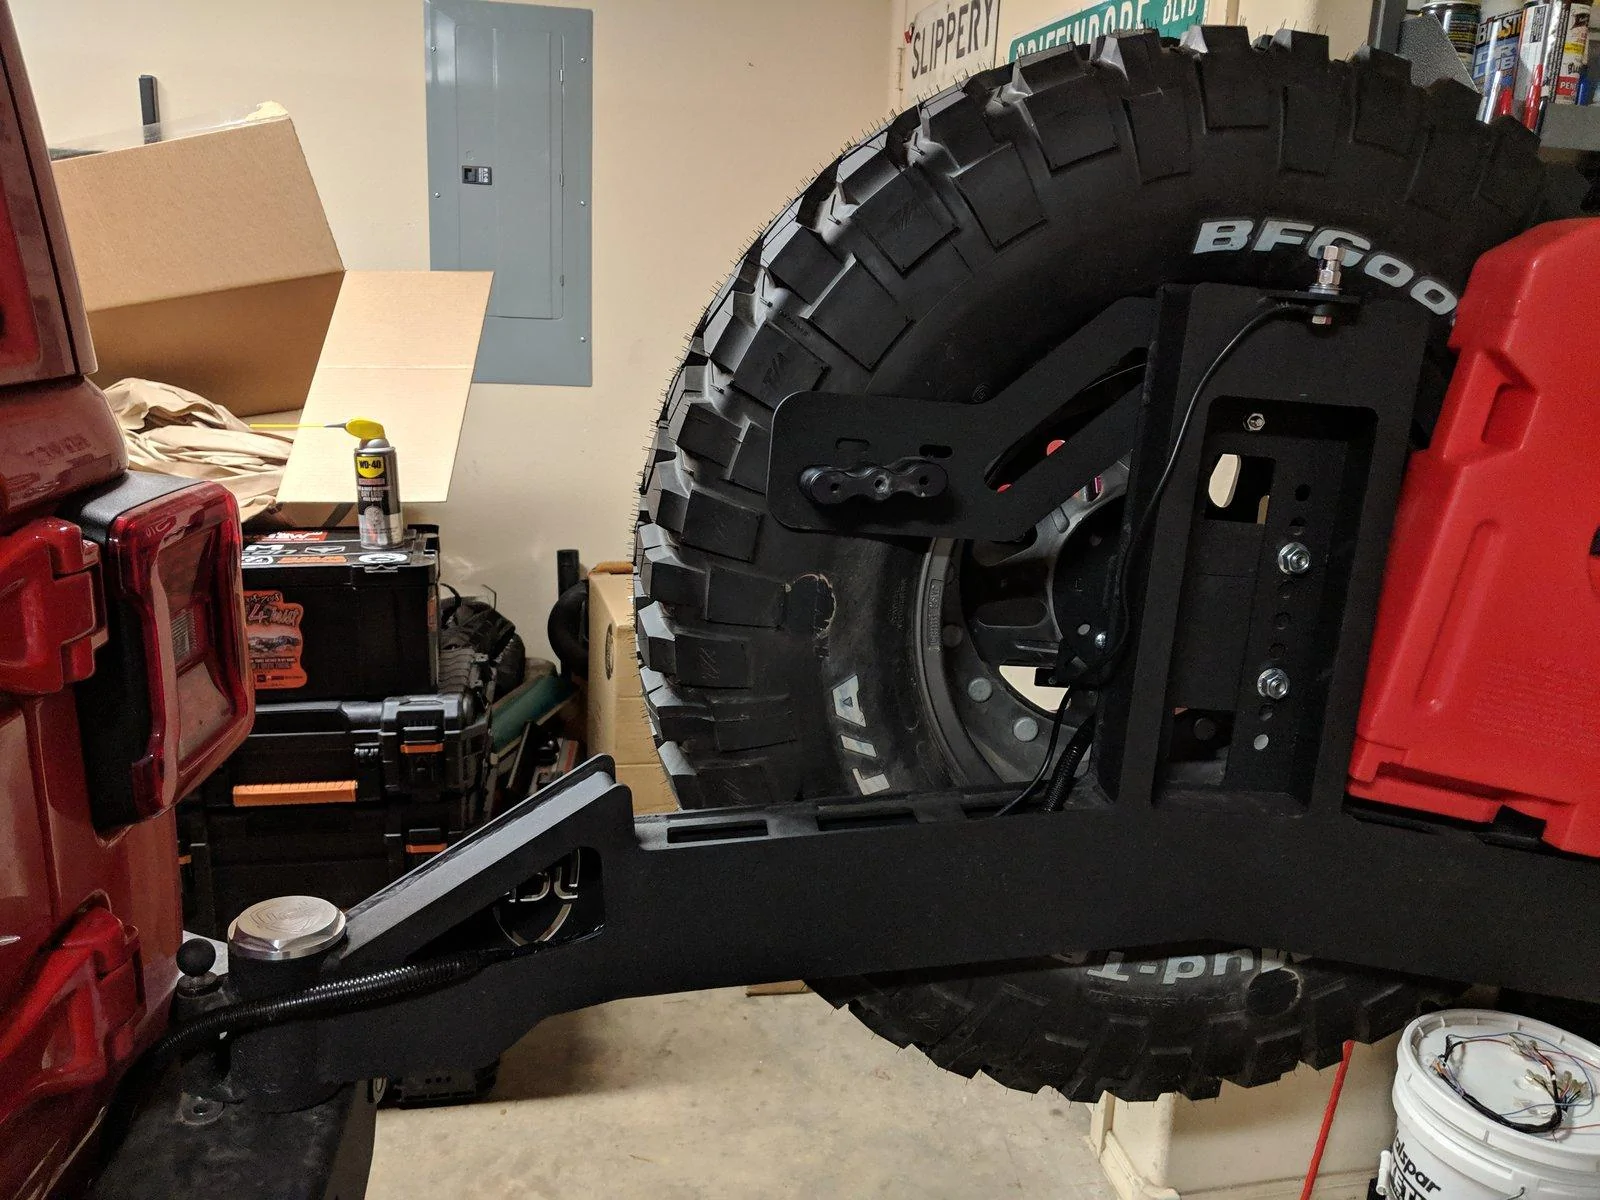
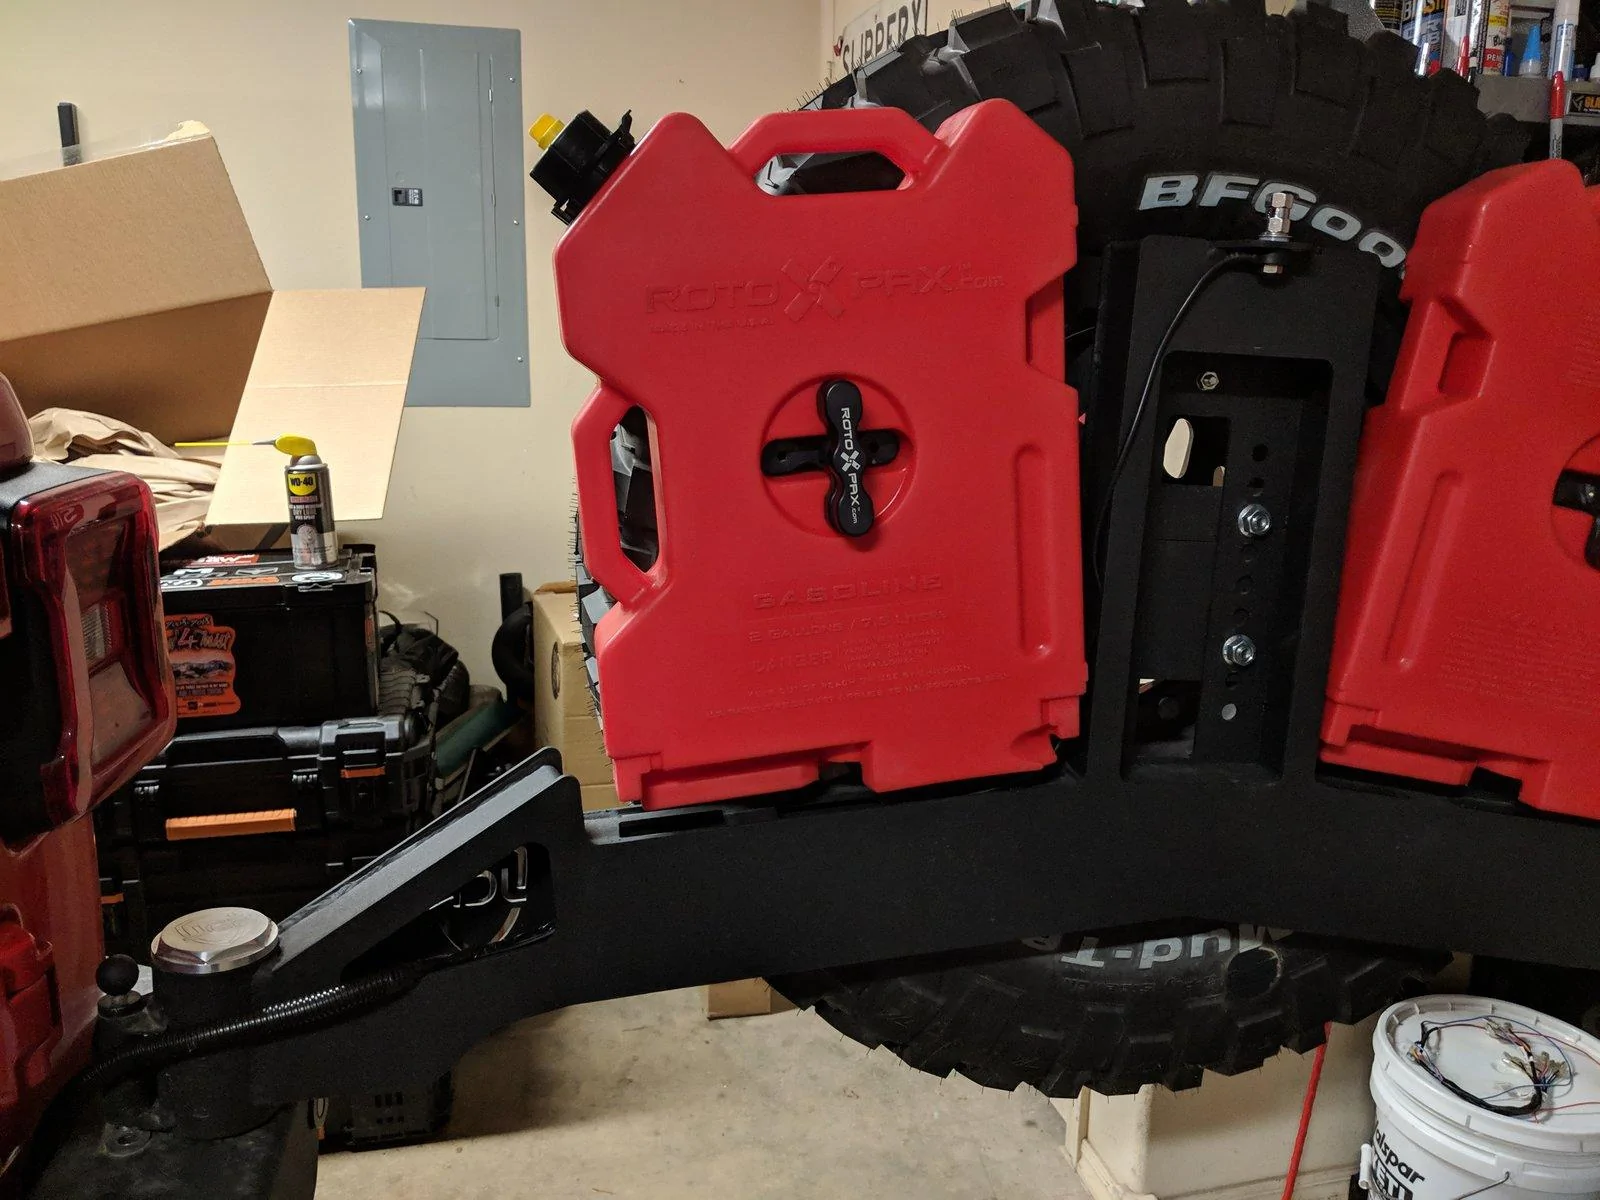
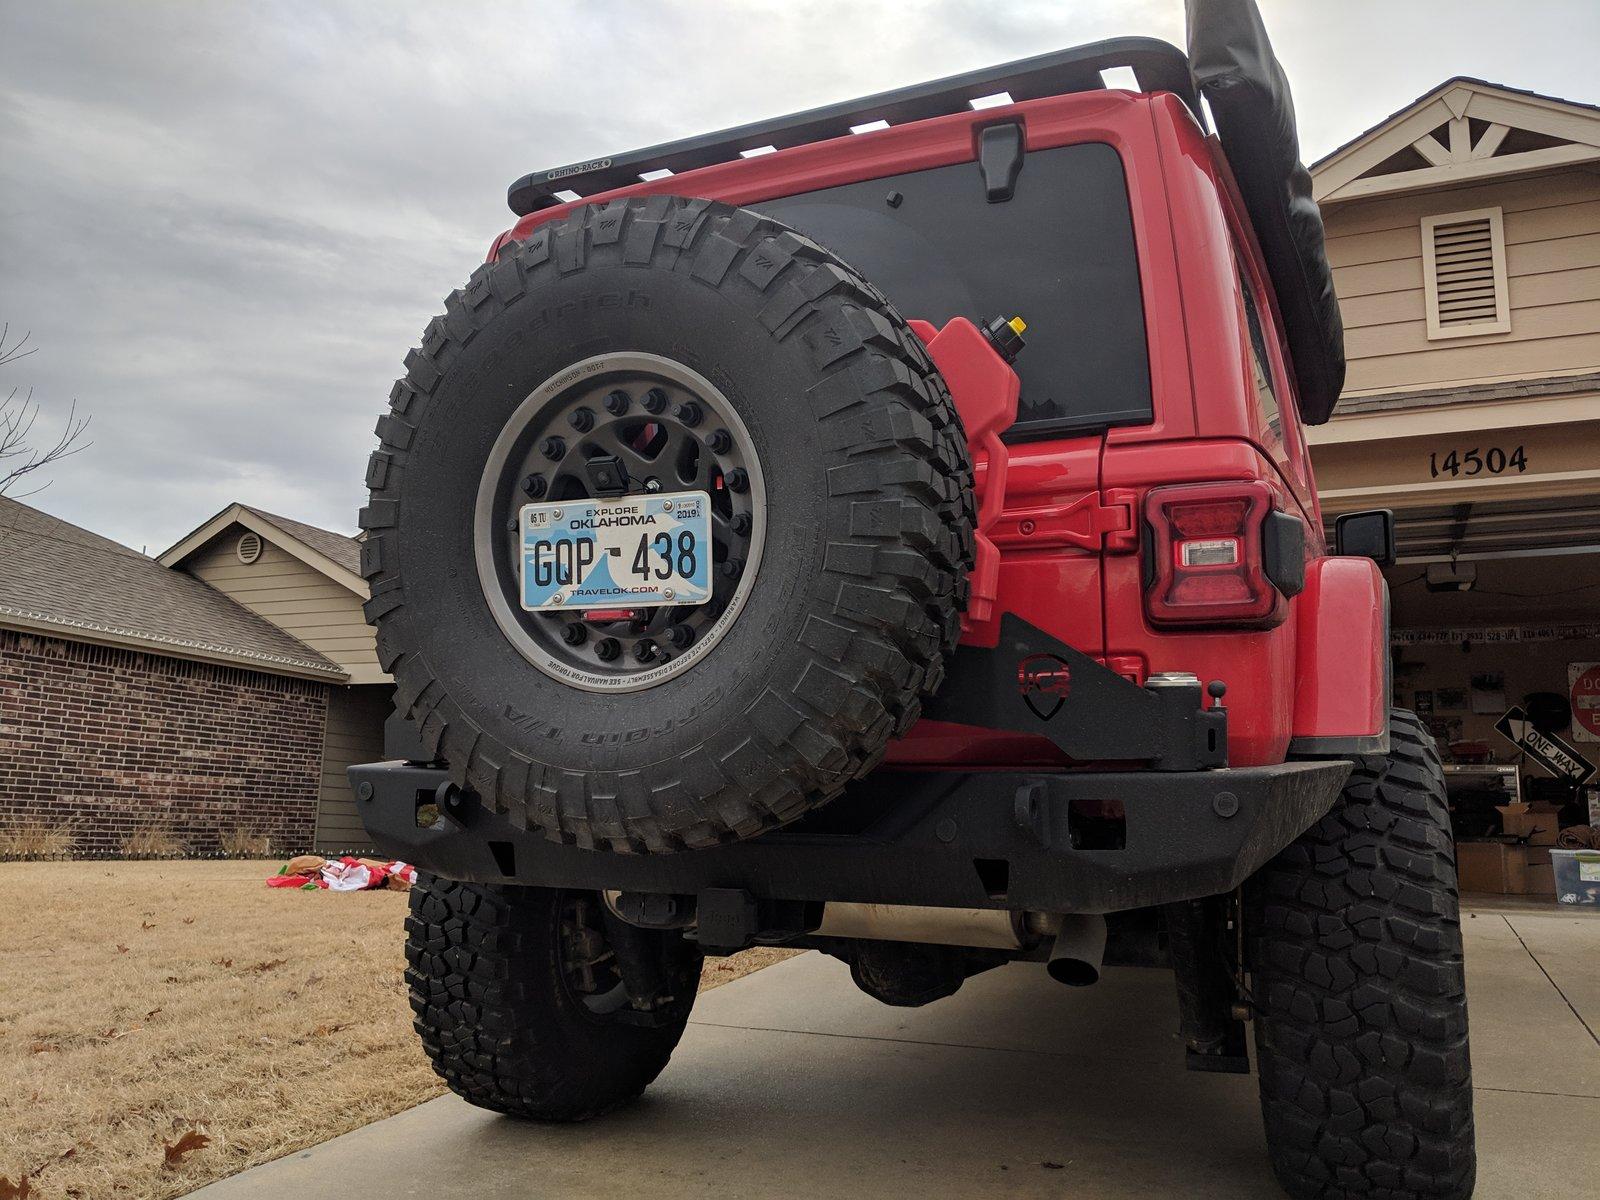
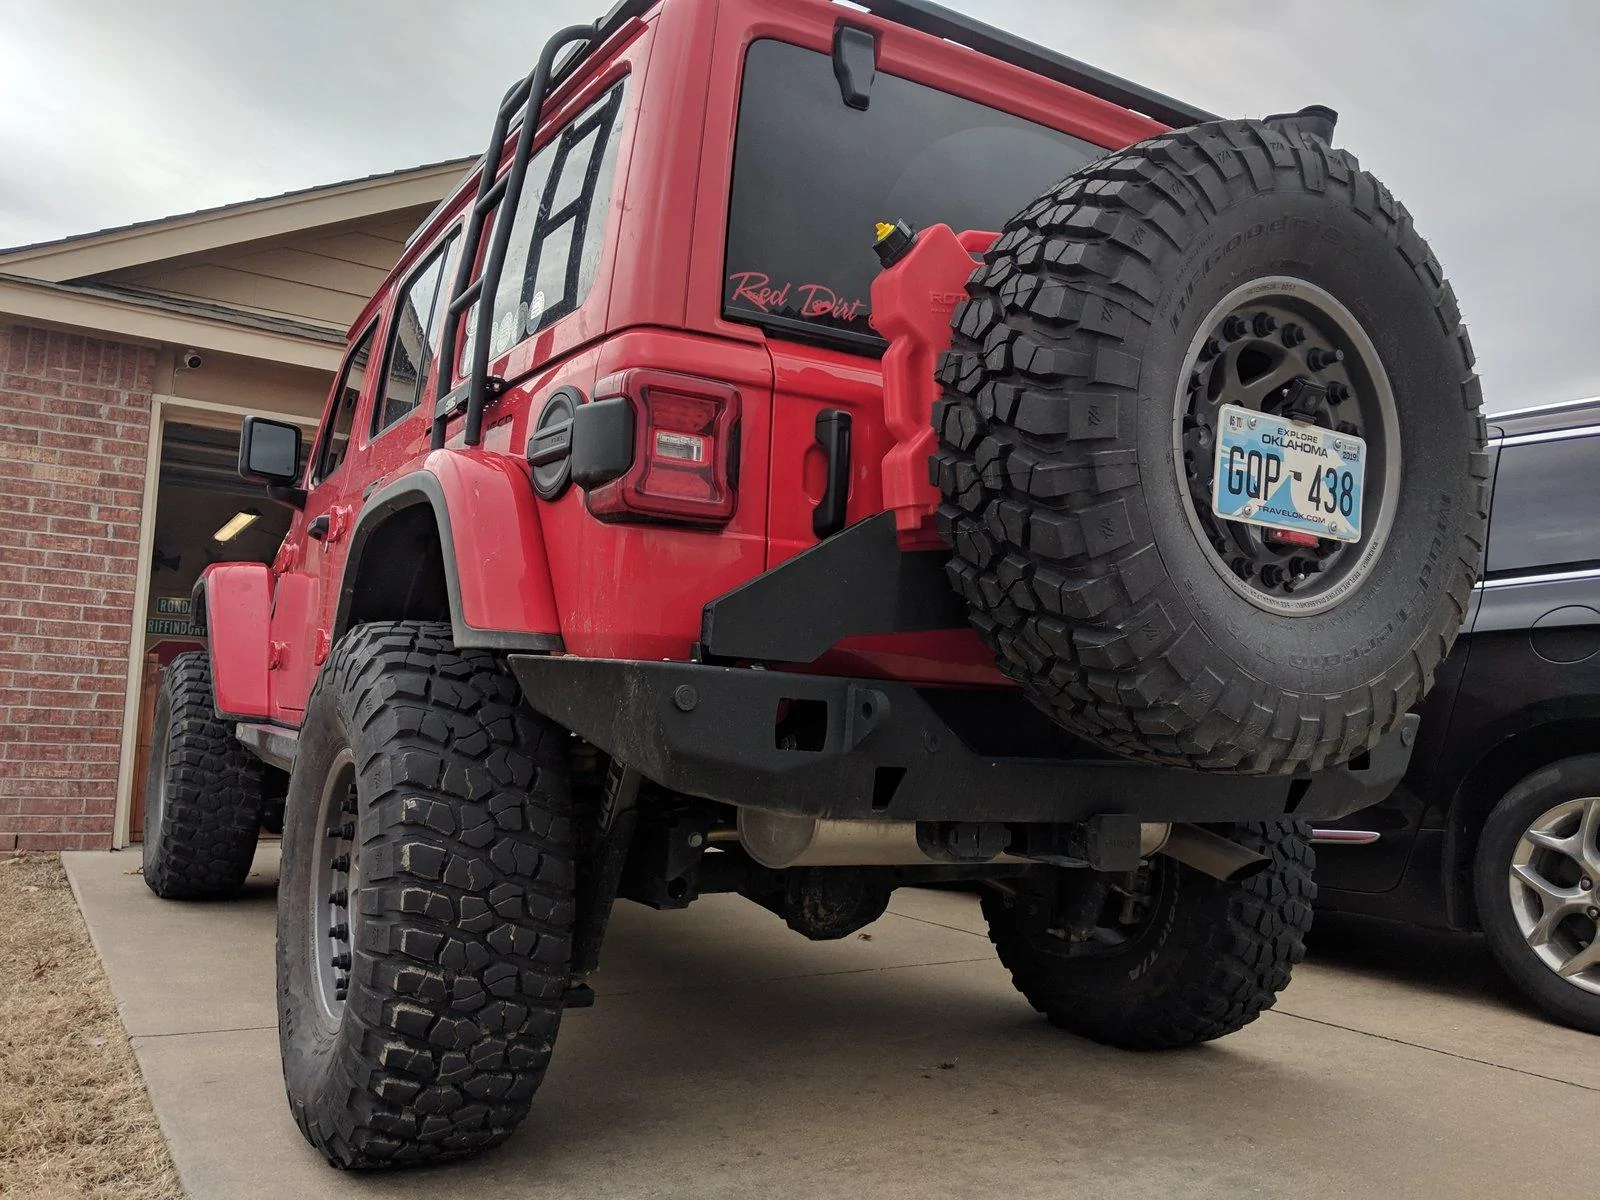
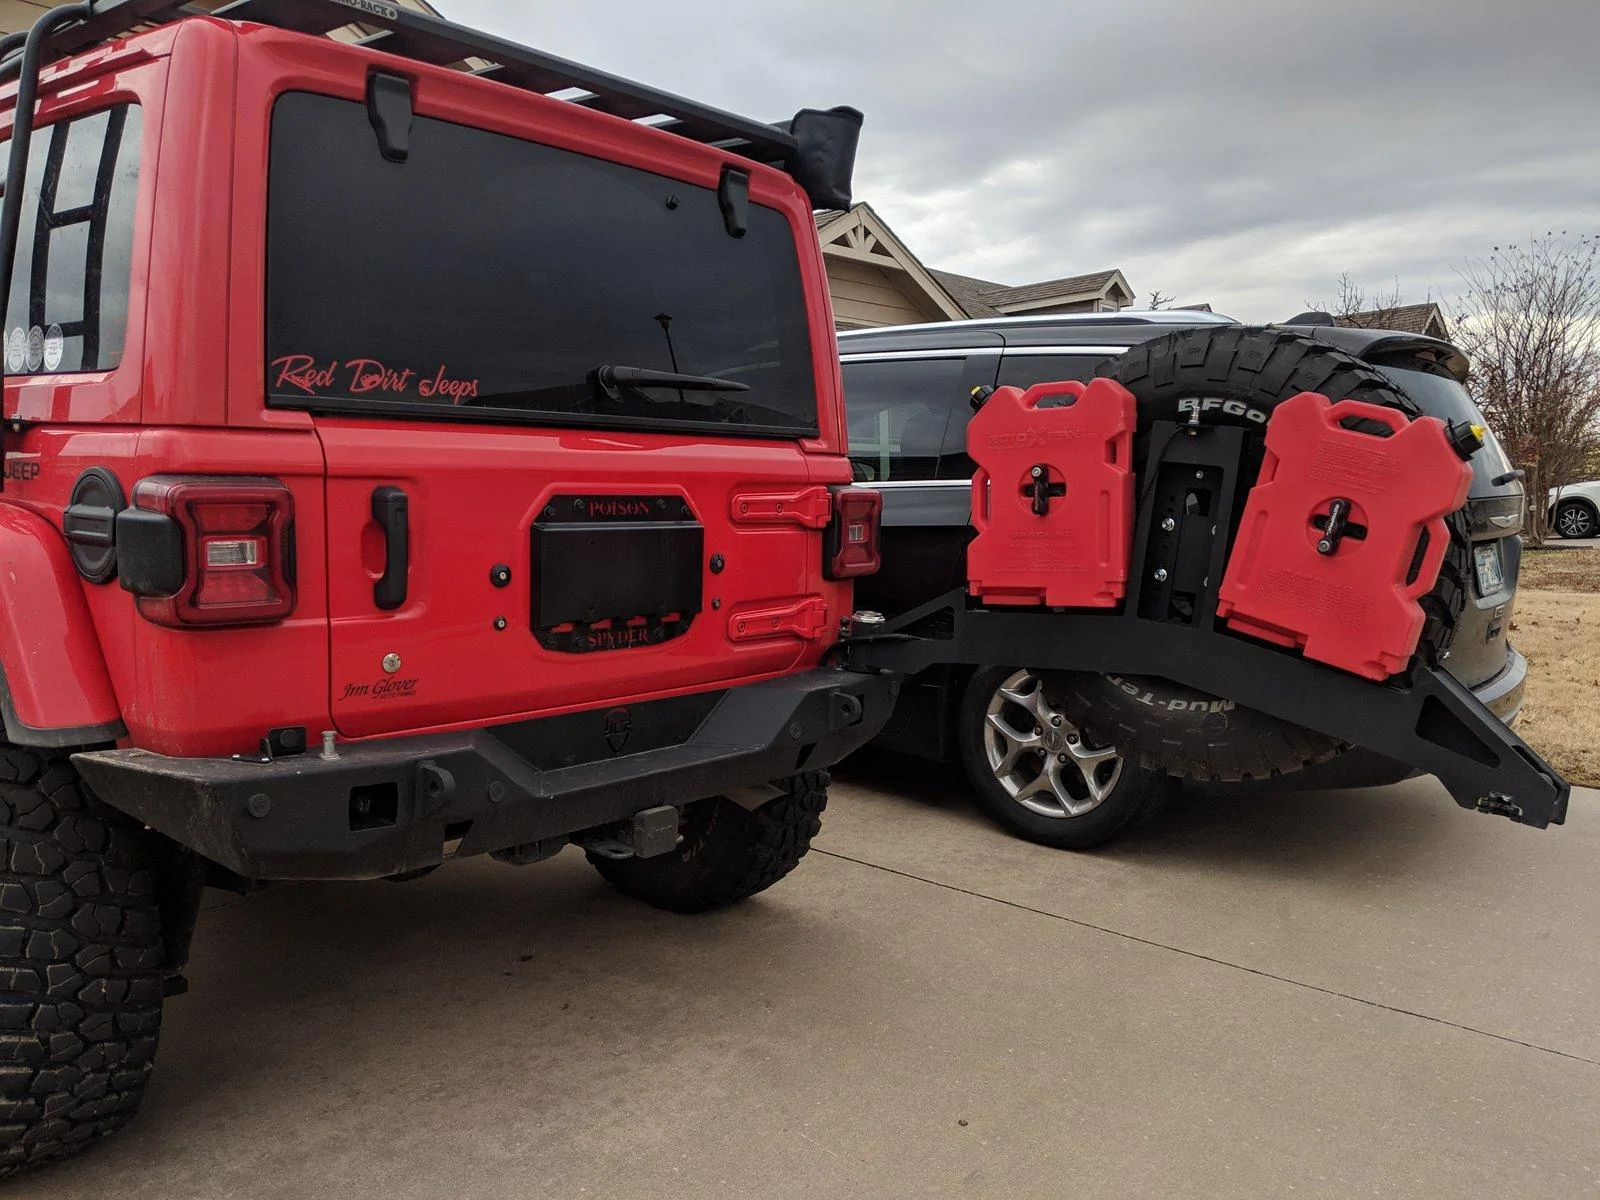
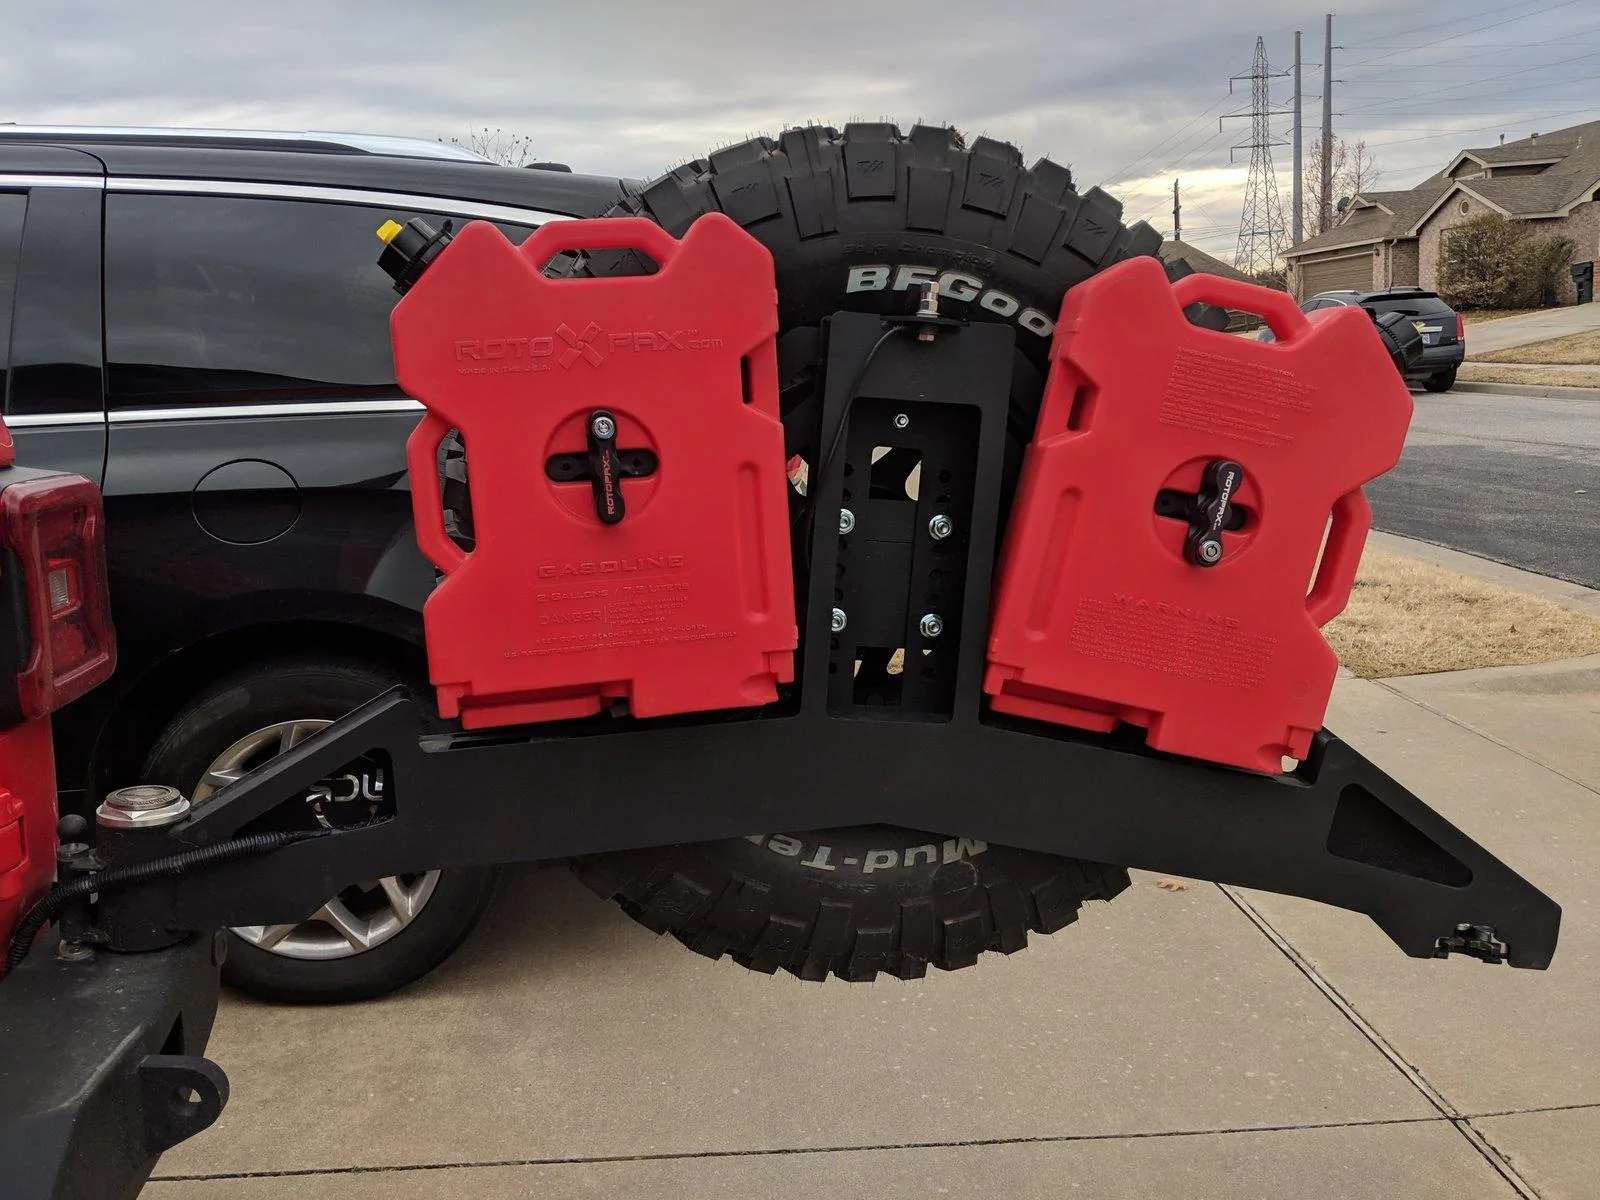
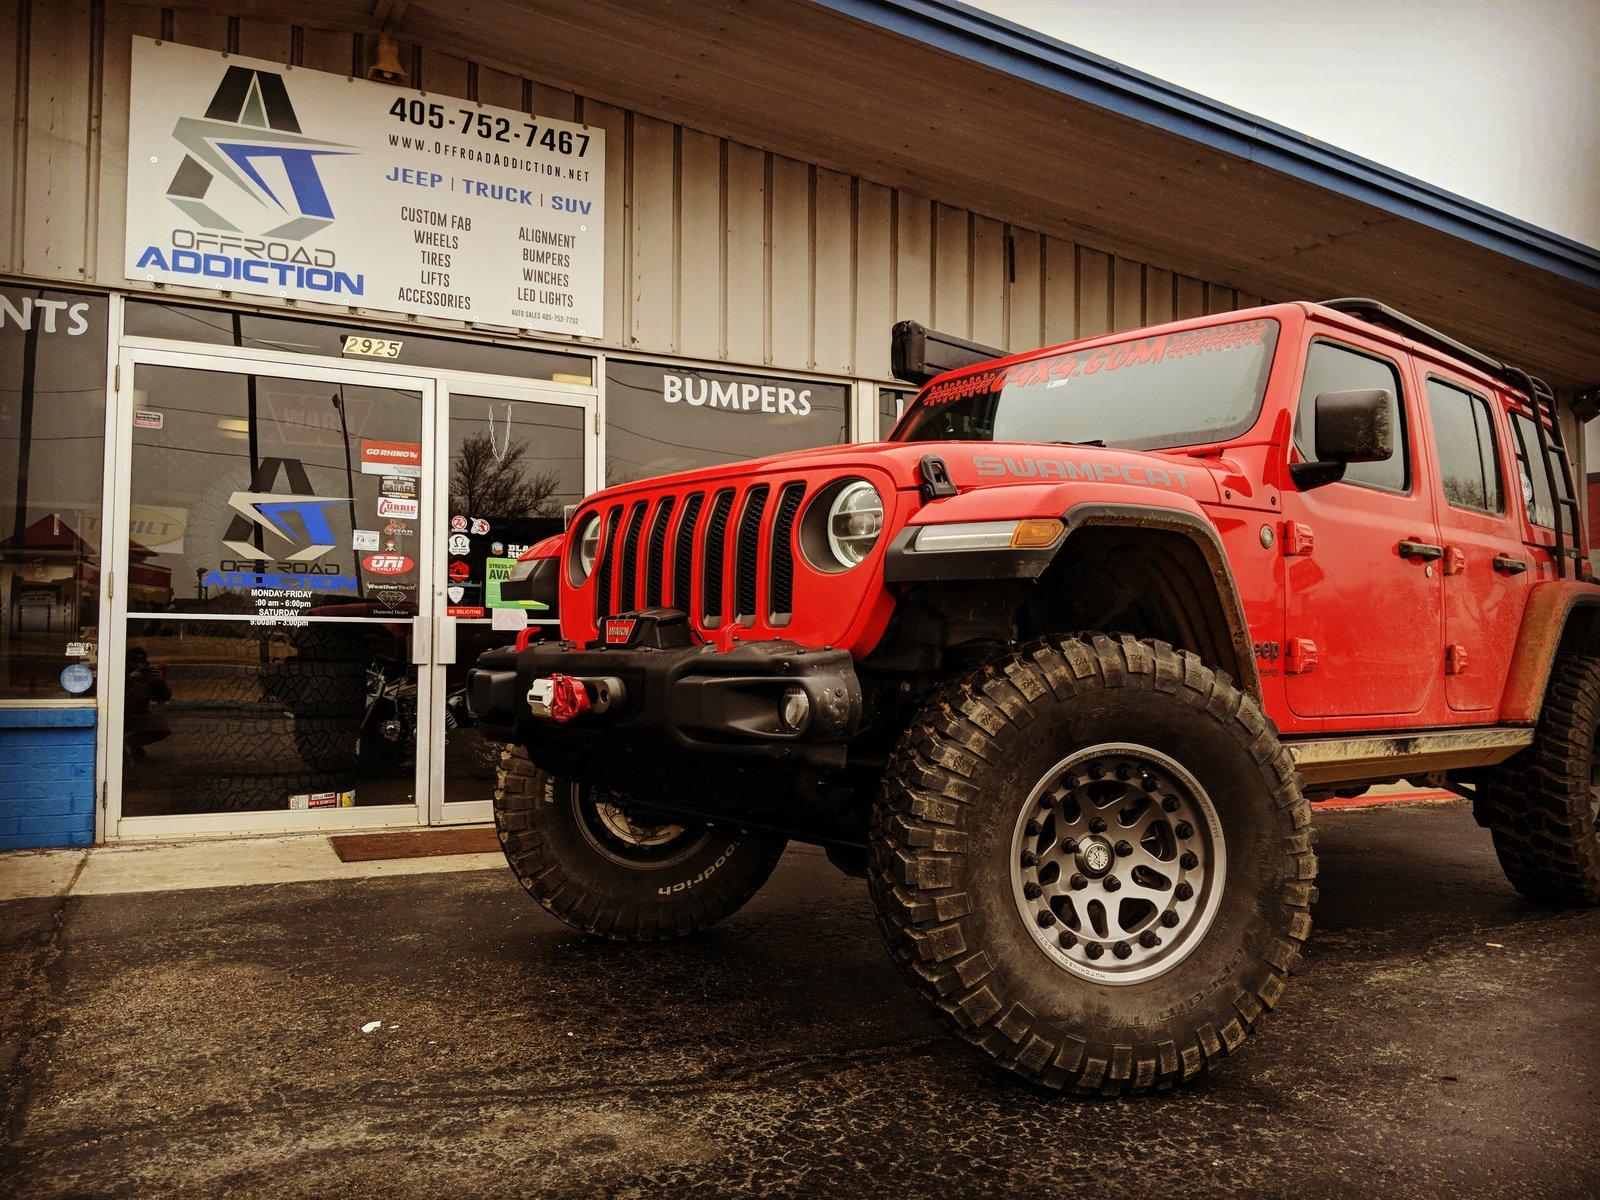
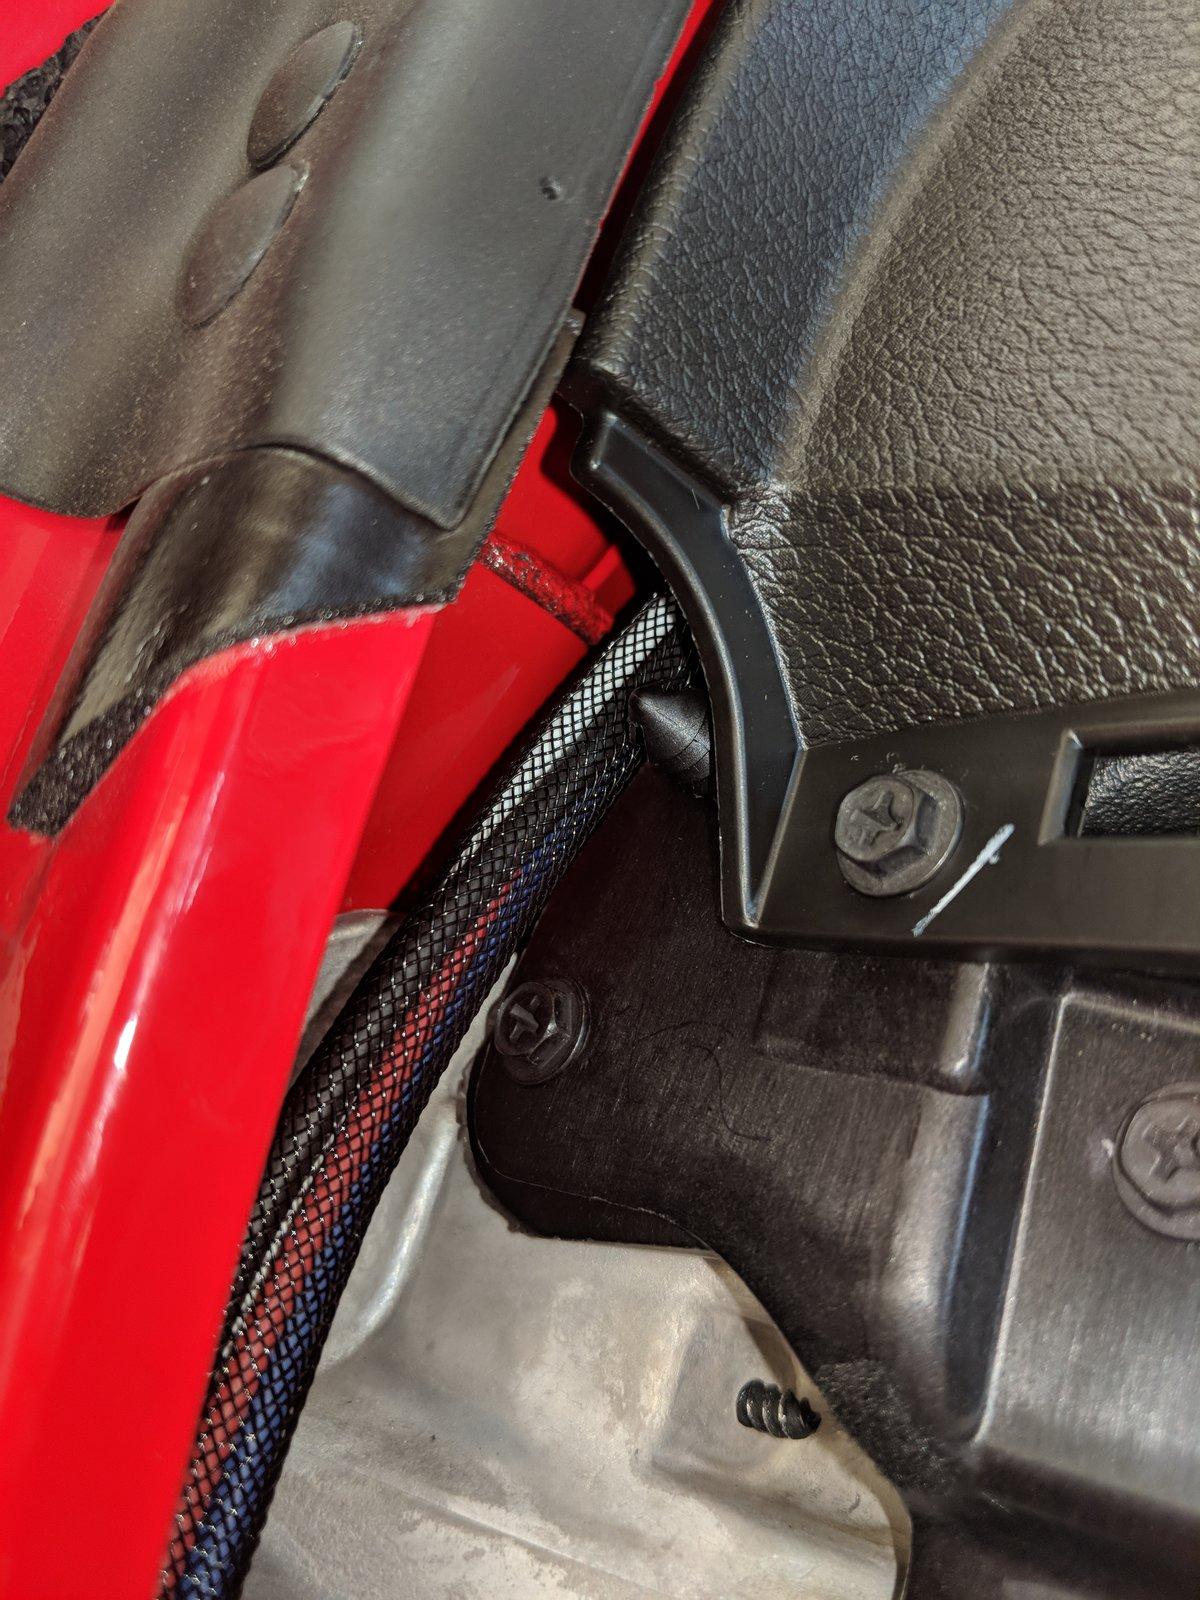
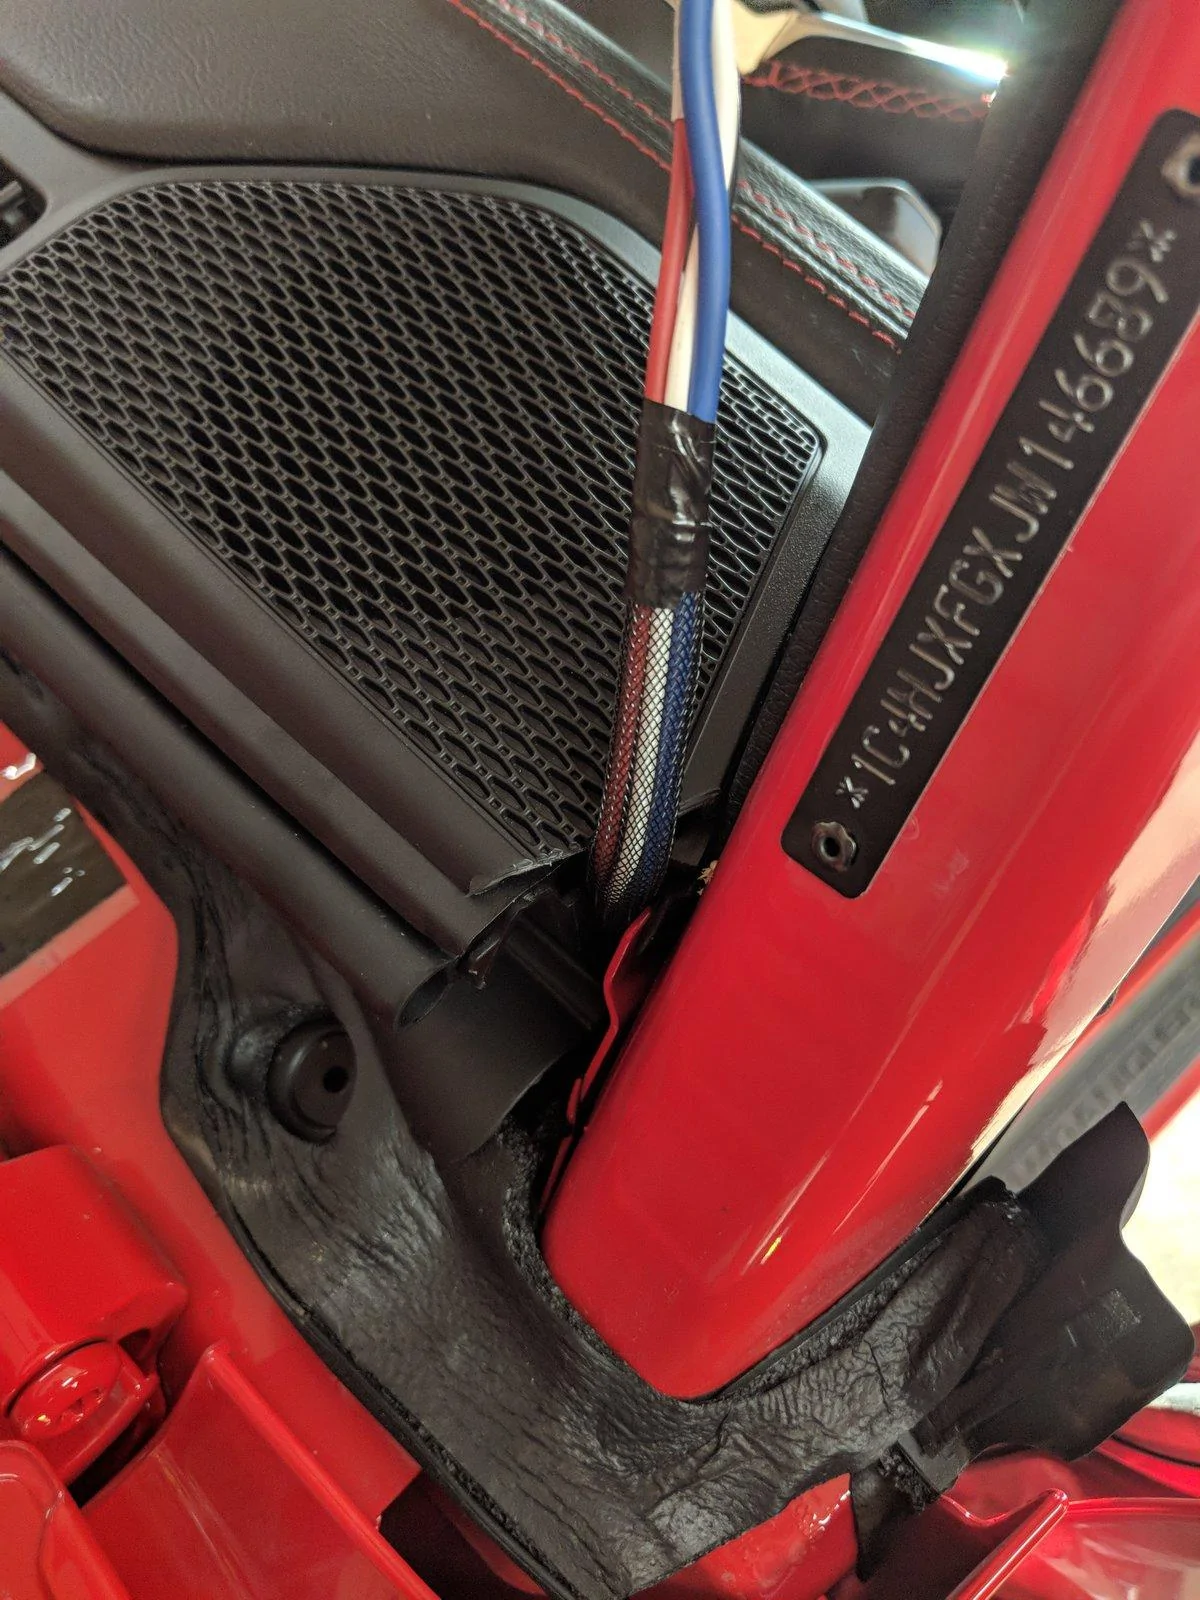
Well, I definitely wish I hadn't gone with that @JcrOffroad winch plate. They ended up refunding my money, but I'll never get the time back. I also just installed the JCR Vanguard full width rear bumper and Adventure Tire carrier. I have several issues with those products and their installation. Overall, I don't think I'll be ordering from JCR again unless they make some big improvements.
Not sure I would go with the Rock Hard 4x4 skid plates again, either. Maybe would do Artec or wait for GenRight.
Sponsored