GtX
Well-Known Member
Marker lights go on the outside, right?Why purple? Because why not!!

I didn't want to be like everyone else running red or orange or white marker lights, I wanted to be original so I went with purple.")
Sponsored
Marker lights go on the outside, right?Why purple? Because why not!!
I didn't want to be like everyone else running red or orange or white marker lights, I wanted to be original so I went with purple.
Love it. There’s a method to the madnessTL;DR: It's something to put accessories on until I purchase my bushwacker fender flares
Curtain Rod Fender Flares
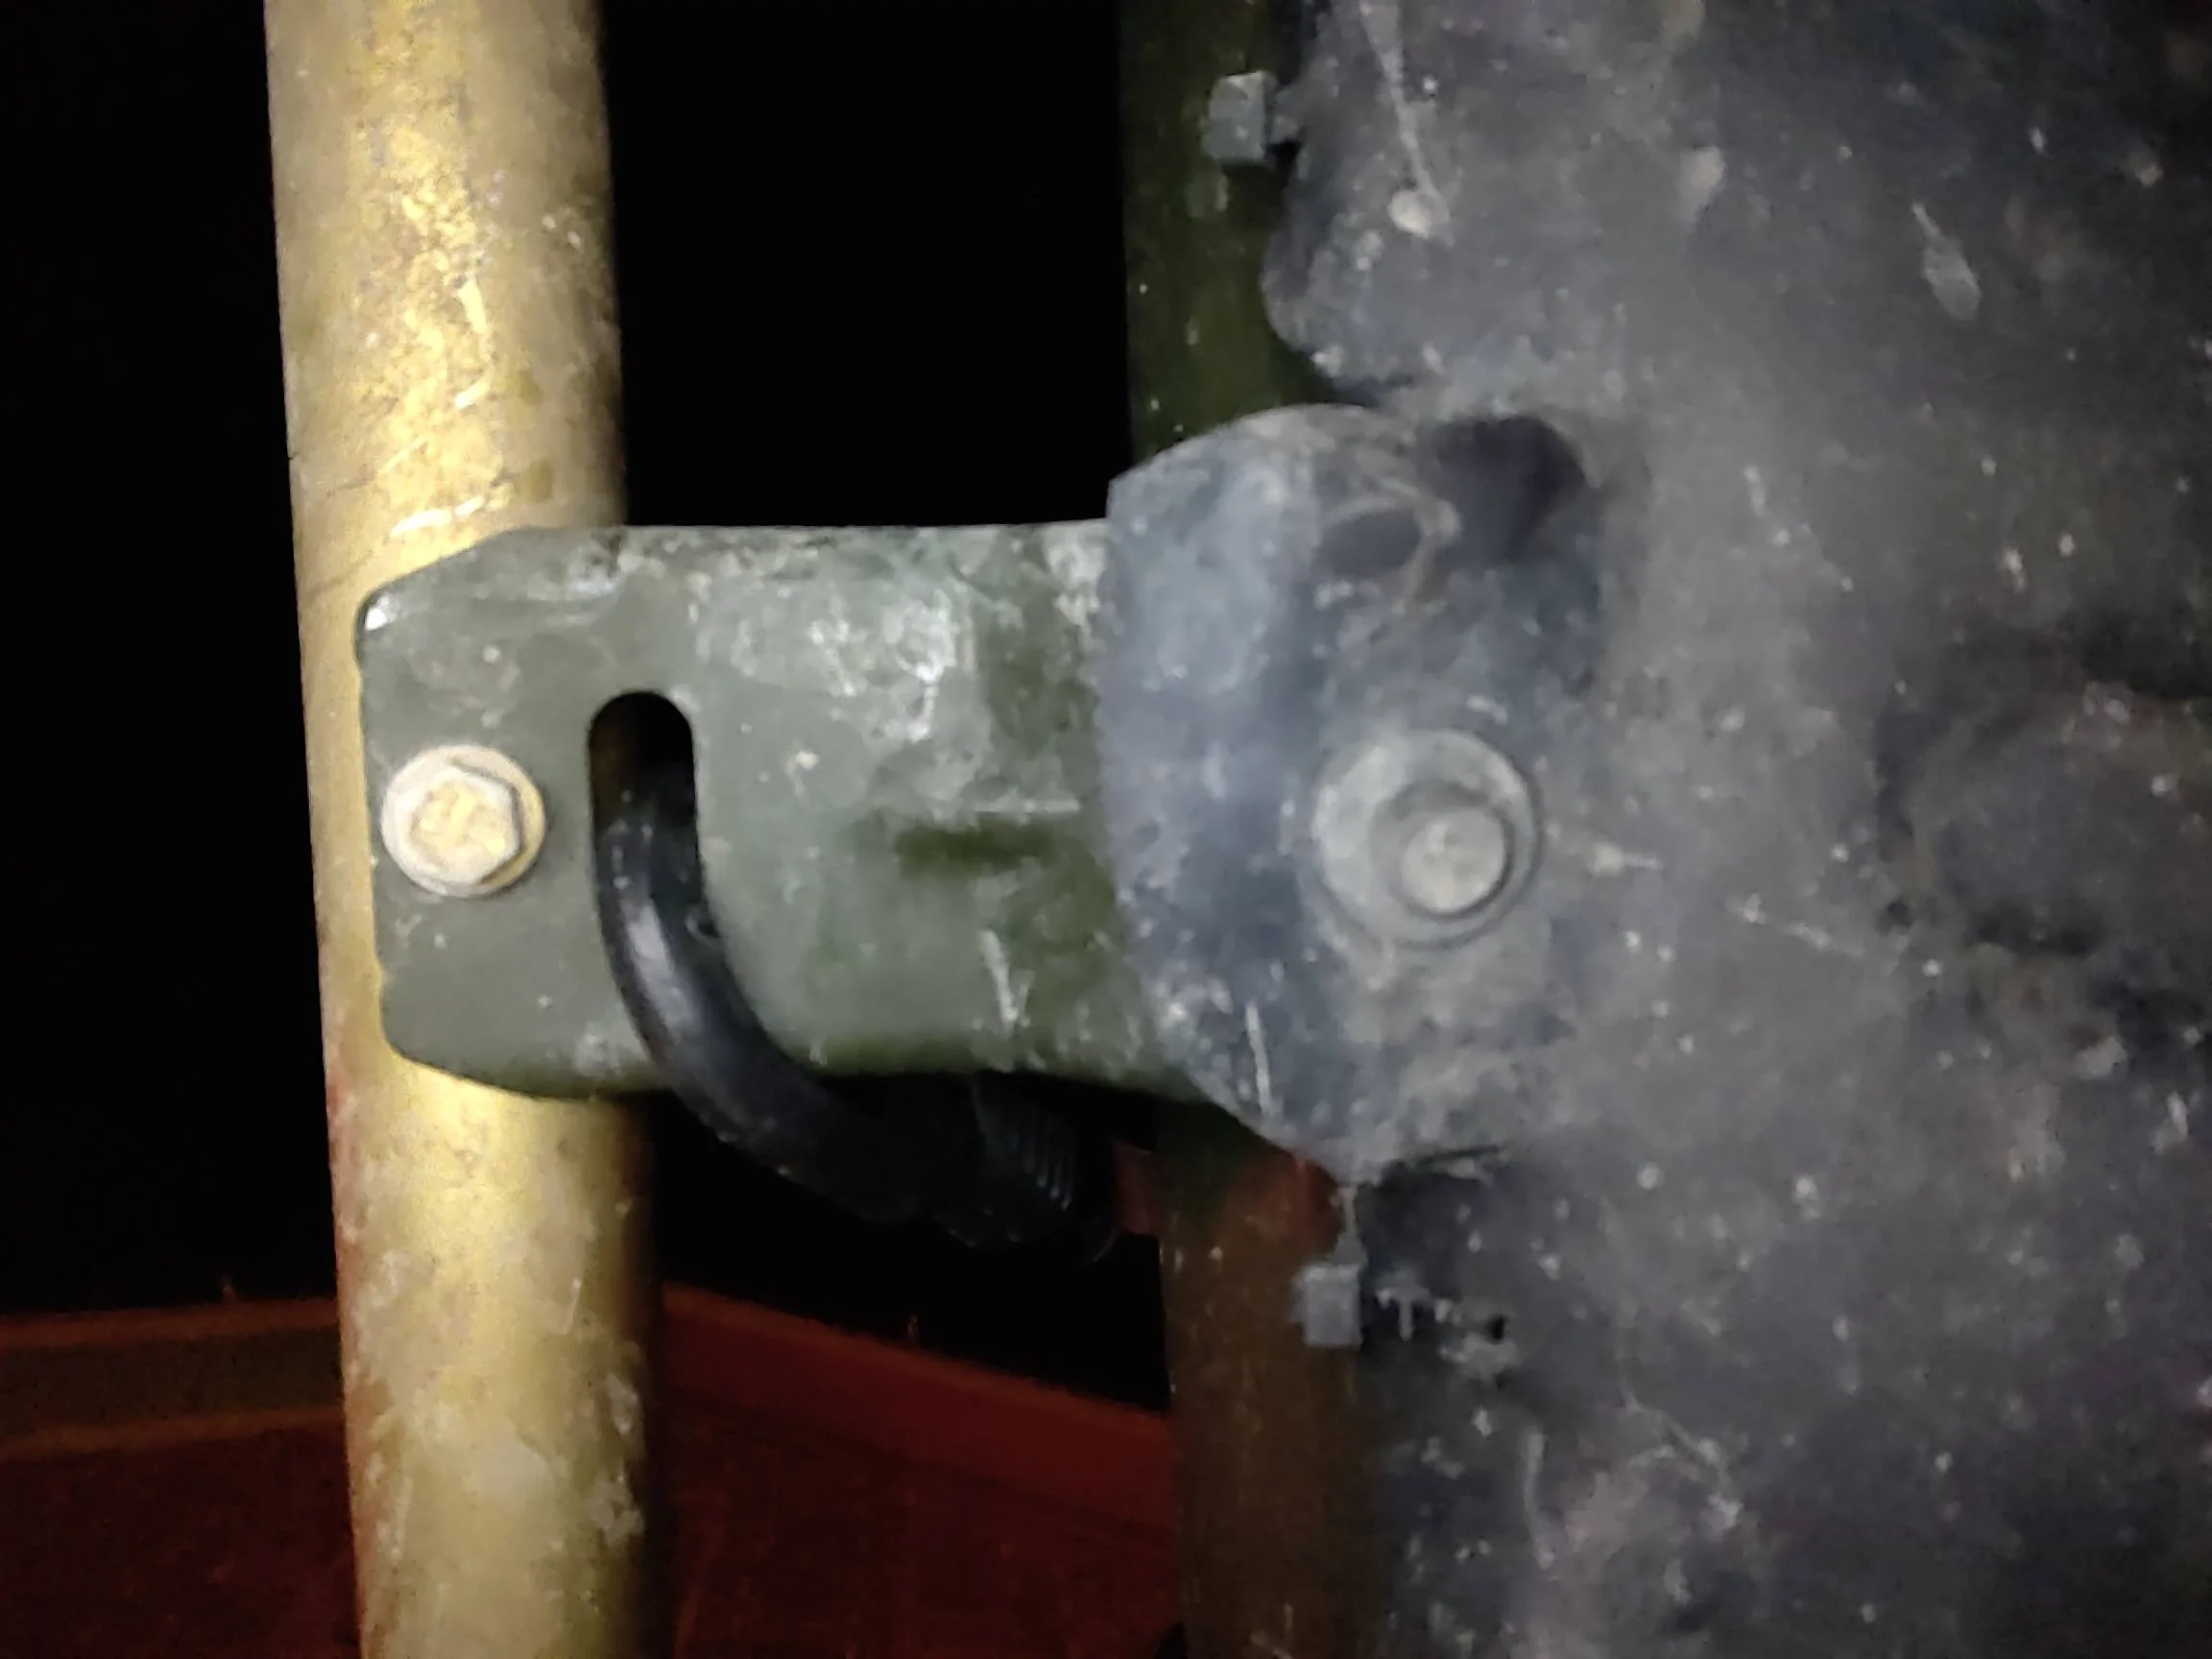
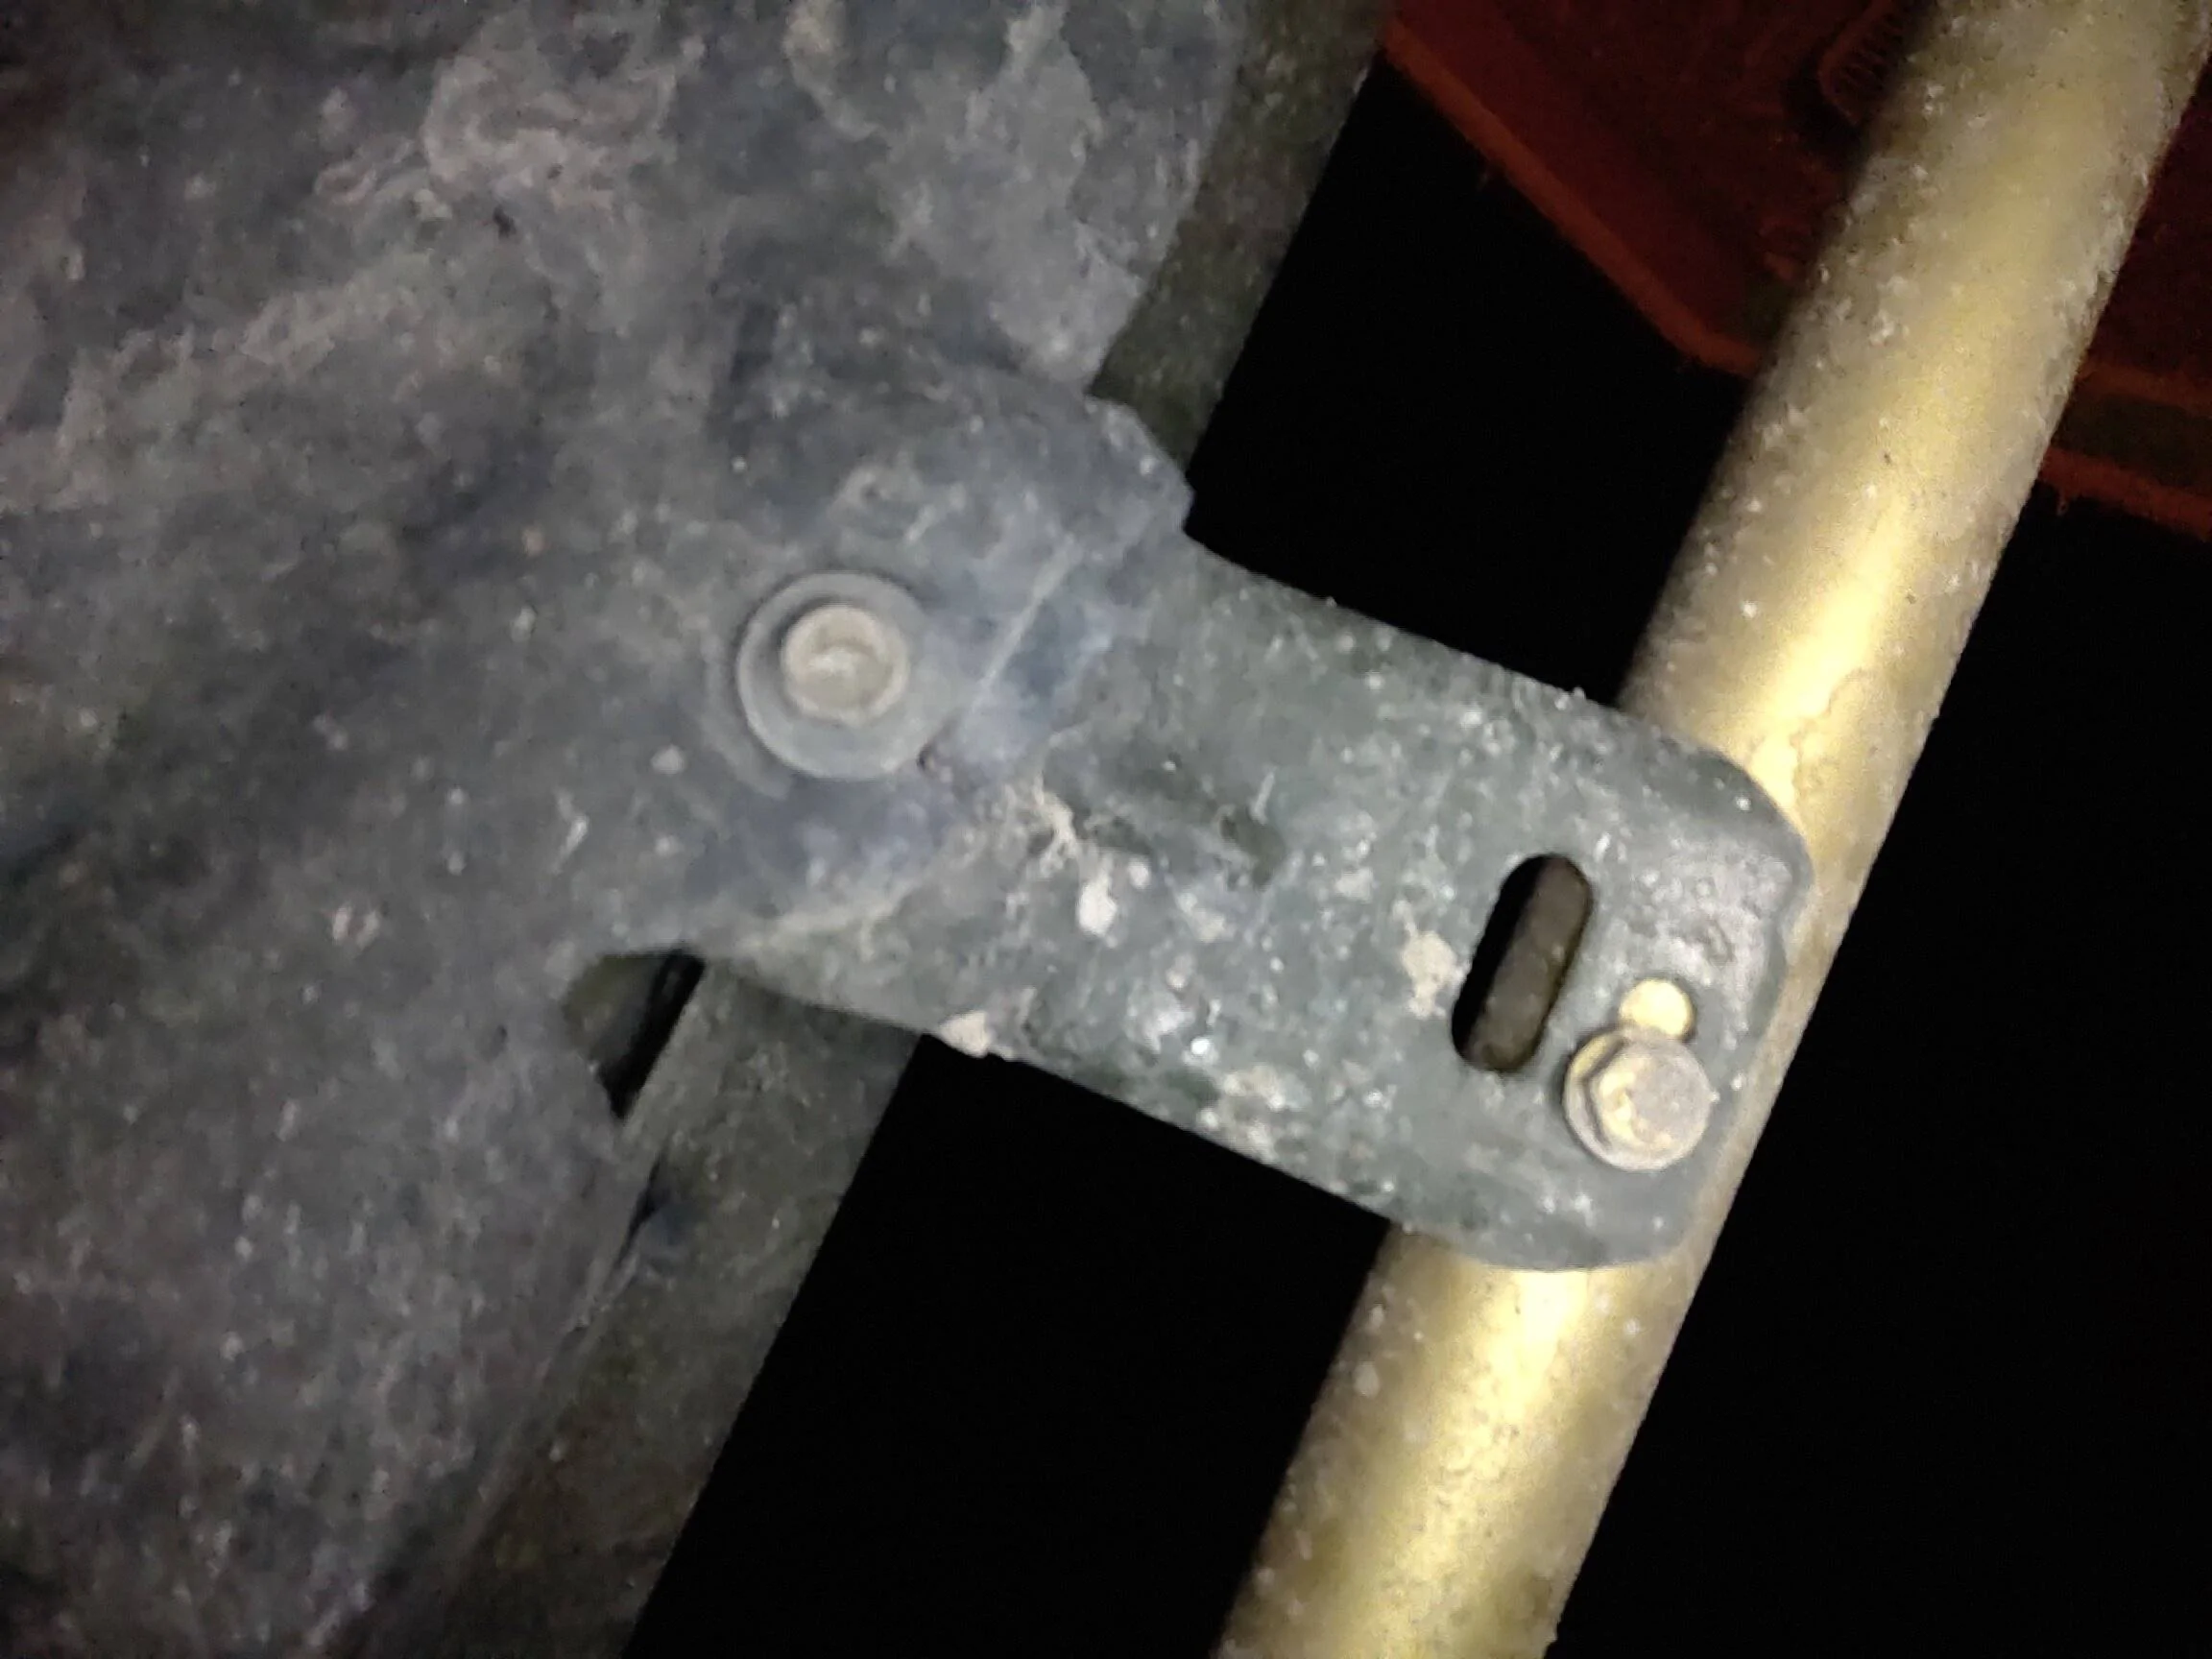
When I first removed the OEM front fender flares, it left these two exposed pieces of metal coming off the body that the OEM fender flare screws into.

Whenever I do purchase my bushwacker fender flares I will need these two pieces of metal. But until then it just looked kind of cheesy to have those poking out not attached to anything. So I definitely wanted to put something there, but originally I wasn't really sure what.
I remember running through a few ideas, a piece of sheet metal,, some acrylic colored plastic, putting an LED light bar on it. But I ended up going with the metal tube because of the ease it would take to accessorize it. It just so happened Home Depot had a set of curtain rods that were the perfect size so that I didn't have to cut the tubes.
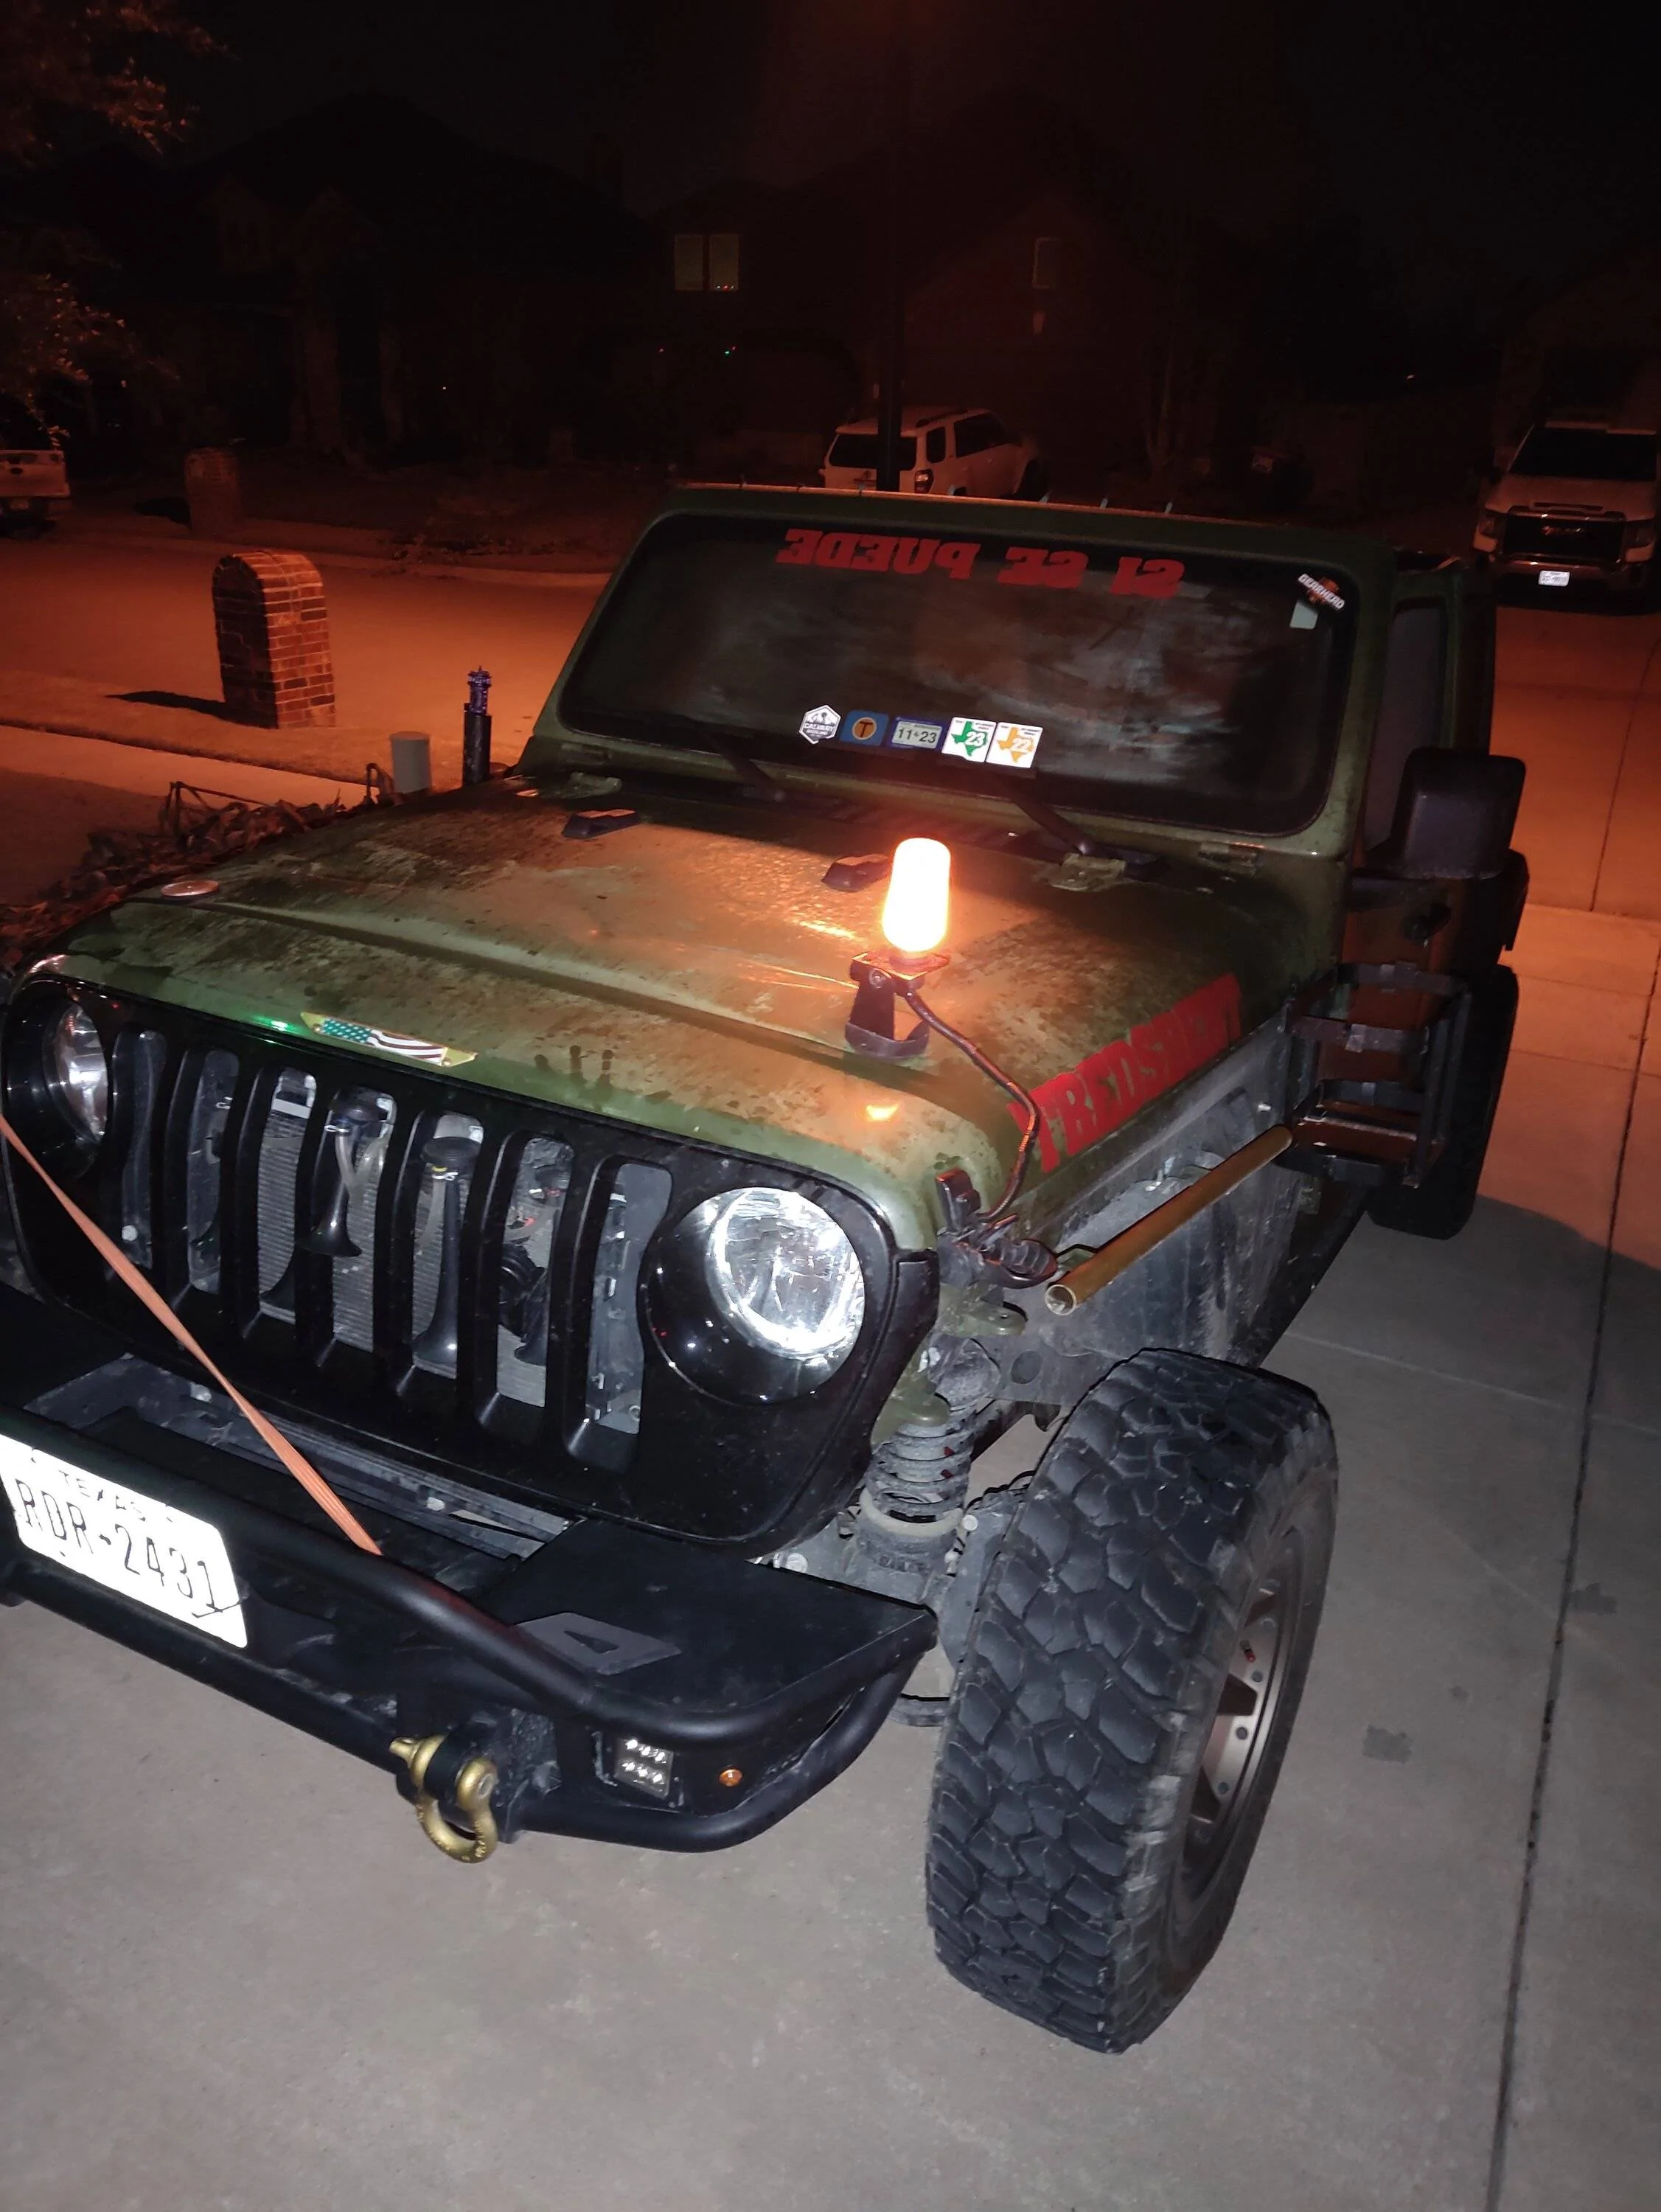
I guess the main thought behind the tubes was something that I could attach other accessories to with ease. I have a plug underneath my hood right in that area (and a matching one on the passenger side) which is kind of a universal plug attached to my auxiliary 3. Namely right now I use that plug with the steel rounds on my hood. But with the tubes there I could easily attach a spotlight and plug it in through the auxiliary 3 plug, and with the proper wiring I could technically run two accessories from that plug at the same time. One on the steel round, and one on the fender flare tube.
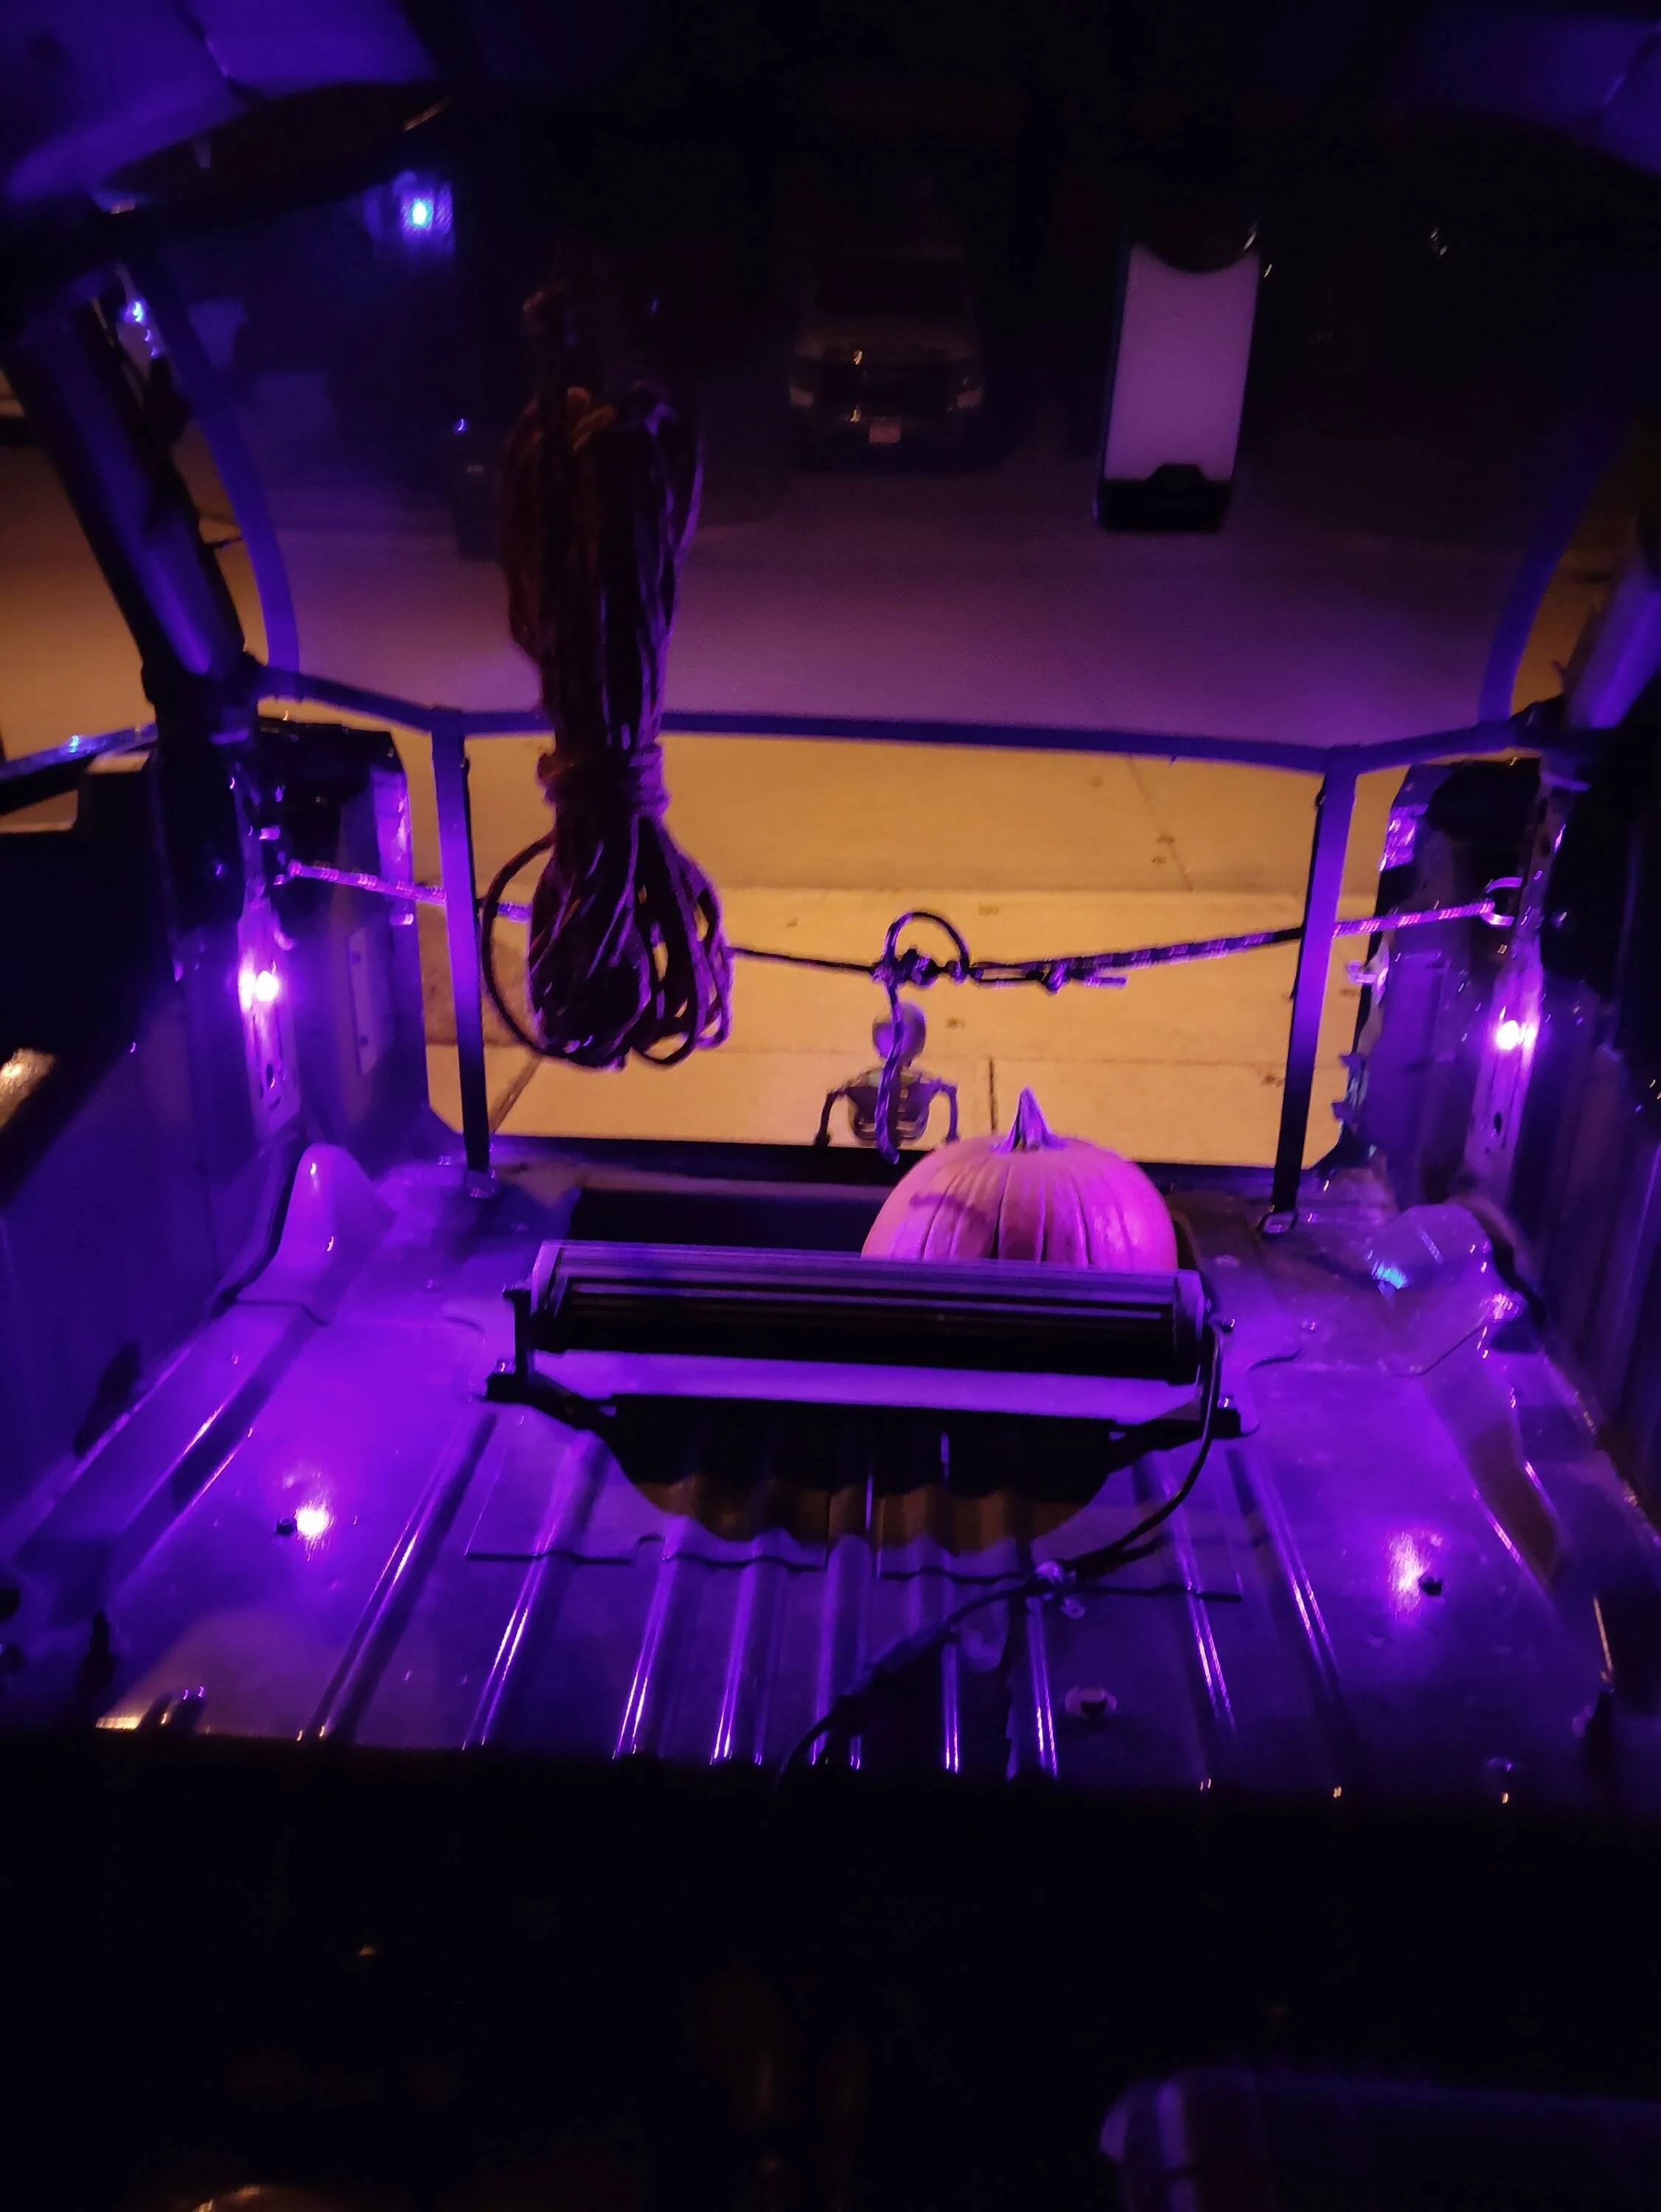
Here's a bonus photo of a project that did with my dad, flicker flame 12 volt LED bulbs attached to that auxiliary 3 plug. The premise behind these was to have old school carriage light style candles flickering from my Jeep. Also cool because at night when I'm out camping, I have access to a constant mood light source with it. Everything that goes on those steel rounds on my hood is held on with magnets. I've speed tested all of them, they hold on tight. ?
.I'll just leave this here...

Having done some super janky fab-work myself, my first inclination would be to use a cutoff wheel. angle grinders are super cheap if you don't have one. You already could've bought one and a cutoff abrasive blade for that money.This project goes back so far I don't even know if I have the original photos of where it started.
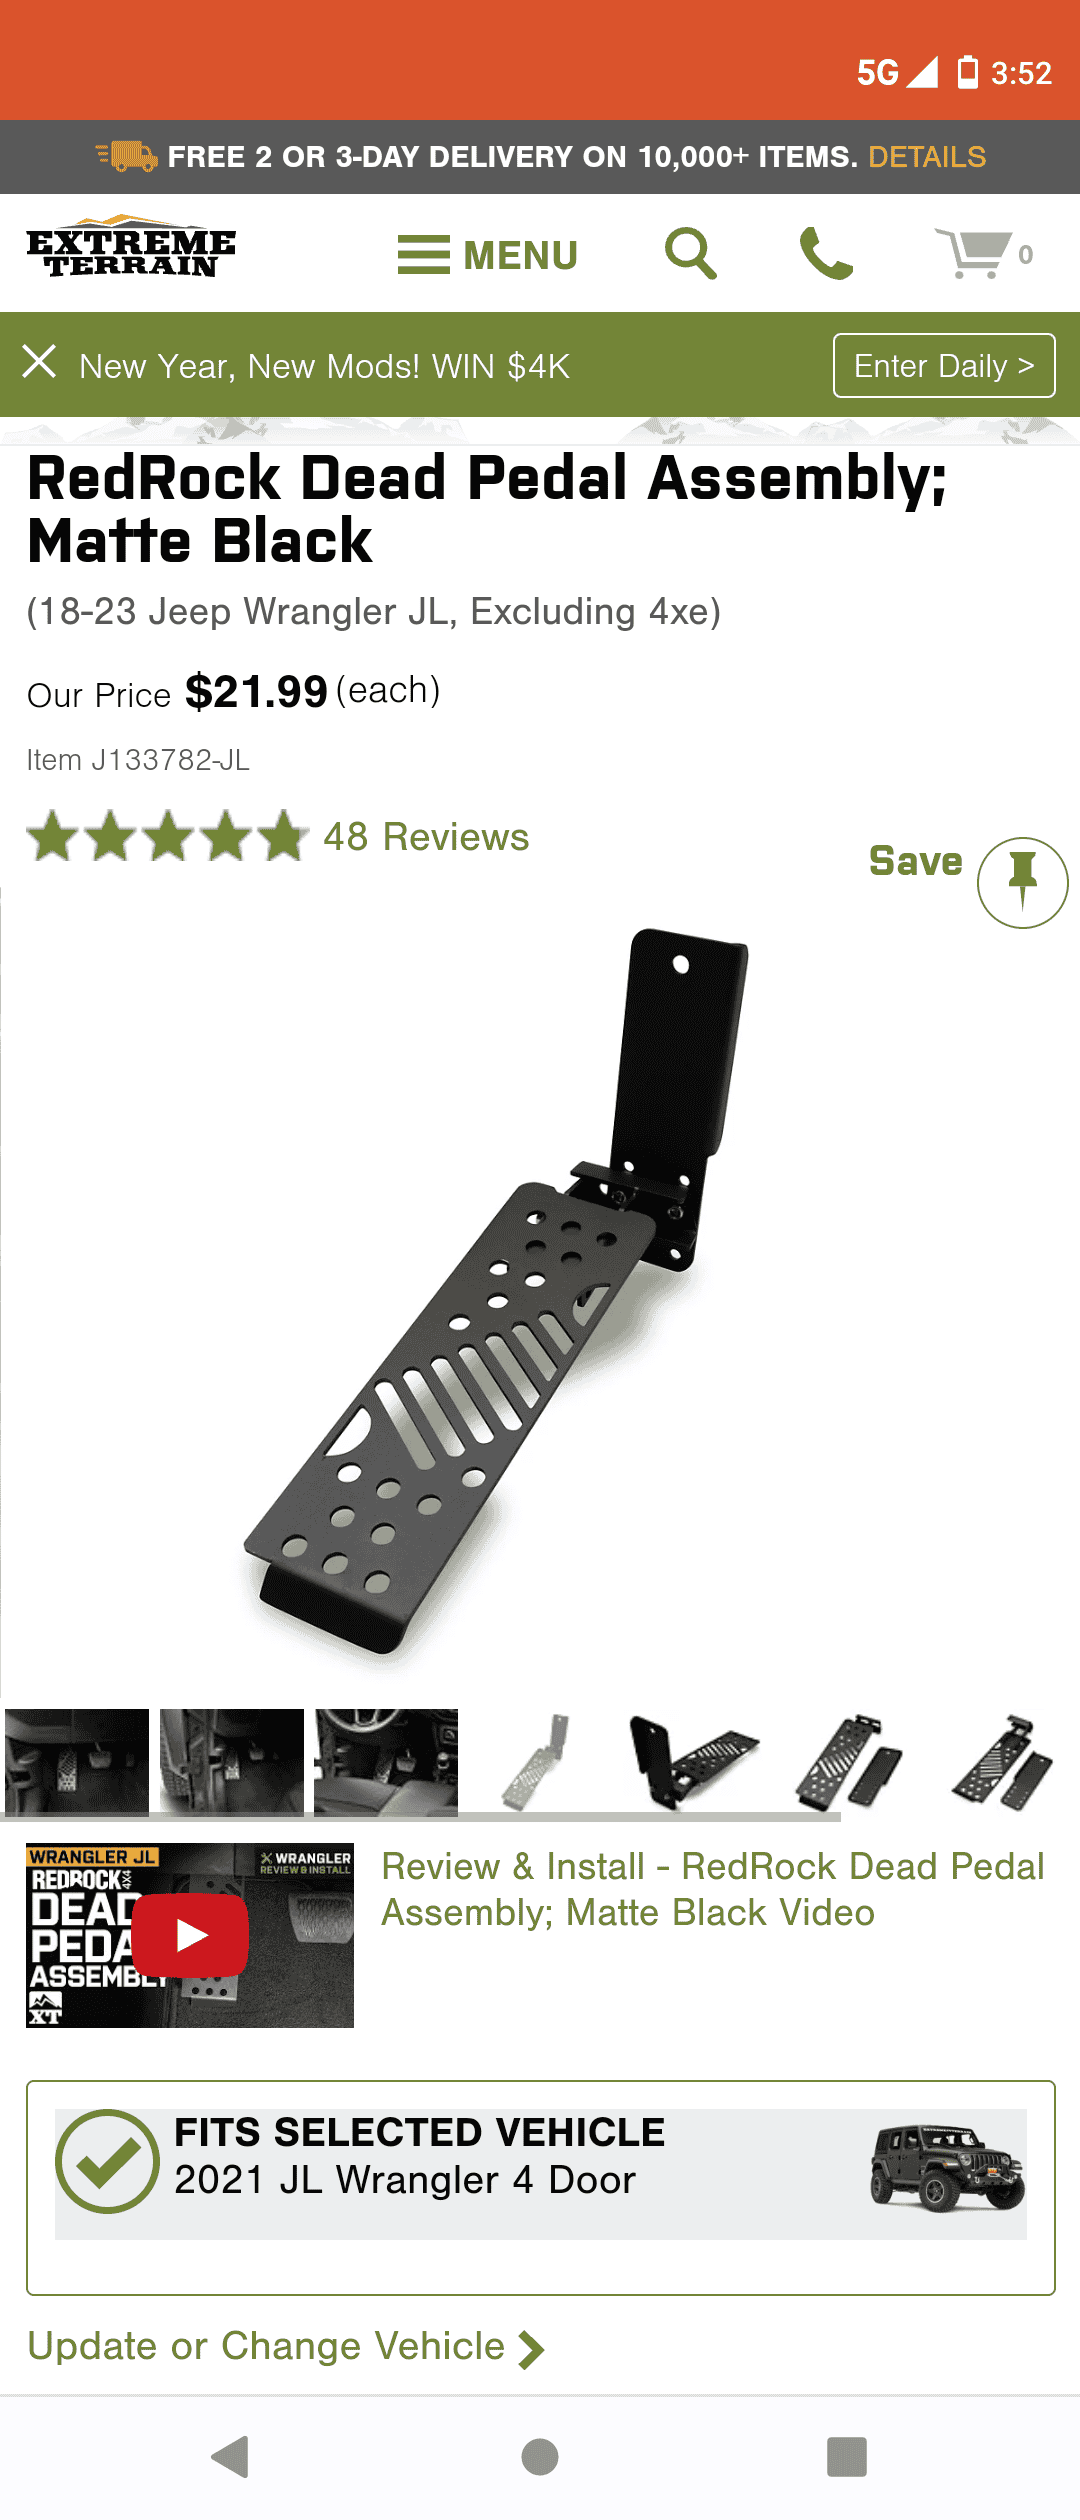
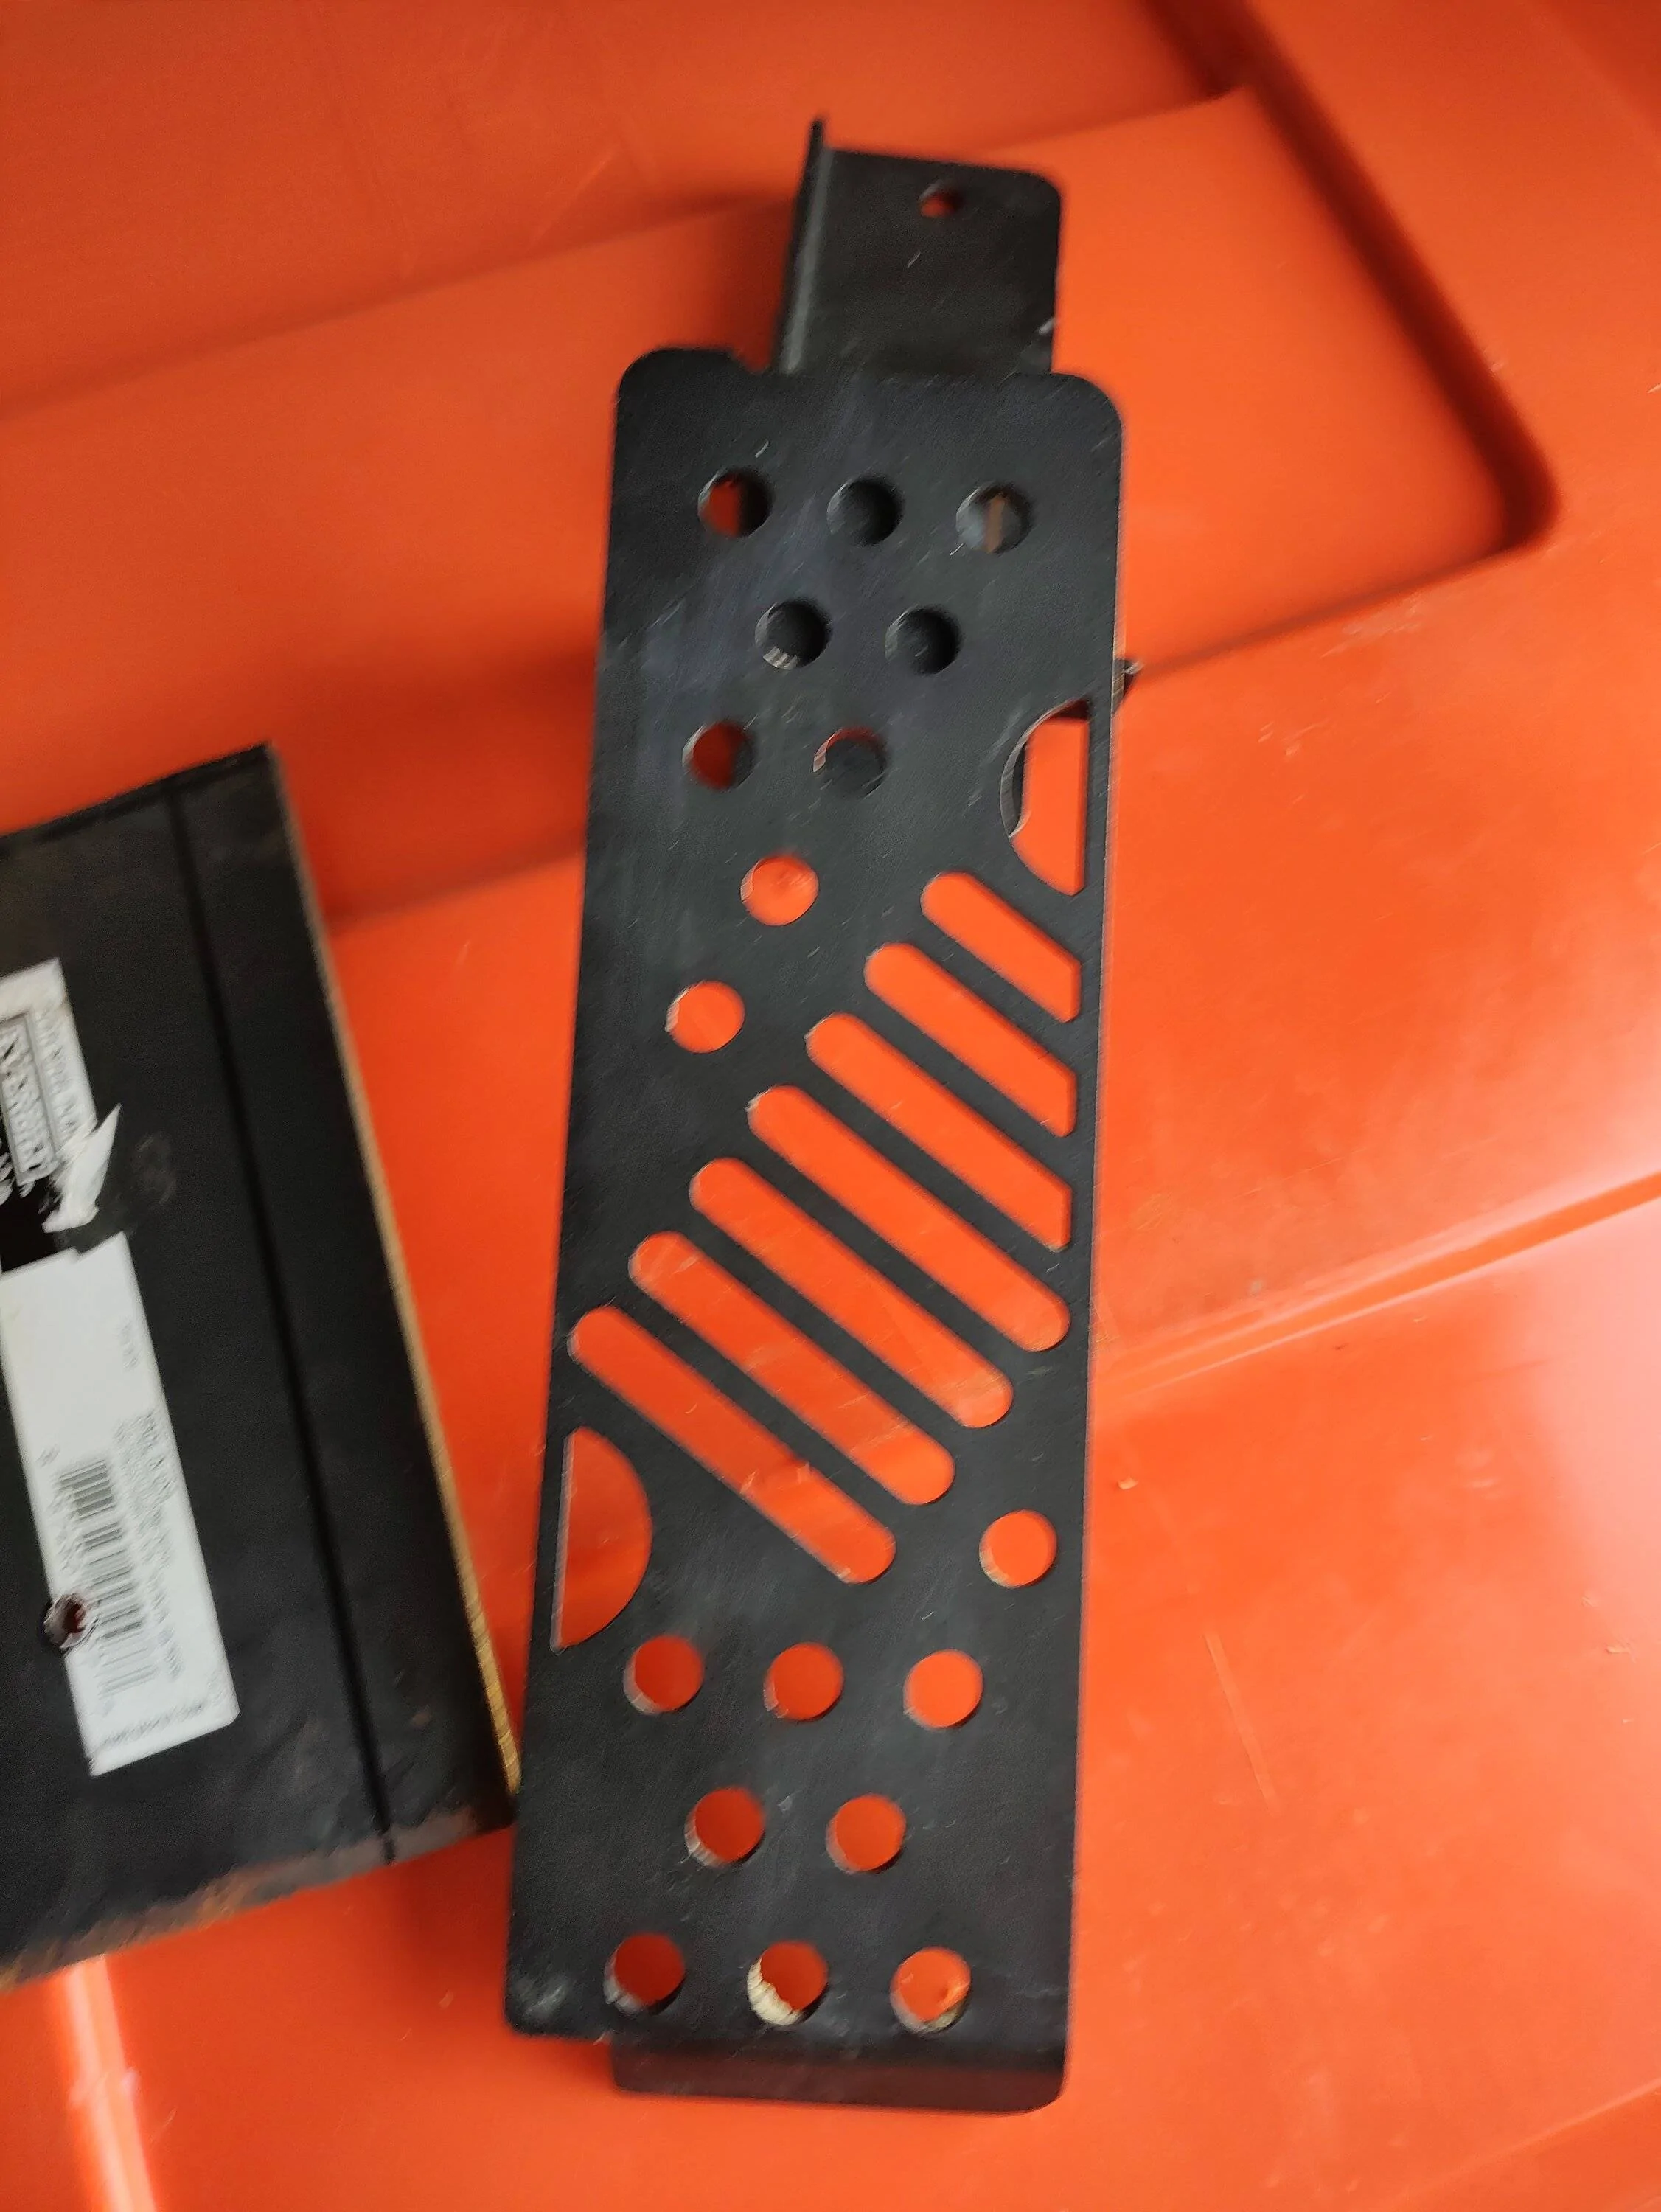
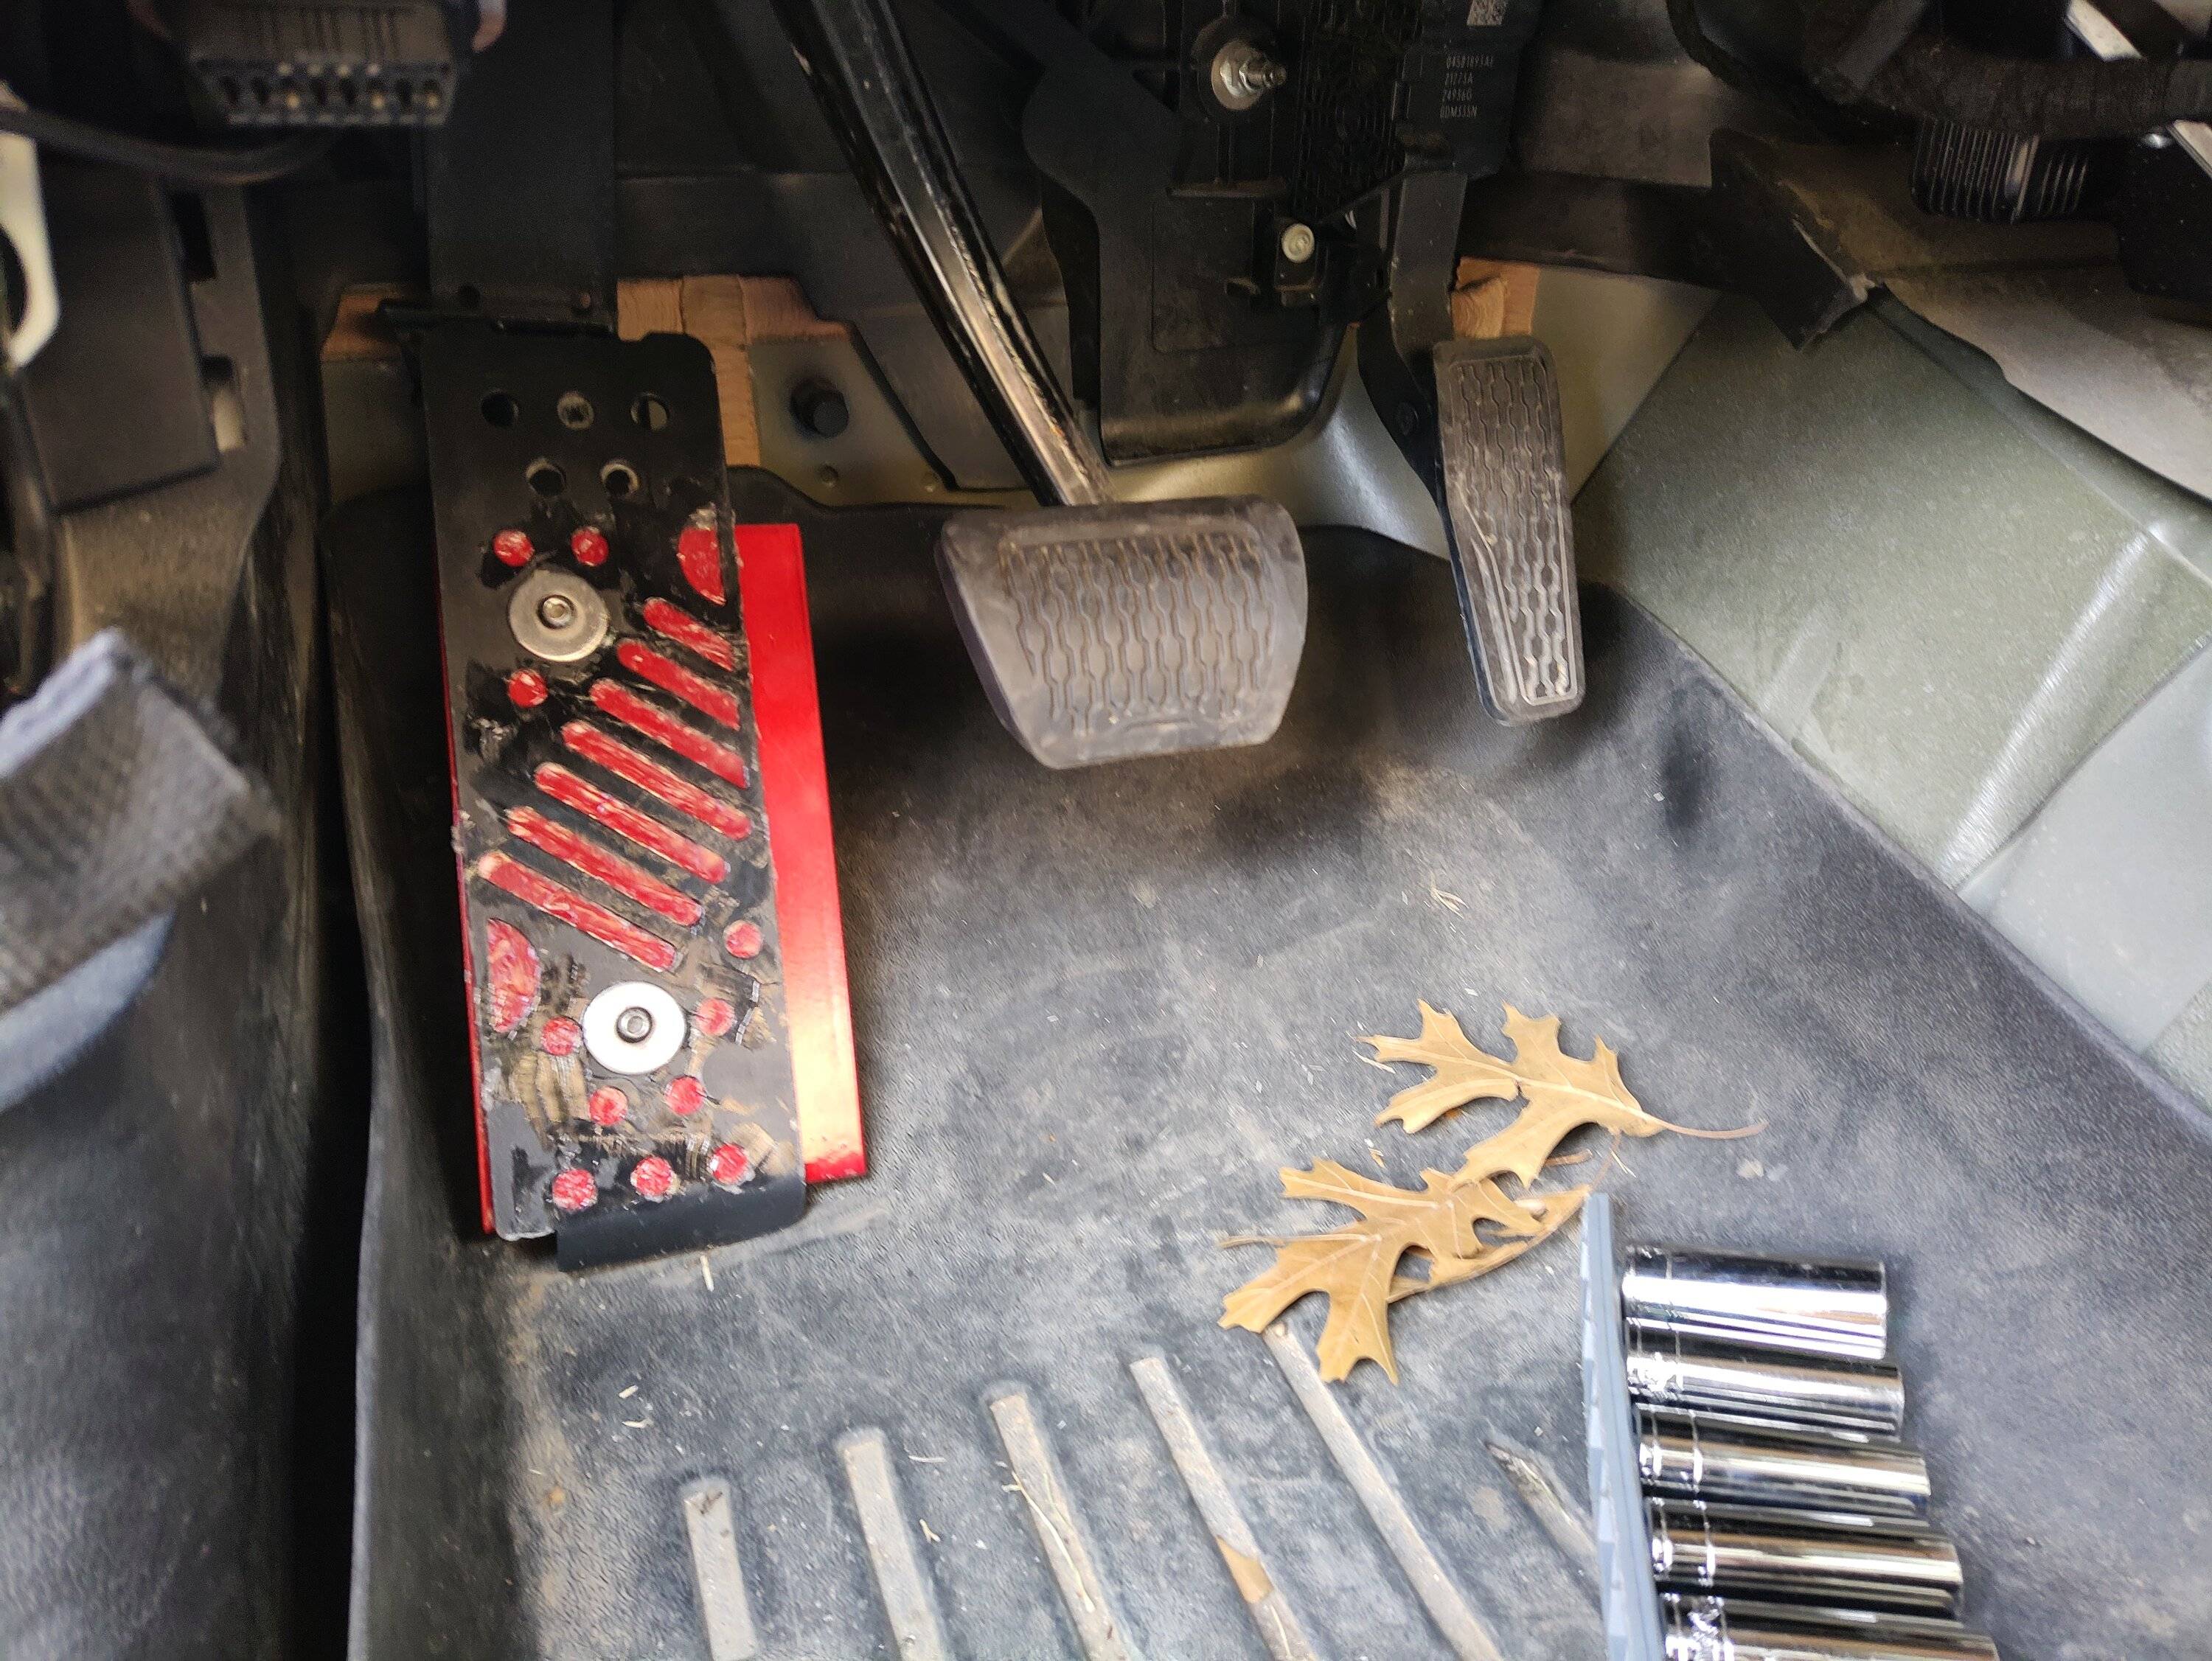
You've all seen them, dead pedals for the JL which have the Jeep grill in them. They're actually manufactured in China, you can buy them on Alibaba. But there's quite a few companies in the USA you can buy them from. They all relabel them and say it's their creation, but they're really made in China.
It was my first purchase, before I even received my Wrangler JL, bought it from Extreme Terrain. It was my first experience buying trash quality products for the Jeep. At first I felt like I threw away $30 when the metal bent within the first 2 hours of use.

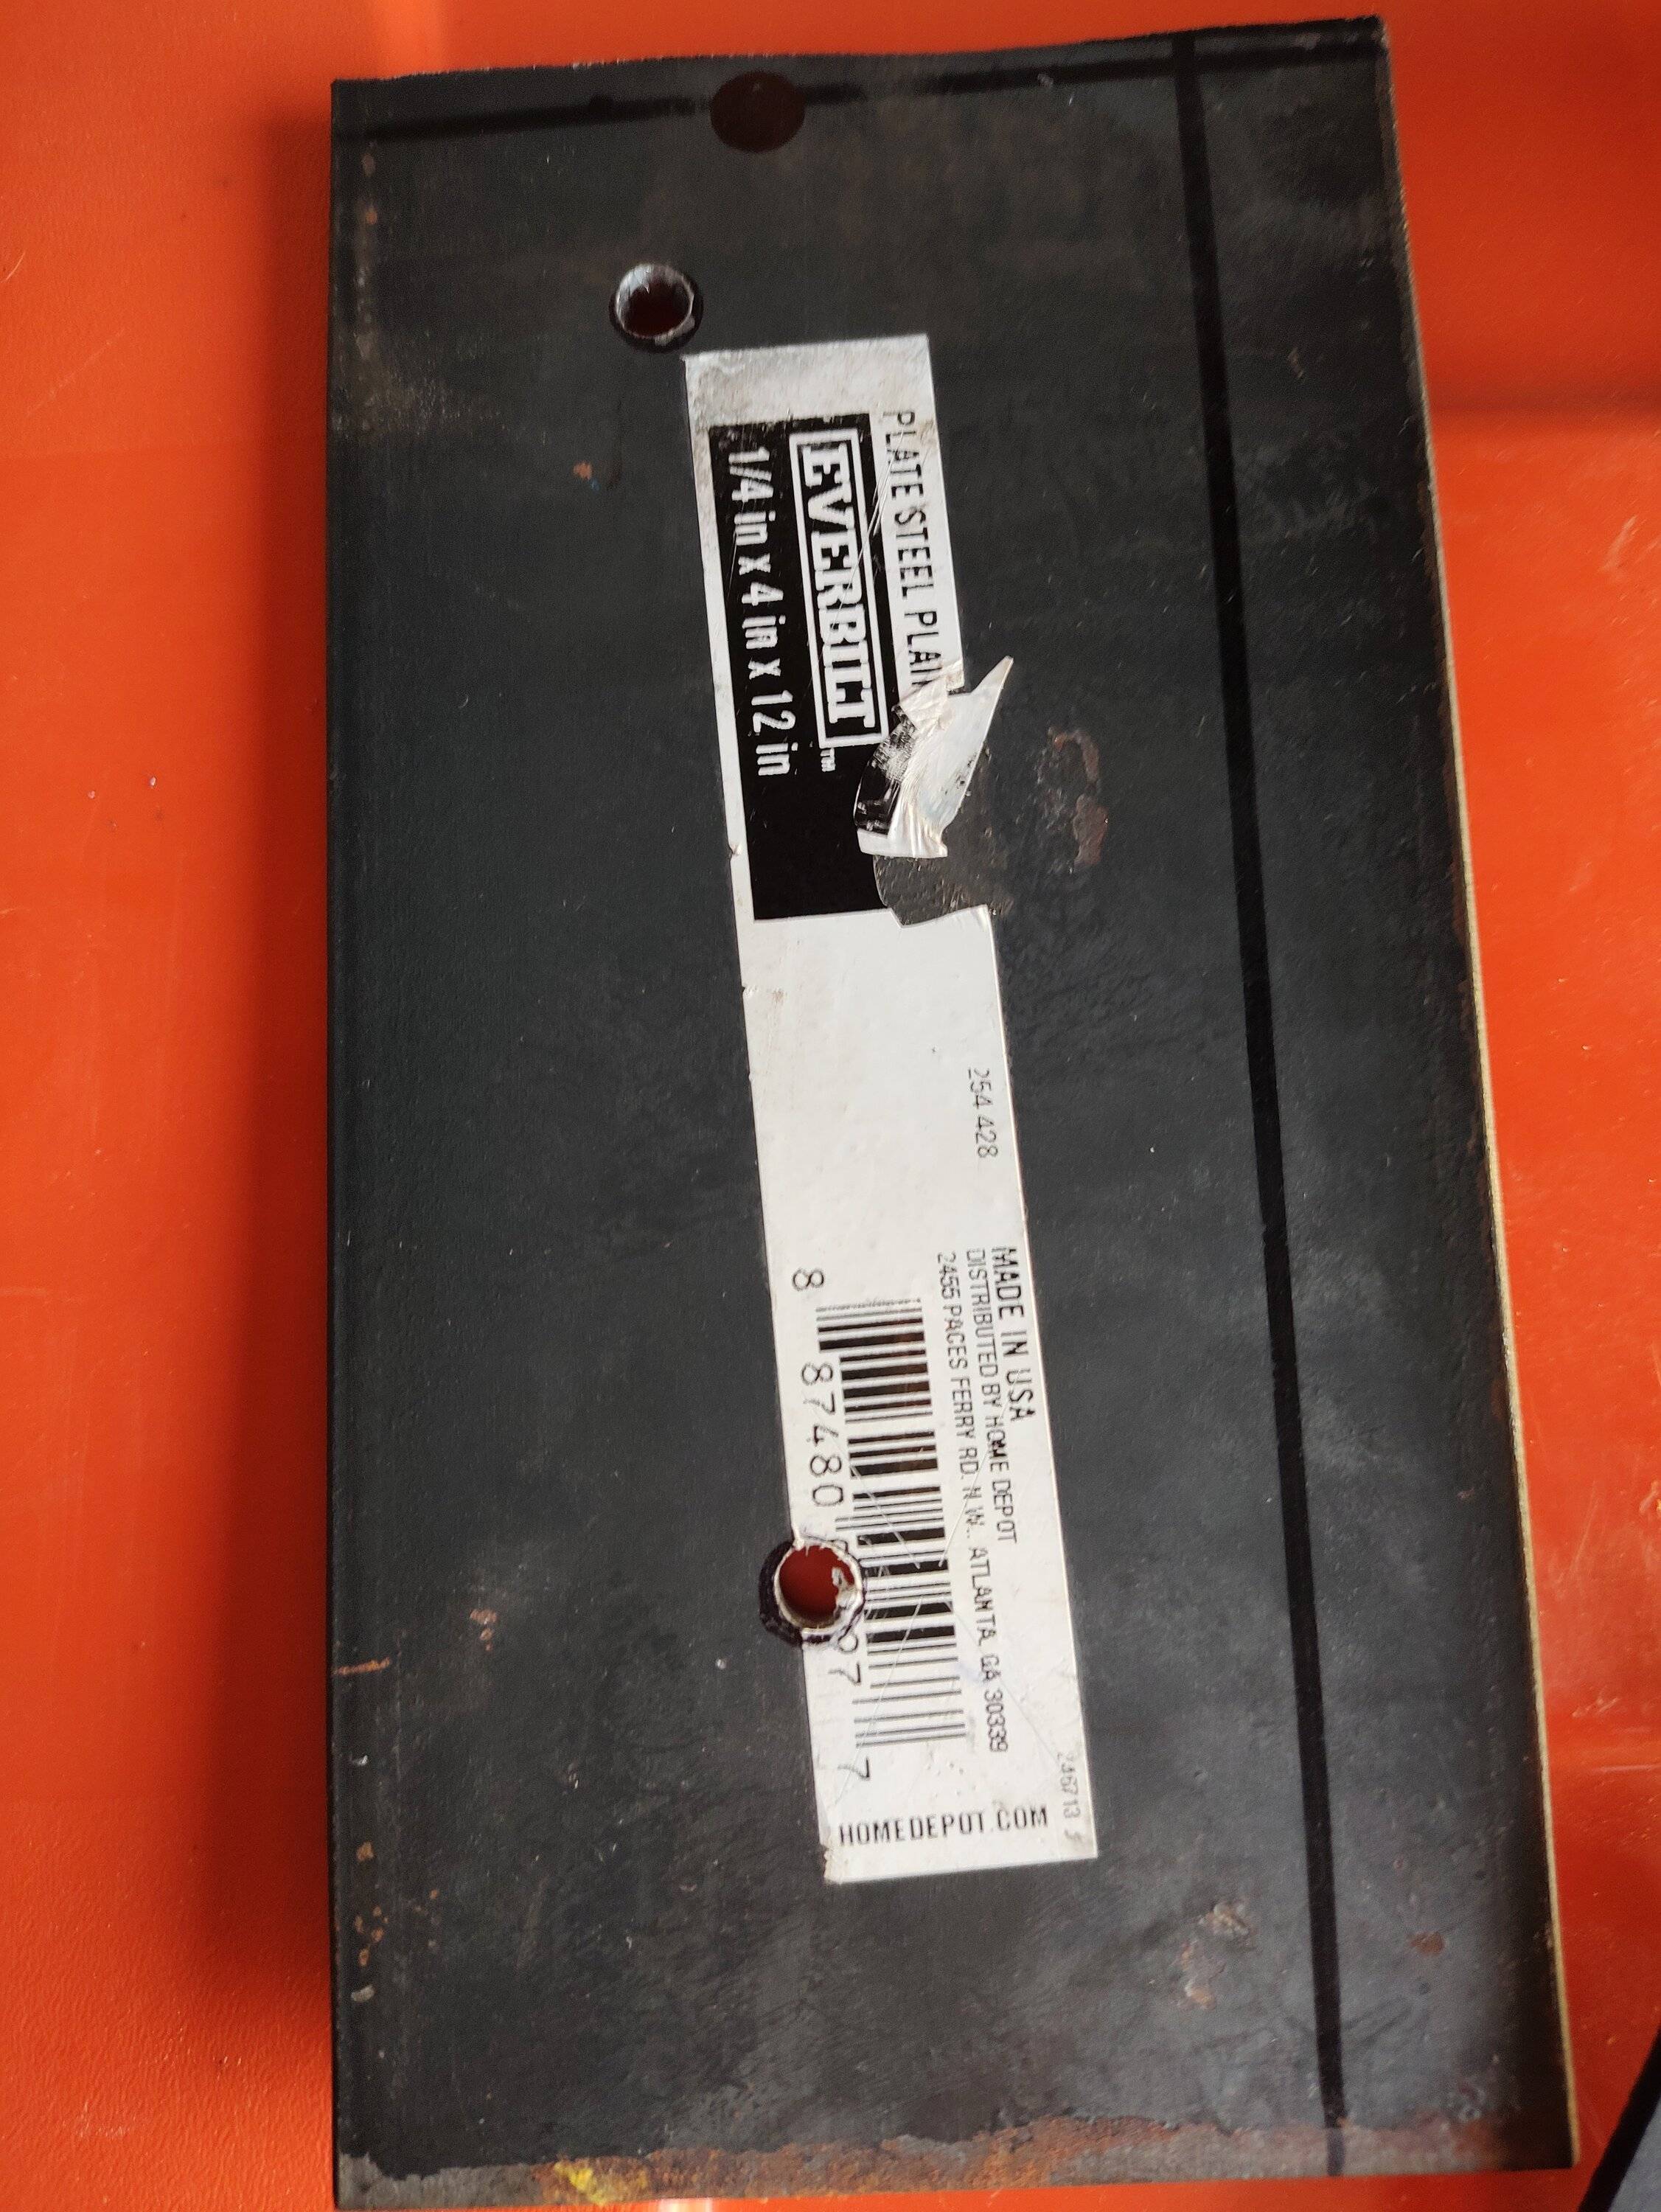
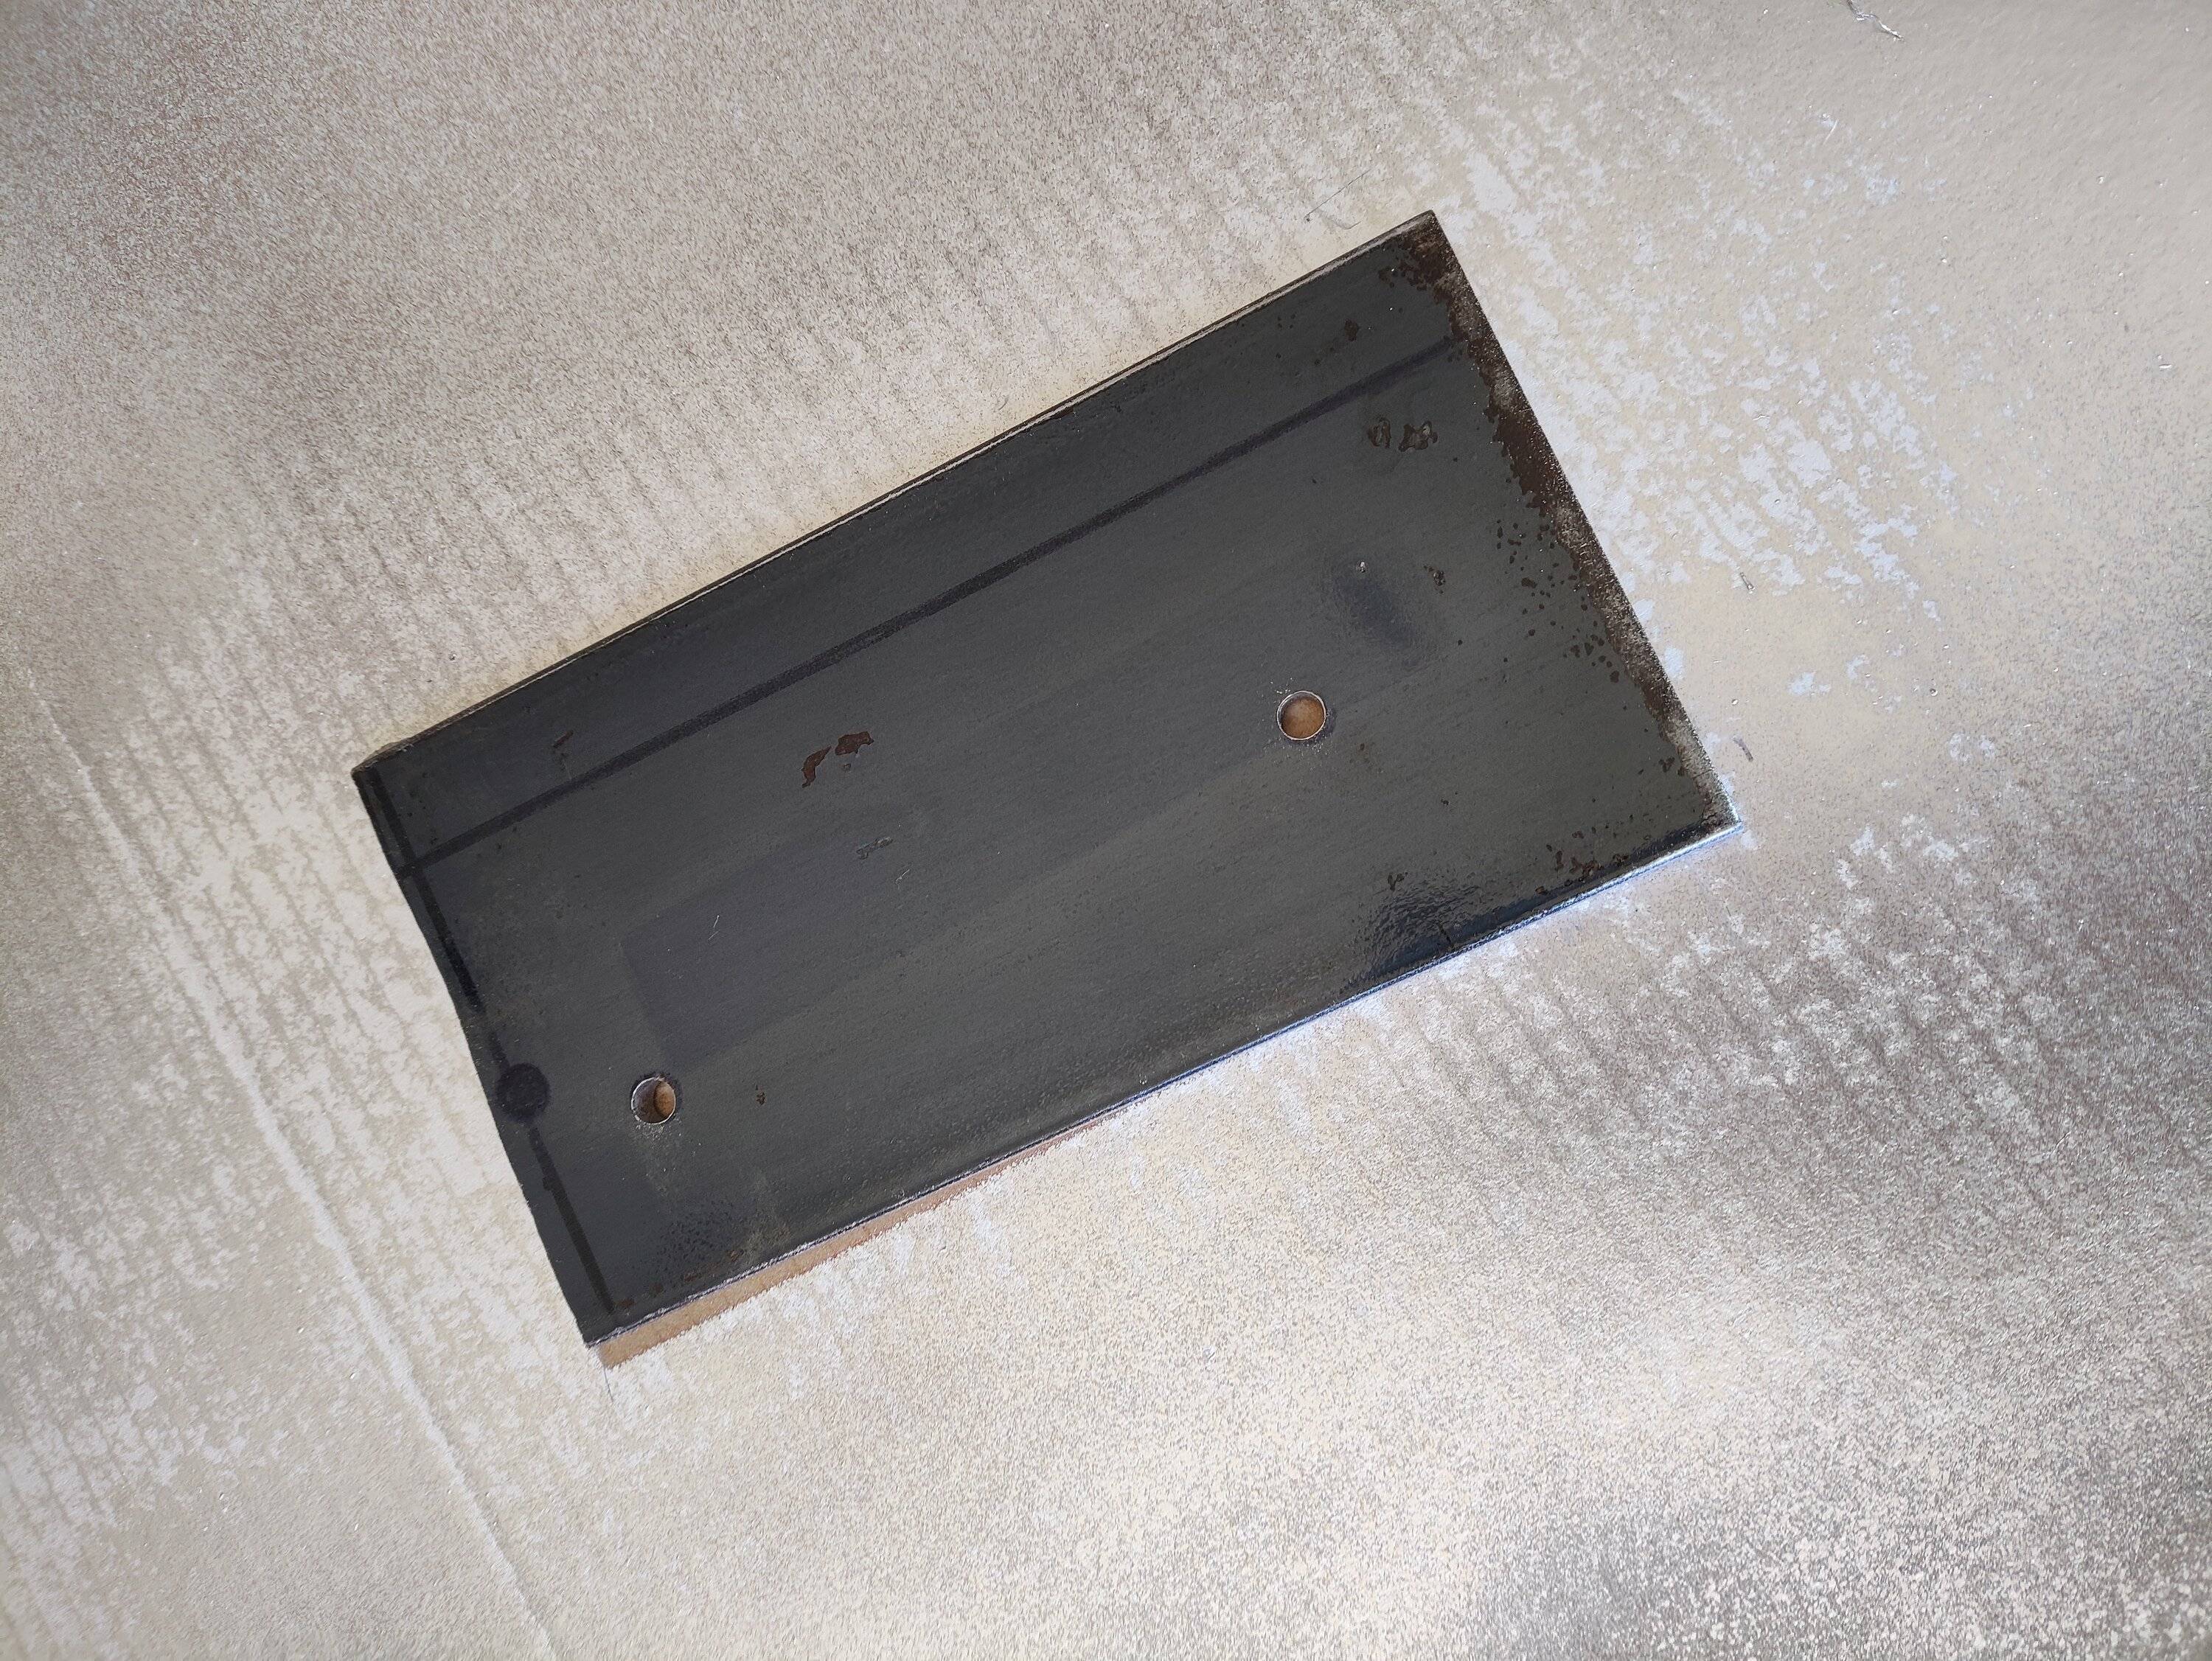
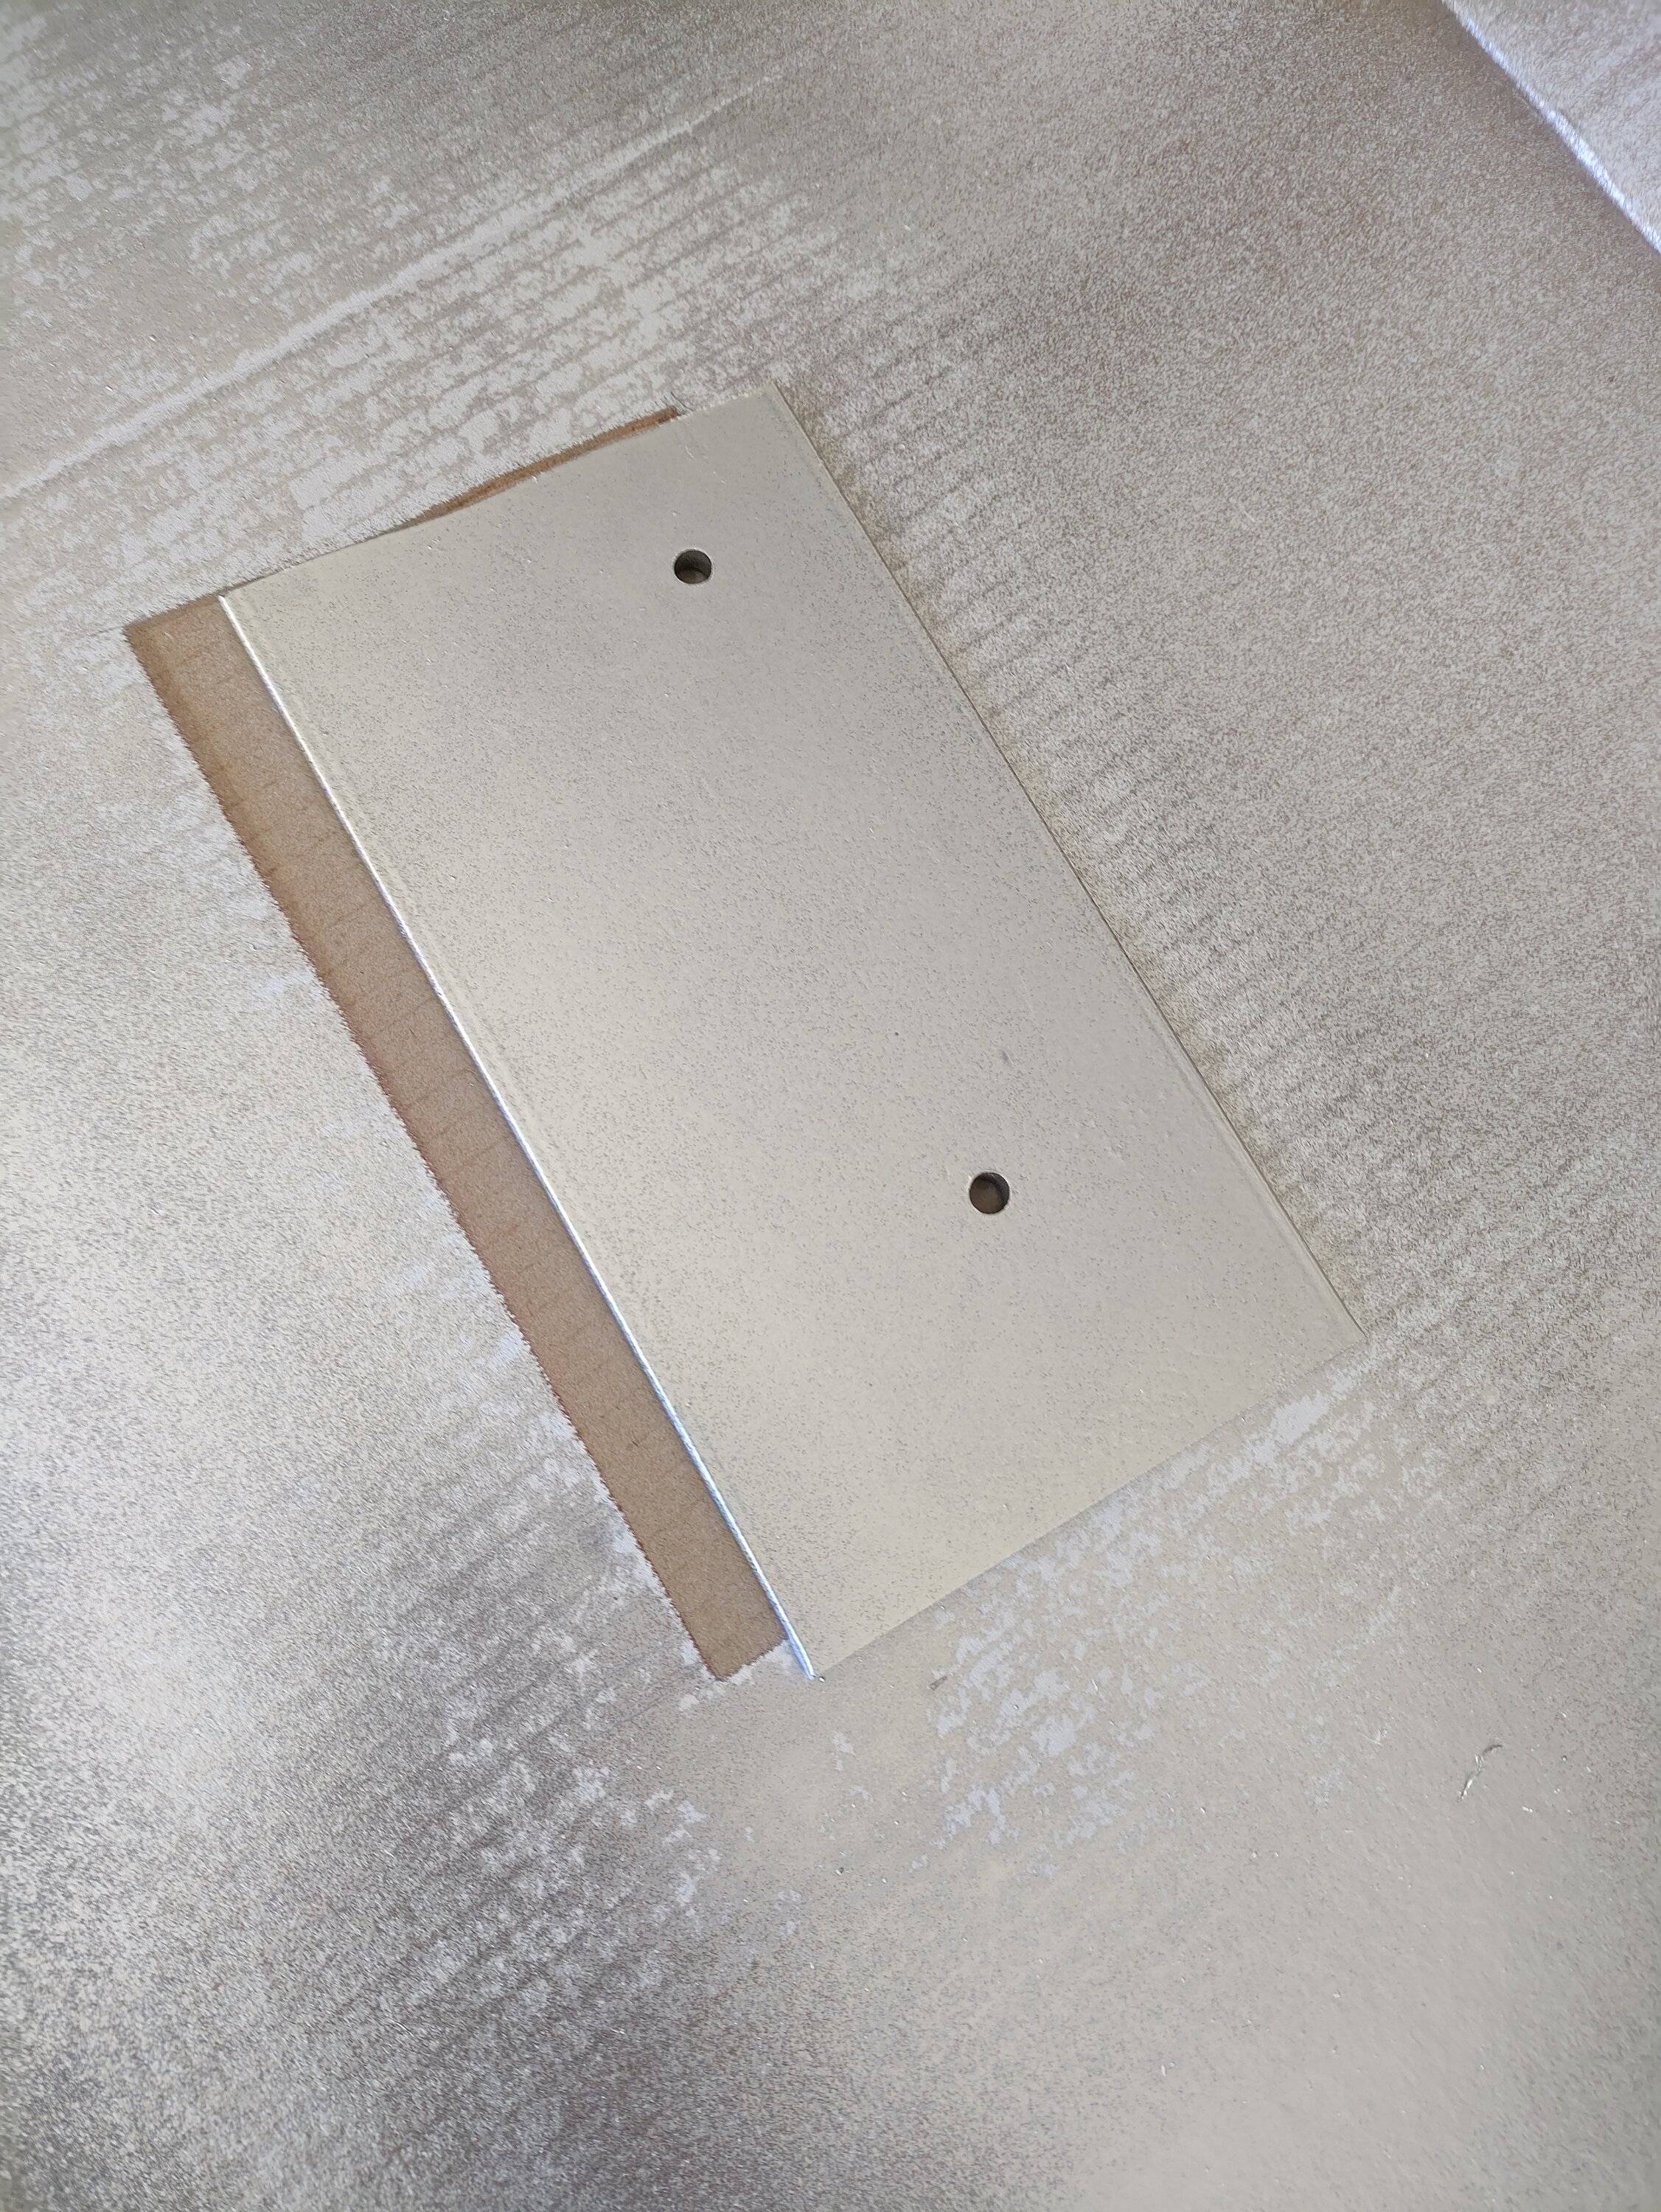
Me being me however, I decided to make it better. So I went down to Home Depot a couple weeks later and bought a piece of Steel, 12" x 4" x 1/4"
Problem was I needed to cut it, and I didn't have a saw or blade capable of successfully cutting through 1/4-in steel, I wasn't looking to pay someone else to do it either. So I started the long process of finding a way to do it, meanwhile I was doing a lot of other mods at the same time.
After sitting on it for so long, I finally decided to just buy a crap ton of steel cutting sawzall blades. I went through The entire pack of 12 just cutting the short side of the steel. About a month and a half after that my 2 $25 8% carbide drill bits came in and I was able to successfully drill the pilot holes to start the process of actually attaching it to my $30 extreme terrain (not chinese) dead pedal.
? this was August 2022, a full 10 months after I first received the item, and almost 9 months after it first bent. At this point I was just satisfied that I could finally use my dead pedal and it wouldn't break.
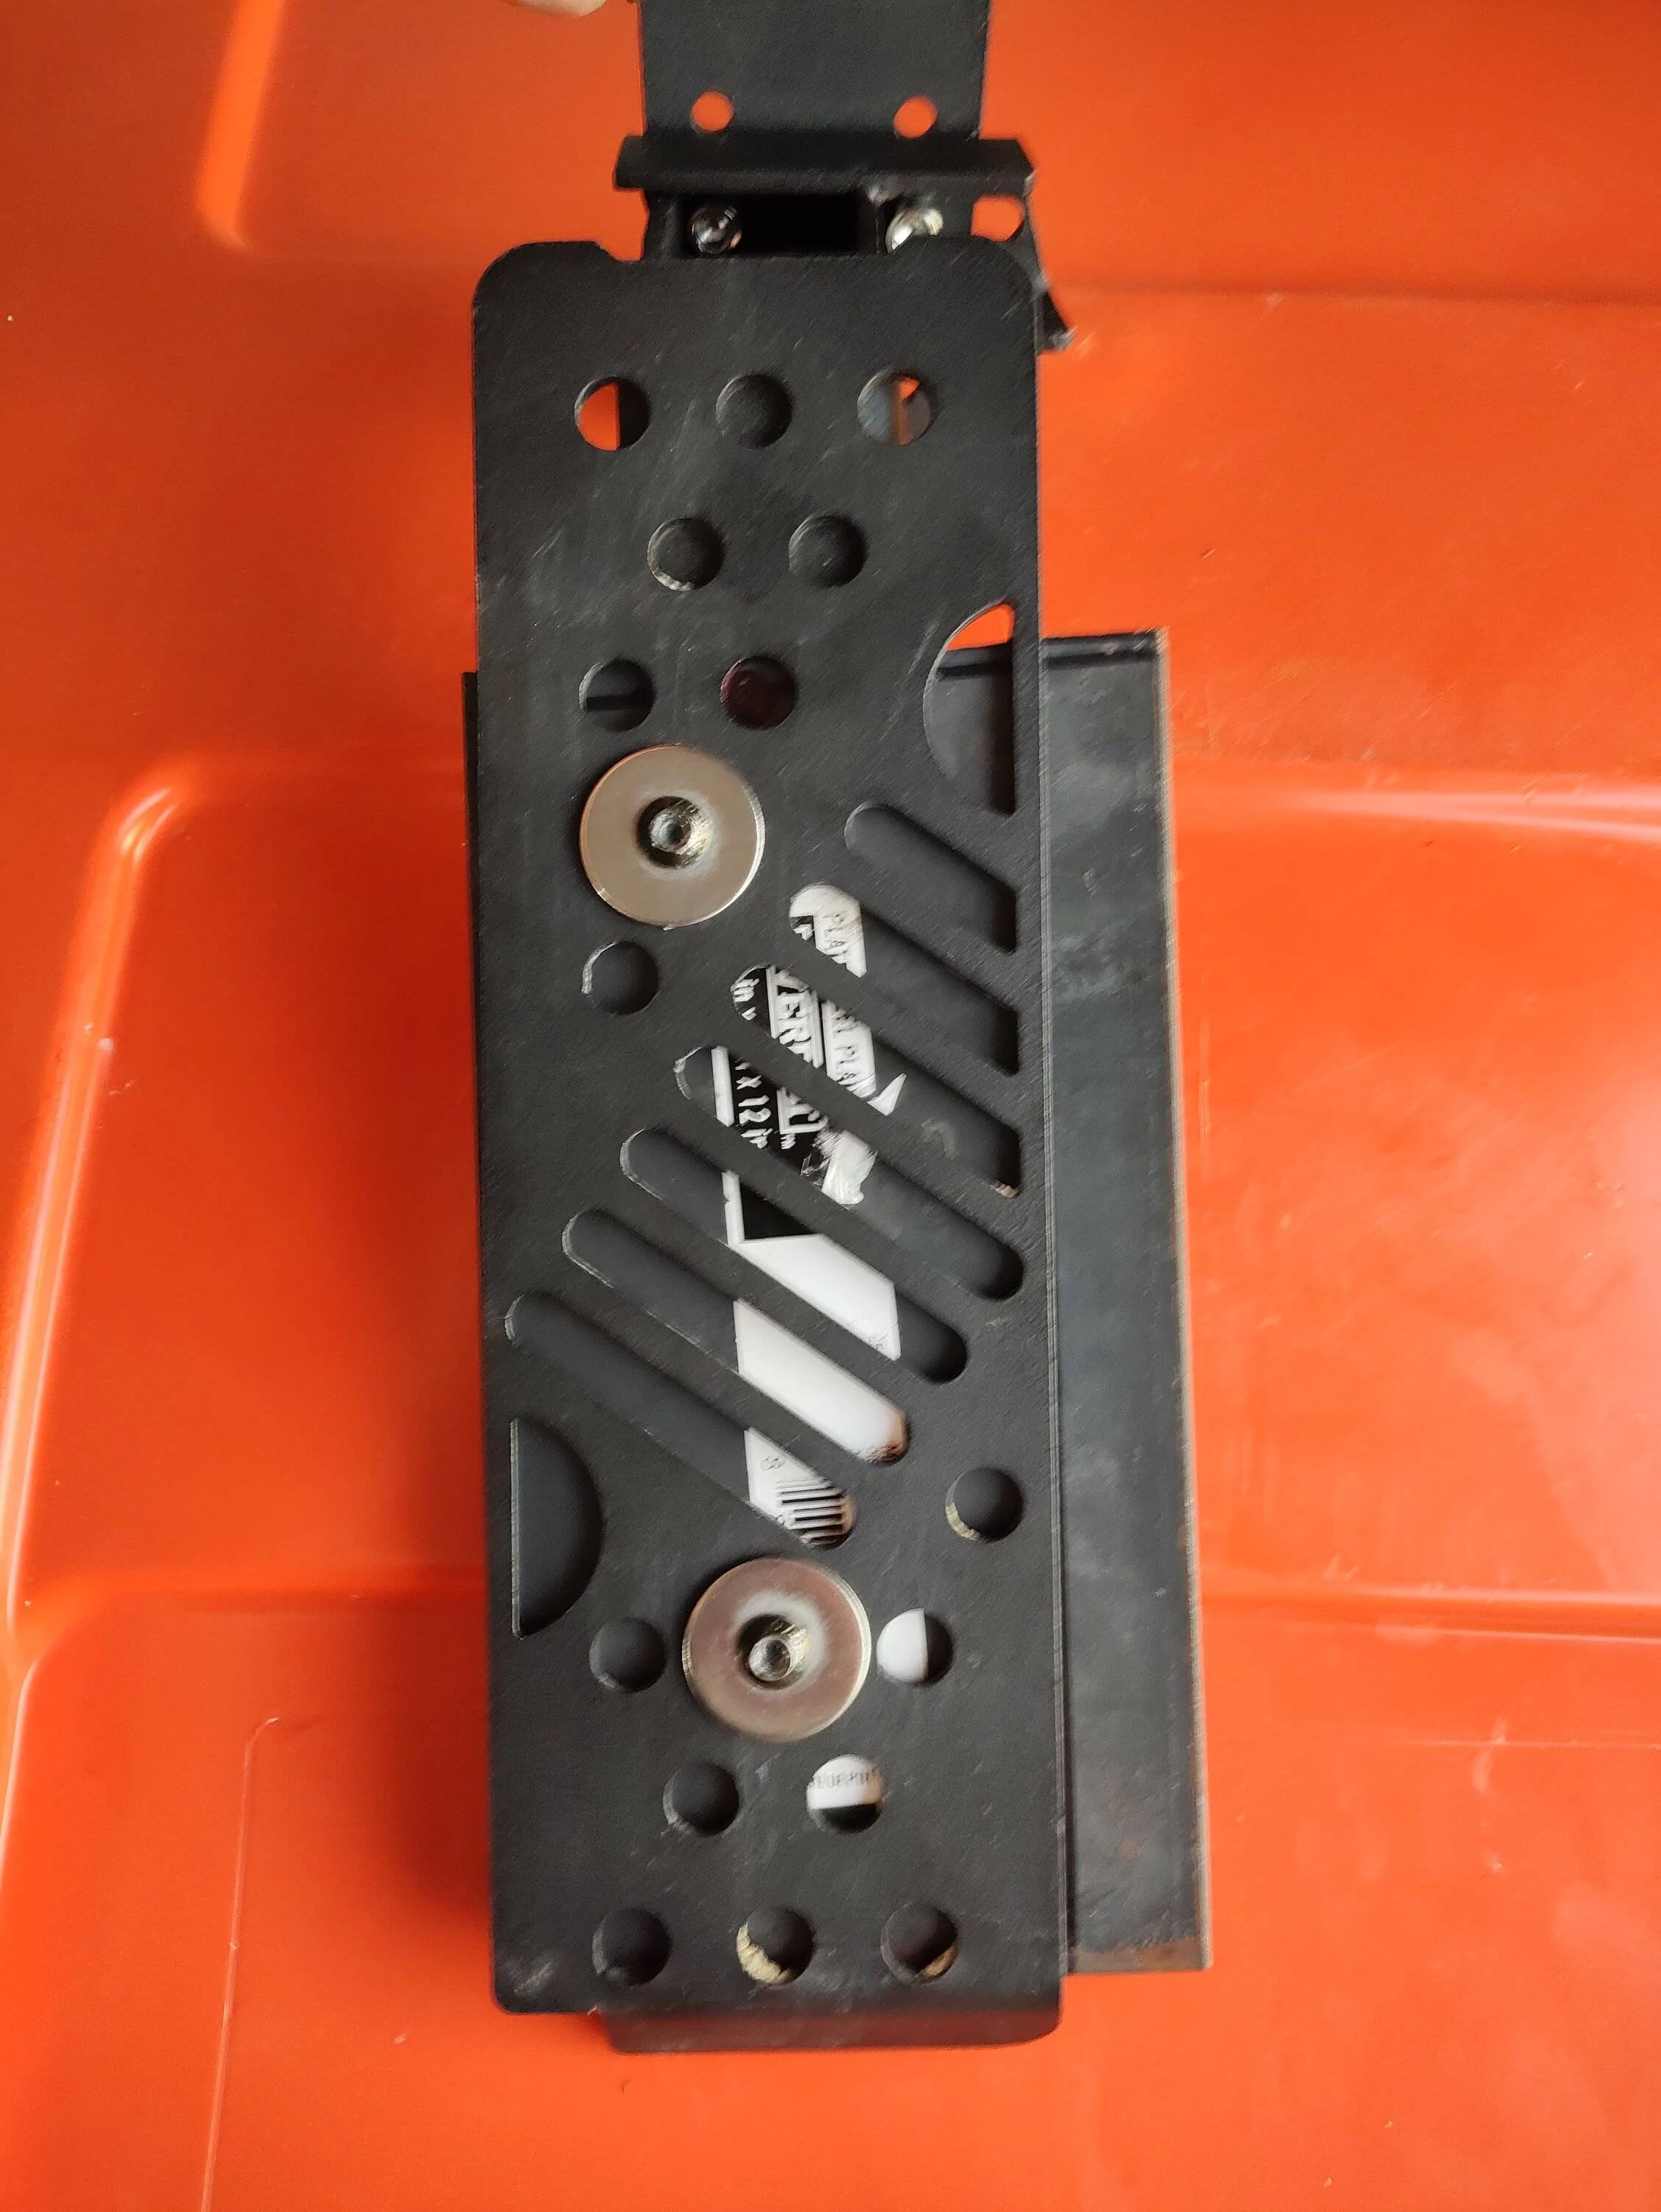
A short while after this, in November of 2022 I decided that too much dirt was getting in between the holes and getting locked in place due to the steel plate behind. So I disassembled it again.

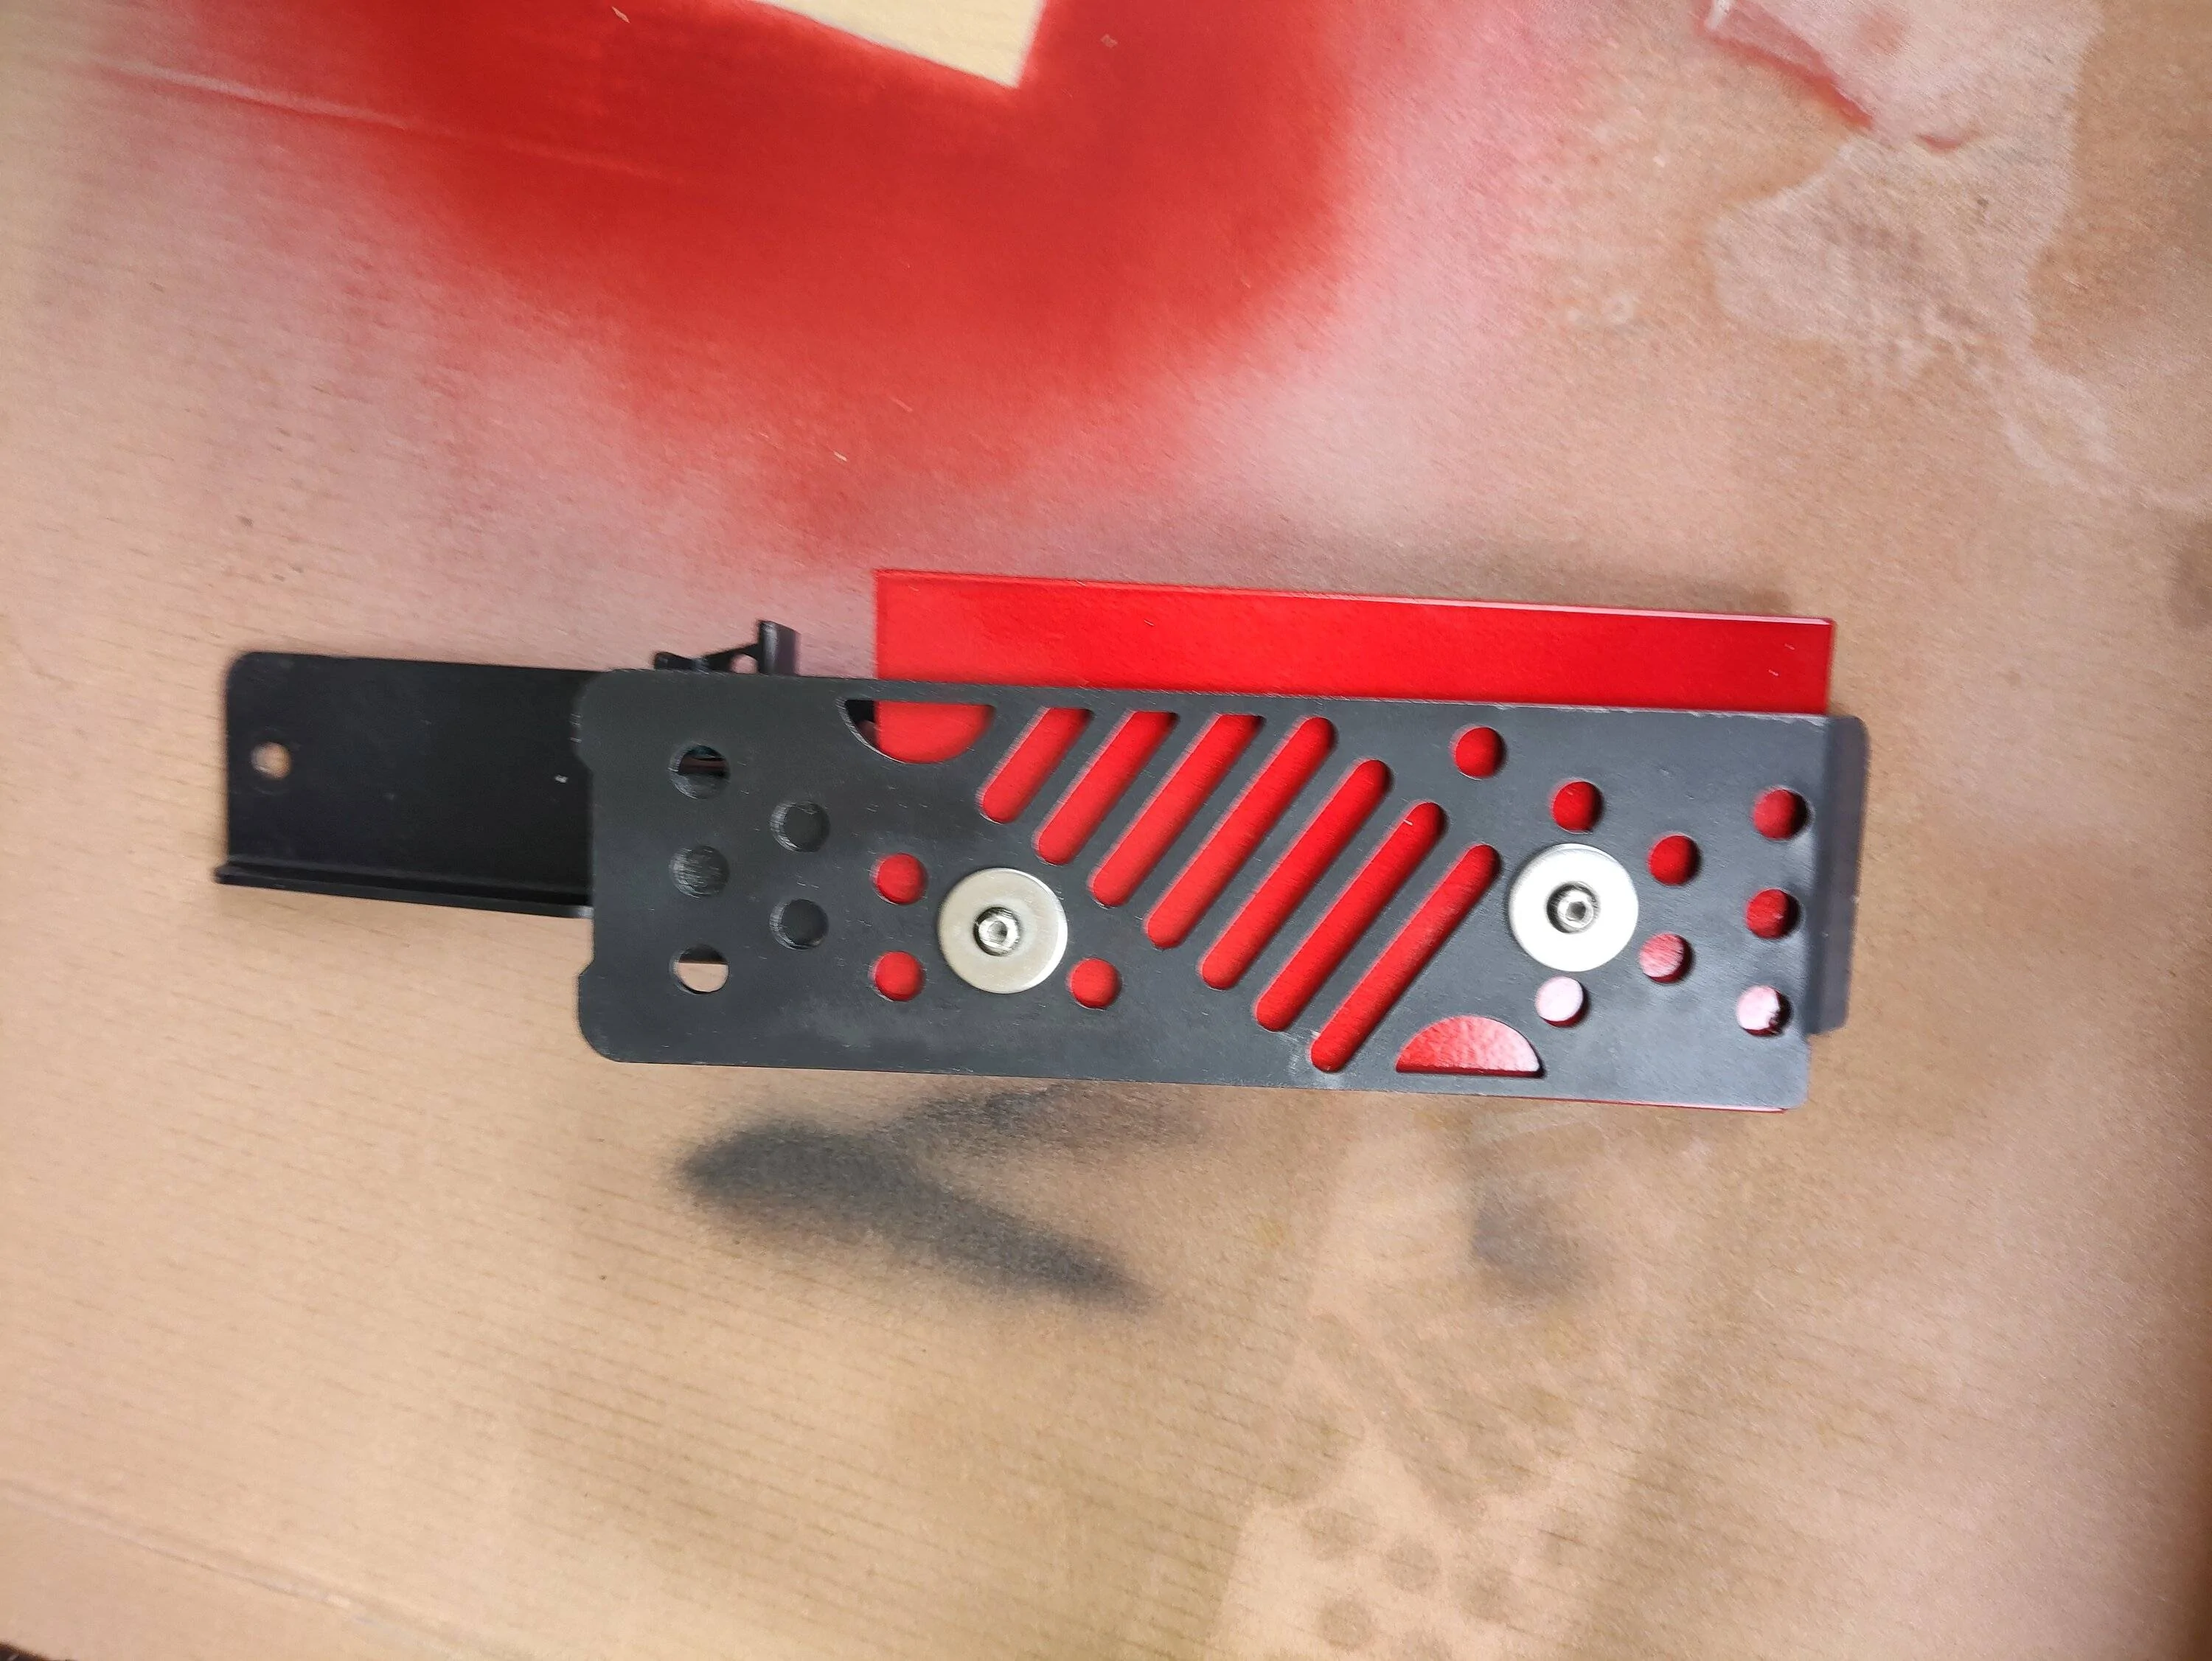
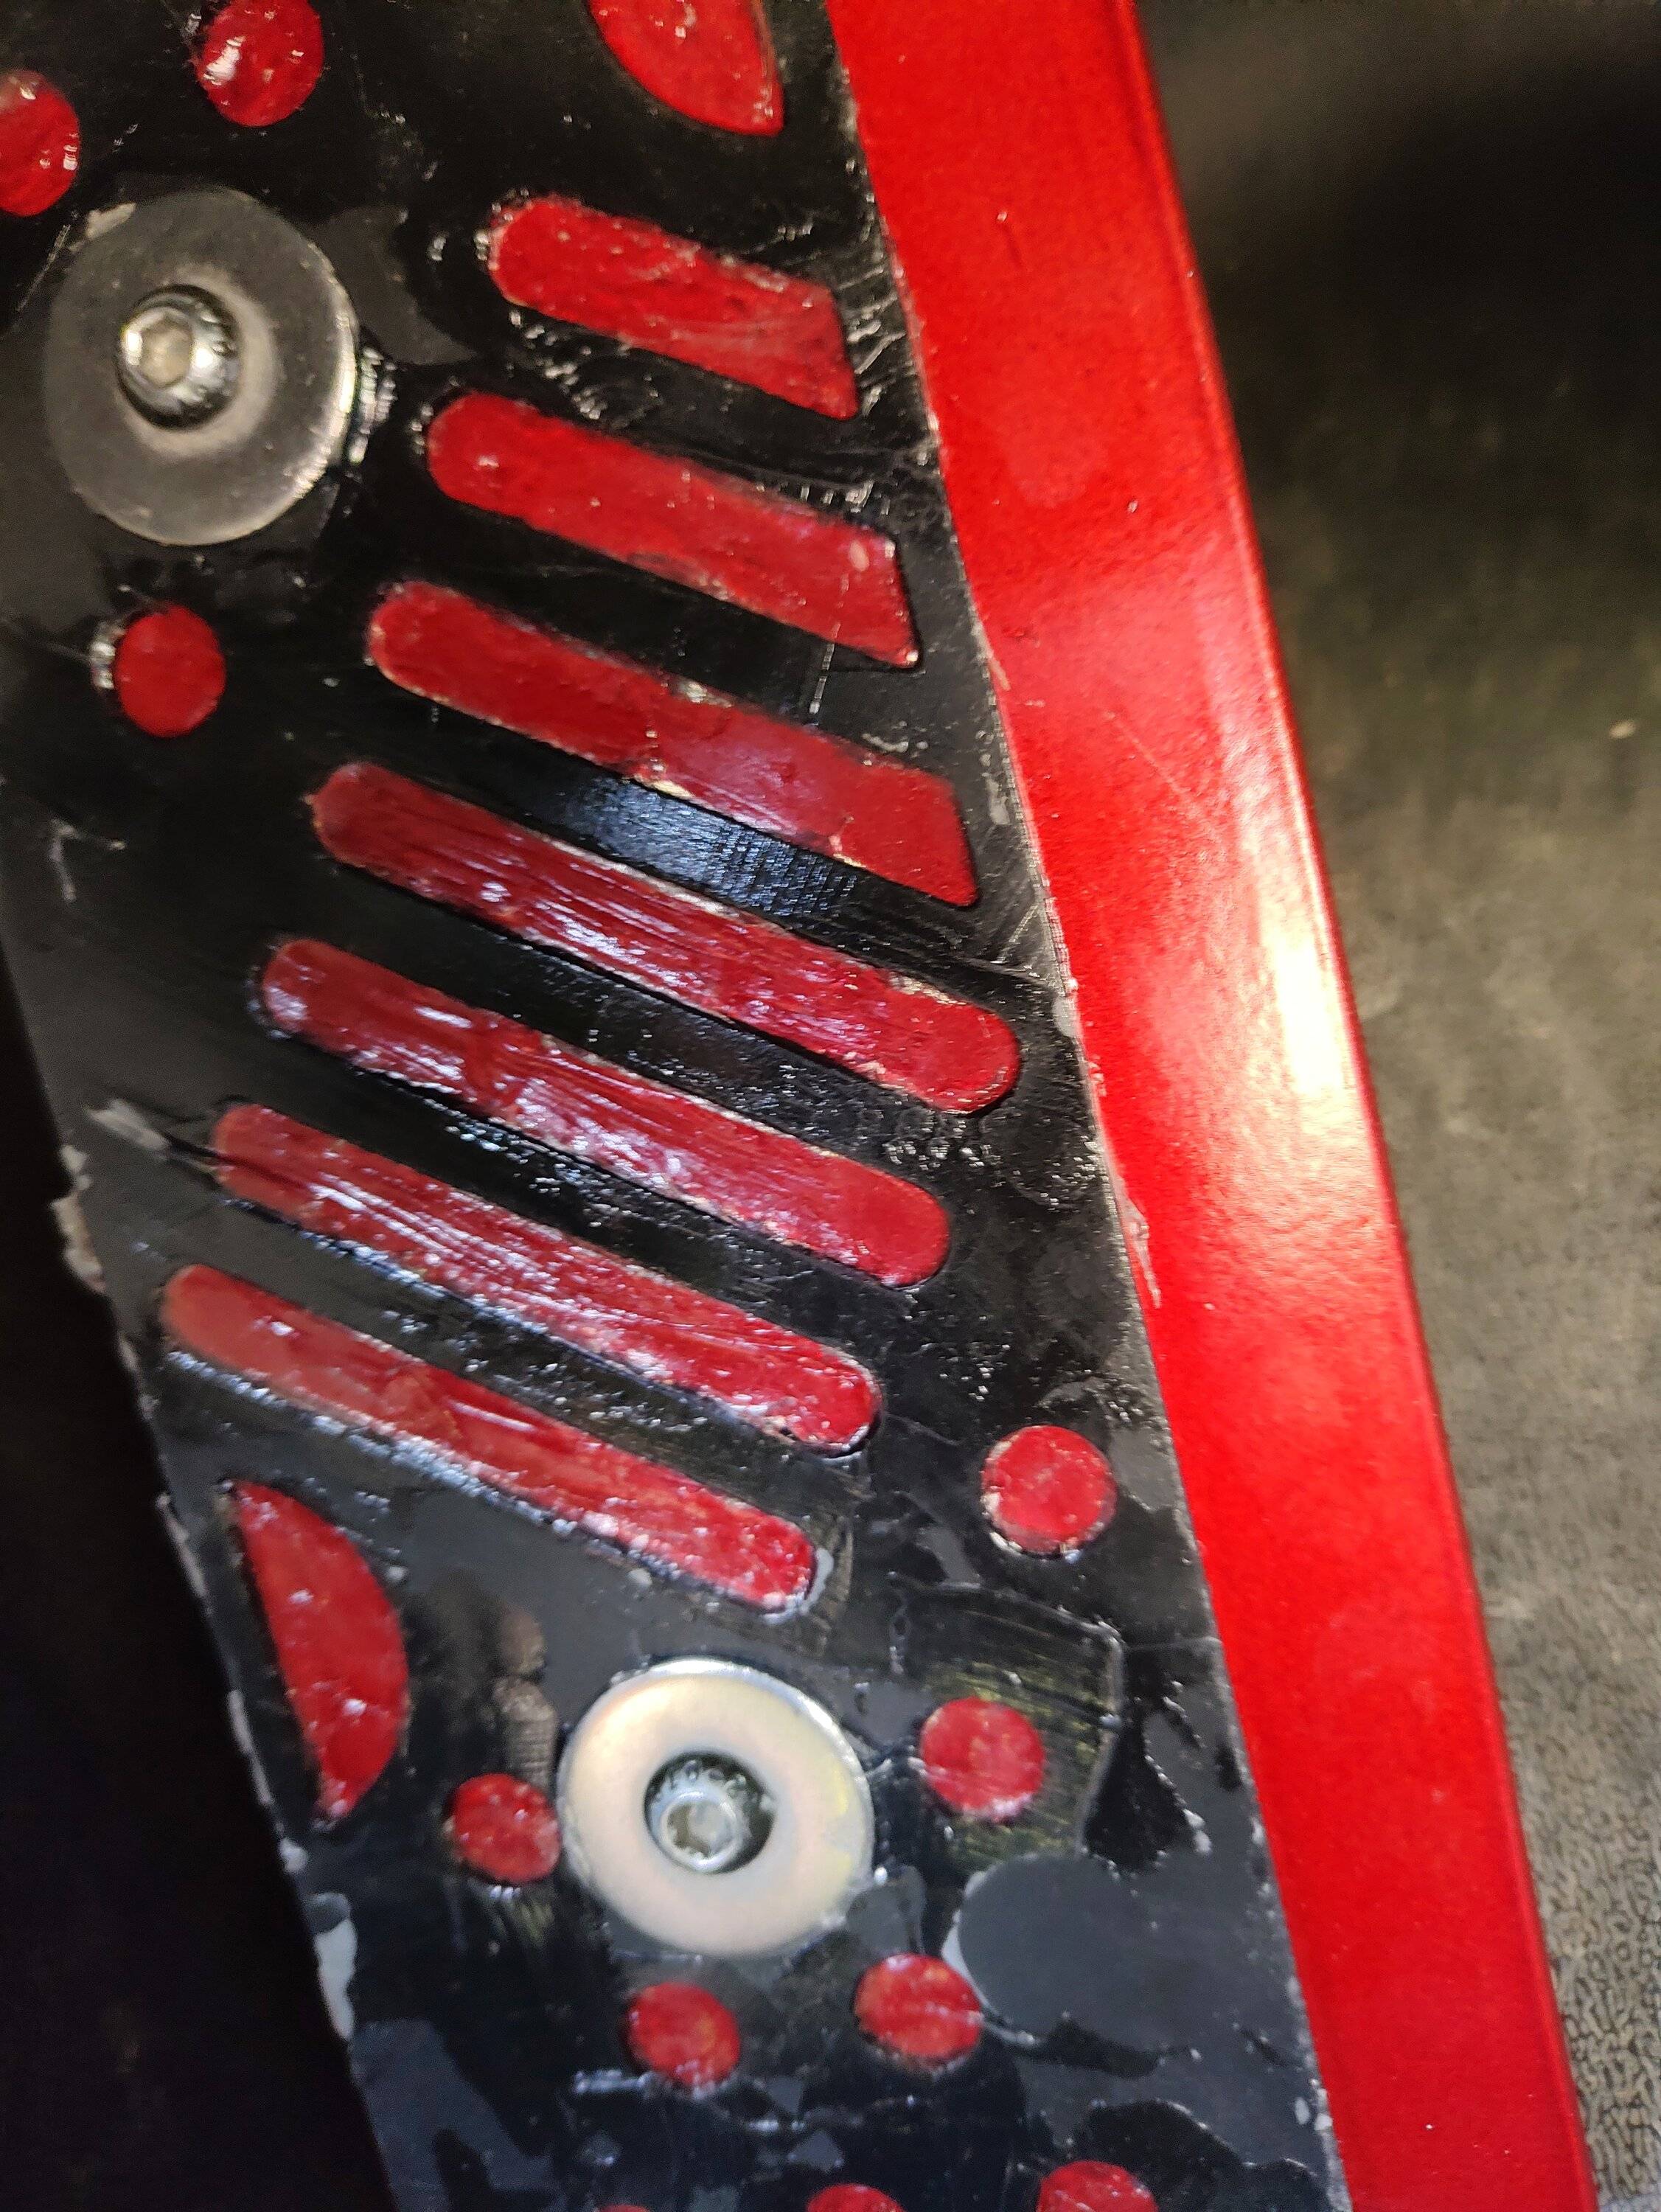
Duplicolors Metallic Chrome has to be the best looking chrome paint out there. $12 for a can at O'Reilly, well worth the money!
Followed it up with a couple coats of DupliColor Metallic Red, and then about eight coats of DupliColor Clear Enamel, with 24 hours of drying every three coats, followed by a 72-hour dry after all eight coats were completed.
I took the whole dead pedal apart and gave it a good cleaning and a coating of The DupliColor Clear Enamel as well, which actually made it look worse. So I cleaned it a second time and took the layer of clear enamel off.
Finally it was coming together, but after all this work I didn't want it to go to hell when all that dirt from my feet gets in the grooves of the dead pedal. So a week or two later, I went out to Home Depot and bought a tube of loctite crystal clear construction goop.
Because of the colder weather I've let it dry and harden for the last 3 weeks. It finally got stiff enough that I was willing to put it on the Jeep.
BUT WAIT... We're still not done.
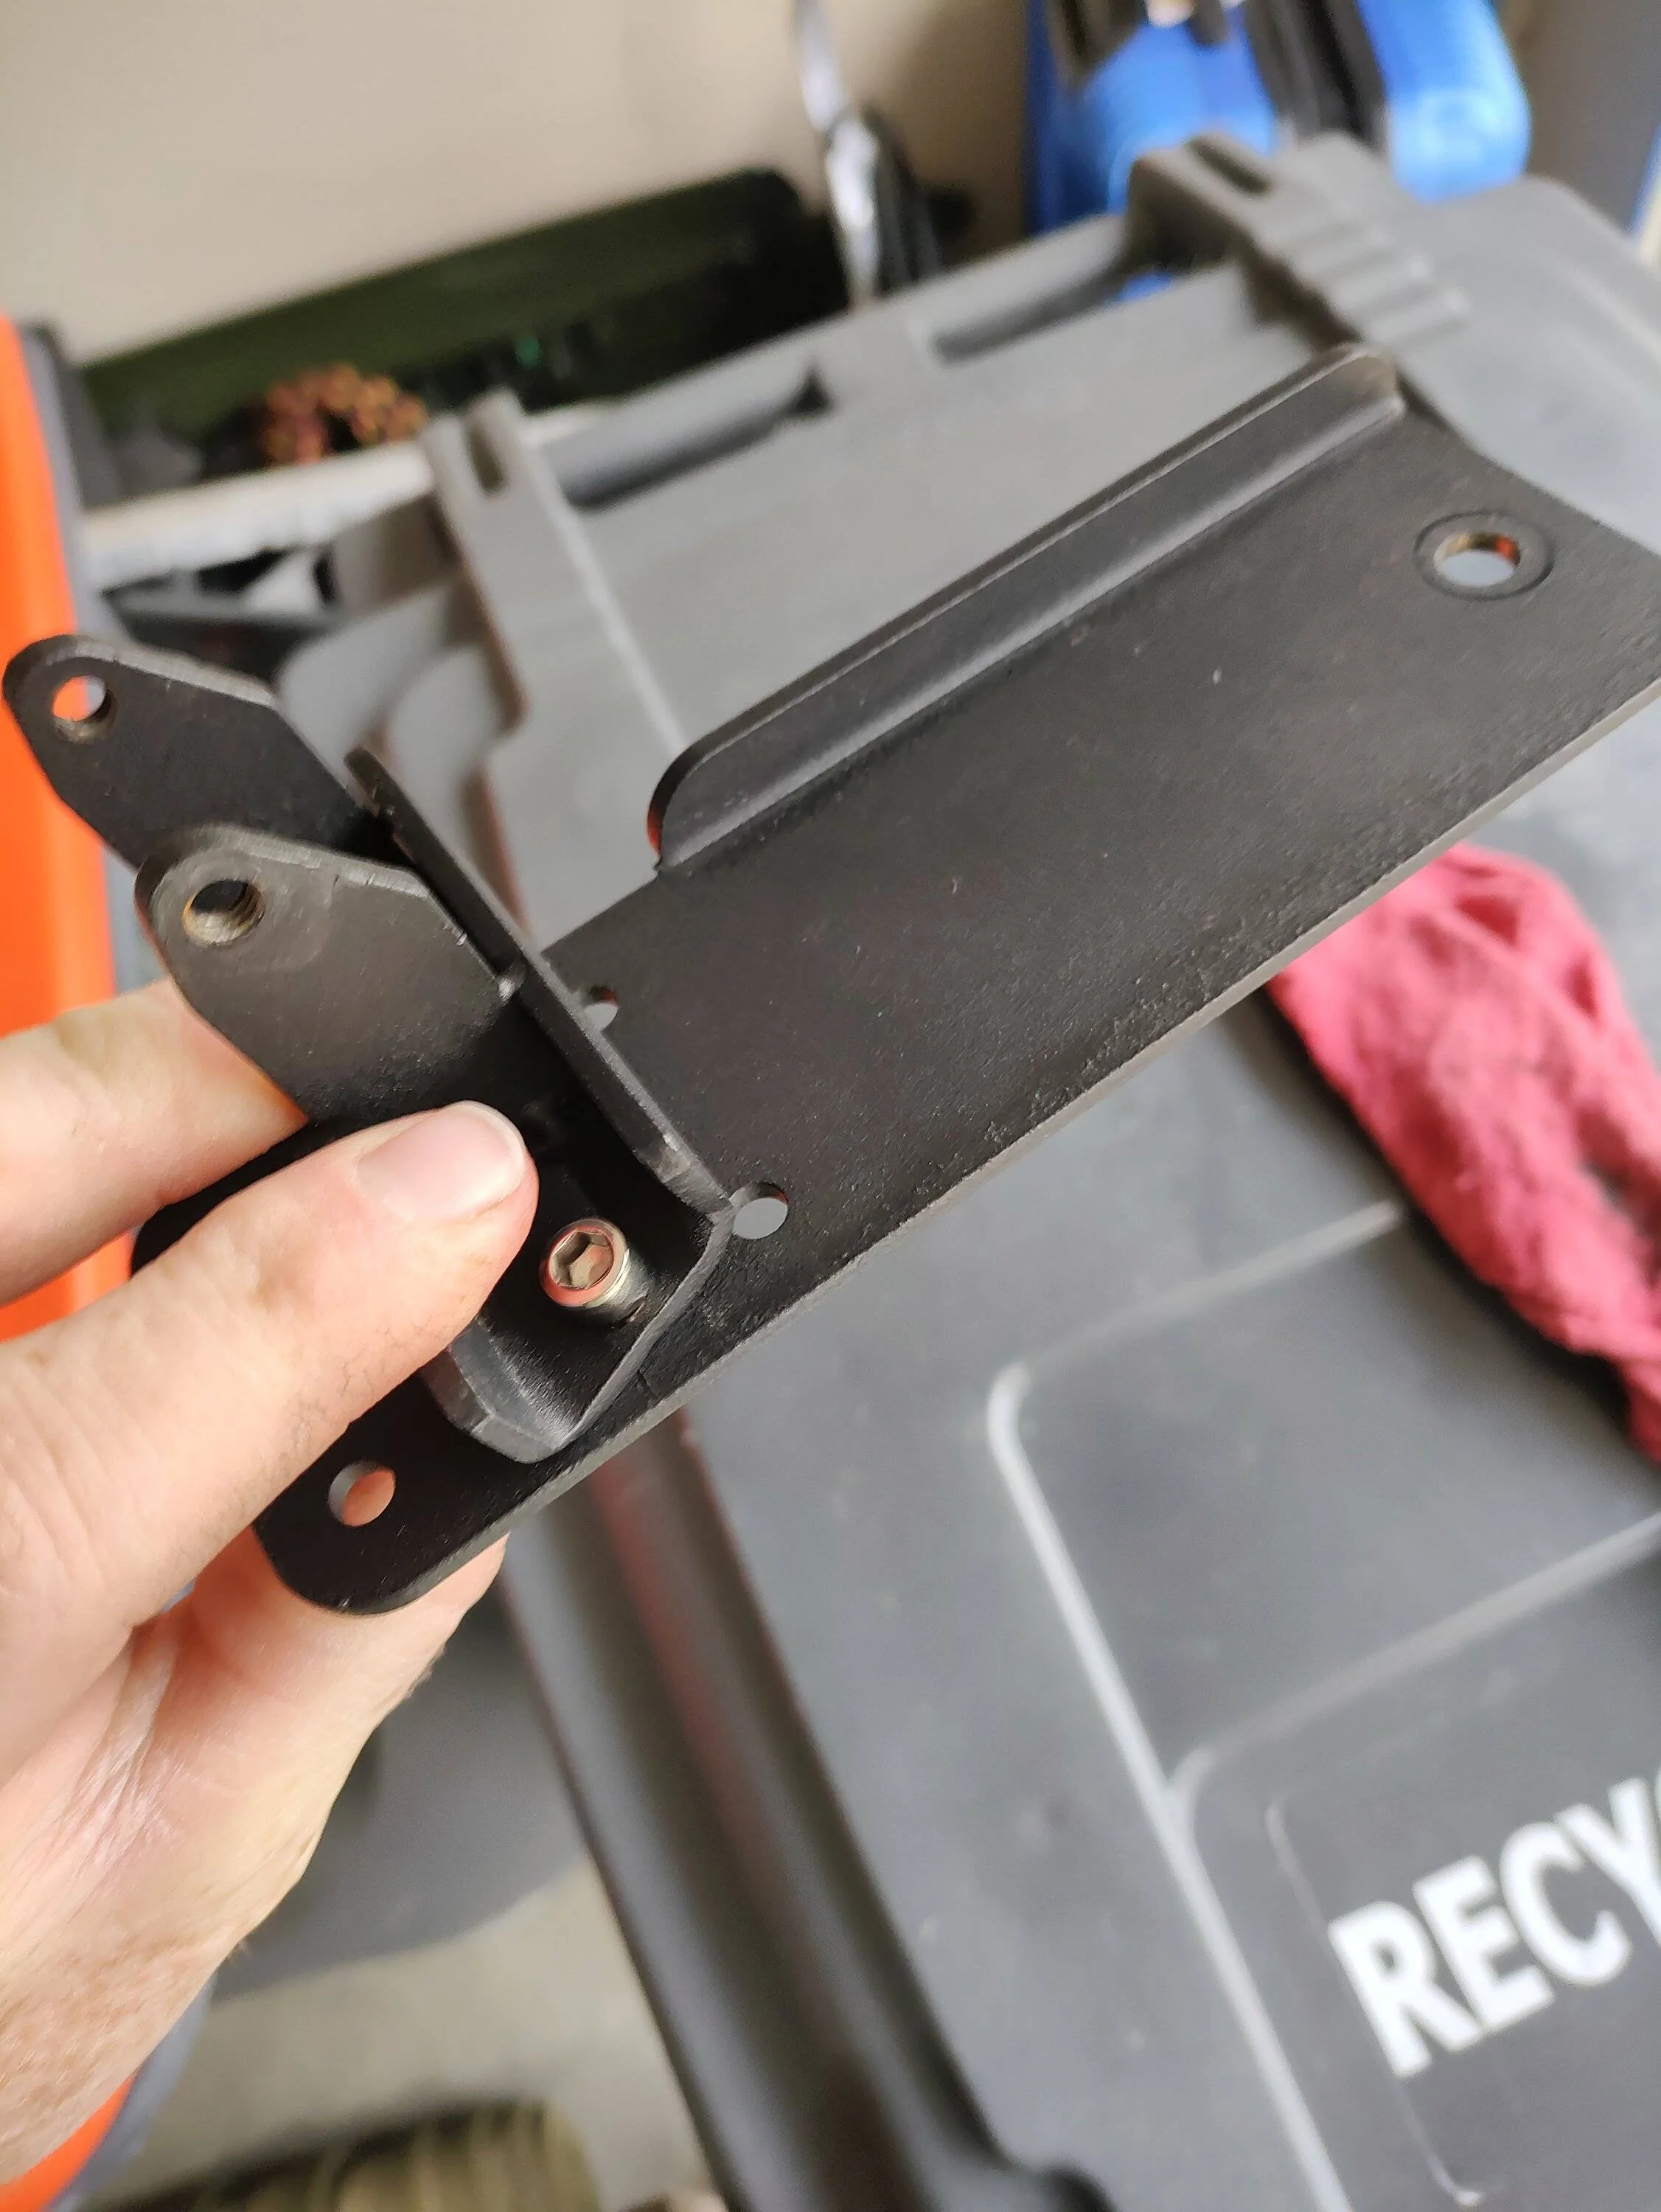
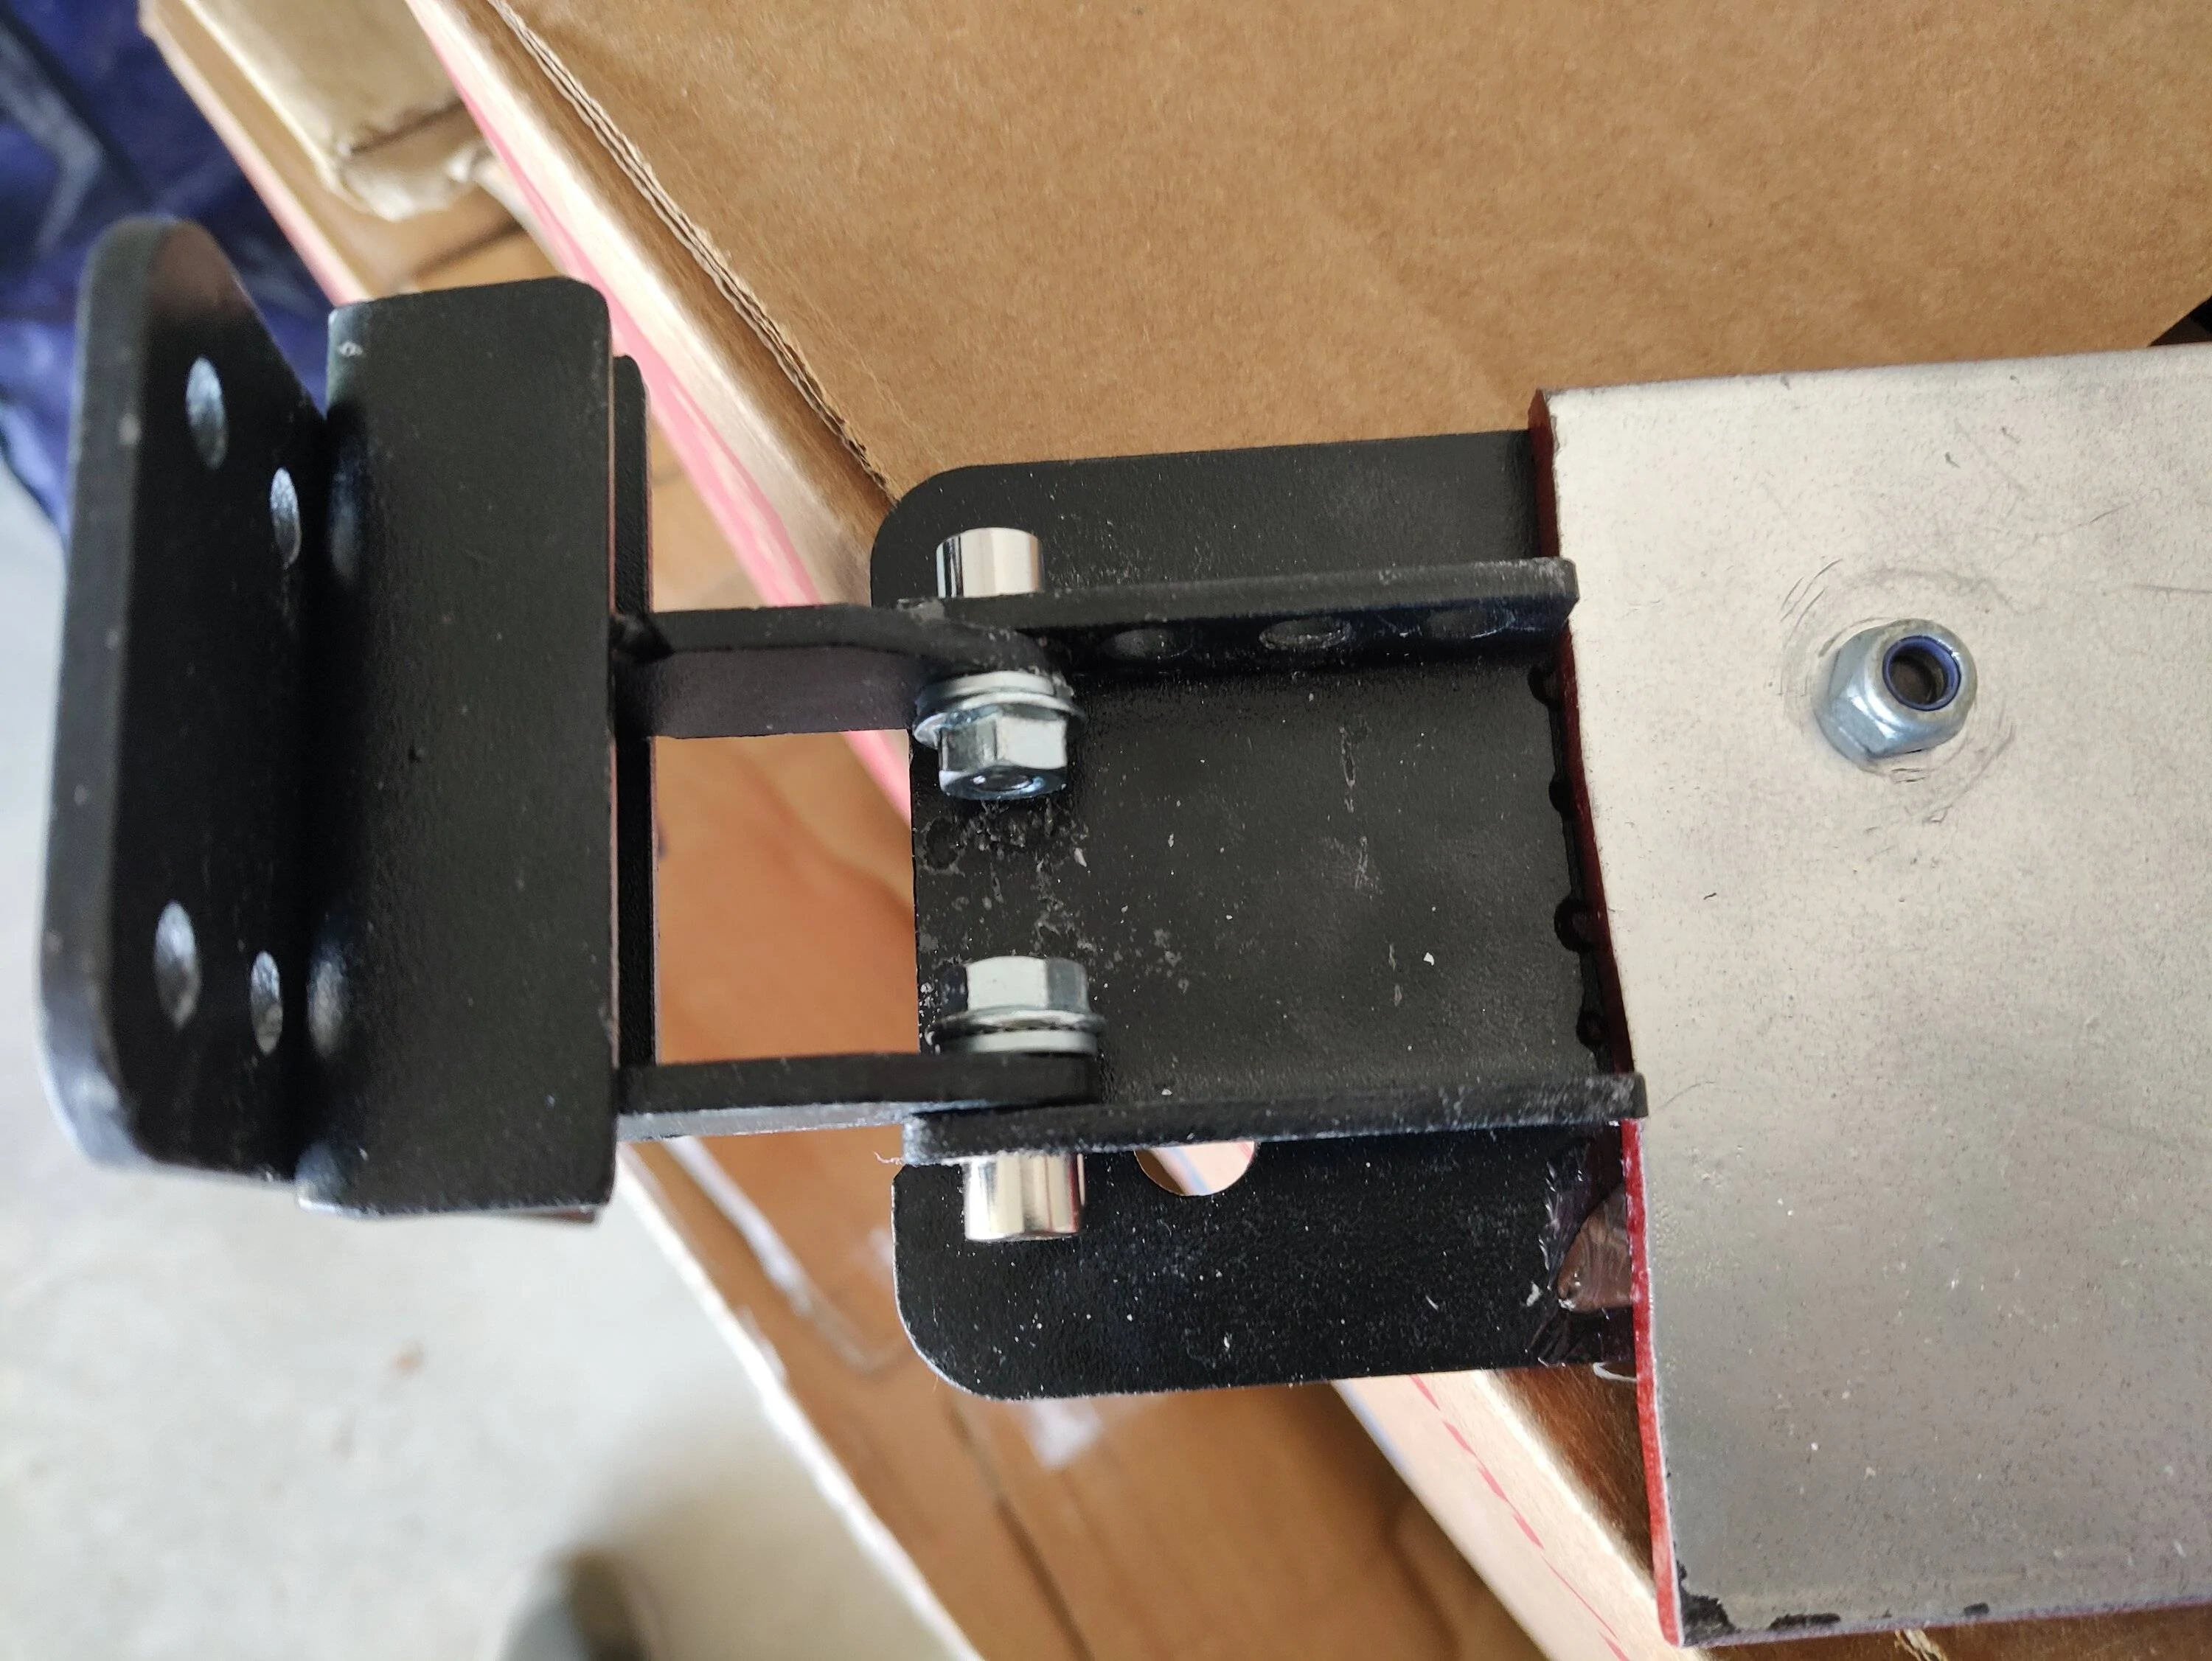
It came with only these two screws which are threaded into the inner piece of metal you see in the picture. Well between the vibrations of the vehicle and the dead pedal moving ever so slightly when you drive, these screws have a habit of coming out, and if you lose one, you're basically screwed. (pun intended)
Turns out they are 1/4-20 thread, so I bought a pair of lock washers and nuts to make sure that these bolts don't come out anytime soon.
So a 13-month project, and we are still not done.
If anybody has any ideas about how to cut that 8-in side of 1/4-in steel without costing me a small fortune or going through $40 worth of blades, I'm all ears!!!??
Having done some super janky fab-work myself

Eventually there’s just going to be a car frame and a seat!This one's a doozy sure to turn a few heads...

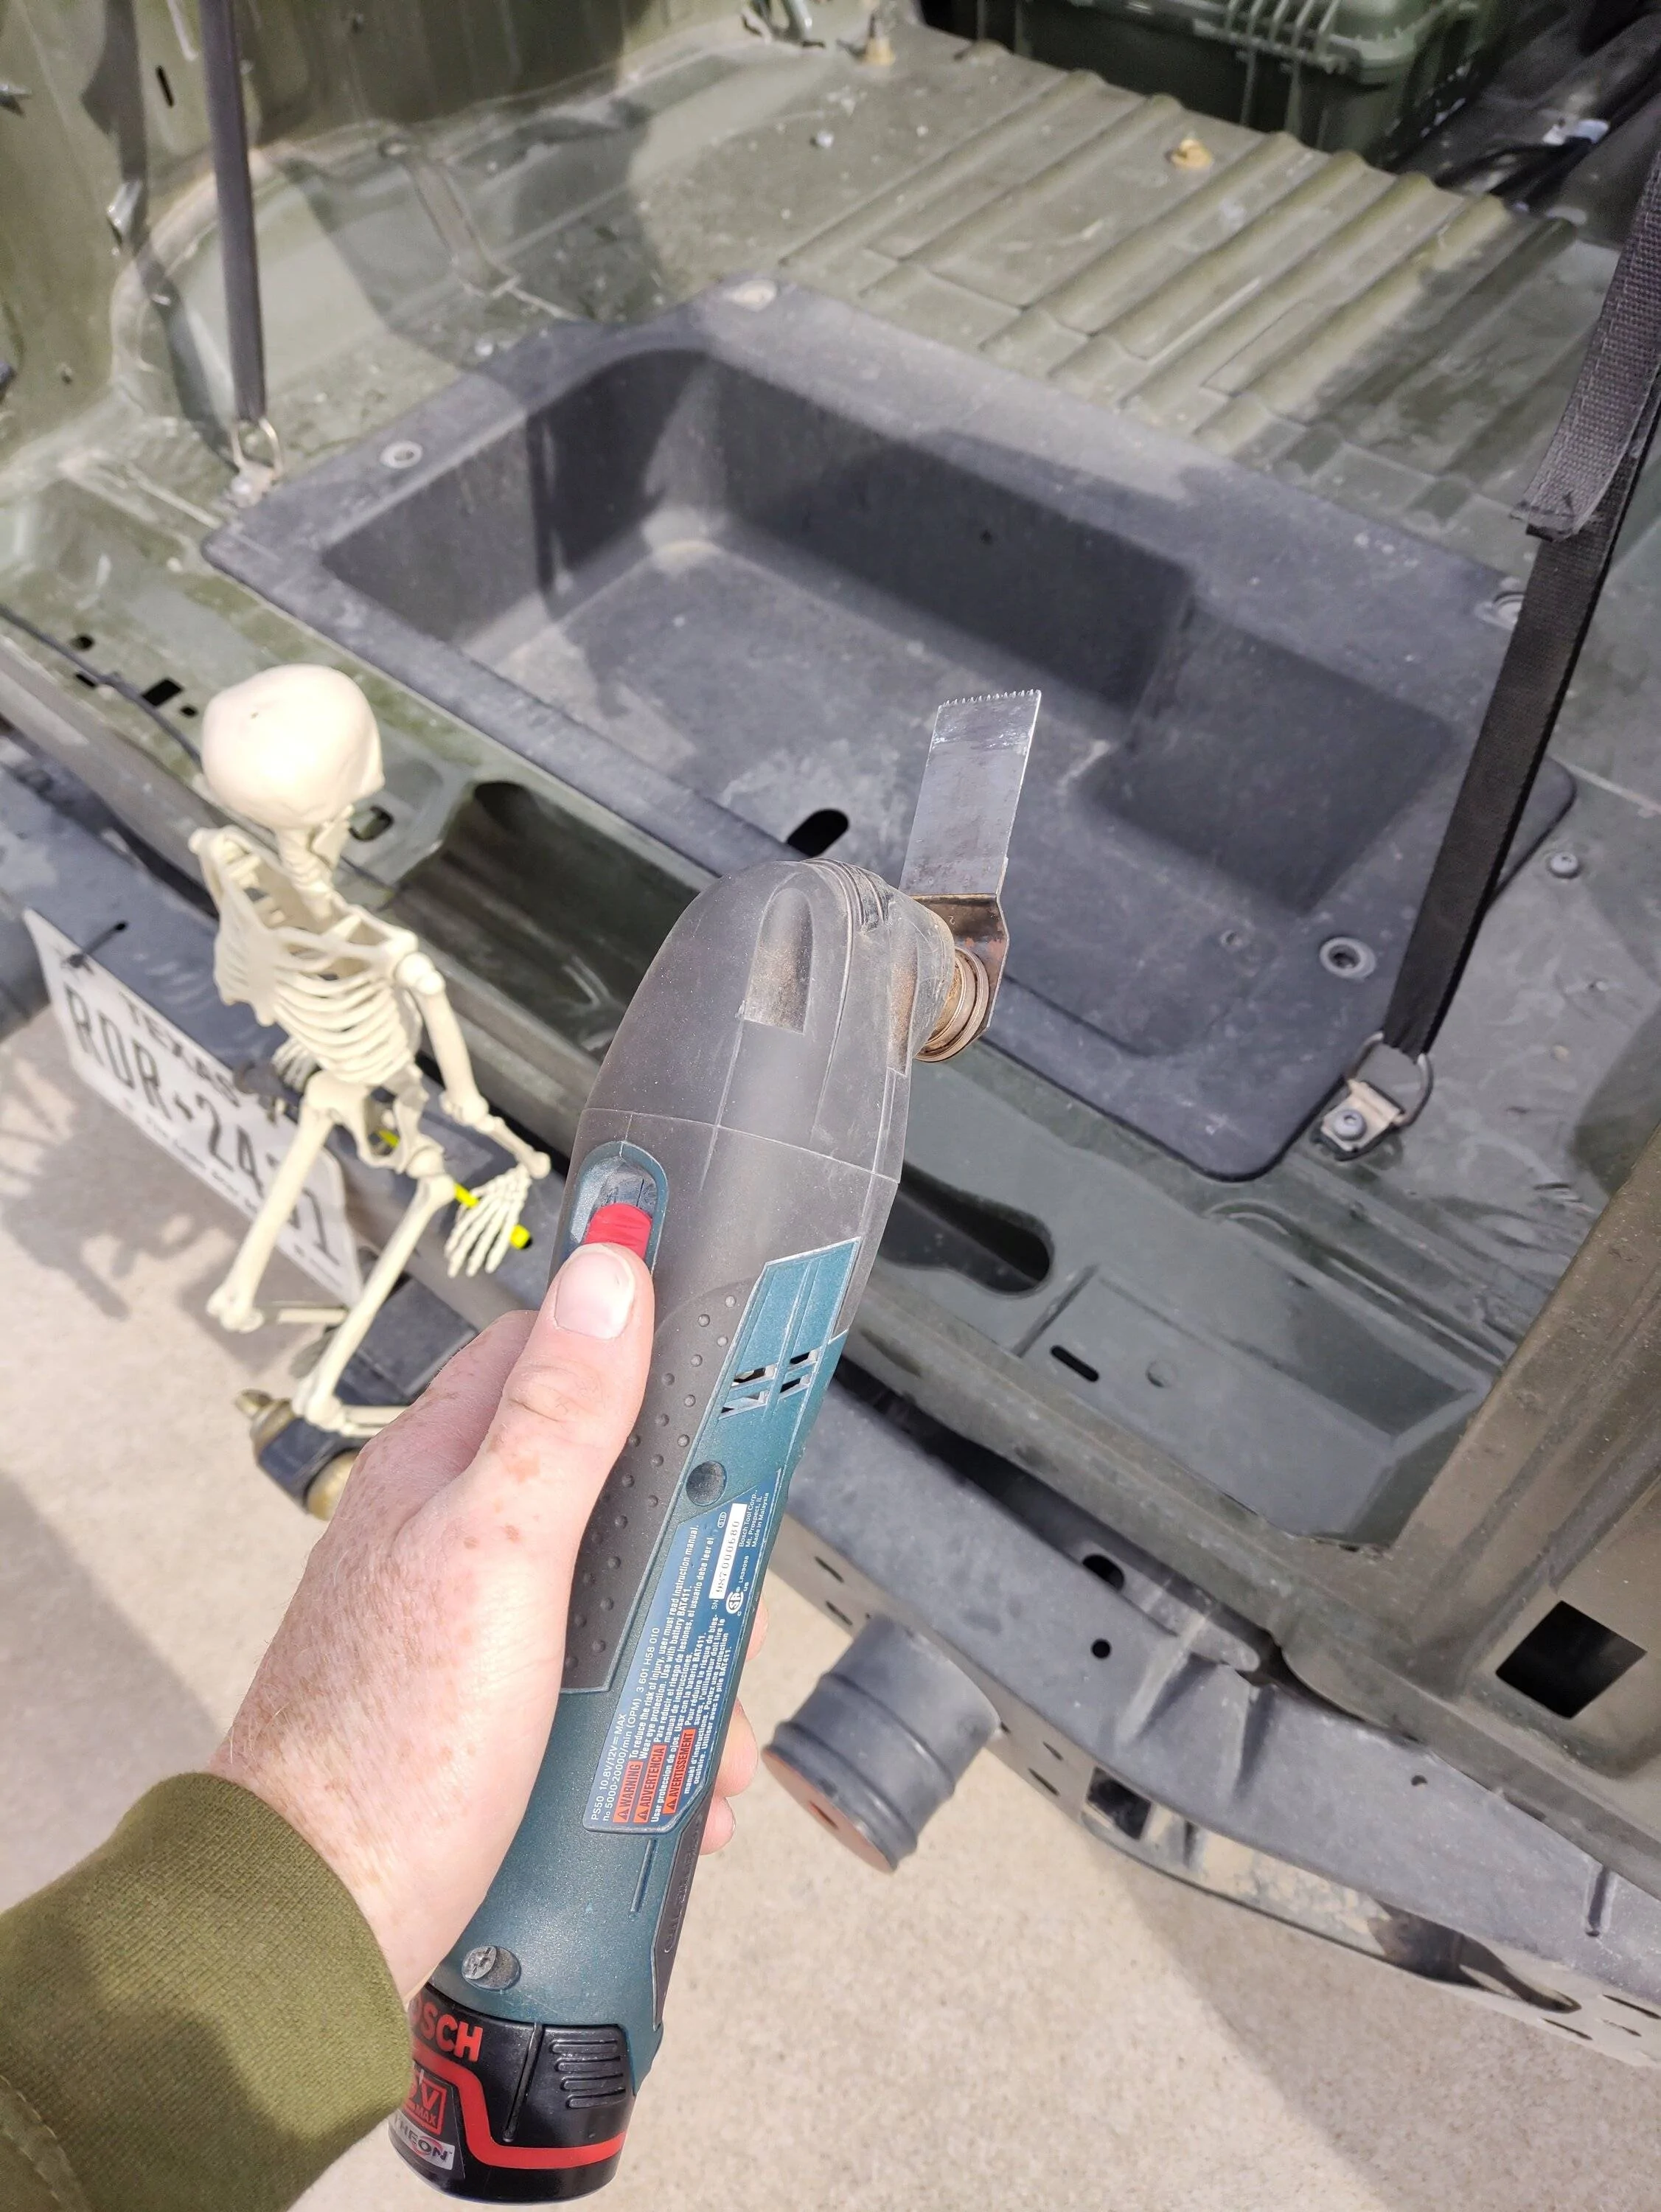
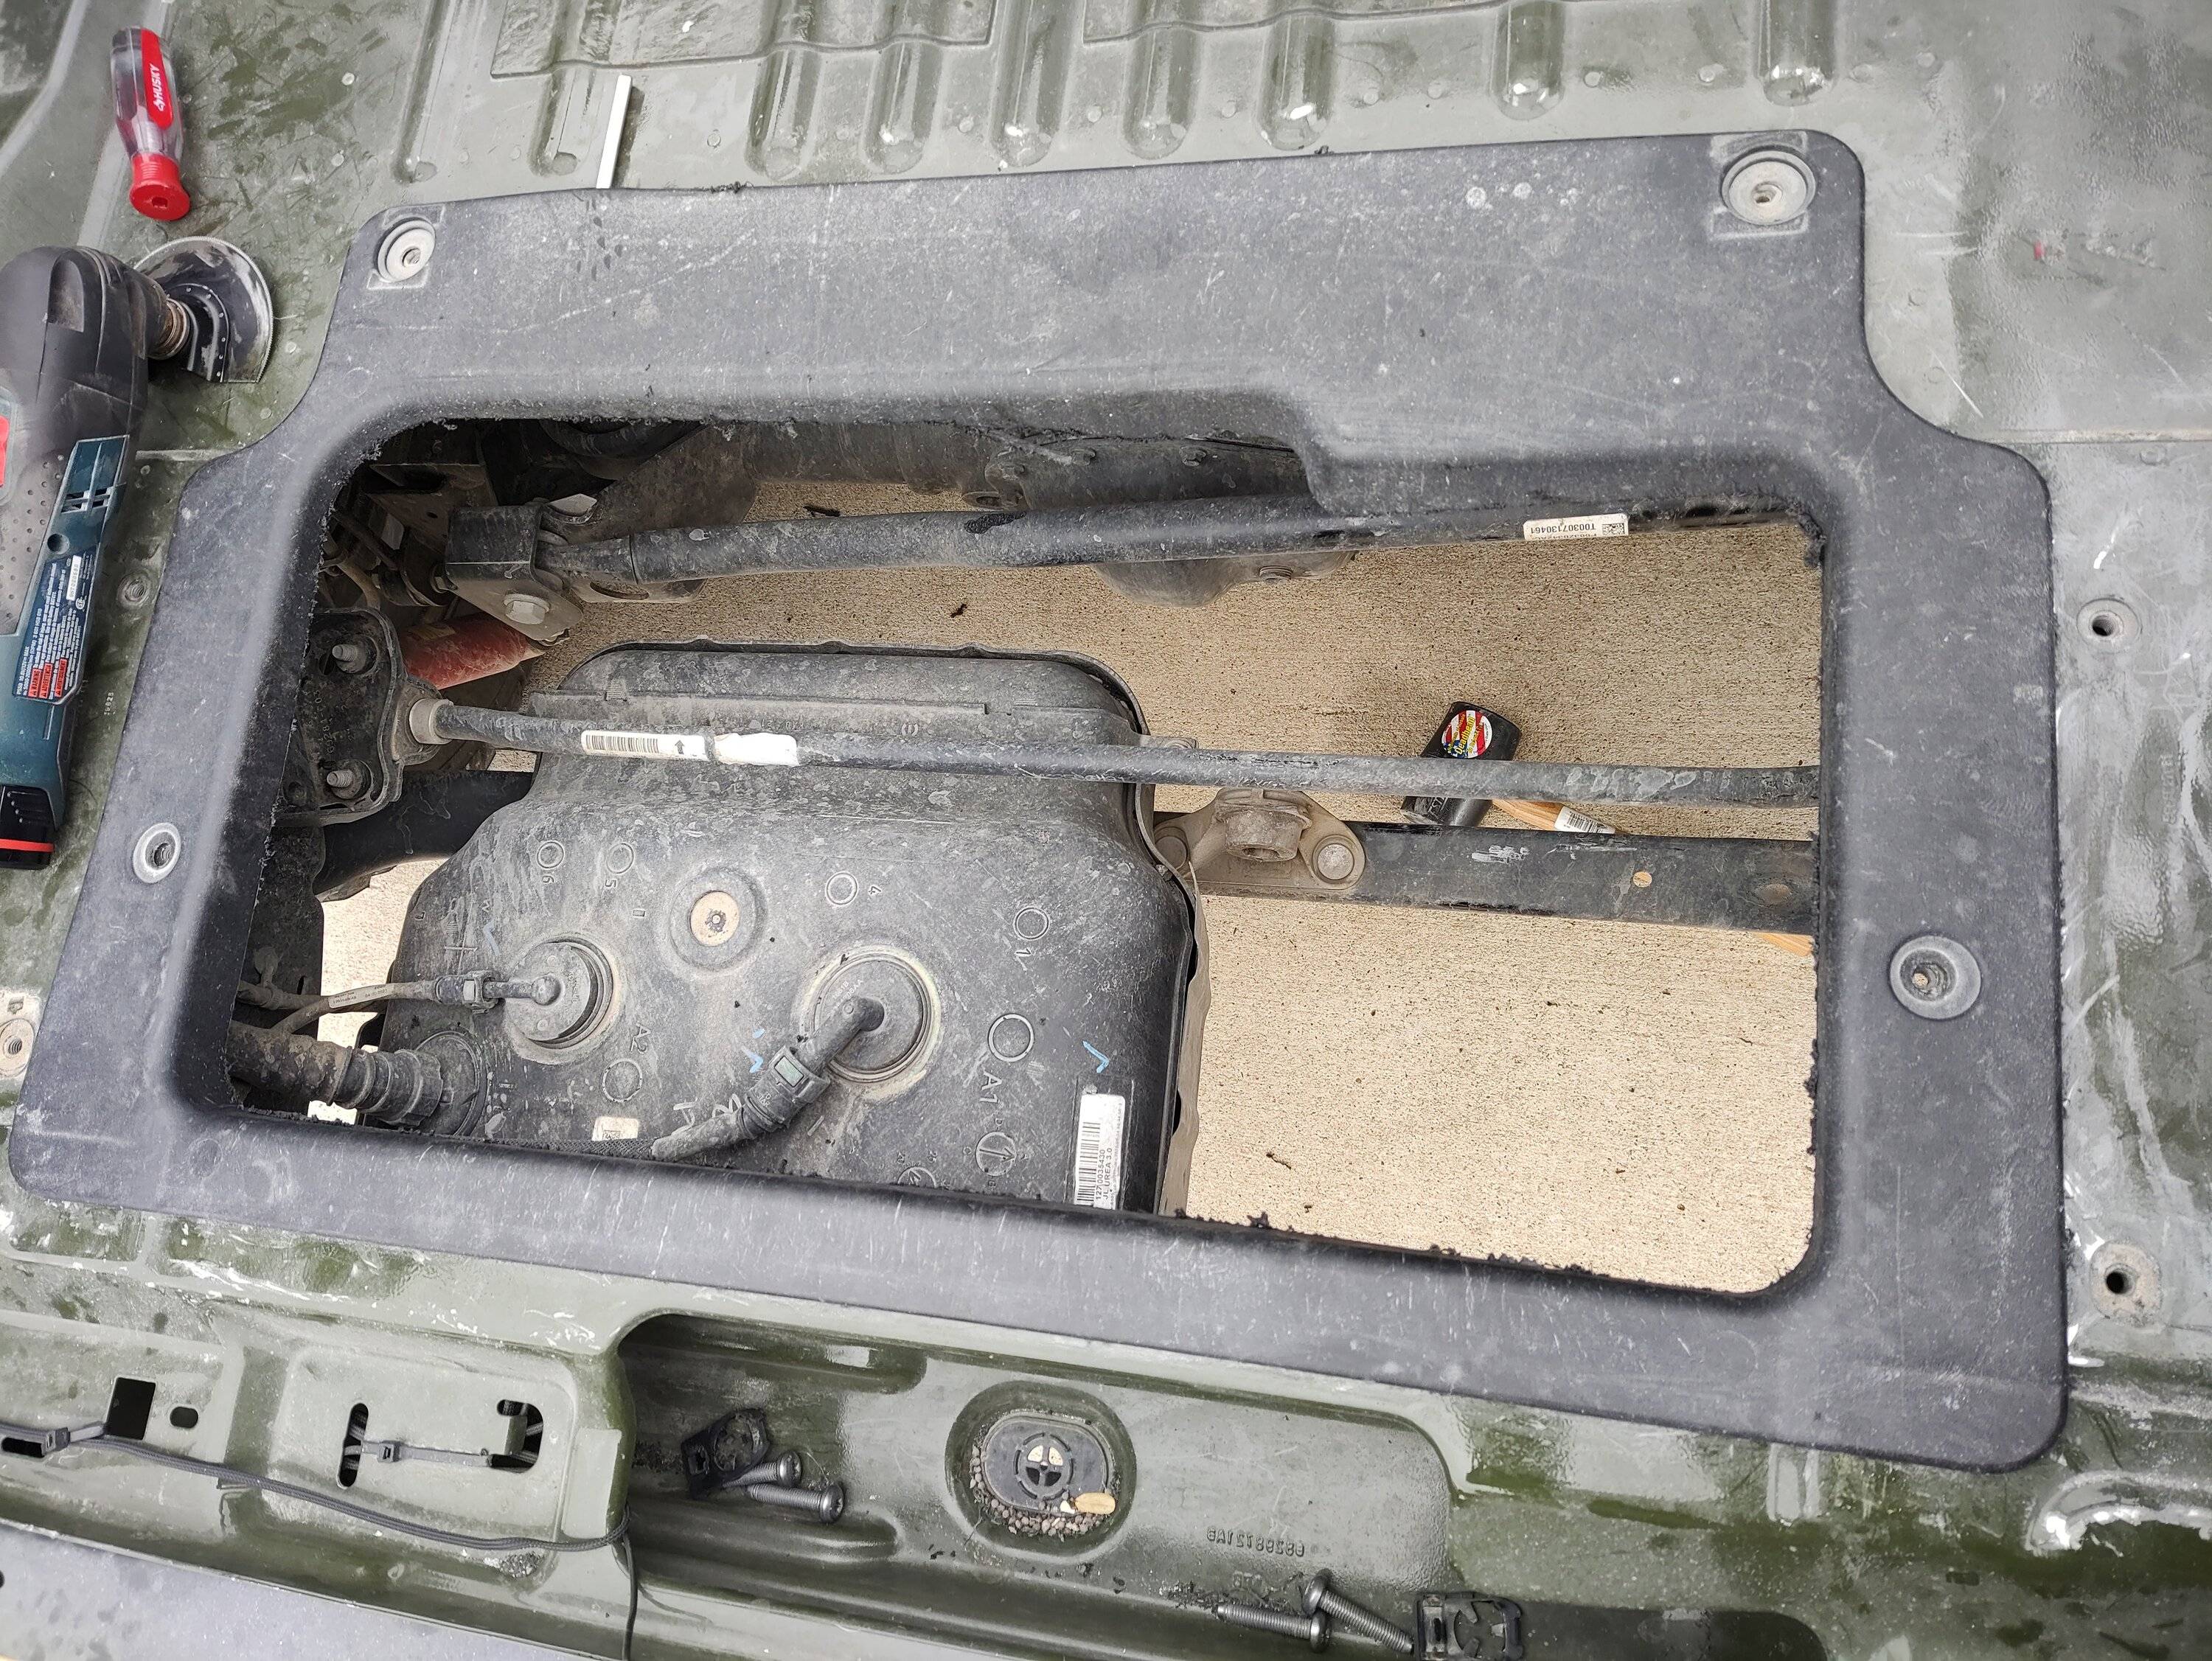
I saw a post on here good while back about how to take this tub out, using one of these tools to get underneath it. I was having so much trouble trying to get the lip off, that I ended up just cutting the tub out itself.
That black thing with the hoses sticking out of it is my DEF tank. On the EcoDiesels they sit pretty low, and they really mess up your departure angle. The bar right over it is my rear sway bar. It'll be a while, but at some point in the future I'm going to relocate the DEF tank on top of the sway bar. Thus improving my departure angle. For now I'm going to find a piece of clear plastic that I can put over it just so that there's not too much crap floating around down there.
I was actually kind of thinking that maybe because I have this giant opening now, instead of putting rock lights on the Jeep, I can just shine a spotlight down this hole facing forward.
Chicken wire across the tailgate. Or on a wood frame for half doorsI'm glad you are enjoying yourself.
I really feel like this build needs some chicken wire somewhere. Unsolicited opinion: I hate it. However, I admire your #TeamNoFsGiven approach. Most people will never enjoy a Wrangler to this extent. Subbed.