James_a
Well-Known Member
- First Name
- James
- Joined
- Aug 19, 2018
- Threads
- 3
- Messages
- 280
- Reaction score
- 205
- Location
- Alameda, CA
- Vehicle(s)
- 2003 Rubicon, 2018 JLU Rubicon
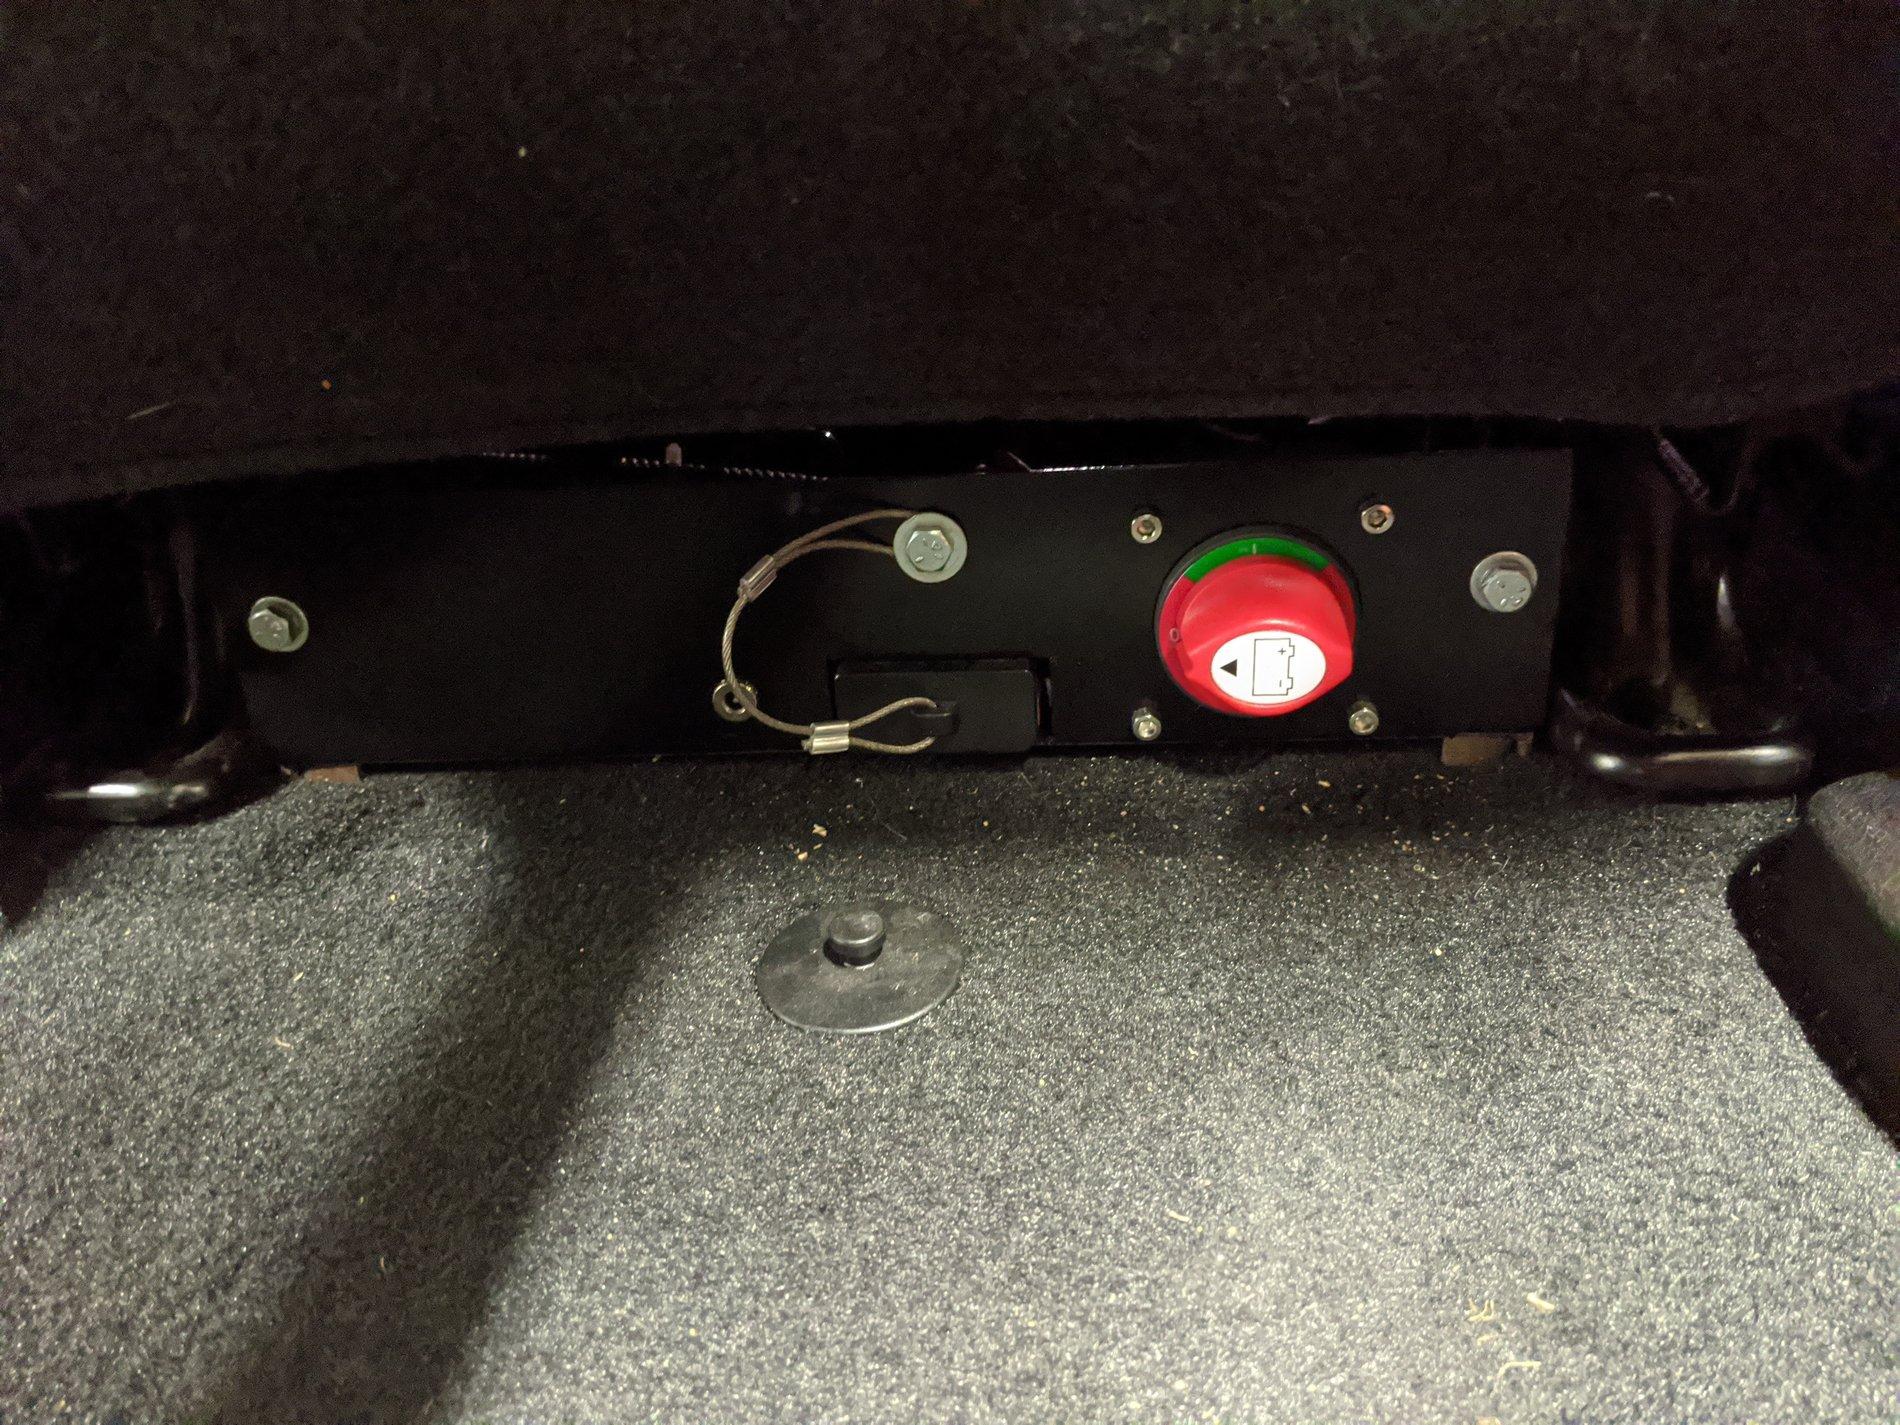
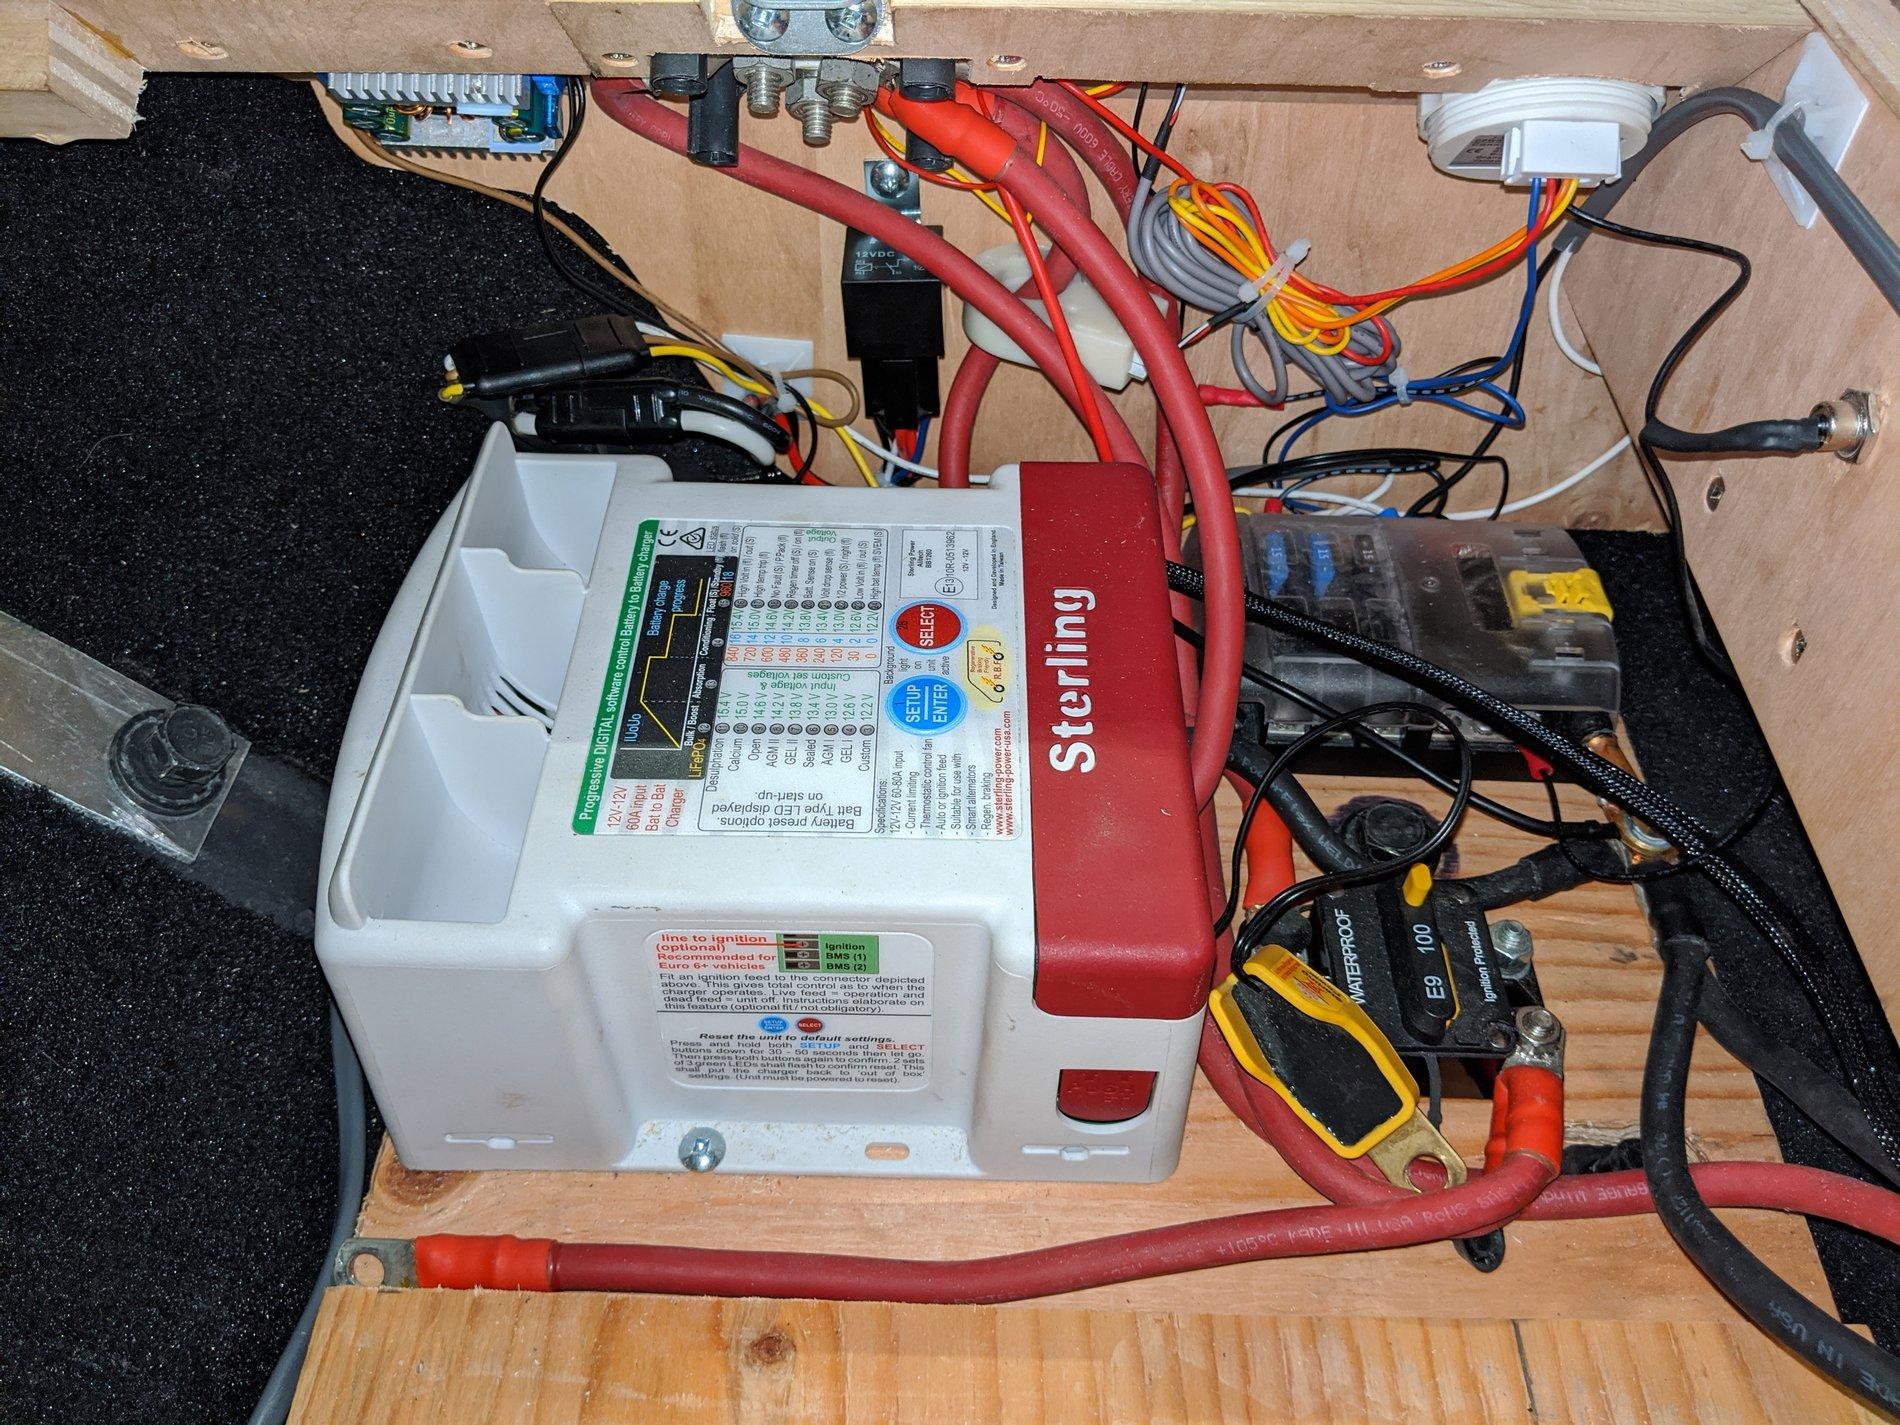
Amazing setup, beautiful work! Just wondering how did you route your wires to the roof? I'm planning on mounting a light bar and a few camp lights to my Rhino rack and planning the install now.
Sponsored
![Jeep Wrangler JL Overland build IMG_20200919_173651[1]](https://cdn.jlwranglerforums.com/attachments/371/371107-eff9c790c1c6ecc80432de484c3e3f73.webp)
![Jeep Wrangler JL Overland build IMG_20200919_180811[1]](https://cdn.jlwranglerforums.com/attachments/371/371108-b43c2ddb06f59795f451a1a1a1464109.webp)