BigJimSlade
Well-Known Member
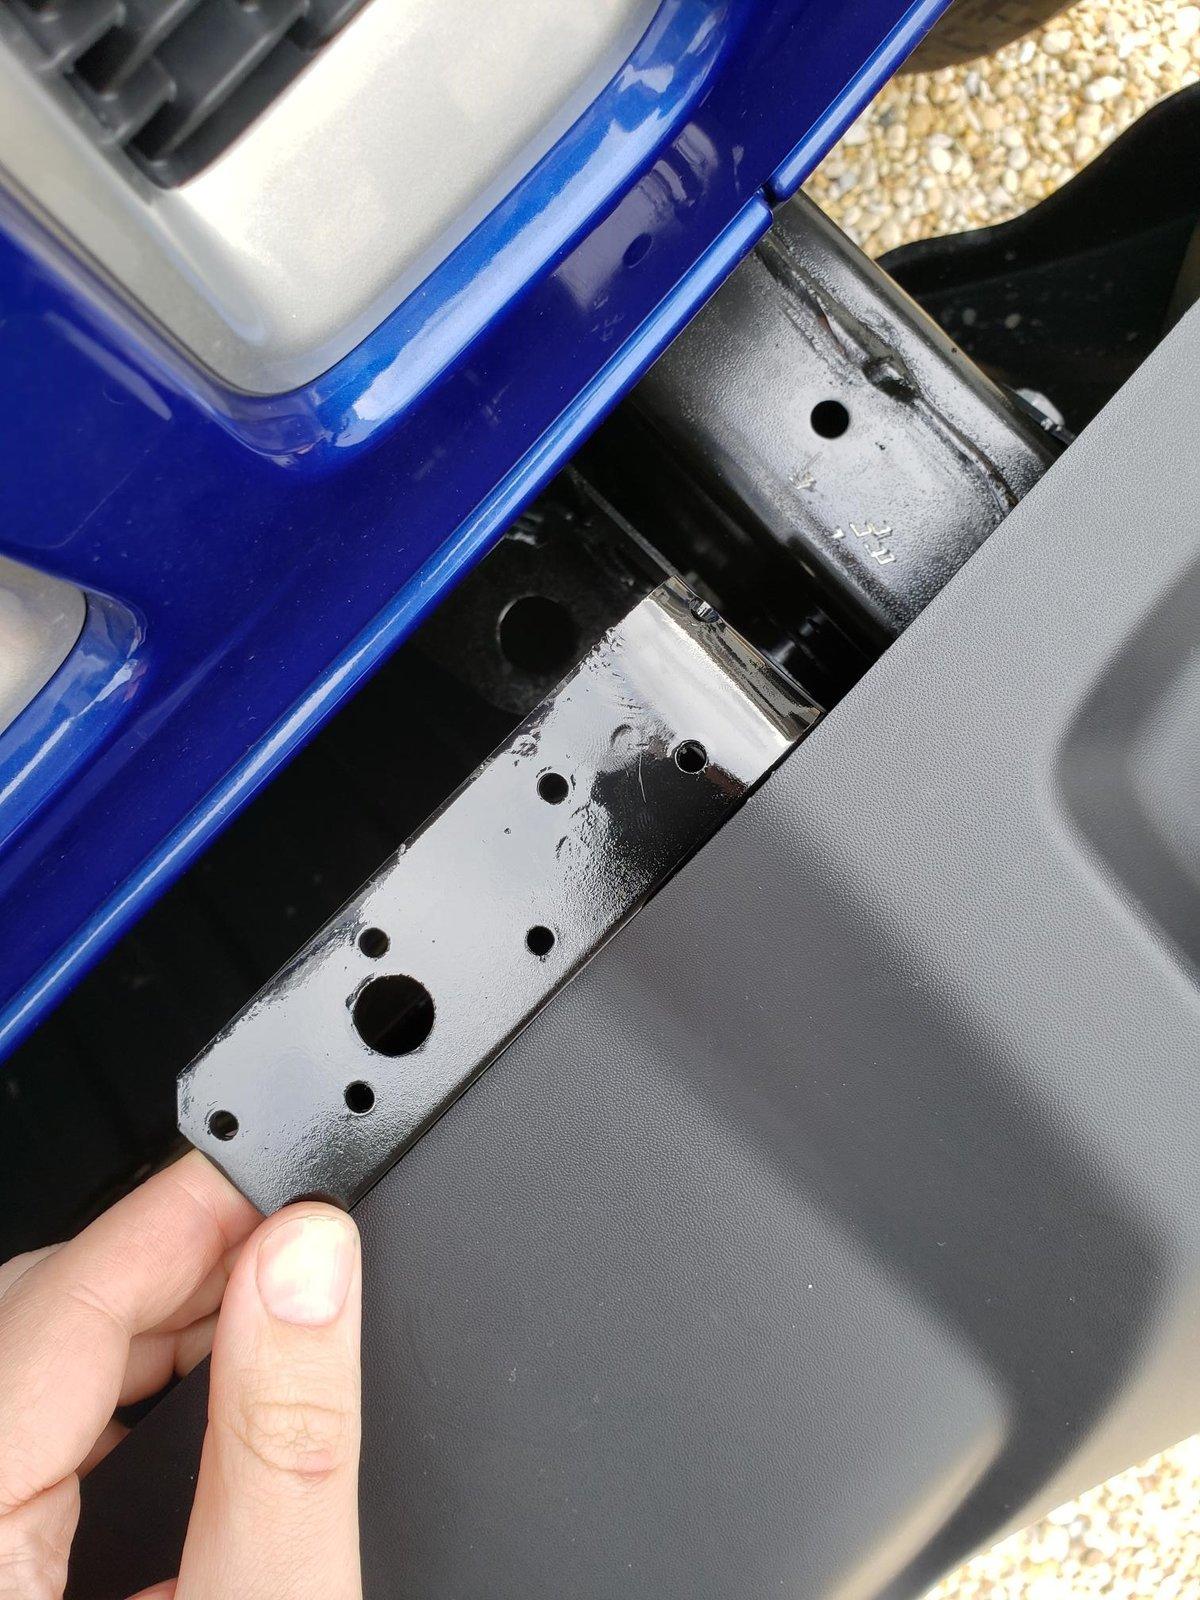
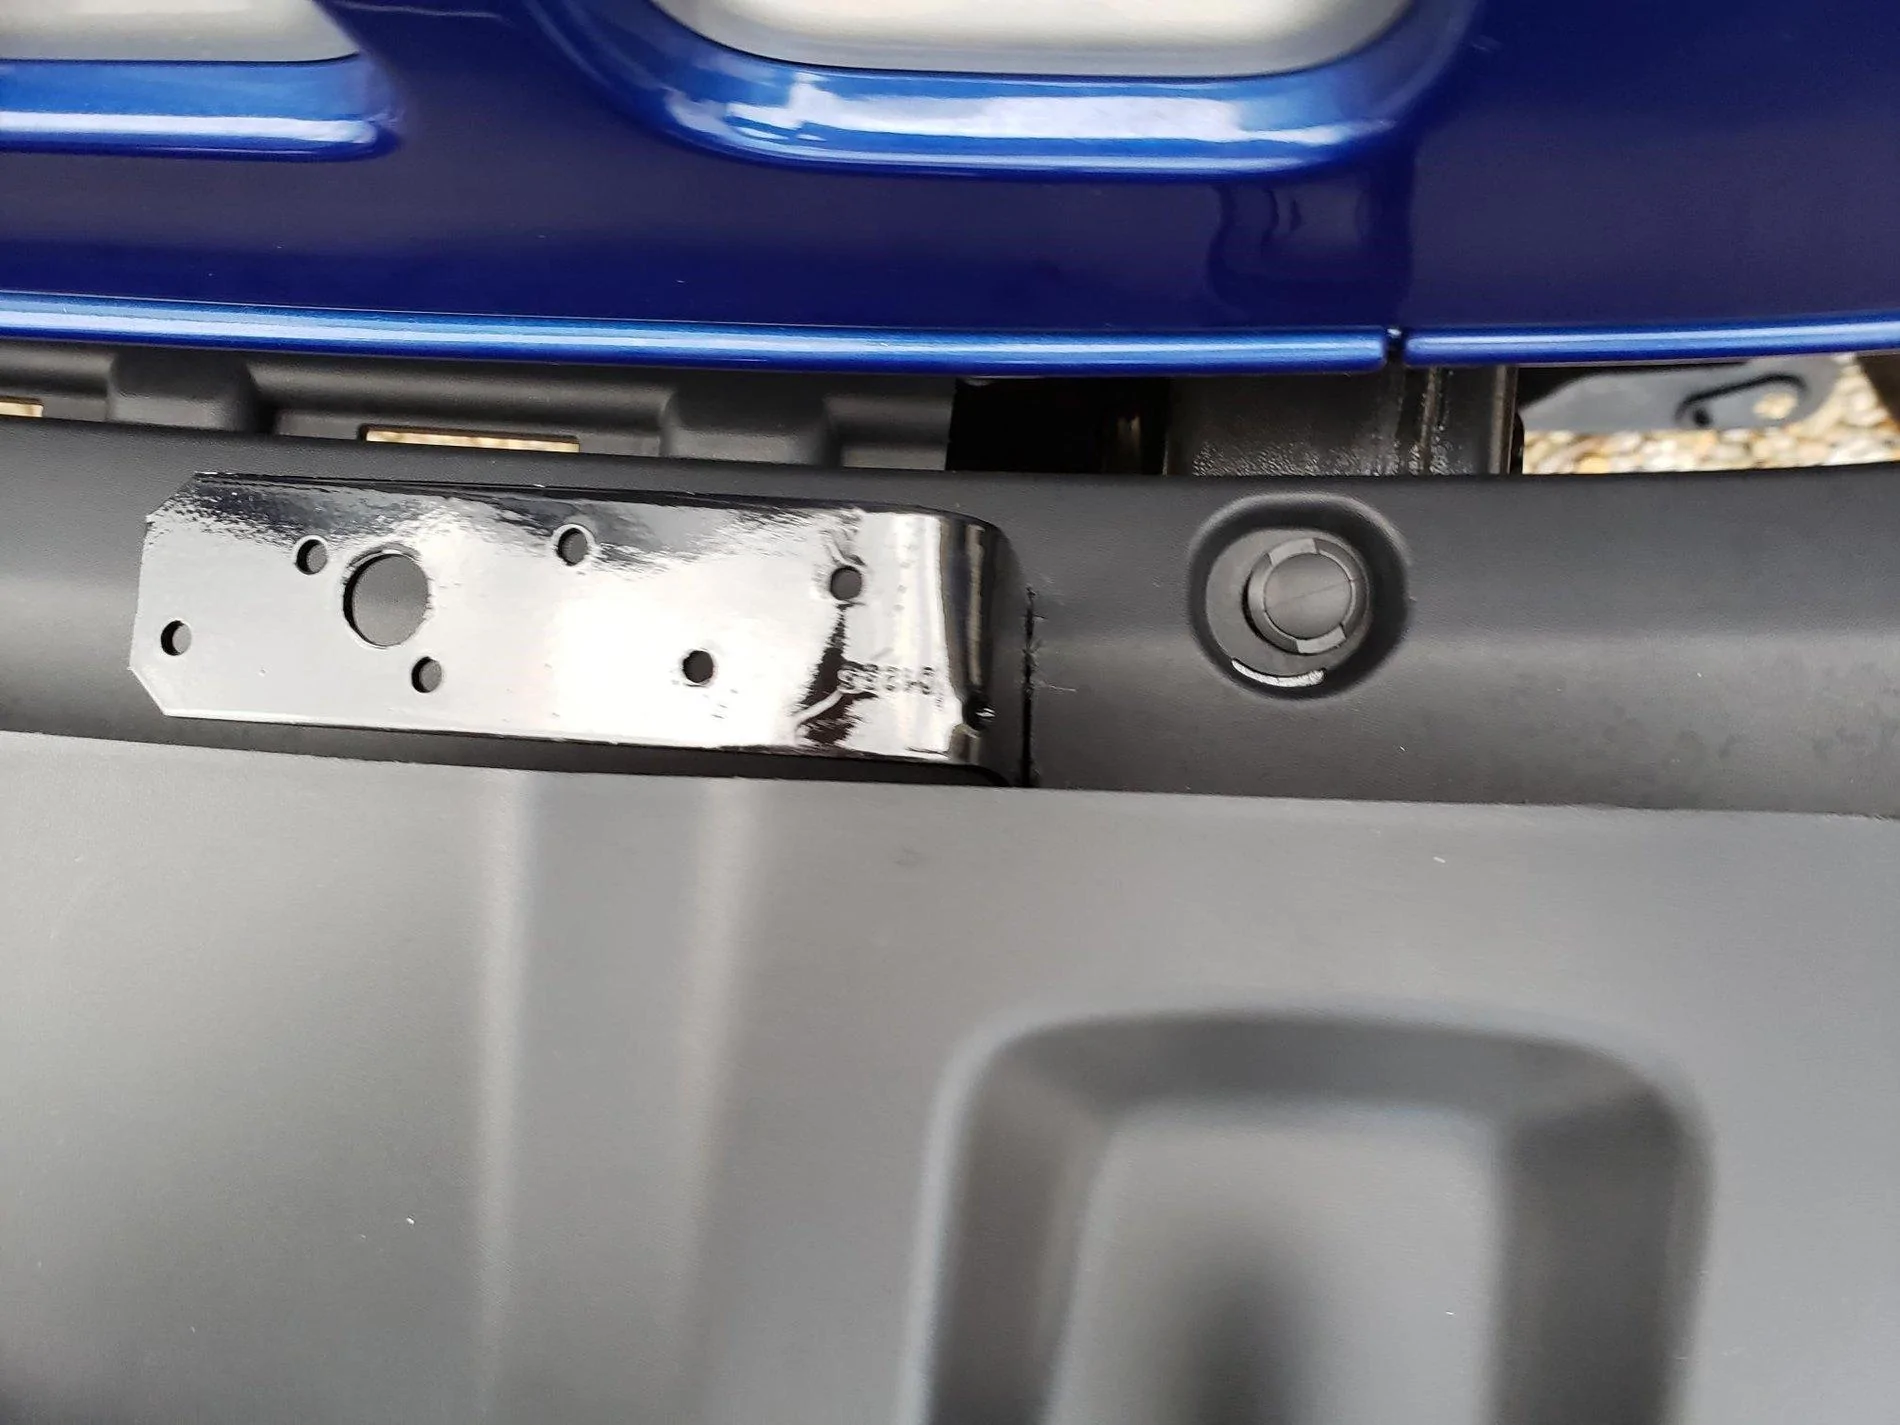
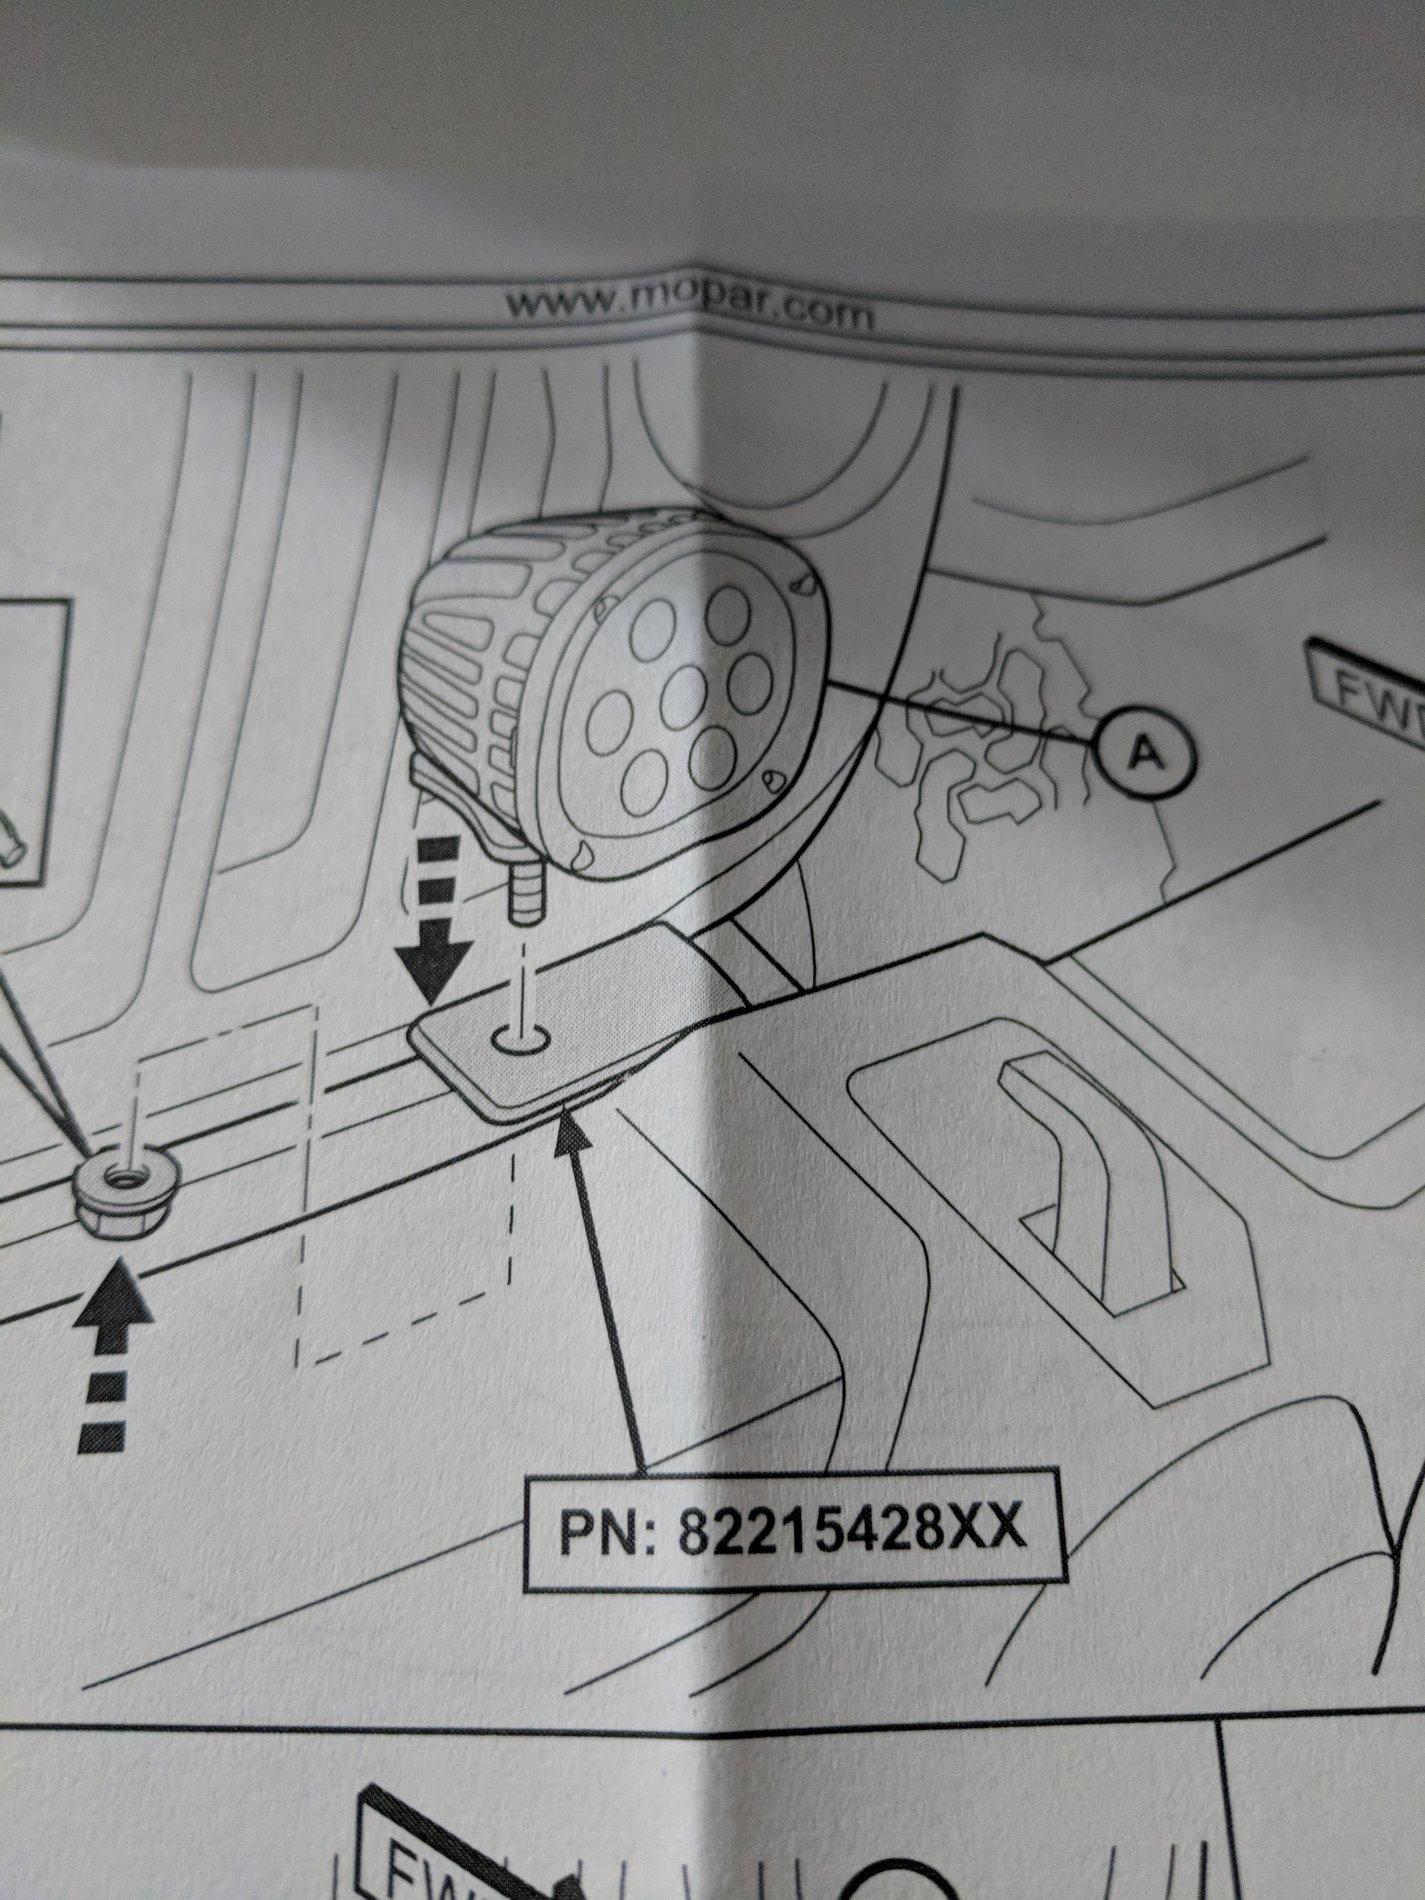
I don't recall what gauge it was, unfortunately. It was just a straight strap. I had to cut it, bend it, drill it, and paint it, but it was pretty simple.Jim, I've been trying to track these down. Tried my local Home Depot, Lowes, and specialty hardware store, but nothing that was a perfect fit.
What gauge thickness did you use? Looks like 12? did you have to bend or cut the straps yourself? Did they come in black or did you paint them? Did you have to drill the holes?
Sorry for all the questions!
Sponsored