OP
OP
rcadden
Well-Known Member
- First Name
- Ricky
- Joined
- May 4, 2021
- Threads
- 89
- Messages
- 2,932
- Reaction score
- 6,321
- Location
- Asheville, NC
- Vehicle(s)
- 2021 Hydro Blue Sahara Altitude
- Build Thread
- Link
- Occupation
- Marketing
- Thread starter
- #121
Finally had the budget to finish out the Armorlite install and get those nasty wheelhouse covers out of here. I also opted for the cargo closeout, though to be honest, it's not needed if you have the gap cover that comes with the leather seats.
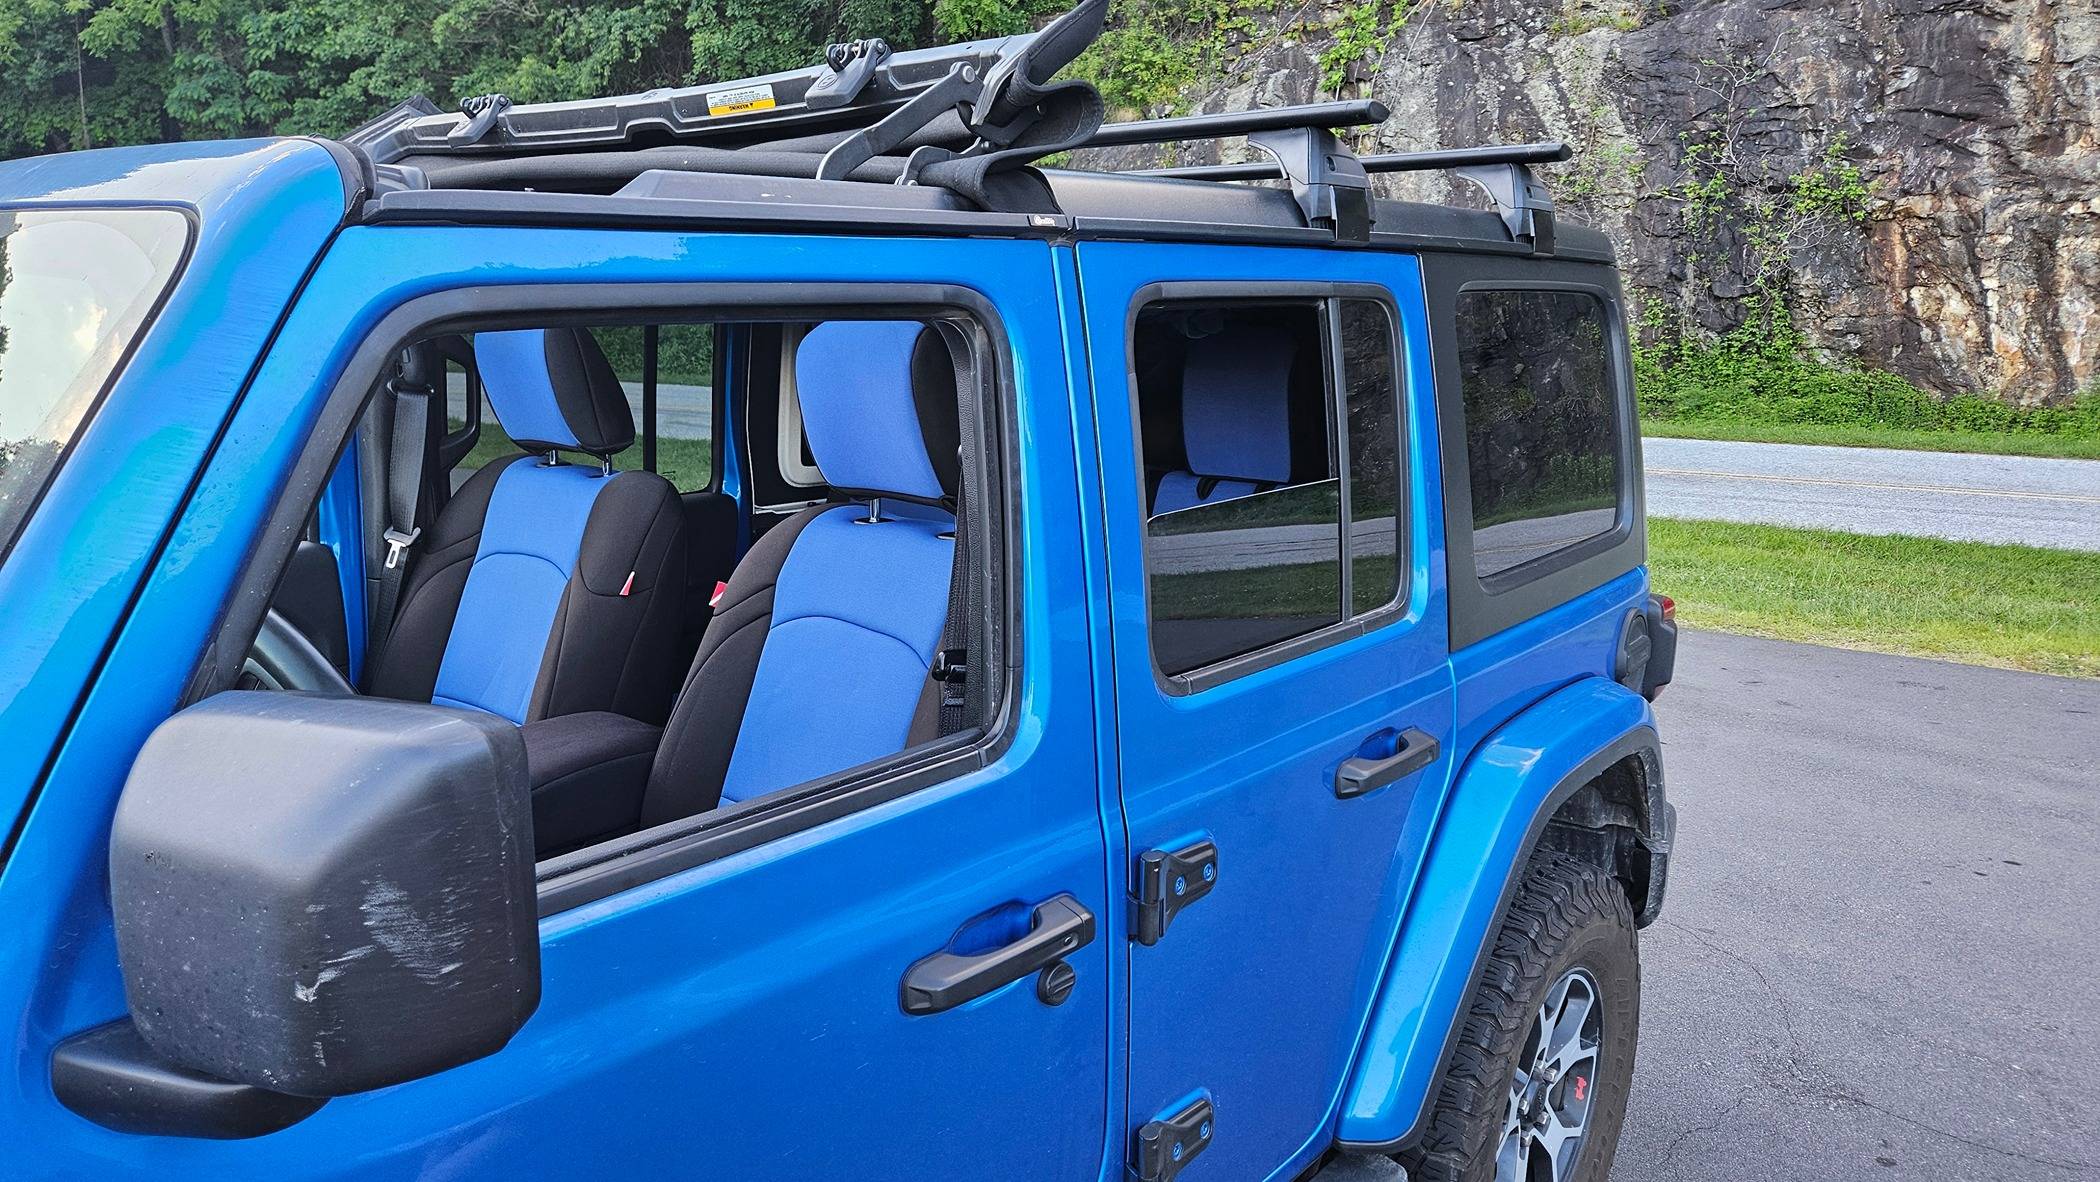
The one thing that Armorlite doesn't offer, unfortunately, is a solution for the seatbacks - they're extra fuzzy, and pick up dog hair, in particularly, really well. Thankfully, @Obscurity found these on Amazon, and I was pleased to discover that not only do they sell *just* the seatback covers, but they also come with the closeout panel, for just $60. Steal.
So here's the install.
First, the cheap-o Amazon seatback covers. They arrived folded up, so I laid them out in the livingroom overnight to flatten out. @Armorlite Kail you guys may want to buy a set to take a look at them. With some slight improvements and your better materials, you could probably easily sell the kit for $100 or so. They adhere to the seatback via velcro strips:

It's literally that easy. Just line them up and stick them on. I like that they'll be easy to remove when I put my Diver Down seat covers back on this summer. They're not cut *exactly*, but they're close enough for $60. They're very similar material/feel to my weathertech cargo mat, so I know they'll be easy to clean, etc.
The closeout panel is *slightly* more frustrating. For some reason, when they designed it, they did so with a lip around, so that the velcro is slightly recessed. Thankfully, they provided the *other* side of the velcro strip, with pretty heavy-duty adhesive on it. Just remove the yellow placeholder backing and press it on.
I'm curious to see how long this holds to the carpeting, but it would be pretty easy to replace the loop part of the velcro/hook-and-loop if I needed to.
*note - the cargo mat is pulled forward a bit in this picture - it actually fits much better than that.
The UPS truck pulled up right when I was taking that last photo to deliver the Armorlite pieces - great timing.
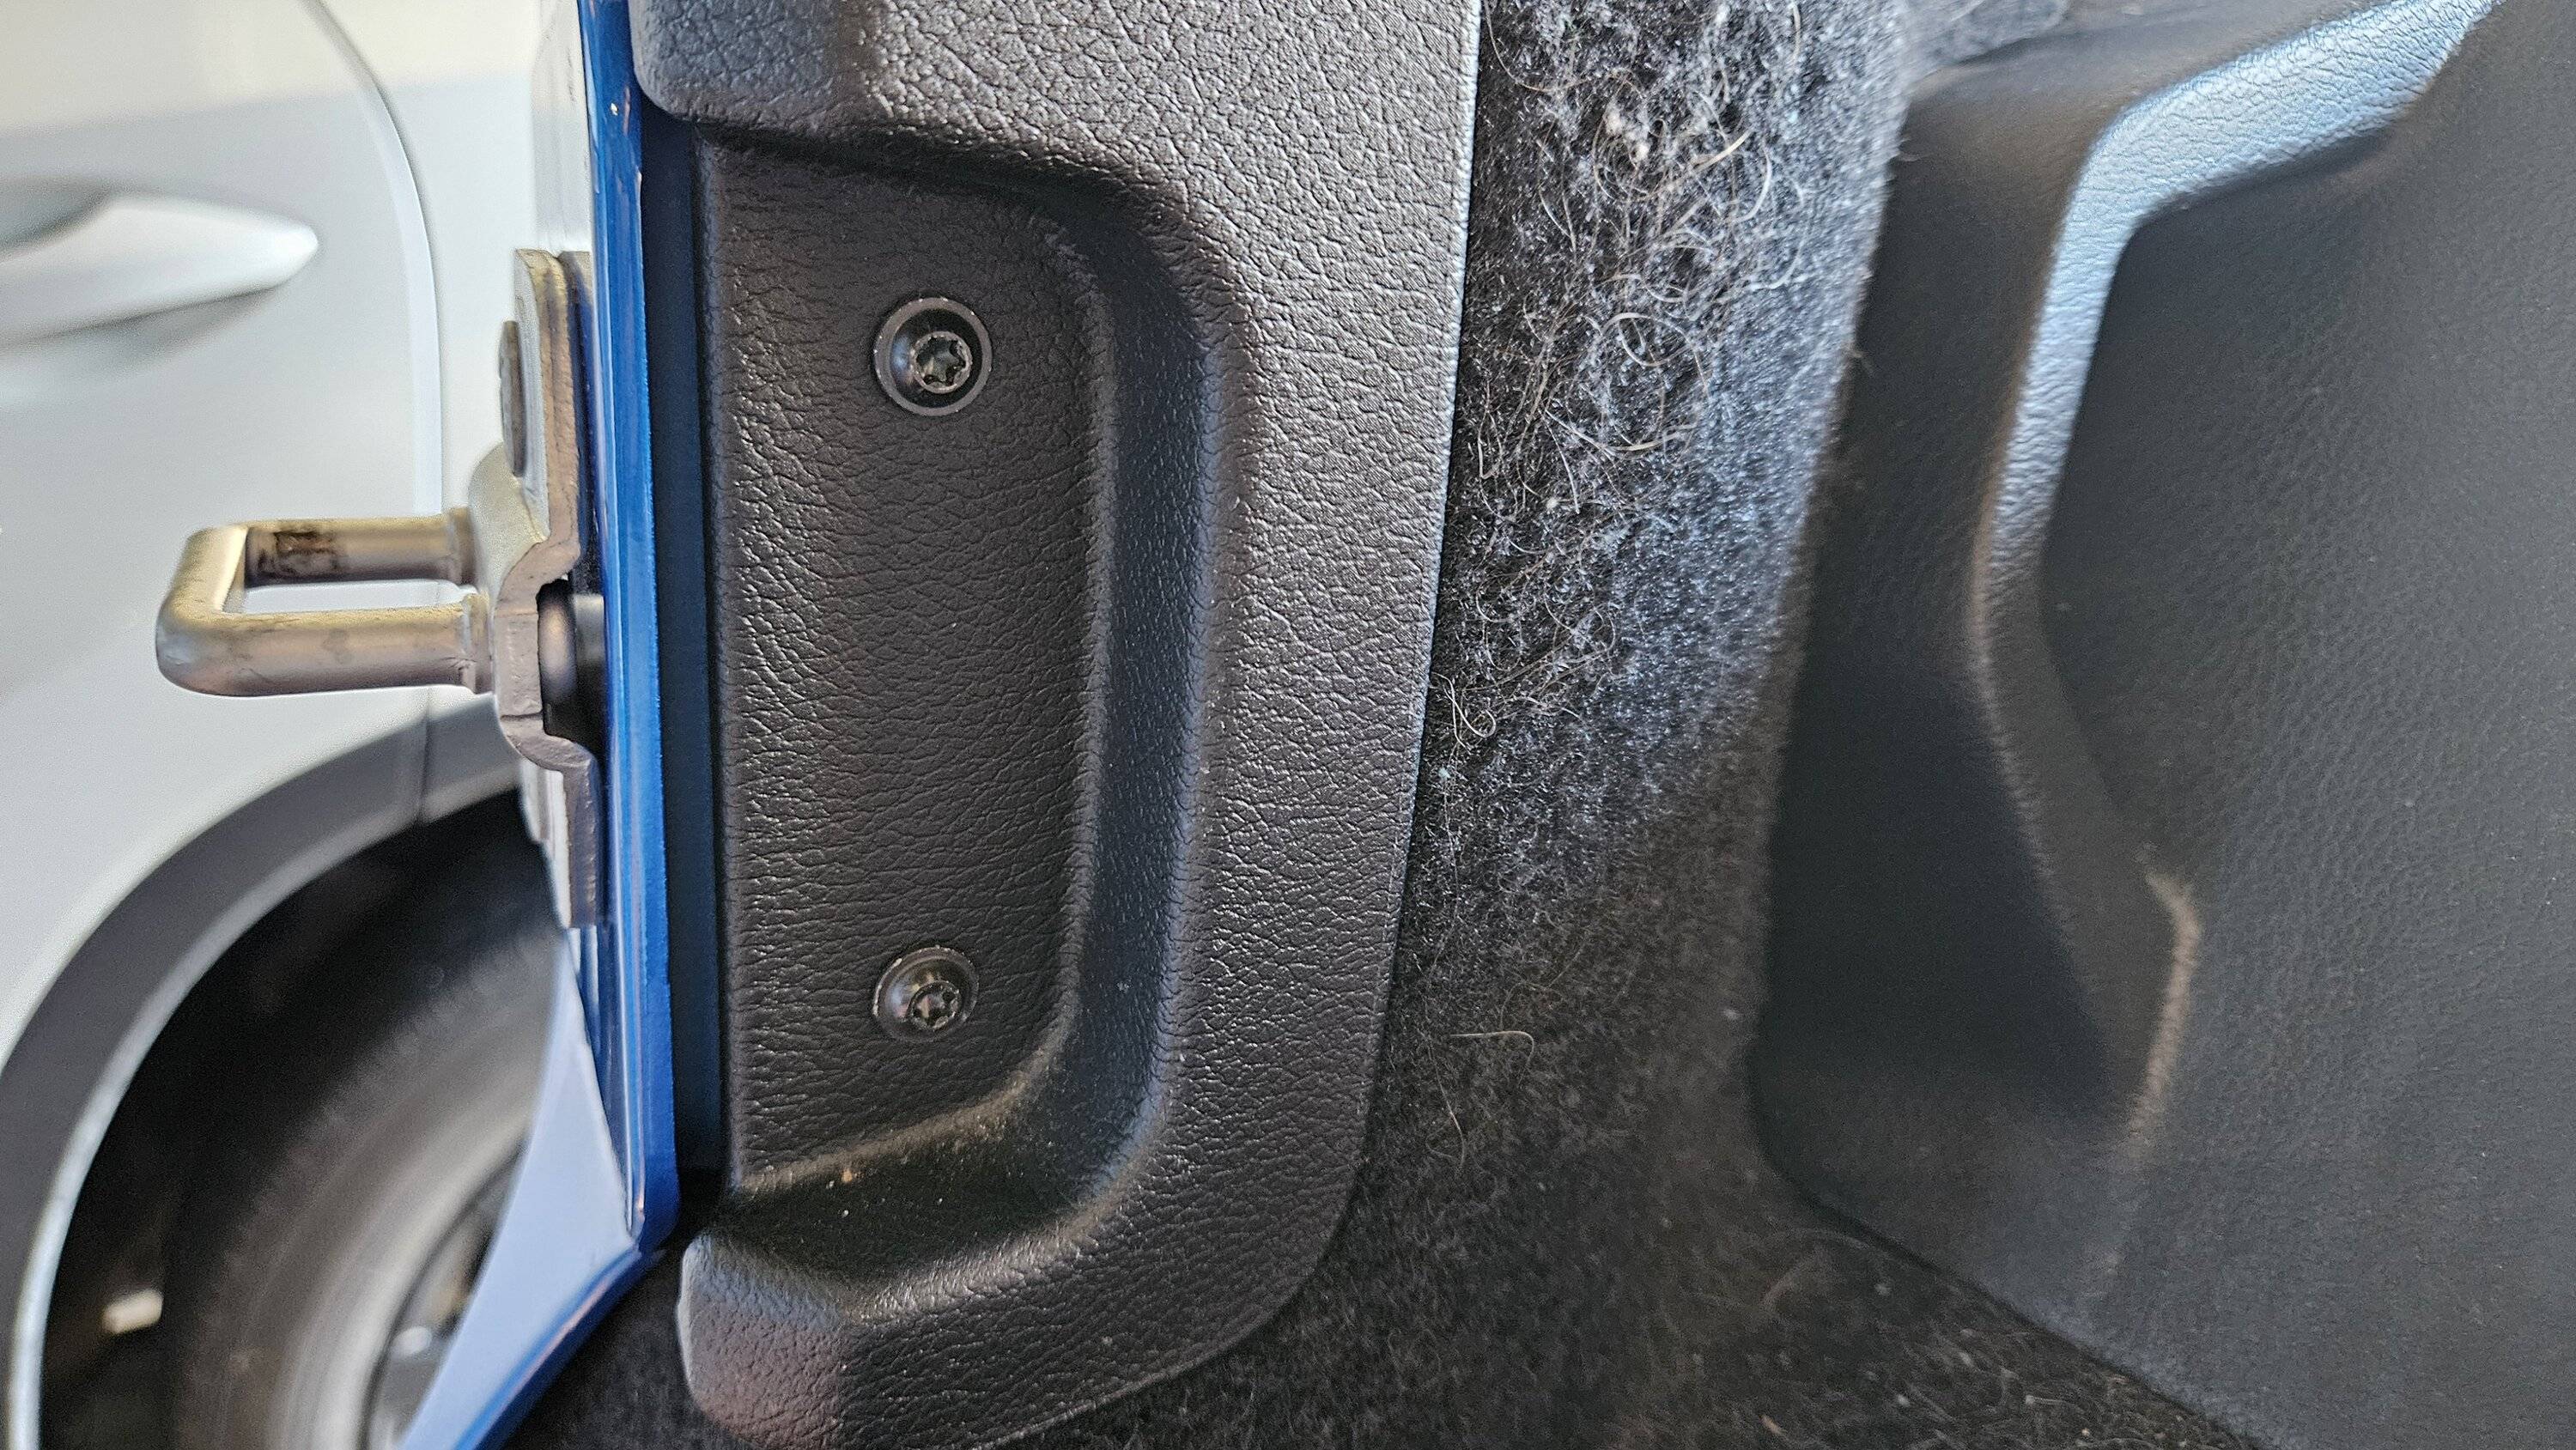
These are pretty easy to do. On either side, next to the door hook, there's a plastic trim piece. It has 2 T25 screws in it. If you opt to just remove it, note that there's a clip in the middle:
If you break the driver's side one like I did, here's the part information:
Driver's Side: 2018-2024 Jeep Wrangler Close Out Panel 6MM77TX7AB | All Mopar Parts
Passenger Side: (@AllMoparParts.com can you find the right hand version?)
You also need to remove the tie-down boards on either side of the cargo hatch. Once I got these off, I was pretty annoyed with Jeep - they're literally just hard plastic pieces with carpet glued onto them. It would probably be pretty easy to change them out with wooden or metal replacements and then cover that with Raptorlining or similar.
This is how the passenger side one goes back in - it took me about 5 minutes of turning it various directions to match it up. Note that I have the subwoofer - yours will look different if you don't. I *did* also loosen the one T25 screw holding the subwoofer down, but otherwise, just use a trim tool and push it in underneath everything. Pretty easy, really. I did the back first and then got the front in, but I don't know that it matters either which way.
Then do the same on the driver's side. There's a grommet behind my toolbag, which they provide. It's helpful to line it up. If you have two people for this side, that would be helpful, as that black trim at the back doesn't move much. I wound up having to stand in the back of the Jeep and just pull it toward the back to get it to fit under there.
If you bought the cargo closeout piece, you can put it in whenever. If you have the gap filler, the instructions from Armorlite will show you where you need to cut it. It's easy - they printed a groove, so you just follow that. This also has two grommets. They're not entirely necessary, but helpful. I put the part under the seat in first and then just pushed the other side under the bar holding the gap filler panel.
Again, in retrospect, this is entirely unnecessary, as you don't see it at all, but it does look nice if/when you lift up the flap.
The finished product with all the pieces installed and my Weathertech cargo mat back in place. I really love the durability of the Weathertech, but I'm not a huge fan of how it fits along the back edge. I guess I could put some sticky velcro back there to hold it down a bit better. From what I've seen, the Armorlite cargo mat is about the same. I don't think Jeep really gave much options thanks to the tie-down hooks and the hatch door.
The one thing that Armorlite doesn't offer, unfortunately, is a solution for the seatbacks - they're extra fuzzy, and pick up dog hair, in particularly, really well. Thankfully, @Obscurity found these on Amazon, and I was pleased to discover that not only do they sell *just* the seatback covers, but they also come with the closeout panel, for just $60. Steal.
So here's the install.
First, the cheap-o Amazon seatback covers. They arrived folded up, so I laid them out in the livingroom overnight to flatten out. @Armorlite Kail you guys may want to buy a set to take a look at them. With some slight improvements and your better materials, you could probably easily sell the kit for $100 or so. They adhere to the seatback via velcro strips:

It's literally that easy. Just line them up and stick them on. I like that they'll be easy to remove when I put my Diver Down seat covers back on this summer. They're not cut *exactly*, but they're close enough for $60. They're very similar material/feel to my weathertech cargo mat, so I know they'll be easy to clean, etc.

The closeout panel is *slightly* more frustrating. For some reason, when they designed it, they did so with a lip around, so that the velcro is slightly recessed. Thankfully, they provided the *other* side of the velcro strip, with pretty heavy-duty adhesive on it. Just remove the yellow placeholder backing and press it on.

I'm curious to see how long this holds to the carpeting, but it would be pretty easy to replace the loop part of the velcro/hook-and-loop if I needed to.


*note - the cargo mat is pulled forward a bit in this picture - it actually fits much better than that.
The UPS truck pulled up right when I was taking that last photo to deliver the Armorlite pieces - great timing.
These are pretty easy to do. On either side, next to the door hook, there's a plastic trim piece. It has 2 T25 screws in it. If you opt to just remove it, note that there's a clip in the middle:

If you break the driver's side one like I did, here's the part information:
Driver's Side: 2018-2024 Jeep Wrangler Close Out Panel 6MM77TX7AB | All Mopar Parts
Passenger Side: (@AllMoparParts.com can you find the right hand version?)

You also need to remove the tie-down boards on either side of the cargo hatch. Once I got these off, I was pretty annoyed with Jeep - they're literally just hard plastic pieces with carpet glued onto them. It would probably be pretty easy to change them out with wooden or metal replacements and then cover that with Raptorlining or similar.
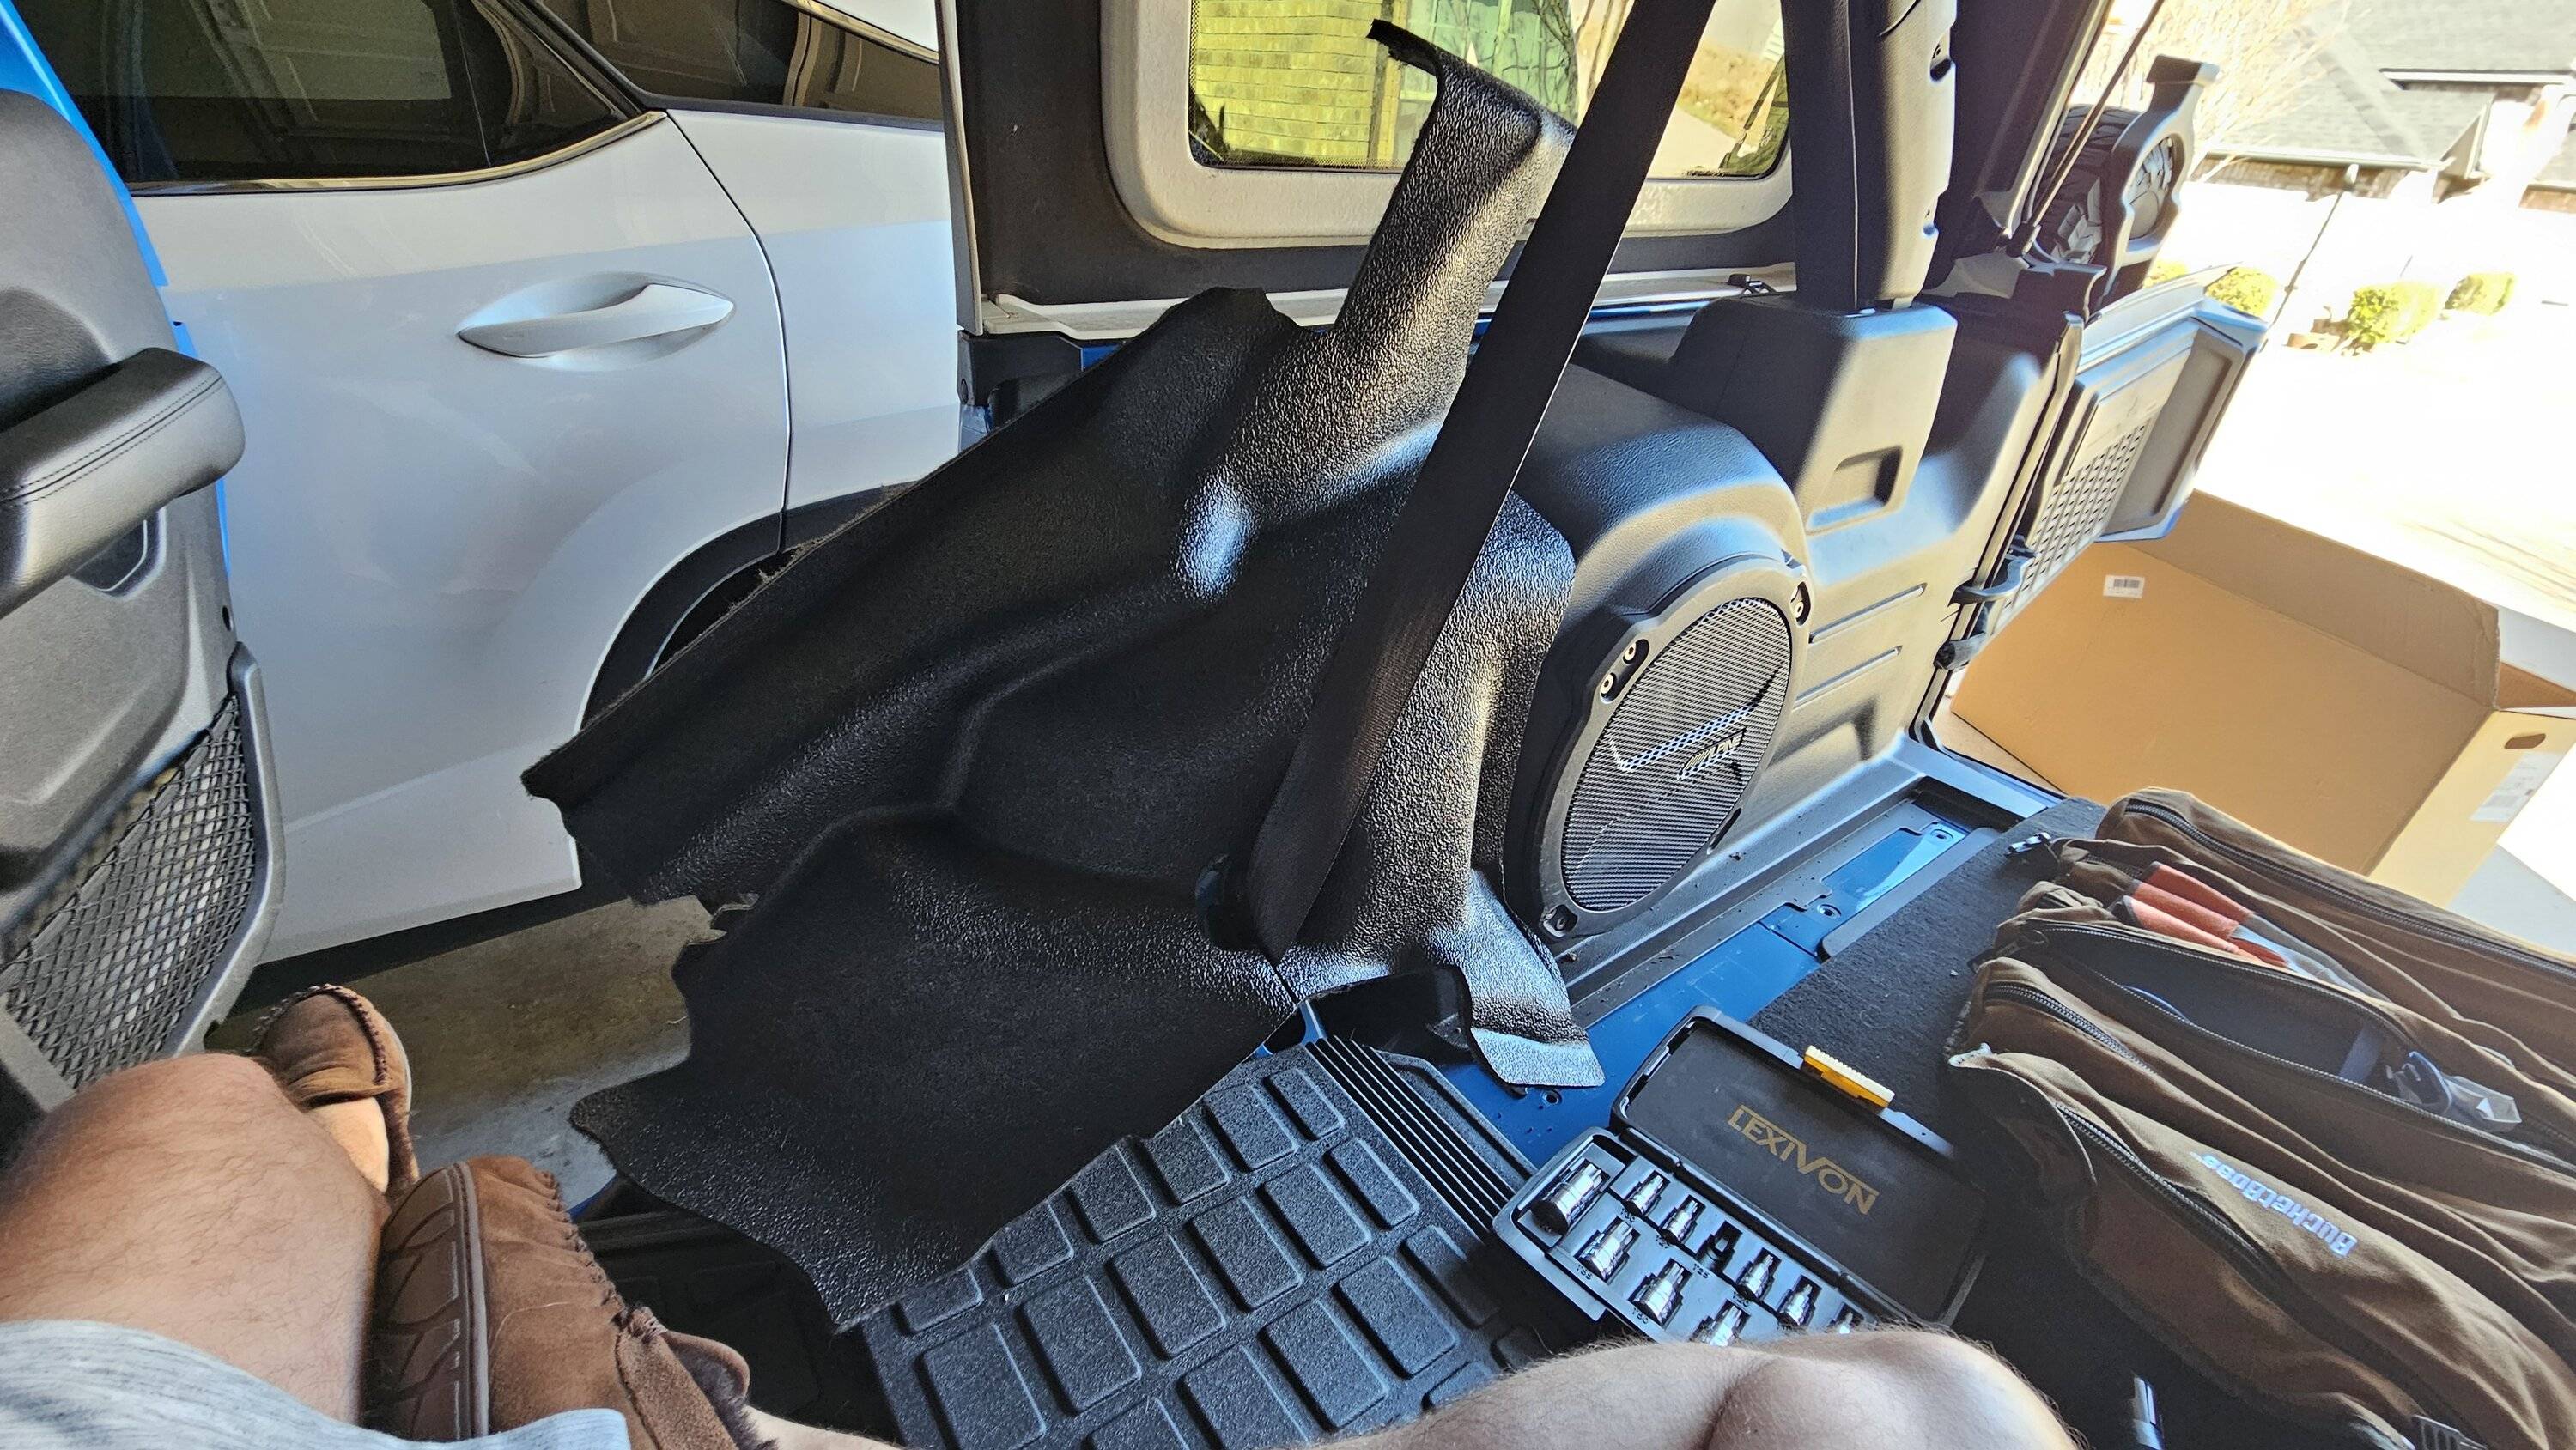
This is how the passenger side one goes back in - it took me about 5 minutes of turning it various directions to match it up. Note that I have the subwoofer - yours will look different if you don't. I *did* also loosen the one T25 screw holding the subwoofer down, but otherwise, just use a trim tool and push it in underneath everything. Pretty easy, really. I did the back first and then got the front in, but I don't know that it matters either which way.
Then do the same on the driver's side. There's a grommet behind my toolbag, which they provide. It's helpful to line it up. If you have two people for this side, that would be helpful, as that black trim at the back doesn't move much. I wound up having to stand in the back of the Jeep and just pull it toward the back to get it to fit under there.

If you bought the cargo closeout piece, you can put it in whenever. If you have the gap filler, the instructions from Armorlite will show you where you need to cut it. It's easy - they printed a groove, so you just follow that. This also has two grommets. They're not entirely necessary, but helpful. I put the part under the seat in first and then just pushed the other side under the bar holding the gap filler panel.
Again, in retrospect, this is entirely unnecessary, as you don't see it at all, but it does look nice if/when you lift up the flap.

The finished product with all the pieces installed and my Weathertech cargo mat back in place. I really love the durability of the Weathertech, but I'm not a huge fan of how it fits along the back edge. I guess I could put some sticky velcro back there to hold it down a bit better. From what I've seen, the Armorlite cargo mat is about the same. I don't think Jeep really gave much options thanks to the tie-down hooks and the hatch door.

Sponsored
Last edited: