jaymz
Well-Known Member
- First Name
- Jay
- Joined
- Aug 11, 2021
- Threads
- 18
- Messages
- 1,450
- Reaction score
- 2,838
- Location
- Inland Empire
- Vehicle(s)
- 2018 Rubicon Unlimited
- Thread starter
- #1
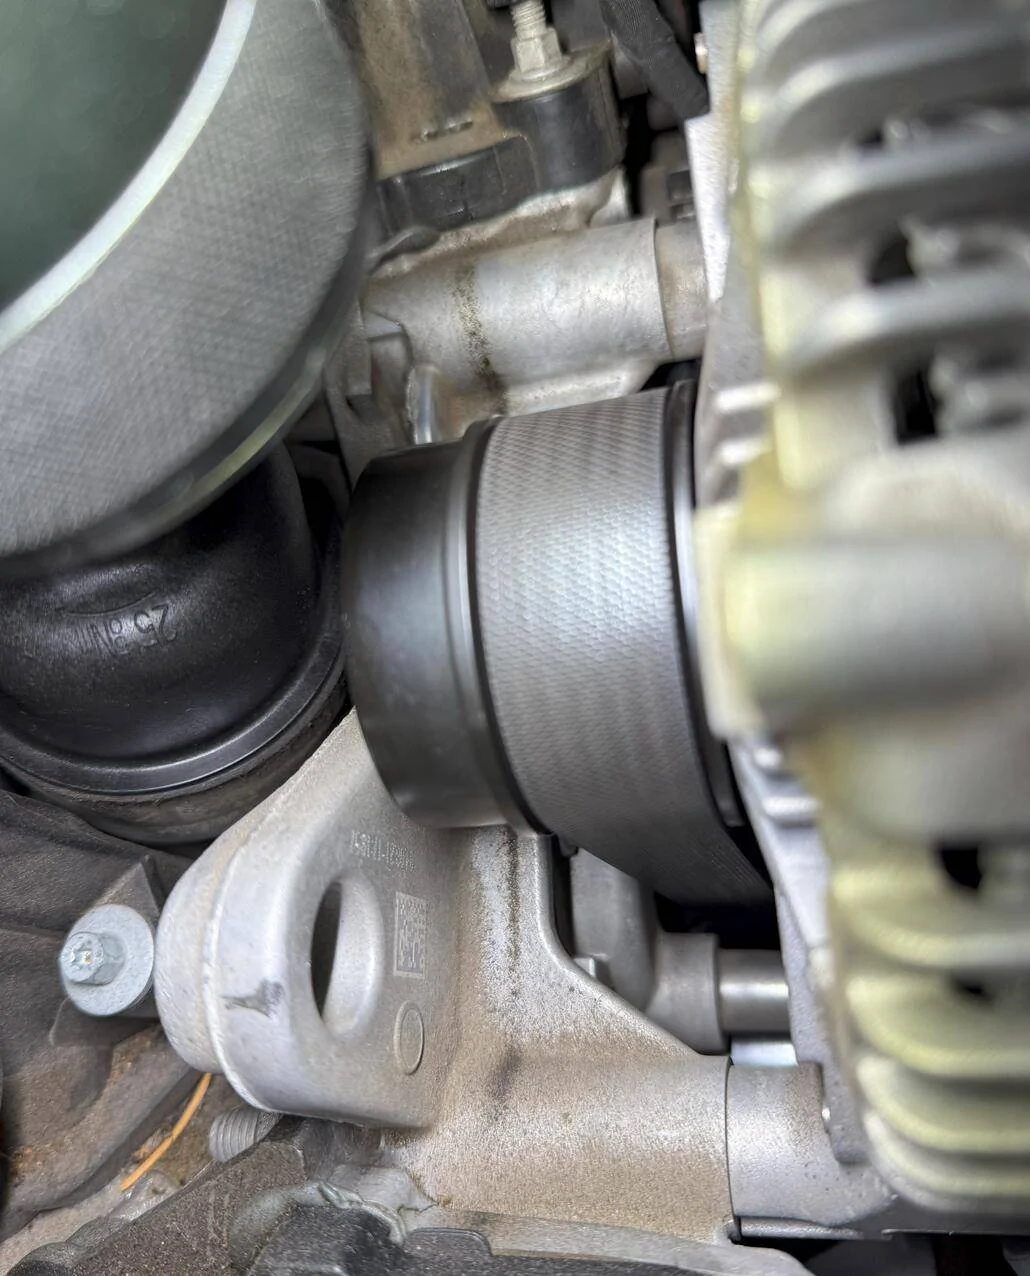
My overrunning alternator decoupler has been slinging grease for about a month and I’ve got a road trip planned for this w/e so I decided to finally replace it.
I can tell you all with great certainty that it can be changed without removing the alternator. I can also tell you with the same certainty that it’s easier to remove the alternator and change it on the bench.
That being said, here’s a few pics I snapped along the way:
The “stripe”.

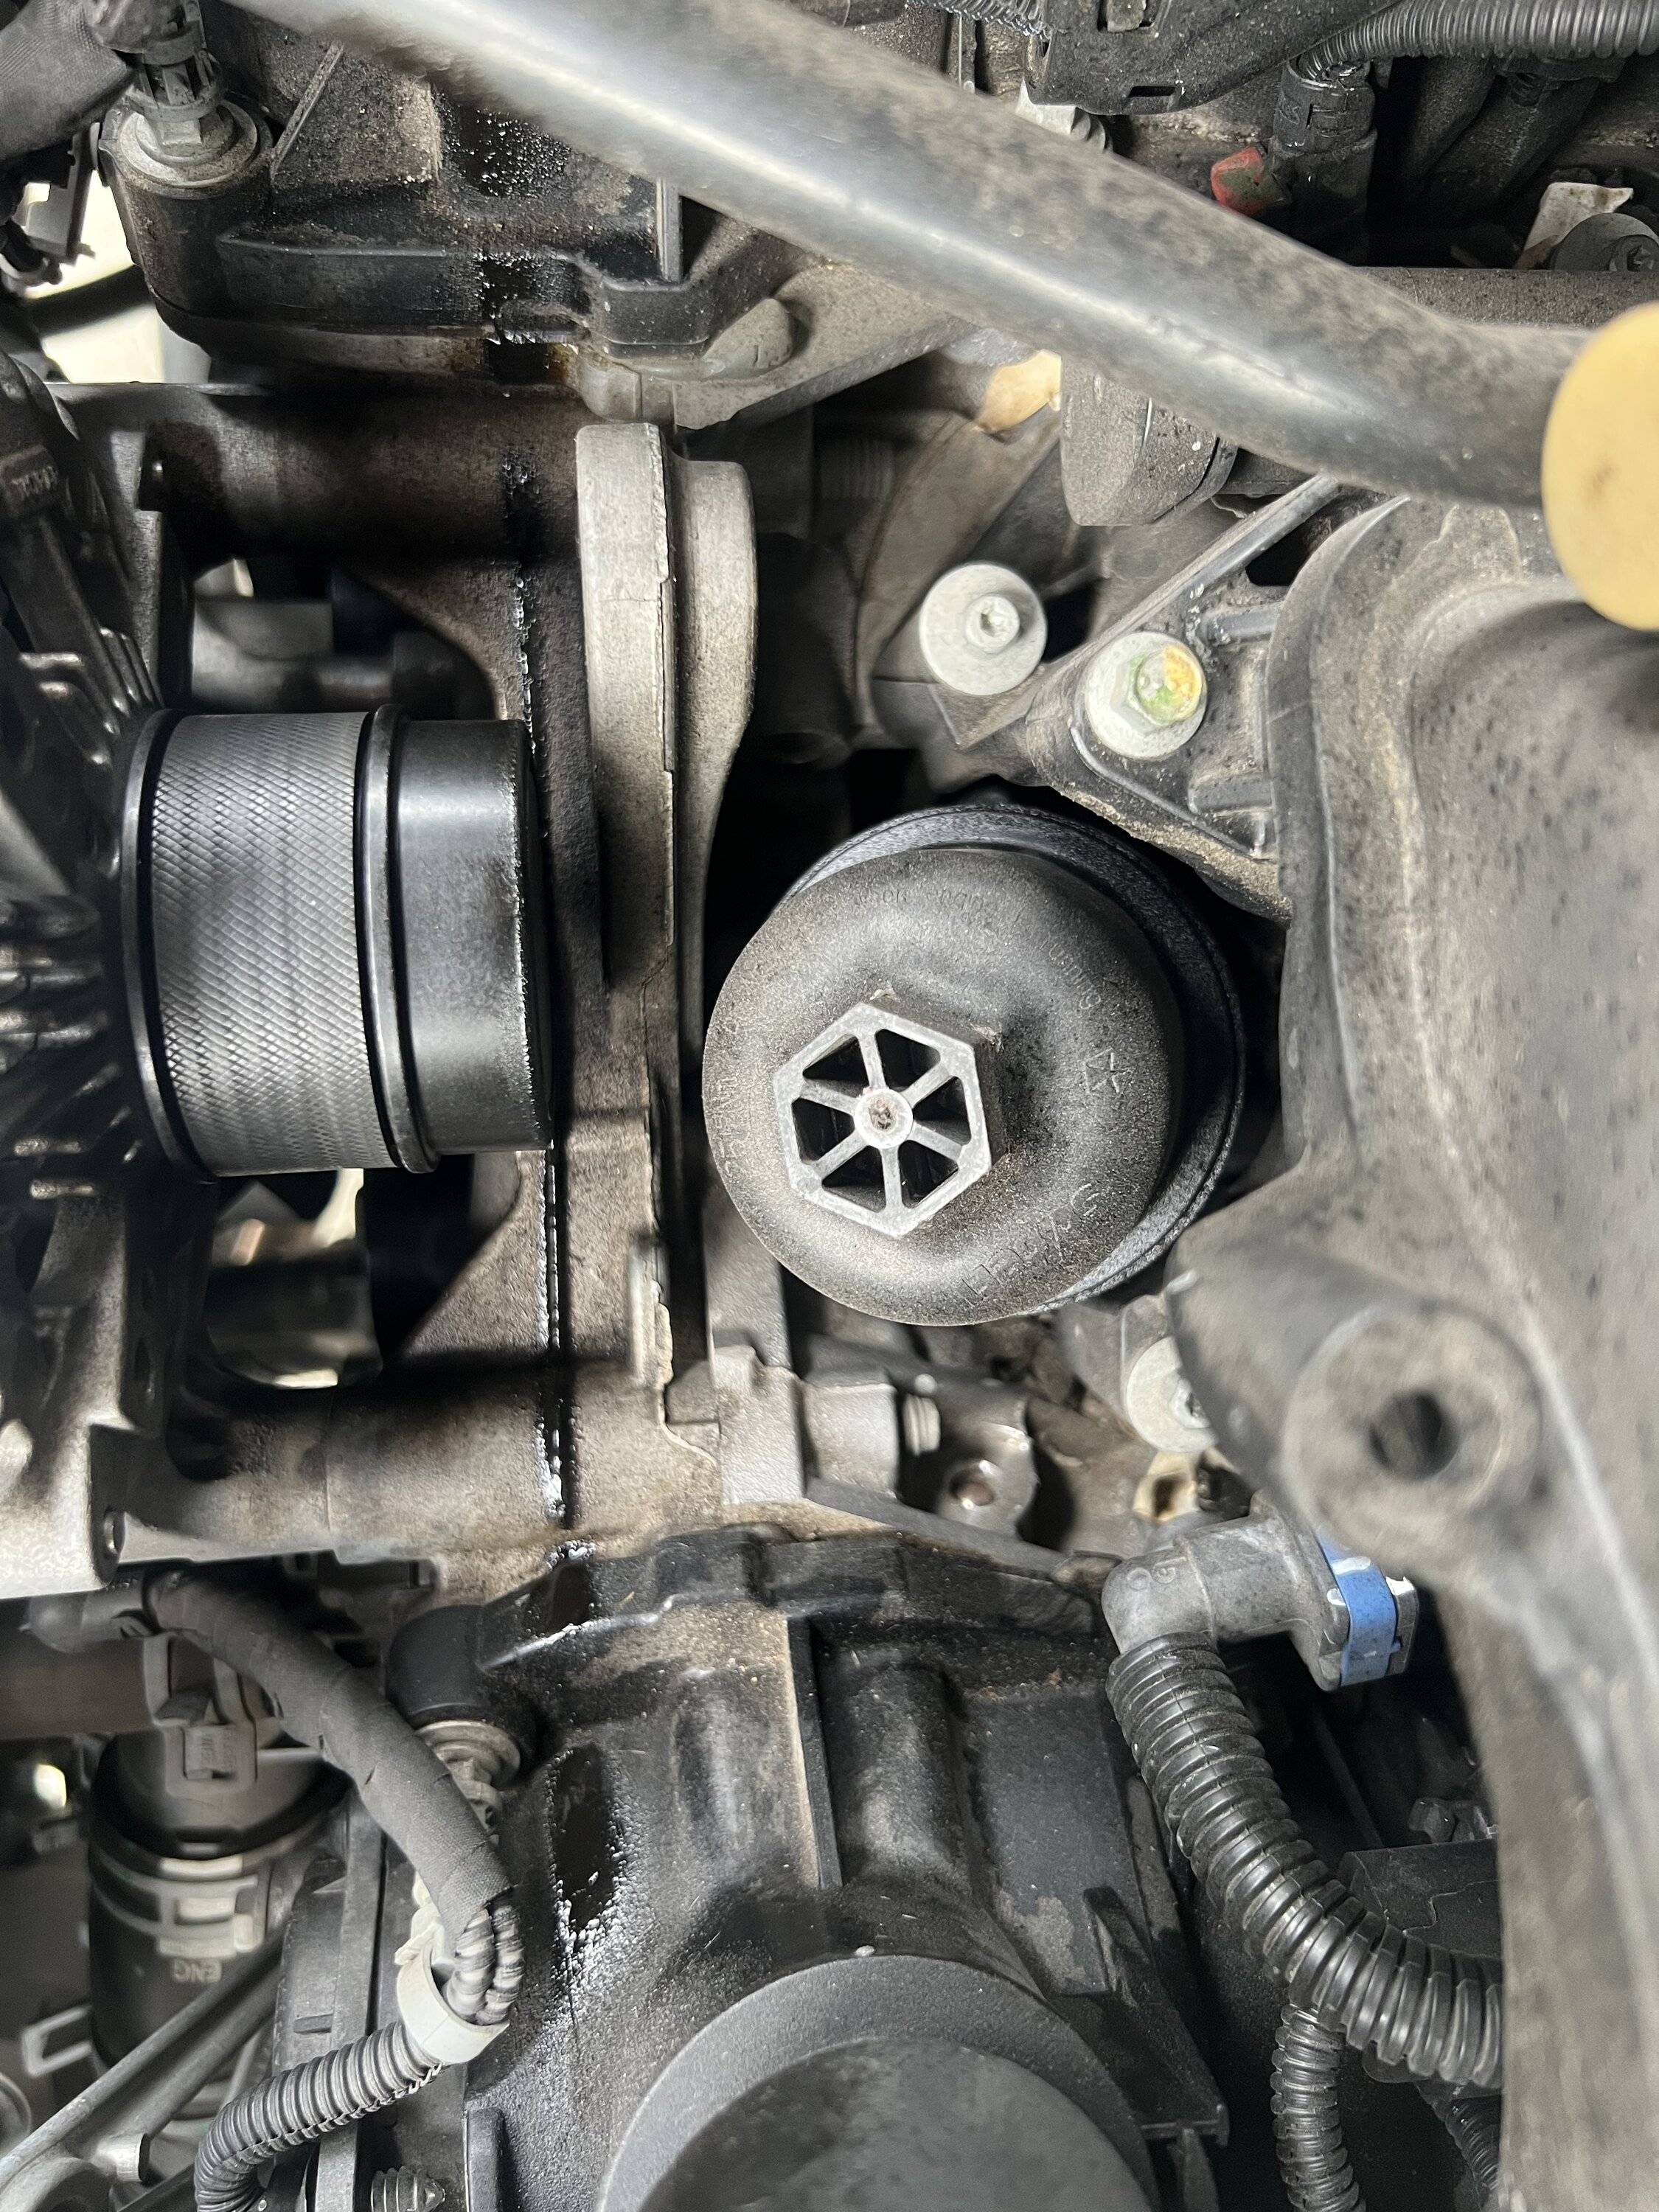
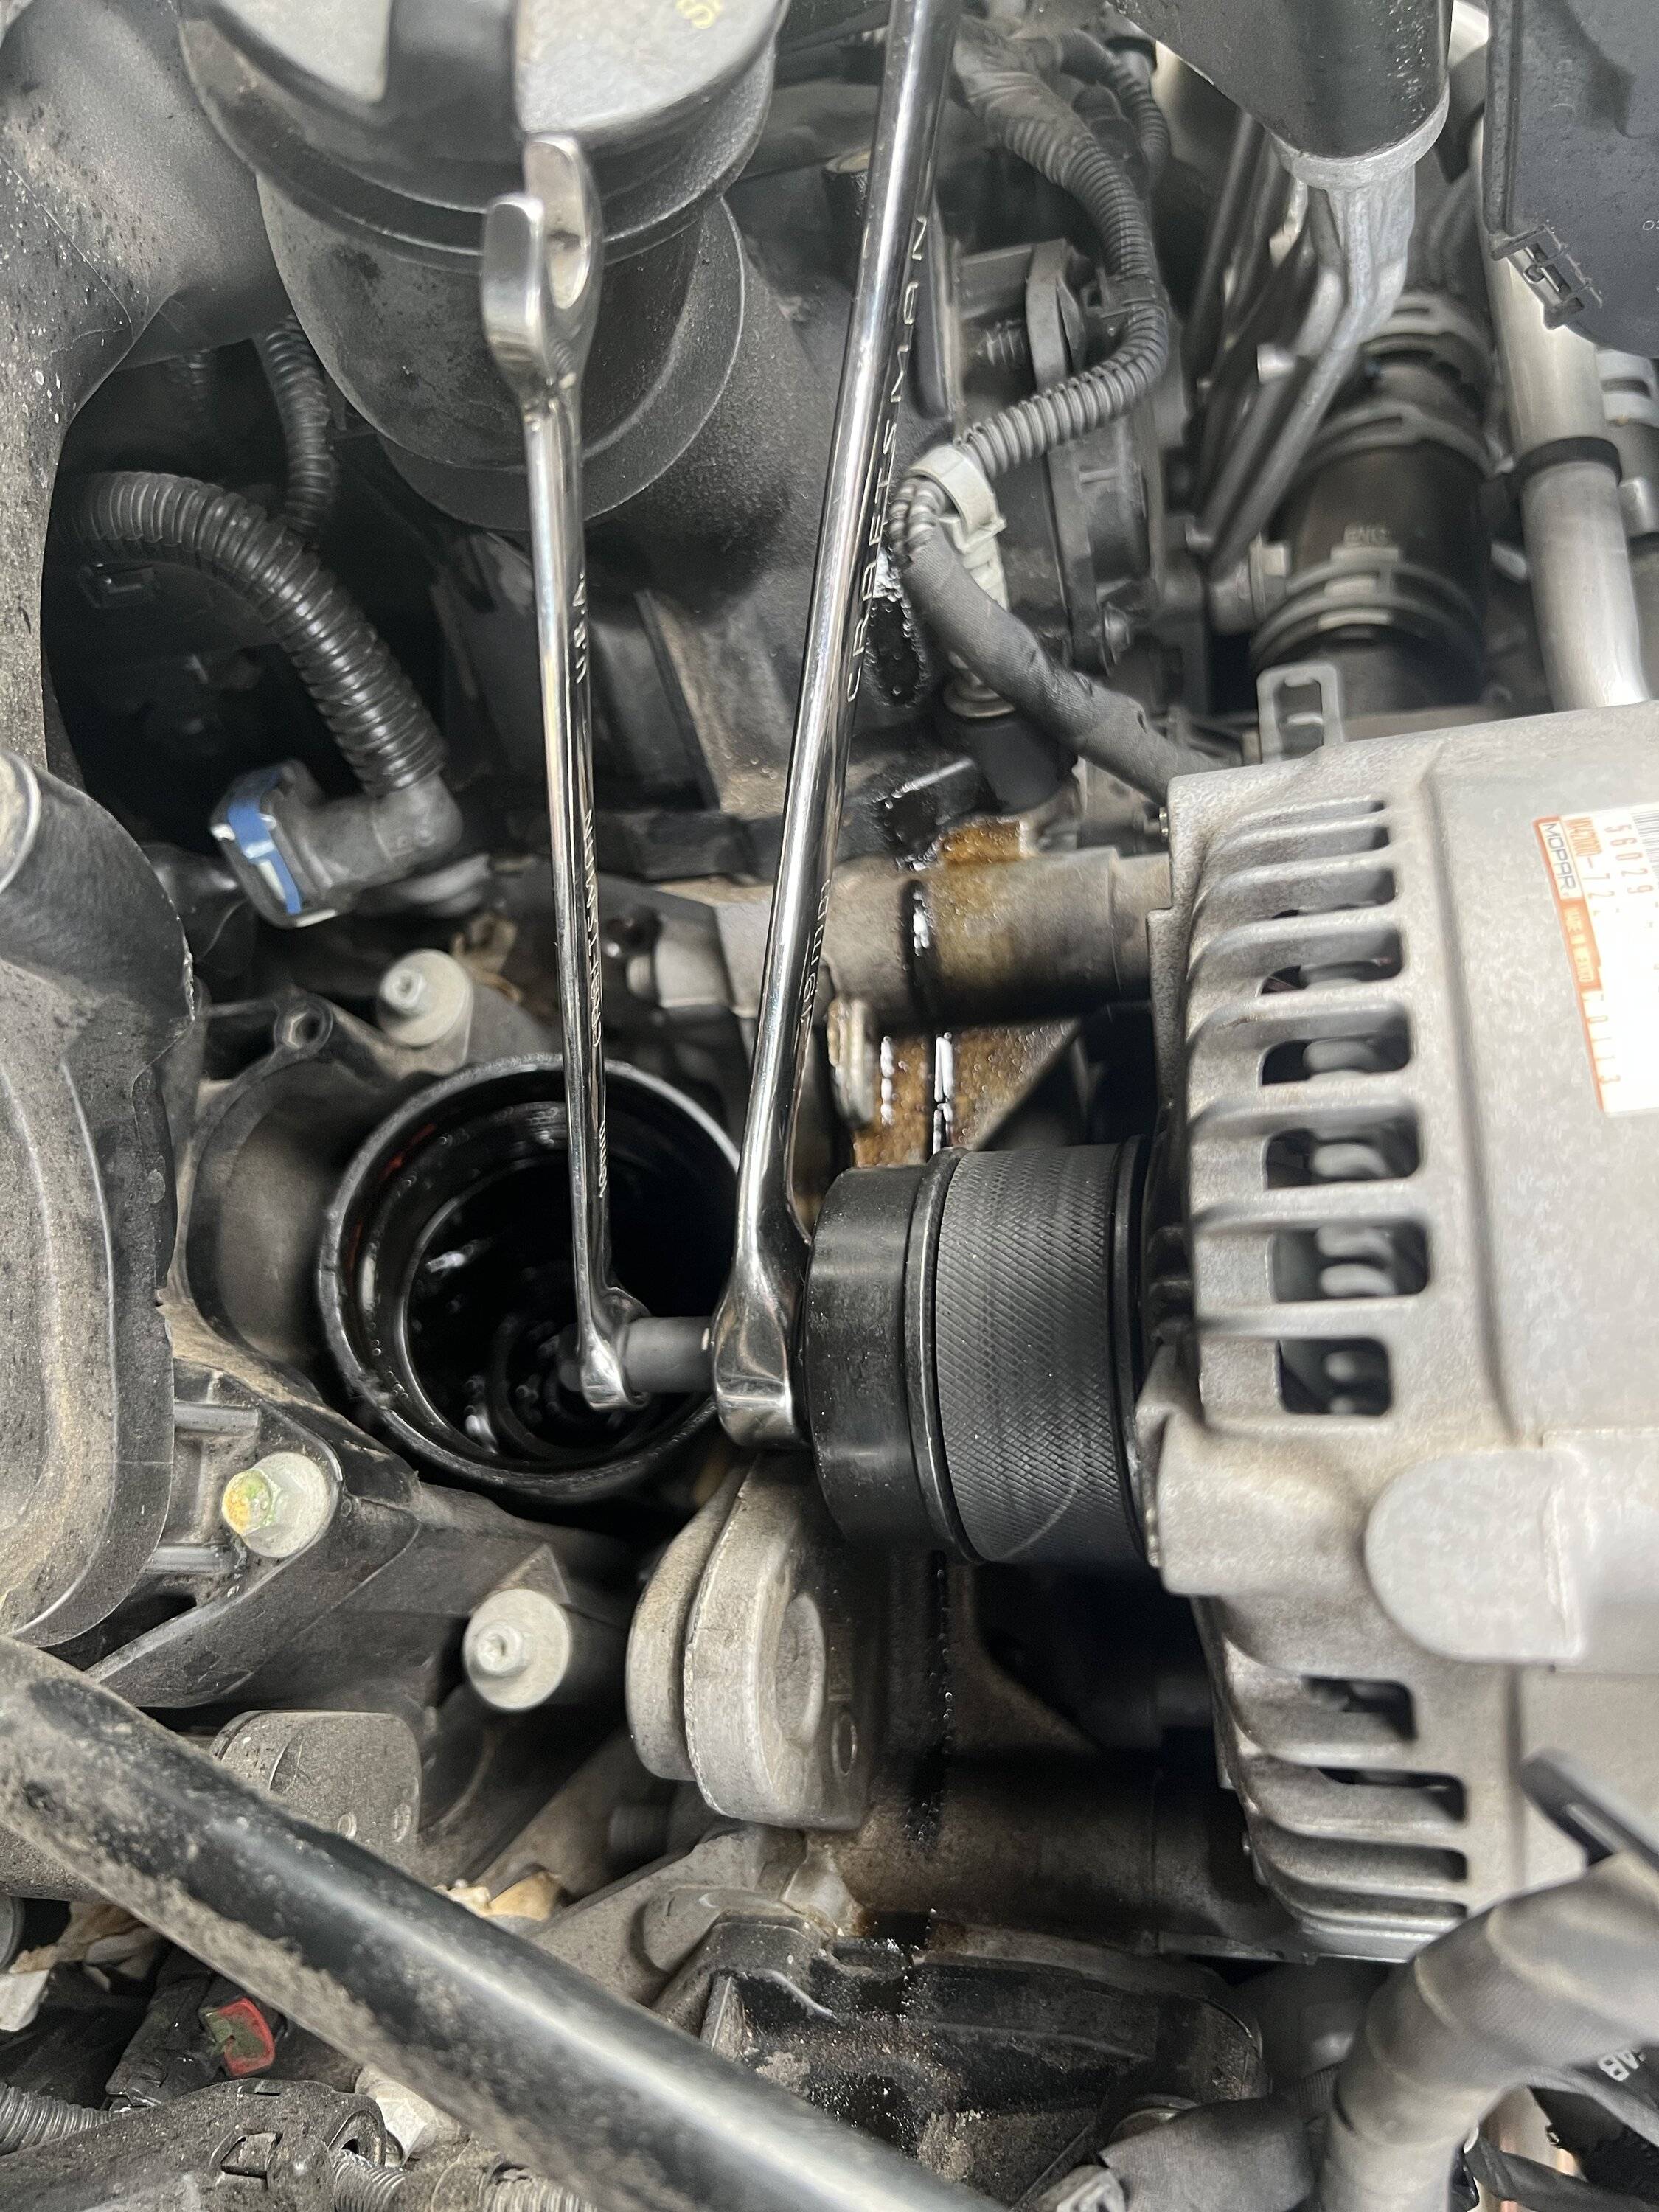
Oil filter removal is necessary to install the removal tool. Hold the 19mm wrench and spin the 10mm clockwise toward the driver side. A MUCH longer wrench would have been helpful, but it’s MIA. Ratchet and socket could work if you have one that is slimmer than average.
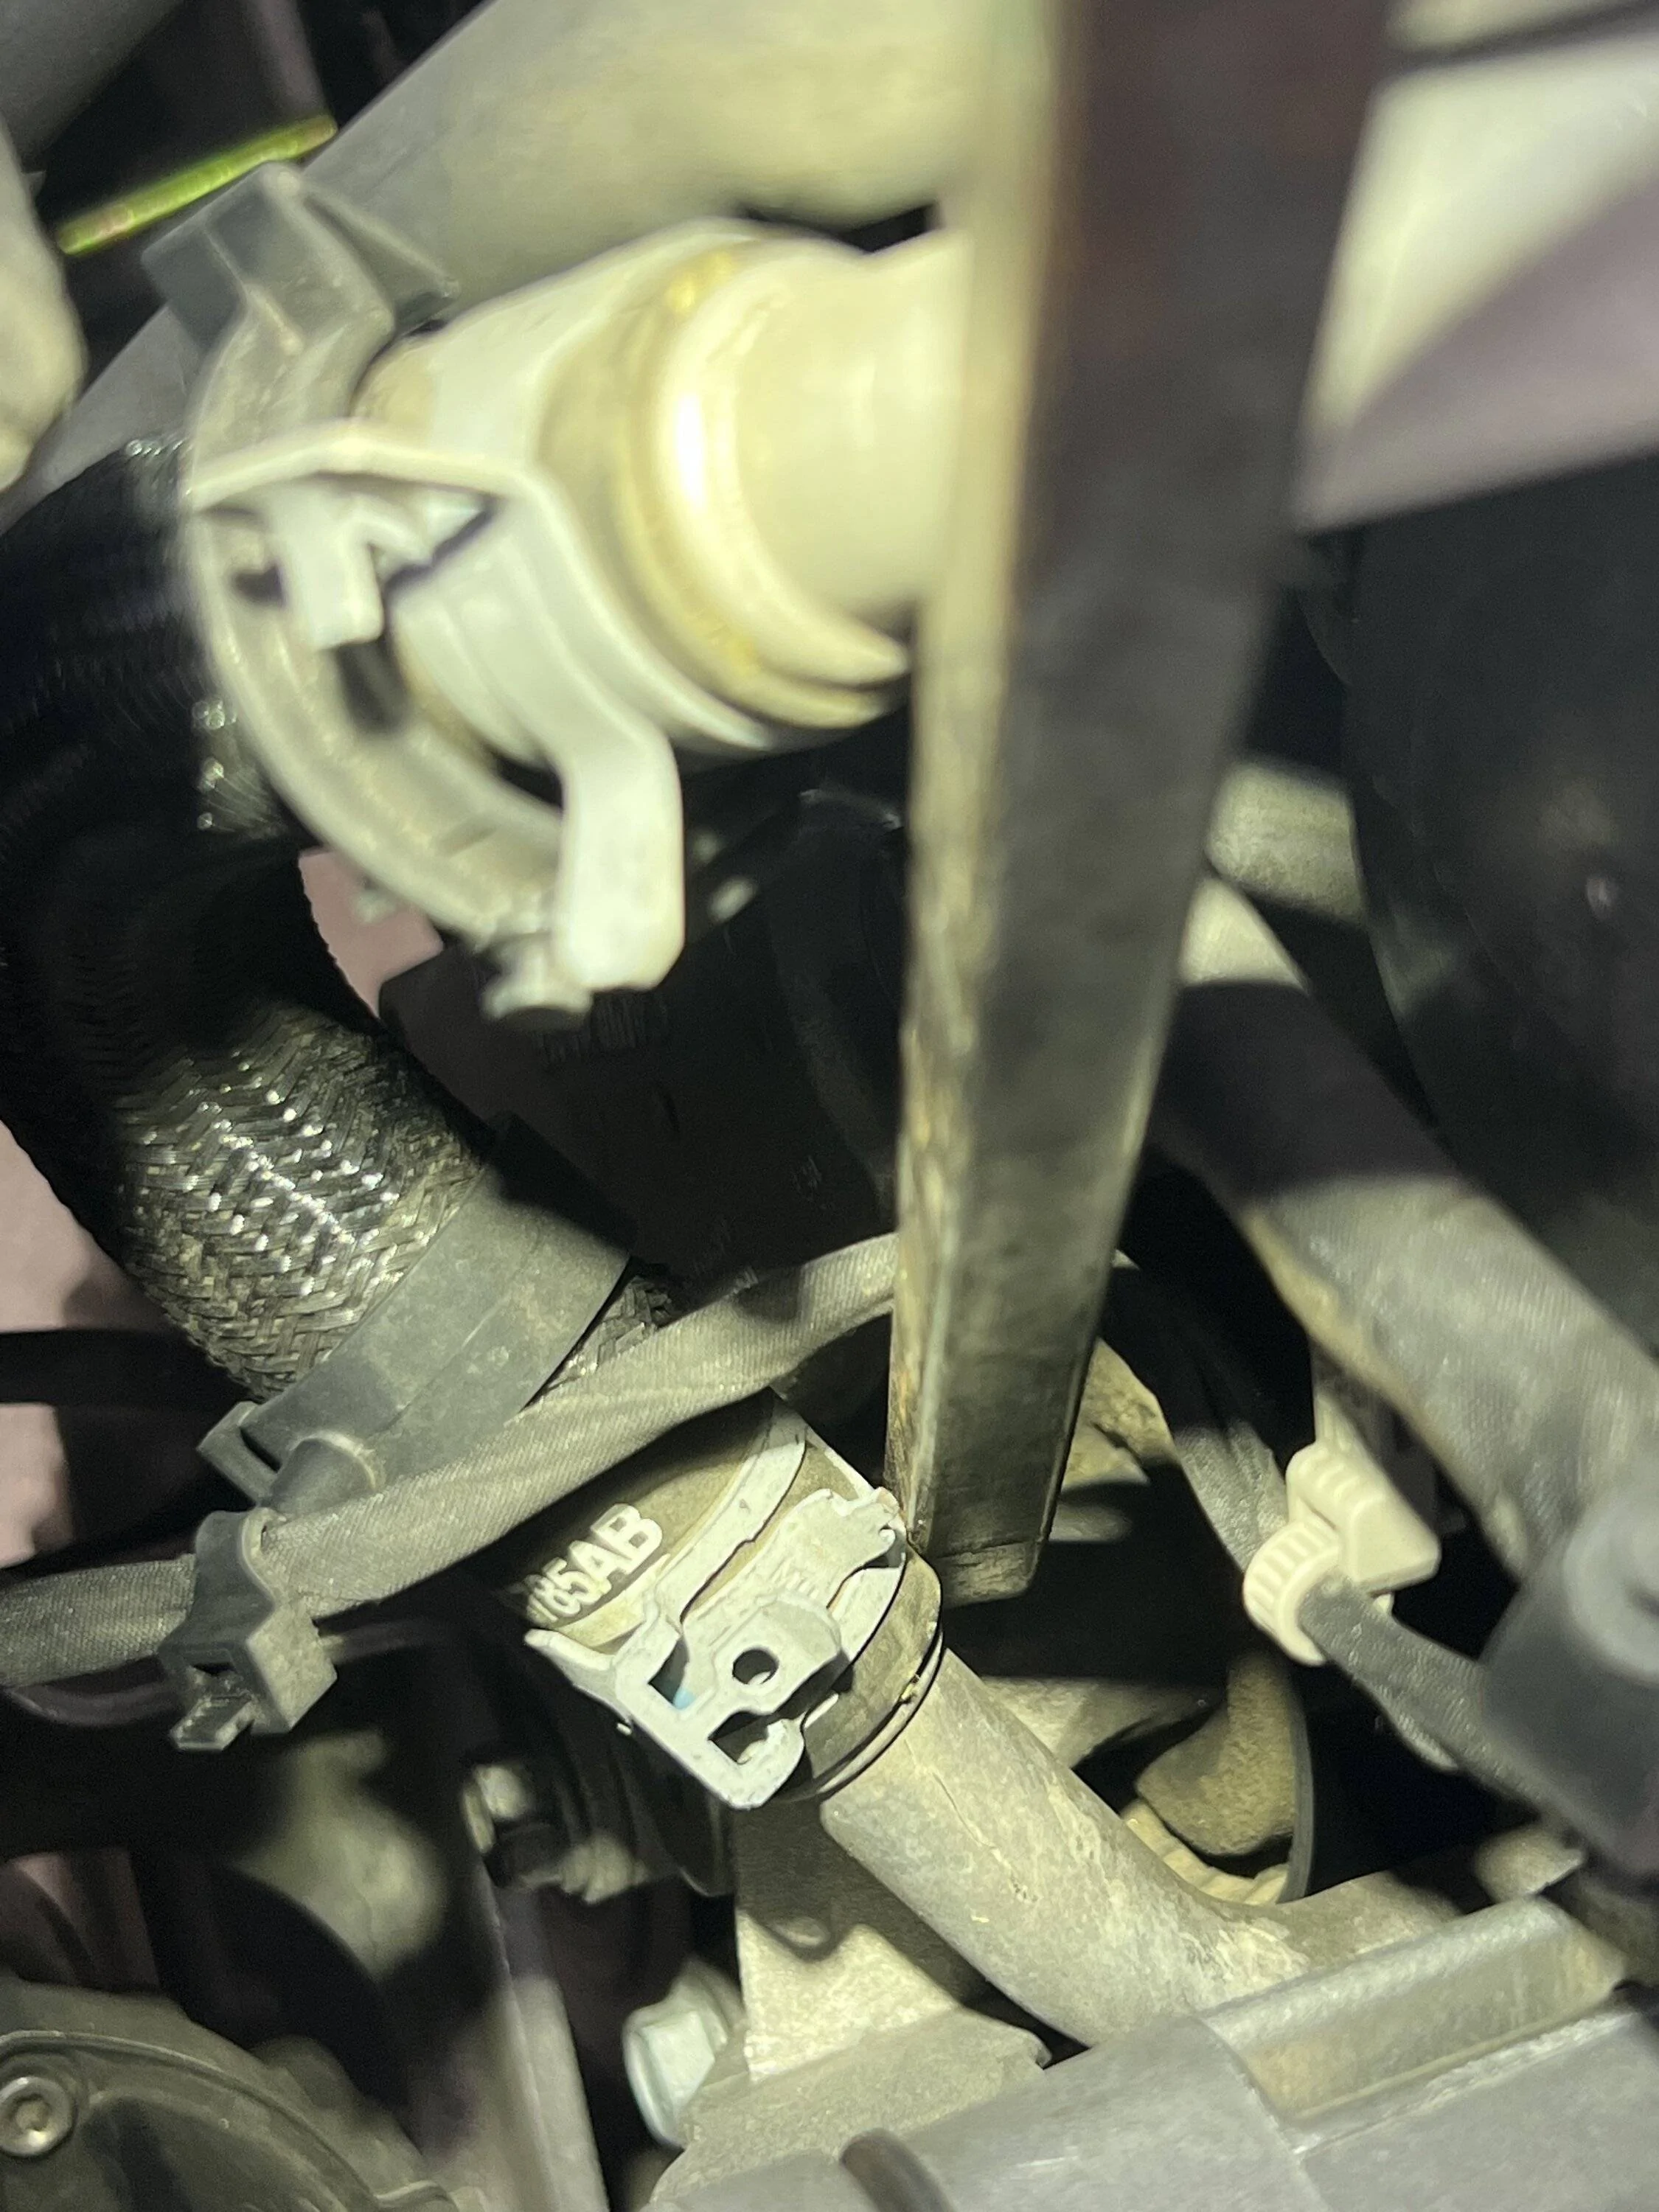
It’s pretty much impossible to see what I’m doing here, but I used a pry bar to release tension on the belt to facilitate spinning the pulley off of the alternator shaft. This is the point that I decided I’m not saving significant time by “cheating”, and pulled the alternator to reinstall the OAD pulley.
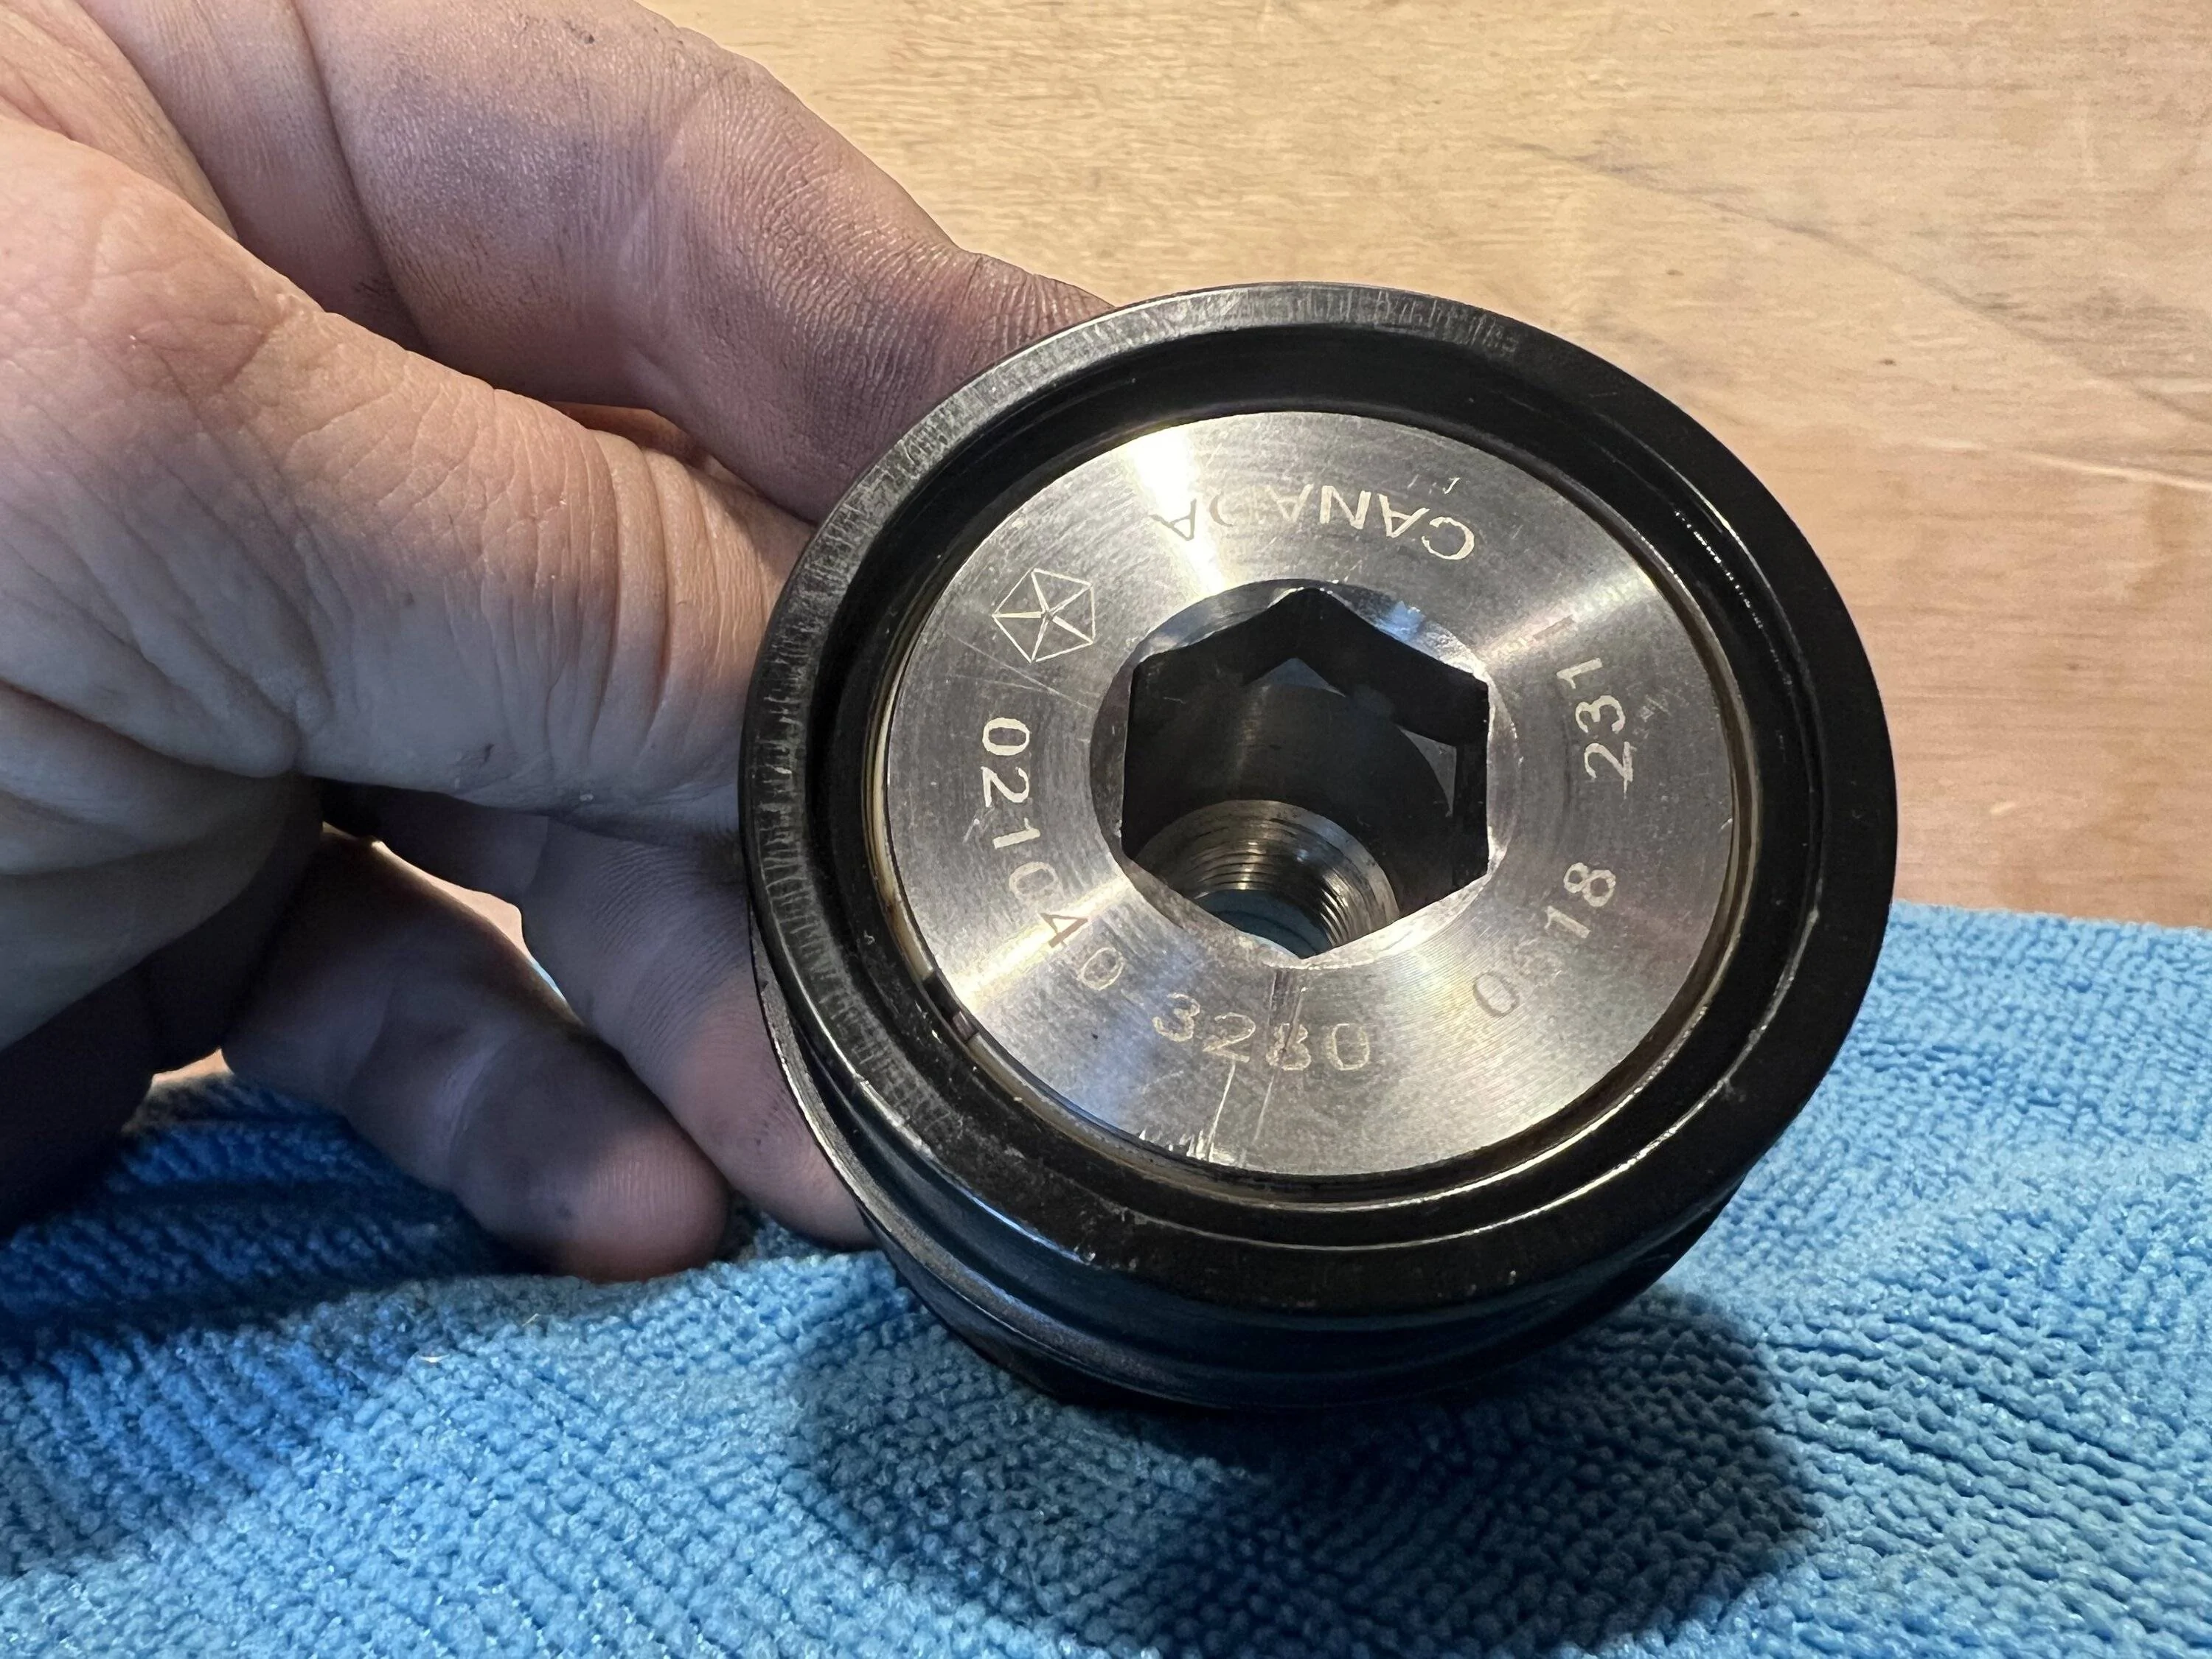
Degreased OEM pulley. Posting in the event someone wants to attempt to purchase OEM parts at some point.

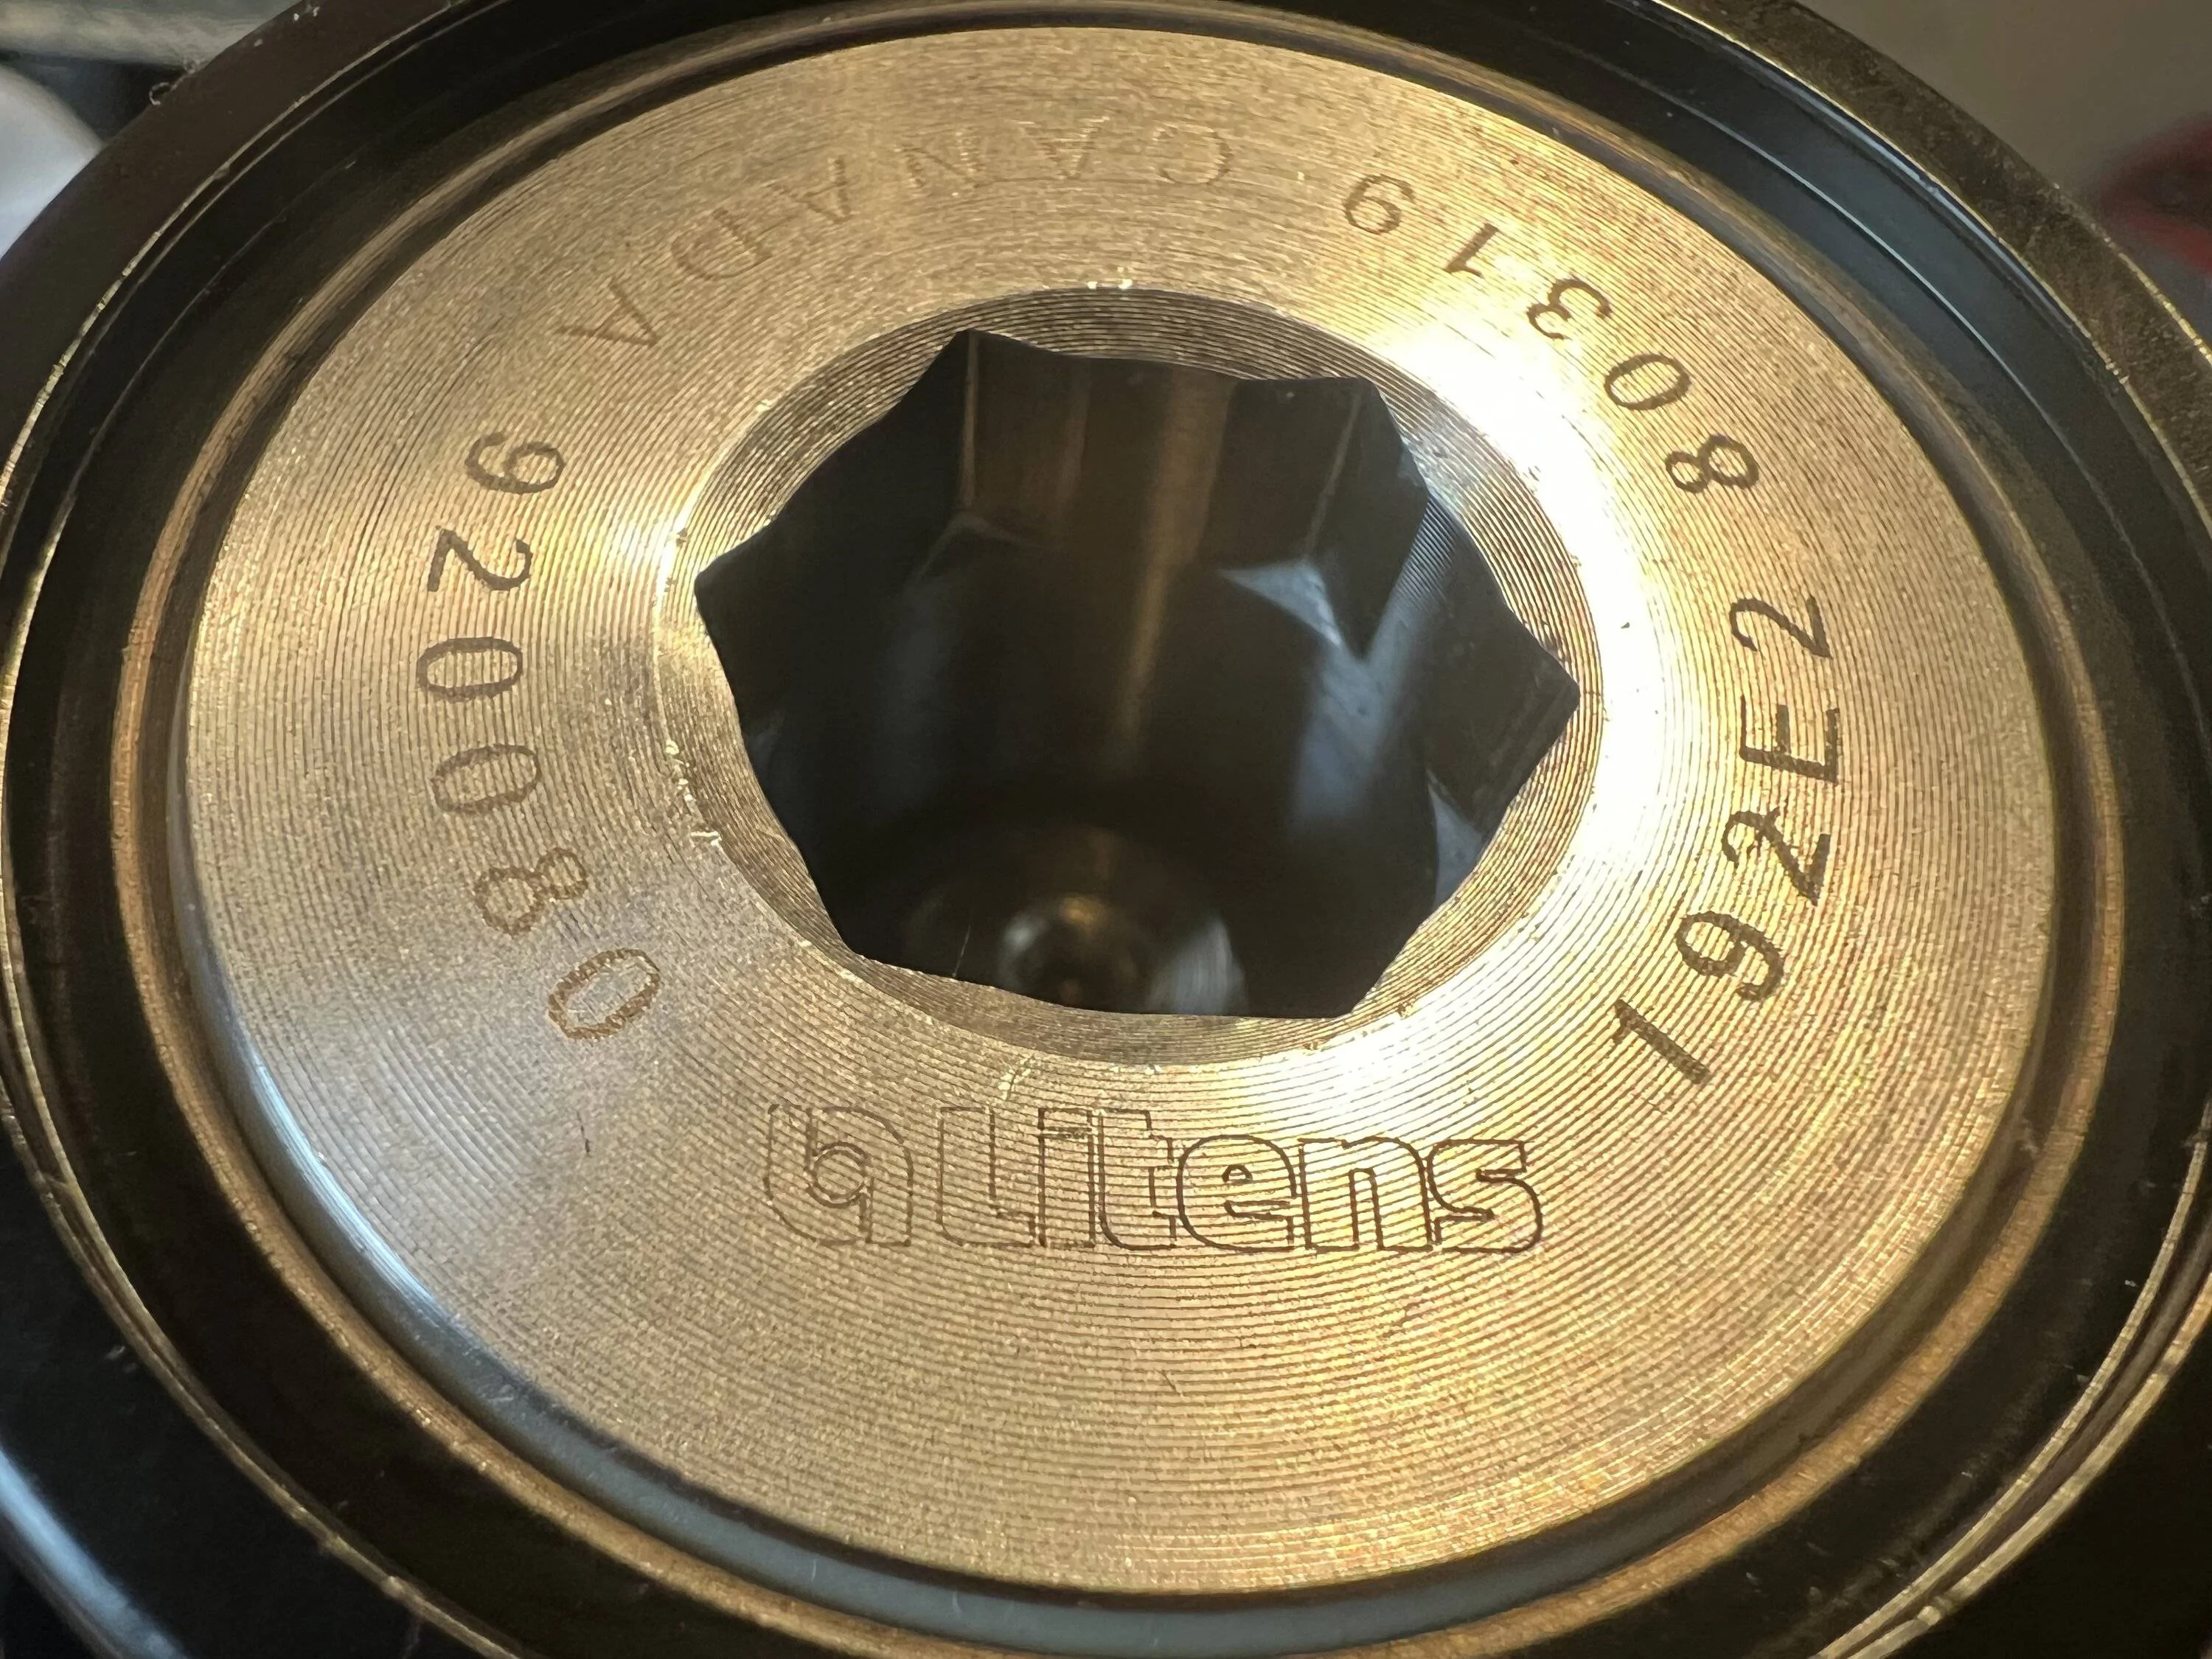
Replacement OAD Pulley.
Litens P/N 920080A. Don’t know why the “A” isn’t stamped on the part, but it’s the part number that I purchased.
Reassembly is obviously the same as disassembly, only in reverse. I would suggest belt replacement at the same time as you’re already knee deep into the stuff you need to remove anyway, but my local parts house was out of stock and my belt has plenty of life in it.
I’m into the job about an hour in time, and about $100 for the pulley and the tool. All in all not as much as a PITA as I was expecting.
I can tell you all with great certainty that it can be changed without removing the alternator. I can also tell you with the same certainty that it’s easier to remove the alternator and change it on the bench.
That being said, here’s a few pics I snapped along the way:
The “stripe”.
Oil filter removal is necessary to install the removal tool. Hold the 19mm wrench and spin the 10mm clockwise toward the driver side. A MUCH longer wrench would have been helpful, but it’s MIA. Ratchet and socket could work if you have one that is slimmer than average.
It’s pretty much impossible to see what I’m doing here, but I used a pry bar to release tension on the belt to facilitate spinning the pulley off of the alternator shaft. This is the point that I decided I’m not saving significant time by “cheating”, and pulled the alternator to reinstall the OAD pulley.
Degreased OEM pulley. Posting in the event someone wants to attempt to purchase OEM parts at some point.
Replacement OAD Pulley.
Litens P/N 920080A. Don’t know why the “A” isn’t stamped on the part, but it’s the part number that I purchased.
Reassembly is obviously the same as disassembly, only in reverse. I would suggest belt replacement at the same time as you’re already knee deep into the stuff you need to remove anyway, but my local parts house was out of stock and my belt has plenty of life in it.
I’m into the job about an hour in time, and about $100 for the pulley and the tool. All in all not as much as a PITA as I was expecting.
Sponsored