Sponsored

6.5" soundbar adapters

oceanblue2019

Well-Known Member
First Name
John
Joined
Apr 13, 2019
Threads
18
Messages
3,099
Reaction score
4,759
Location
Maryland
Vehicle(s)
2019 JLUR 2.0L Auto
Occupation
Metrology
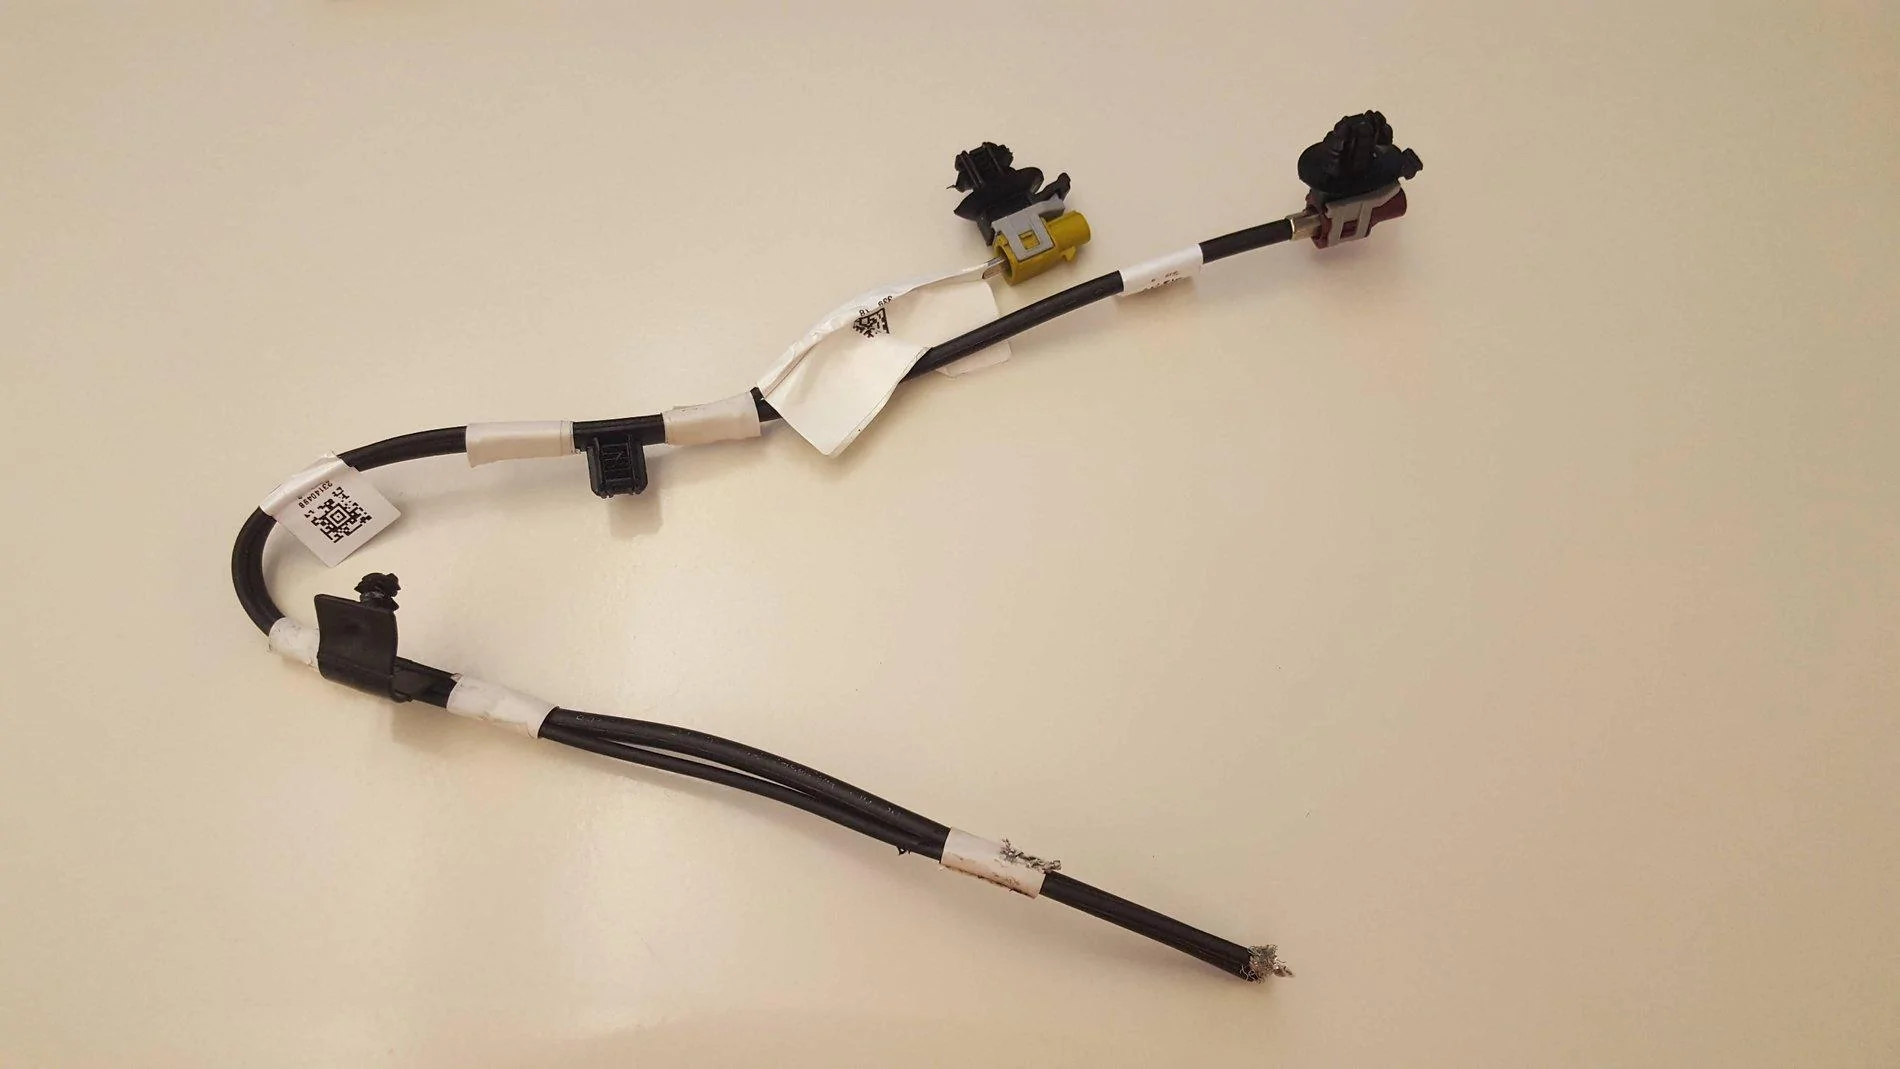
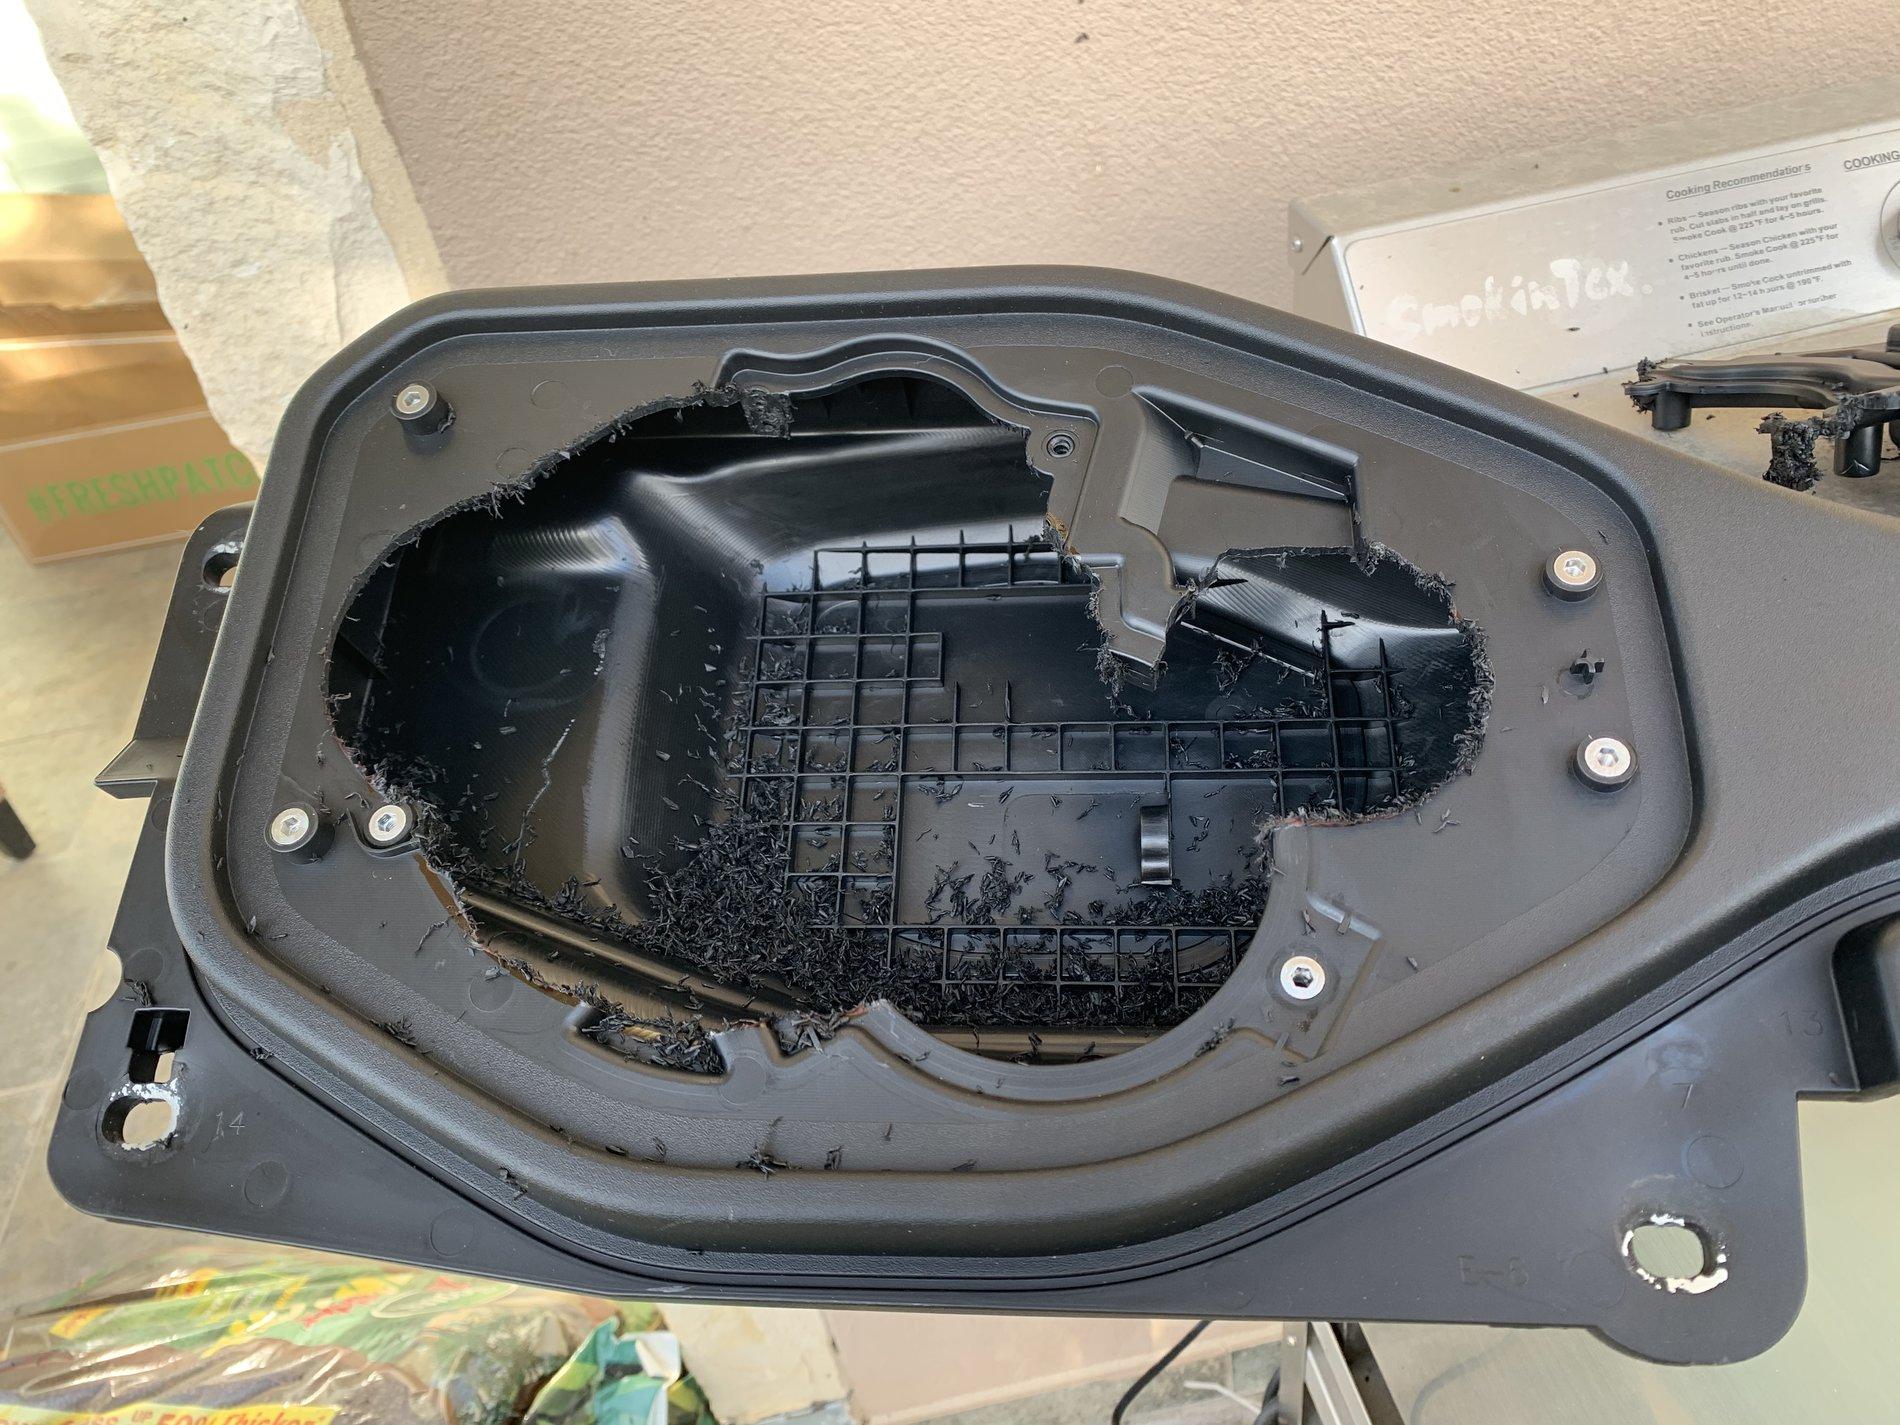
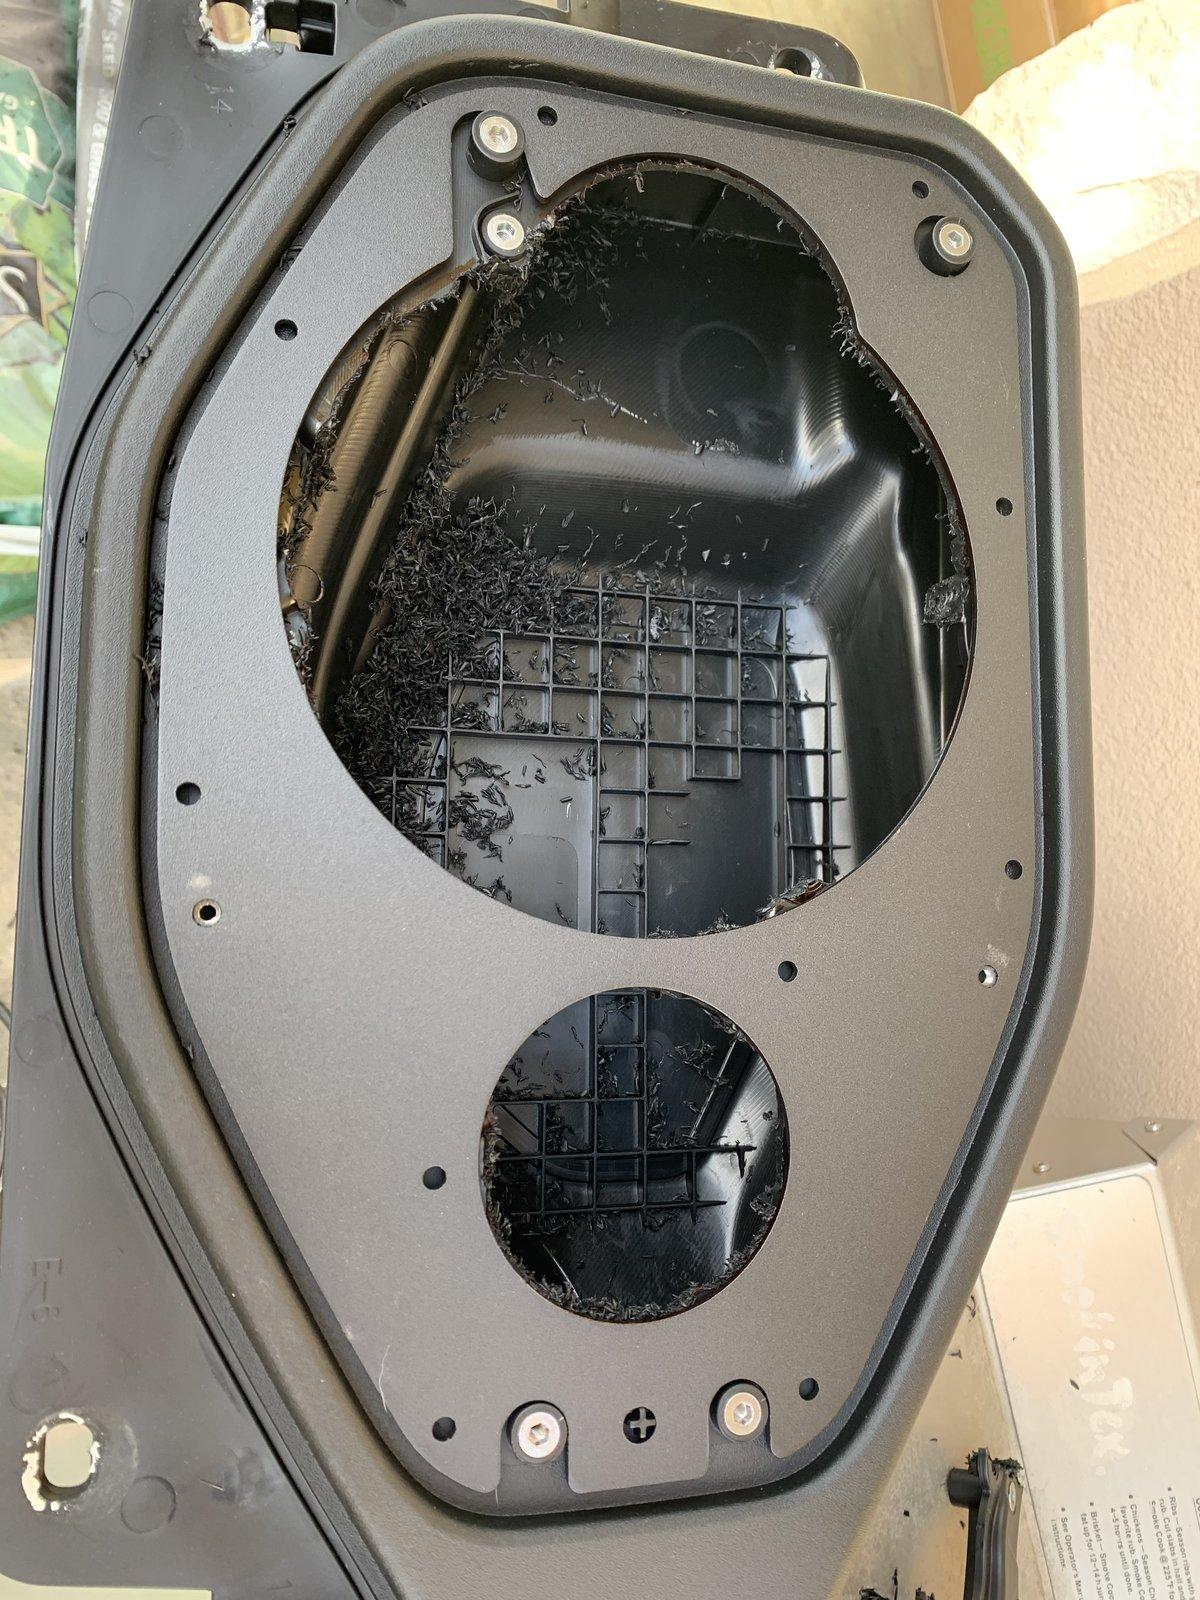
I'd use a soldering iron with a cutting tip. Will go through that plastic like a hot knife through butter. And not throw plastic chips everywhere in the process.....
Sponsored


CouchPotato

Active Member
Joined
Mar 4, 2019
Threads
0
Messages
33
Reaction score
19
Location
Las Vegas
Vehicle(s)
2019 JLUR
I am attaching the install instructions for the SSV Works Overhead Soundbar 6.5" Speaker Adapter and the Metra JP-1014 knee speaker pods.

It appears you do not need to take the hard top off to remove the soundbar. I cannot wait to hear how the SSV speakers will sound.
FYI it looks to me like the Metra instructions are misleading in Figure E on page 2. The diagram implies that you unclip the dash pad by pushing up on it, but actually you need to pull it towards you to release the clips. It was the scariest part of the dash disassembly for me because it feels like it would be easy to break, even pulling it in the right direction.
 

JohnnyJLUR

Well-Known Member
First Name
John
Joined
Oct 30, 2018
Threads
5
Messages
141
Reaction score
269
Location
Jacksonville, FL
Vehicle(s)
2019 JLUR Granite Crystal, 2013 Mazda MX5 Club
FYI it looks to me like the Metra instructions are misleading in Figure E on page 2. The diagram implies that you unclip the dash pad by pushing up on it, but actually you need to pull it towards you to release the clips. It was the scariest part of the dash disassembly for me because it feels like it would be easy to break, even pulling it in the right direction.
Thank you for pointing that out. I have seen a couple youtube videos but did not look at the directions in that much detail just yet.
 

Varilux

Well-Known Member
First Name
Pete
Joined
Dec 29, 2018
Threads
16
Messages
320
Reaction score
682
Location
Hickory Creek, TX
Vehicle(s)
2018 Jeep Wrangler Rubicon
Vehicle Showcase
1
I was about to click the "order" button on the 6.5" adapters, and noticed SSV only lists "JL 4 door" for parts availability. I would assume the soundbar is the same between the JL and the JLU, but figured I better double-check before ordering. Anyone know if the soundbar is universal between the 2 and 4 door JLs?
 

deputyonce

Active Member
First Name
Loy
Joined
Nov 14, 2019
Threads
9
Messages
44
Reaction score
18
Location
Kyle, Texas
Vehicle(s)
2019 JL Unlimited Altitude
Occupation
Medical
I’m not sure, but if you email them you’ll be surprised at how quickly you get the answer...they are great to deal with.
 

Sponsored

Varilux

Well-Known Member
First Name
Pete
Joined
Dec 29, 2018
Threads
16
Messages
320
Reaction score
682
Location
Hickory Creek, TX
Vehicle(s)
2018 Jeep Wrangler Rubicon
Vehicle Showcase
1
Hmmm, I emailed right after posting but haven't heard back from them. I did have a chance to look at my buddy's Jeep (he bought a Sting Gray 2020 JLU this weekend), and the soundbar seems to be identical to the one in my JL.

In the process of trying to search for information on whether the soundbars are universal, I happened upon this product. I don't need that many speakers, but if someone wanted to create a LOT of sound it seems like this would be an option.
https://ds18.com/products/jeep-jl-loaded-soundbar-combo
 

Varilux

Well-Known Member
First Name
Pete
Joined
Dec 29, 2018
Threads
16
Messages
320
Reaction score
682
Location
Hickory Creek, TX
Vehicle(s)
2018 Jeep Wrangler Rubicon
Vehicle Showcase
1
Never did get an email back, but called today and was told the soundbar is a universal piece for the JLU and JL (so they'll work just fine for those of us with 2 doors, even though the website seems to indicate they're only for 4 door applications). Just ordered my JJT-SA065 with speakers, and looking forward to getting a bit more sound from the back!
 

algoo31

Well-Known Member
First Name
Albert
Joined
May 31, 2018
Threads
0
Messages
94
Reaction score
60
Location
WA
Vehicle(s)
2018 JLU Sport
Are you running those speakers on the stock head unit? Im debating if i should upgrade the head unit first then the speakers.
 

deputyonce

Active Member
First Name
Loy
Joined
Nov 14, 2019
Threads
9
Messages
44
Reaction score
18
Location
Kyle, Texas
Vehicle(s)
2019 JL Unlimited Altitude
Occupation
Medical
I have actually started! Most of today’s work went to taking apart the dash and the 901 screws holding it all in along with those evil clips...btw... this is a really big job for this old guy. I’m adding a PAC audio module, an amp, dash cam, metra pods, SSV adapters, new component speakers, and a powered sub.

8B312C78-561F-4609-A21B-B0ECE0C13500.jpeg
 

minisoda

Well-Known Member
Joined
Jan 21, 2020
Threads
21
Messages
75
Reaction score
72
Location
Twin Cities and Naples, FL
Vehicle(s)
Rubi 392, Escalade, Audi SQ8, 911 Turbo S
Had a few hours this afternoon to start my stereo install and made the very bad decision to start with the kick panel speakers using the Metra adapter... what a nightmare disassembling the entire dash. Got to the point of removing the factory drivers side speaker pod and decided to test fit my new Memphis 6.75” in the new Metra pod. Unfortunately it is slightly too wide and doesn’t fit!

I had to head out of town for a few days, but may try some Dremel action when I get back... or worst case use a Memphis 6.5 coaxial speaker.

At this point I’m more anxious of getting the dash back together than anything! Should be fun.
 

Sponsored

Sting_NC_USA

Well-Known Member
First Name
Michael
Joined
Mar 25, 2018
Threads
27
Messages
1,026
Reaction score
995
Location
Greensboro, NC
Vehicle(s)
2018 Jeep Wrangler JL Unlimited Rubicon
Build Thread
Link
Vehicle Showcase
1
For the record, there's no need to disassemble the whole dash to add the PAC and/or the Metra Pods. While it does make it easier to access the pods, the entire process can be significantly simplified.

I know I've posted a full write-up on this somewhere. If I find it, I'll post a link to it here as well.

Edit - Here's the link: https://www.jlwranglerforums.com/fo...ass-blocker-d-i-y-wiring-harness.12738/page-2

Here's the text:

You have to pop the side dash panels on the driver and passenger side (body clips only, no screws). Under those panels are a number of screws. You should be able to see which ones hold the front dash in place, as they'll be the ones tied to the dash itself, which is most of them. Remove those screws. There's also a screw that's recessed in that area, and it (if memory serves) connects to the kick panel enclosure. It's very difficult to see, and don't tell anyone, but I never replaced that one when I put my stuff back together. Shhhhhhh!

Next, remove the glove compartment door (there's a "latch" inside and at the top of the compartment door that you use to release the door), and also remove the panel underneath the steering column (body clips only, no screws - pull it straight out). This will reveal more screws holding the dash in place, and you'll need to remove those.

There are two additional fasteners holding the speaker enclosures in place, and you may have to use a small ratchet with an extension to remove them (I think the screws are the same size as the ones you've been removing. Since we're not removing the entire dash, you'll need to engage your contortion skills to maneuver a tool in there to remove the top fasteners holding each of the enclosures in. The bottom one on each side is easy, it's the top one on each side that is a pain. It's kinda' tough, but can be done with patience.

Next, disconnect the molex-type plugs connected to the speaker enclosures. Your driver-side speaker enclosure also has something called a "Gateway" attached to the back of it. You'll want to disconnect those plugs as well. When you put everything back together, and your radio doesn't work, it's probably because you forgot to plug the gateway's cables back in. That was 30 minutes of troubleshooting time I could have saved had I remembered that step.

From there, you should be able to pull the dash section on each side of your Jeep out enough to "pivot" the speaker enclosure out. Don't pull to hard, as you don't want to crease your panels. There's a bit of an art to it, but it's fairly straight-forward once you're in there. If you've missed any screws, you'll know right away. Just be patient. Nothing has to be forced in order to be removed and/or replaced.

I'm confident I've missed something, but reach out if you run into anything other than what I've described, or if I can further clarify anything above.
 

minisoda

Well-Known Member
Joined
Jan 21, 2020
Threads
21
Messages
75
Reaction score
72
Location
Twin Cities and Naples, FL
Vehicle(s)
Rubi 392, Escalade, Audi SQ8, 911 Turbo S
Thank you! We are on vacation in the Keys, trying to escape the MN cold for a few days... I am getting right back into the project as soon as we hit the ground tomorrow afternoon. I’d really like to fit those 6.75 Memphis Components if possible. We shall see.
 

JohnnyJLUR

Well-Known Member
First Name
John
Joined
Oct 30, 2018
Threads
5
Messages
141
Reaction score
269
Location
Jacksonville, FL
Vehicle(s)
2019 JLUR Granite Crystal, 2013 Mazda MX5 Club
I wanted to give a quick update and a PSA on what not to do! LOL I installed my SSV Works Soundbar 6.5" Speaker Adaptor with the SSV Works WP-A6 6 3/4" speakers...I also ordered the SSV Works red grill stars to match all the Rubicon red accents.

PSA: I DID NOT remove the soundbar and used a jigsaw to cut out the speaker mounts...like and idiot, I severed the GPS and SXM coaxials and had to order a new cord (68353825AE is the part number). it will run you $55-$85 depending on where you order it. I have not installed it yet. The GPA/SXM receivers are mounted on top of the center roll bar and the cord runs down the driver side A-pillar.

I have the Alpine system, so just the SSV speaker would not work. I tried attaching both the tweeter and low/mid (post crossover) to the same SSV speaker and it overloaded at higher than normal volumes. The SSV soundbar plate is cut out for a 2.75" speaker. I ordered some SUNDOWN AUDIO SA-2.75 speakers. I used one existing hole and had to drill another hole to mount the 2.75" speakers. You will also have to drill a hole and get some tweeter covers for the cover. I plugged in the soundbar to test them out and the sound is AMAZING!
I still need to do the front knee speakers with the Metra JP-1014 and will use the SSV Works 6.5" Speakers.

Here is some eye candy for you all:

Here is what it looks like put together. Notice the tweeter hole to the side. There is a template on the back of the cover you can use as a template to cut out with a hole saw bit. I chose to mount the 2.75" speaker to the adapter plate rather than the cover. I felt this will create less vibration and be sturdier.
20200310_131812_resized.jpg

Notice there are 3 10mm bolts and a plastic tab on each side to hold the sound bar in place. You can also see the connector for the speaker wires in the center. And to rub slat in my wounds...you can see the jigsaw cut that severed my GPS & SXM coaxials...DOH!
20200310_131958_resized.jpg

Here is what the SSV adapter plate looks like installed. Notice the hole for the 2.75" speaker to the right. You will need to cut that hole out for if you have the Alpine system for the component speakers.
20200126_163012_resized.jpg


My destruction from the jigsaw on the sound bar...just some scratched up paint that I will never see. You can see the coaxial GPS & SXM cord to the left. My Alien Paul is sitting on top of the rear view mirror laughing at me.
20200310_132006_resized.jpg

And here is the severed cord. I am happy I chose a different profession!
20200310_133855_resized.jpg


Top