OP
OP
jlewissystem
Well-Known Member
- Thread starter
- #91
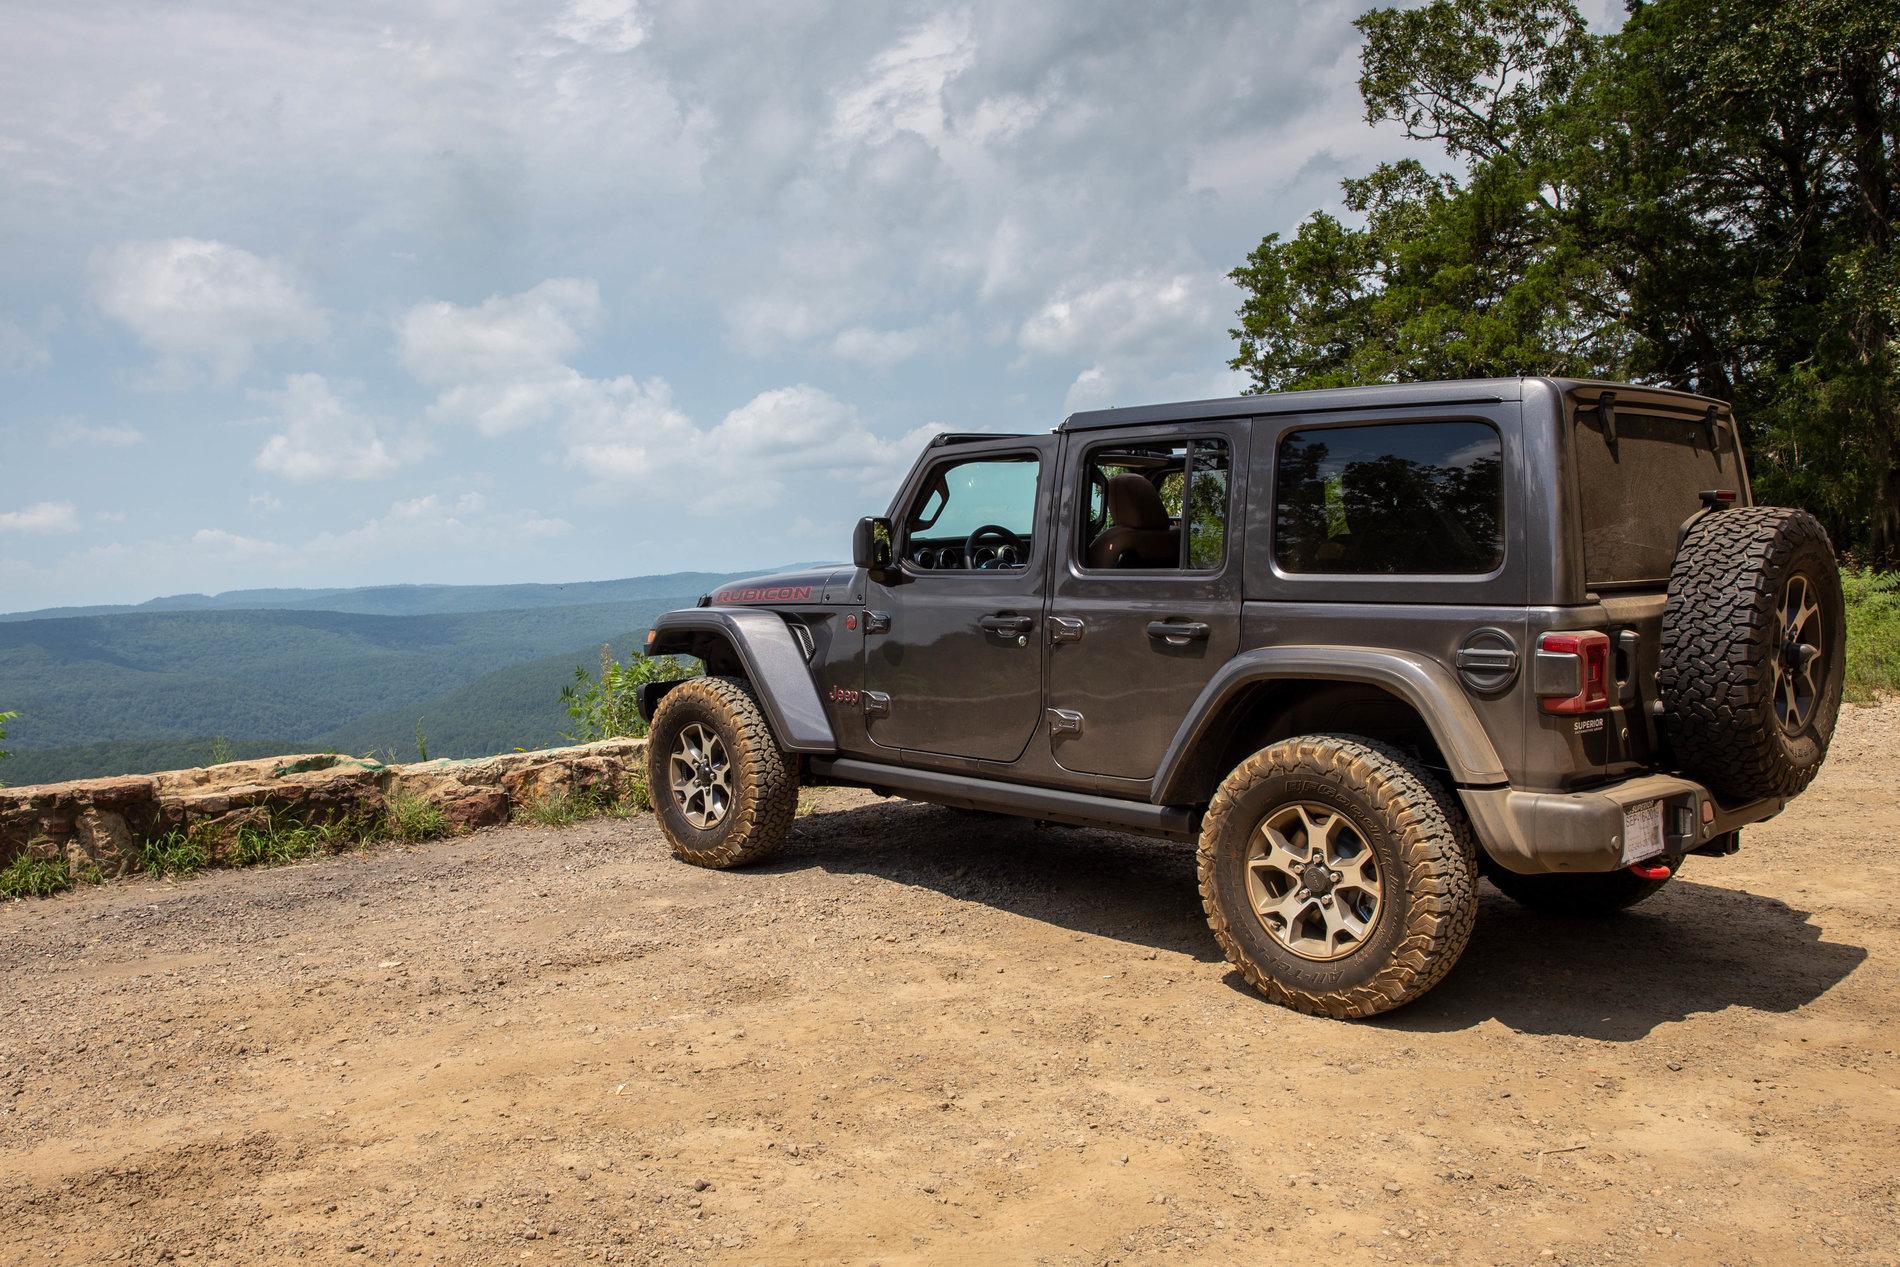
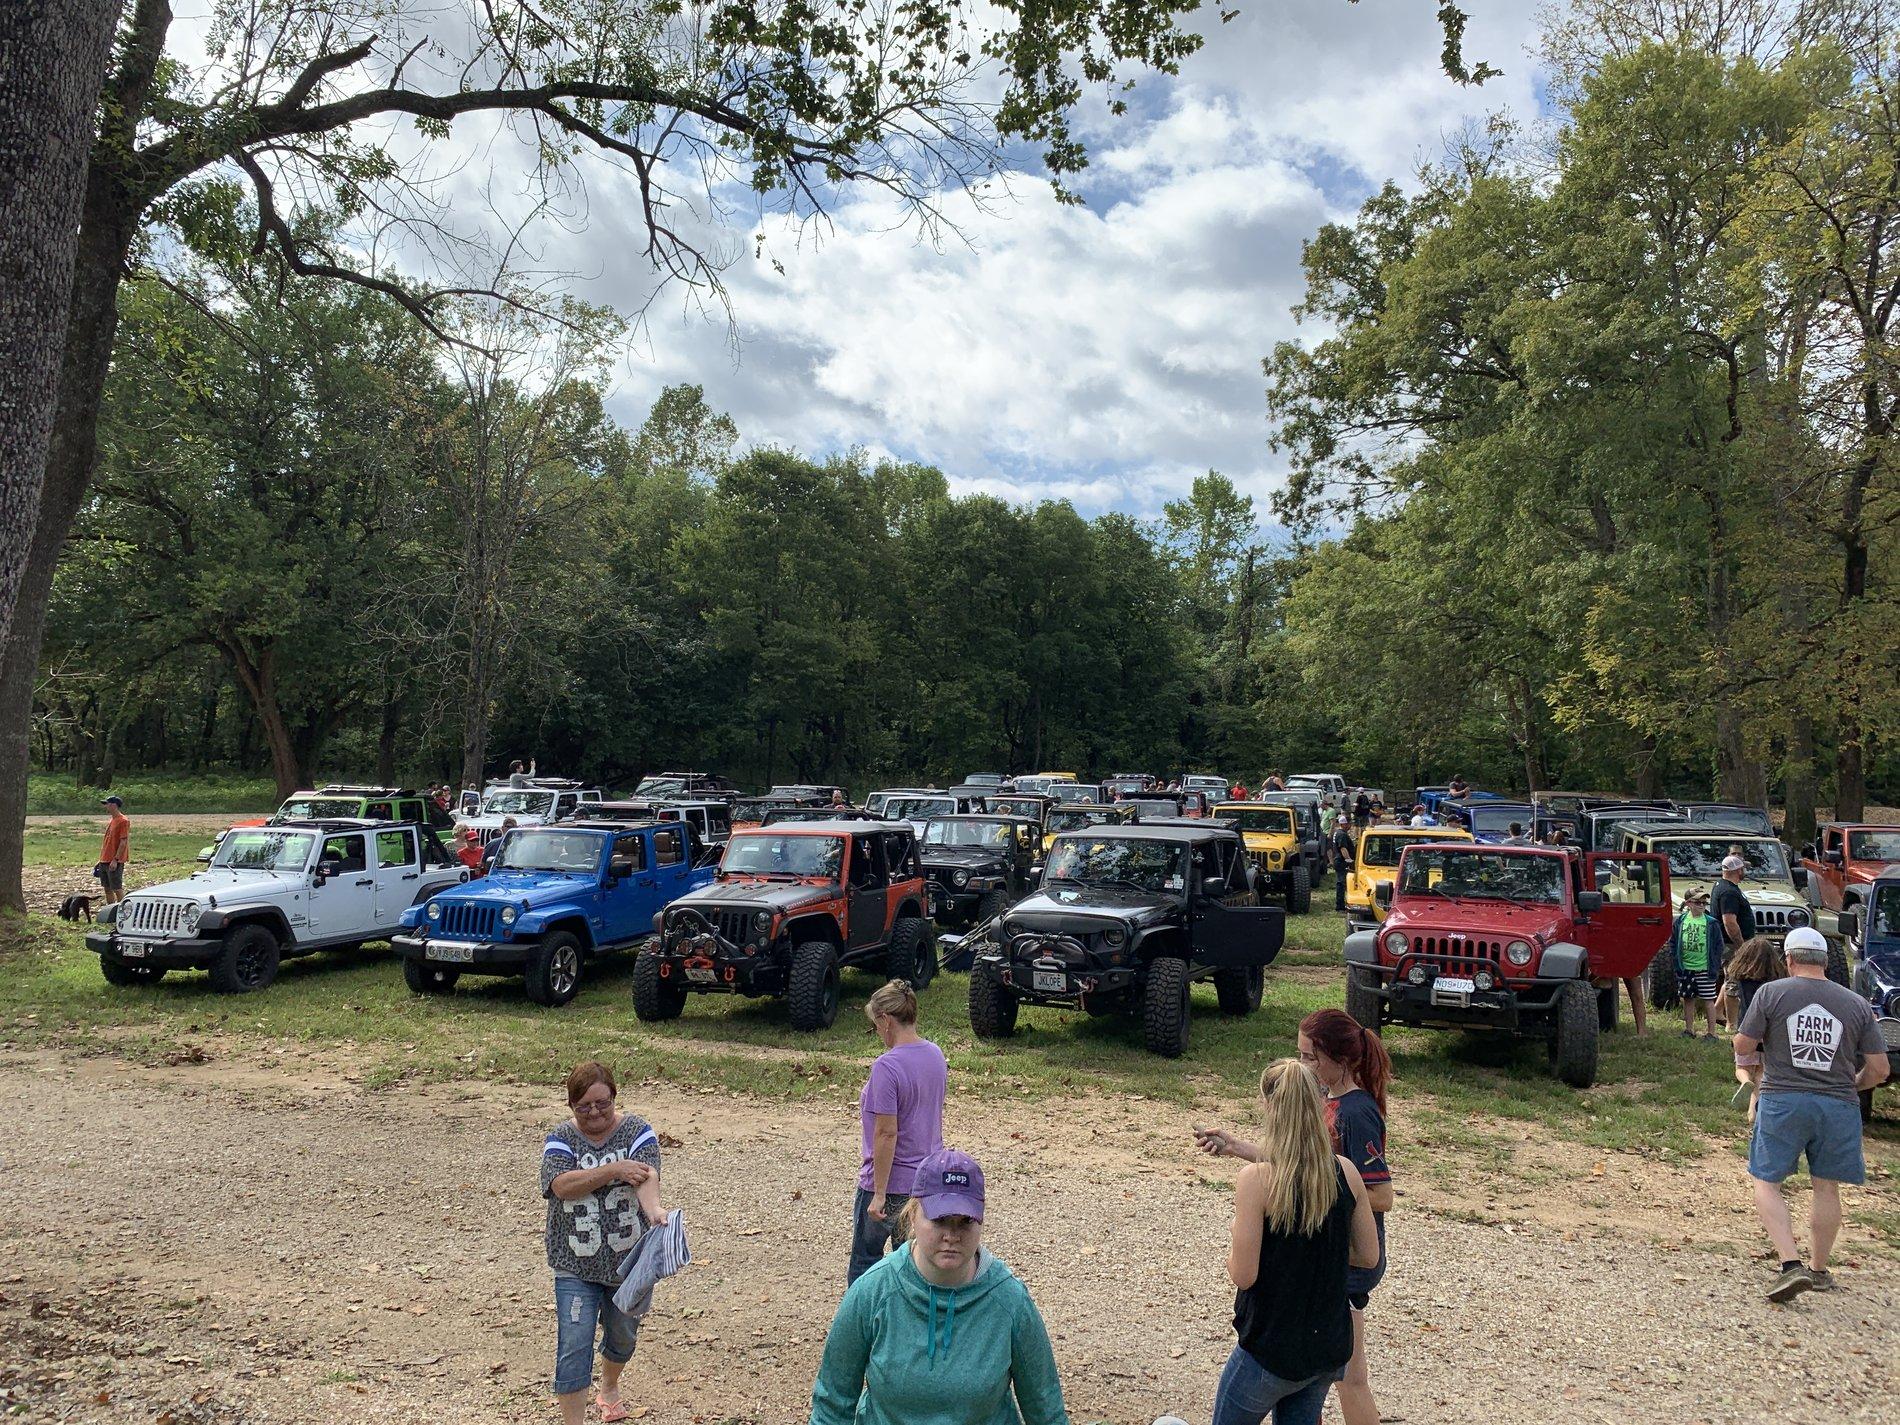
Thanks! This is at a friend's property in Jonesberg.Where are you wheeling there? Great pics!!
Someone (maybe you) posted that MWJT is having an easy run at the end of this month. We were going to try and make it, to meet some people. Maybe see you there?
Sponsored
")