RhinoJLU
Well-Known Member
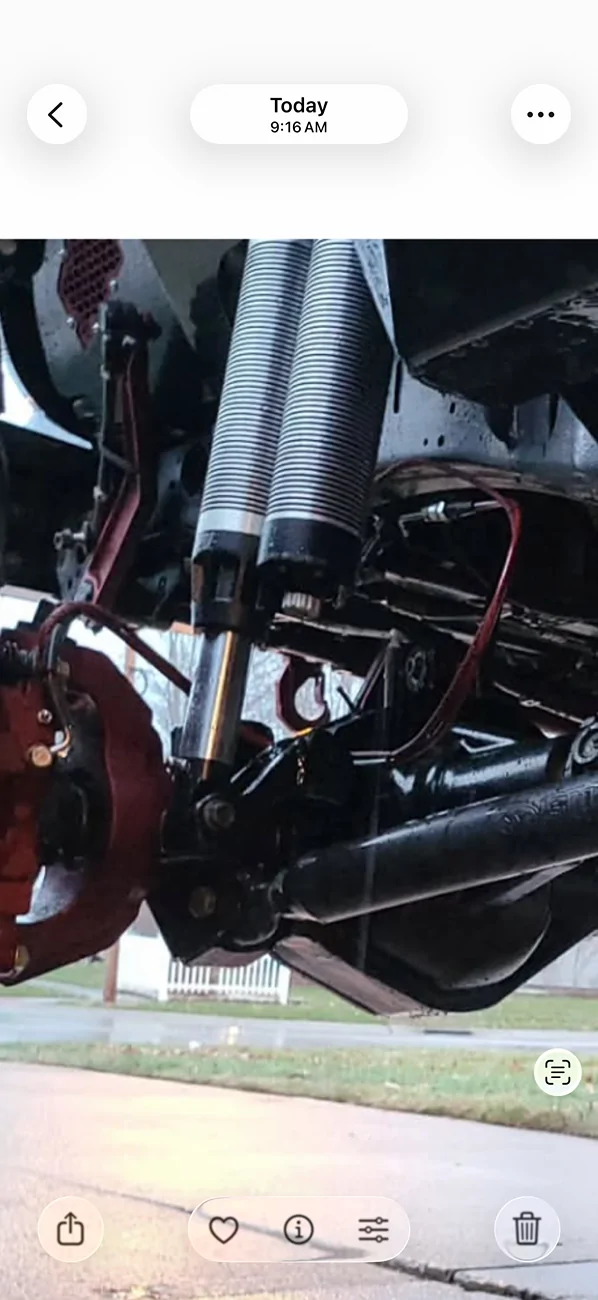
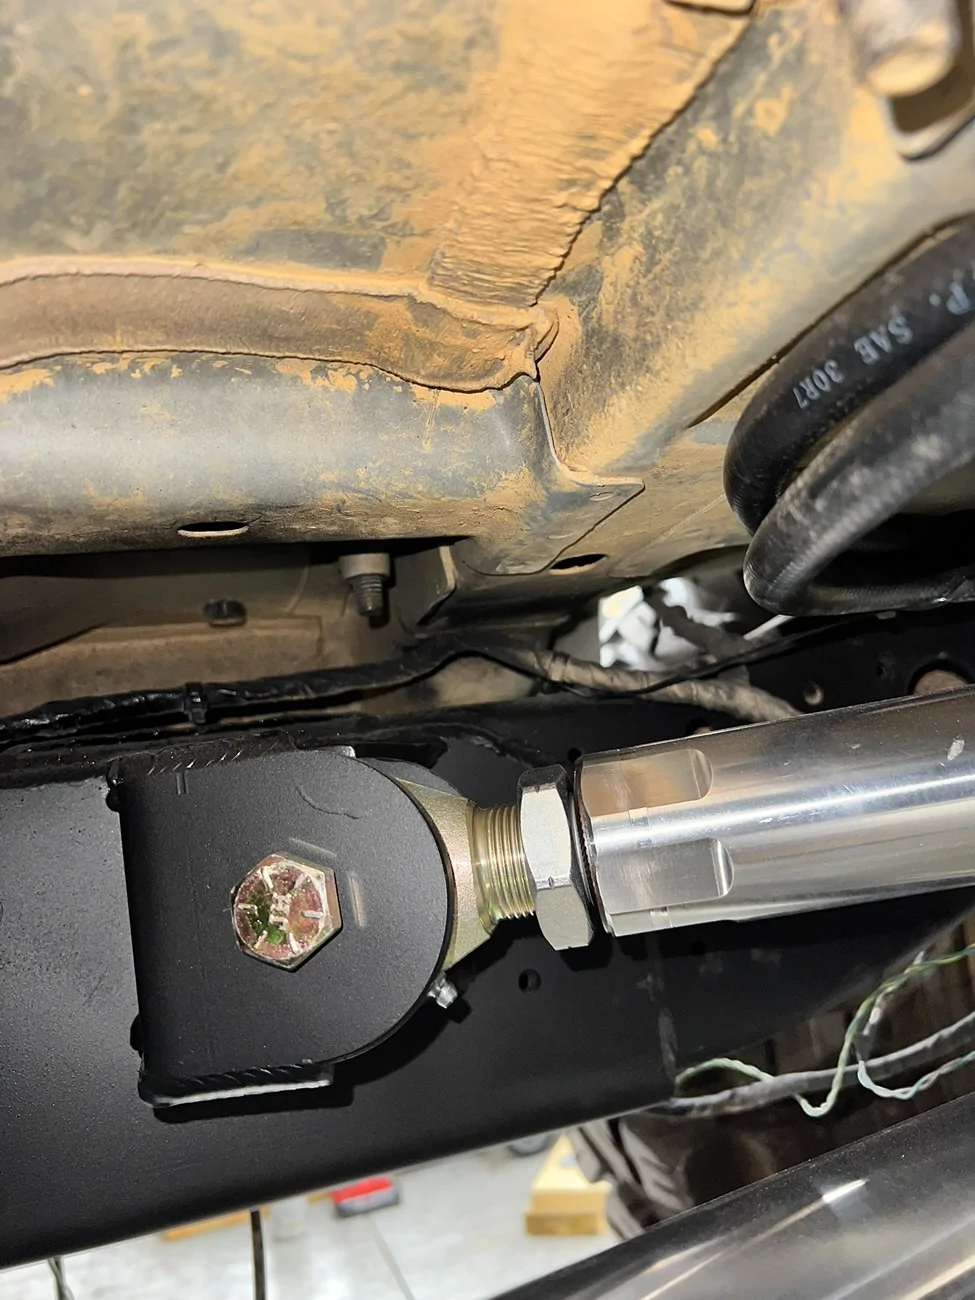
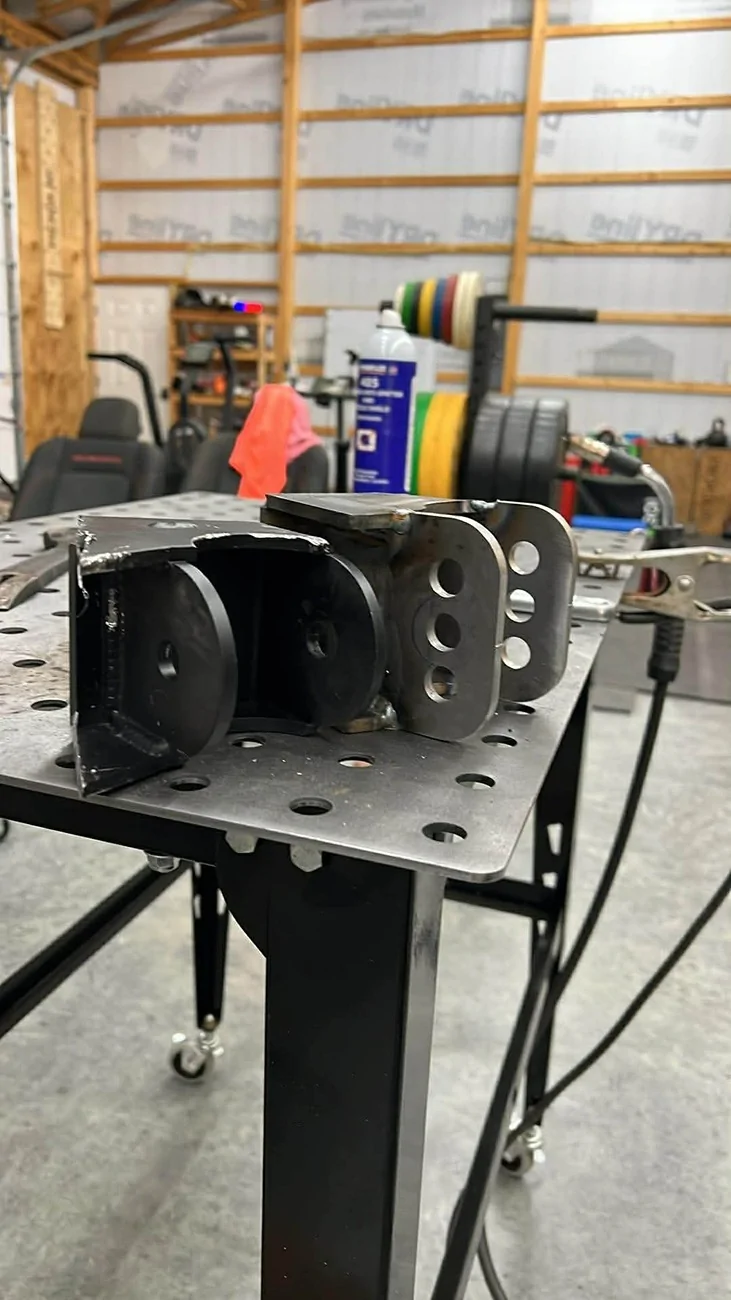
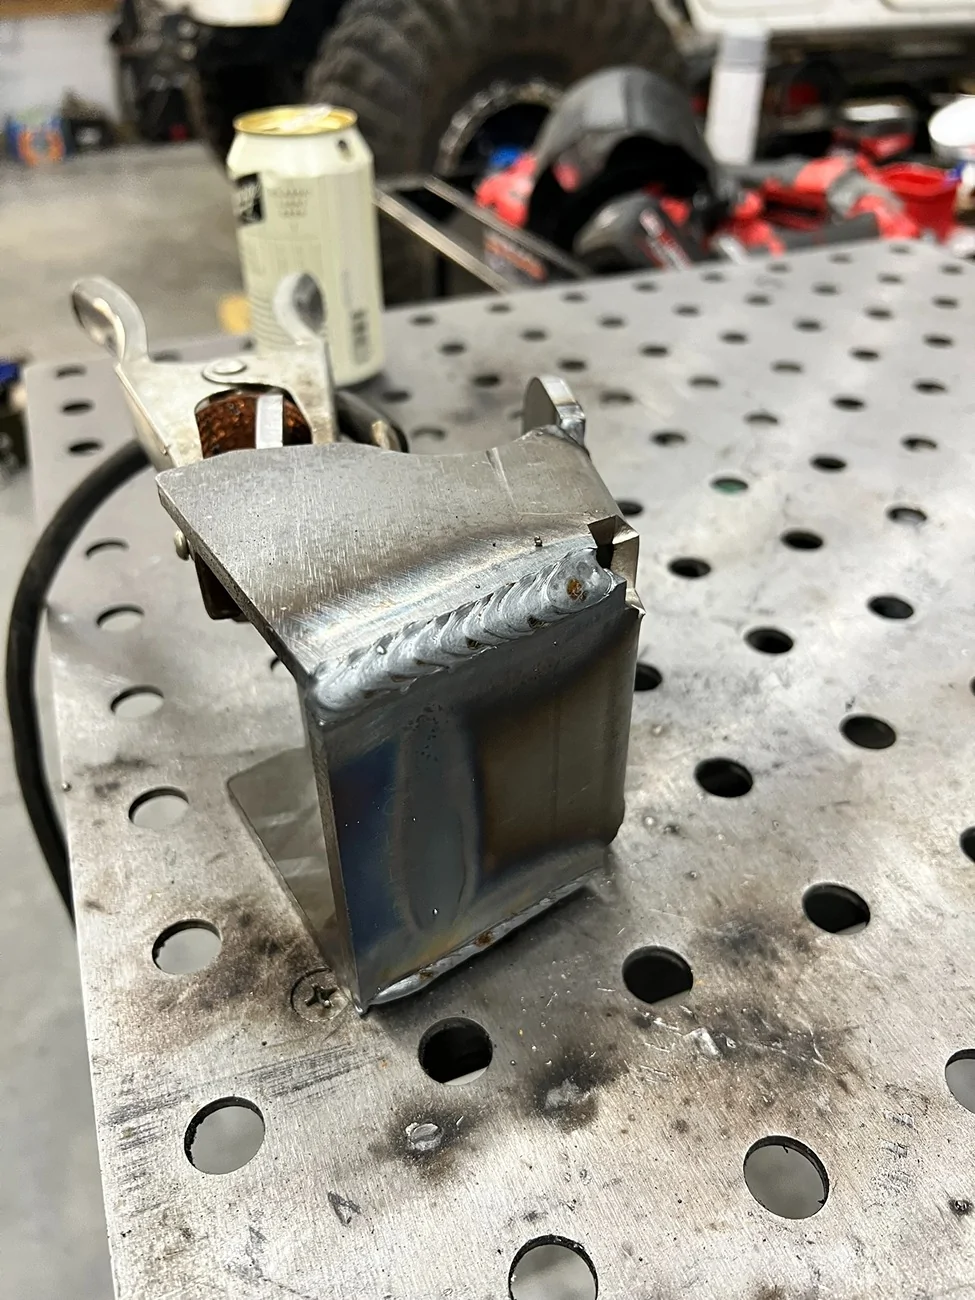
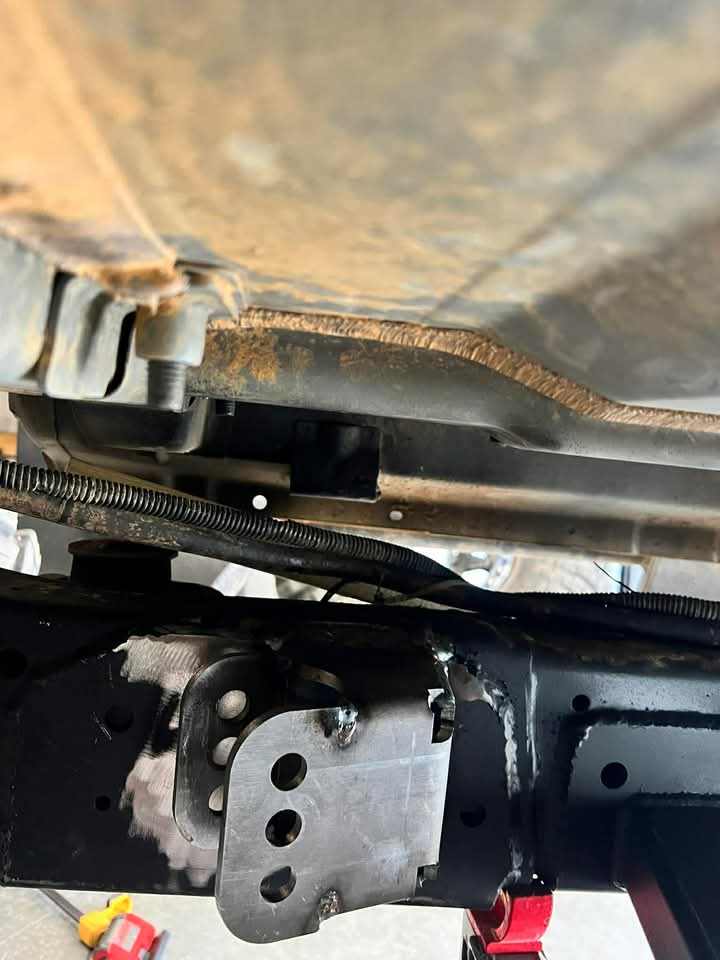
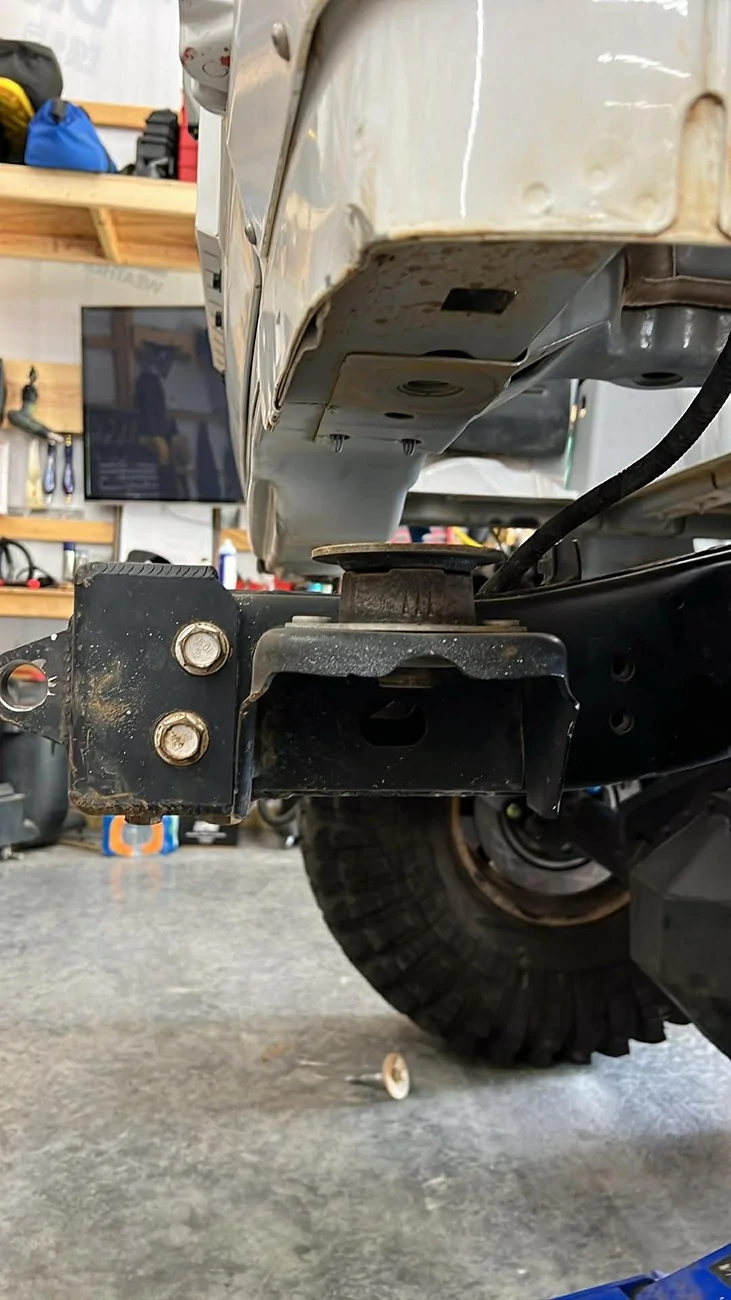
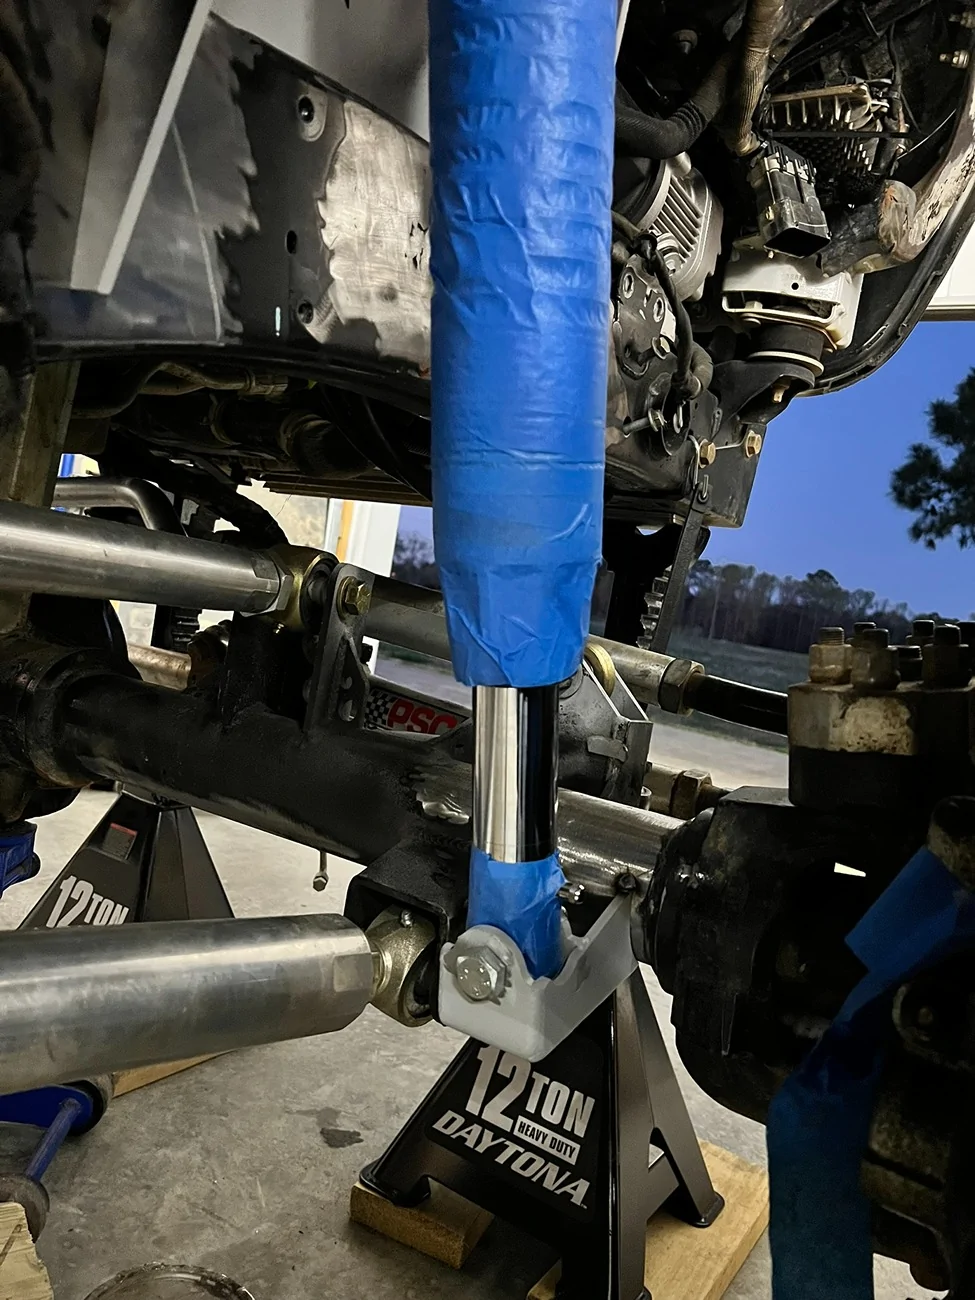
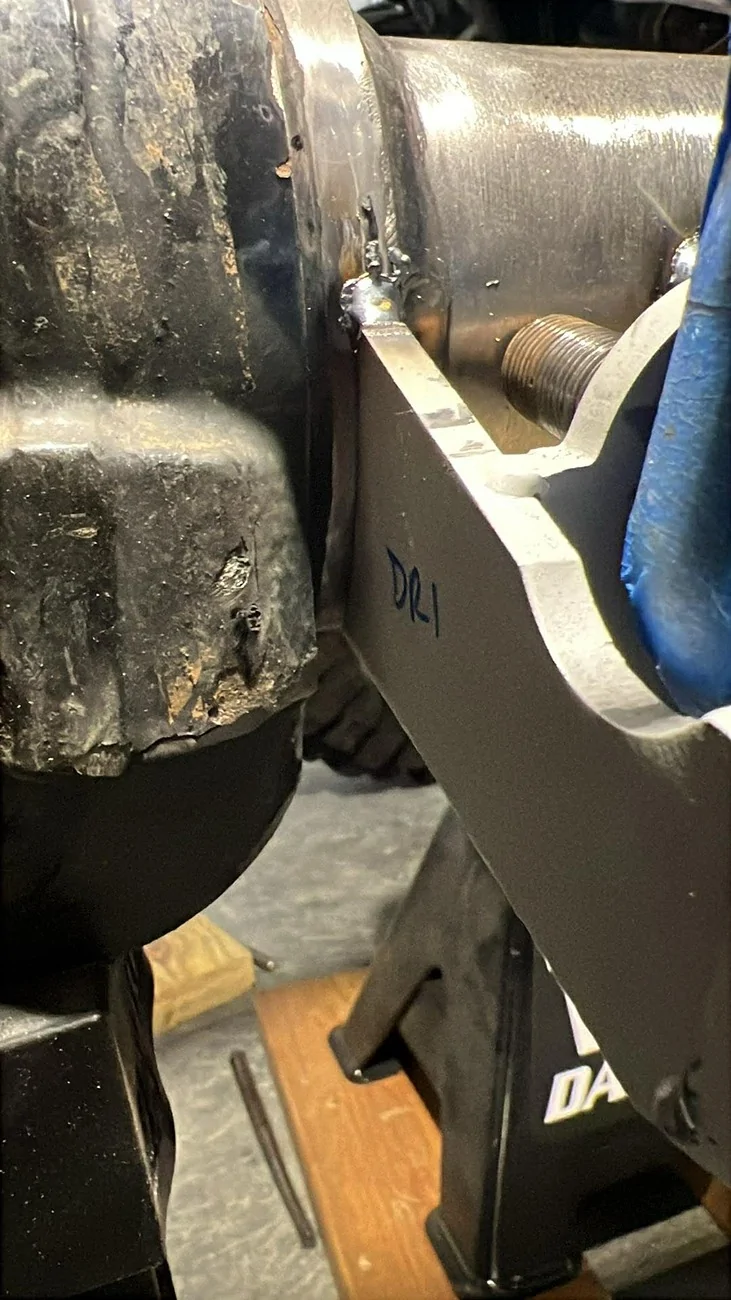
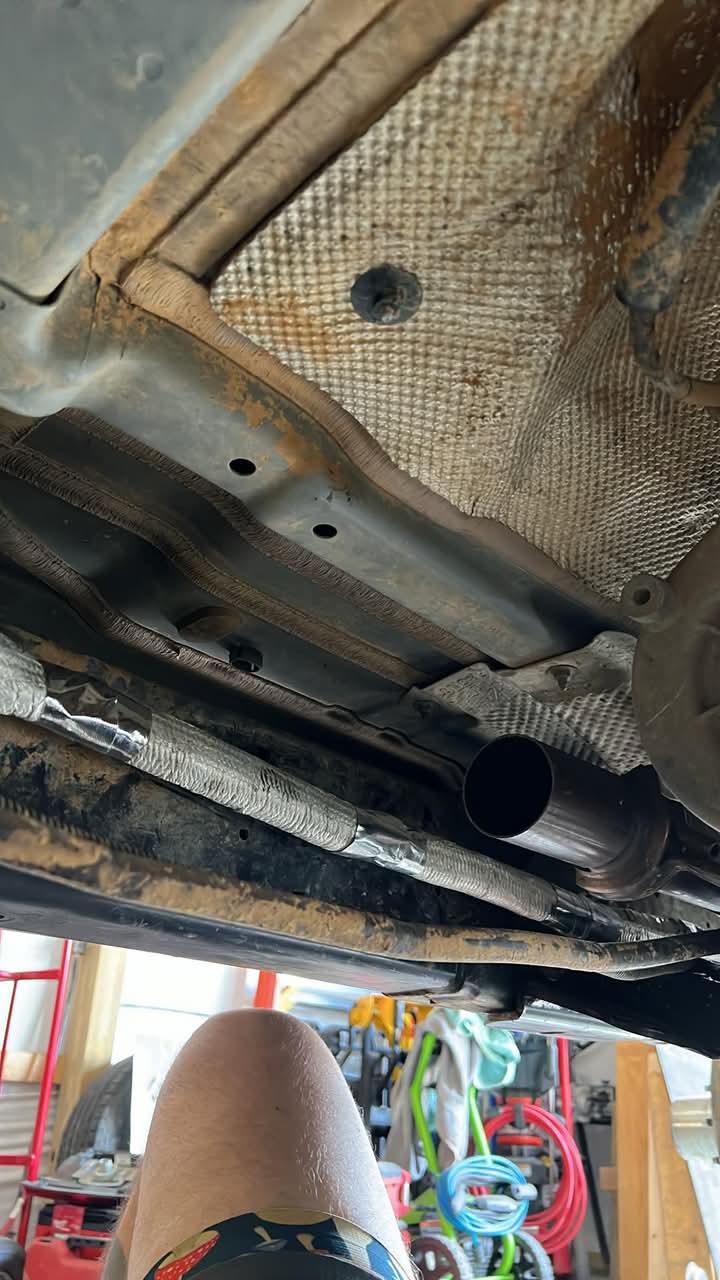
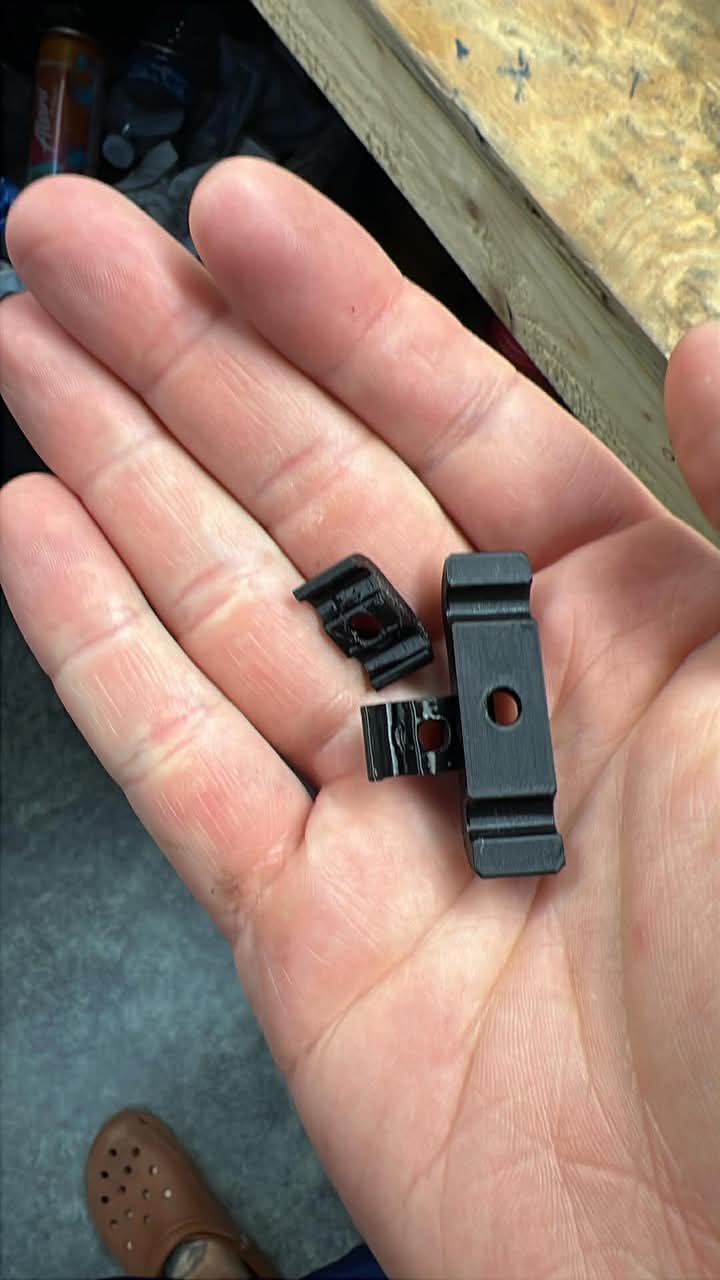
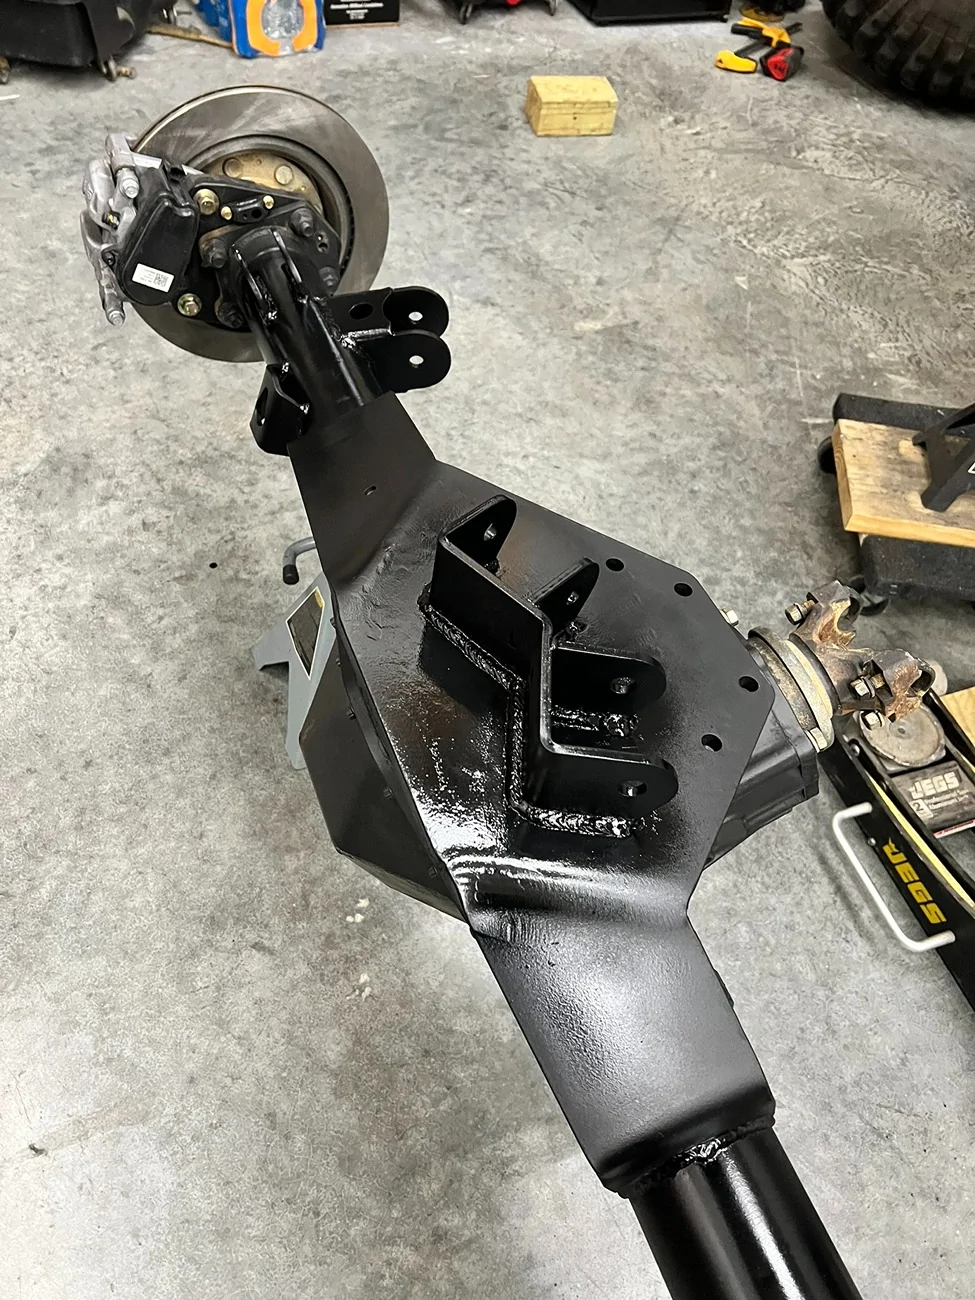
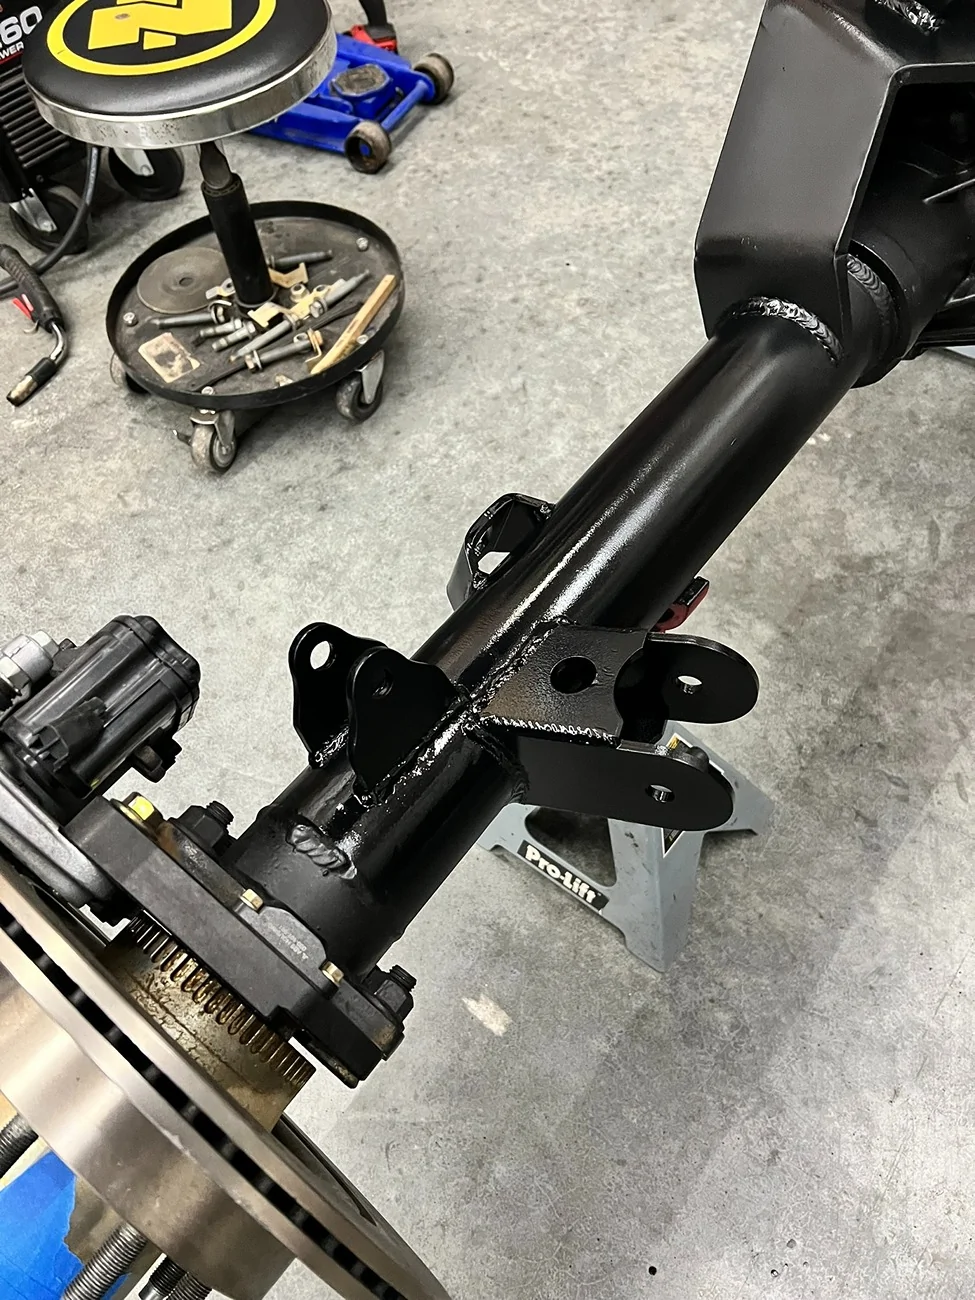
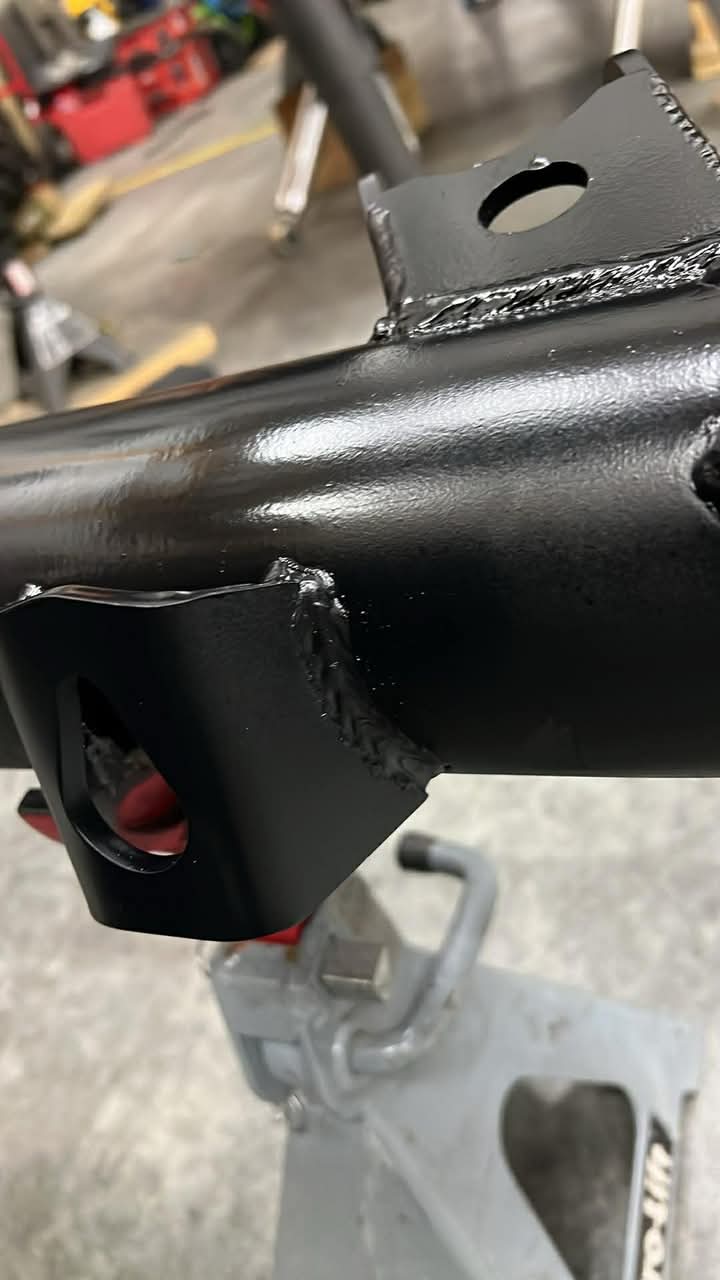
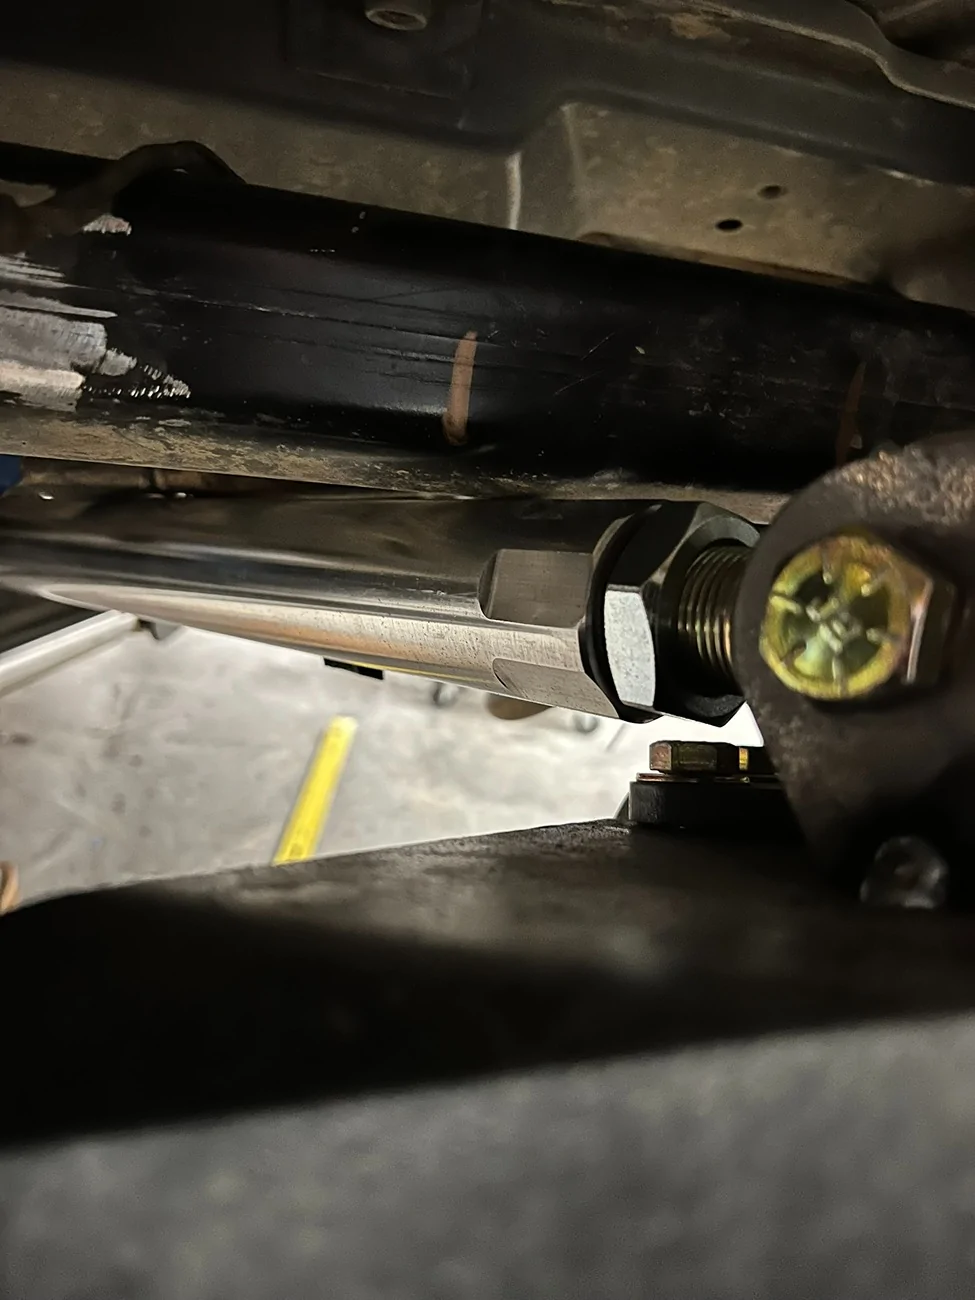
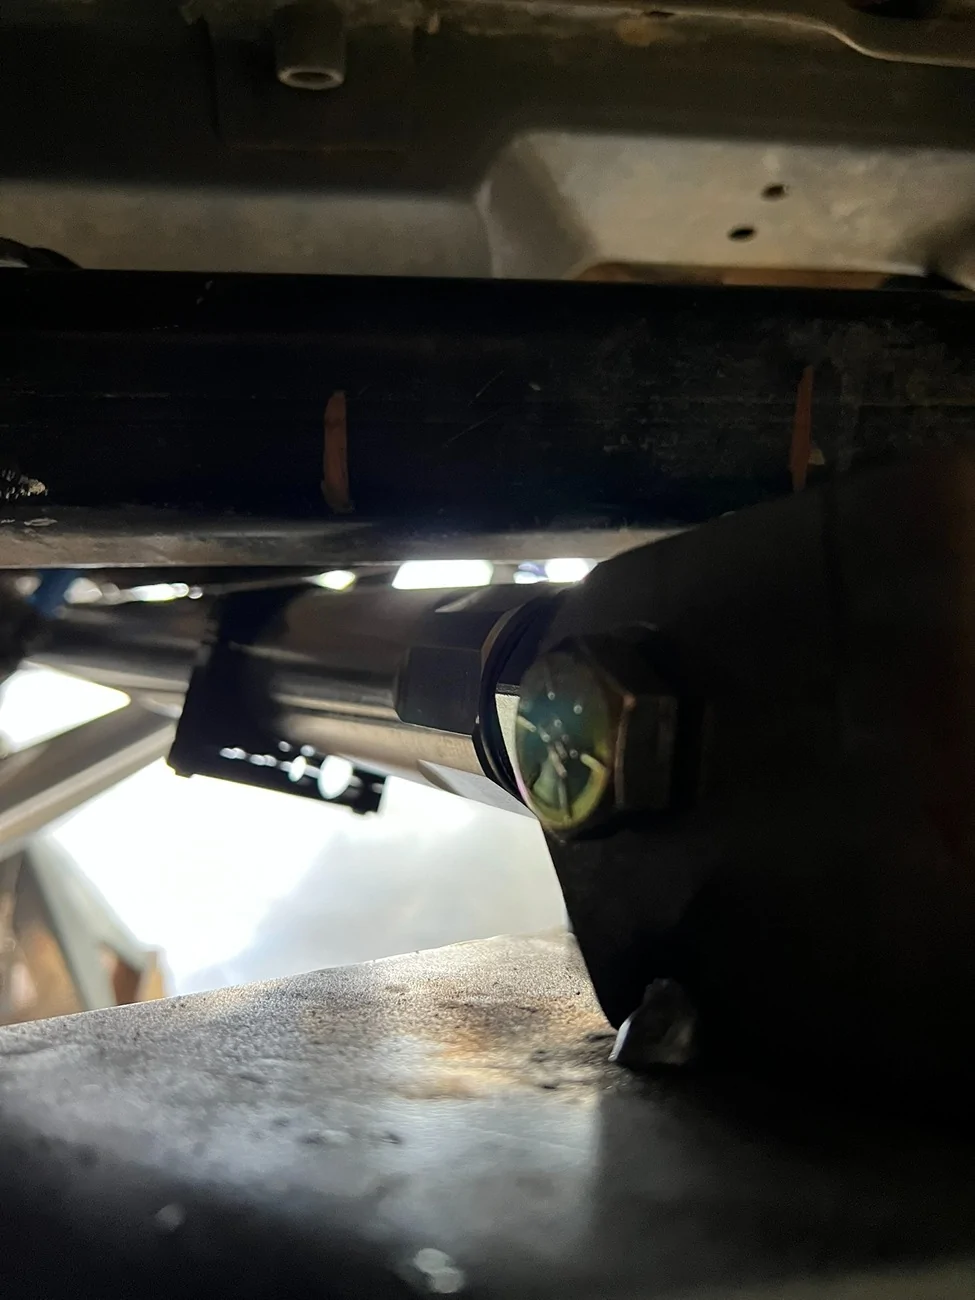
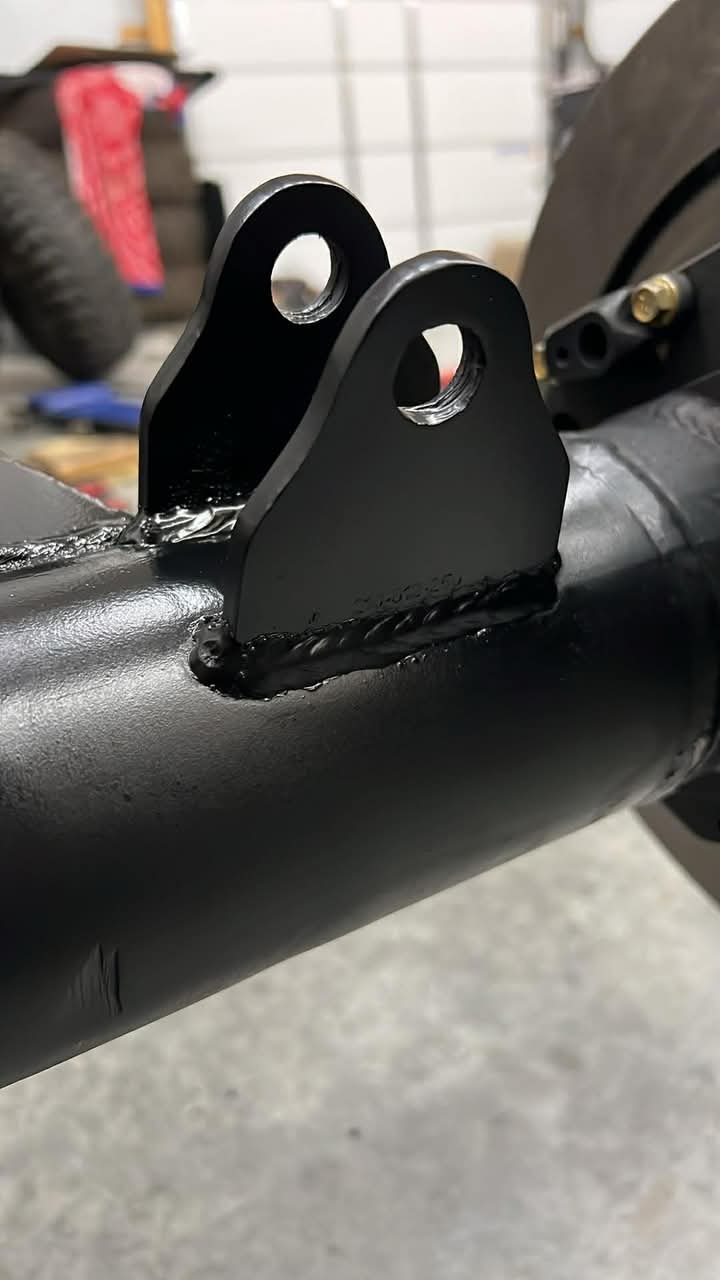
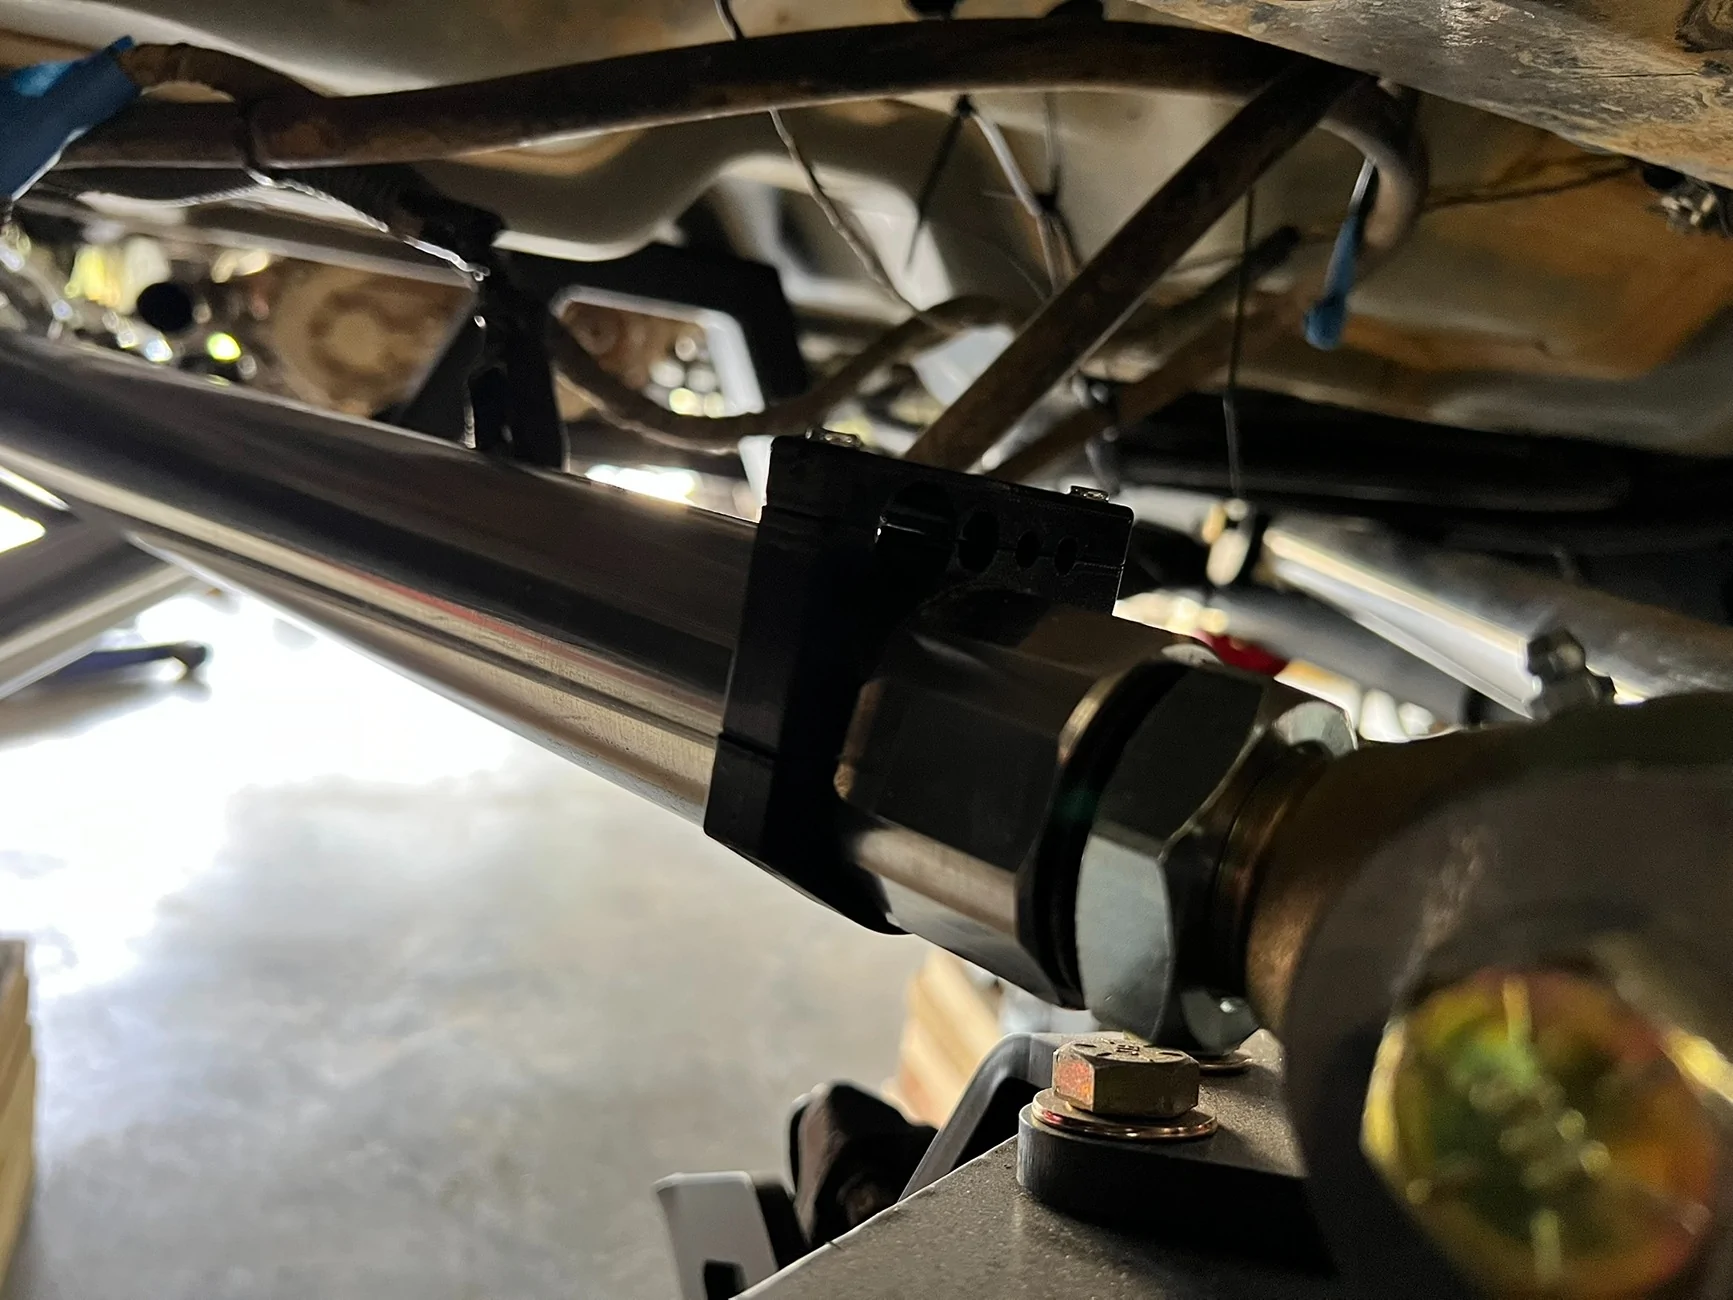
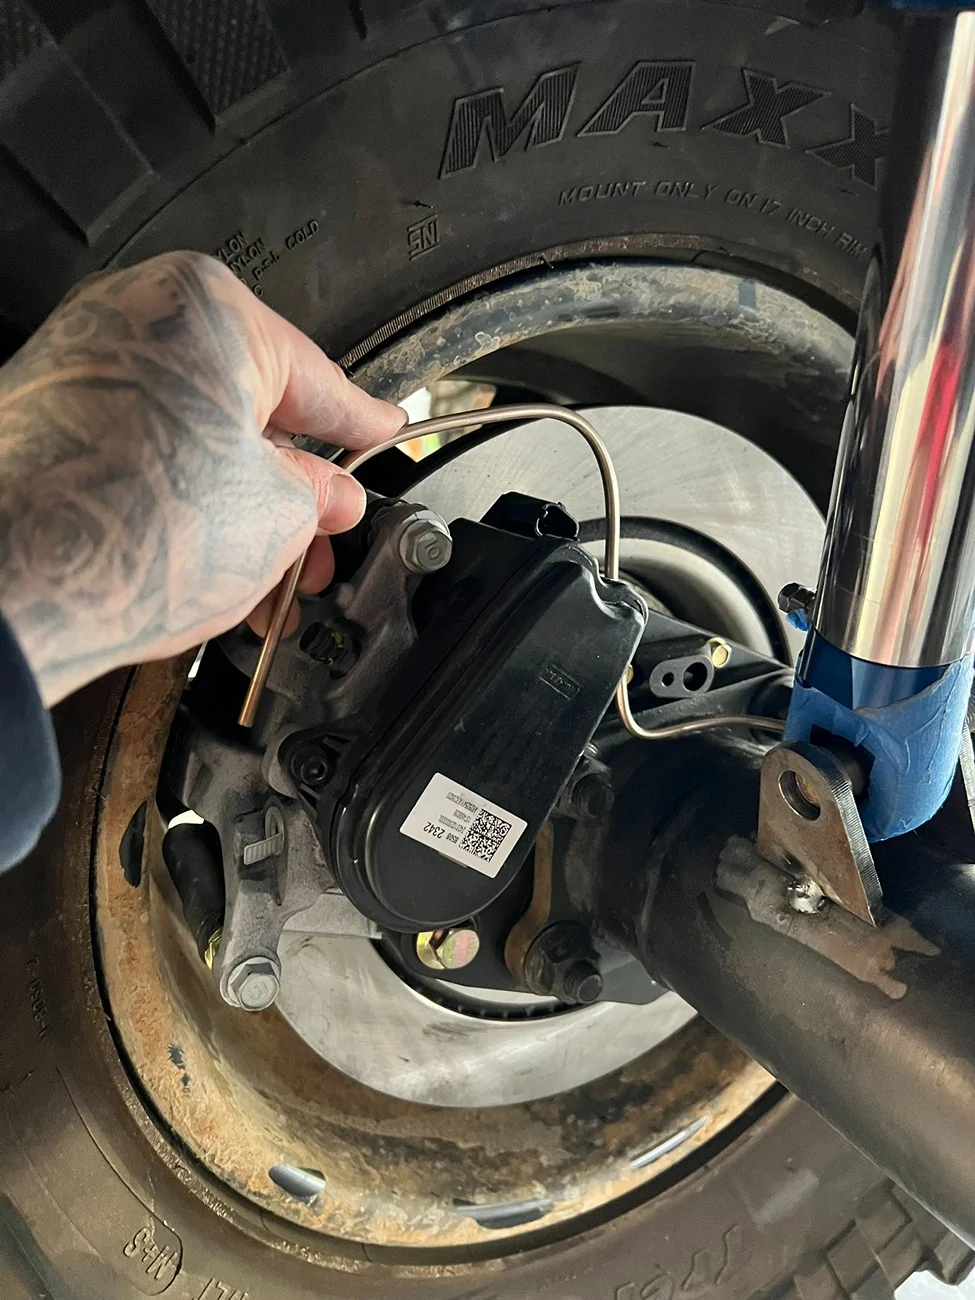
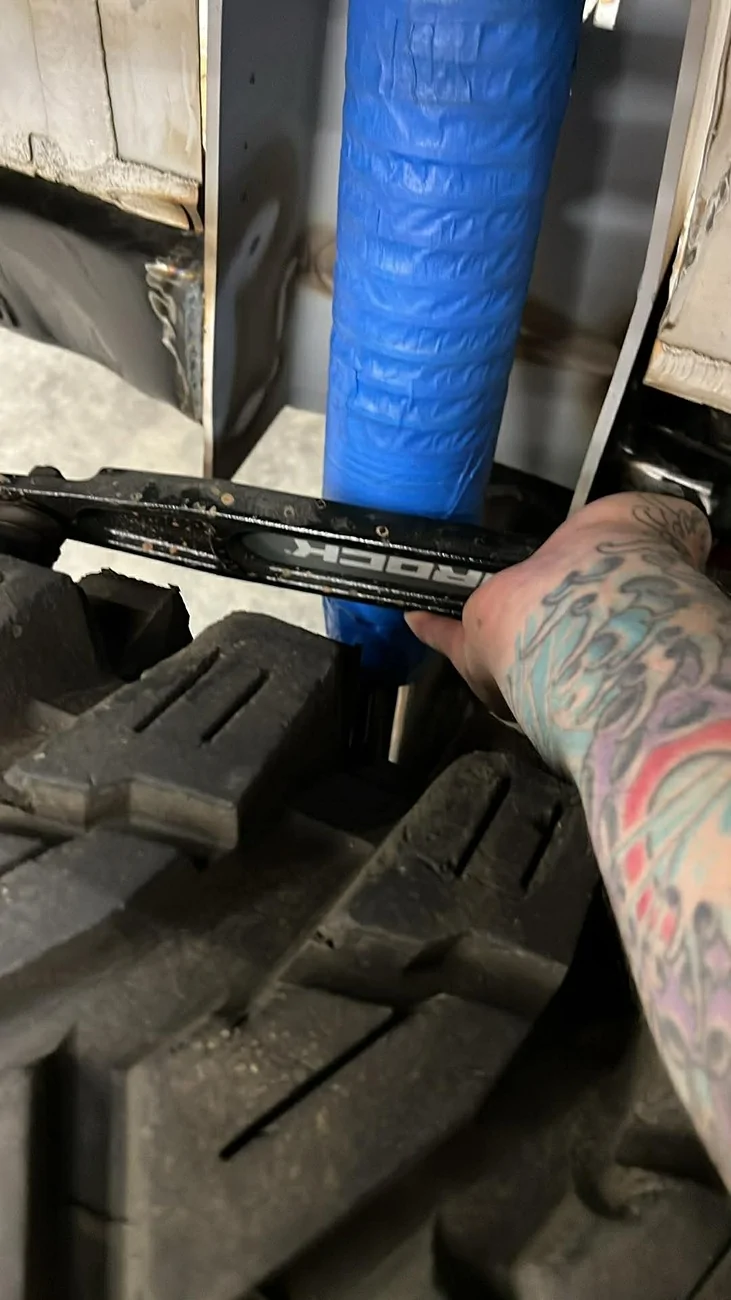
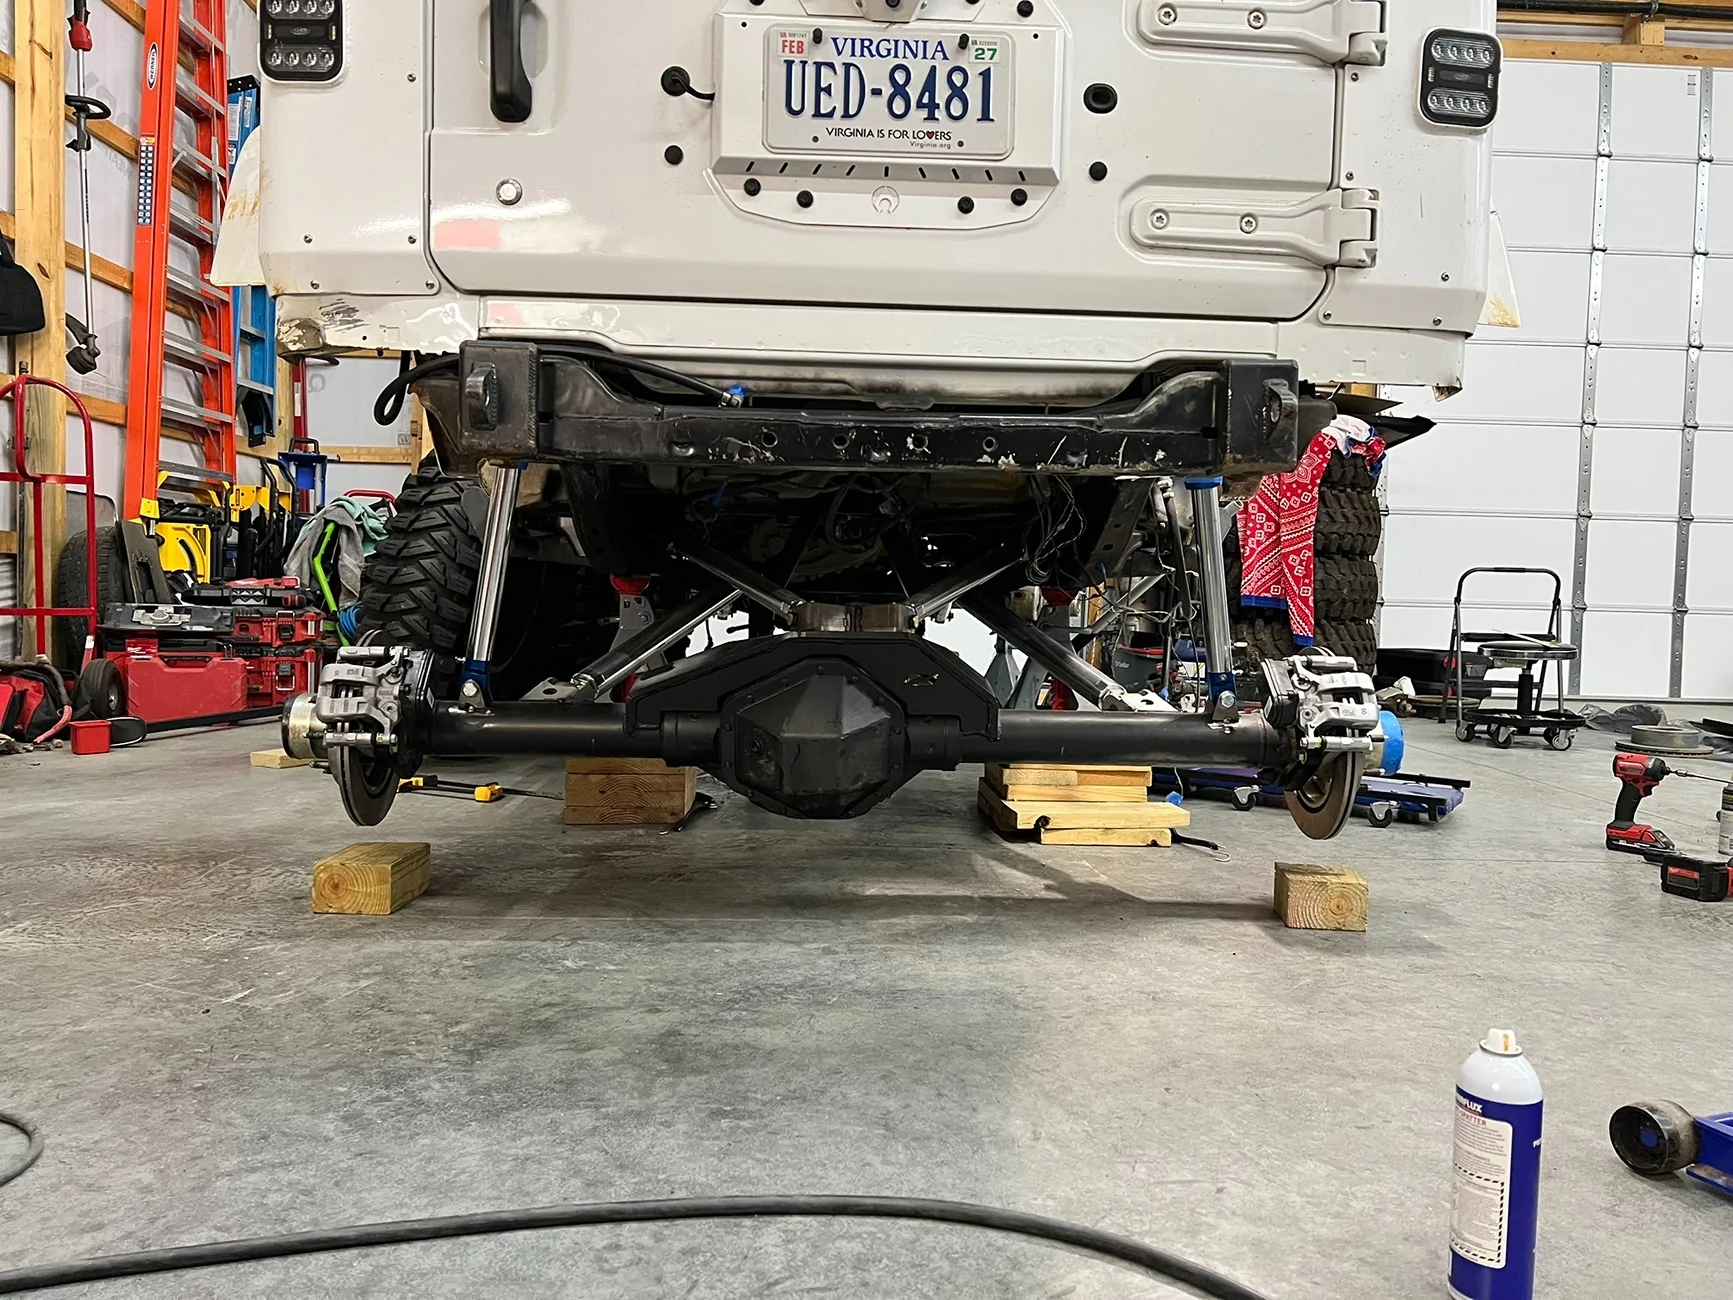
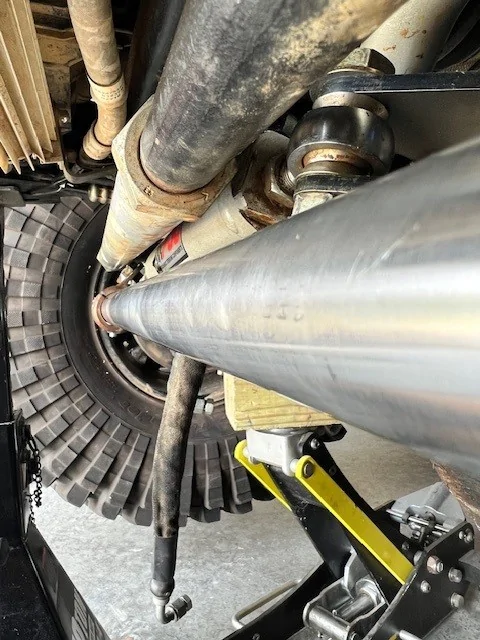
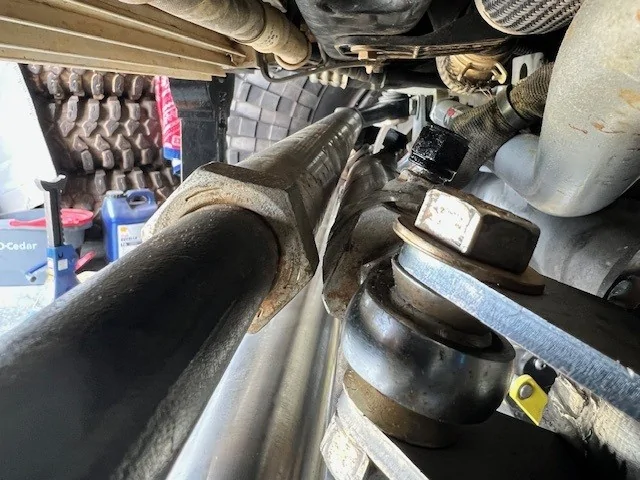
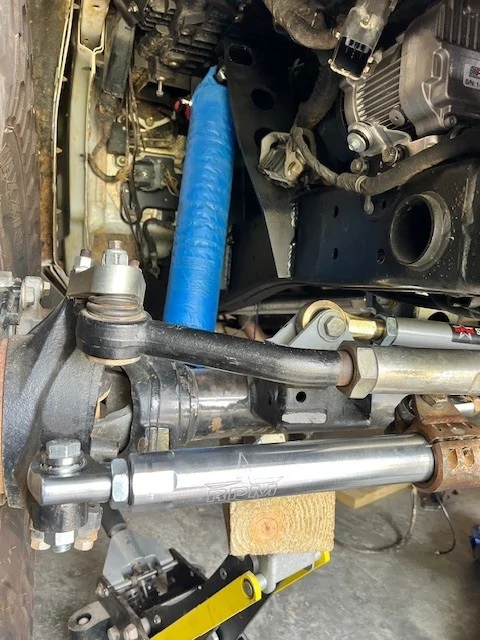
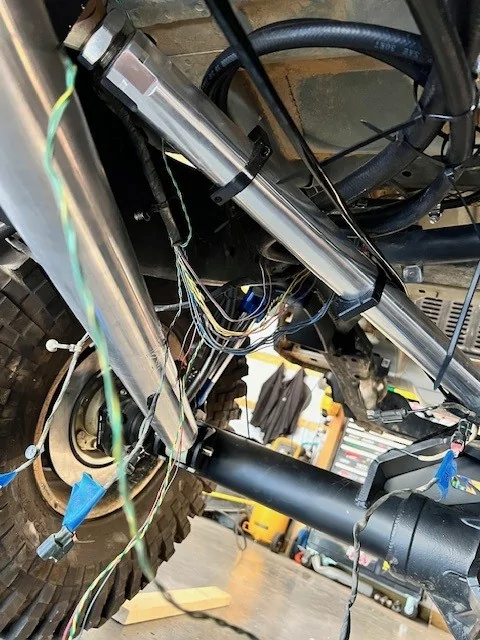
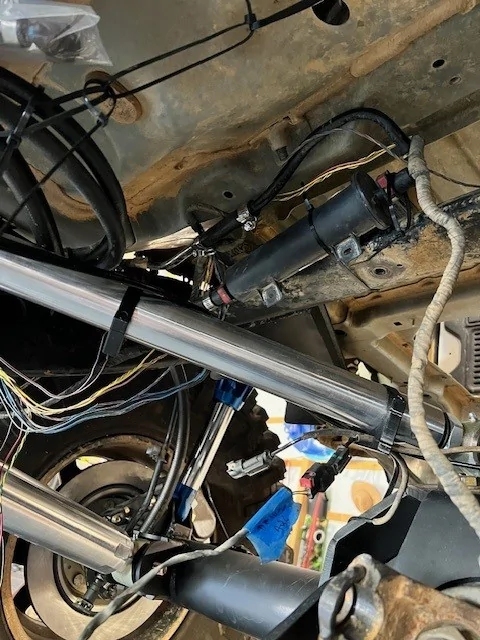
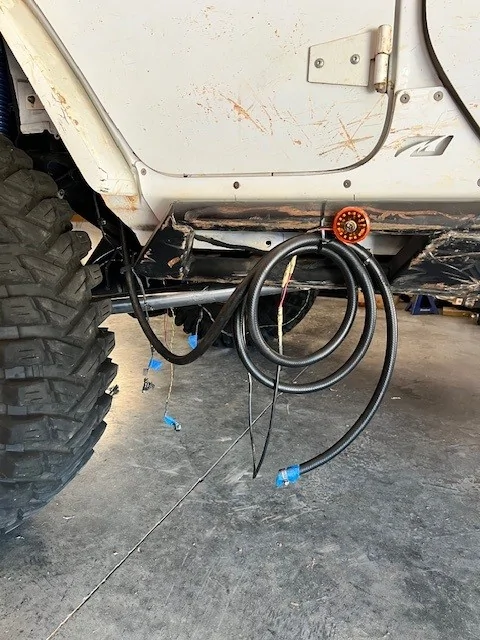
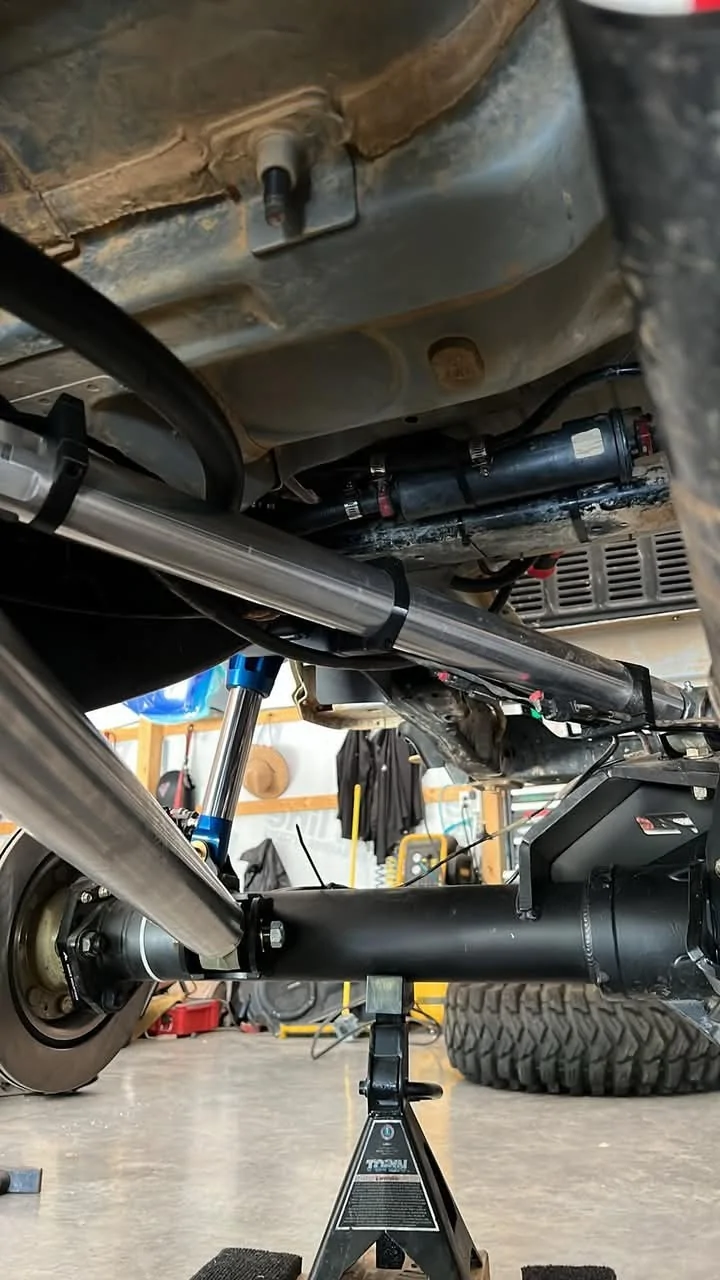
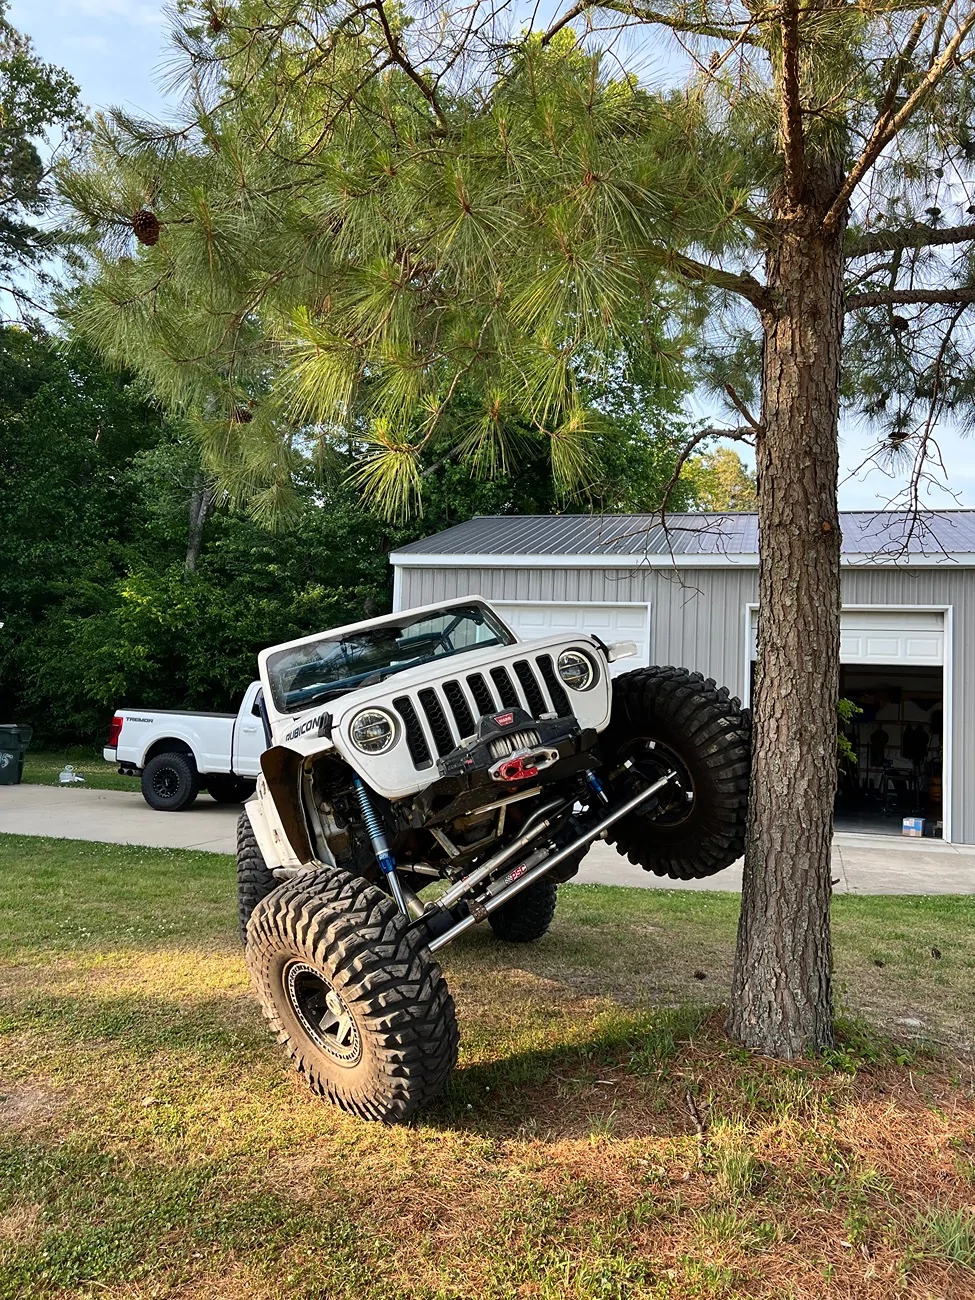
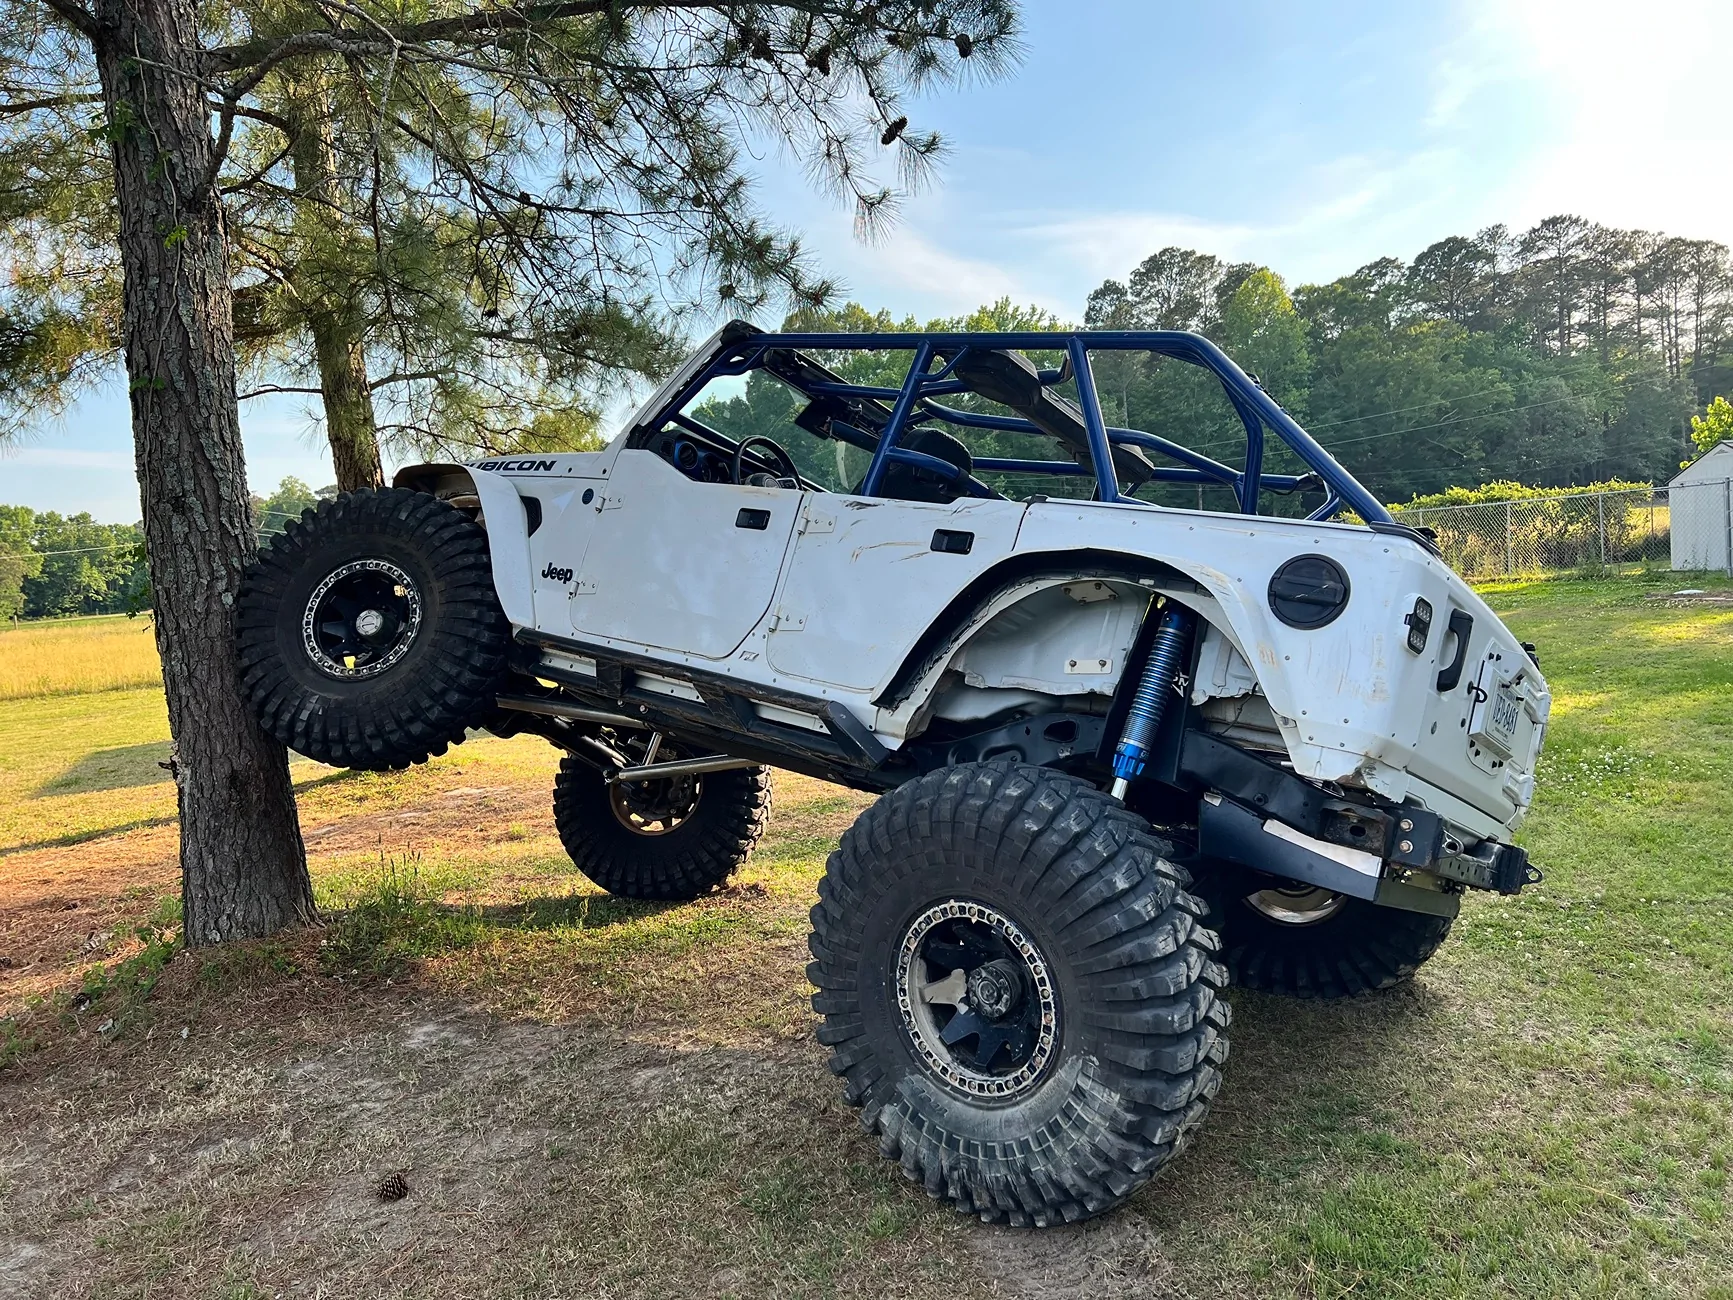
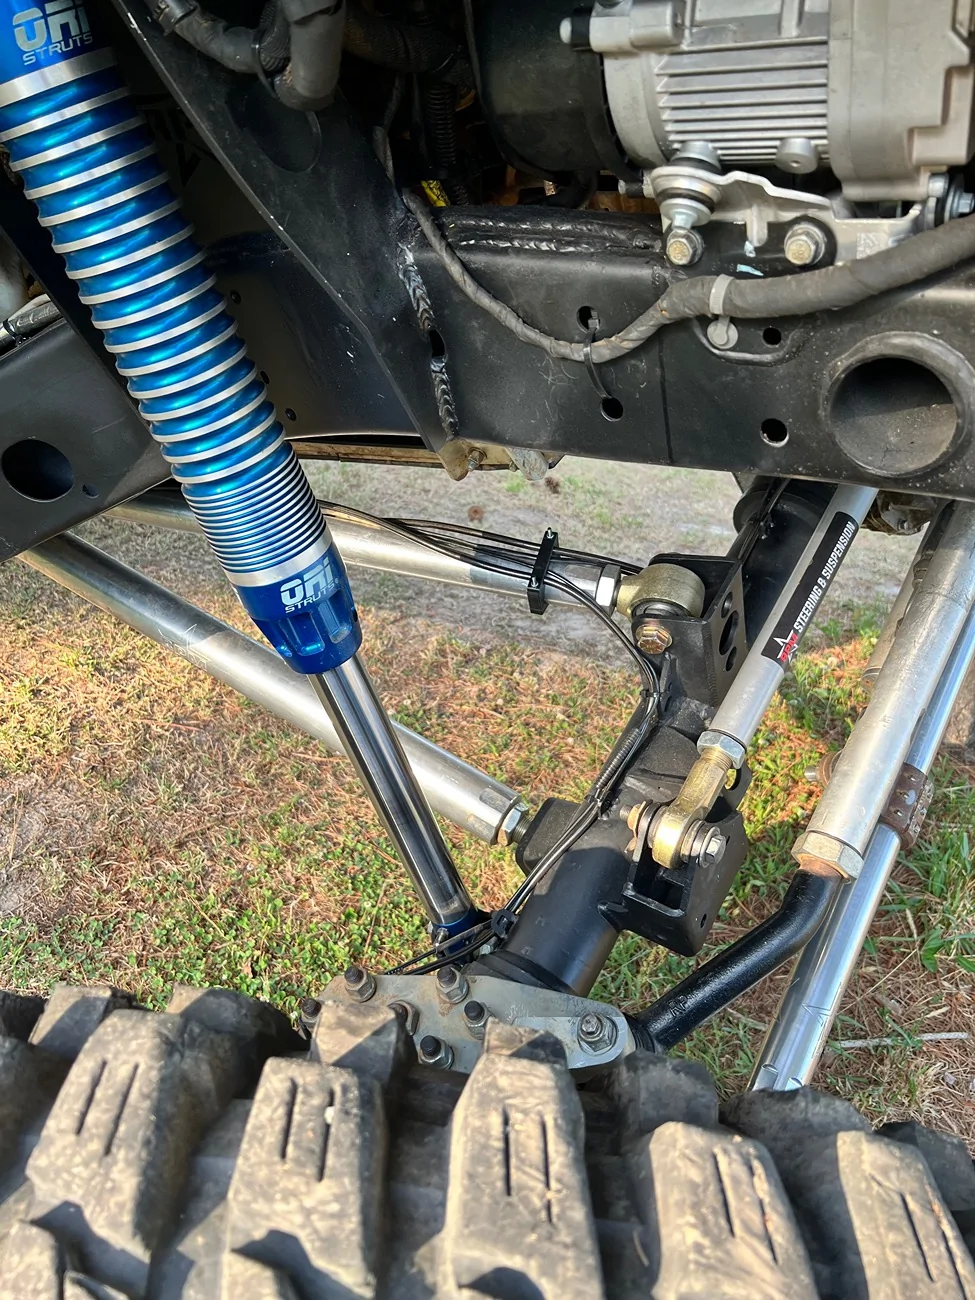
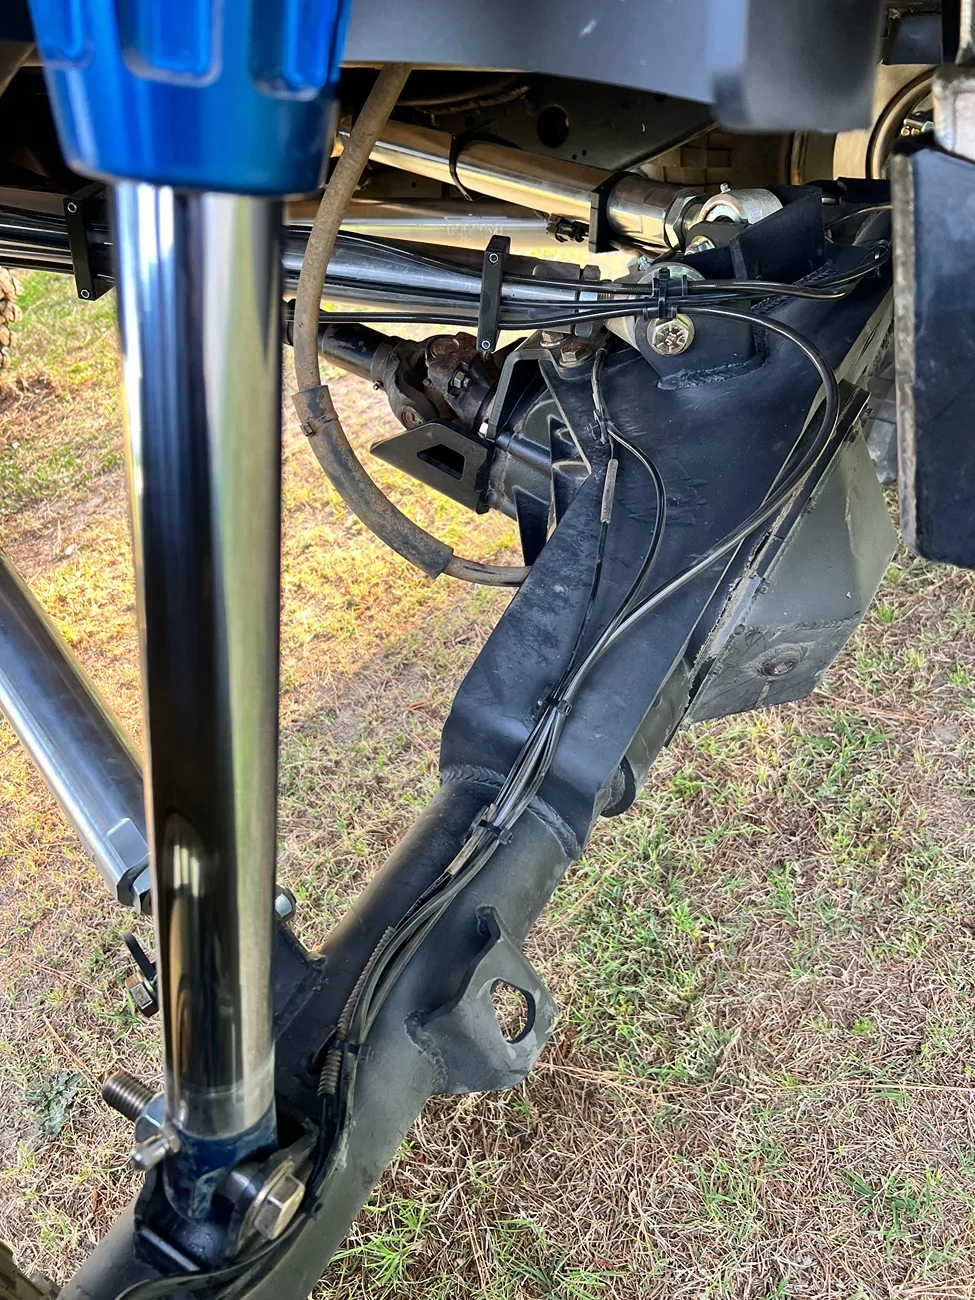
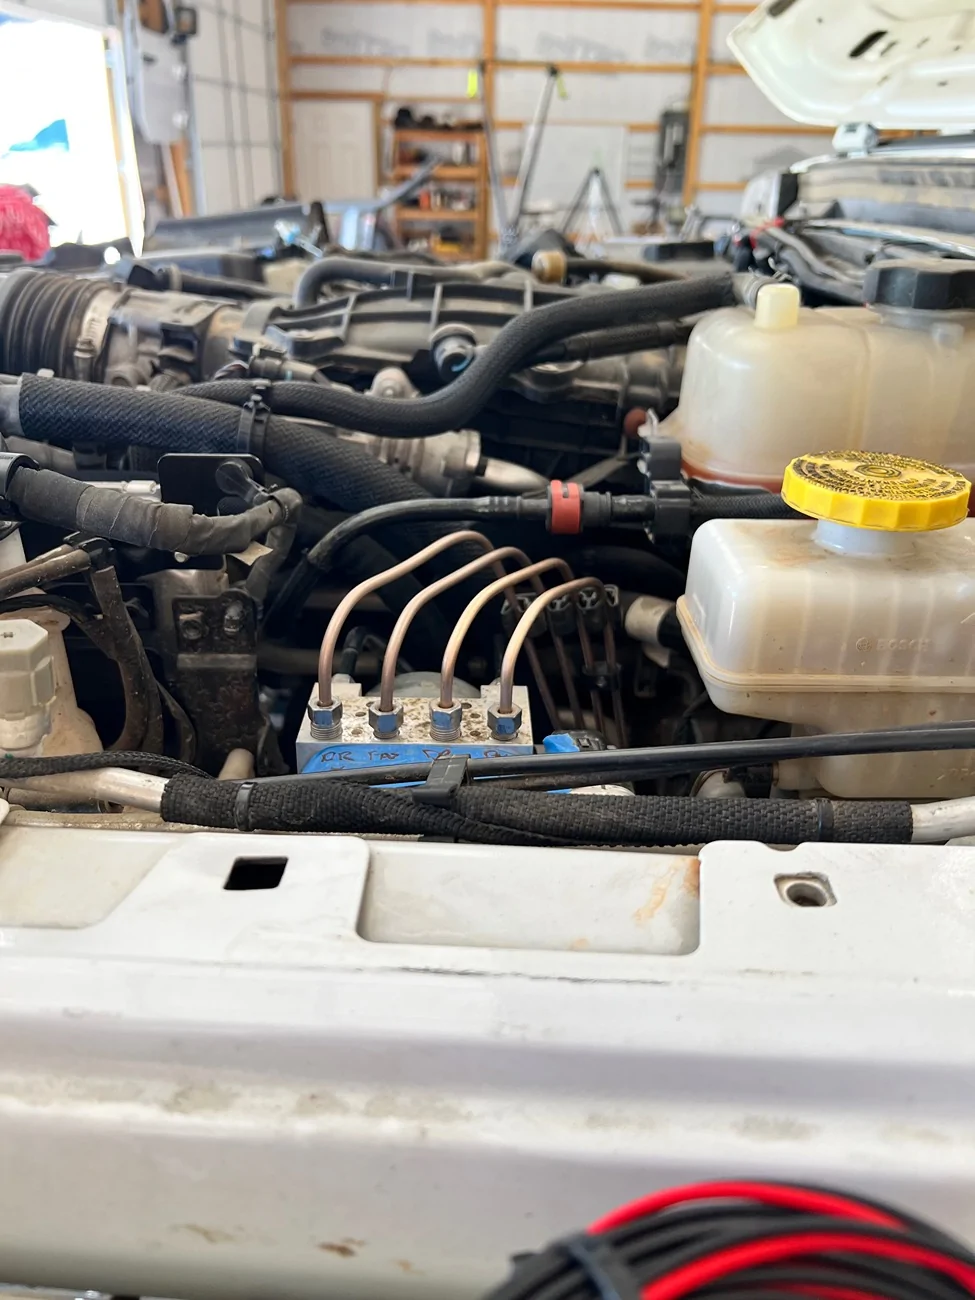
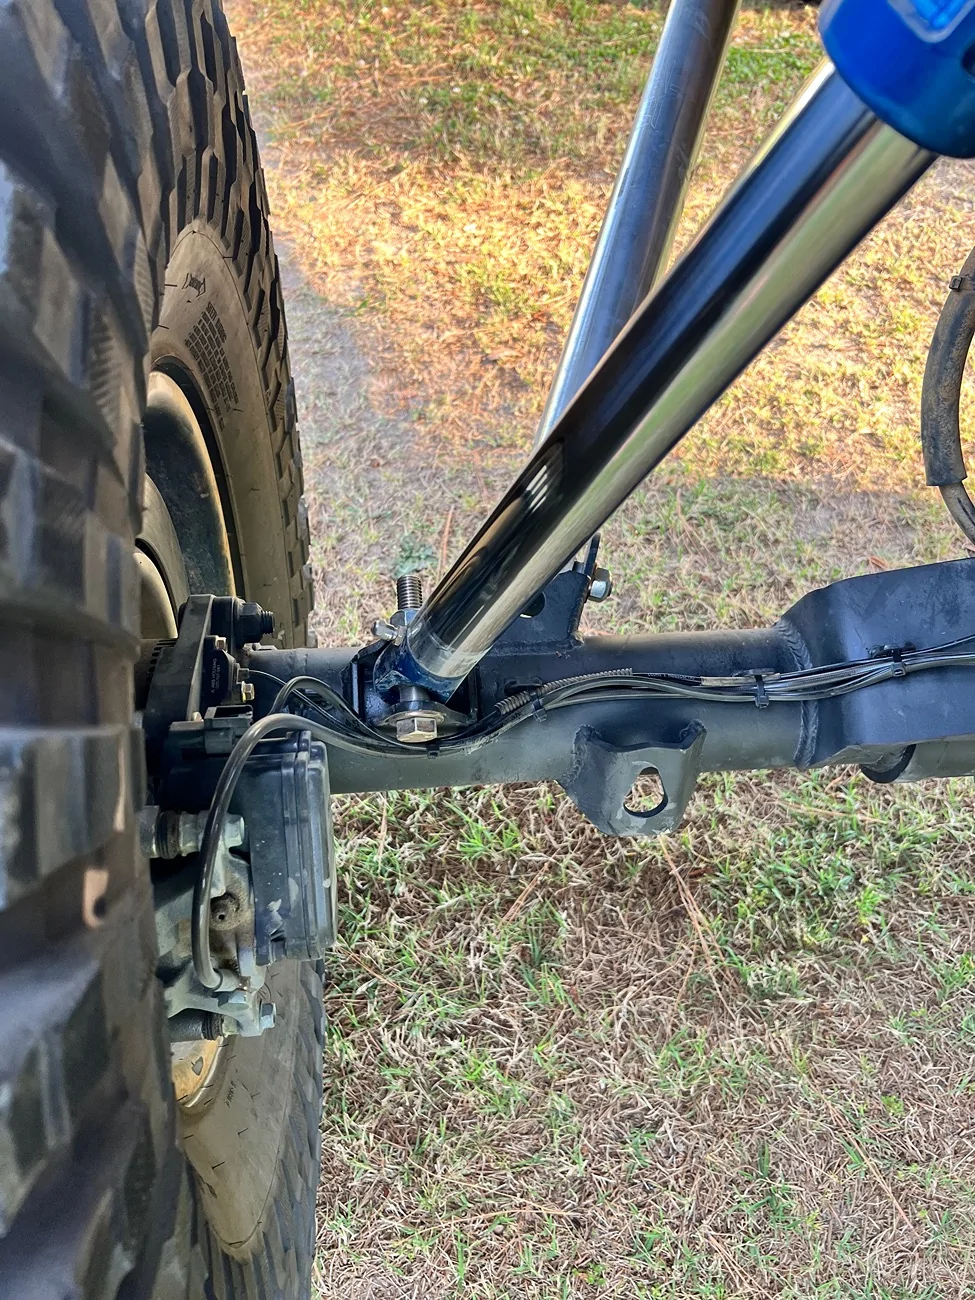
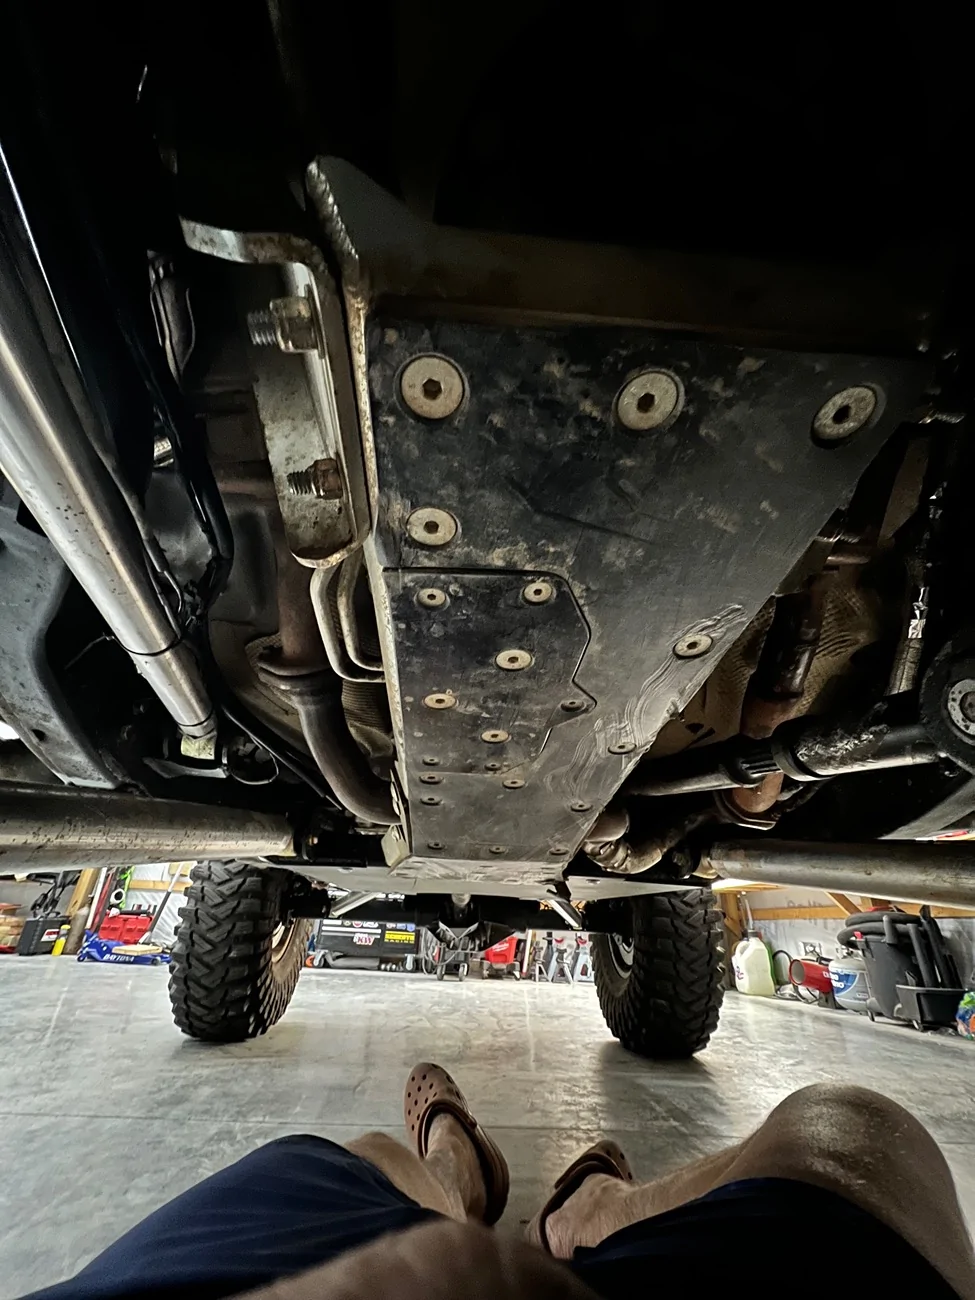
The whole reason why i was asking about your lower mounting position and ride height was because i came across this gentleman running 14” oris up front. I guess I didn’t want to see this happen to you lol. His lower shock mount is flush to the axle tube so I think that’s what did it. He may need to cut it off and use your mount


Sponsored