BlairF
Well-Known Member
- First Name
- Blair
- Joined
- Jun 27, 2018
- Threads
- 6
- Messages
- 206
- Reaction score
- 306
- Location
- Humble, TX
- Vehicle(s)
- 2018 JLUS-S Mojito! - 2014 Challenger RT Classic (SuperCharged) - 2016 Dodge Durango RT
- Occupation
- Technology Incident Management
- Vehicle Showcase
- 2
- Thread starter
- #1
Hopefully this makes sense, this is my first attempt at a writeup, and was borne out of my failure the first time around.
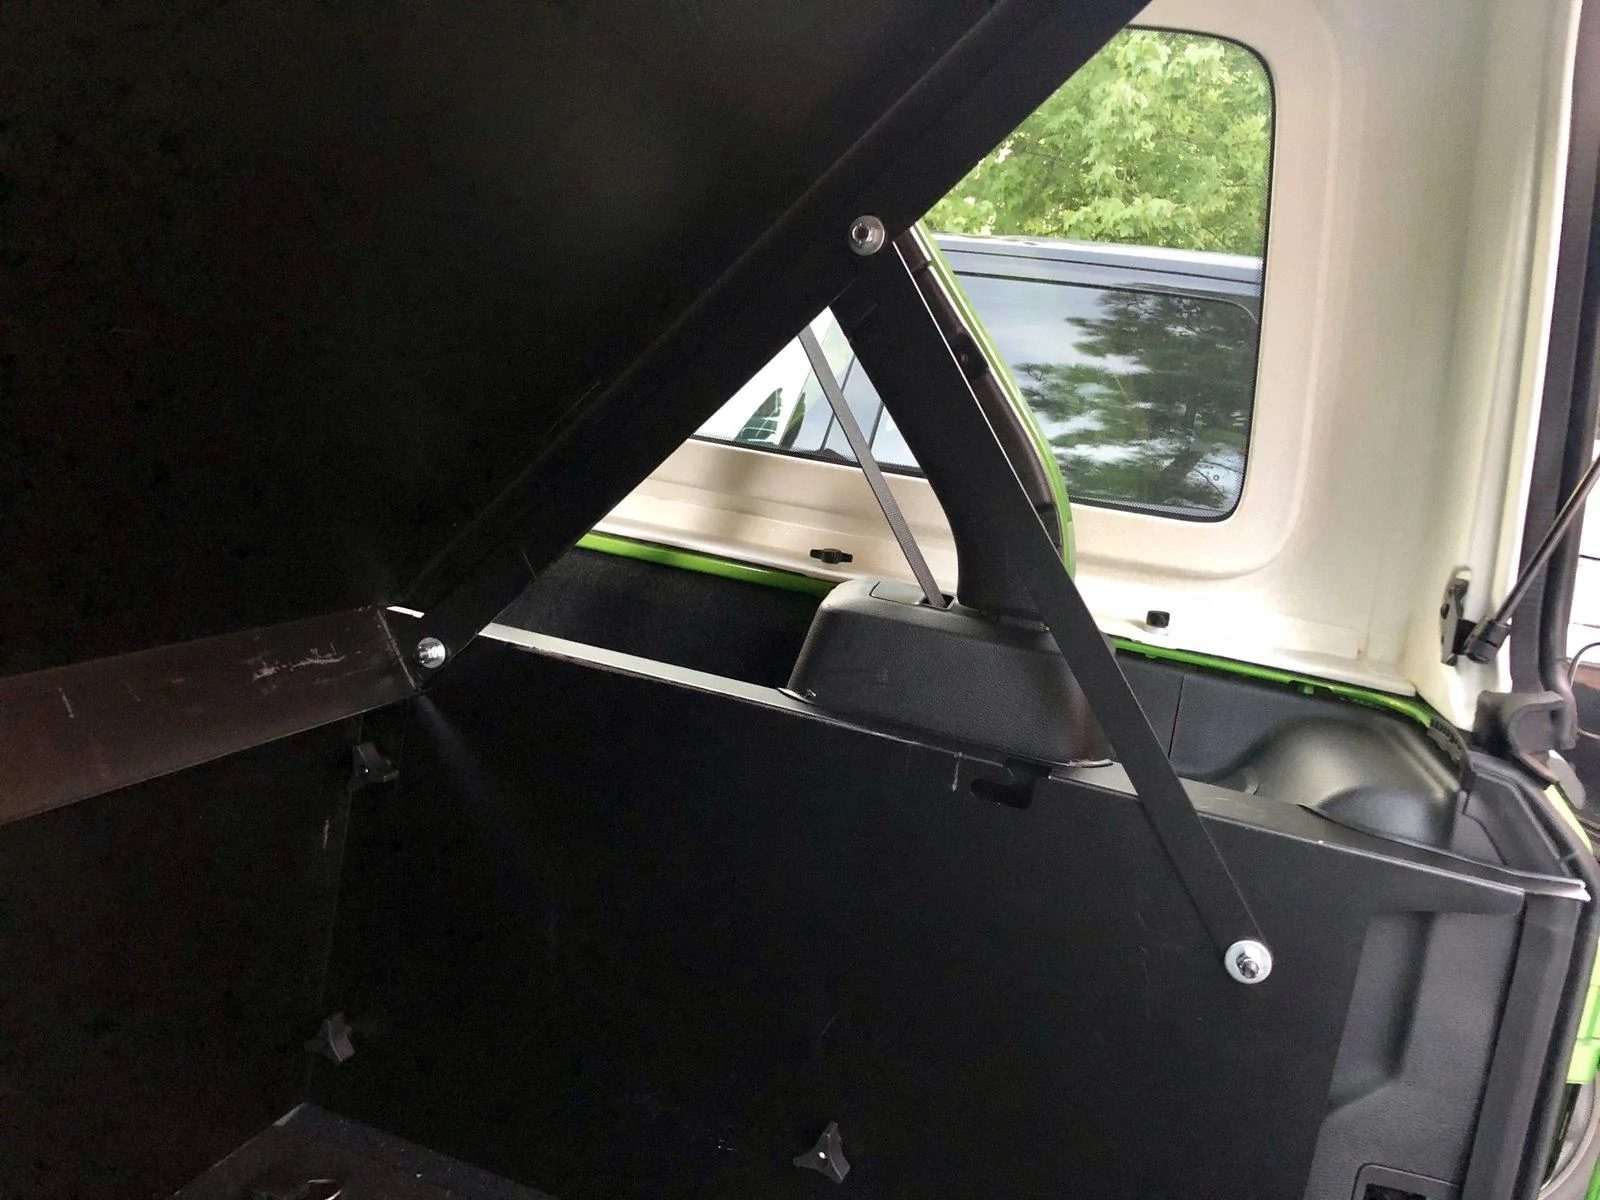
I won't go through the initial assembly, Prop rod can go on either side panel. Wing nuts go on the inside. L brackets face the inside.
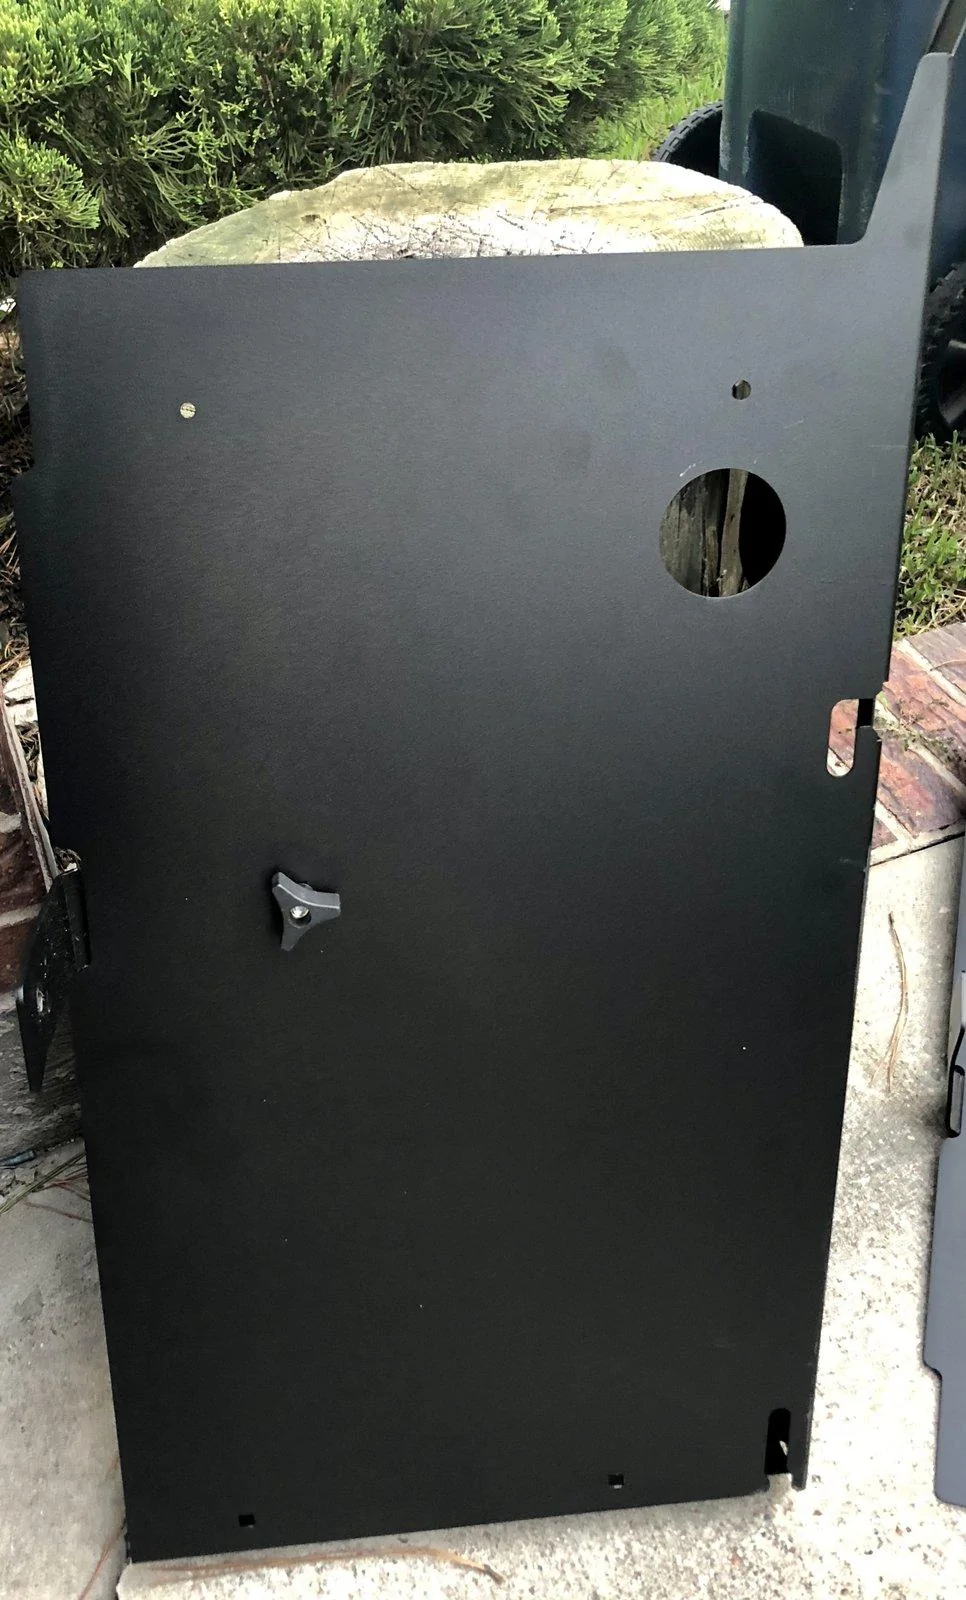
You will have left side:

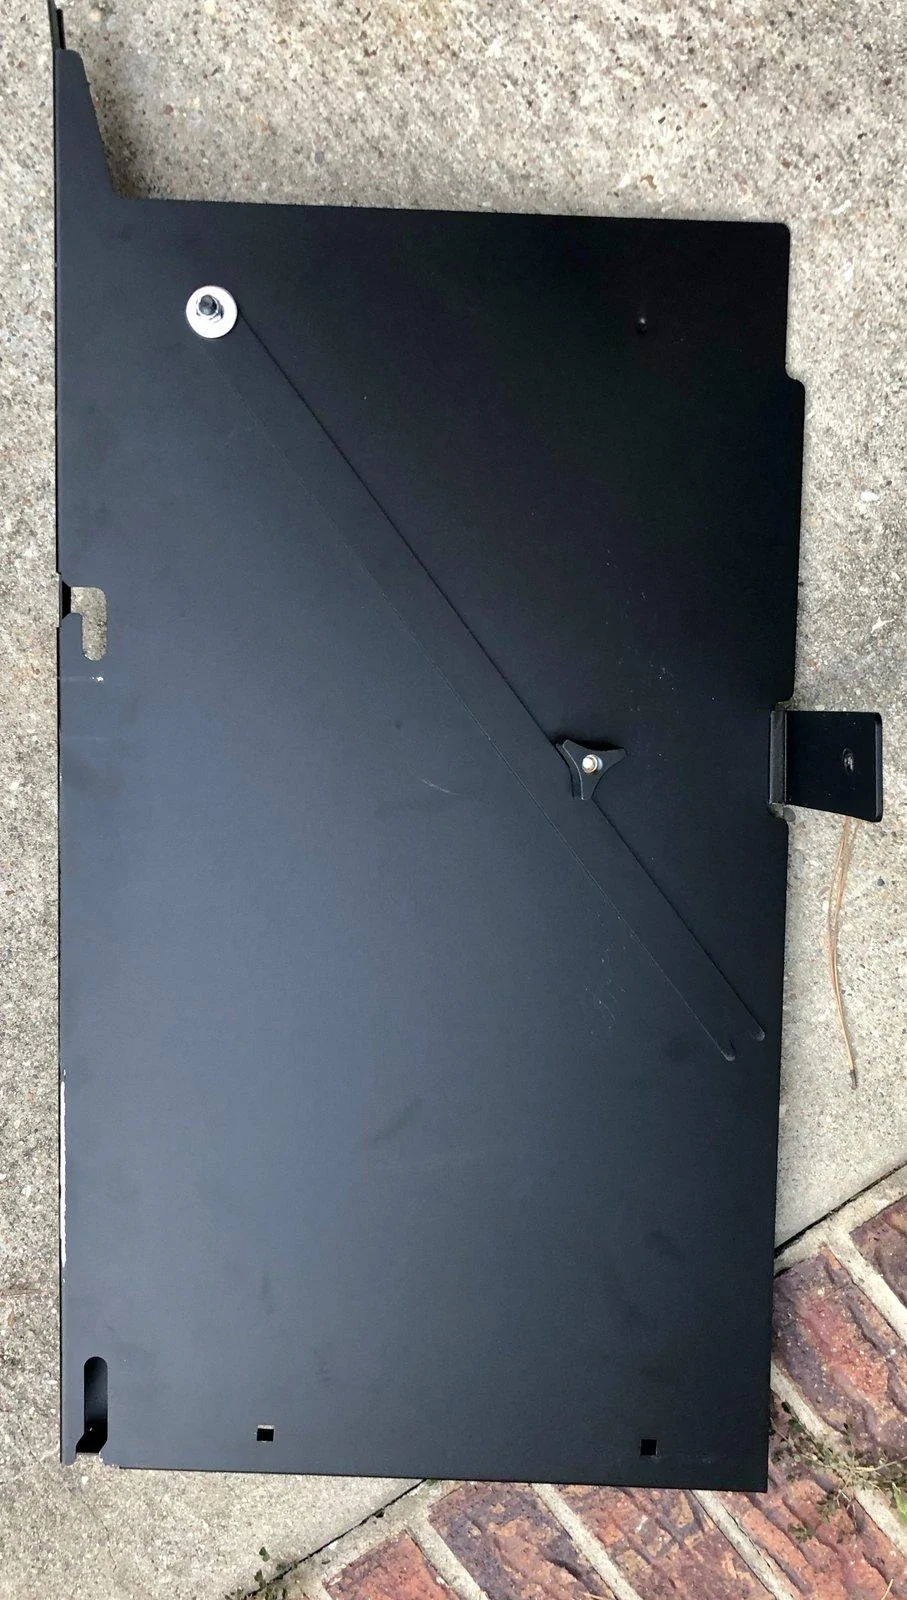
Right Side:

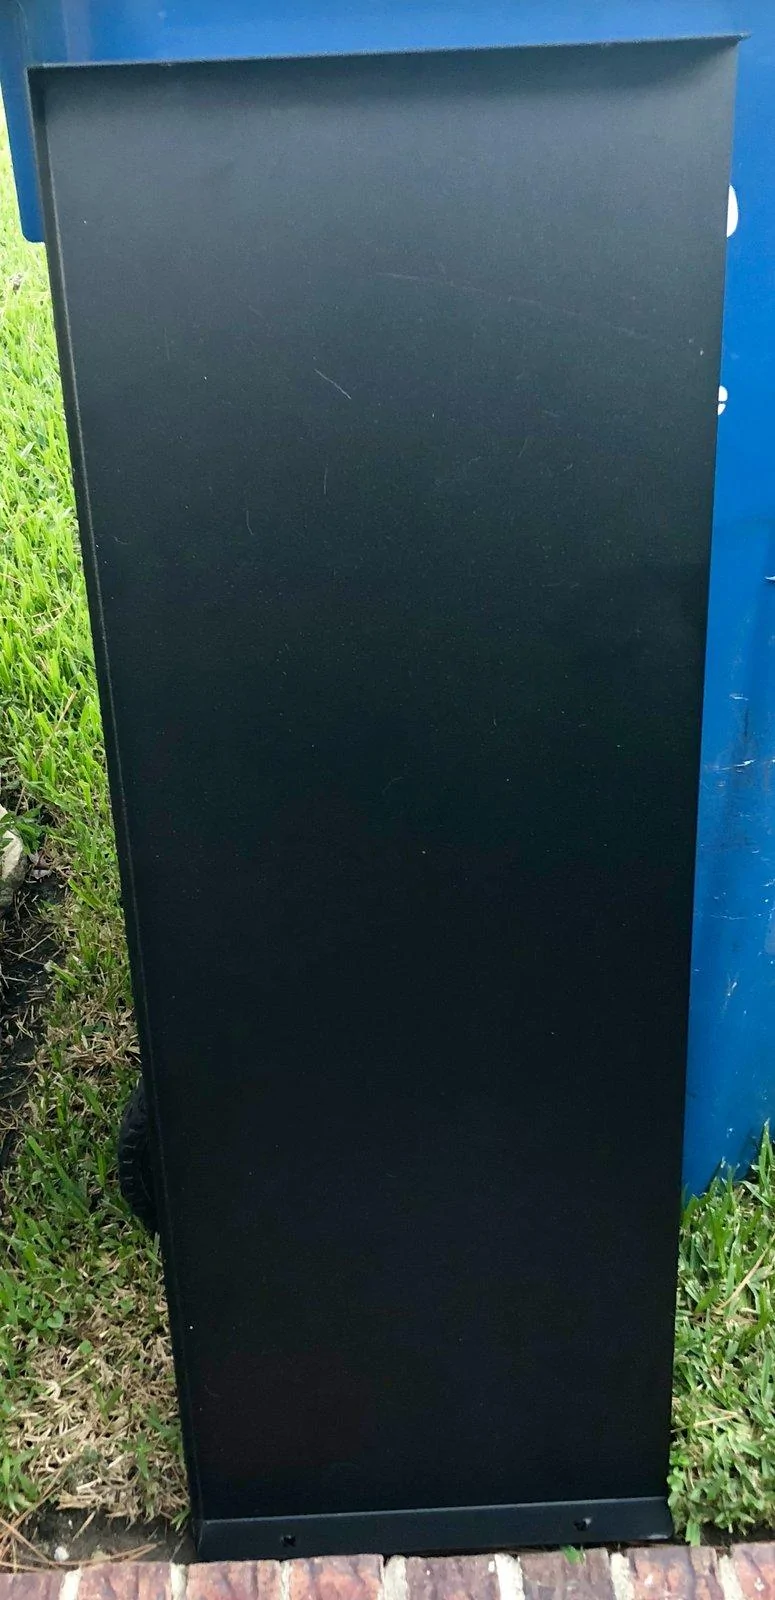
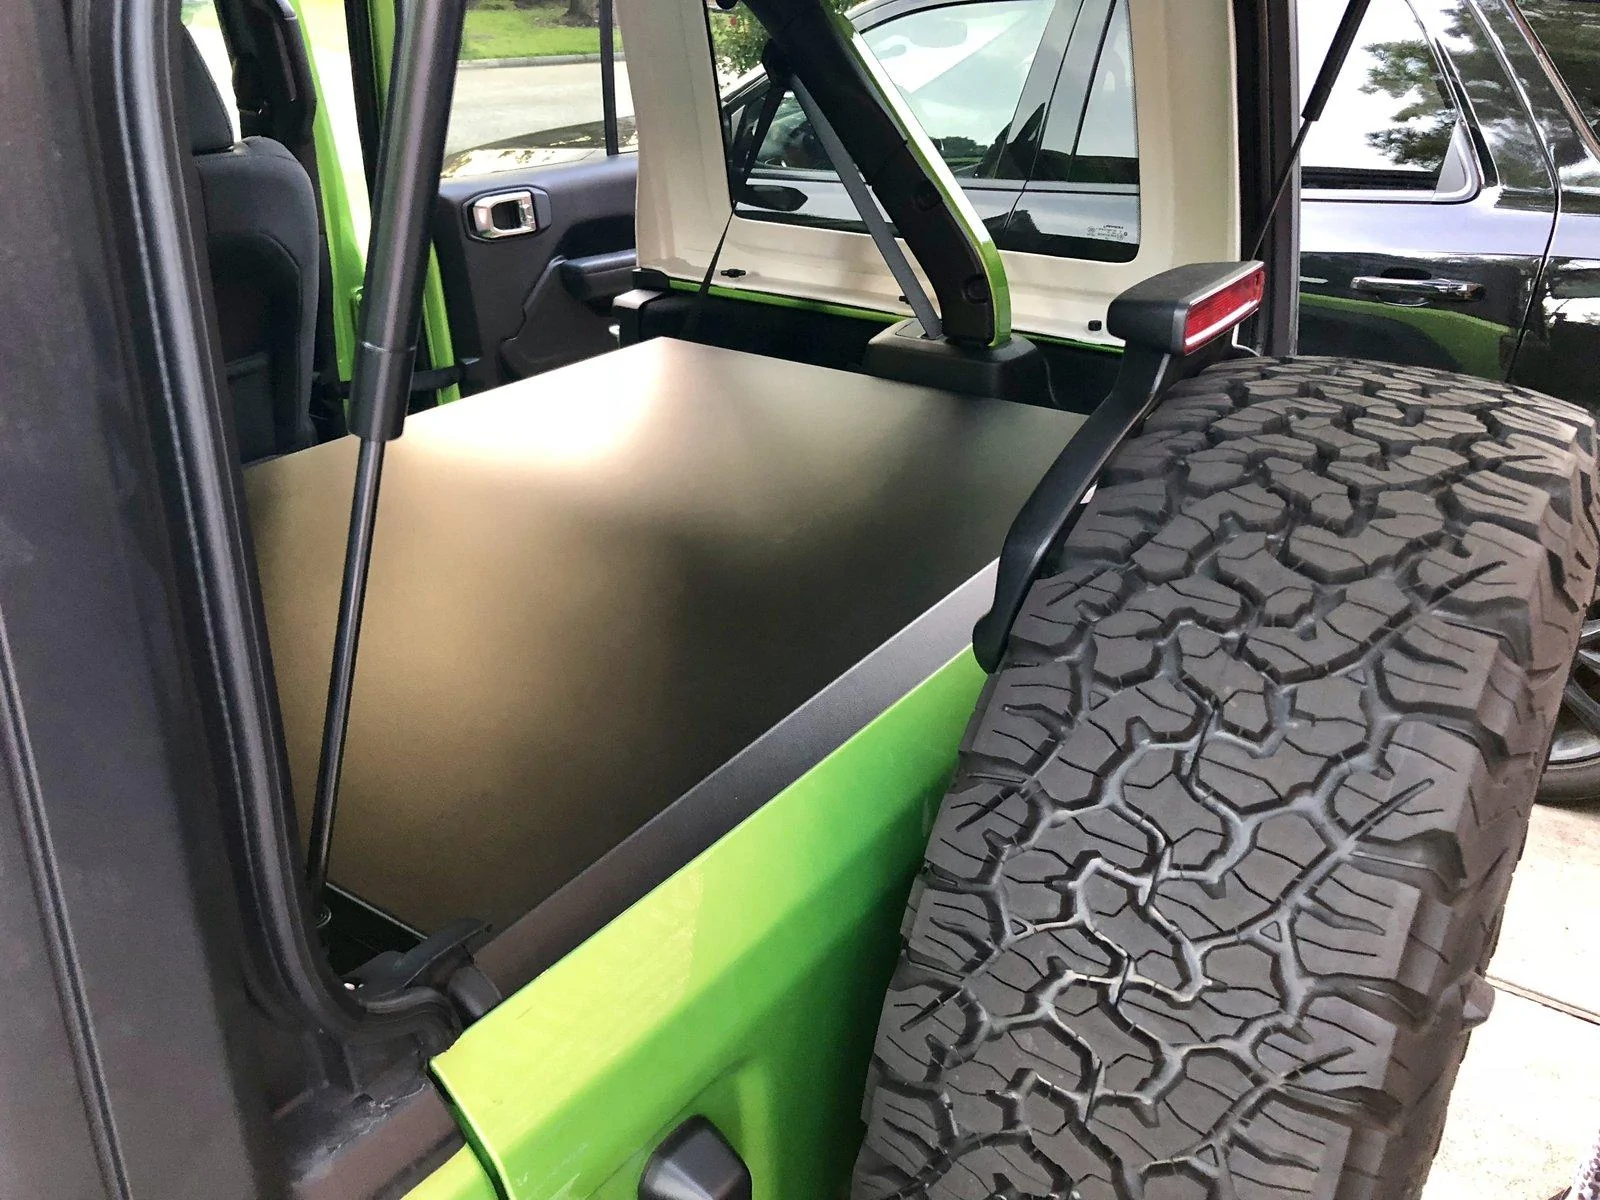
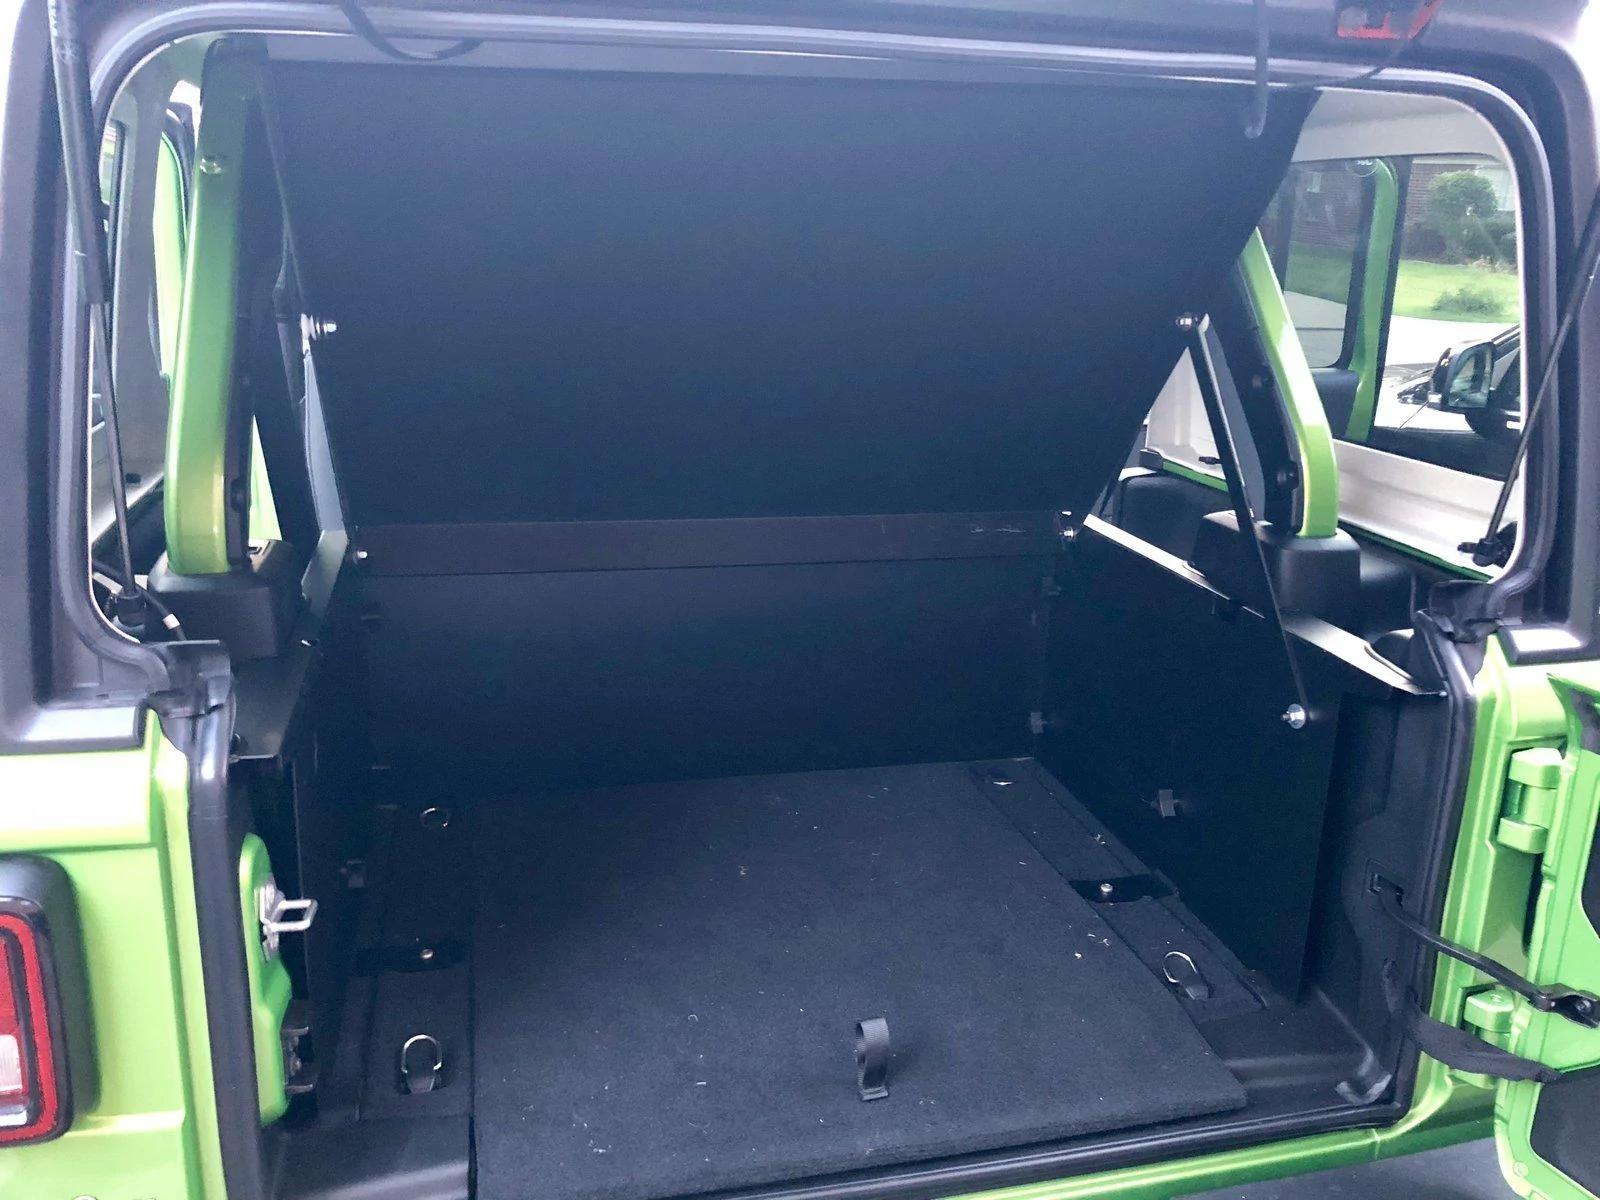
Front (goes against the back seats):

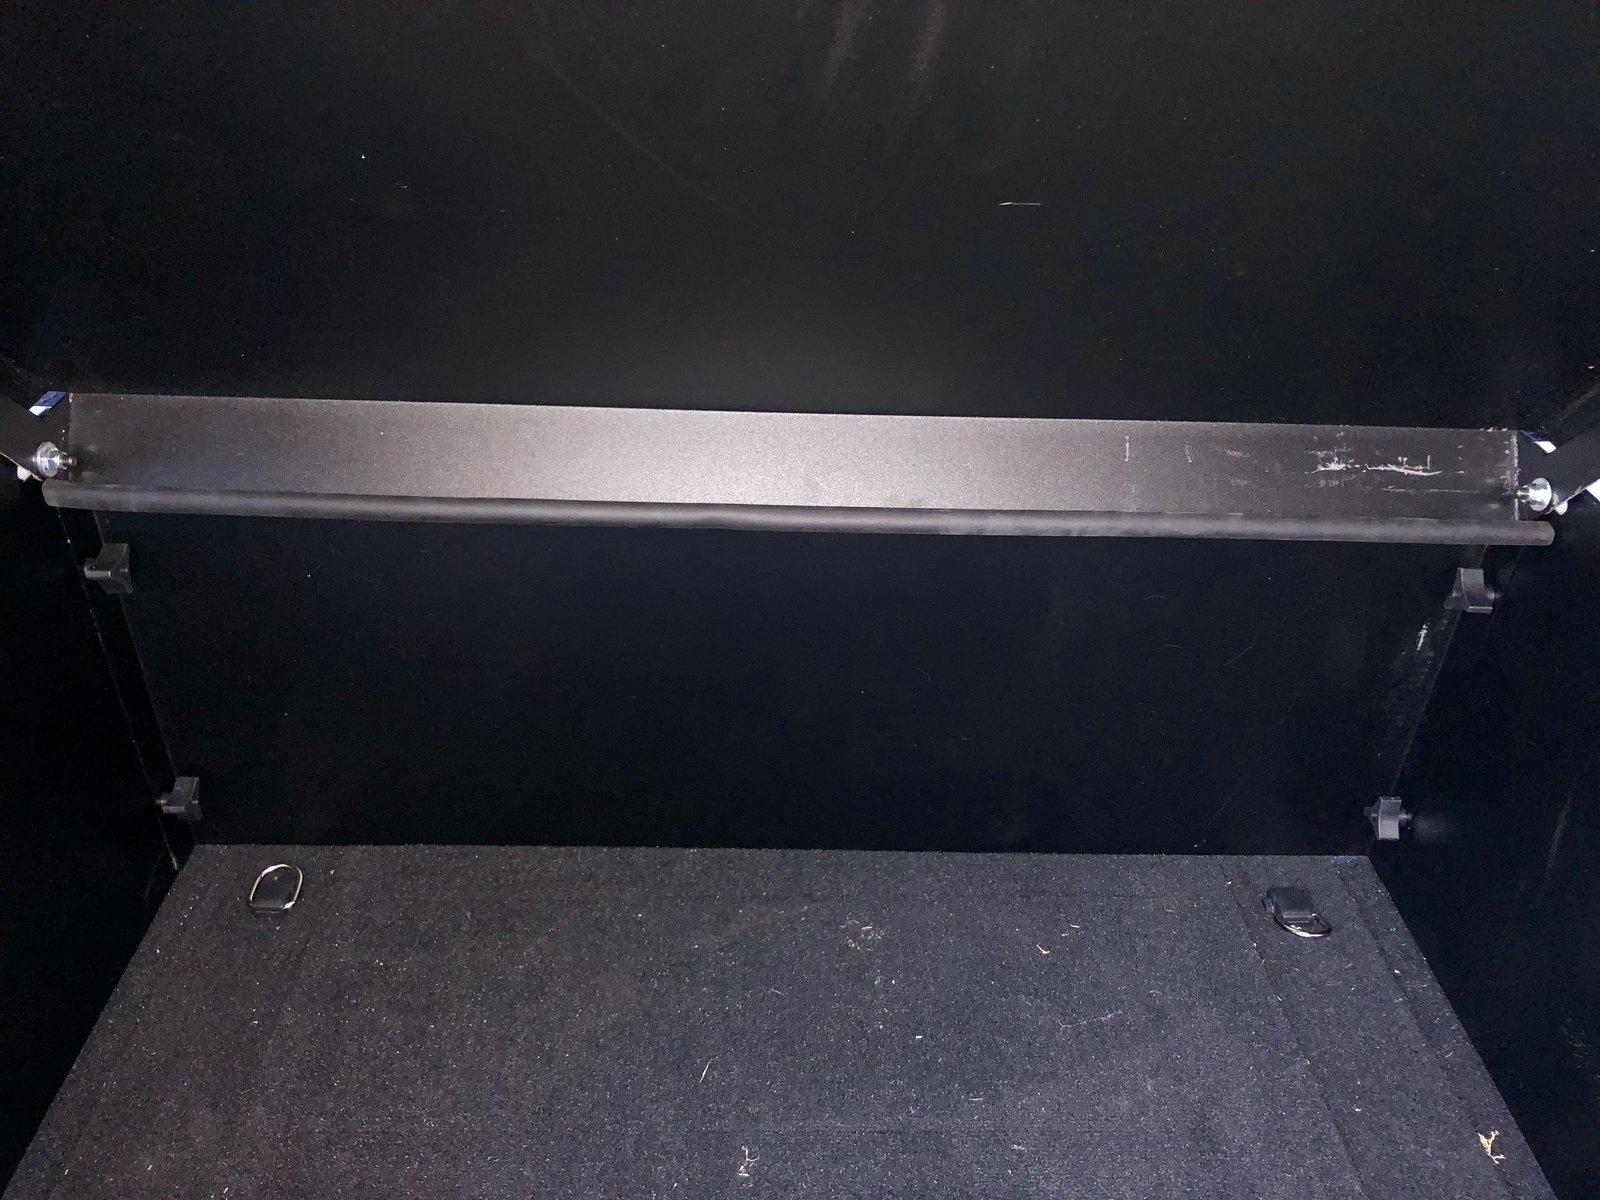
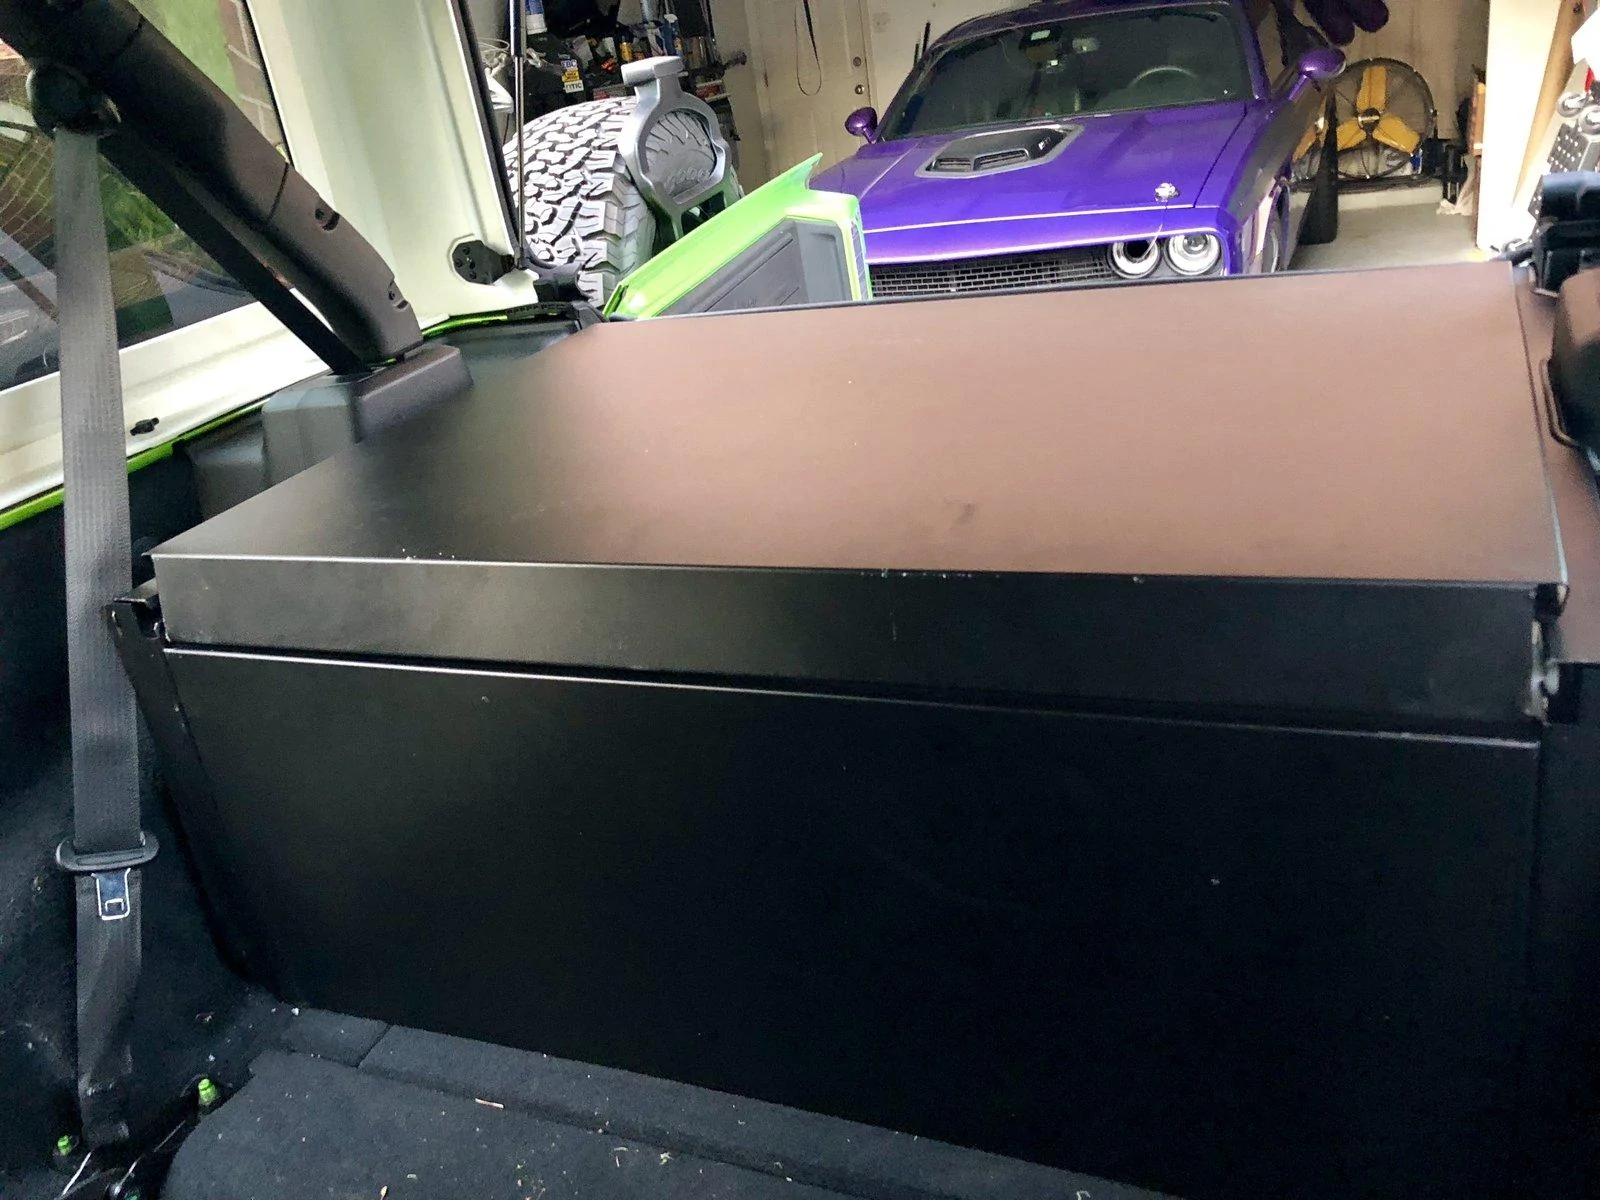
Lid:

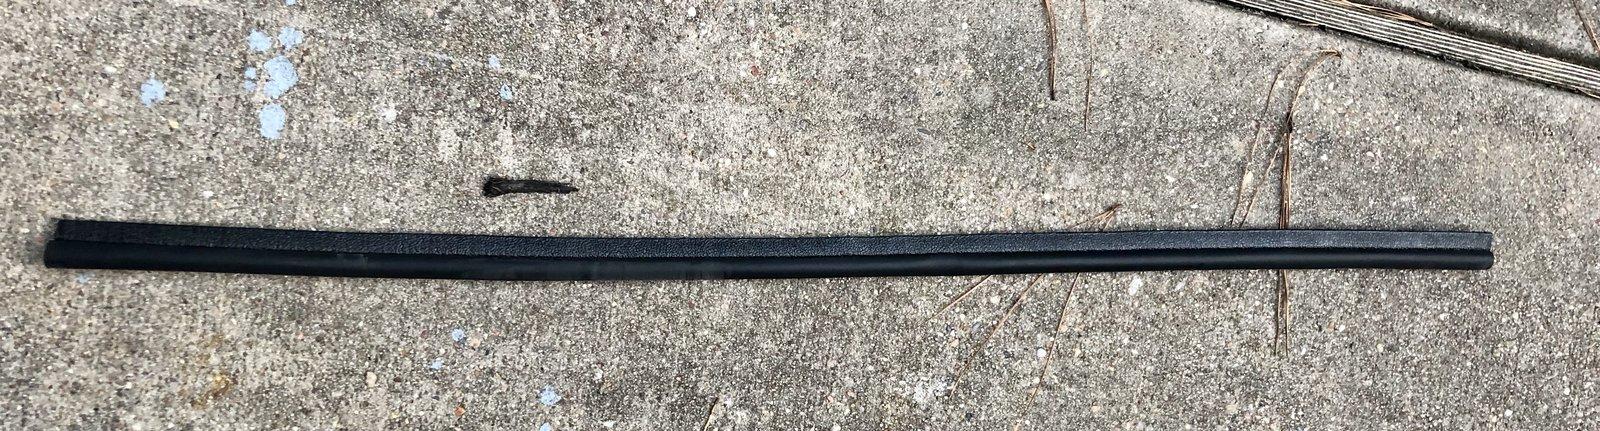
Before you go any further, If you have the "weatherstrip" on the lid between the two casters, take it off, the lid will be almost impossible to install with it on. :

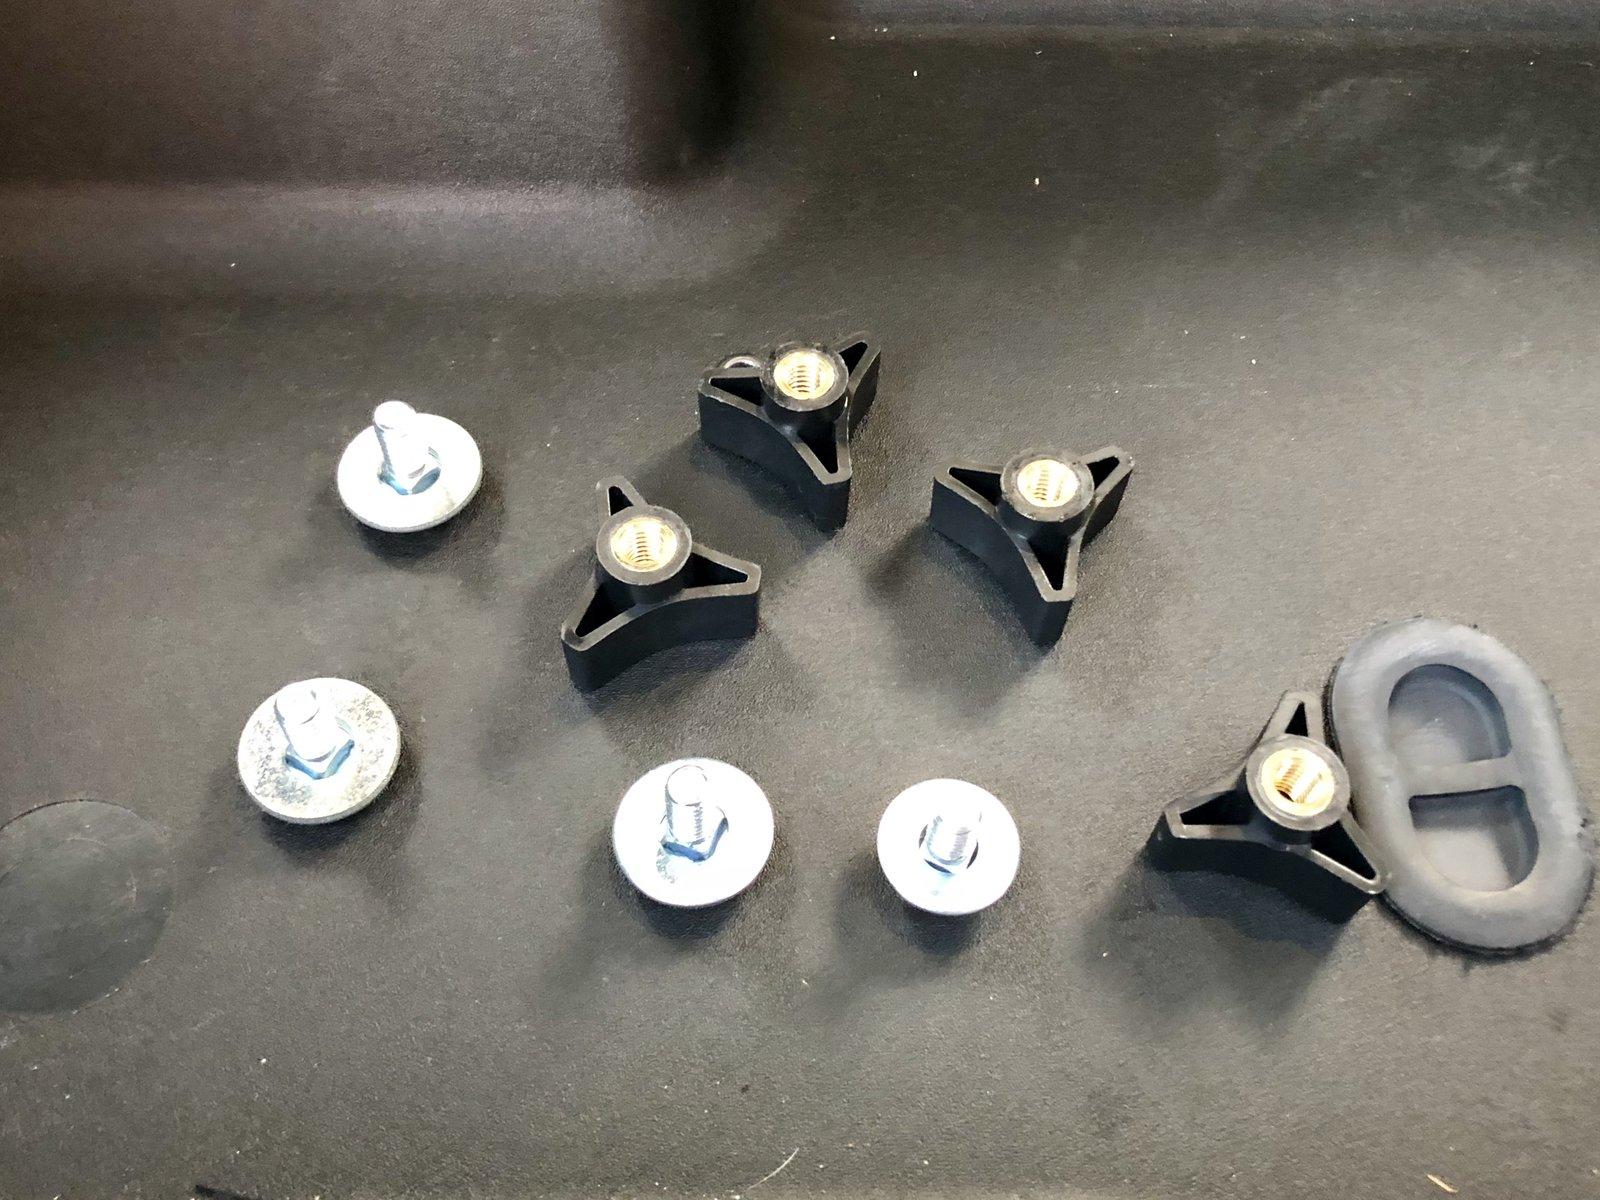
Now for your remaining assembly parts:

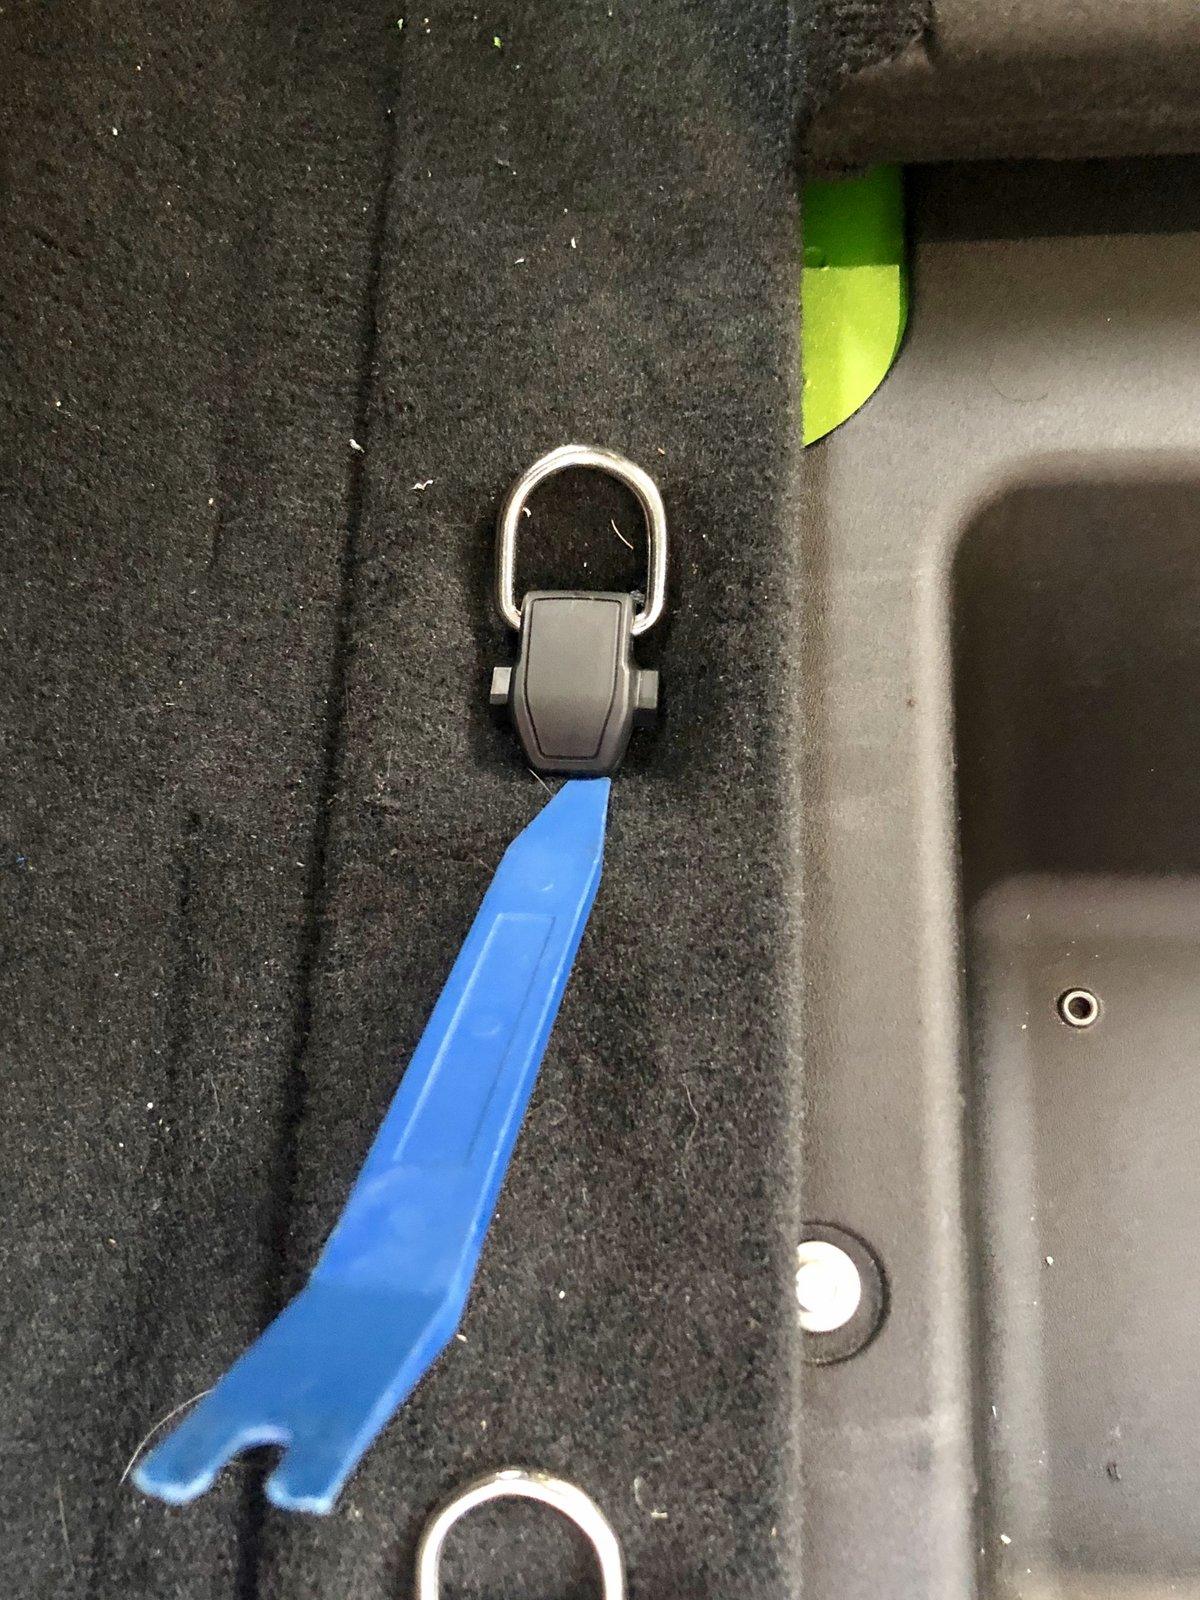
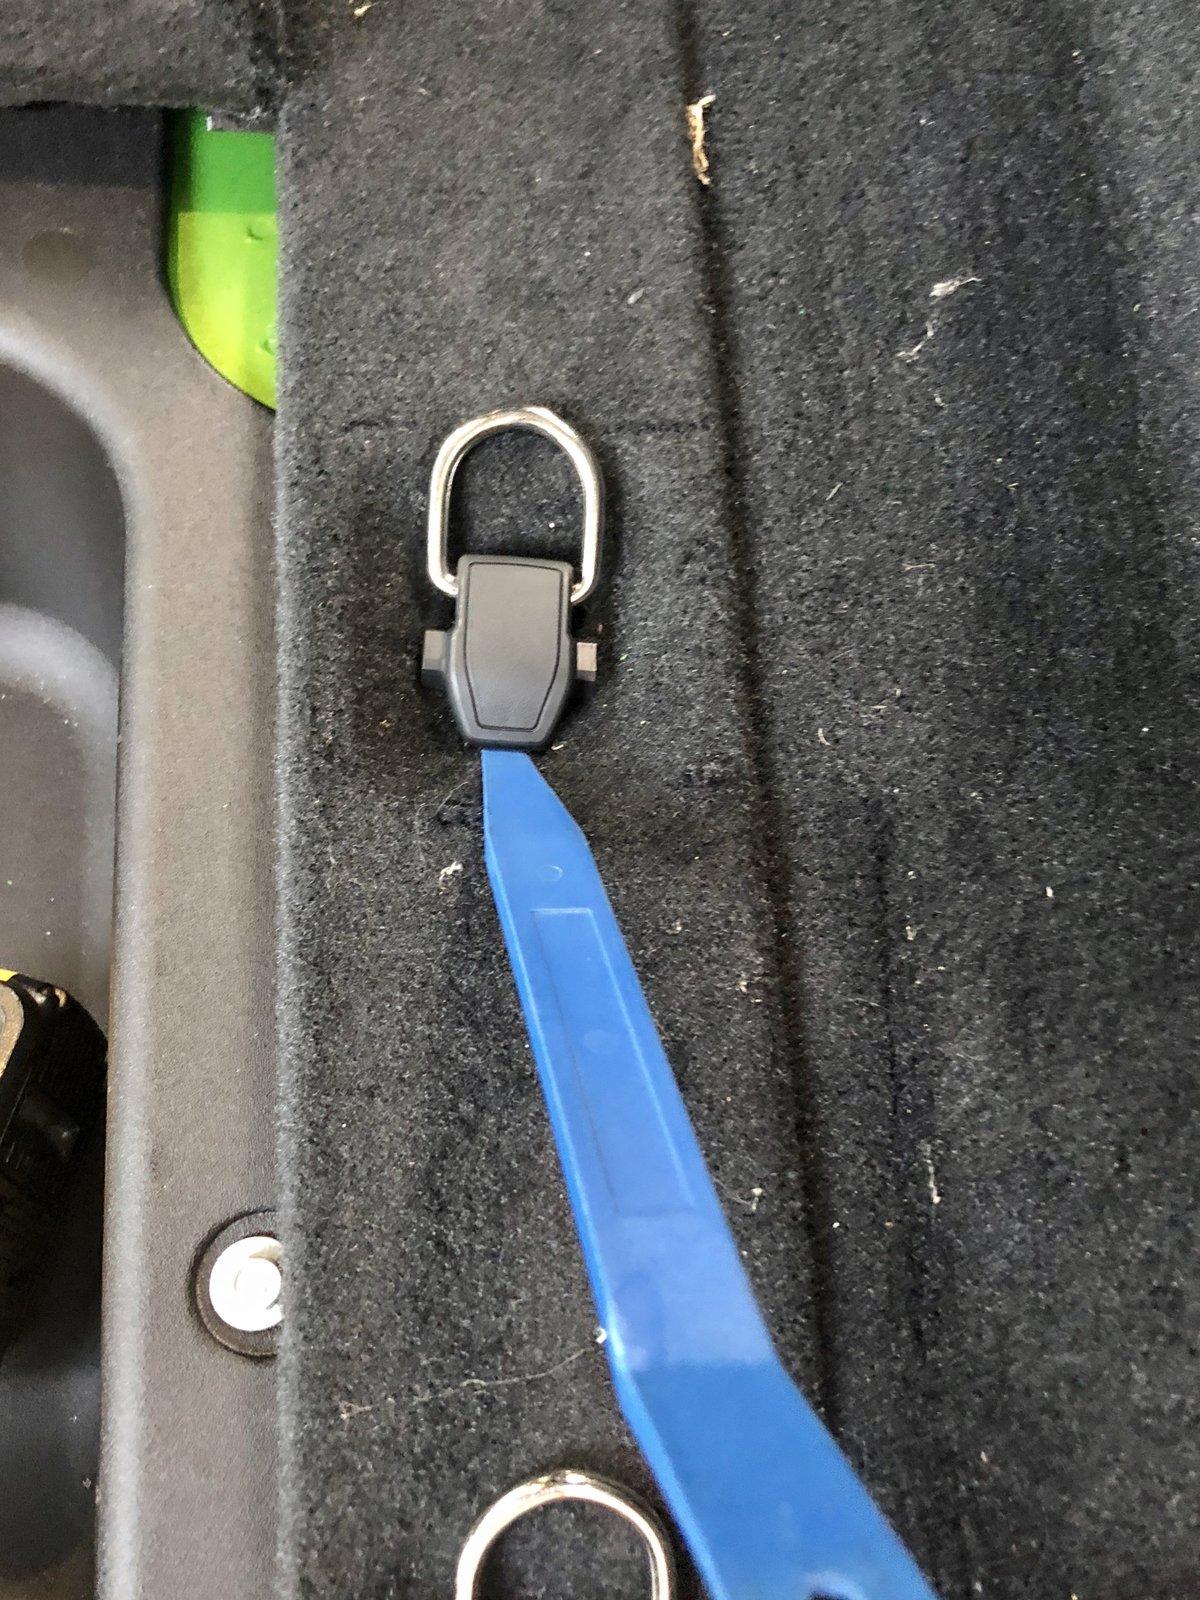
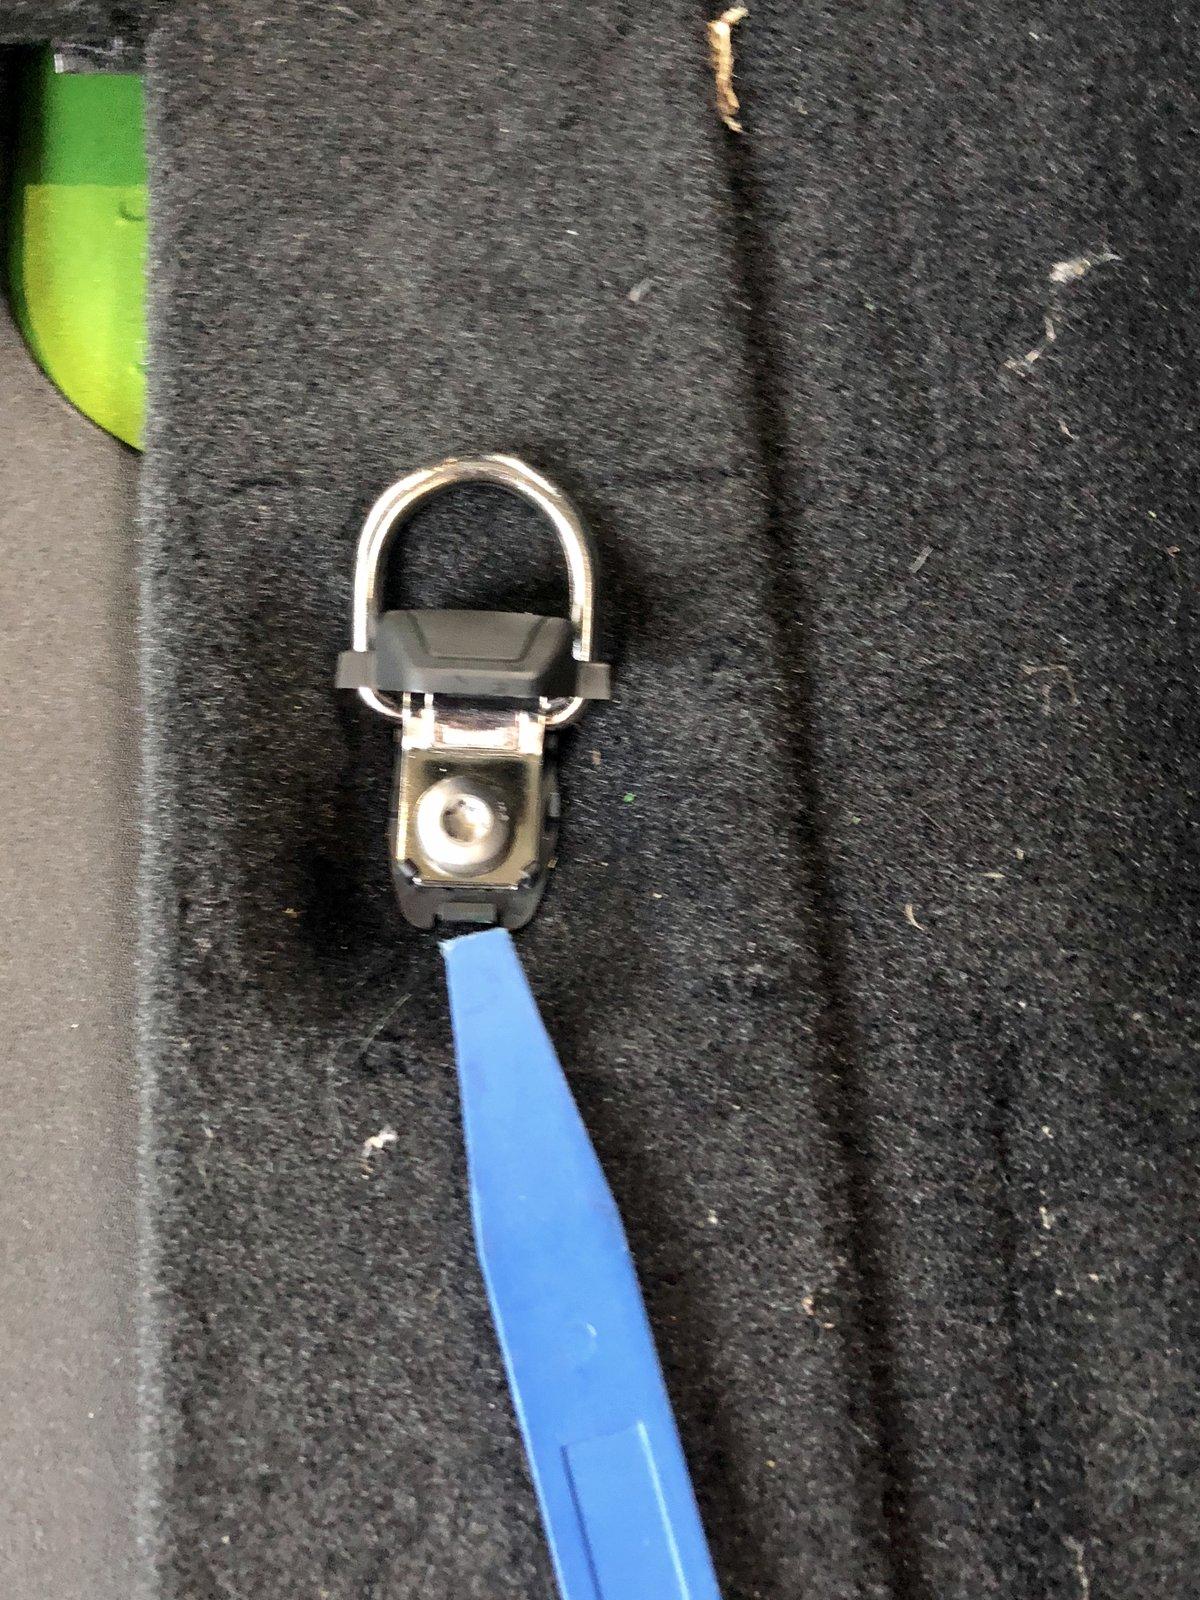
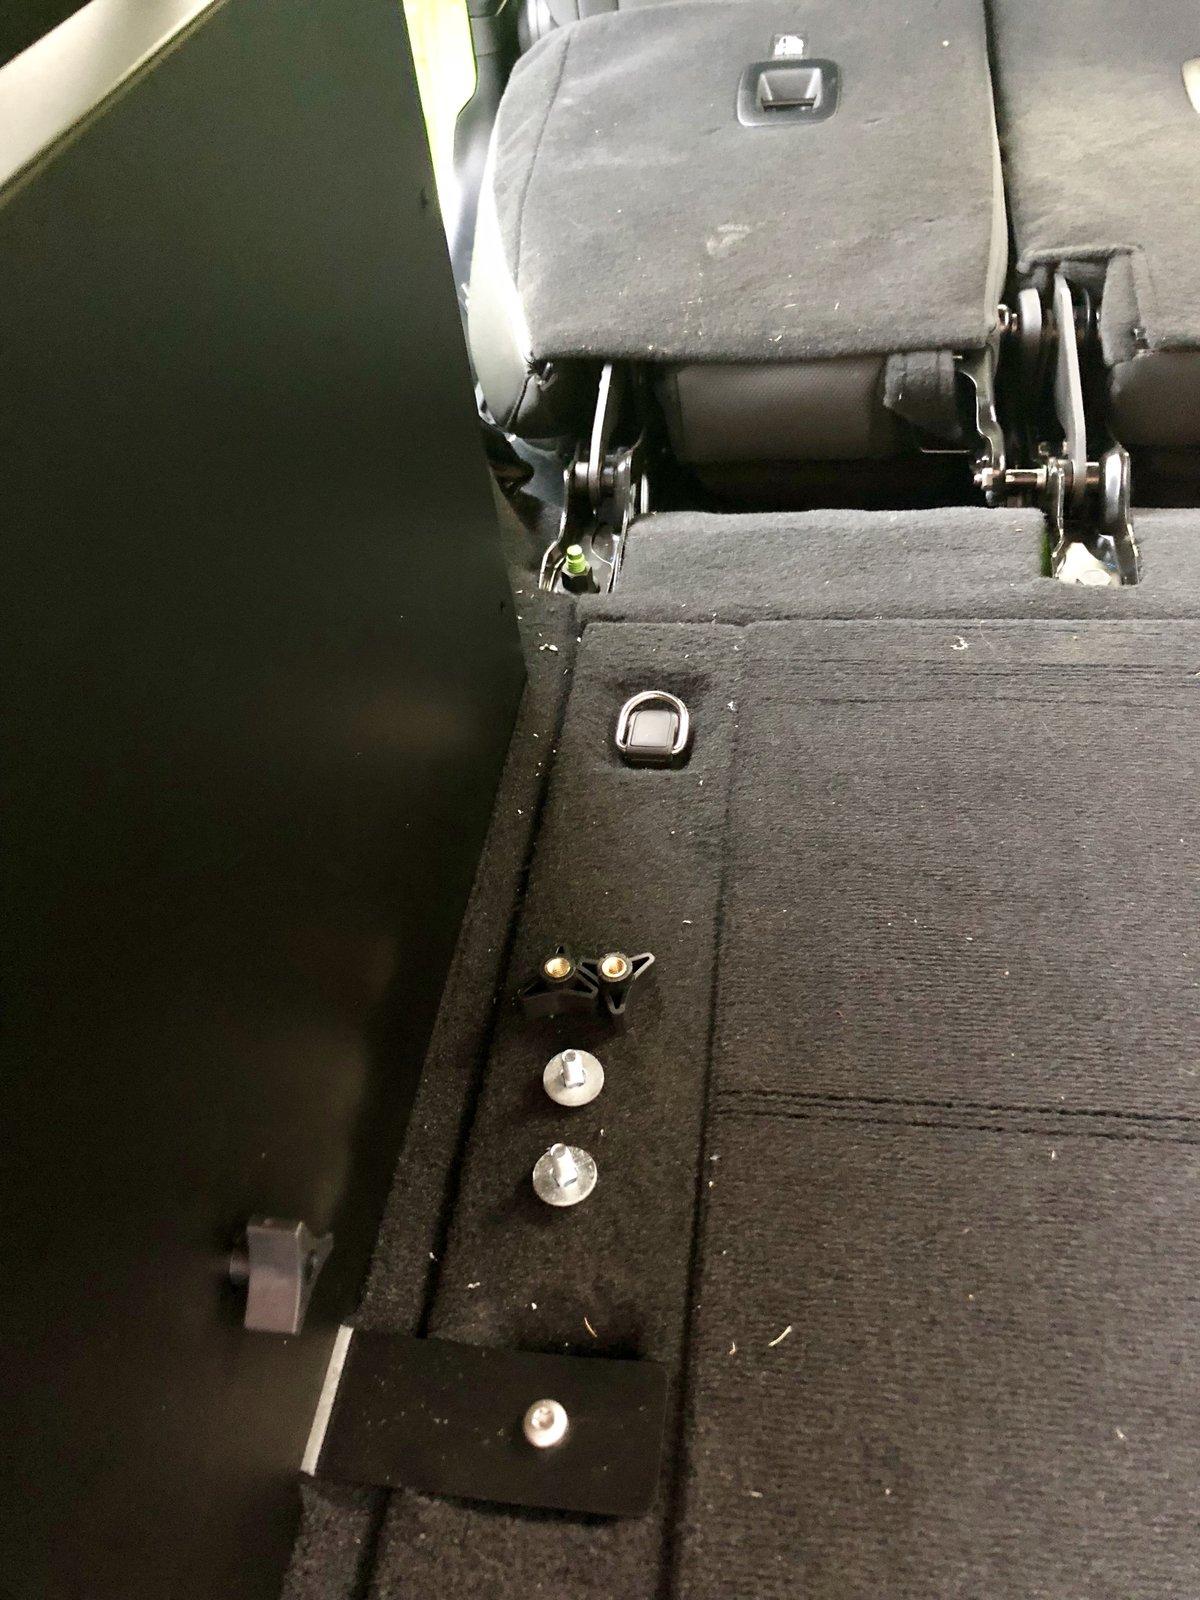
Next, open your tailgate, and remove the middle cargo strap covers with a panel tool or flat head screwdriver:

Now remove the screw with a T40 torx. you can use the one supplied in your jeep toolkit.
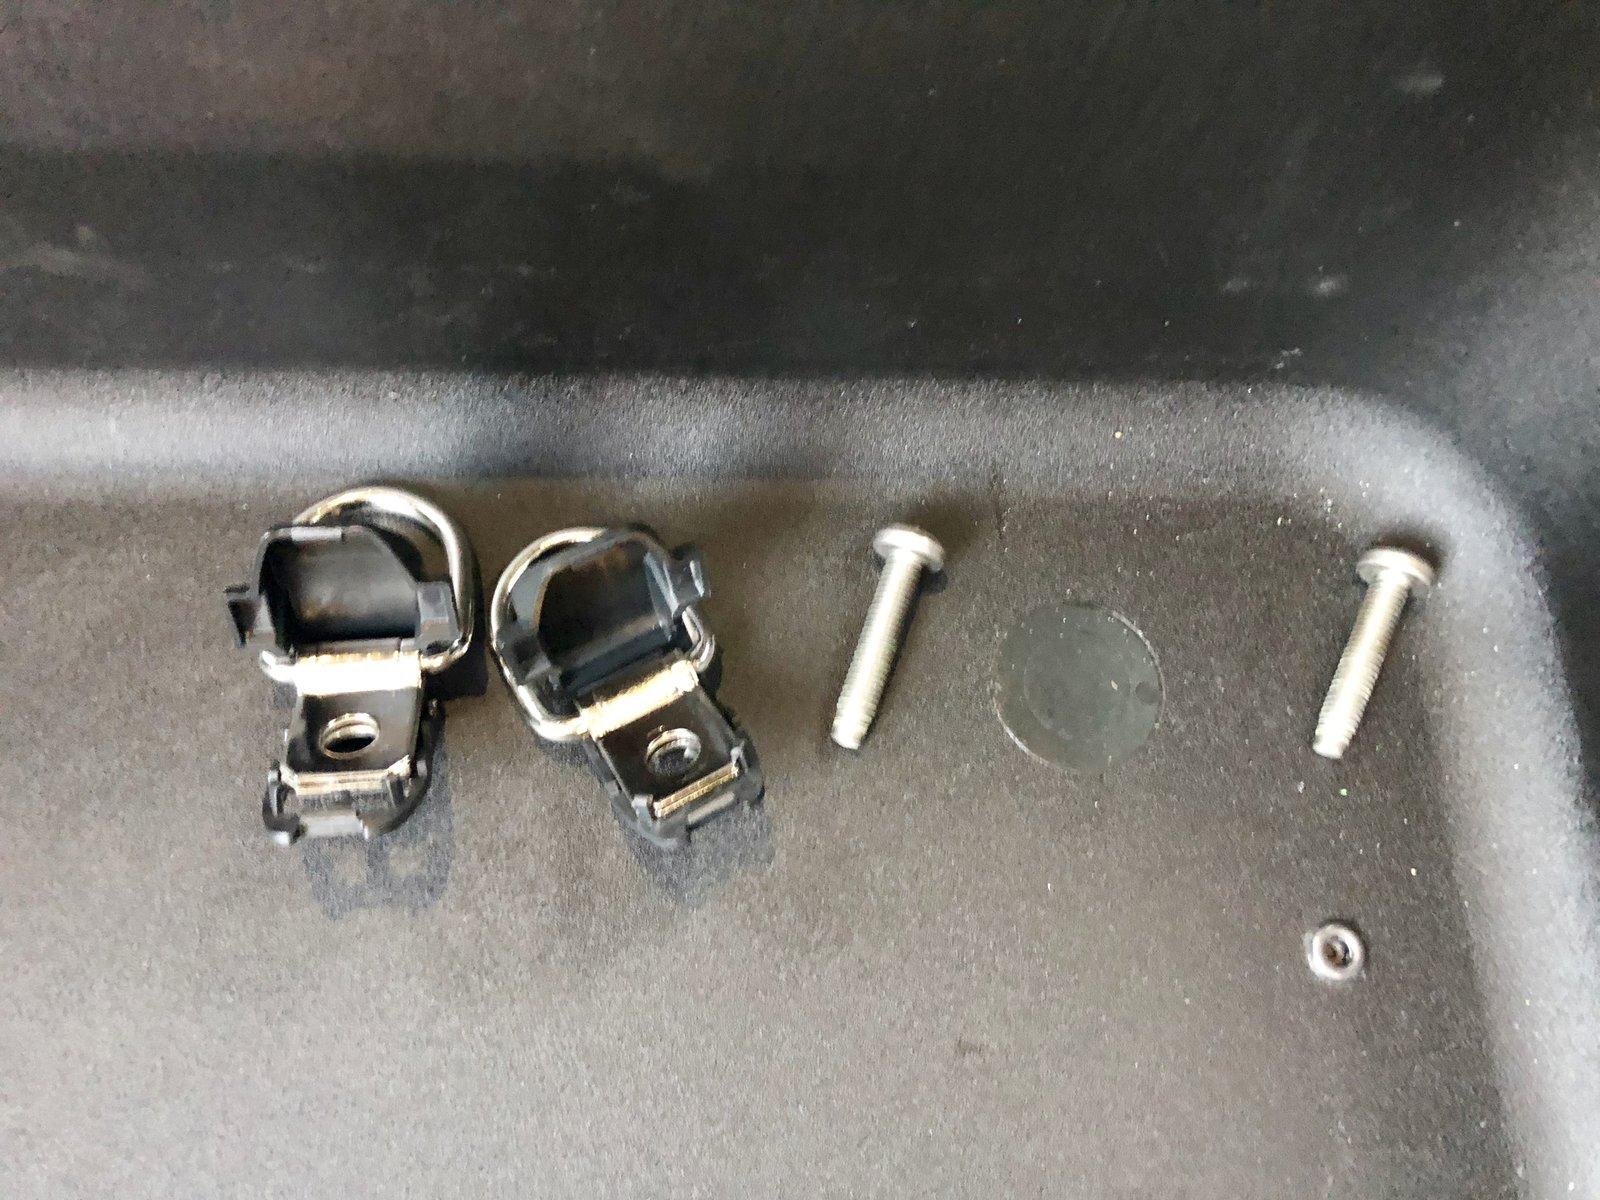
You can store the cargo attachments, but you will reuse the screws.
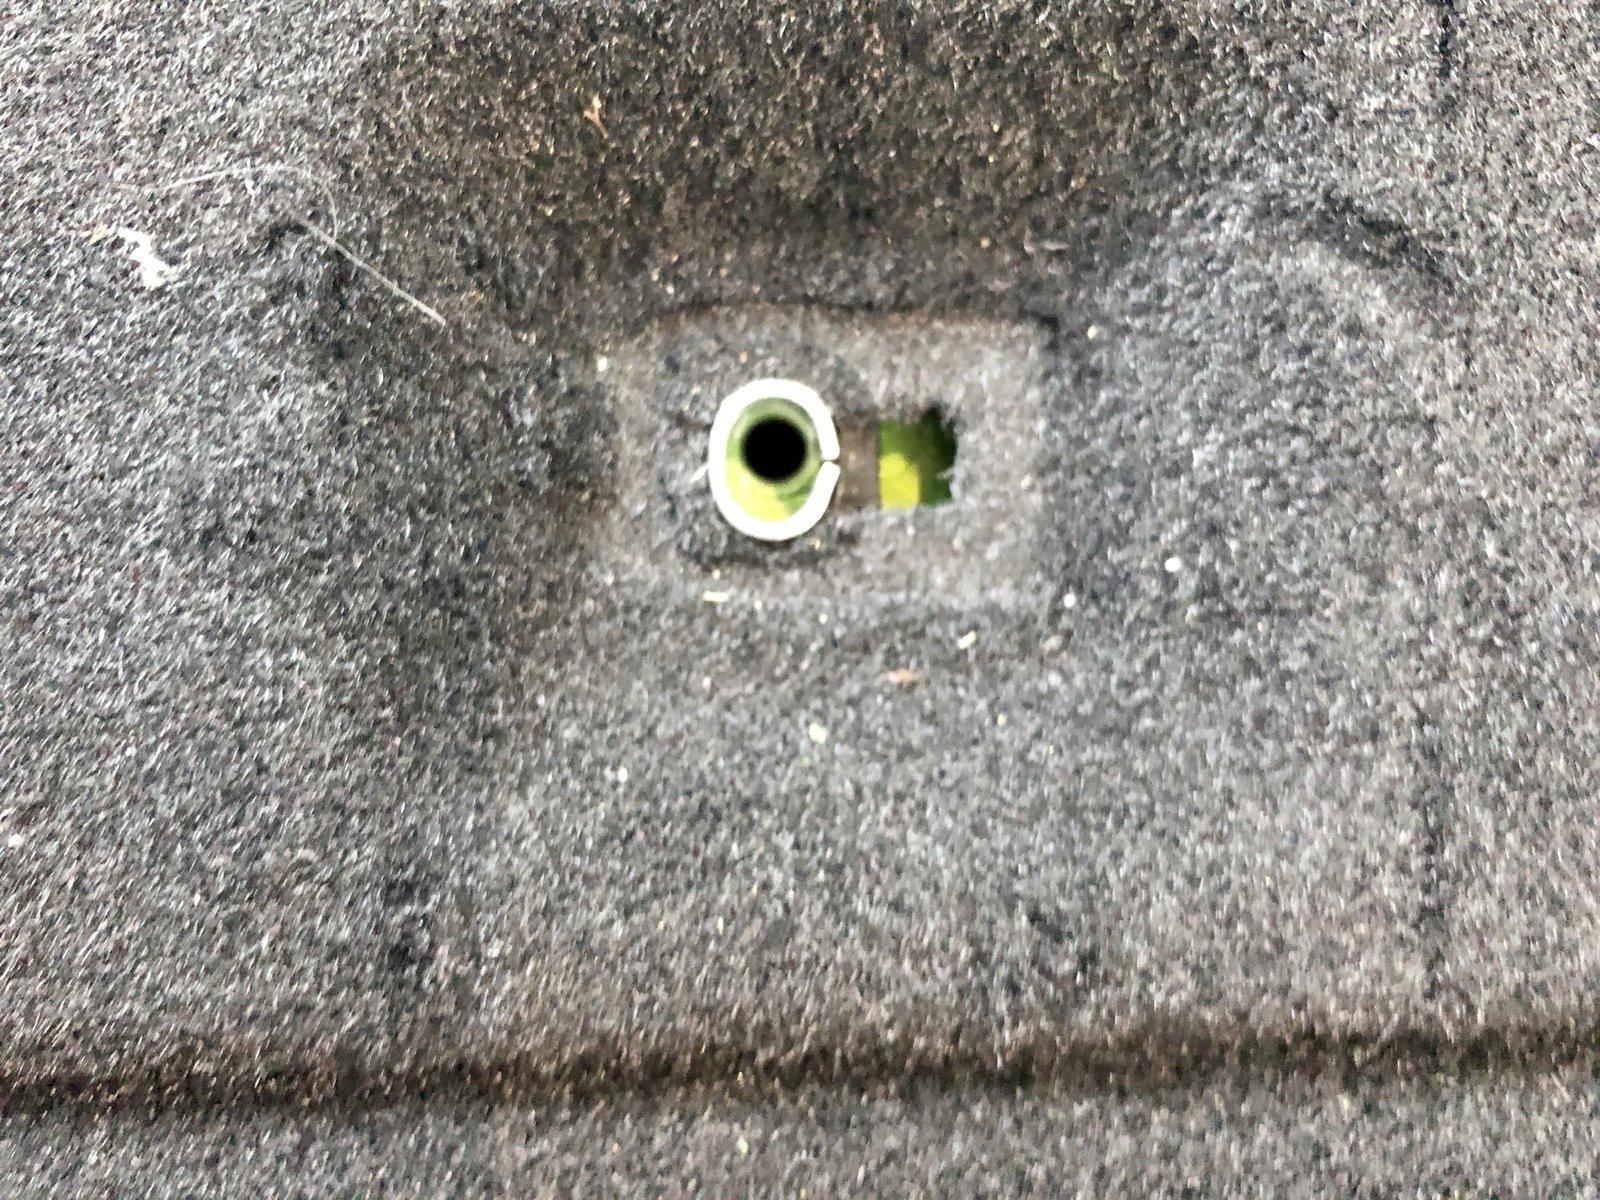
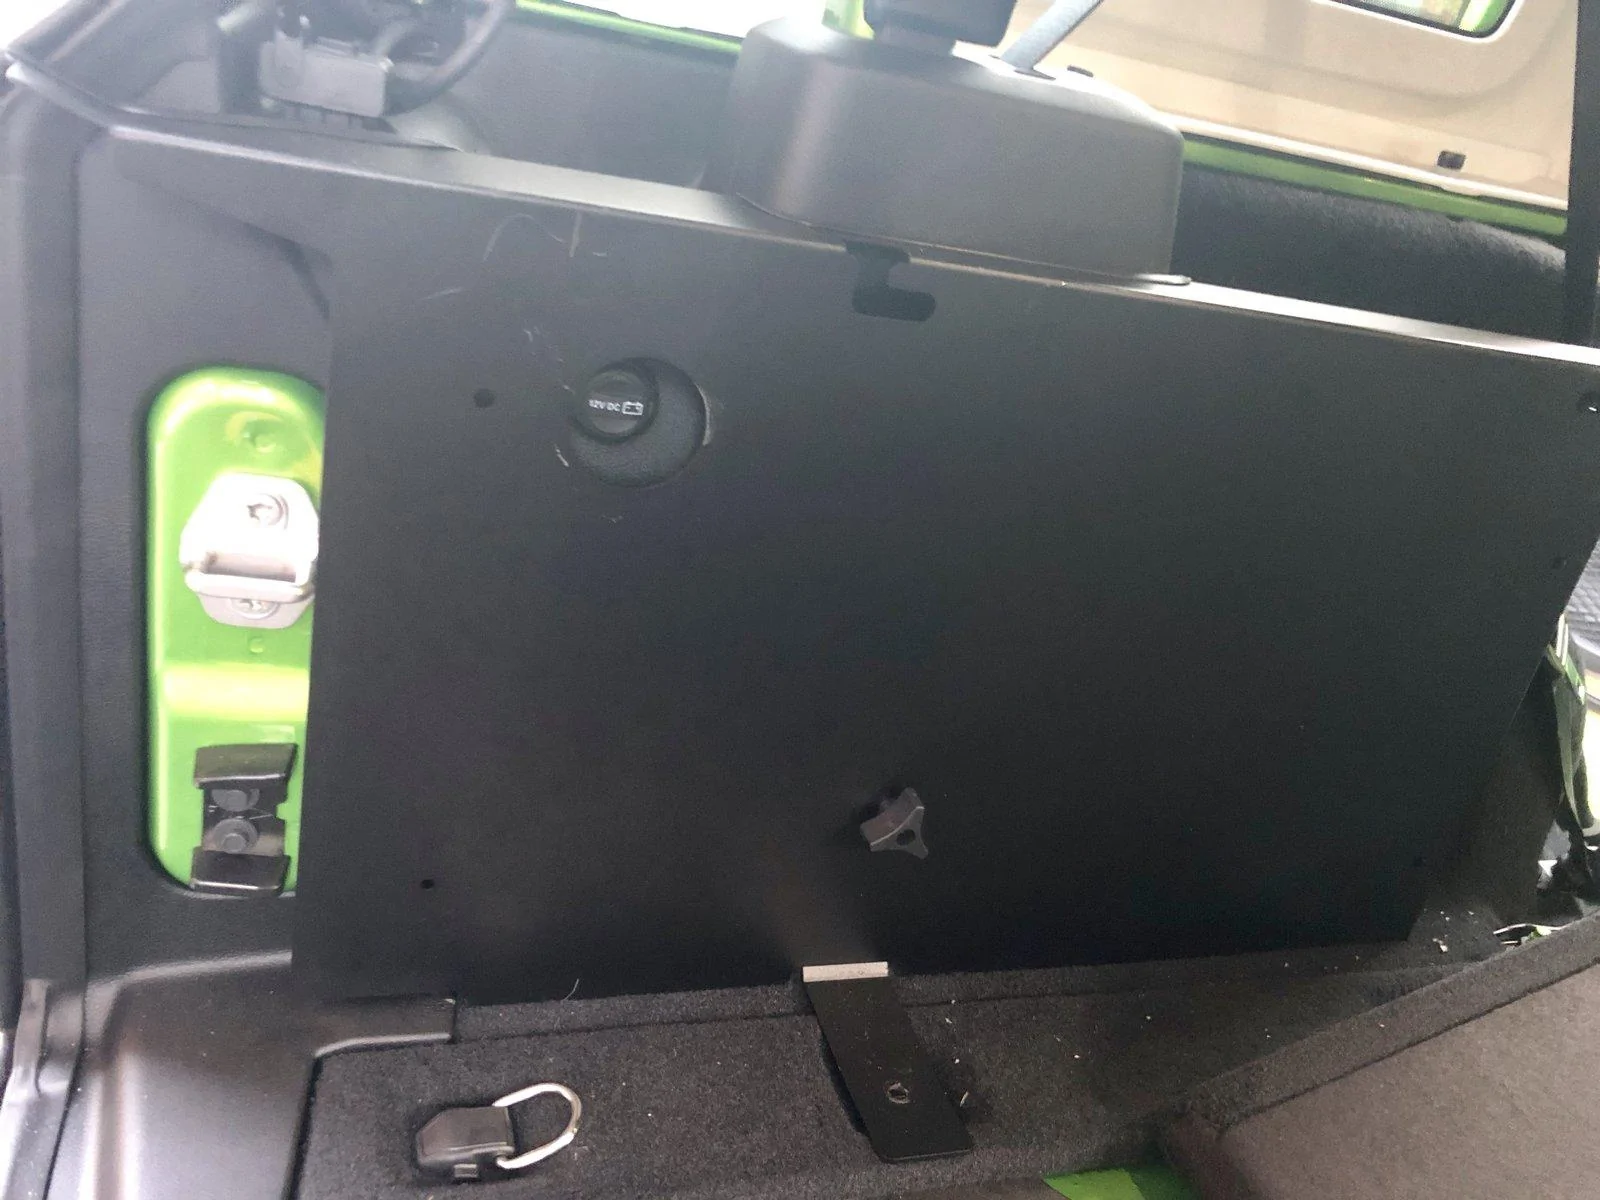
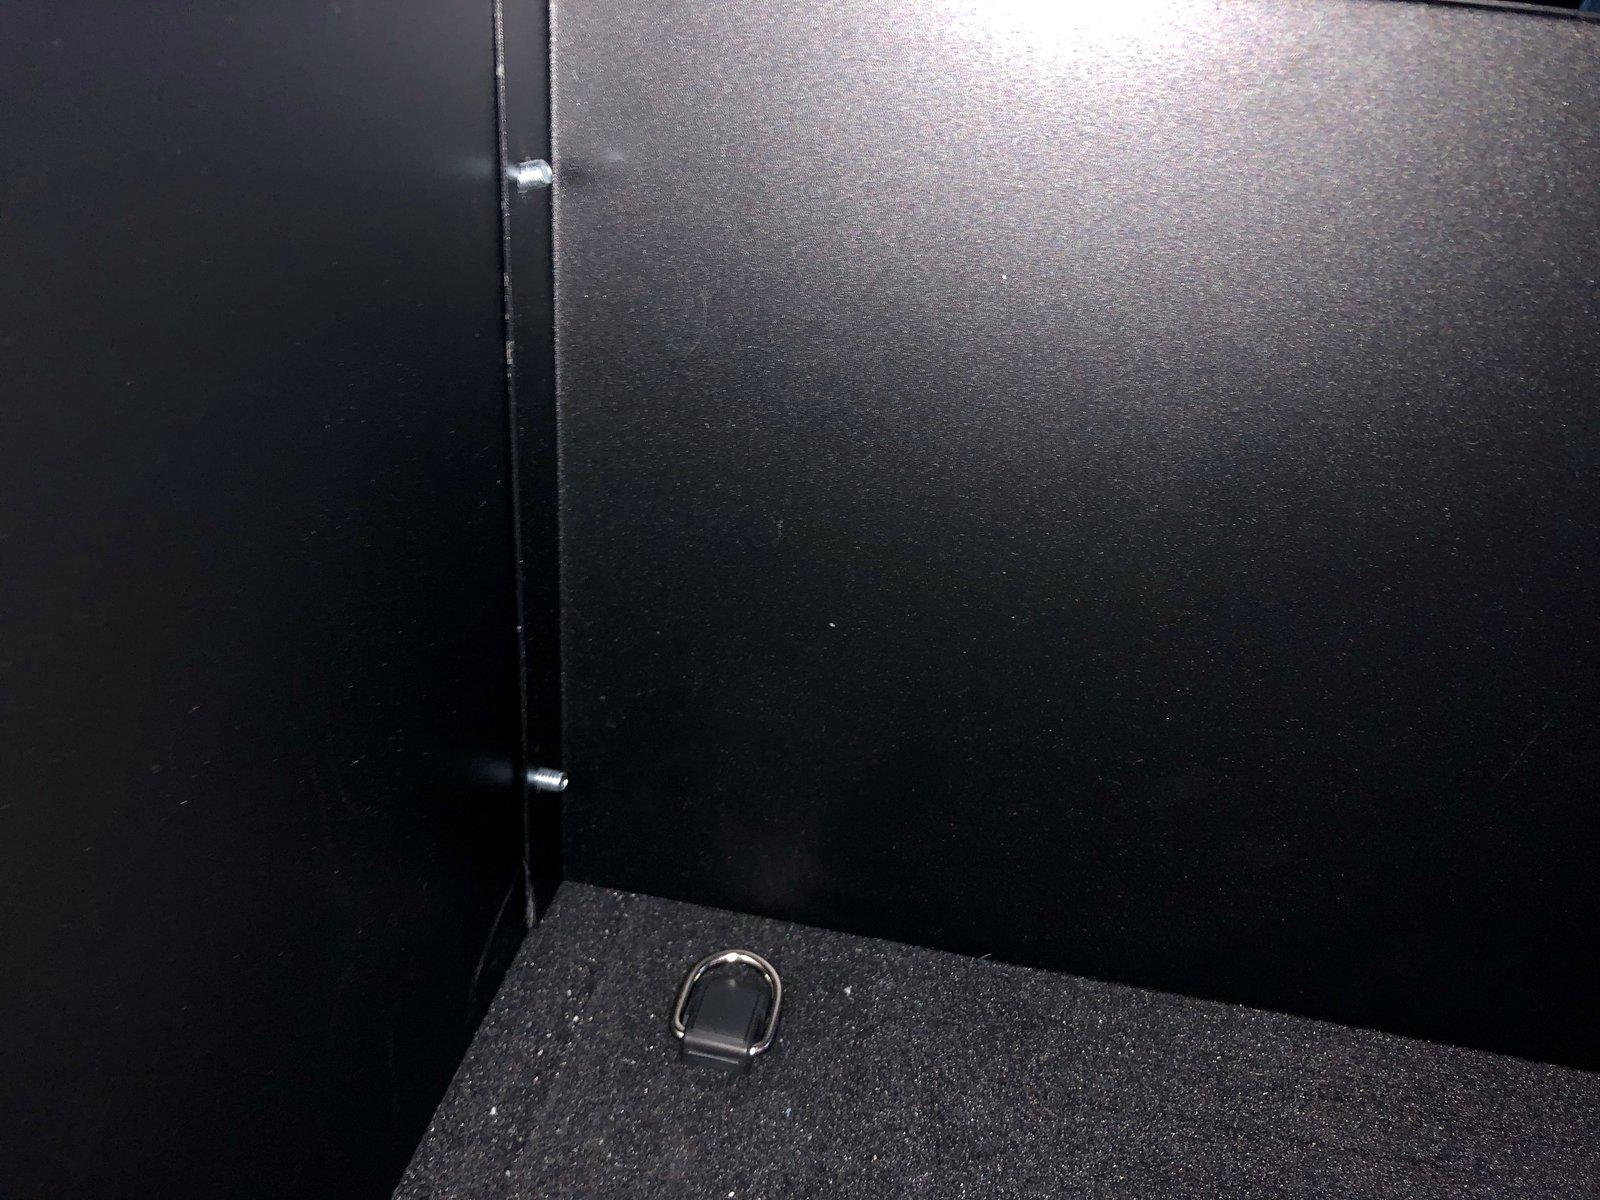
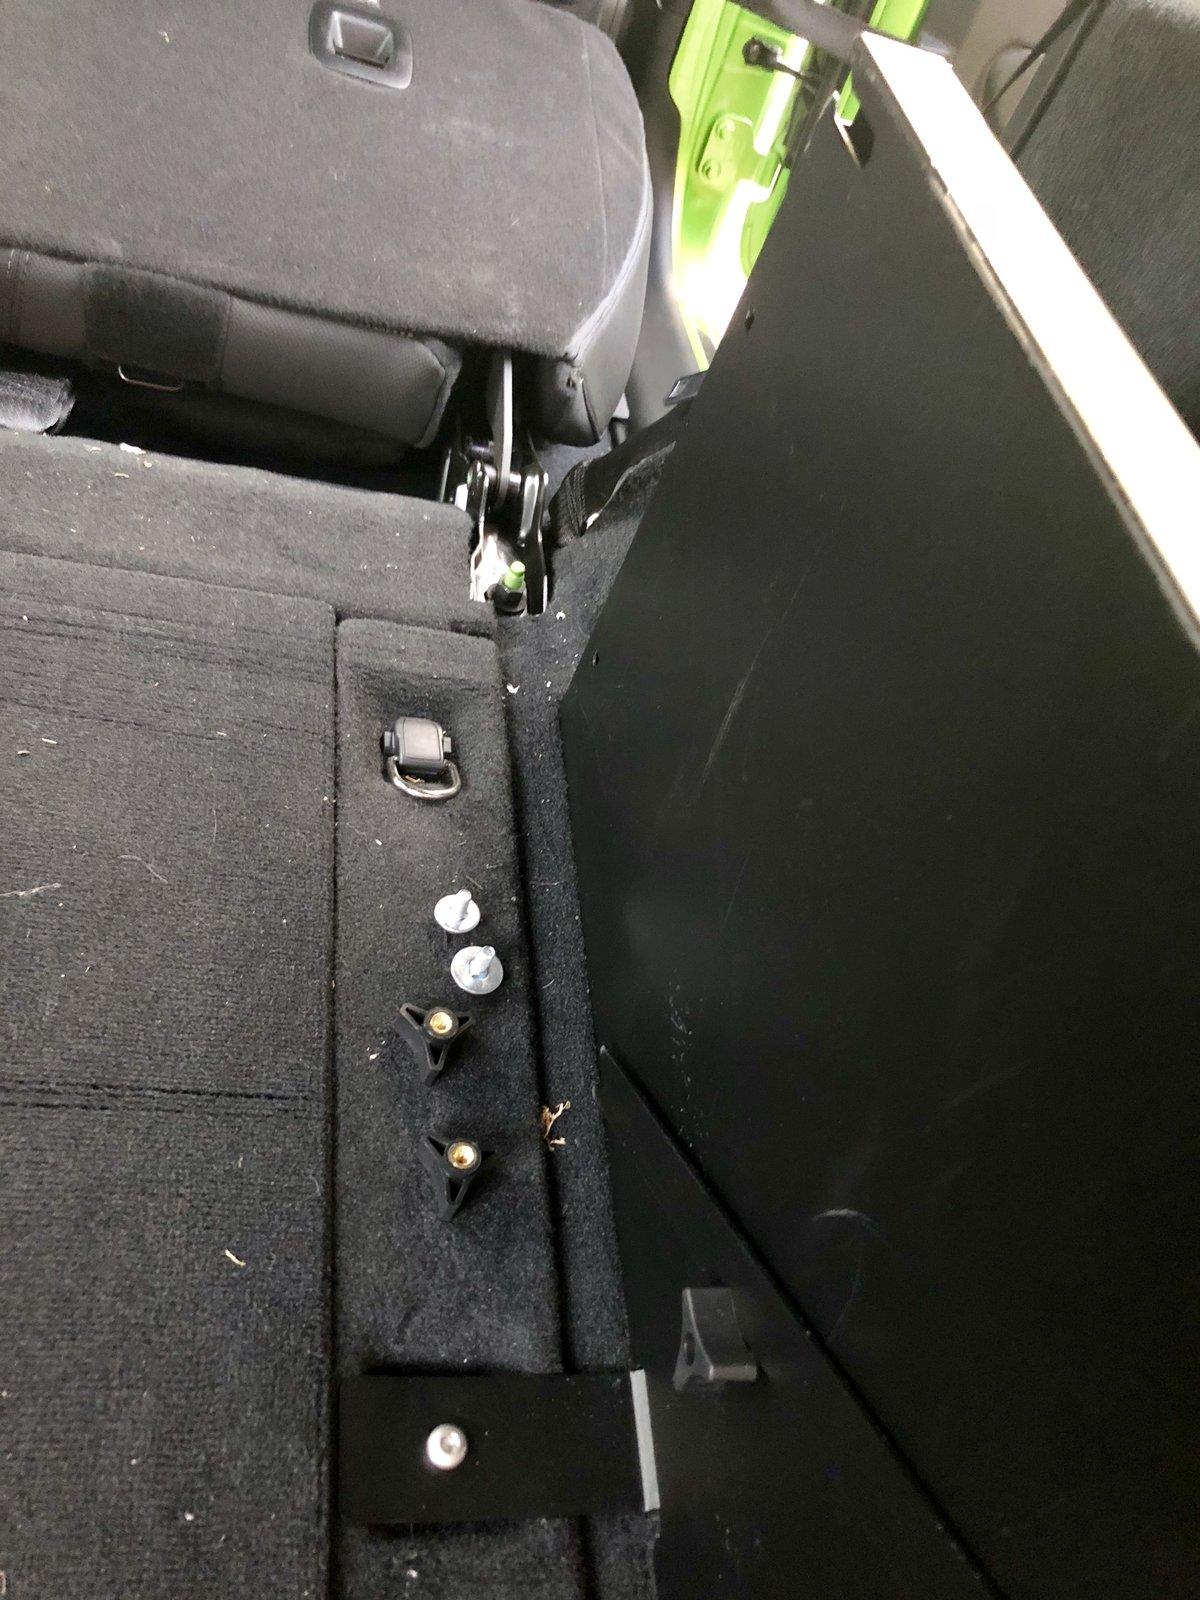
These will be your body mount locations:
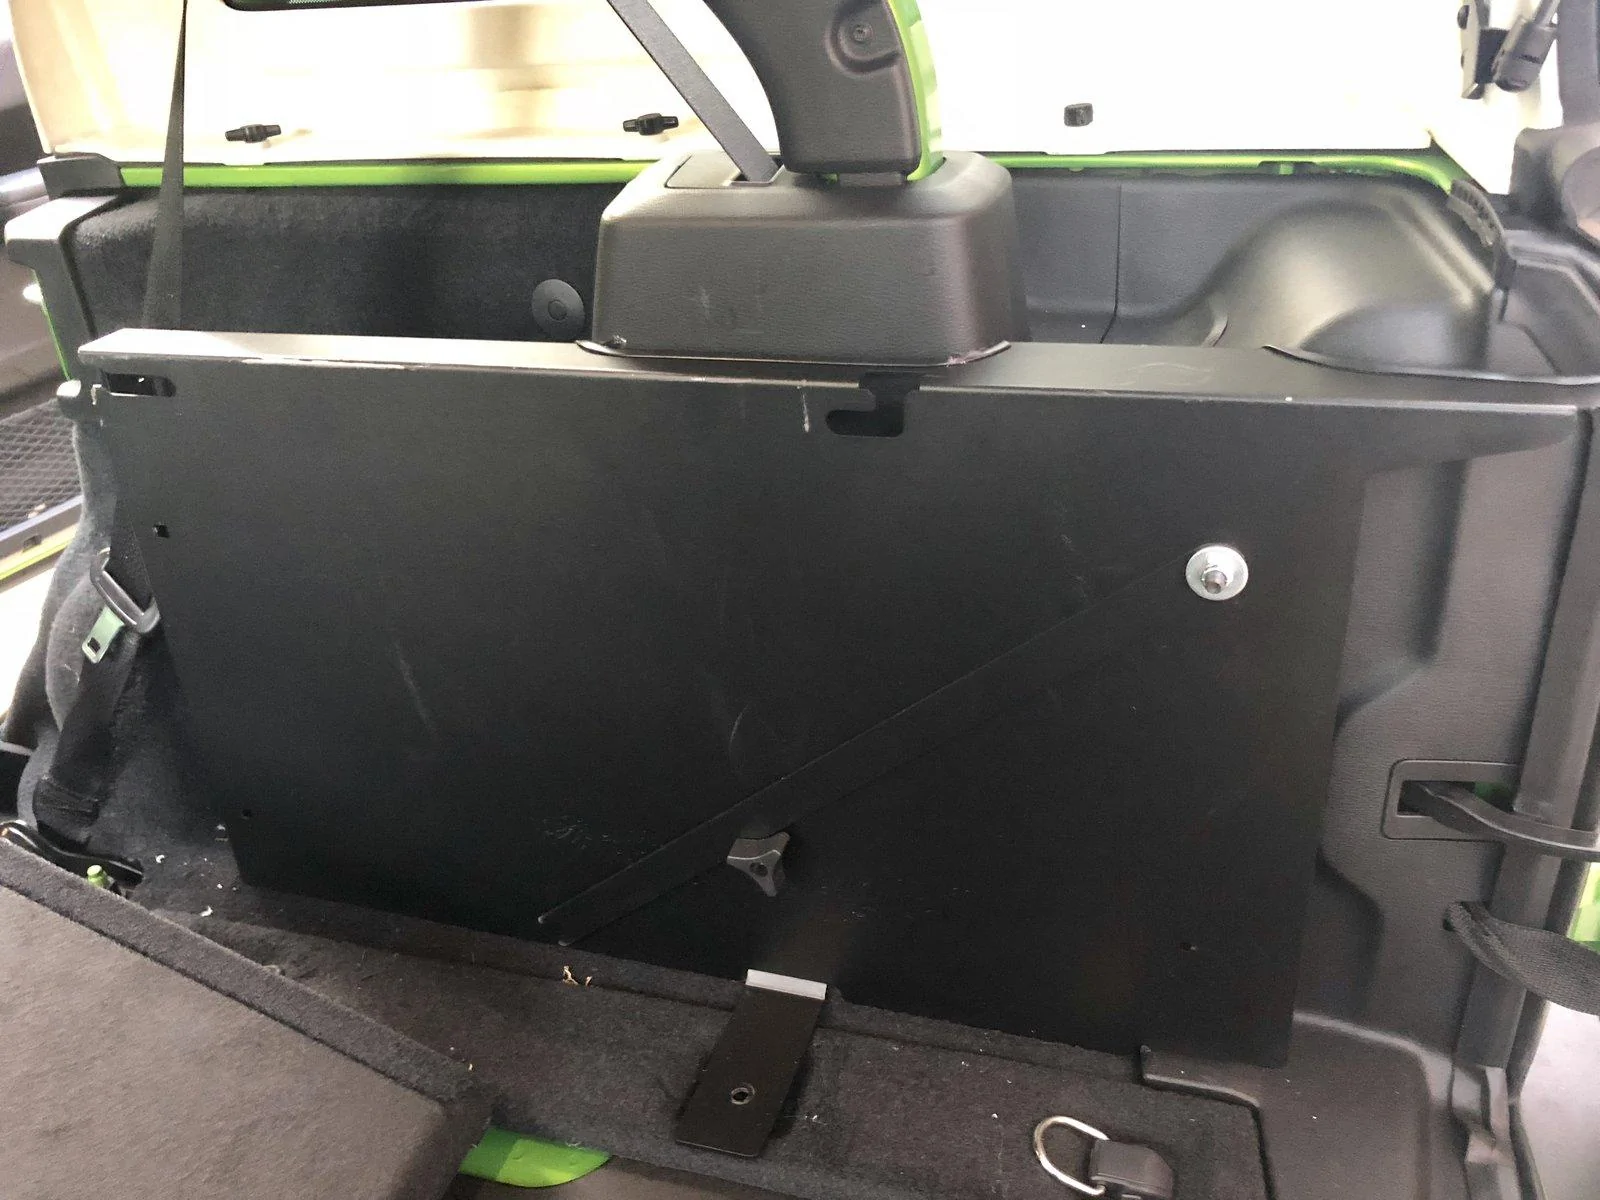
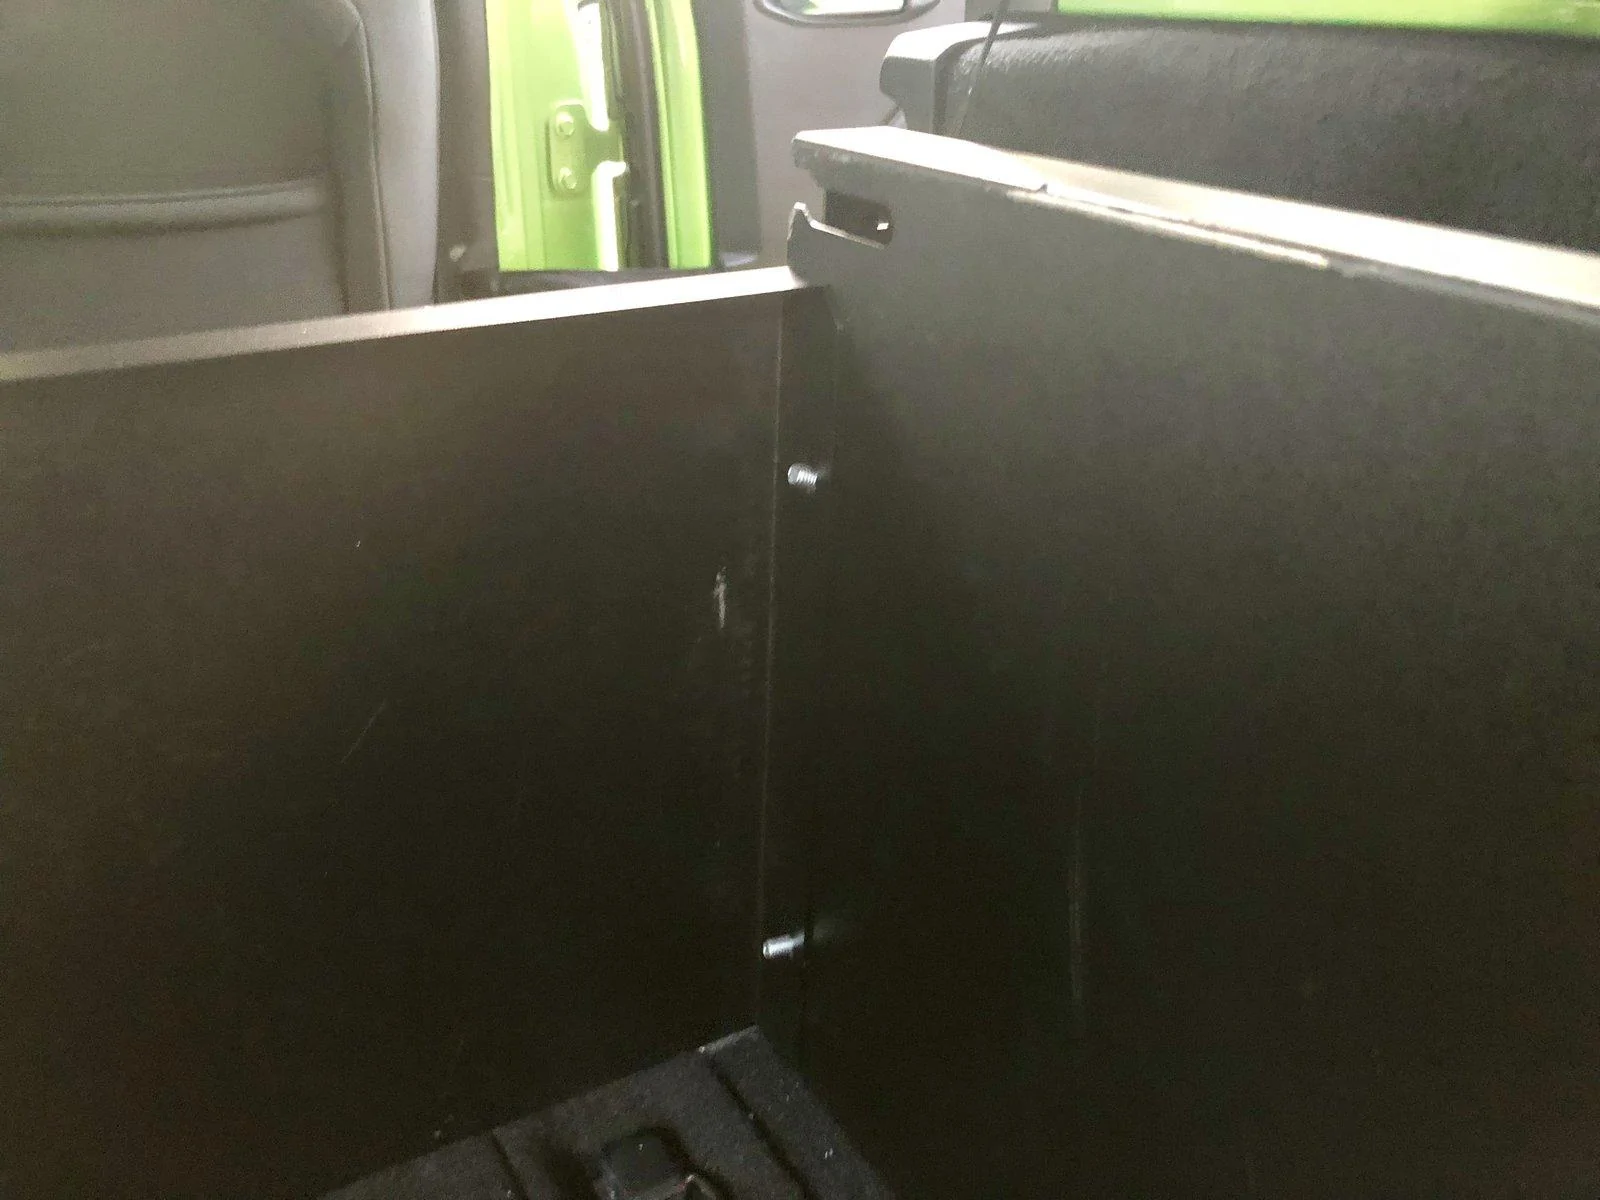
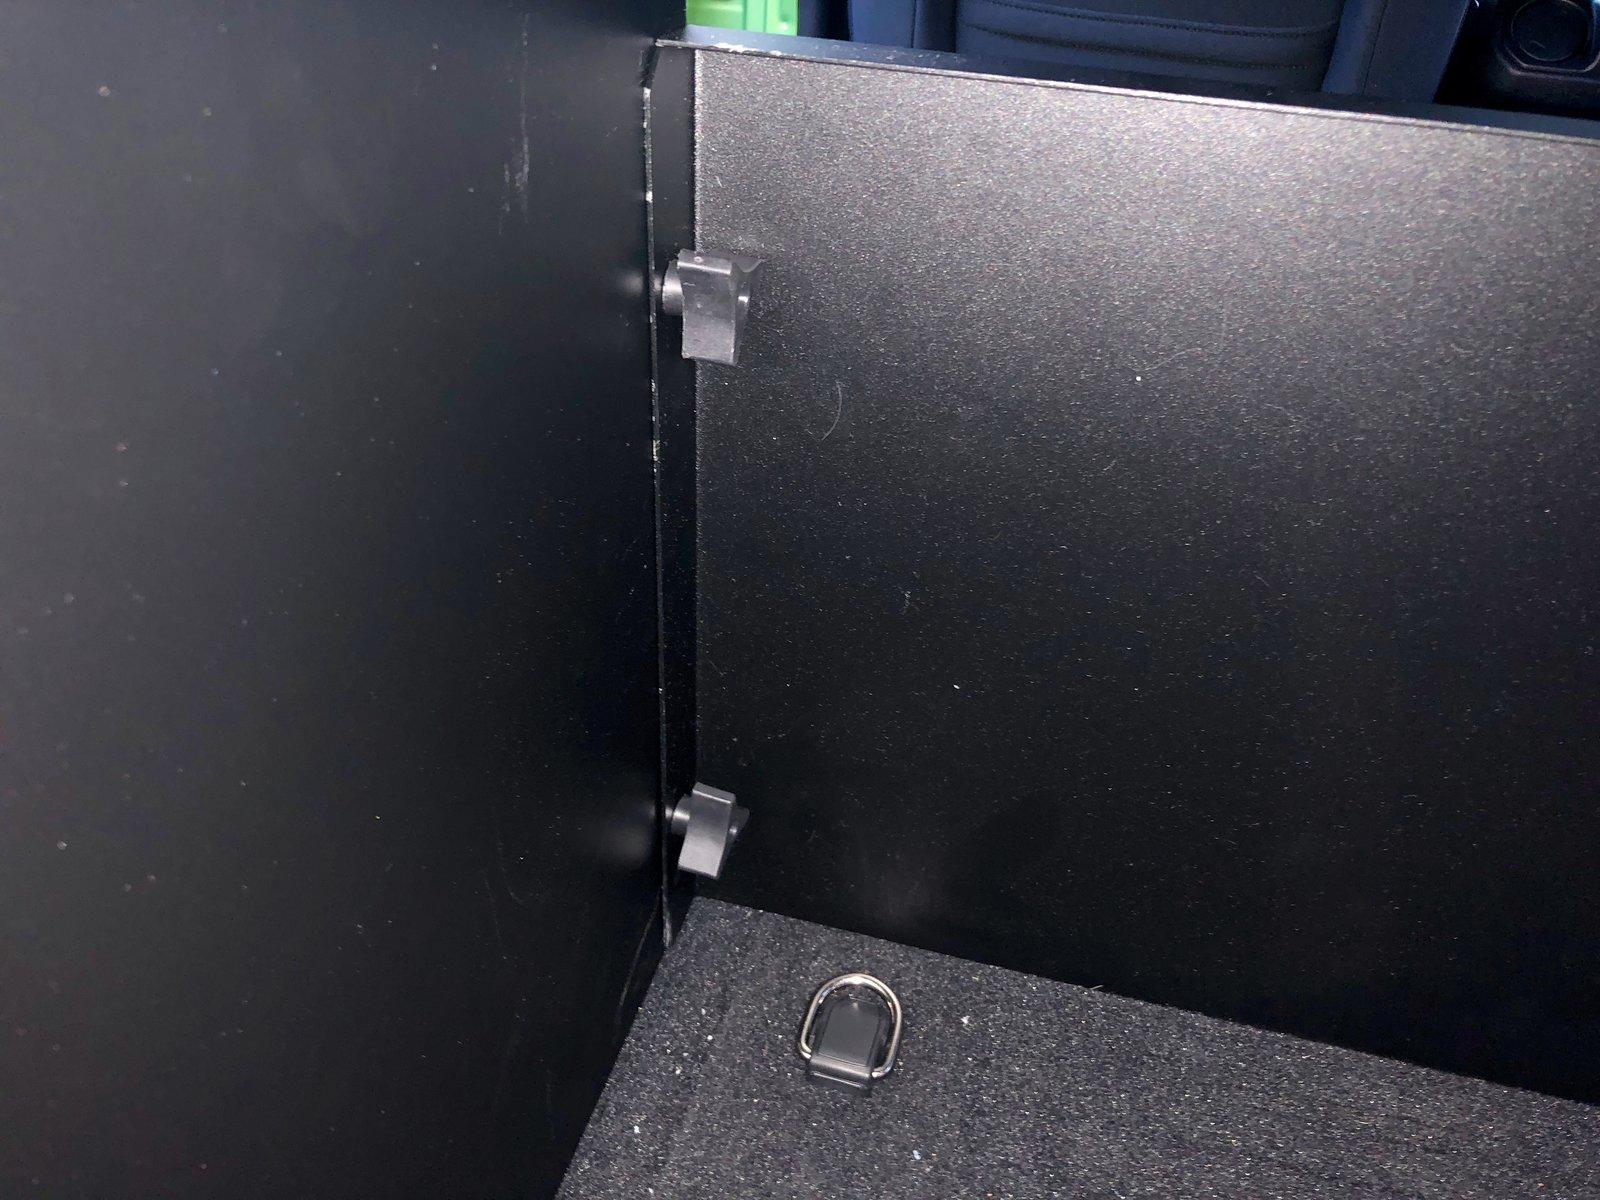
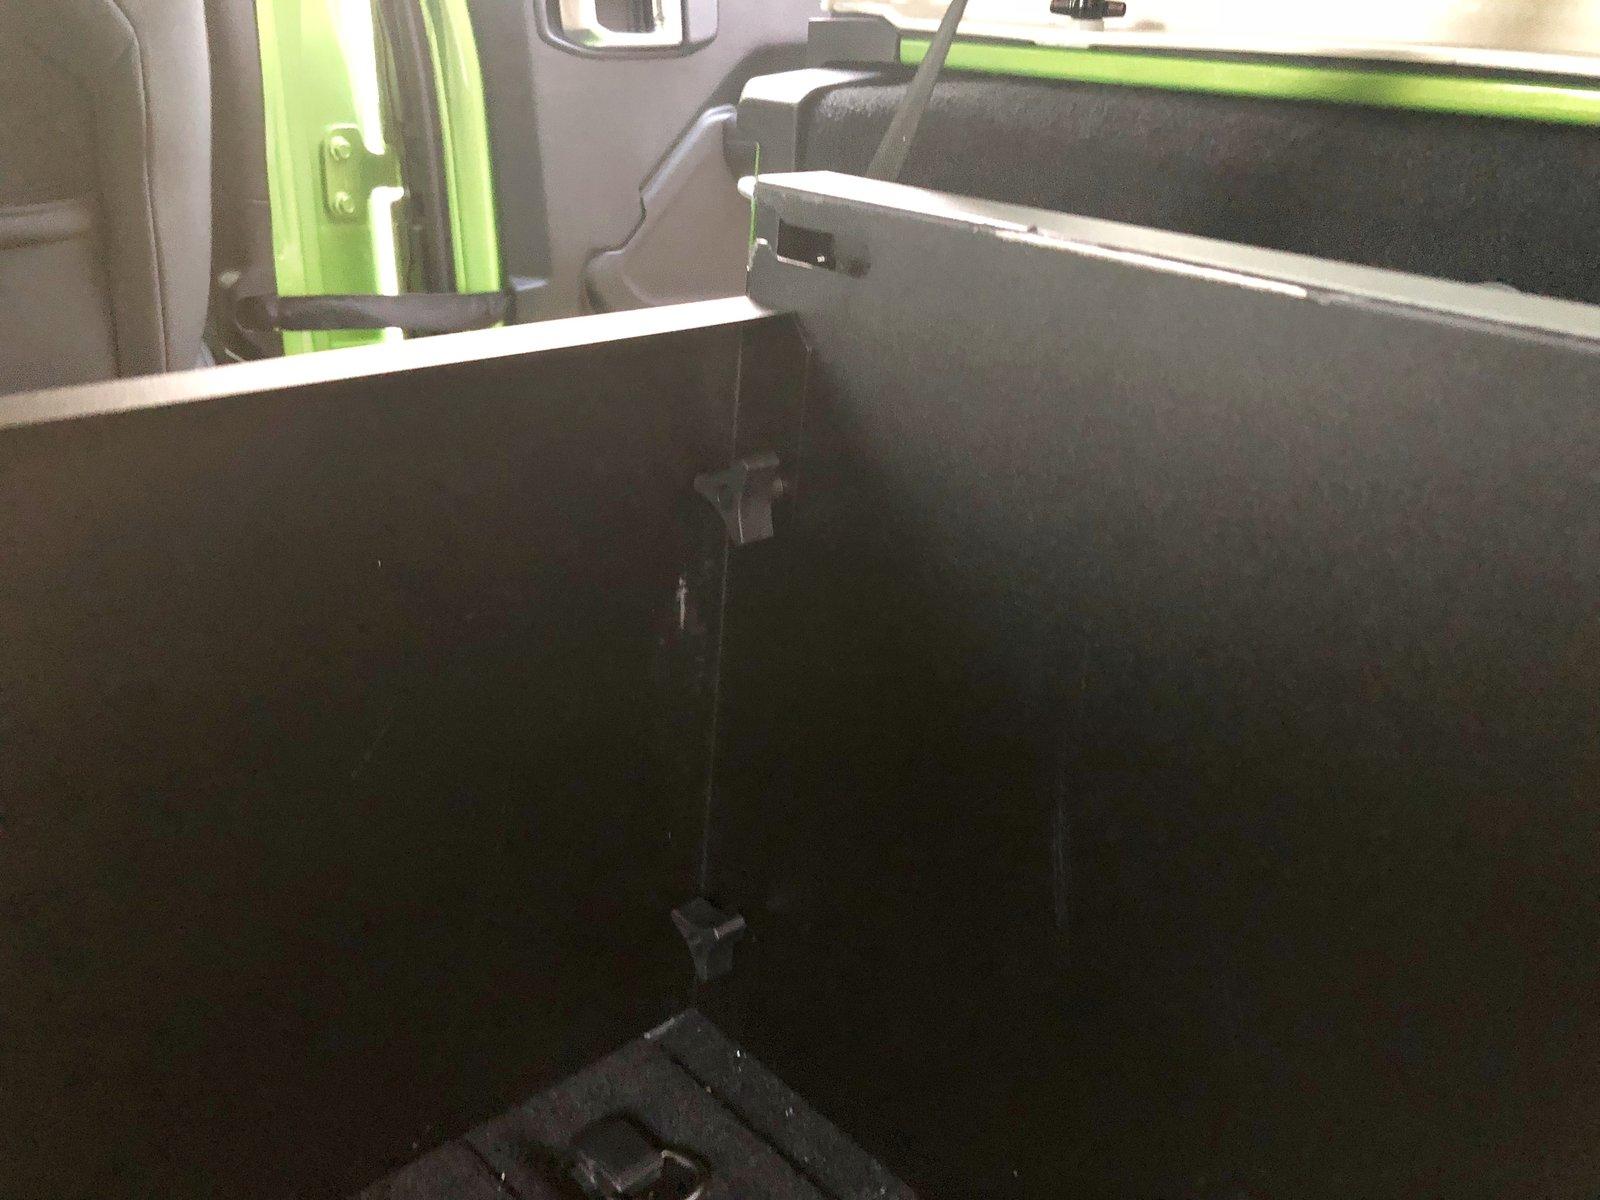
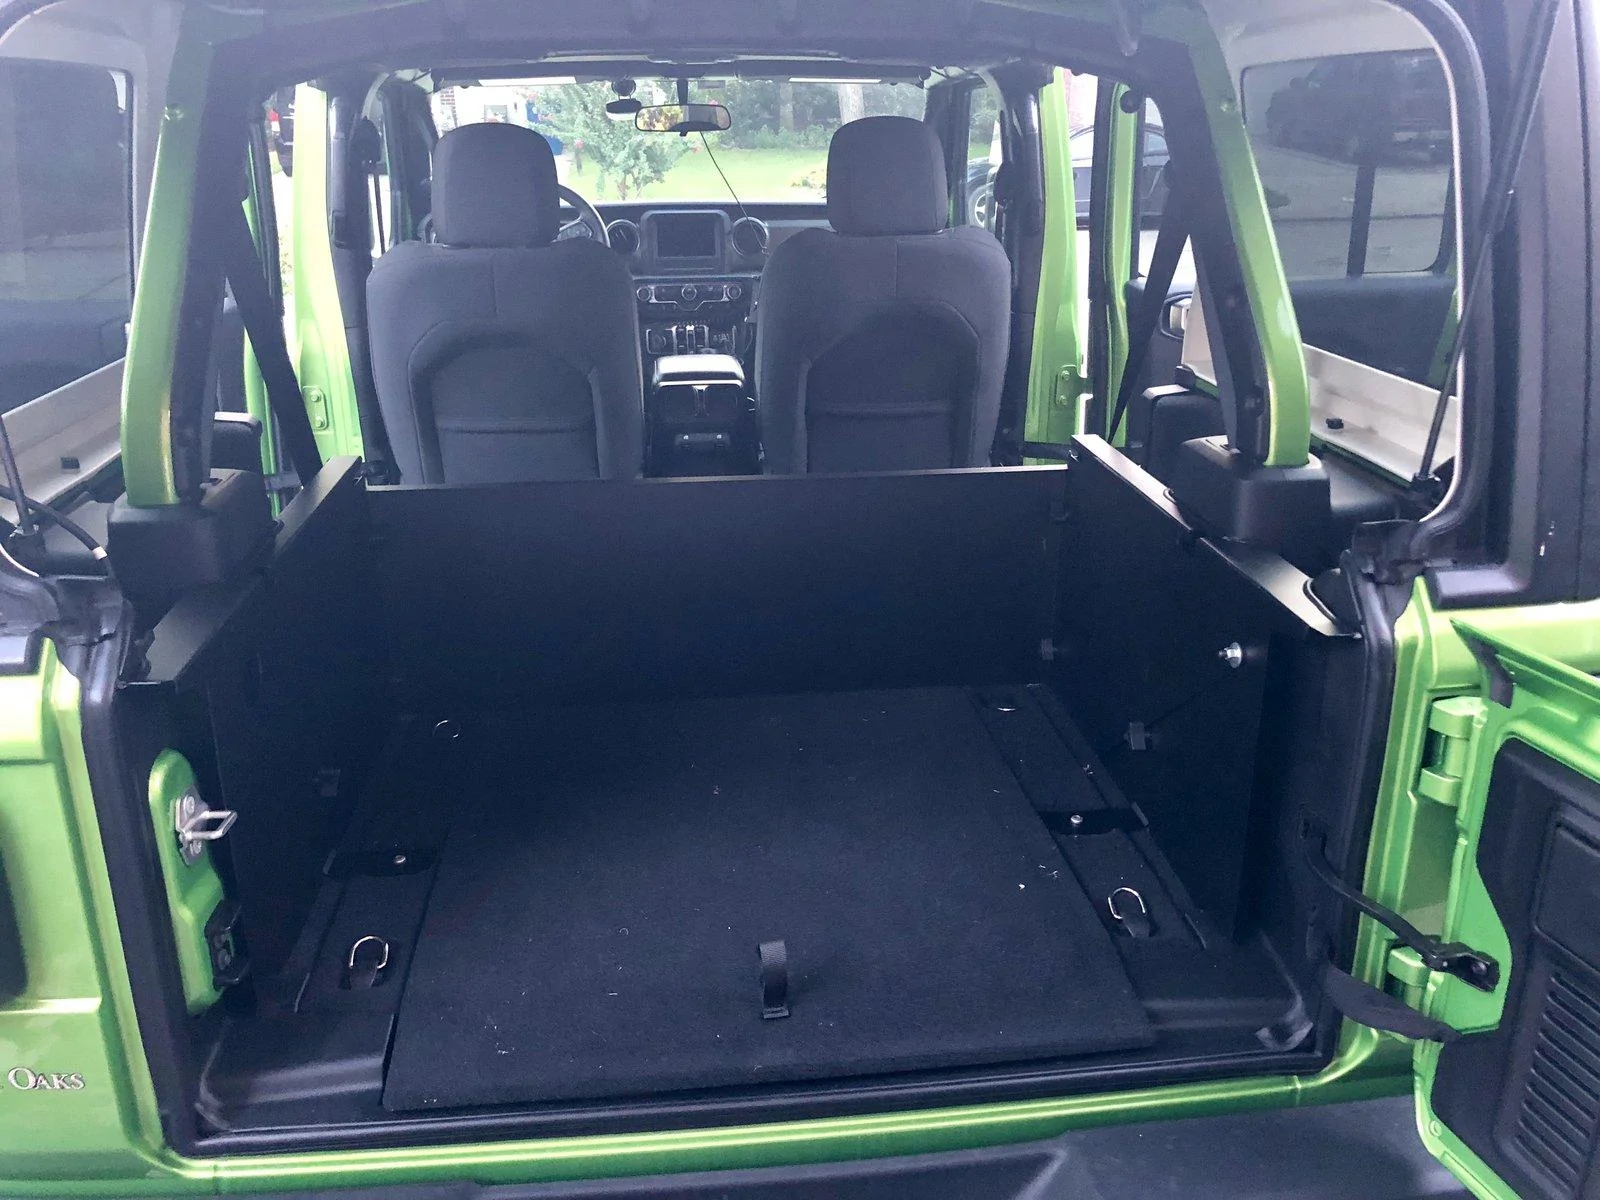
Next install each side, and hand tighten the torx screws to hold the sides in place.
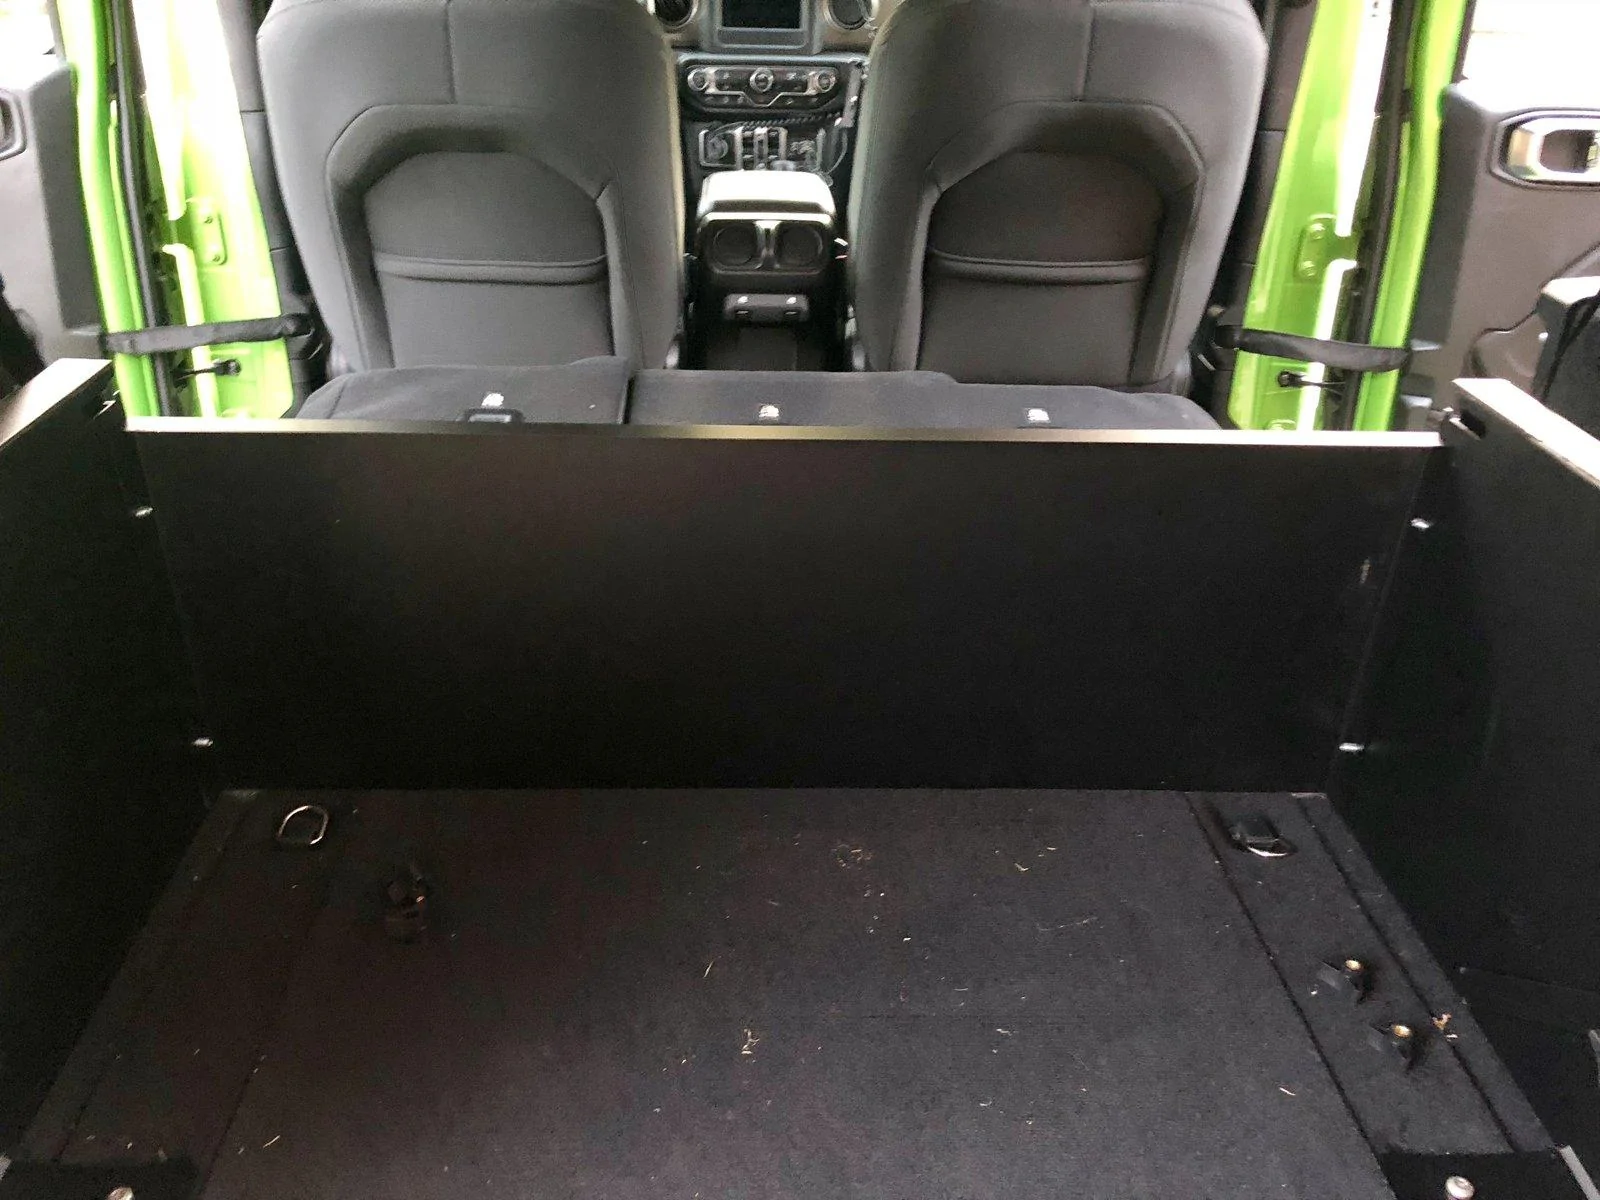
Now put the "front" on, and use the 4 remaining screws to attach it.
Tighten the wingnuts on these 4.
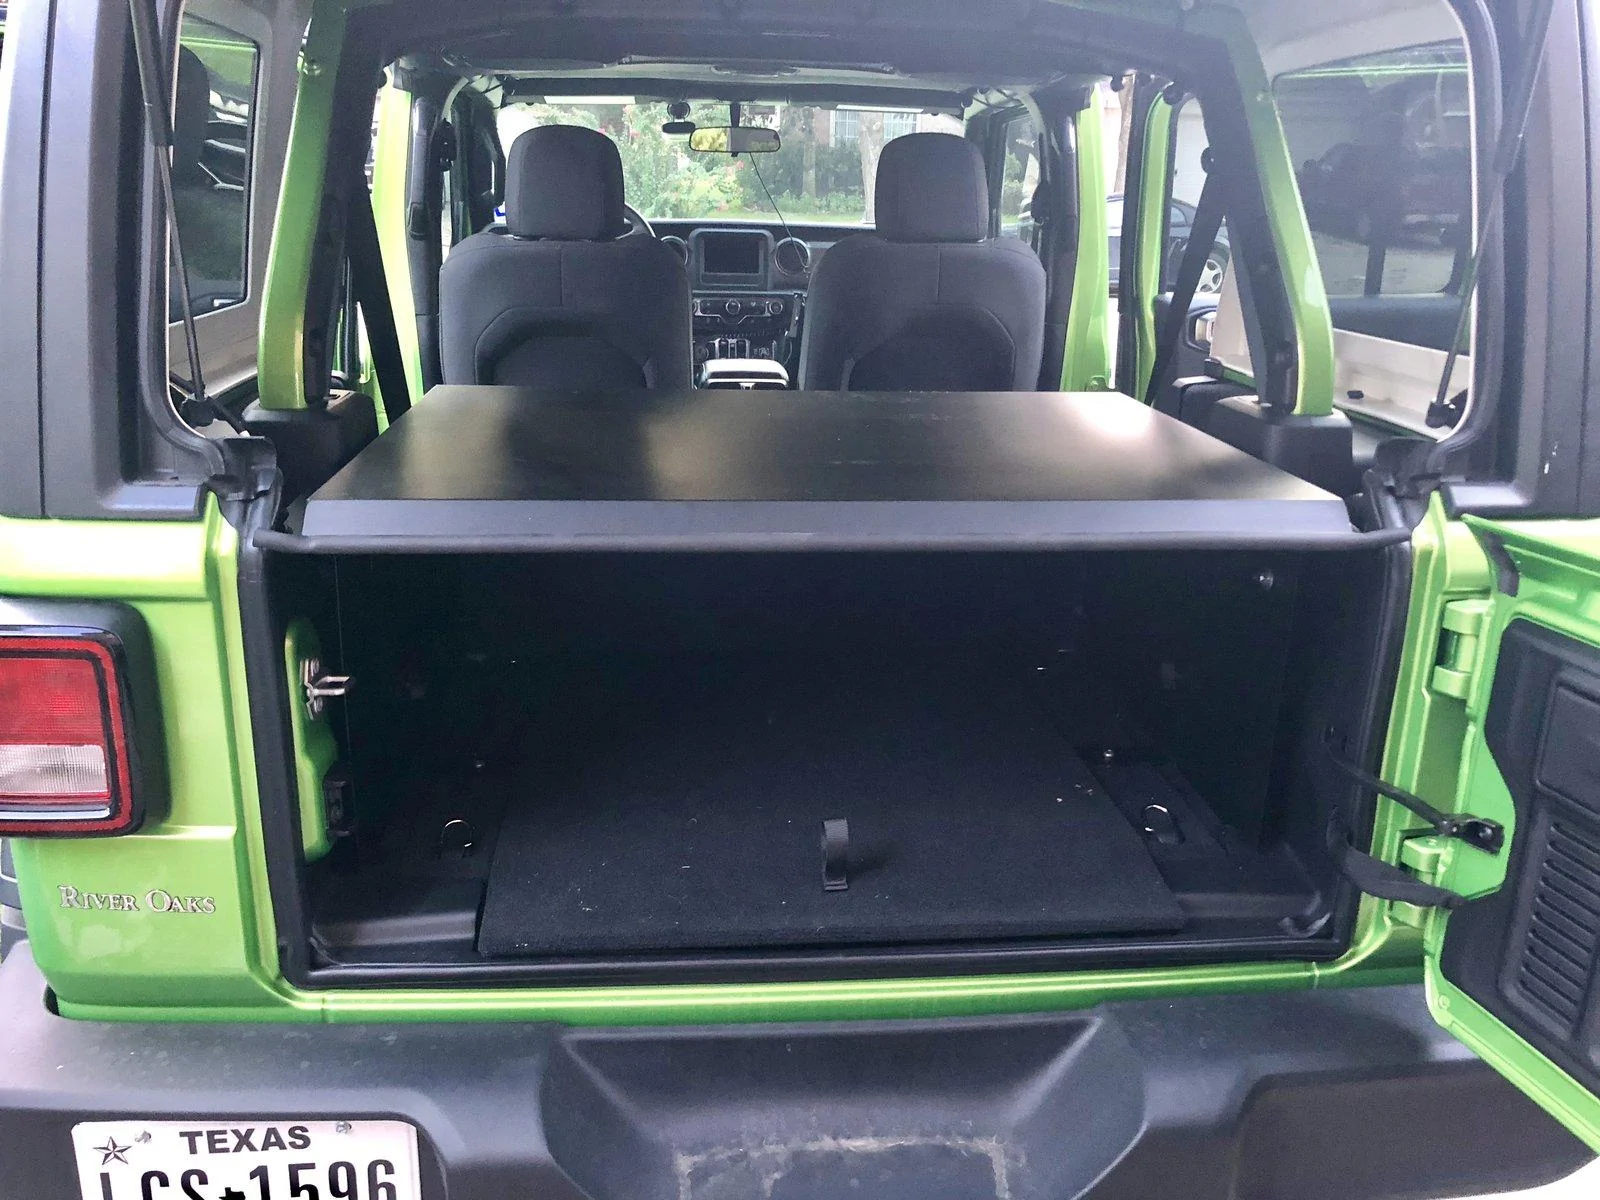
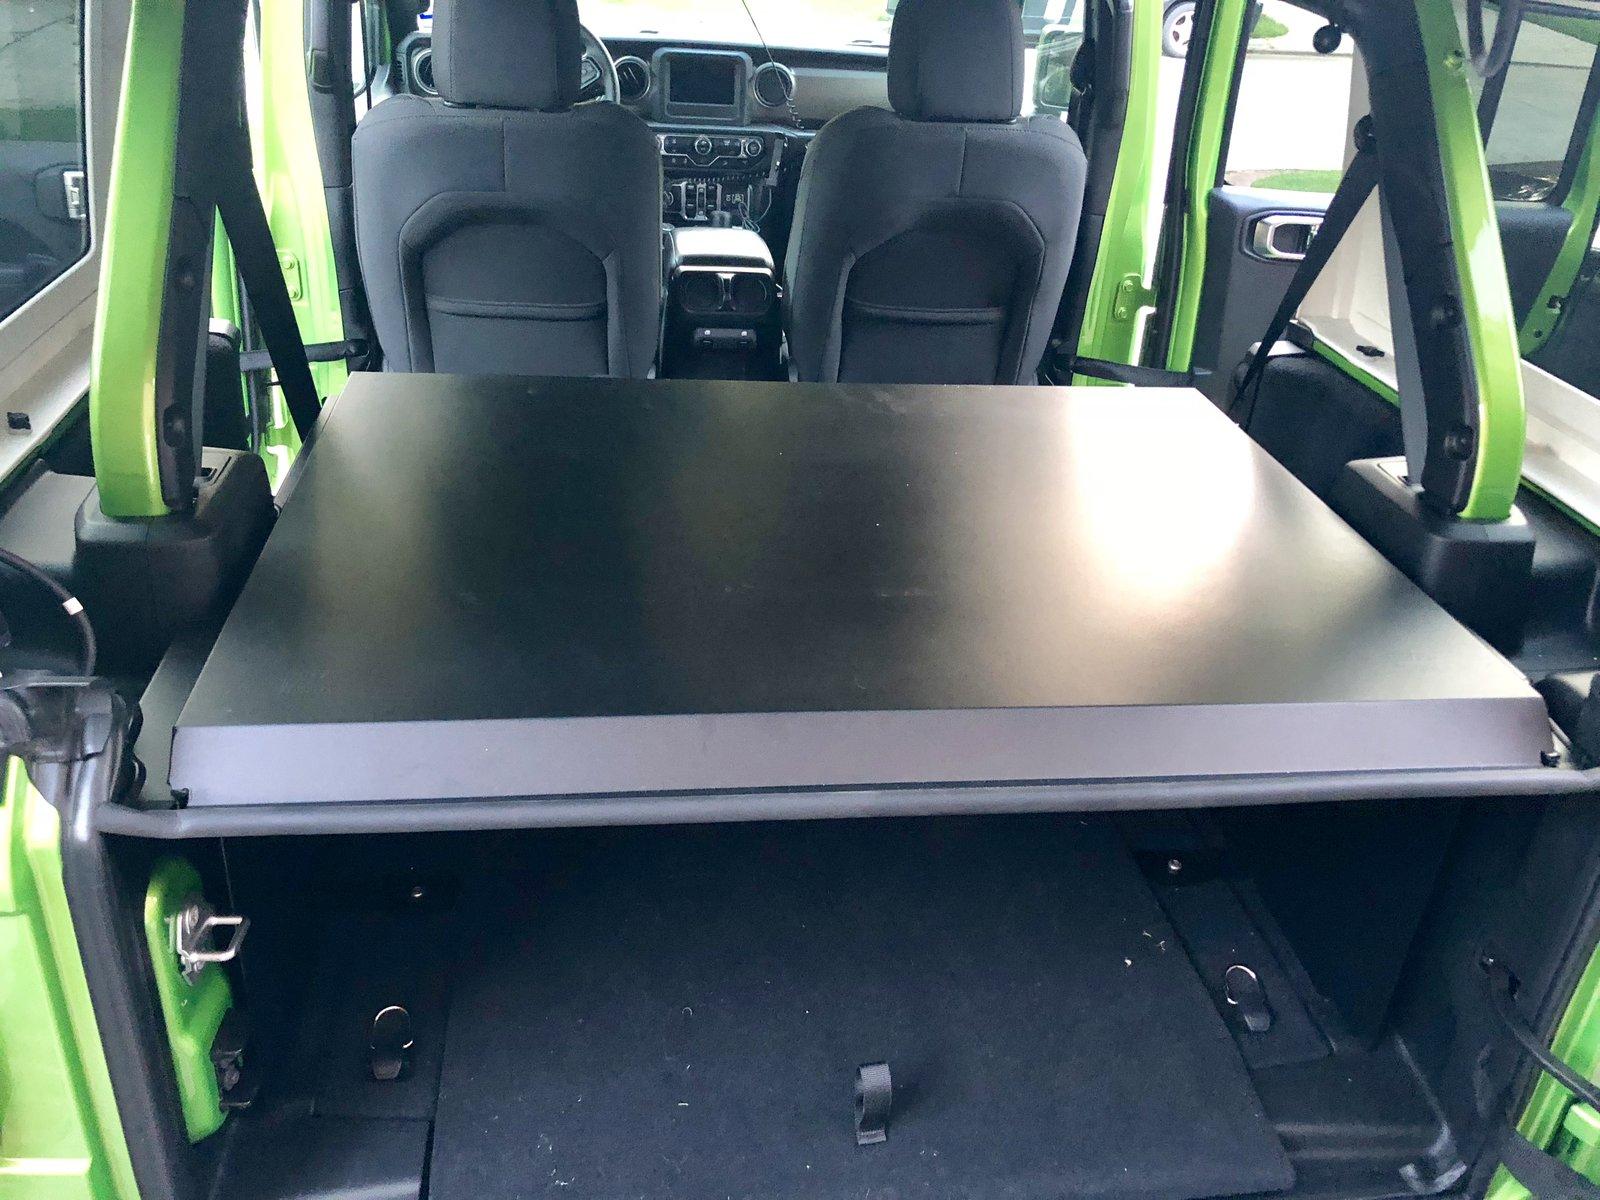
Now you are ready for the lid.
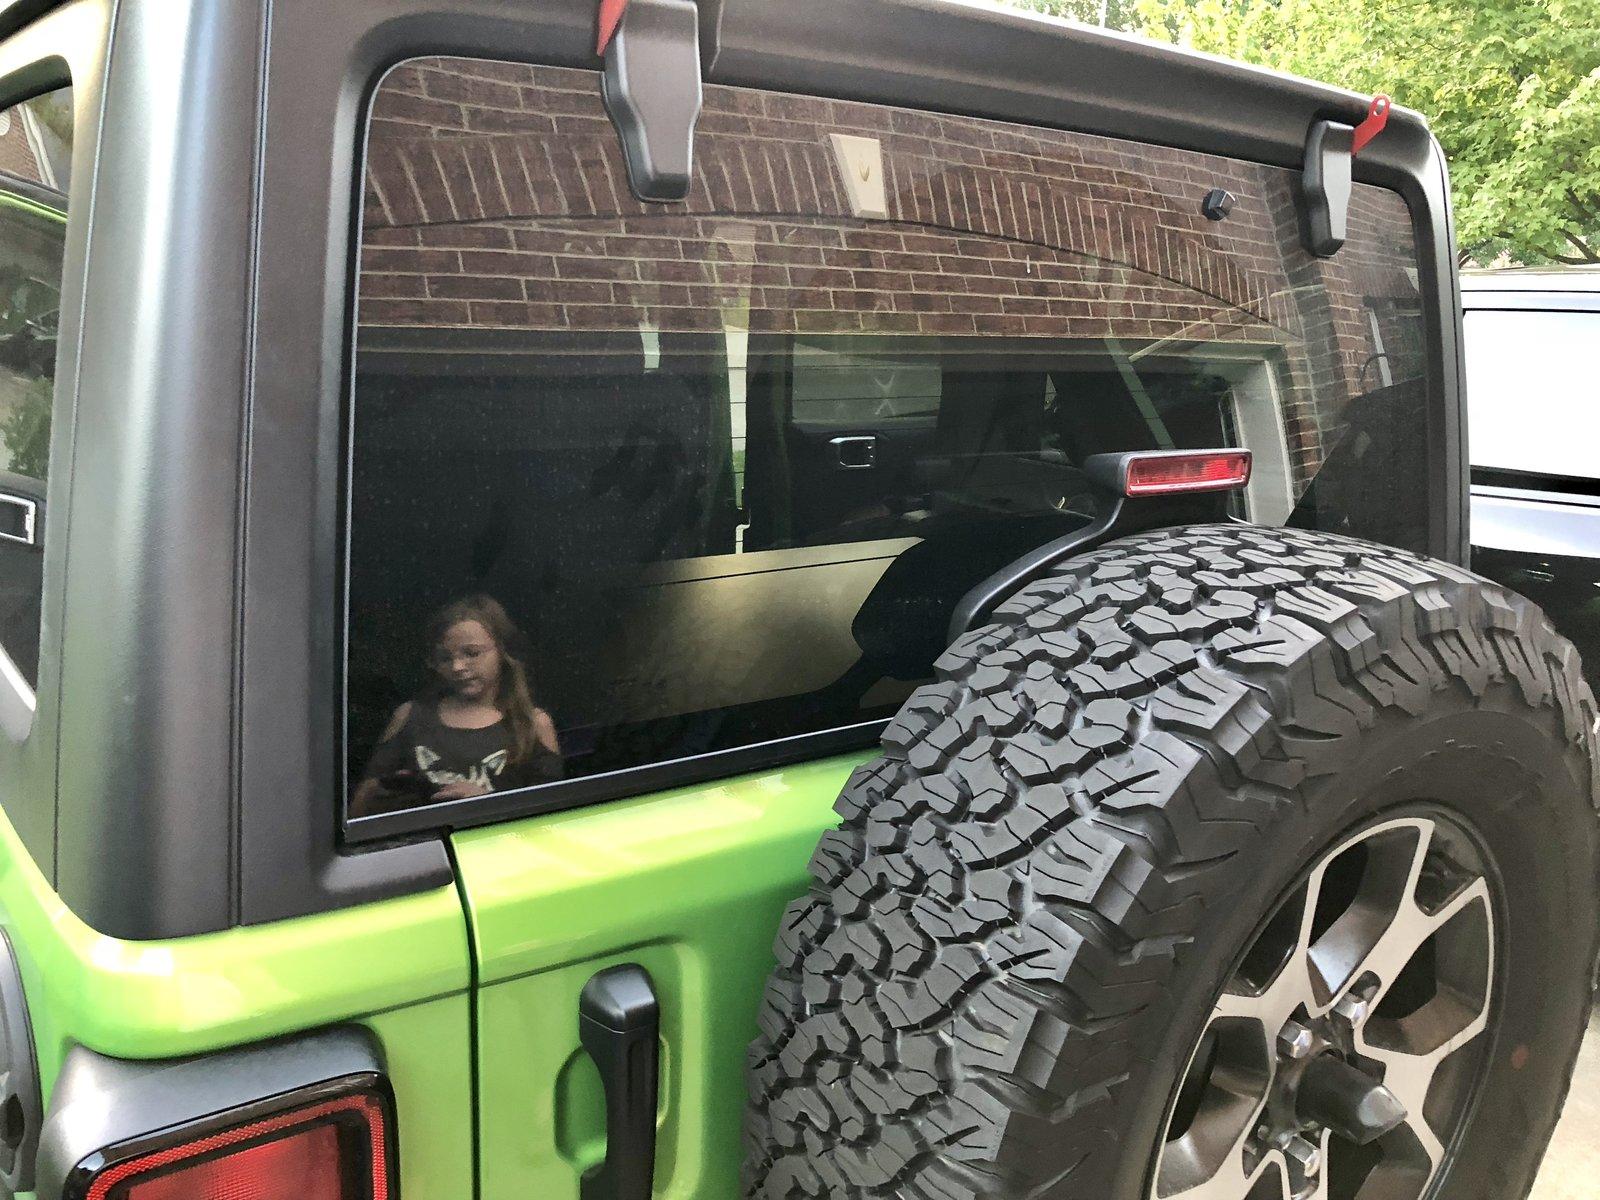
Place the lid just beyond the "front" of the box slightly tilted up so the casters enter the grooves, then pull toward the rear of the jeep, and set the rear casters in groove, press down, and then forward to lock the top into place.
And that is all. in the end, a REALLY easy install, but bad instructions and a weatherstrip that doesn't belong during install. If you have suggestions on how i can improve this, or have any questions, let me know.
I won't go through the initial assembly, Prop rod can go on either side panel. Wing nuts go on the inside. L brackets face the inside.
You will have left side:
Right Side:
Front (goes against the back seats):
Lid:
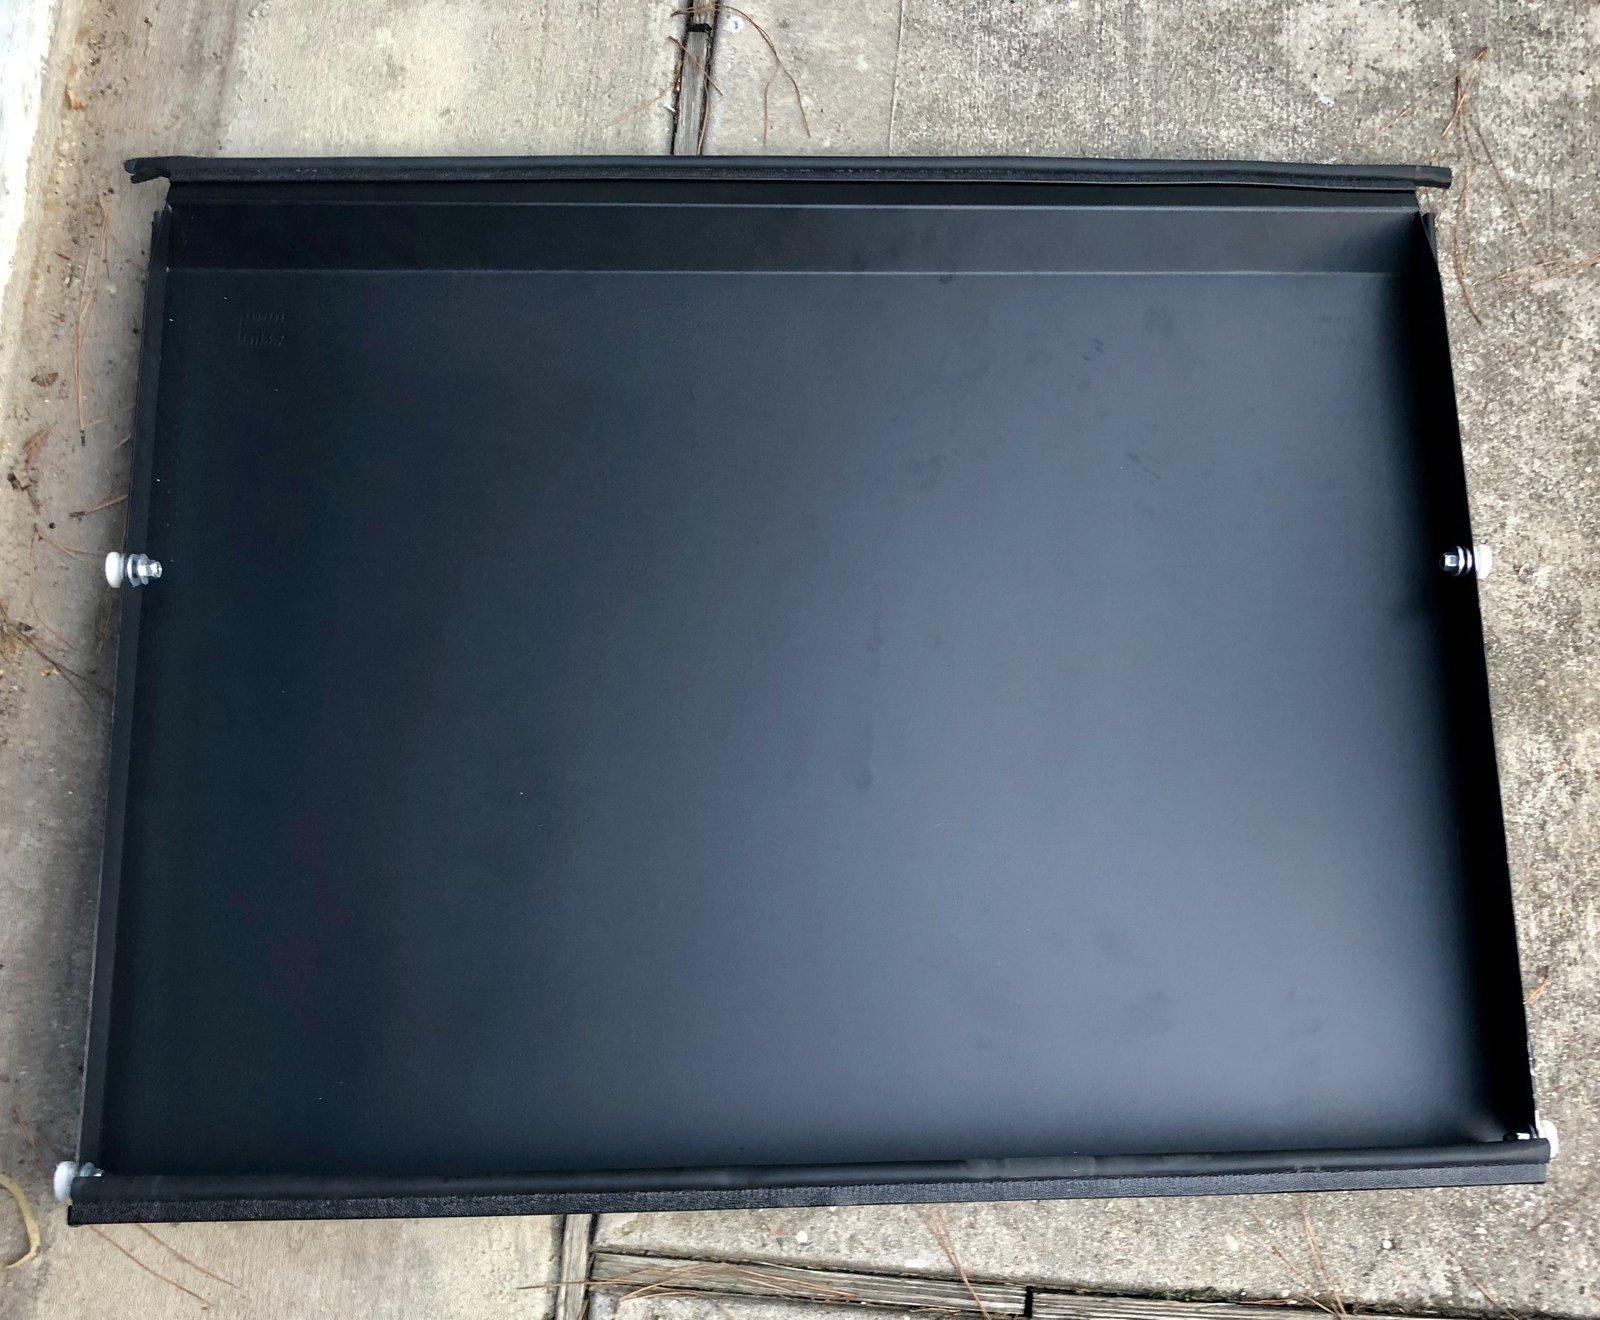
Before you go any further, If you have the "weatherstrip" on the lid between the two casters, take it off, the lid will be almost impossible to install with it on. :
Now for your remaining assembly parts:
Next, open your tailgate, and remove the middle cargo strap covers with a panel tool or flat head screwdriver:
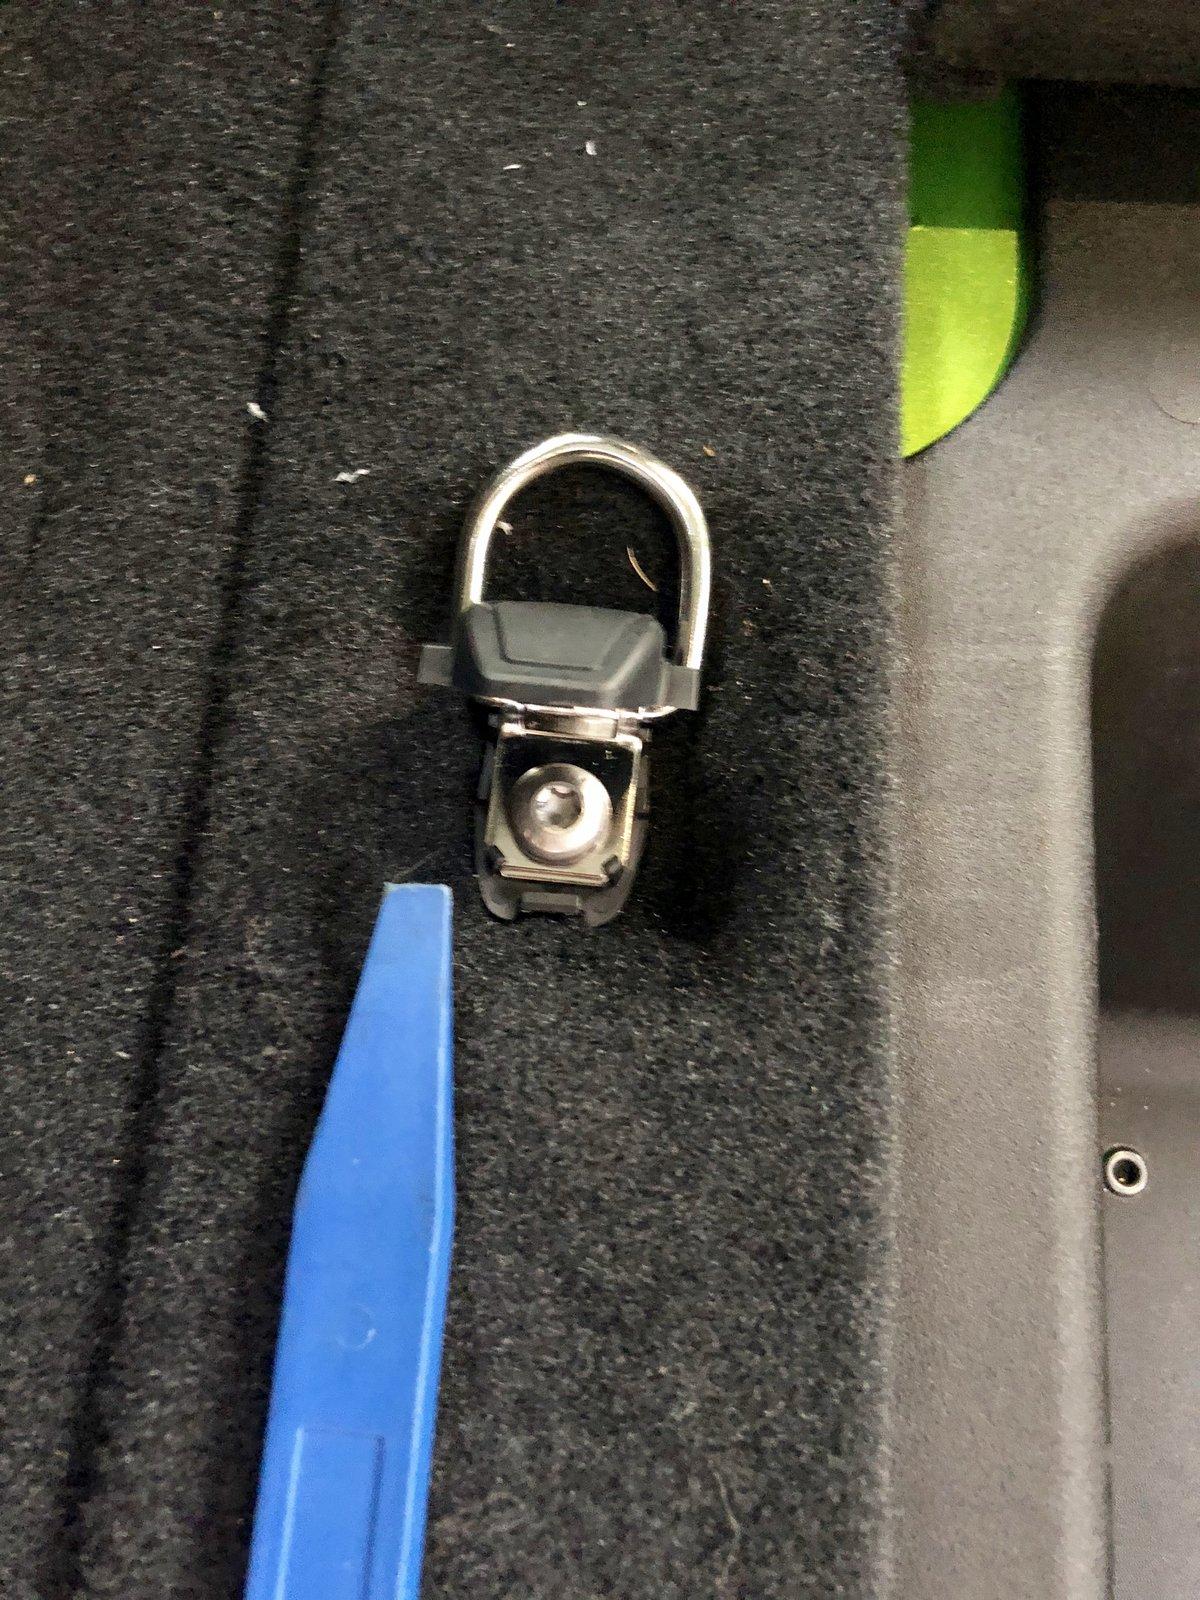
Now remove the screw with a T40 torx. you can use the one supplied in your jeep toolkit.
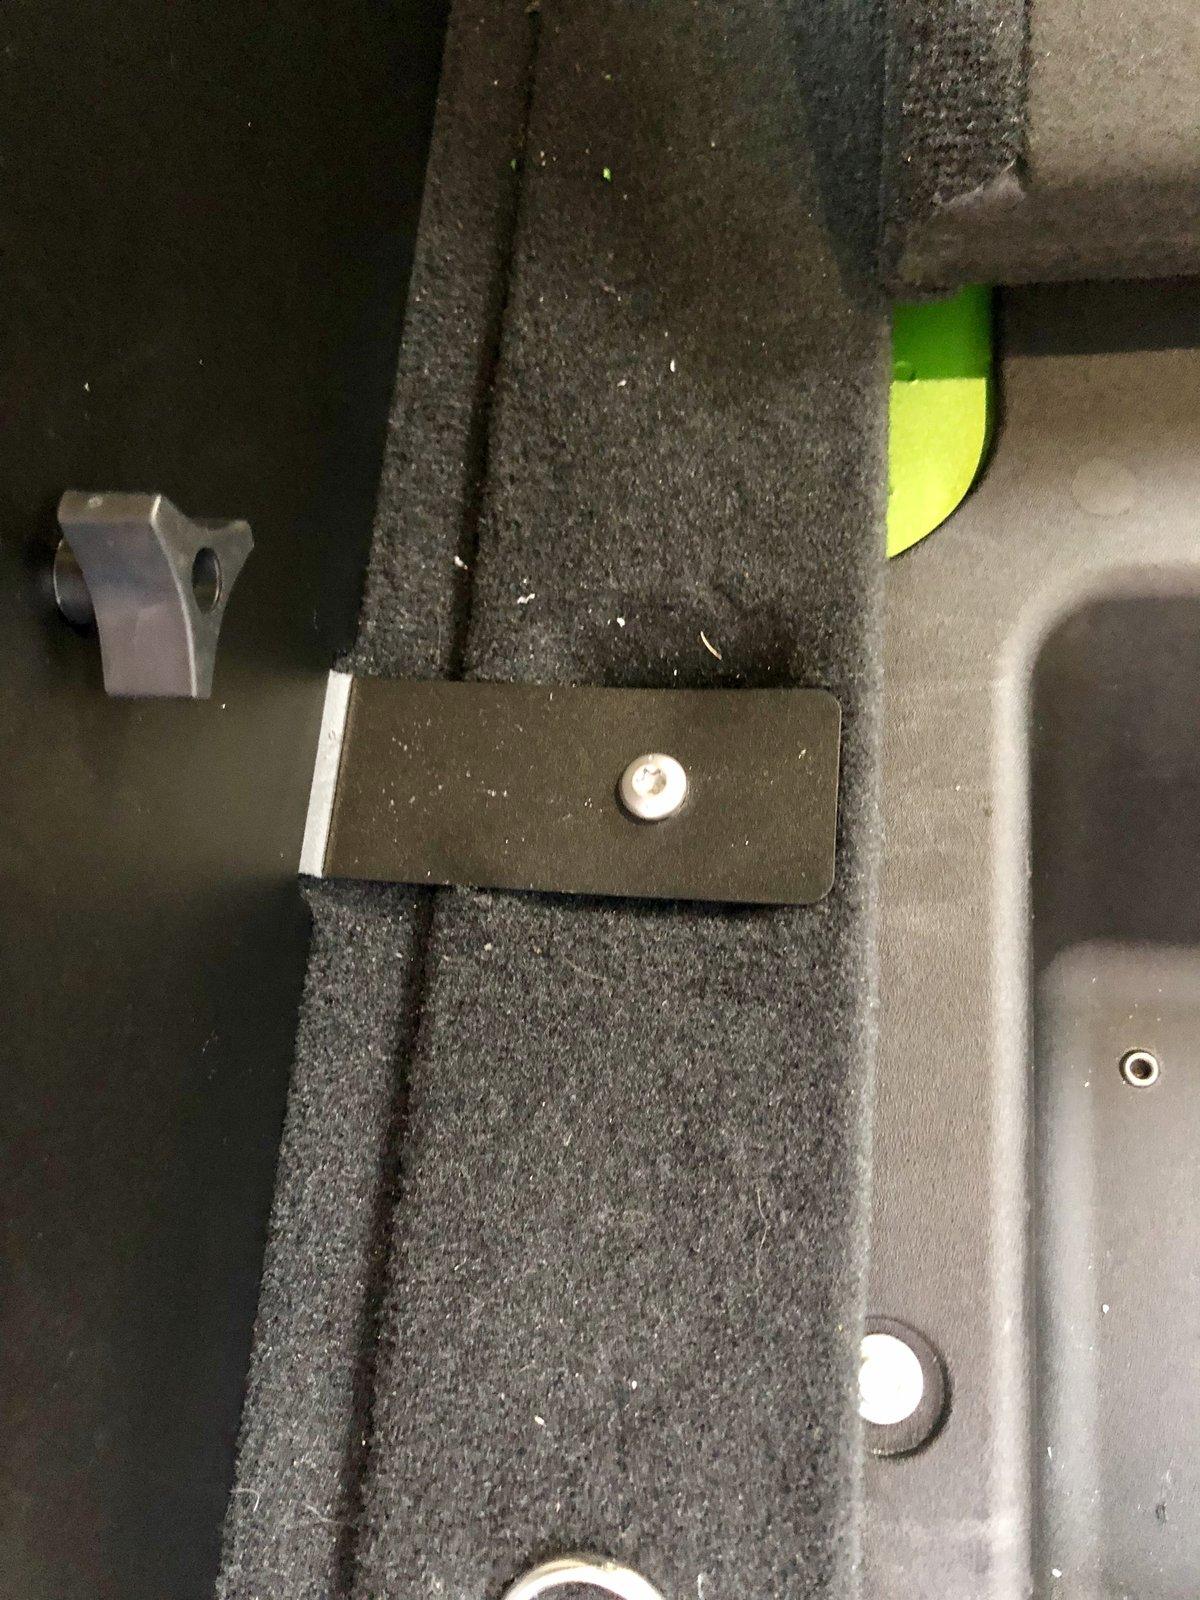
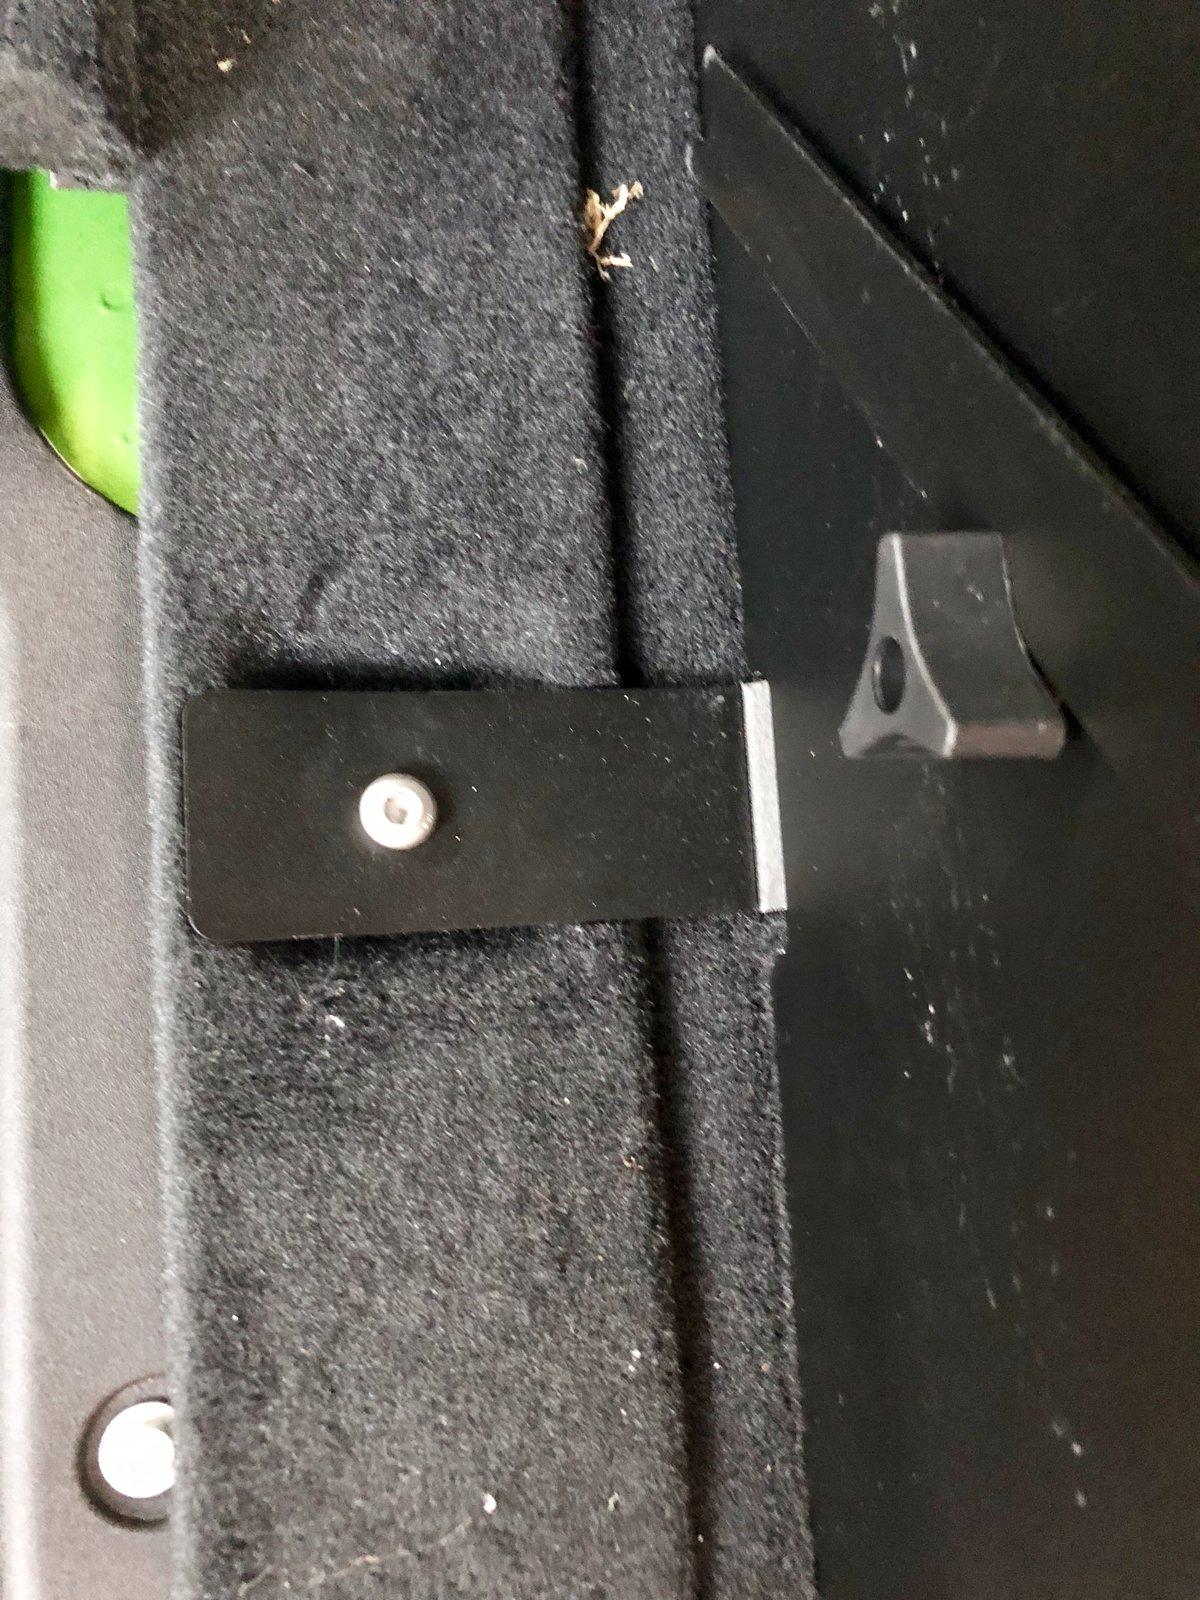
You can store the cargo attachments, but you will reuse the screws.
These will be your body mount locations:
Next install each side, and hand tighten the torx screws to hold the sides in place.
Now put the "front" on, and use the 4 remaining screws to attach it.
Tighten the wingnuts on these 4.
Now you are ready for the lid.
Place the lid just beyond the "front" of the box slightly tilted up so the casters enter the grooves, then pull toward the rear of the jeep, and set the rear casters in groove, press down, and then forward to lock the top into place.
And that is all. in the end, a REALLY easy install, but bad instructions and a weatherstrip that doesn't belong during install. If you have suggestions on how i can improve this, or have any questions, let me know.
Sponsored
