Silent Panda
Well-Known Member
- First Name
- Jason
- Joined
- Jan 20, 2019
- Threads
- 22
- Messages
- 130
- Reaction score
- 235
- Location
- Salt Lake City
- Vehicle(s)
- 2018 JL Rubicon
- Thread starter
- #1
Here we are at the 10th update on my 2 door JLR build. The Jeep has had quite an evolution over the past few years. This update is an installation of a TeraFlex Alpine RT3 Long Arm lift (part number 1533100). There is significant cutting and grinding to remove most of the factory mounting brackets for this kit. The juice is worth the squeeze...more on that later. On to the pics!
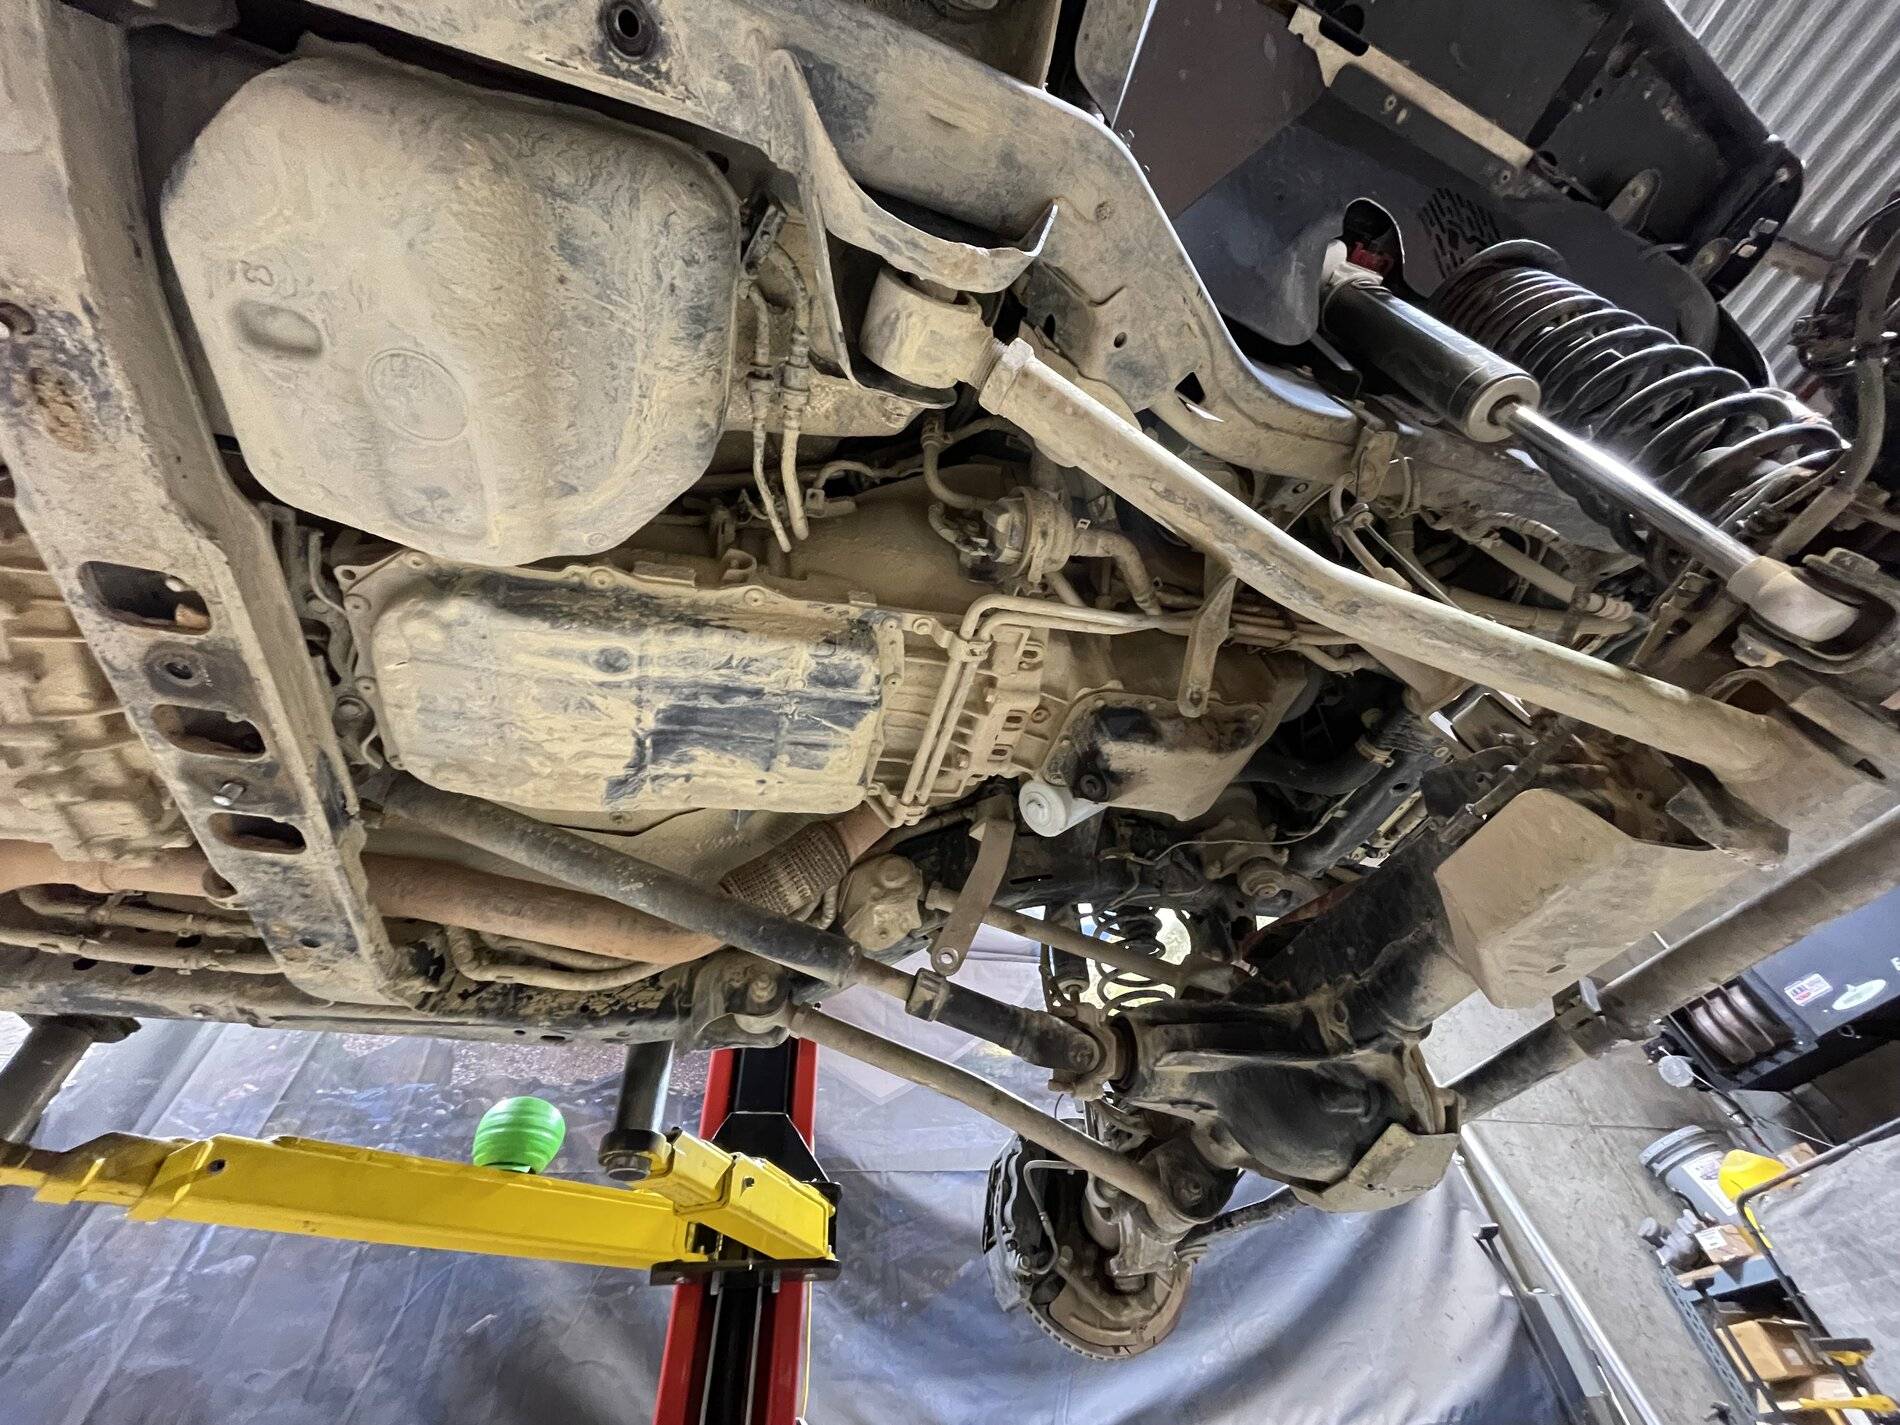
Before the fun could start the Metalcloak Undercloak skid plates needed to be removed. This exposed a couple years of grime and accumulated filth from some excellent rides. A wonderful mix of Appalachian clay and red dirt from Utah. So many good memories.

Nevermind that leaky pinion seal...these are not the droids you're looking for...
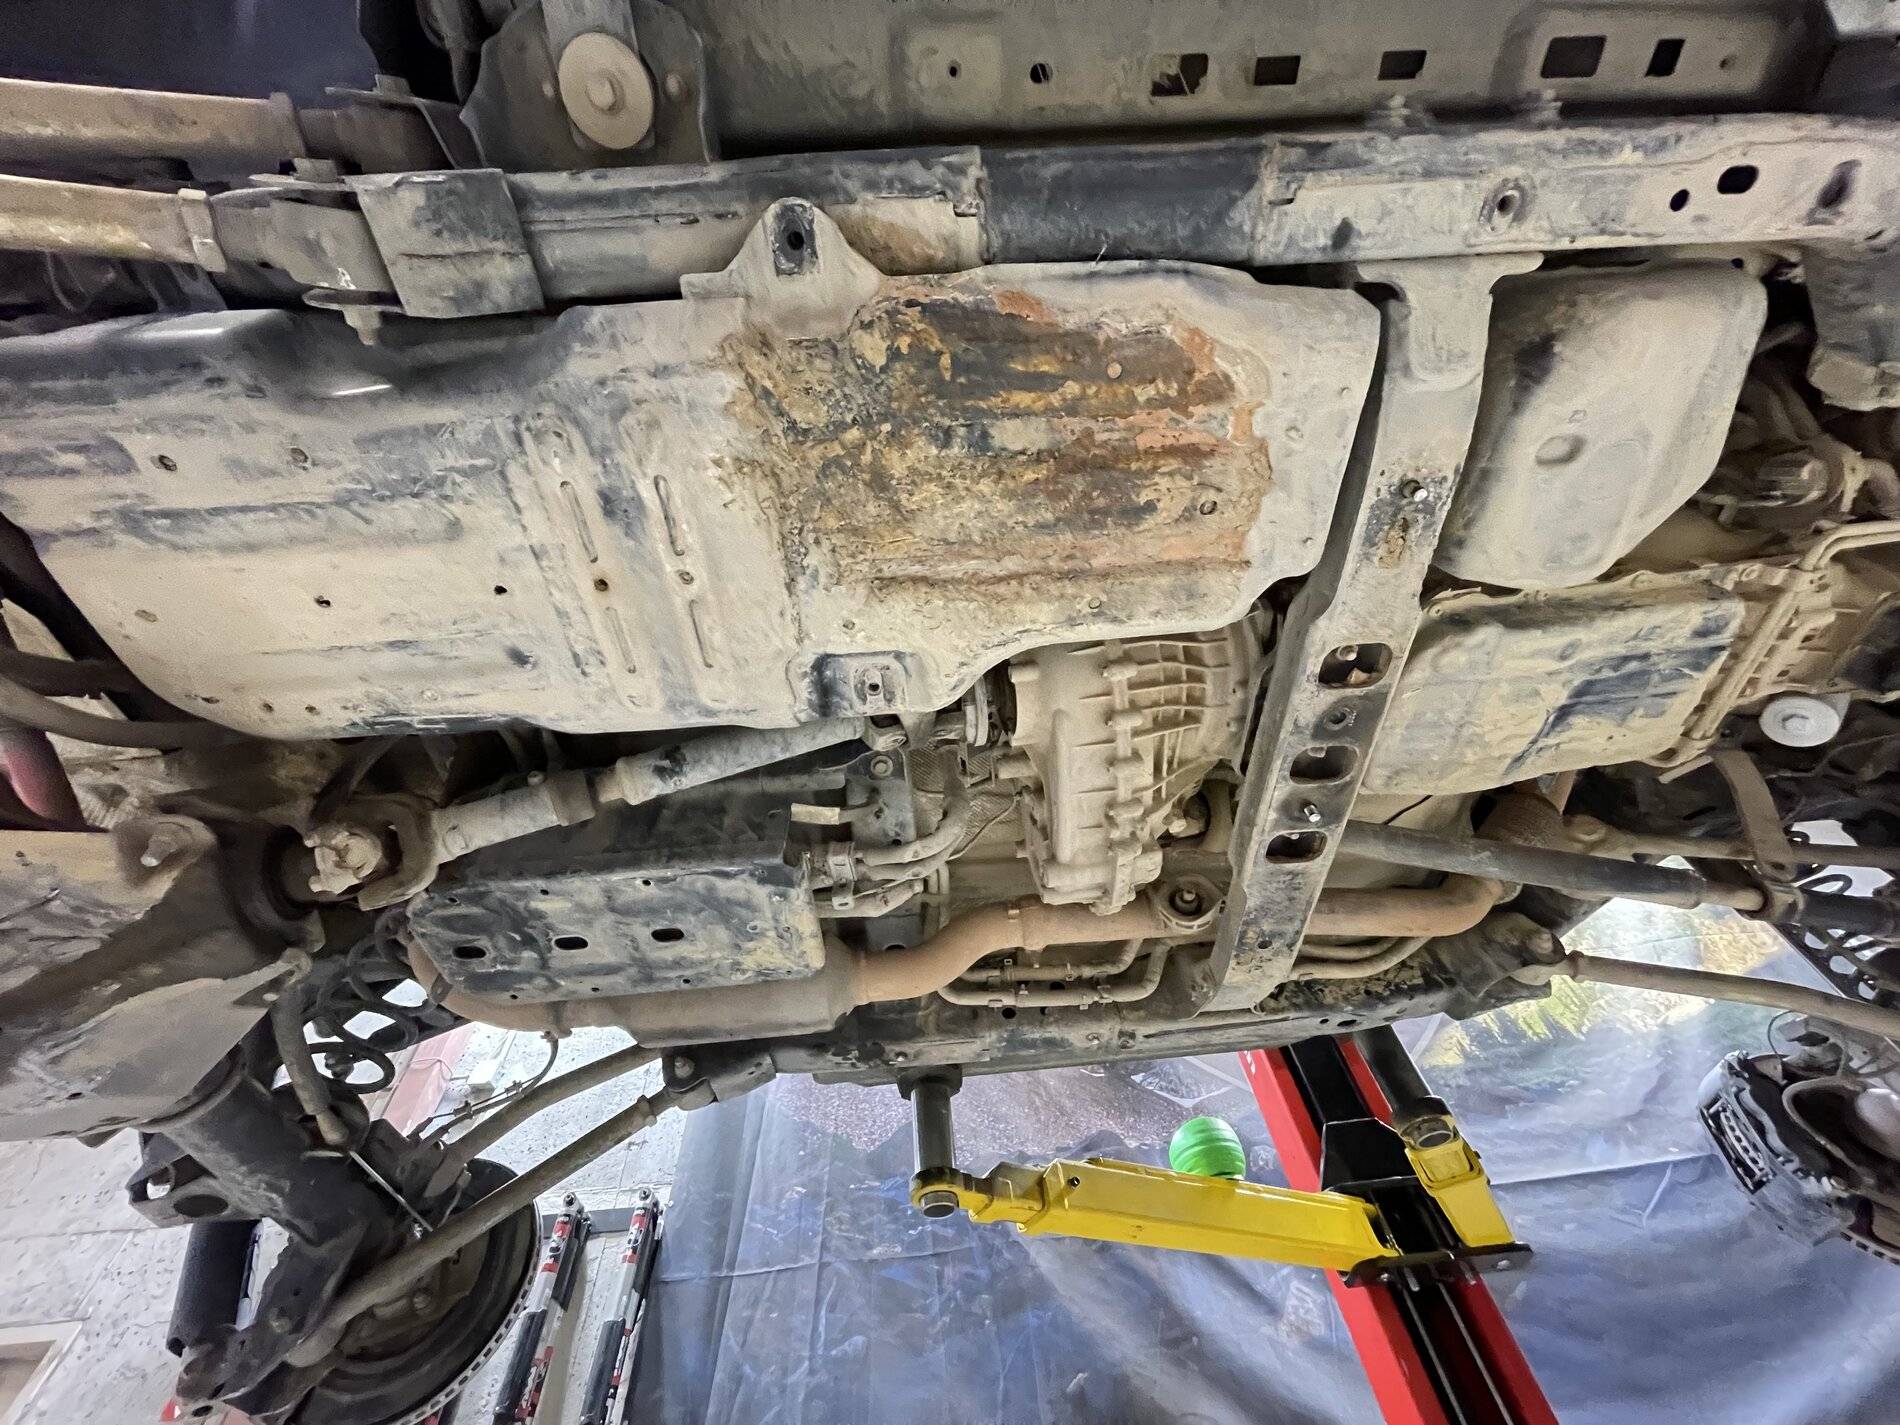
When we dropped the tank (needed for bracket removal) we found some more proof that our little Jeep has seen some trail work.
While the tank was out, I emptied the frame of some of the compacted mud and soil...There was no way to clean this with tank and skids installed.
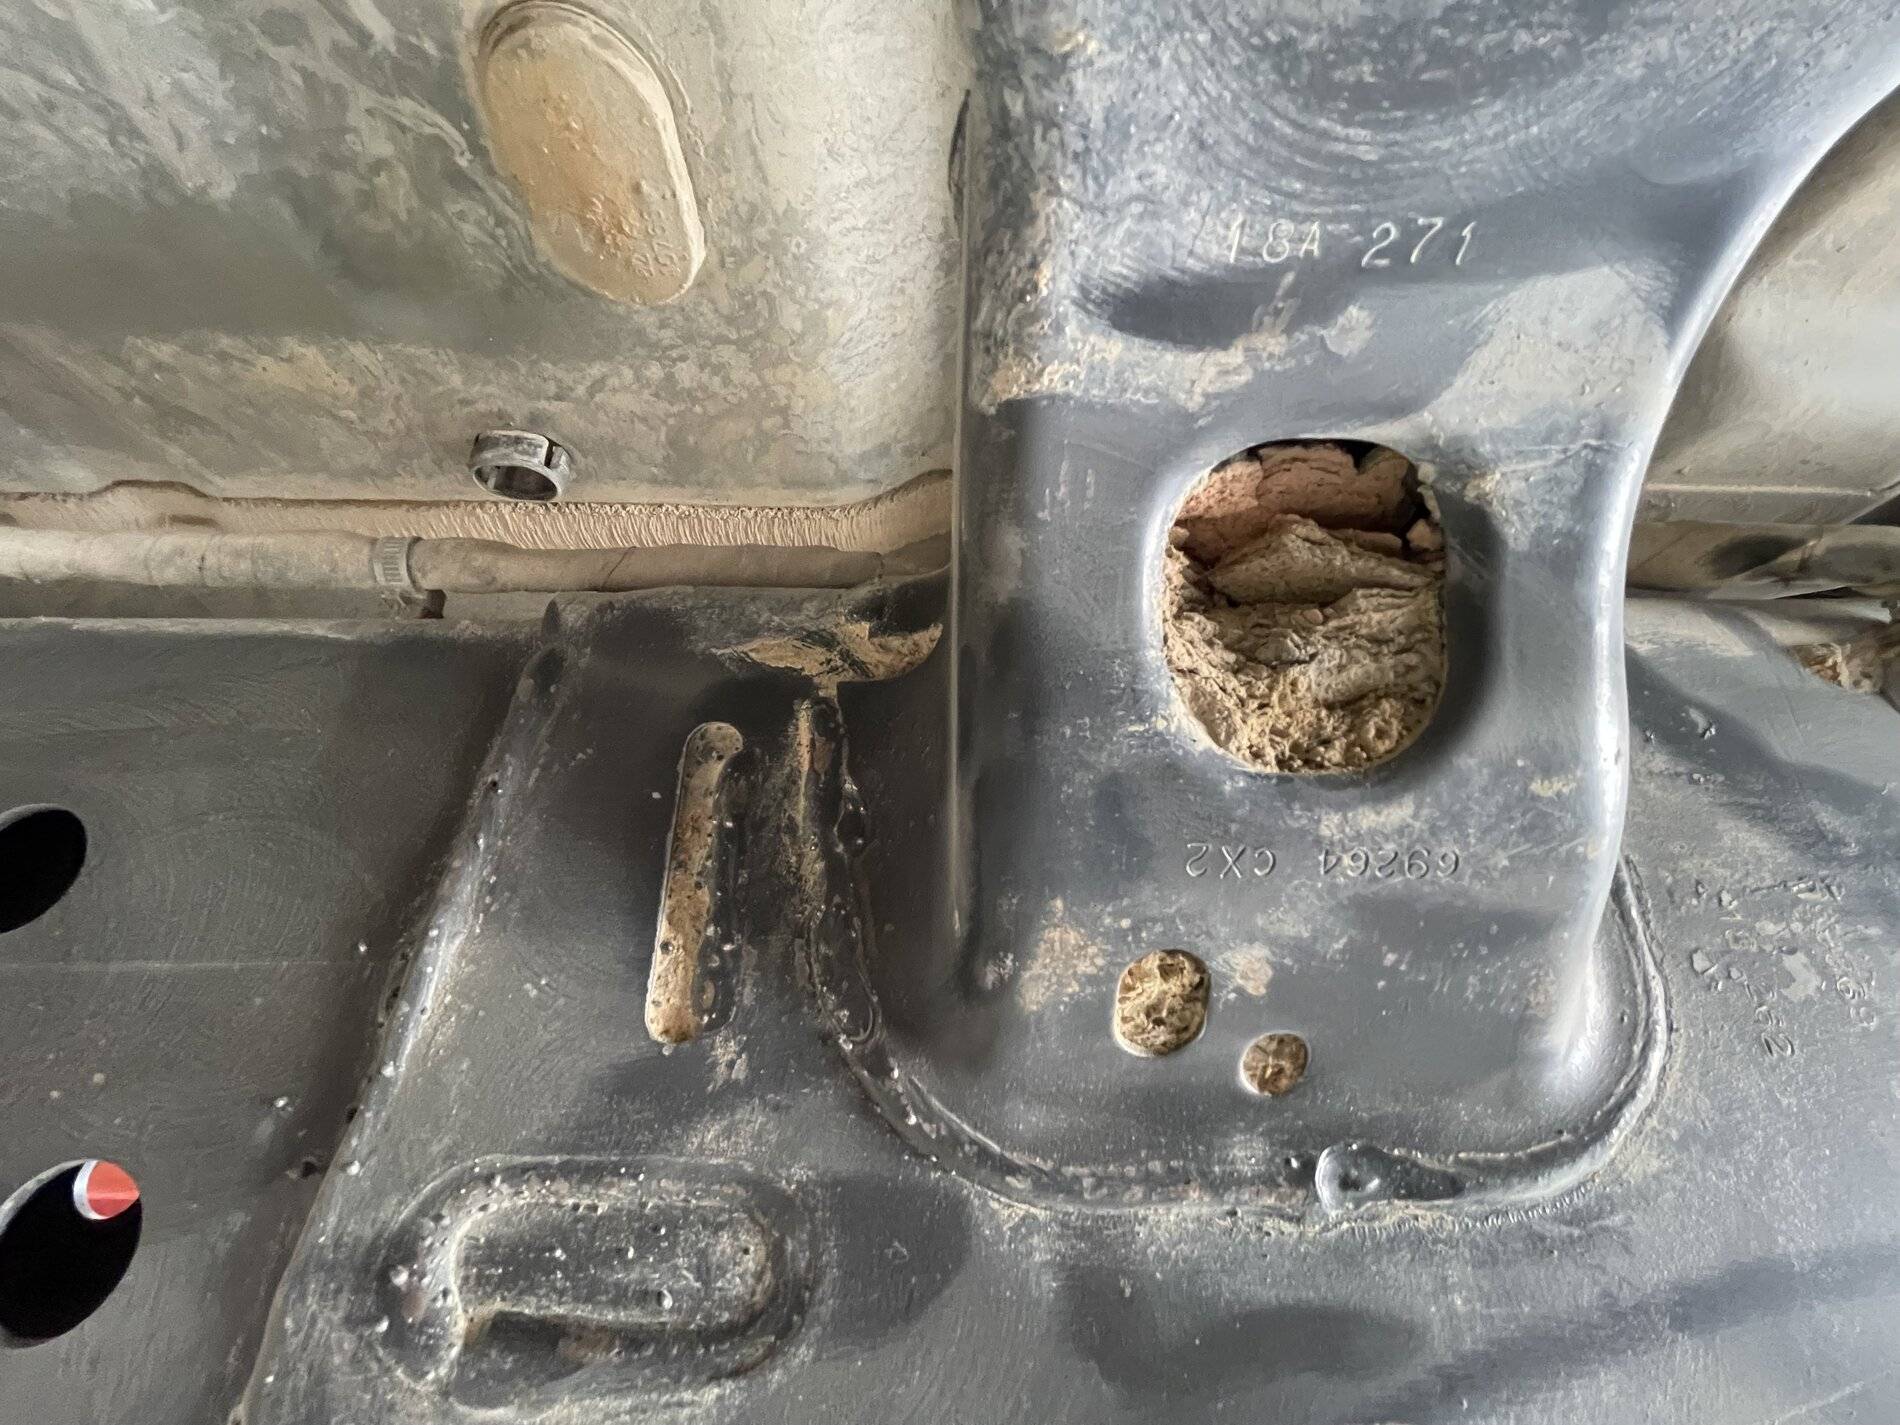
Here you can see that my driver side rear lower link mount was no longer square but more parallelogram shaped...this was a large part of the reason I did not mind cutting them away for the long arm.
Here is the passenger rear lower for reference. It wasn't as bent up as the driver side...
Bracket cutting
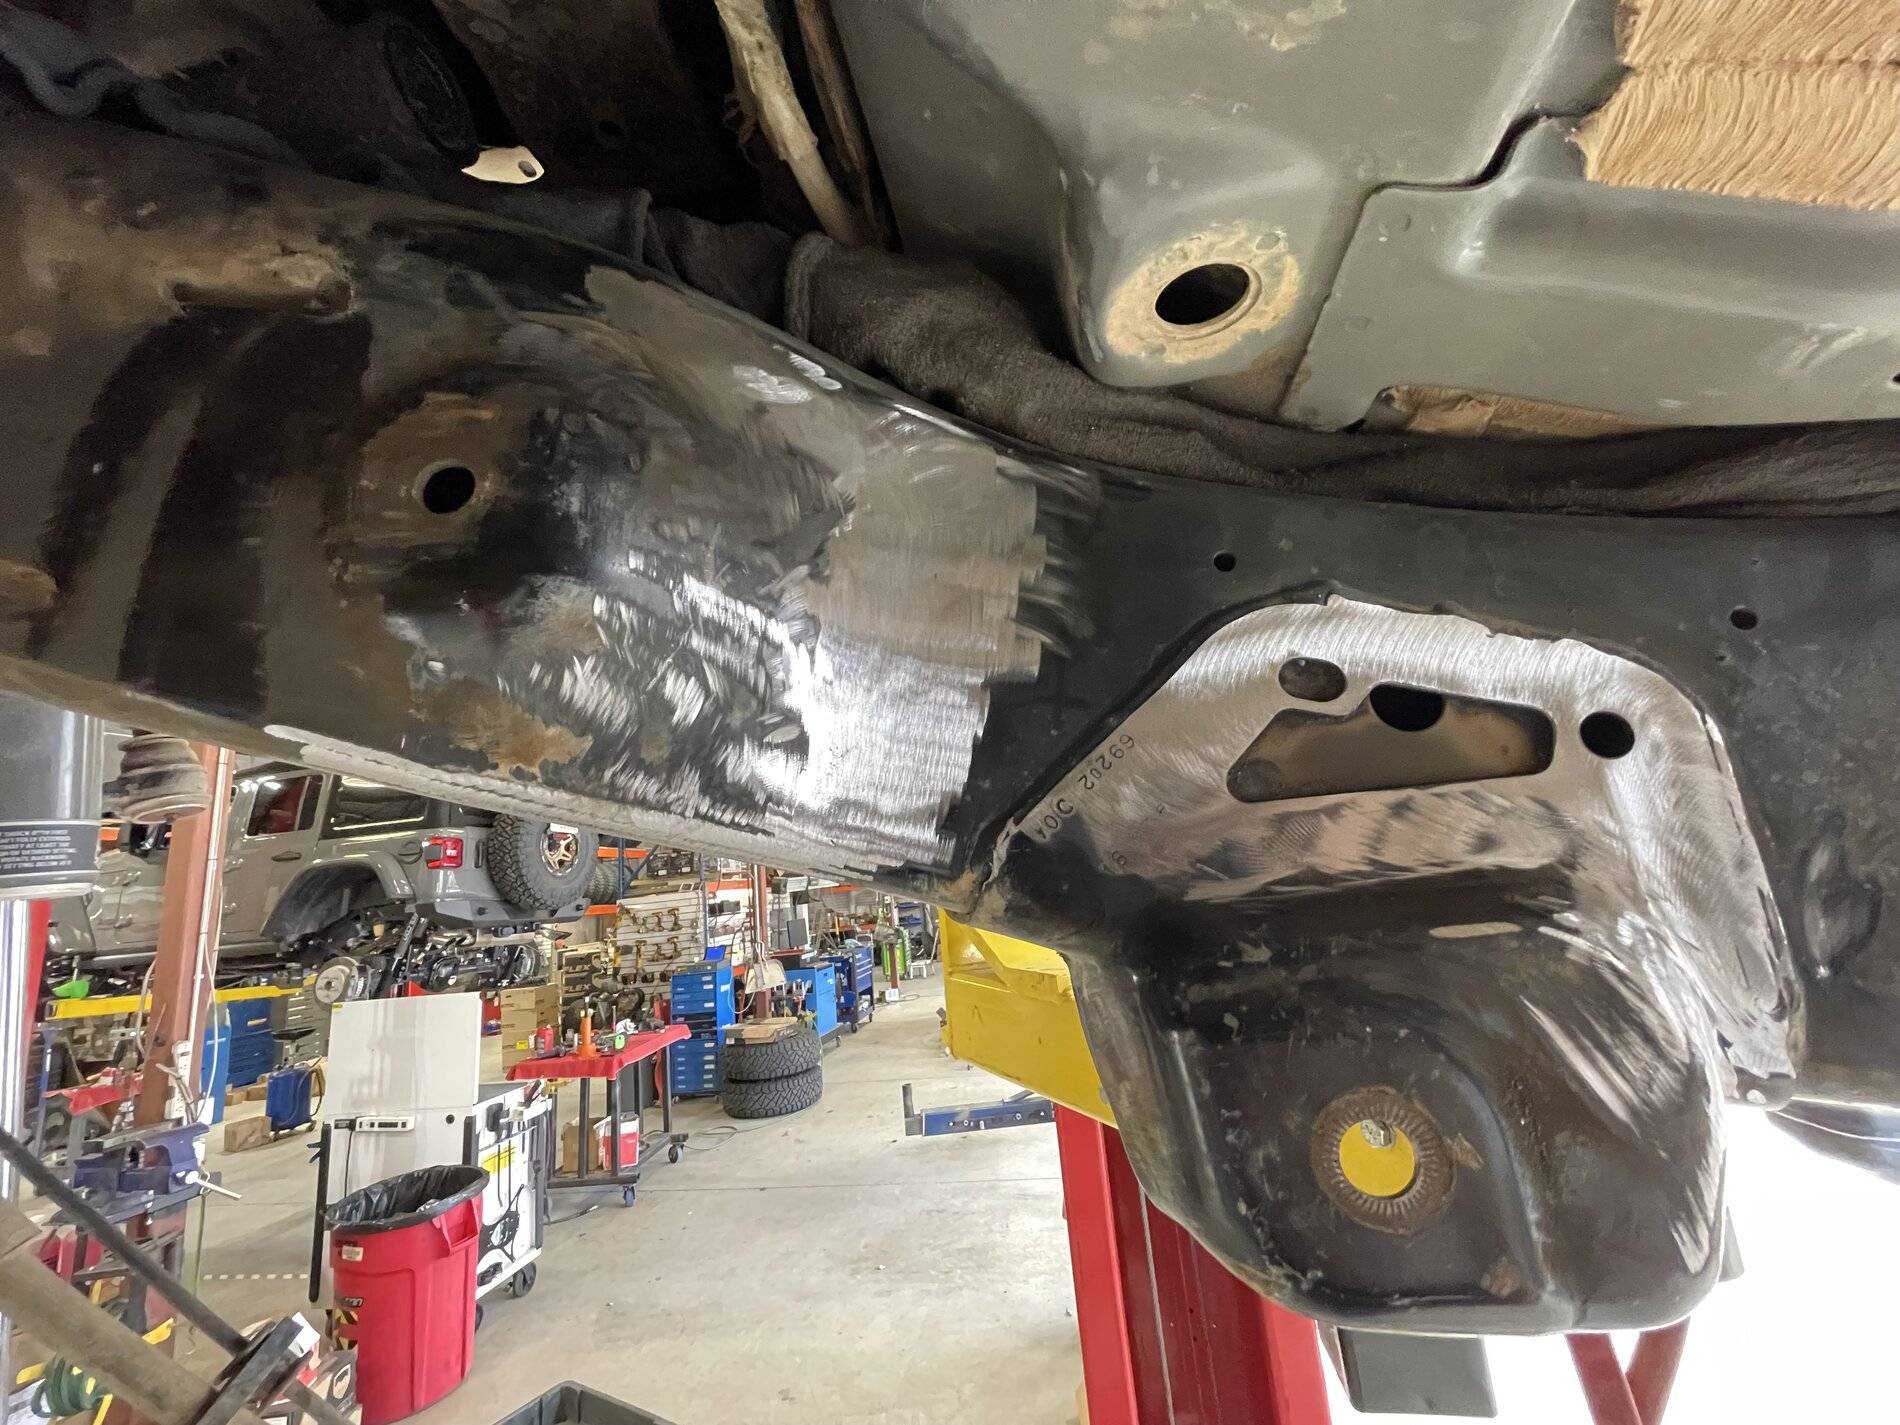
Front brackets gone and frame cleaned up
Rear brackets have left the group chat and frame is cleaned up
New link brackets ready for install
Front brackets installed. You can see that the outer half of the front lower link mount is retained for the new long arm brackets.
Look at how far the upper mount is pushed back
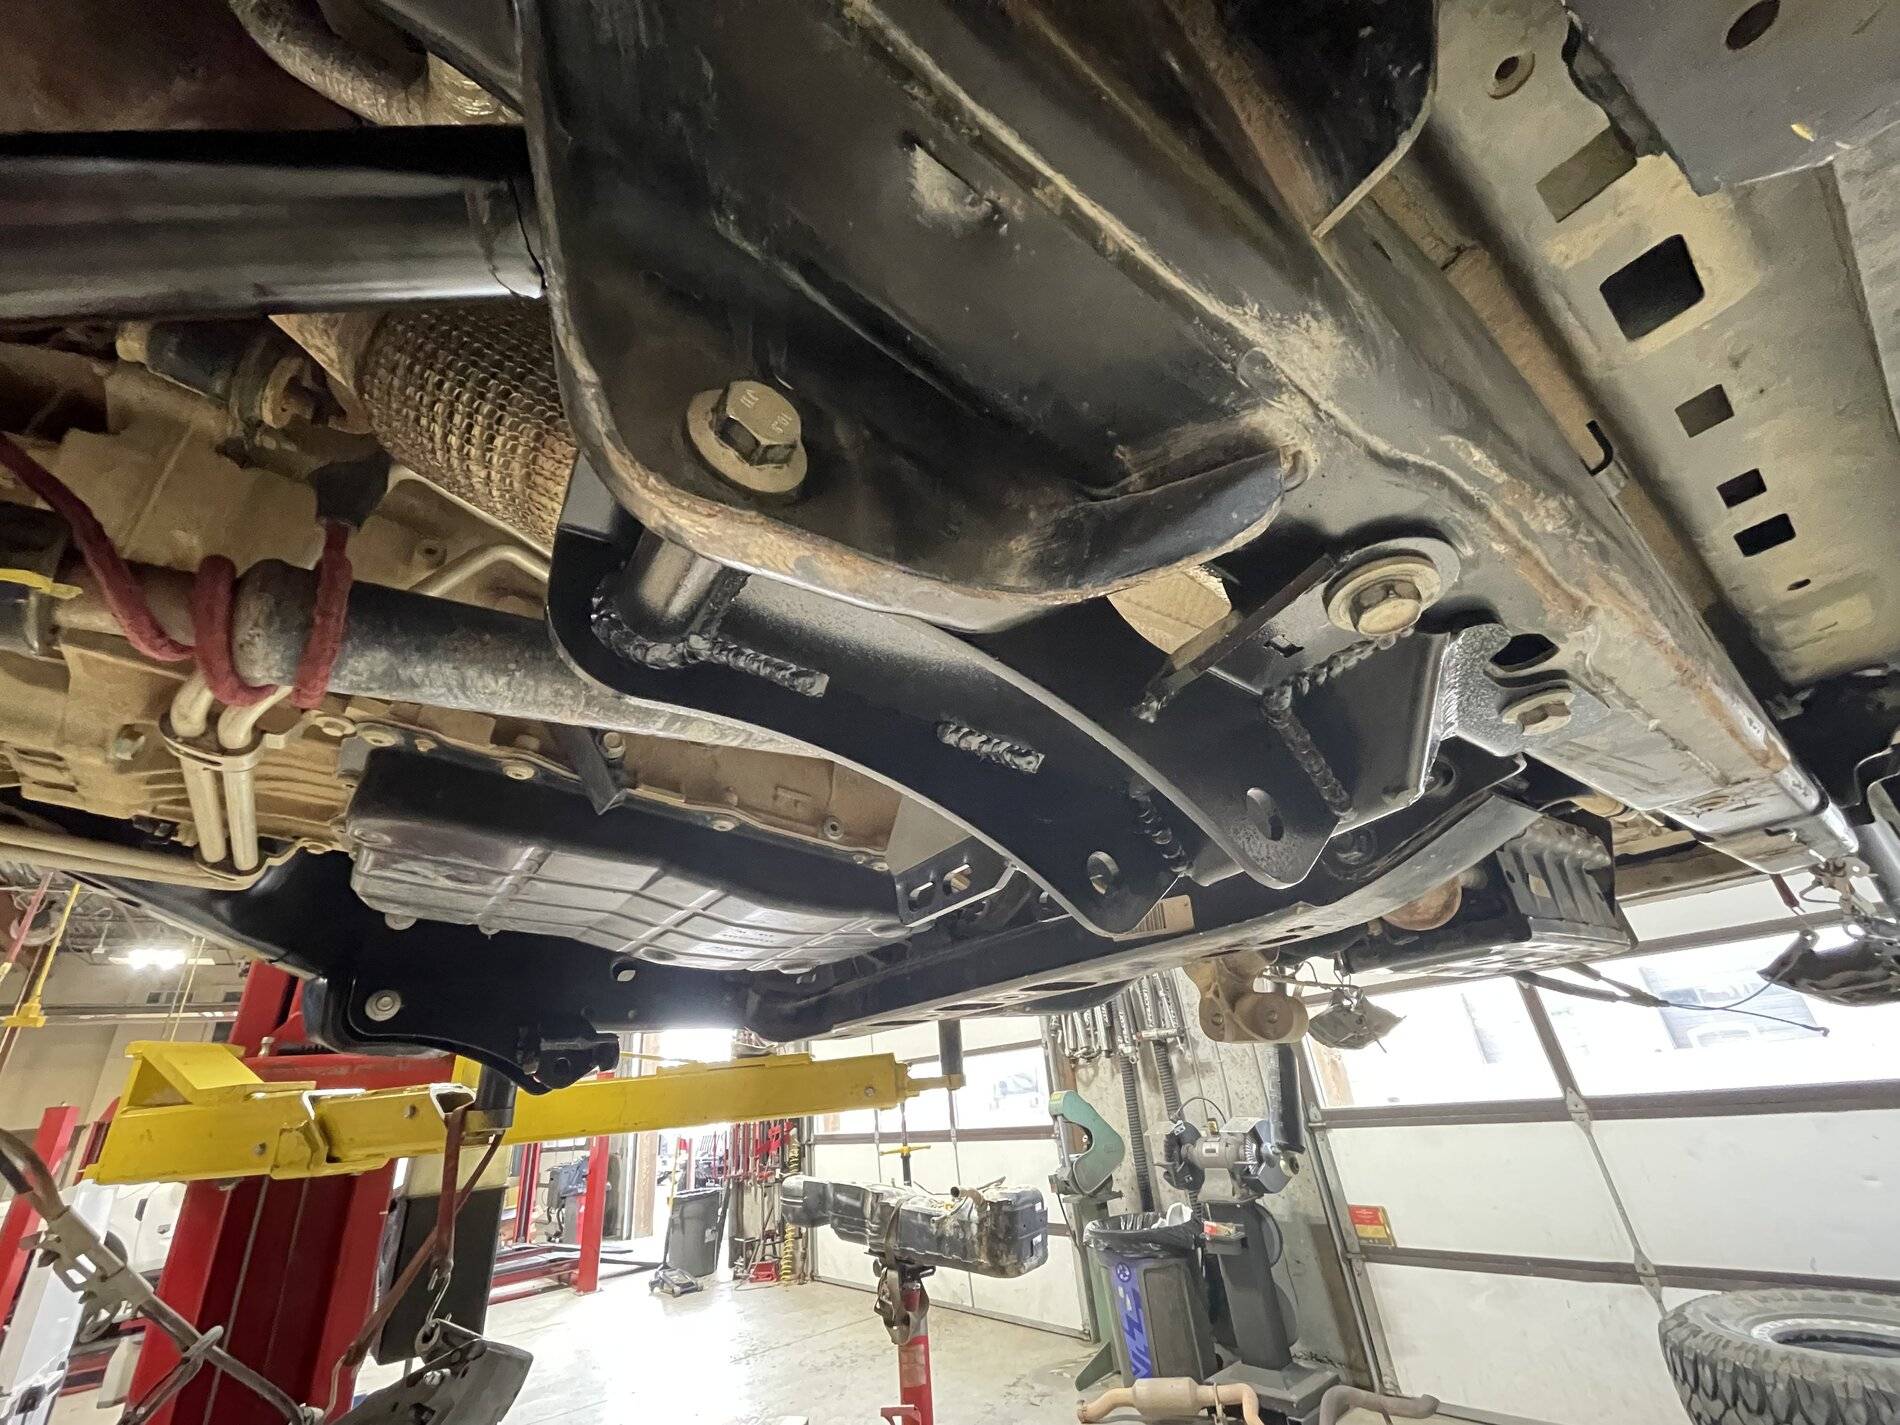
The rear upper mount is changed even more...
The remainder of the install is far less dramatic...bolting up arms, putting the gas tank and axles back in and alignment.
I have an art project ahead of me to modify and remount the skids...most of the holes the skids used for mounting were used for the new long arm brackets.
As soon as the Jeep was off of the alignment rack, I was on the road to Moab for a shake down and trial of the new long arm kit.
On the road, I need to spend more time in the kit to give feedback...I feel like the ride is dominated by new springs that need to settle a bit. The previous springs had 32k miles to soften.
On the trail...I absolutely feel more rear bite. I wanted a great comparison to the old lift so we rode Fins and Things. I've driven the old set on fins MANY times...I am pretty sure I can draw that trail from memory. There are a few of the steep options in the fins portion of the trail where I know I can spin up the tires a bit to have a bit of fun with my passenger...it was a harder to do the same shenanigans on the long arms. More traction for sure. On four doors, the rear link brackets can hang up, this wasn't the case on my two door. On some of the more rad stuff on Rusty Nail, I never hung on any of the shelfs or drops.
Overall, I'm totally happy with the new kit. The new brackets replaced the couple that were compromised and as a sweet bonus...I think I have a path to a stretch now...I should be able to slide the rear mount bracket back on the frame and the either weld it or drill some new bolts holes and BAM...stretch! Well, not just BAM...but I know the rear link geo is already resolved and that is a huge part of the battle.
Before the fun could start the Metalcloak Undercloak skid plates needed to be removed. This exposed a couple years of grime and accumulated filth from some excellent rides. A wonderful mix of Appalachian clay and red dirt from Utah. So many good memories.
Nevermind that leaky pinion seal...these are not the droids you're looking for...
When we dropped the tank (needed for bracket removal) we found some more proof that our little Jeep has seen some trail work.


While the tank was out, I emptied the frame of some of the compacted mud and soil...There was no way to clean this with tank and skids installed.
Here you can see that my driver side rear lower link mount was no longer square but more parallelogram shaped...this was a large part of the reason I did not mind cutting them away for the long arm.


Here is the passenger rear lower for reference. It wasn't as bent up as the driver side...

Bracket cutting


Front brackets gone and frame cleaned up
Rear brackets have left the group chat and frame is cleaned up


New link brackets ready for install

Front brackets installed. You can see that the outer half of the front lower link mount is retained for the new long arm brackets.
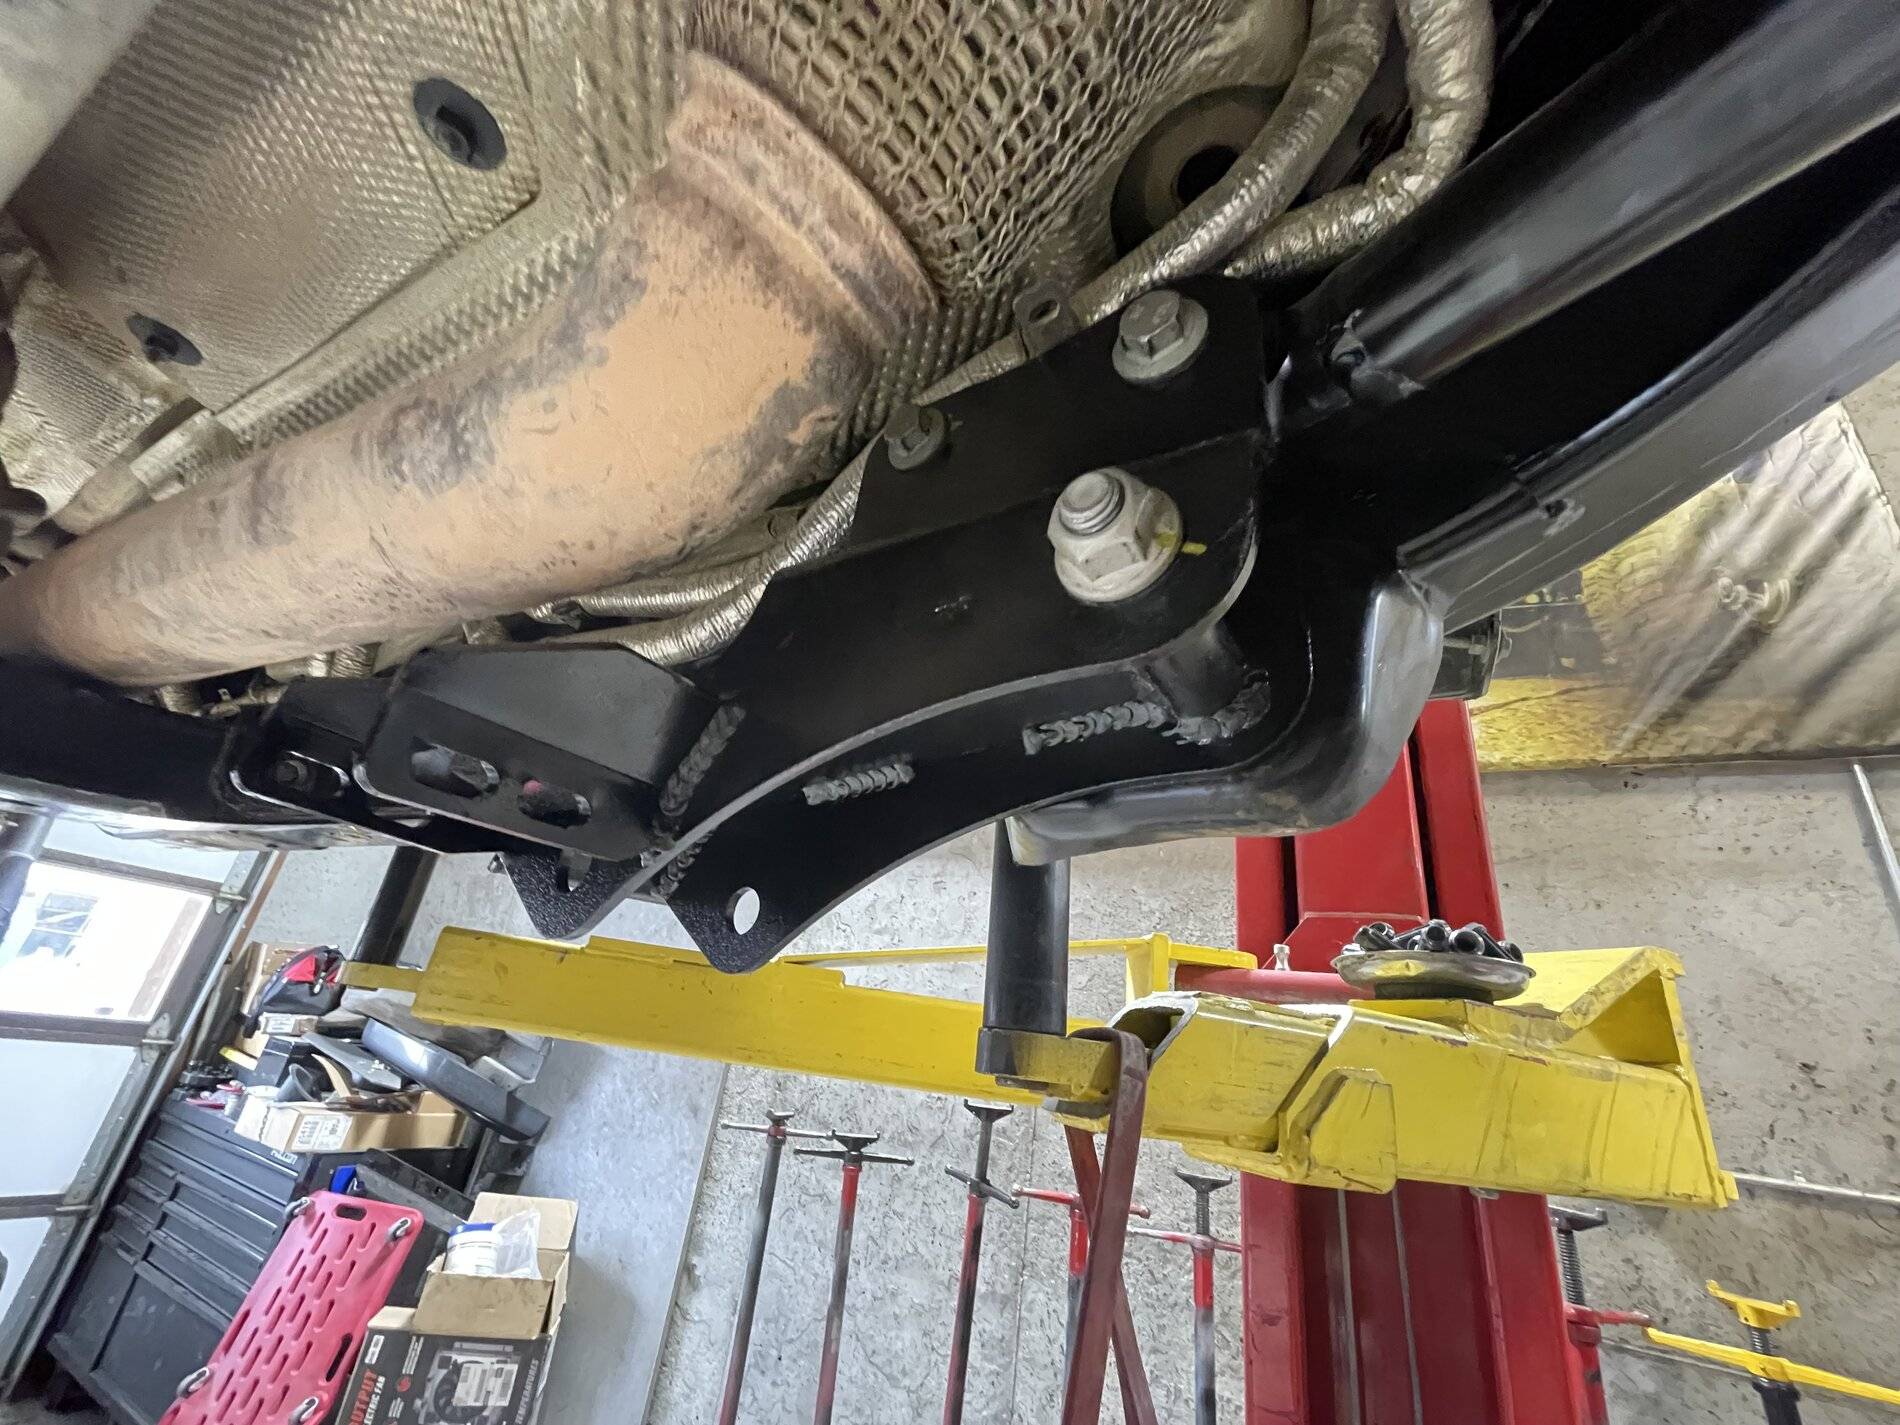
Look at how far the upper mount is pushed back

The rear upper mount is changed even more...

The remainder of the install is far less dramatic...bolting up arms, putting the gas tank and axles back in and alignment.
I have an art project ahead of me to modify and remount the skids...most of the holes the skids used for mounting were used for the new long arm brackets.
As soon as the Jeep was off of the alignment rack, I was on the road to Moab for a shake down and trial of the new long arm kit.
On the road, I need to spend more time in the kit to give feedback...I feel like the ride is dominated by new springs that need to settle a bit. The previous springs had 32k miles to soften.
On the trail...I absolutely feel more rear bite. I wanted a great comparison to the old lift so we rode Fins and Things. I've driven the old set on fins MANY times...I am pretty sure I can draw that trail from memory. There are a few of the steep options in the fins portion of the trail where I know I can spin up the tires a bit to have a bit of fun with my passenger...it was a harder to do the same shenanigans on the long arms. More traction for sure. On four doors, the rear link brackets can hang up, this wasn't the case on my two door. On some of the more rad stuff on Rusty Nail, I never hung on any of the shelfs or drops.
Overall, I'm totally happy with the new kit. The new brackets replaced the couple that were compromised and as a sweet bonus...I think I have a path to a stretch now...I should be able to slide the rear mount bracket back on the frame and the either weld it or drill some new bolts holes and BAM...stretch! Well, not just BAM...but I know the rear link geo is already resolved and that is a huge part of the battle.
Sponsored
