OP
OP
Broccoli2
Well-Known Member
- Joined
- Aug 27, 2018
- Threads
- 4
- Messages
- 140
- Reaction score
- 160
- Location
- Santa Clarita
- Vehicle(s)
- 2018 JL, 2011 JK 1946CJ2-A
- Thread starter
- #76
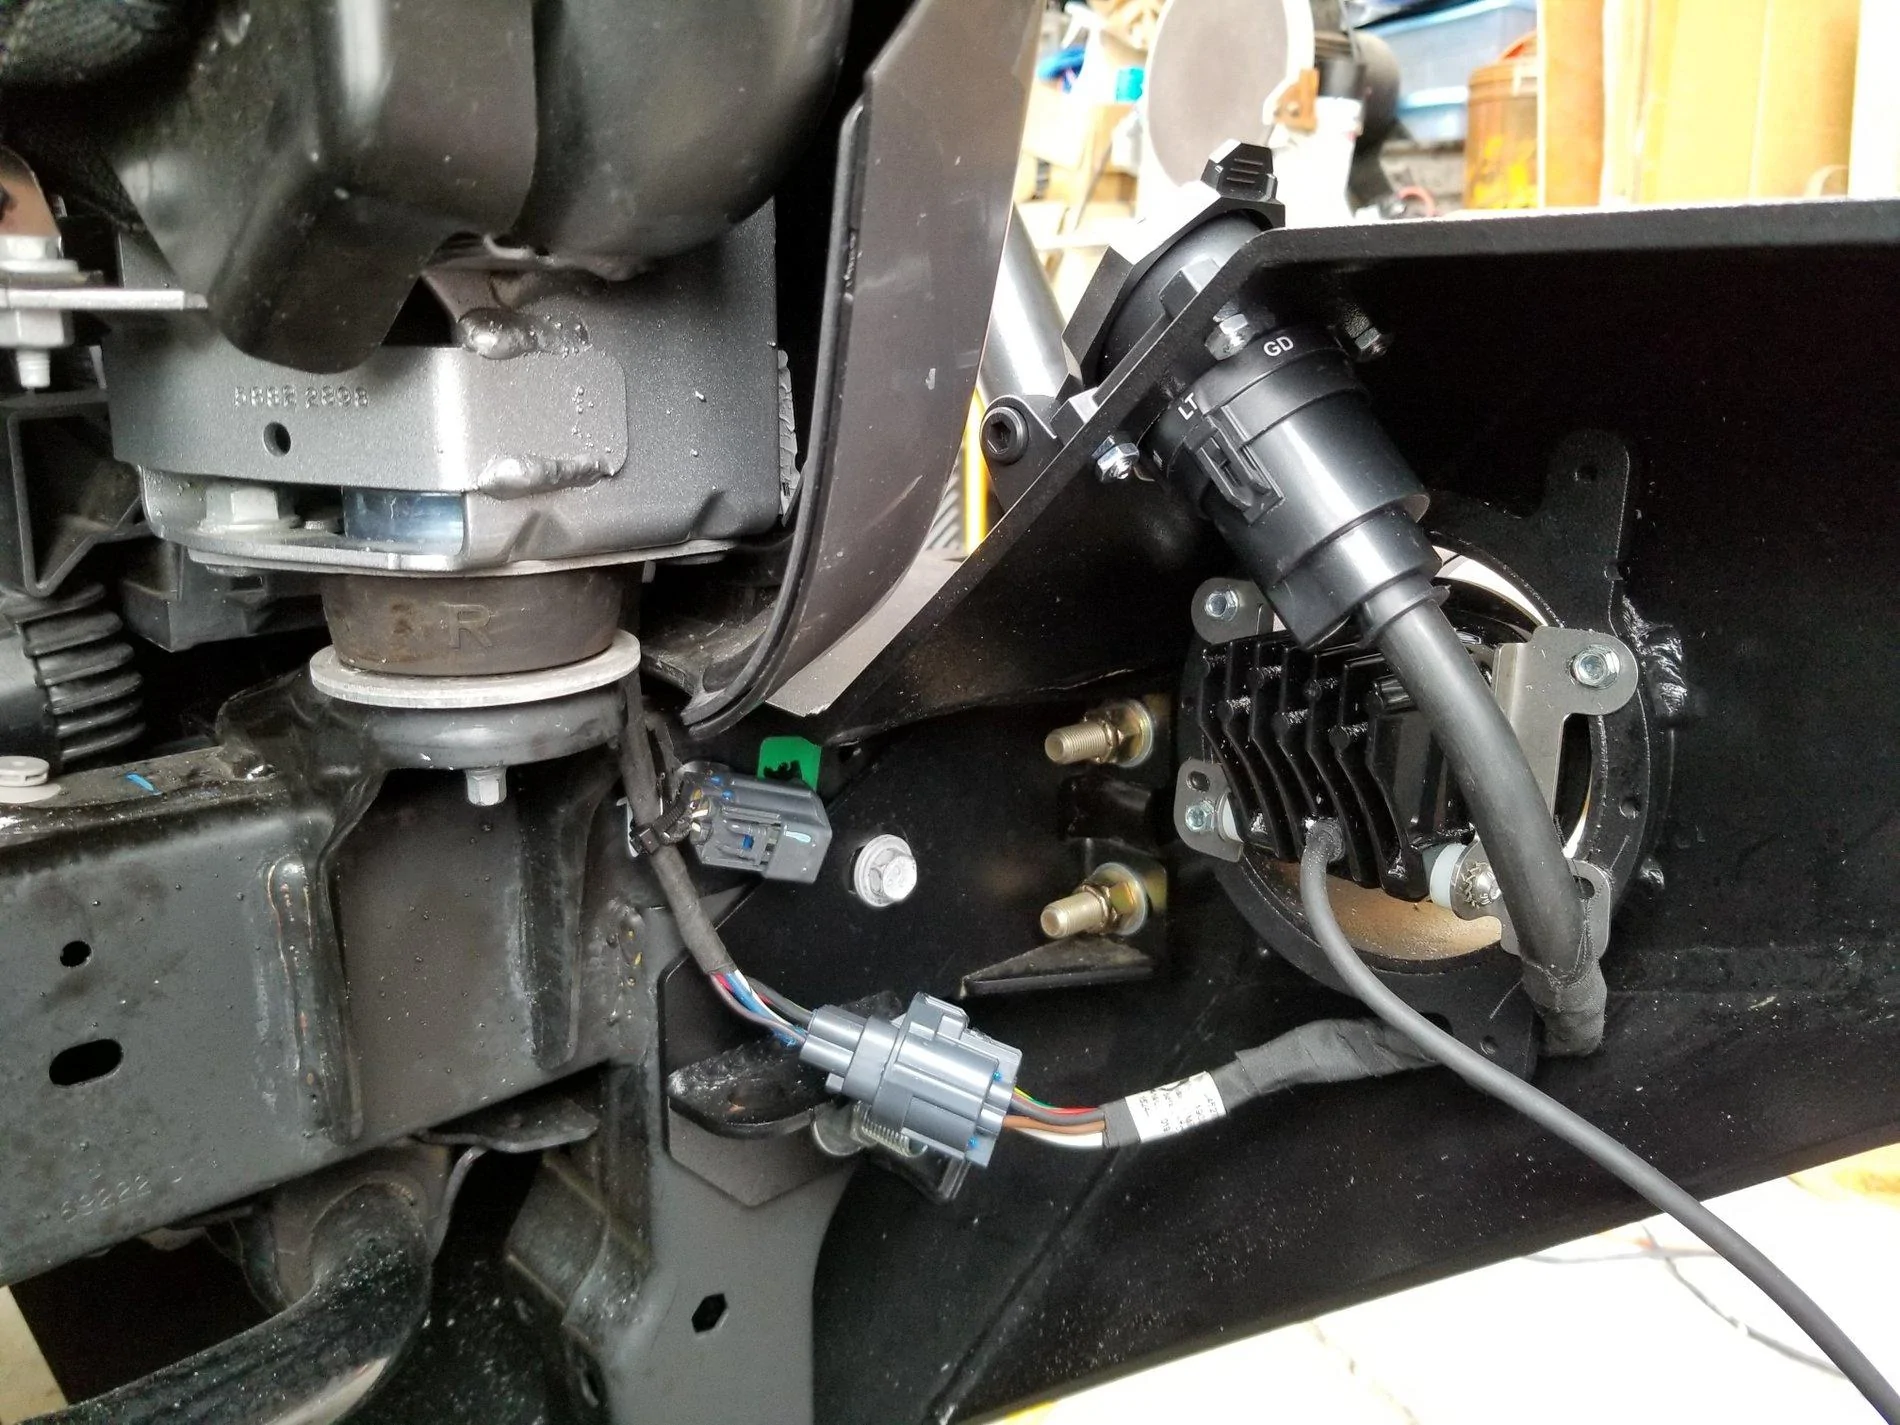
No need to remove it when installing the wires. Just push them into the holes until they click. If you want to take the wires out after the installation, then you need to remove it.I am having the exact same issue. I did not see an answer to this question and could really use the help. I can't figure out how to get the white plastic "lock" piece out so I can insert the 6 pins. Any suggestions? Thank you
Sponsored