tthoms
Member
- First Name
- Tyler
- Joined
- Sep 9, 2020
- Threads
- 0
- Messages
- 17
- Reaction score
- 6
- Location
- Bakersfield, CA
- Vehicle(s)
- 2020 Jeep Wrangler Unlimited (Willy's)
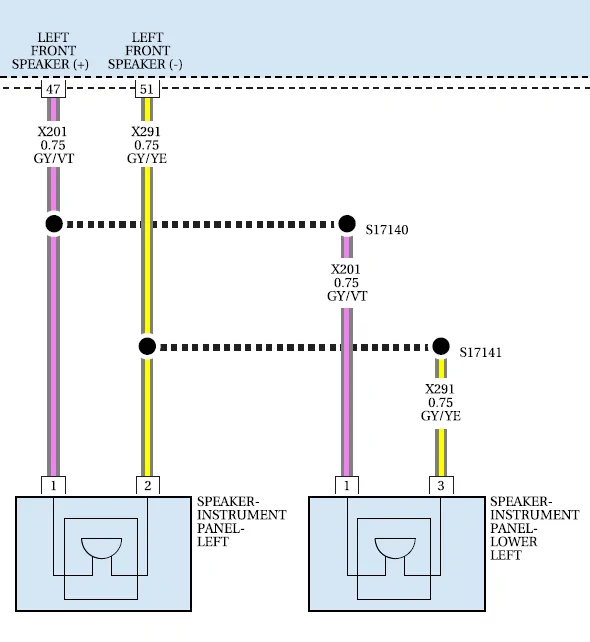
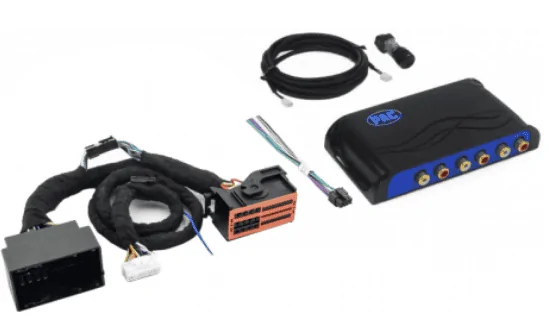
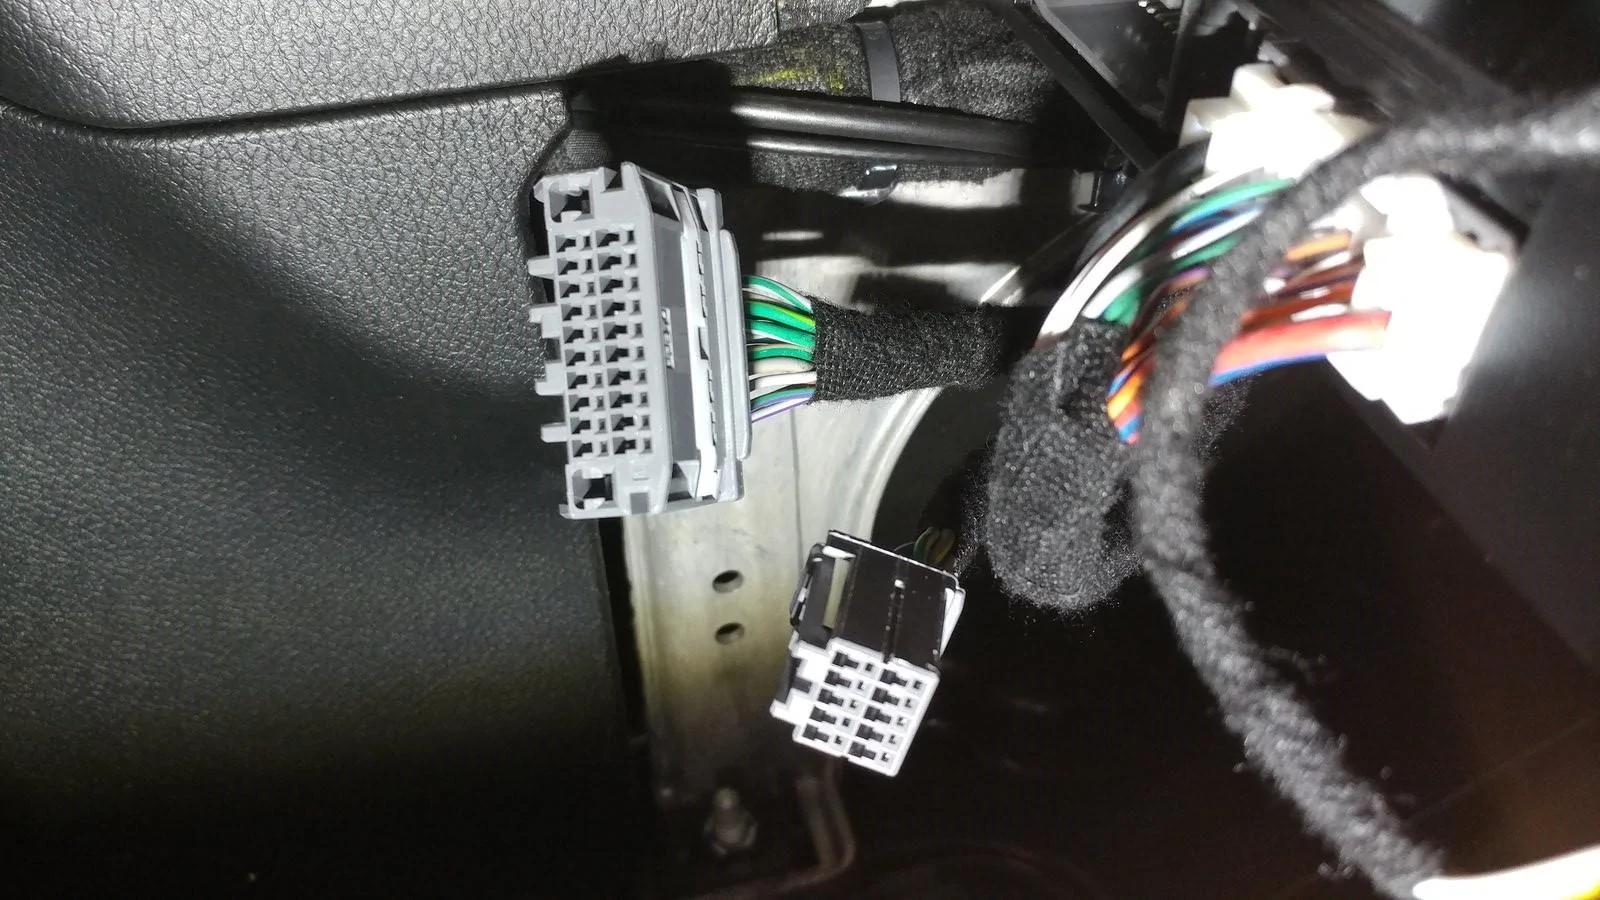
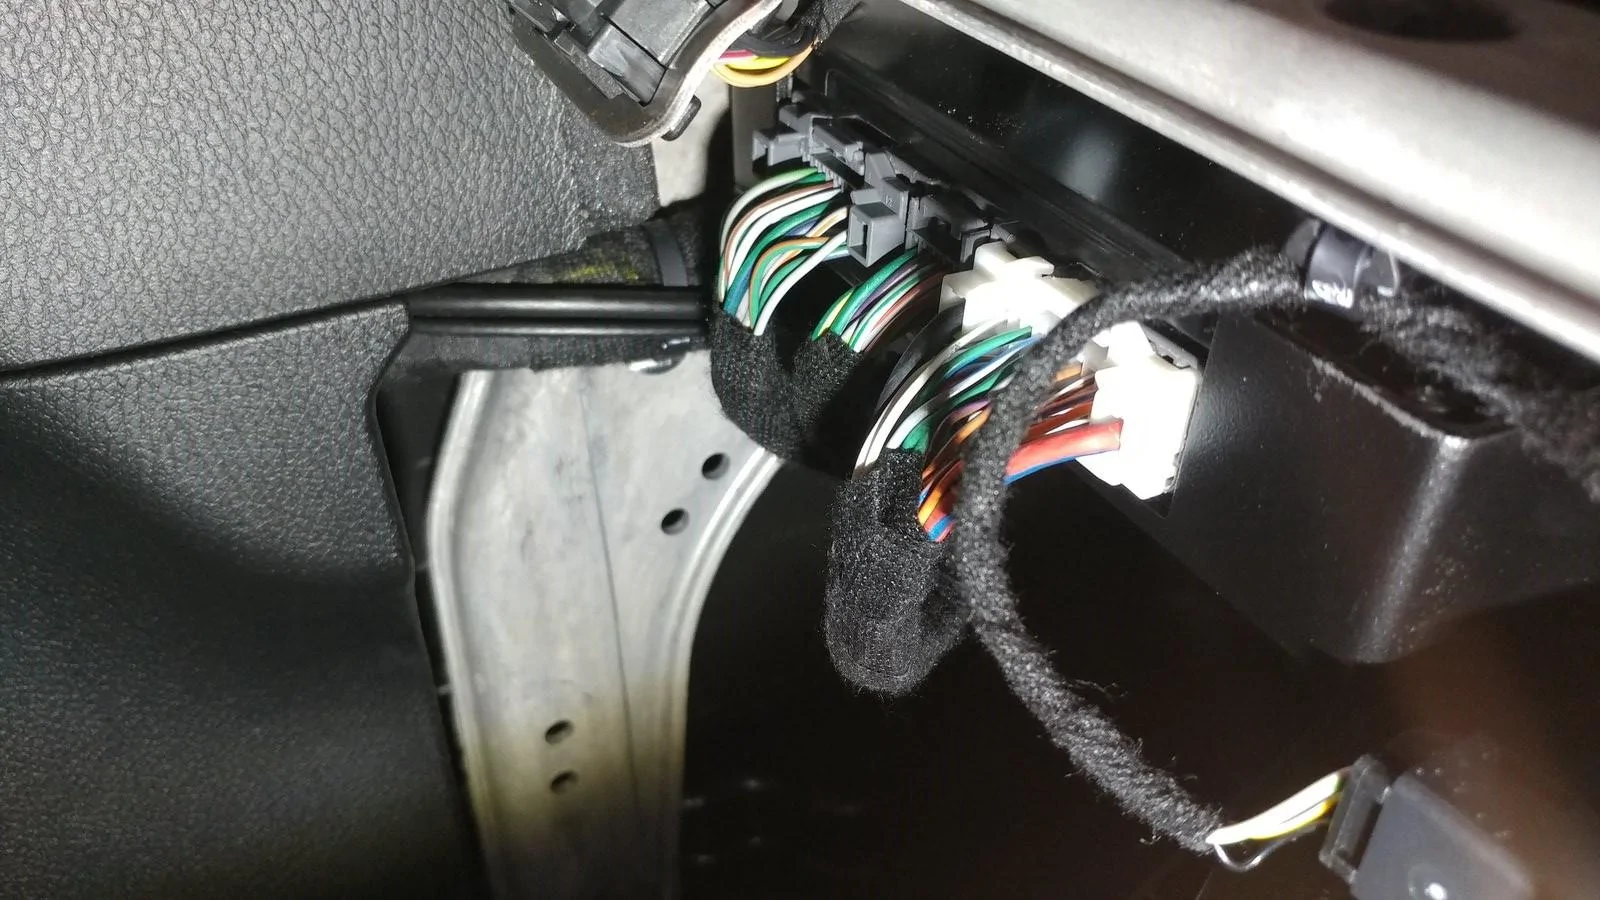
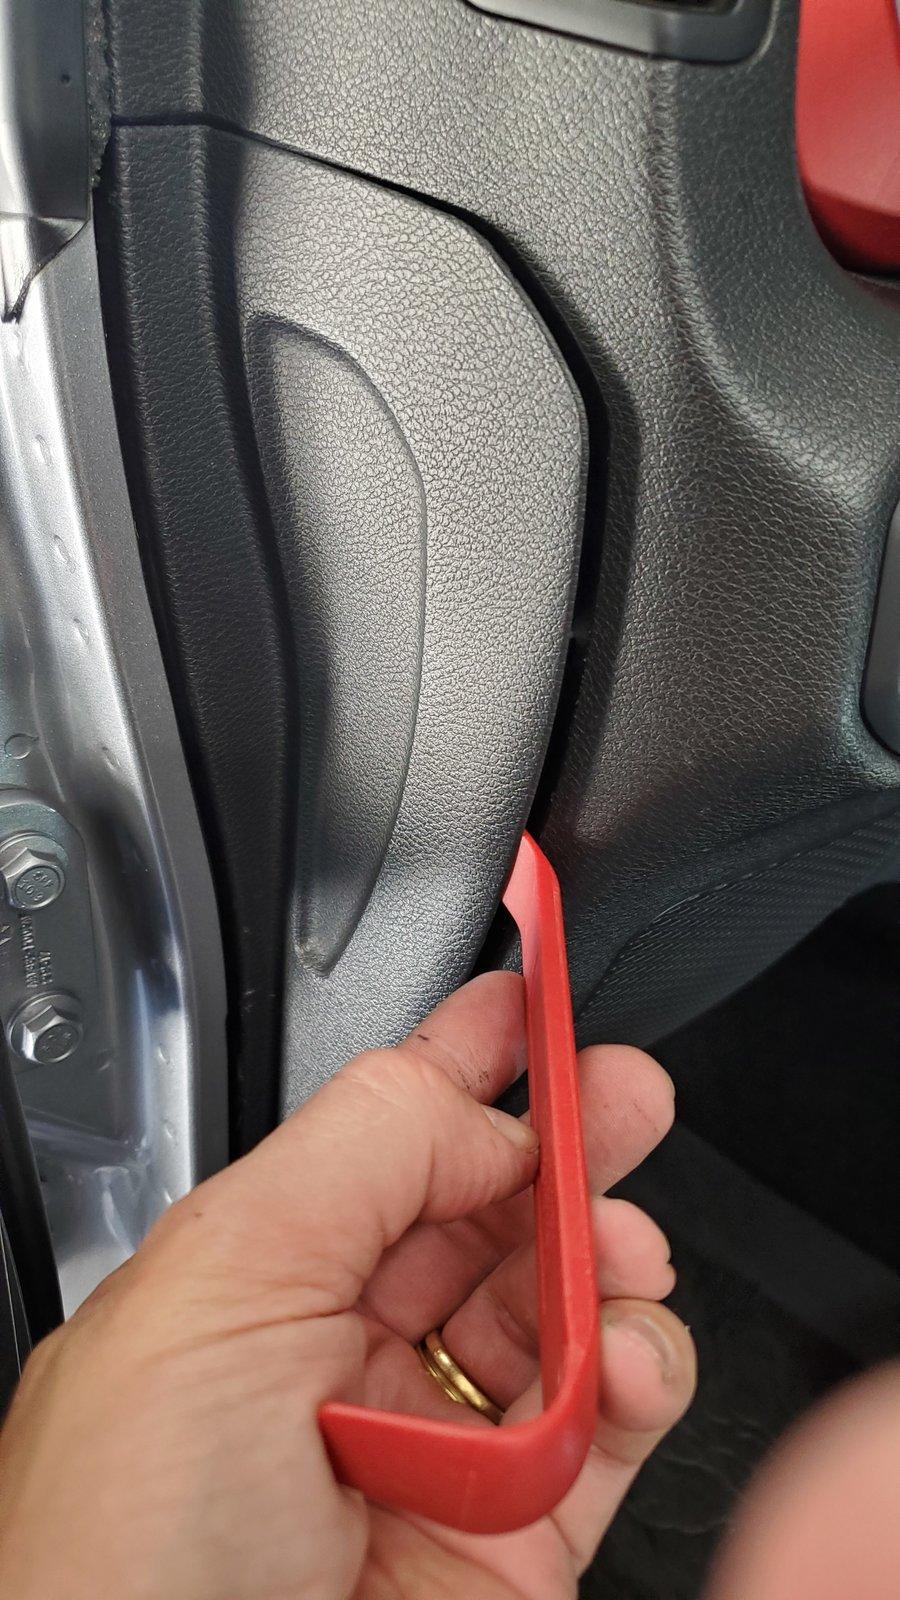
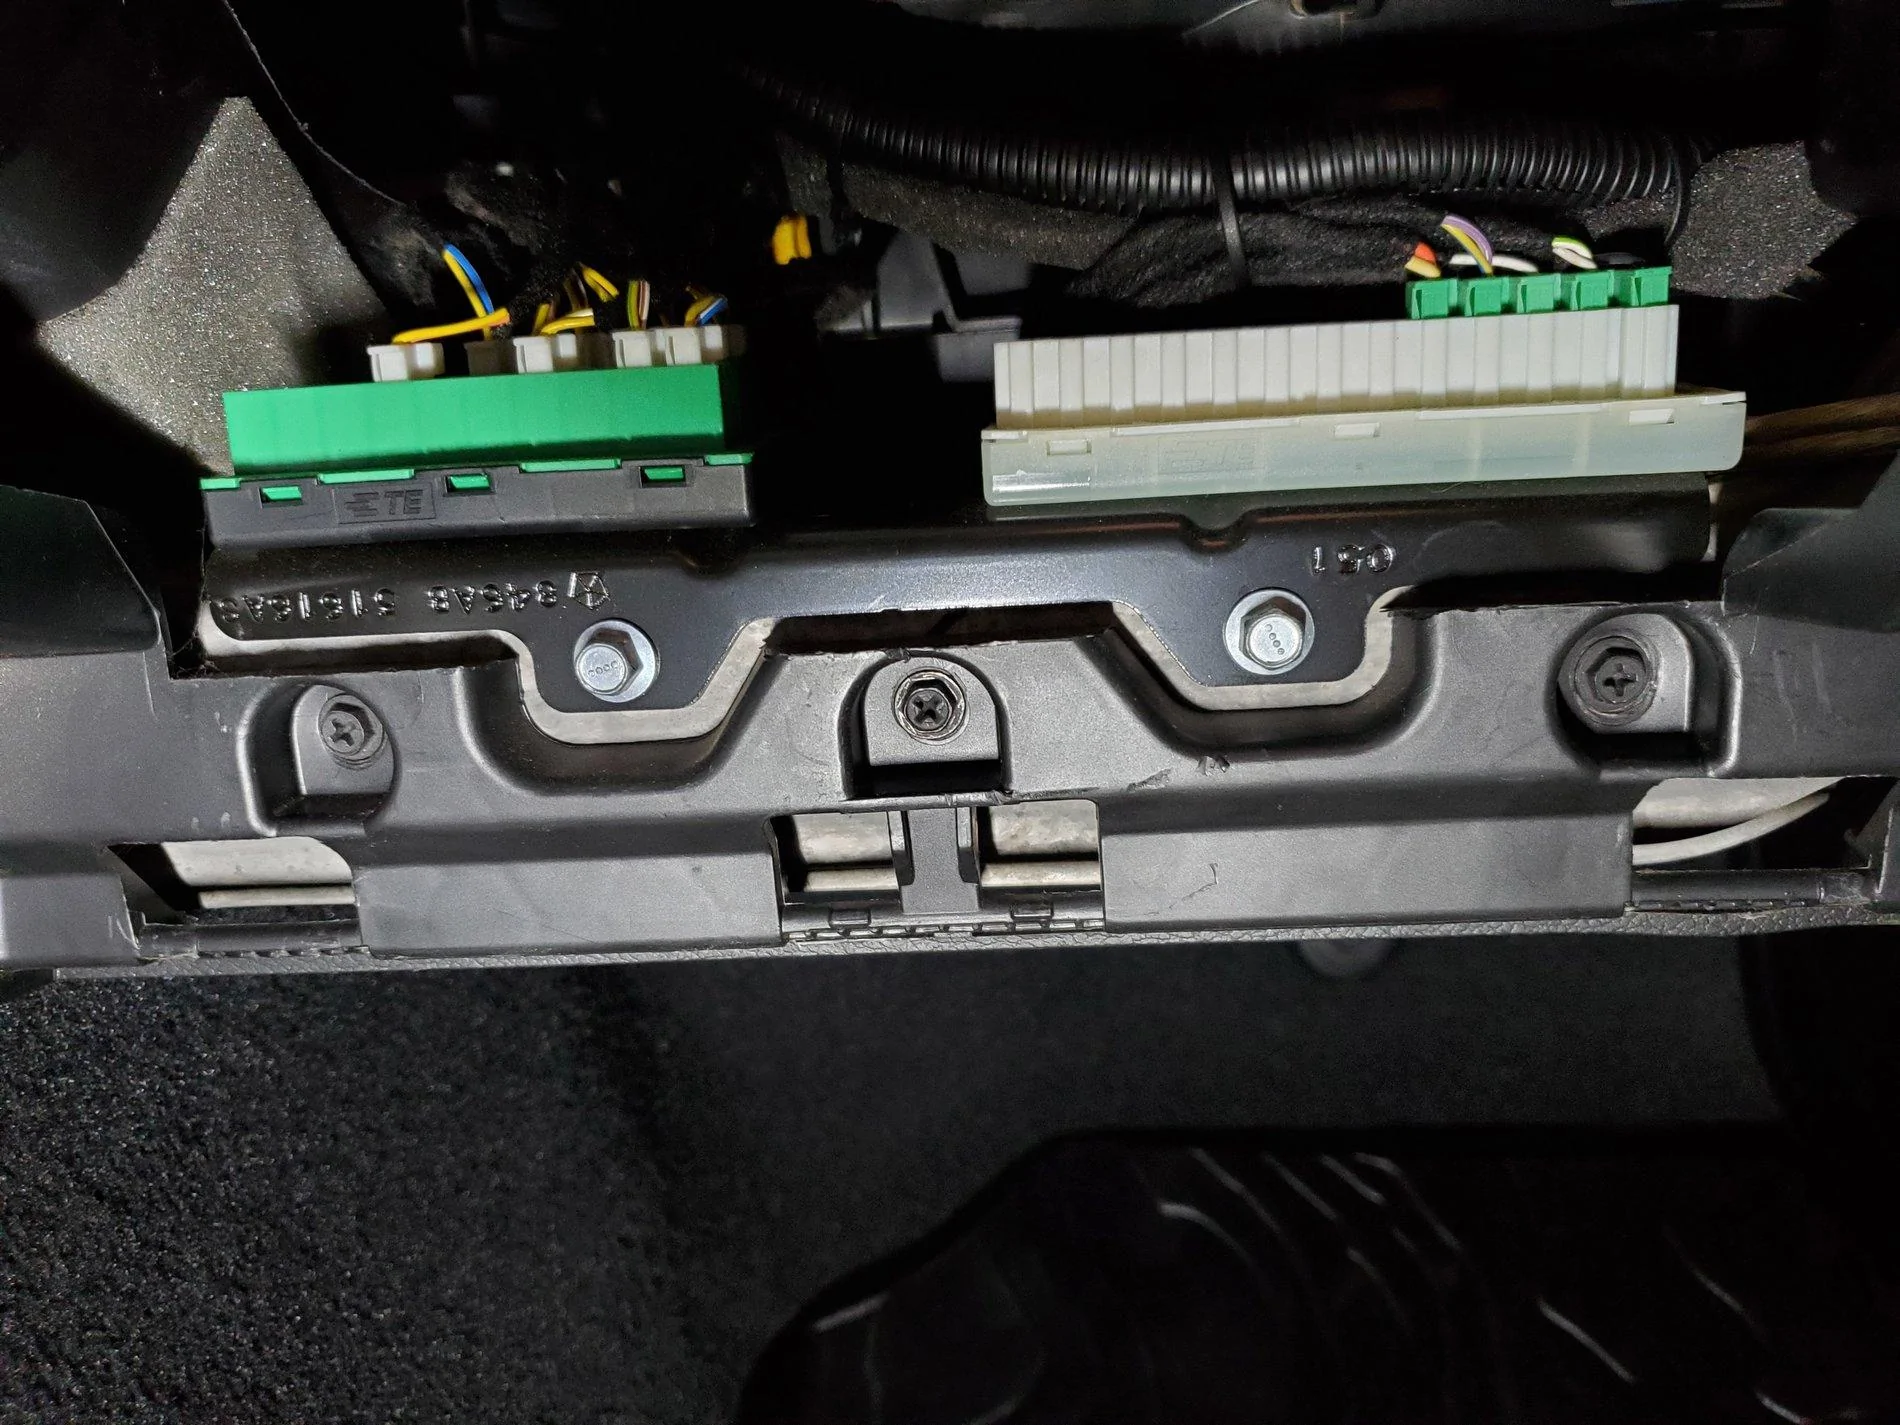
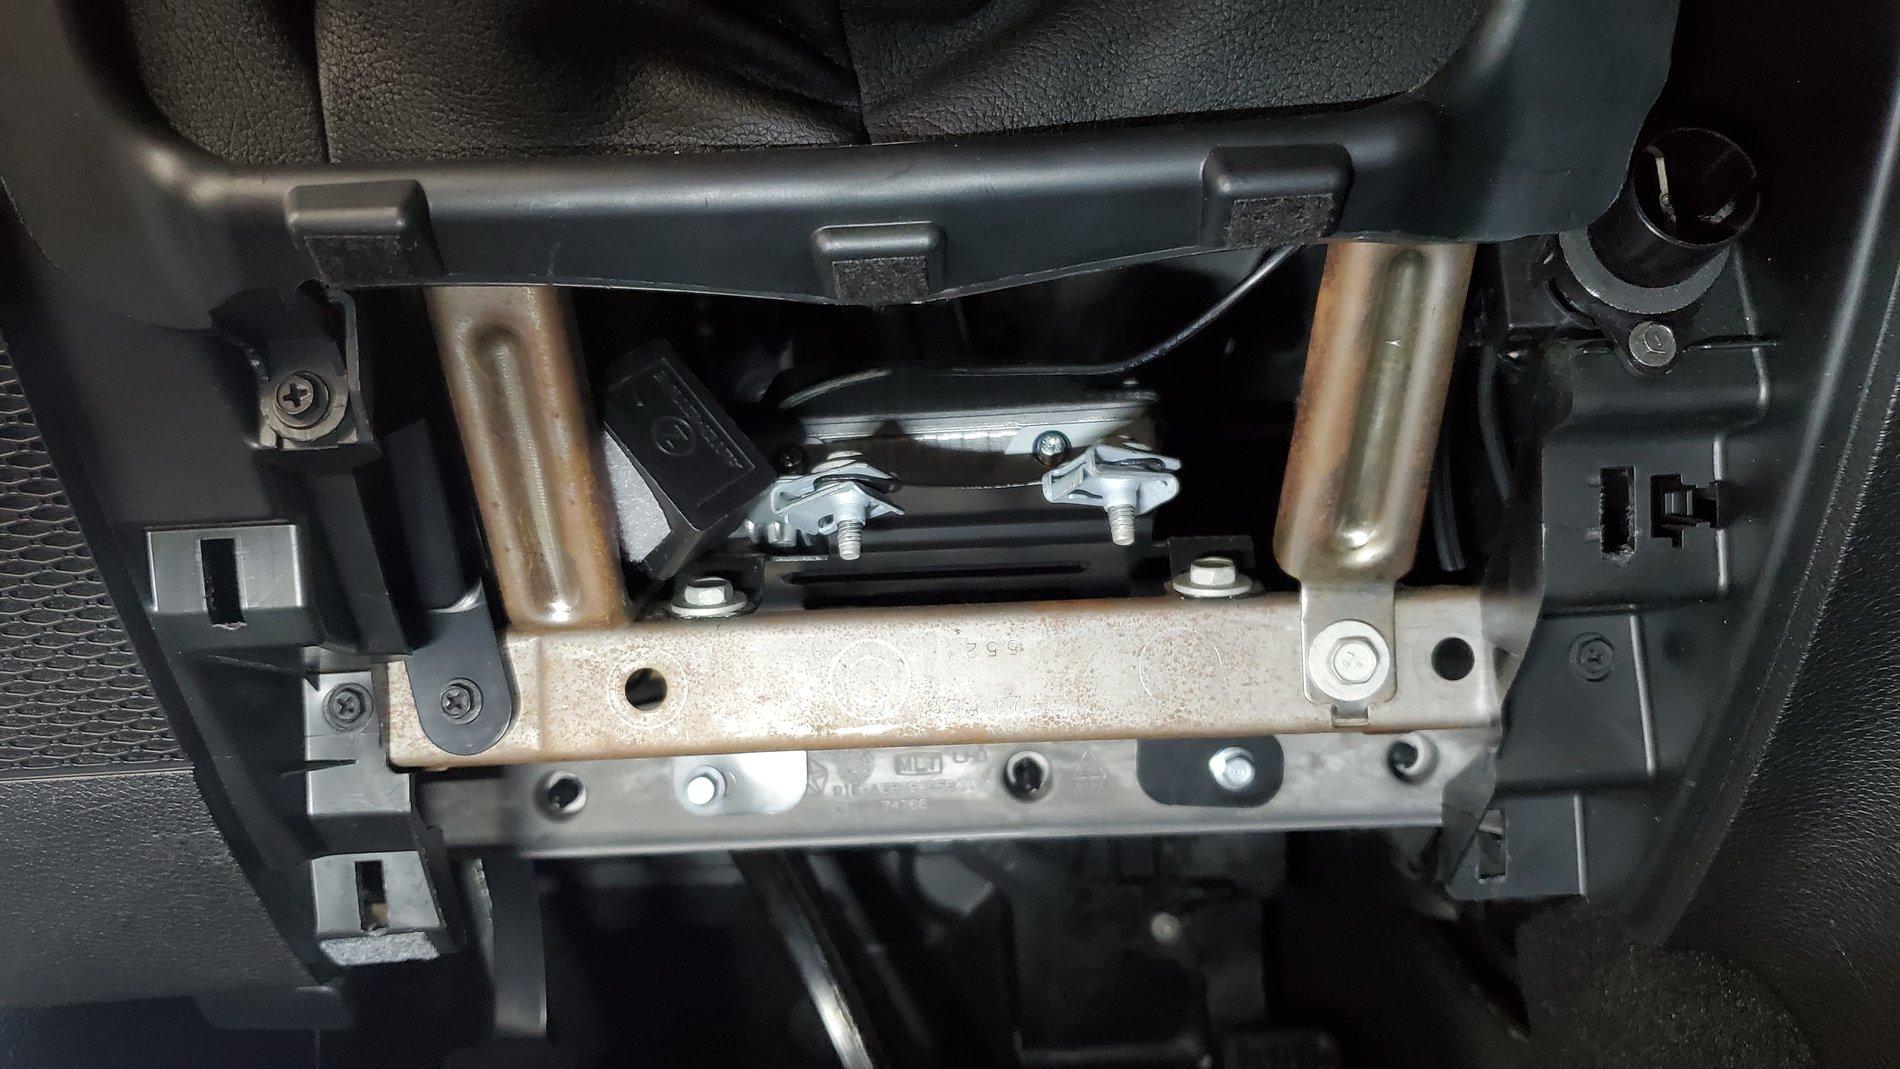
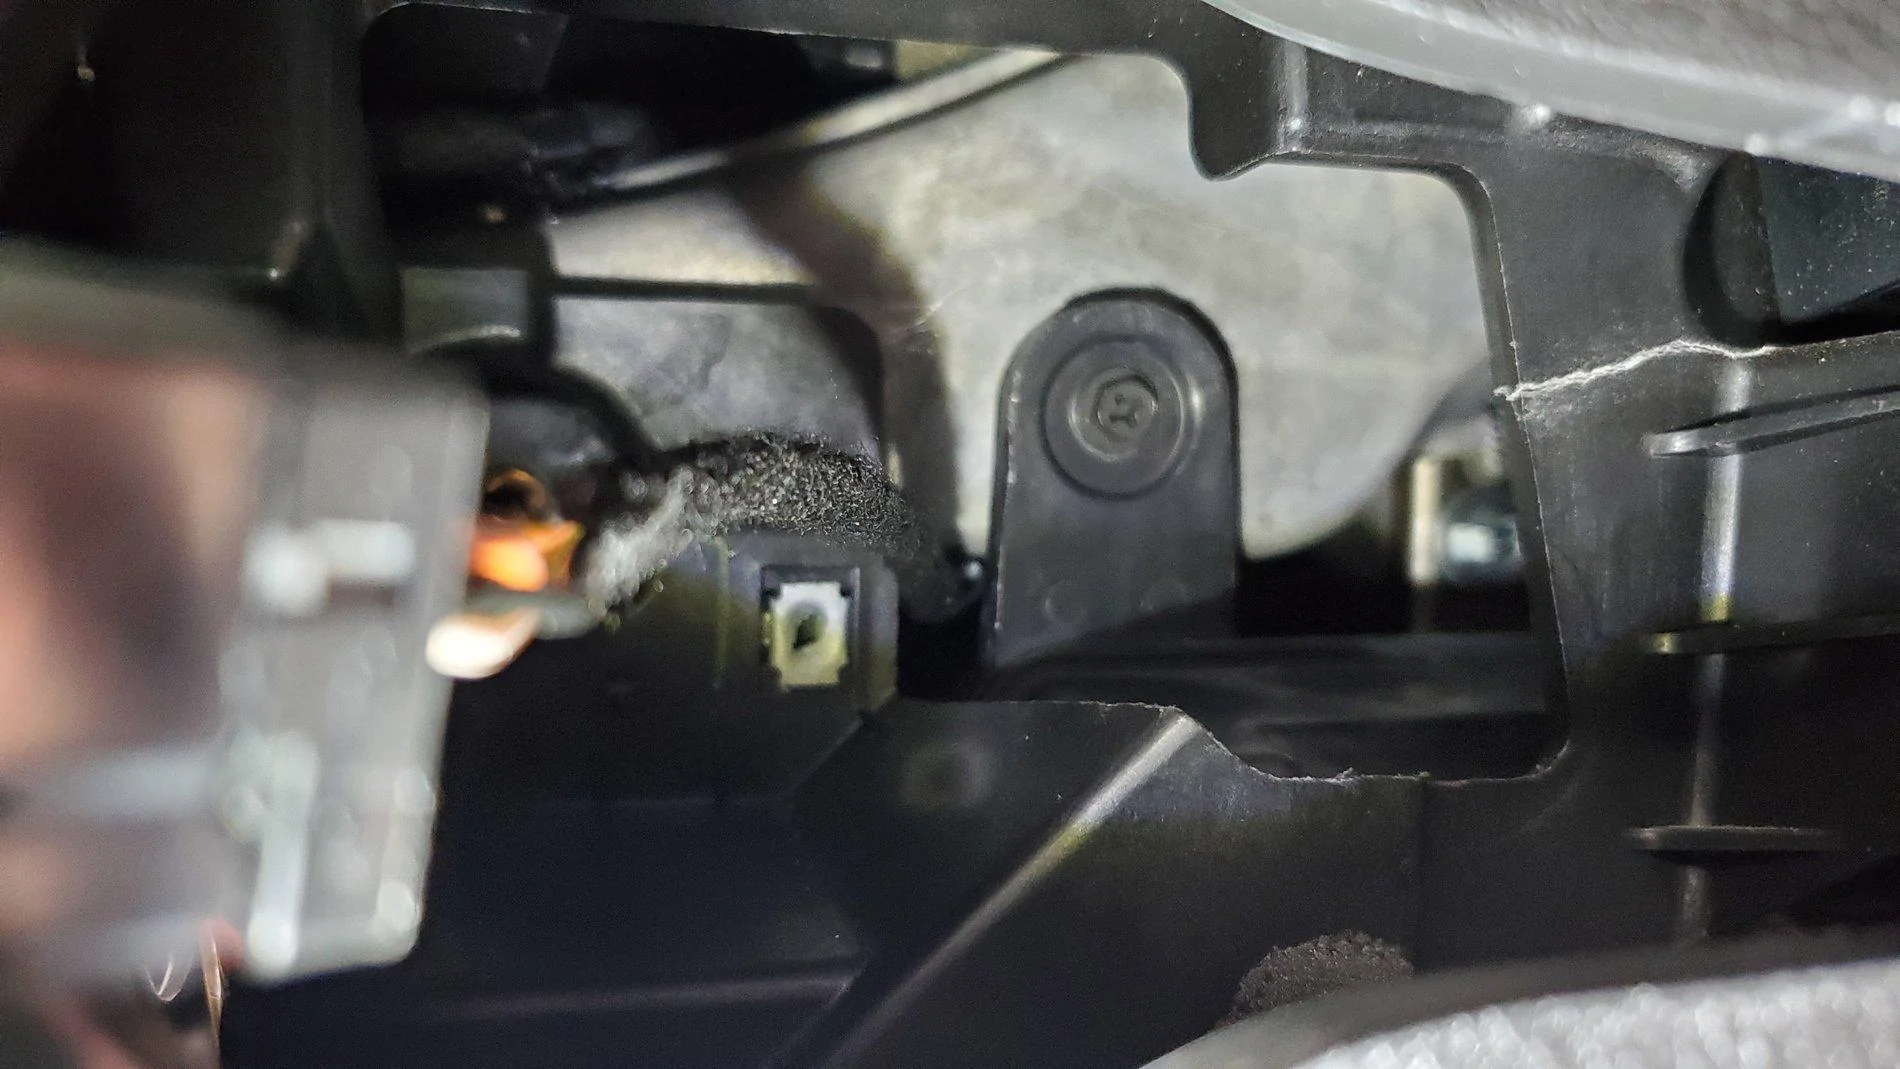
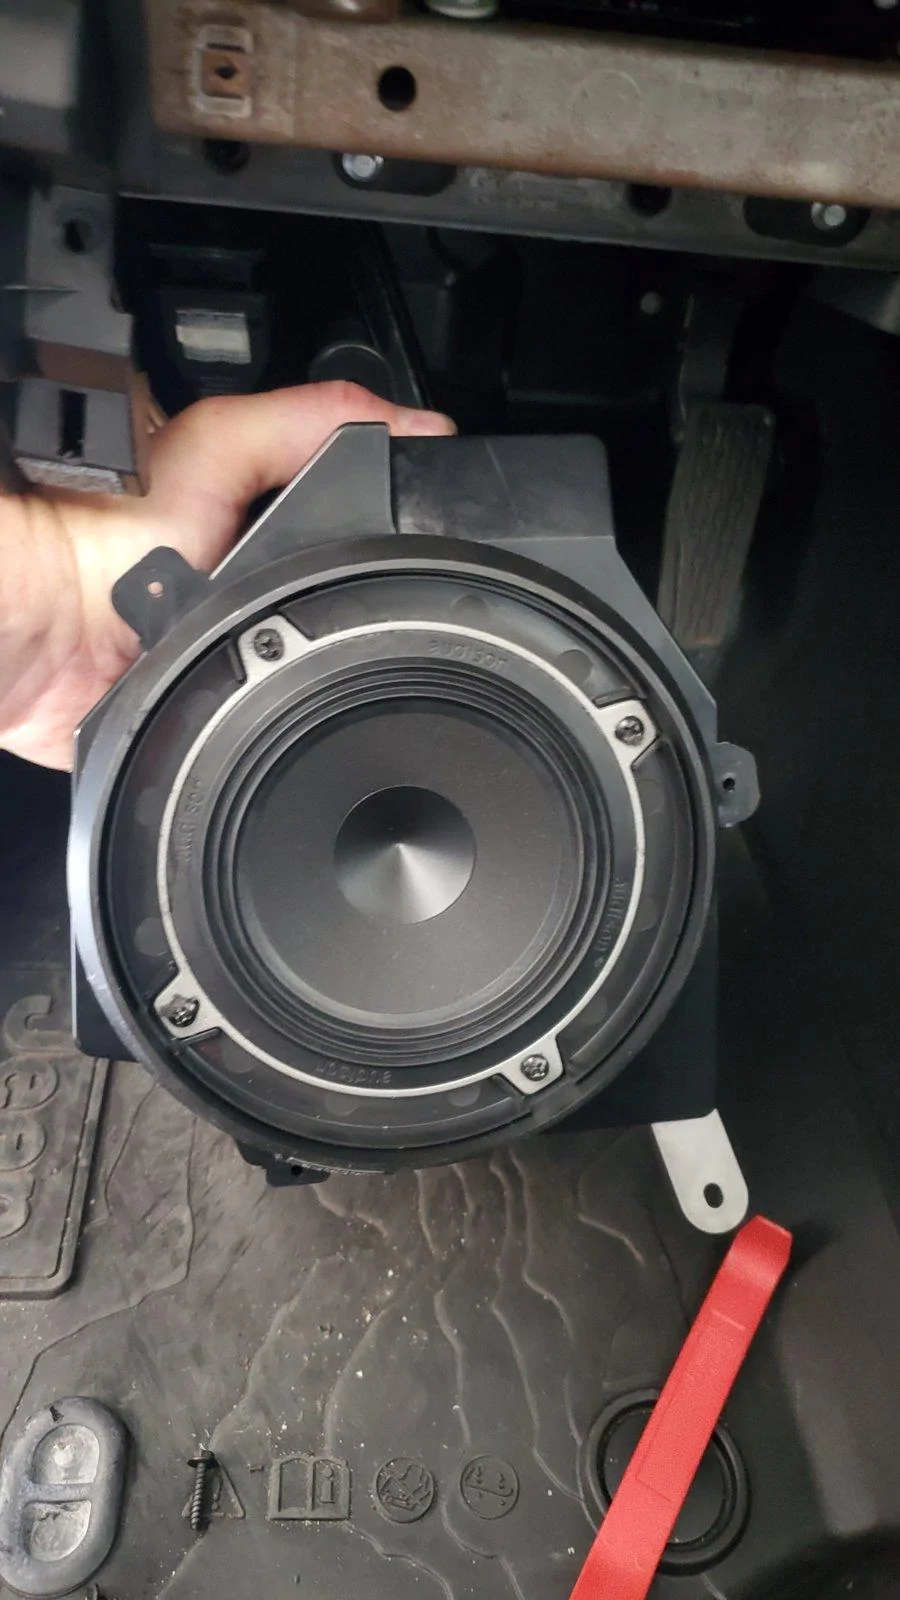
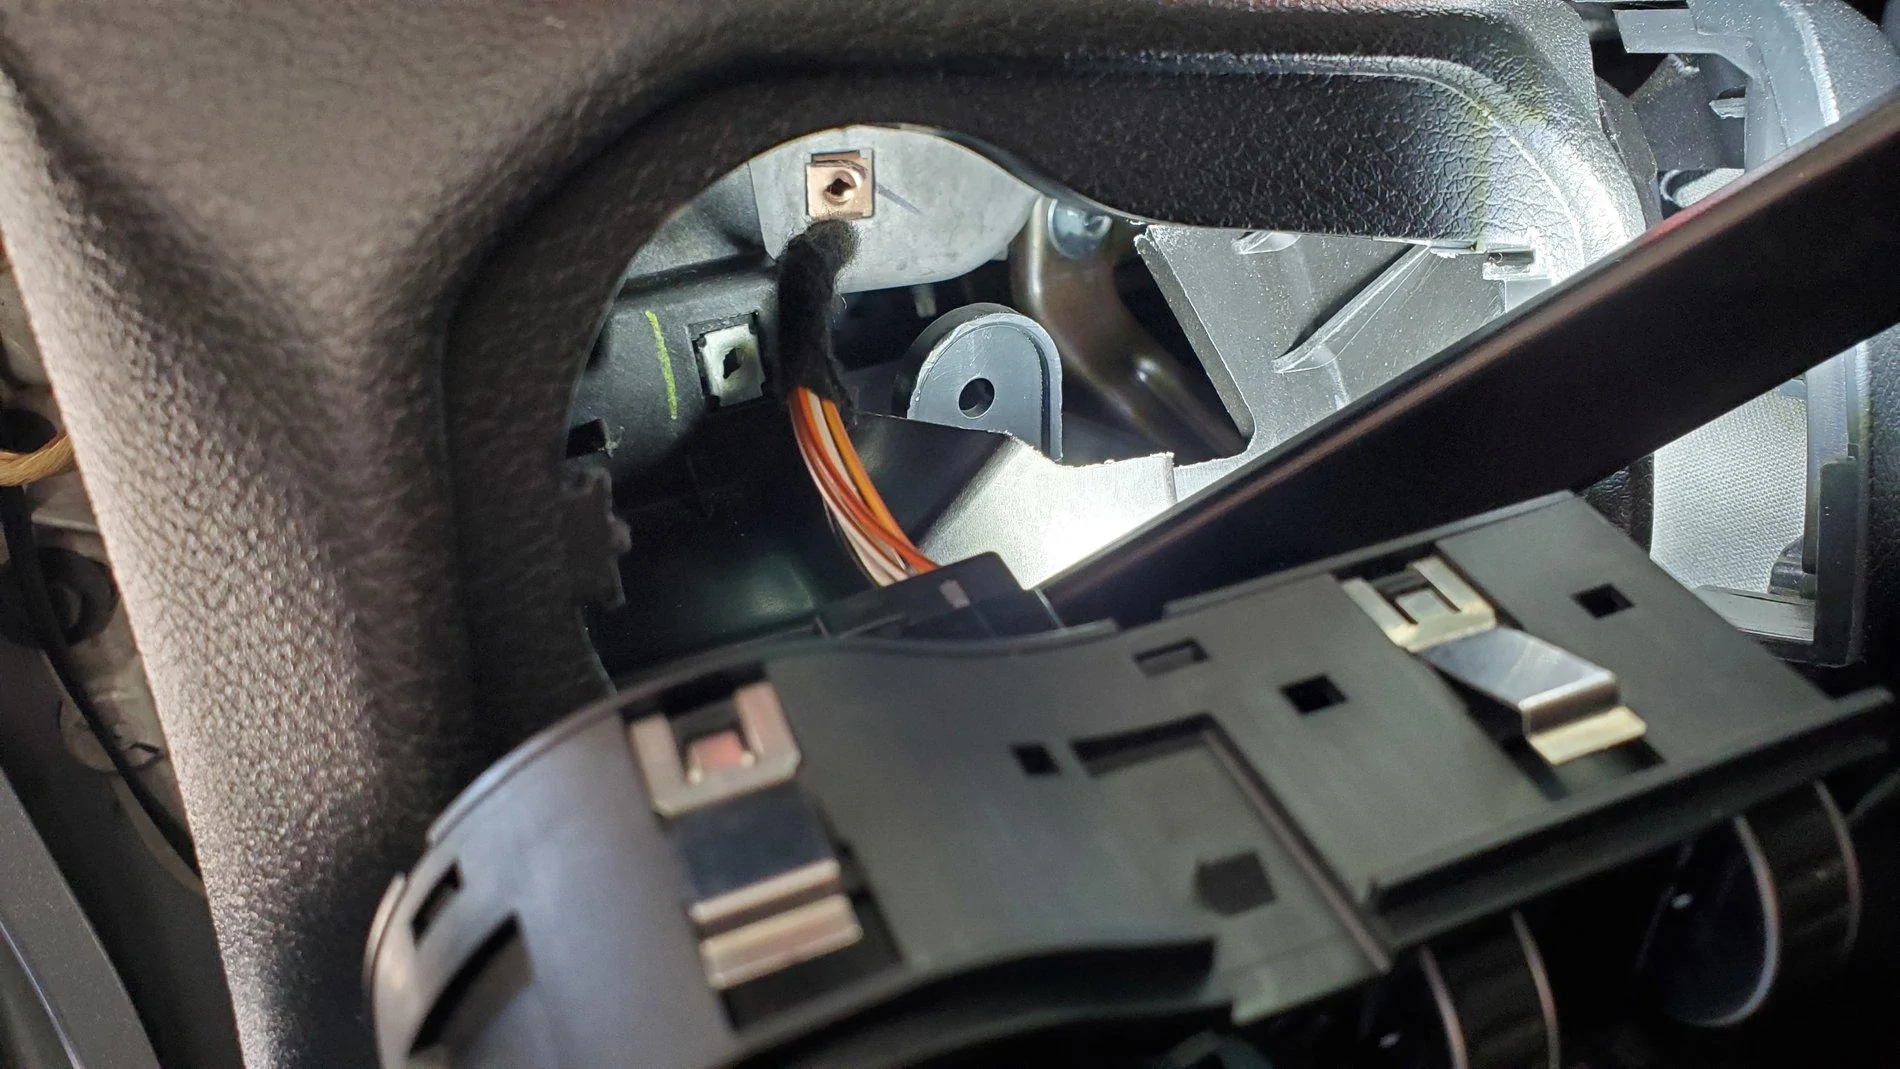
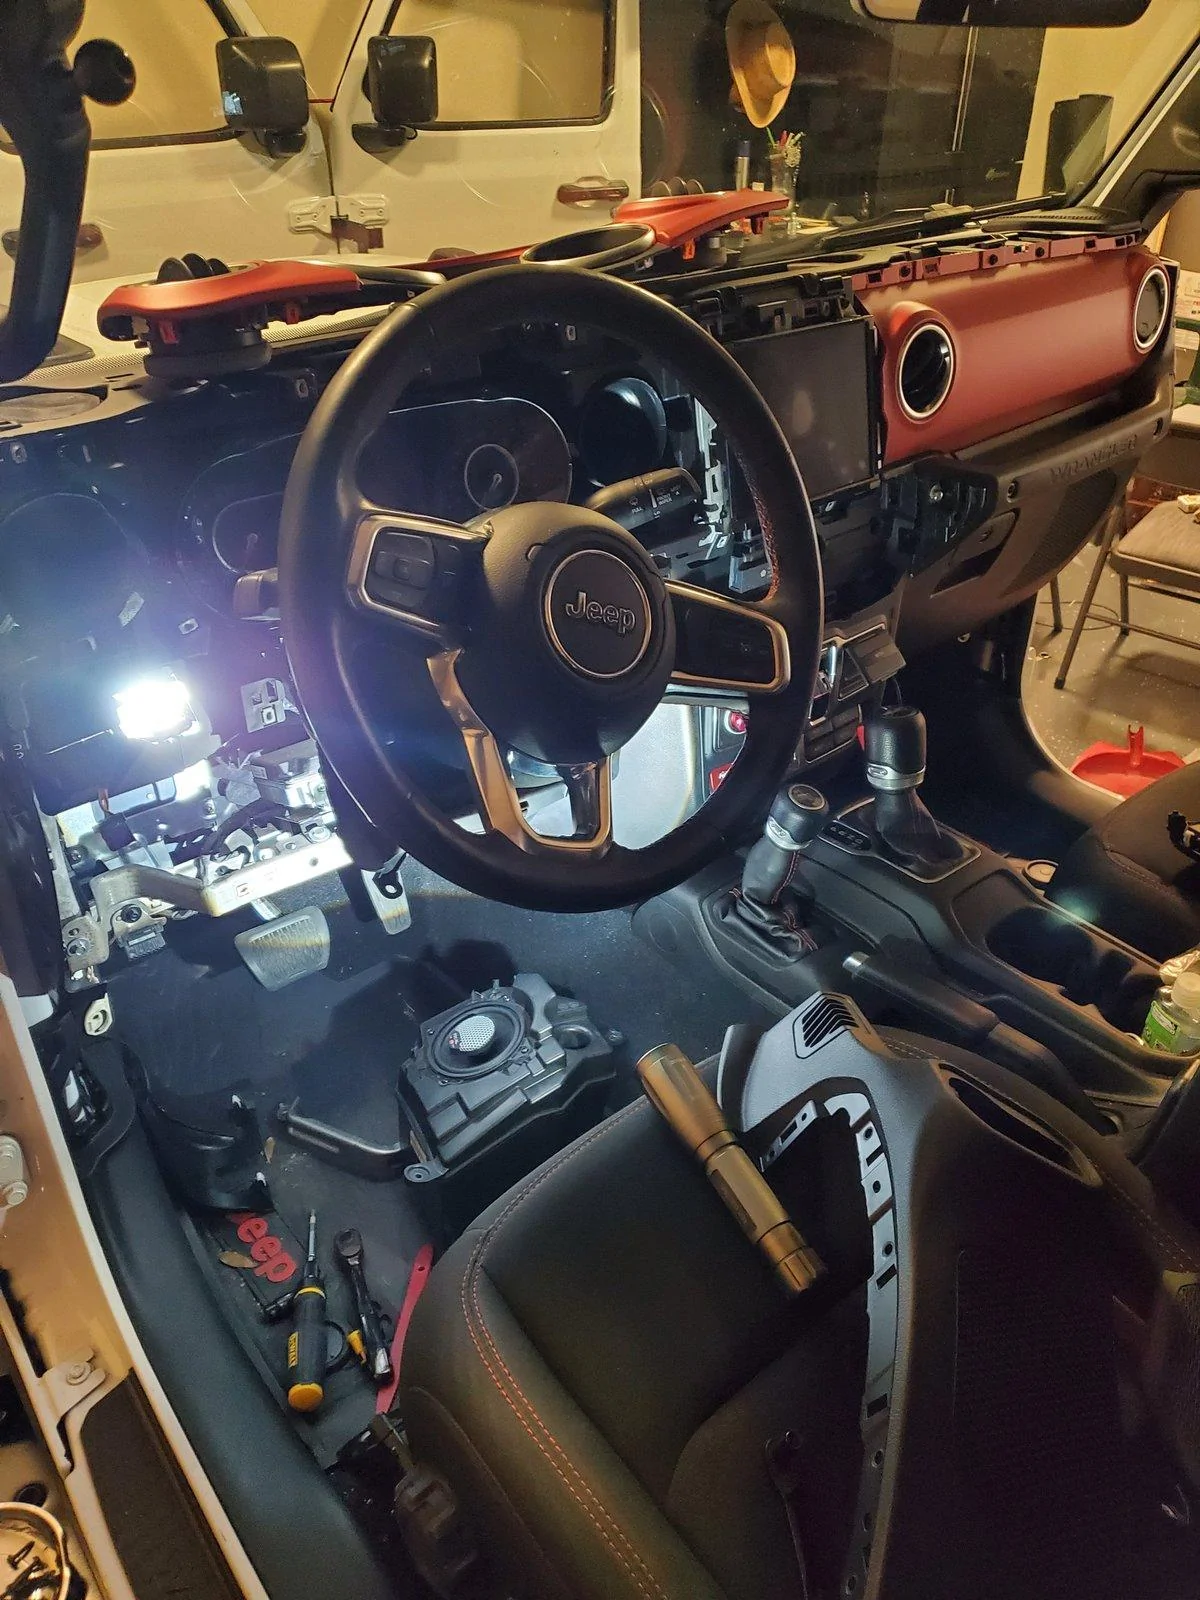
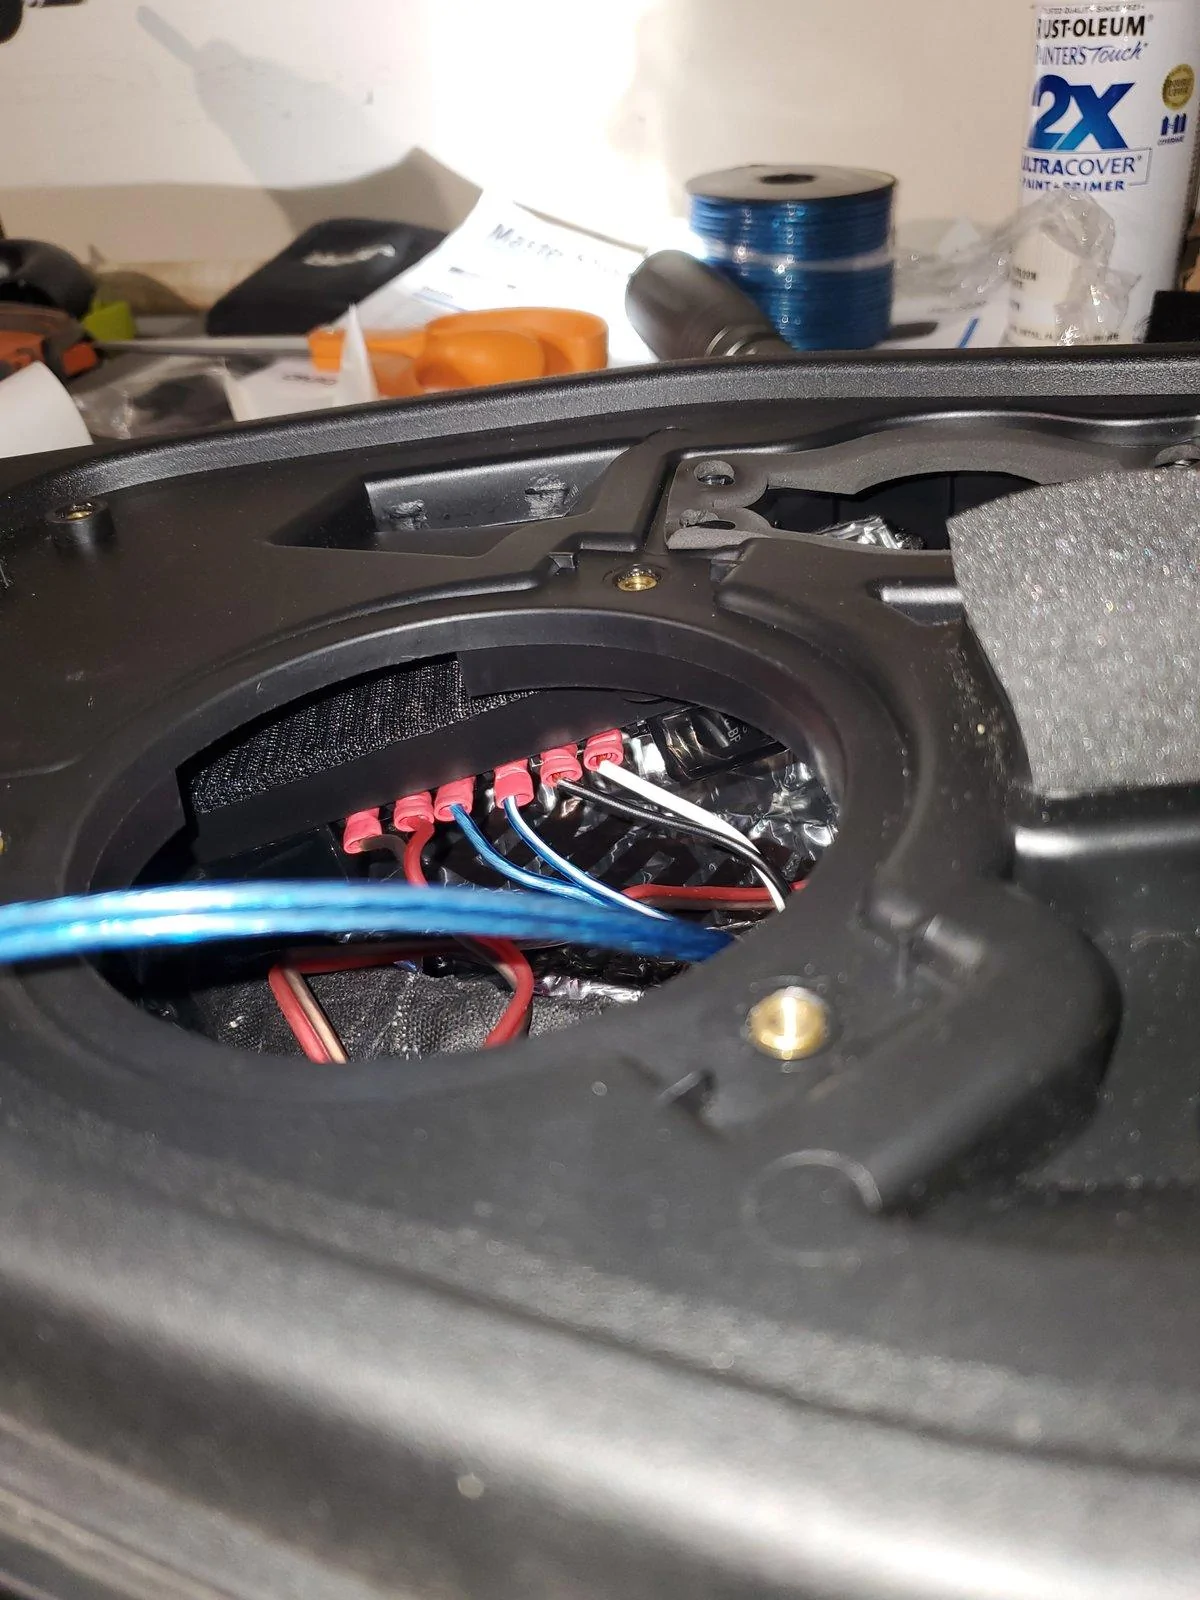
So I wired my dash speakers in series with my passenger knee panel. Tapped the wires and ran them up the dash, under the top dash panel. Worked like a charm and I’m all up and running! A million thanks to Sting N.C. and everyone else in this thread who made it super informative. I learned a ton. This install was extremely taxing...I’m gonna go bump some tunes and recover!
Sponsored


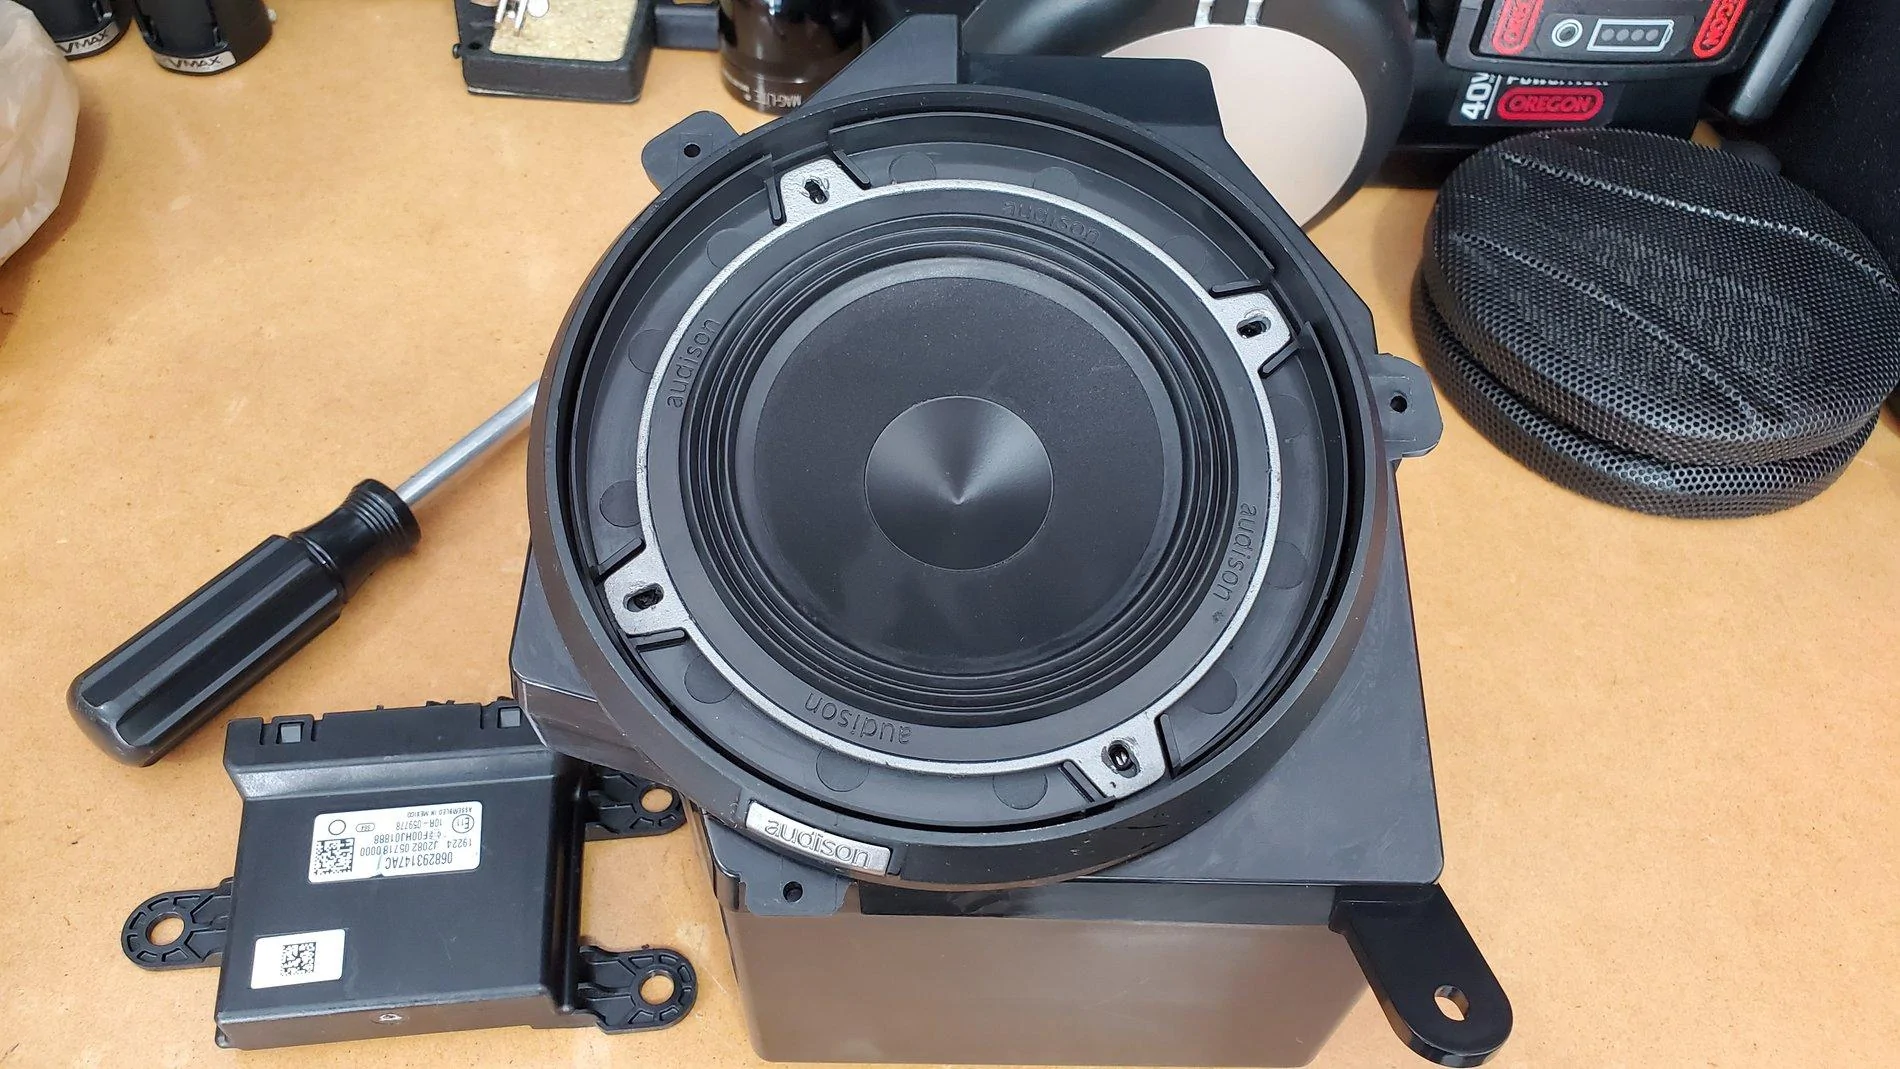
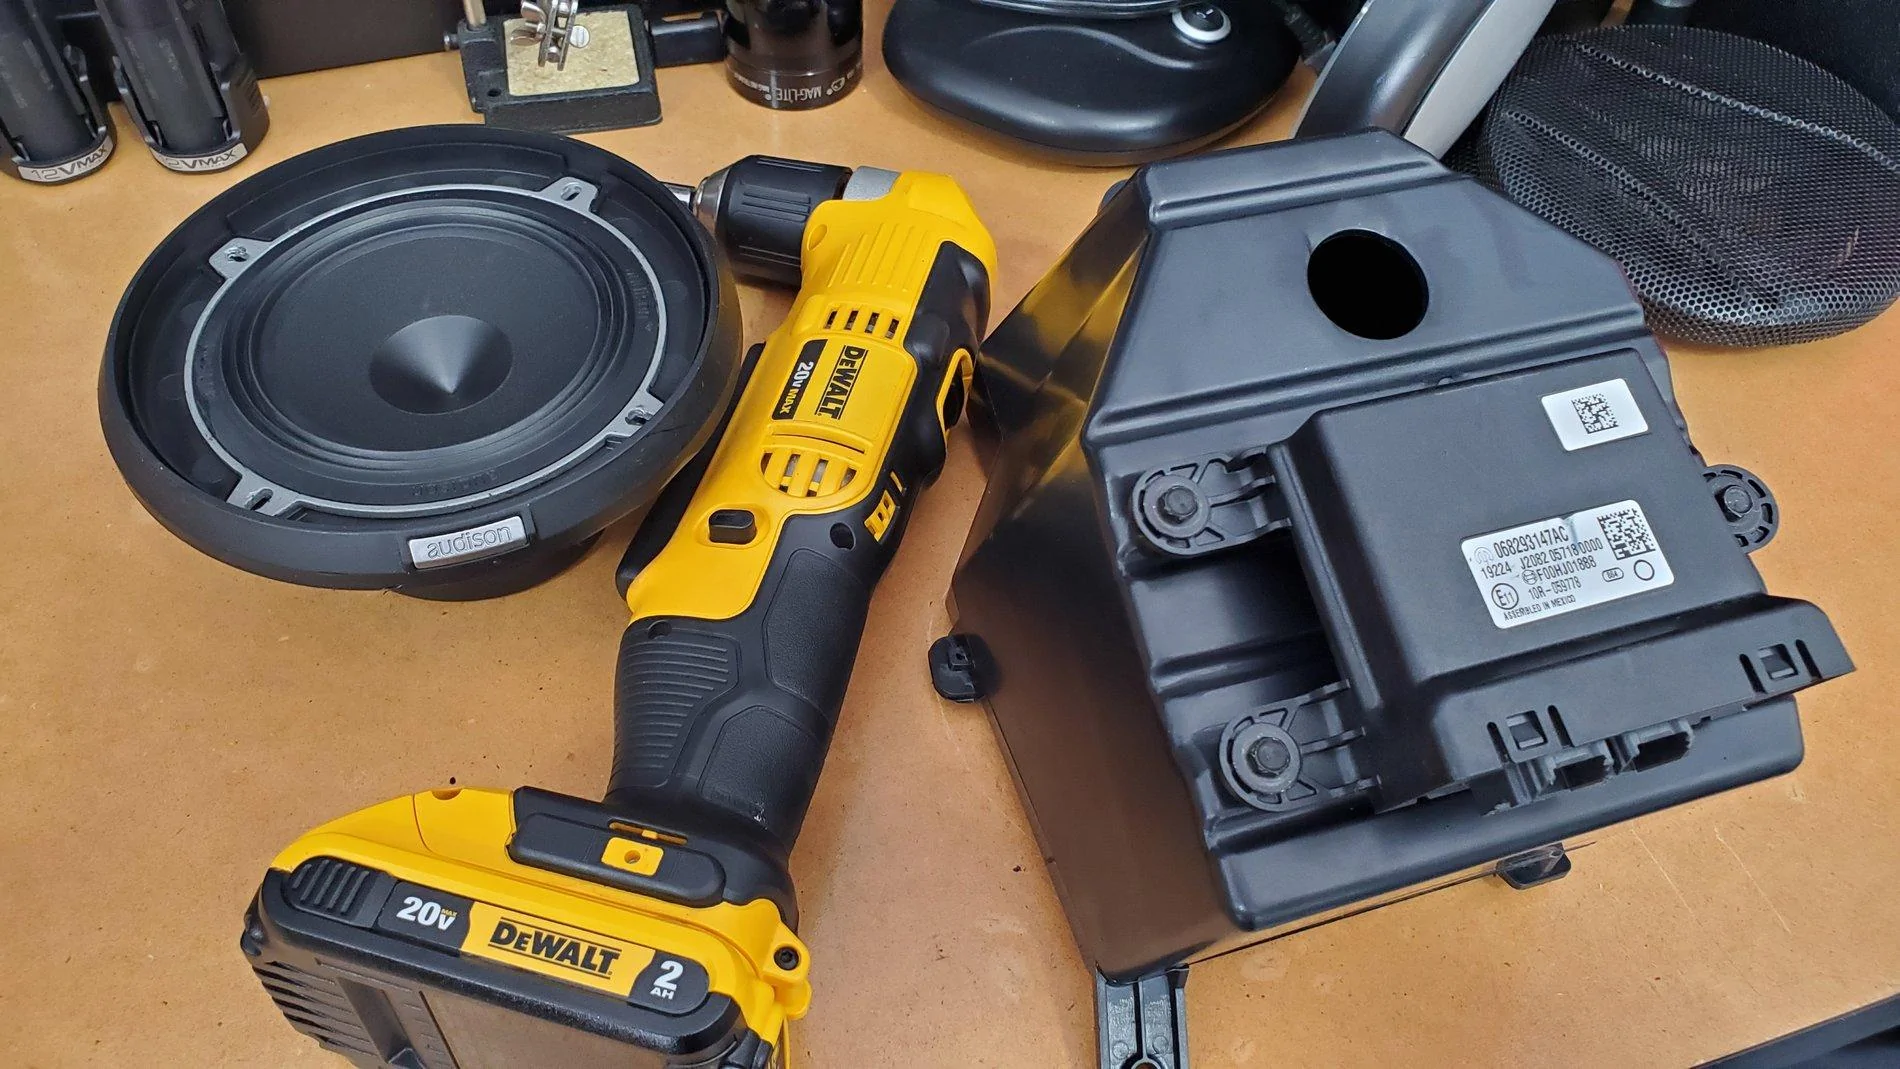
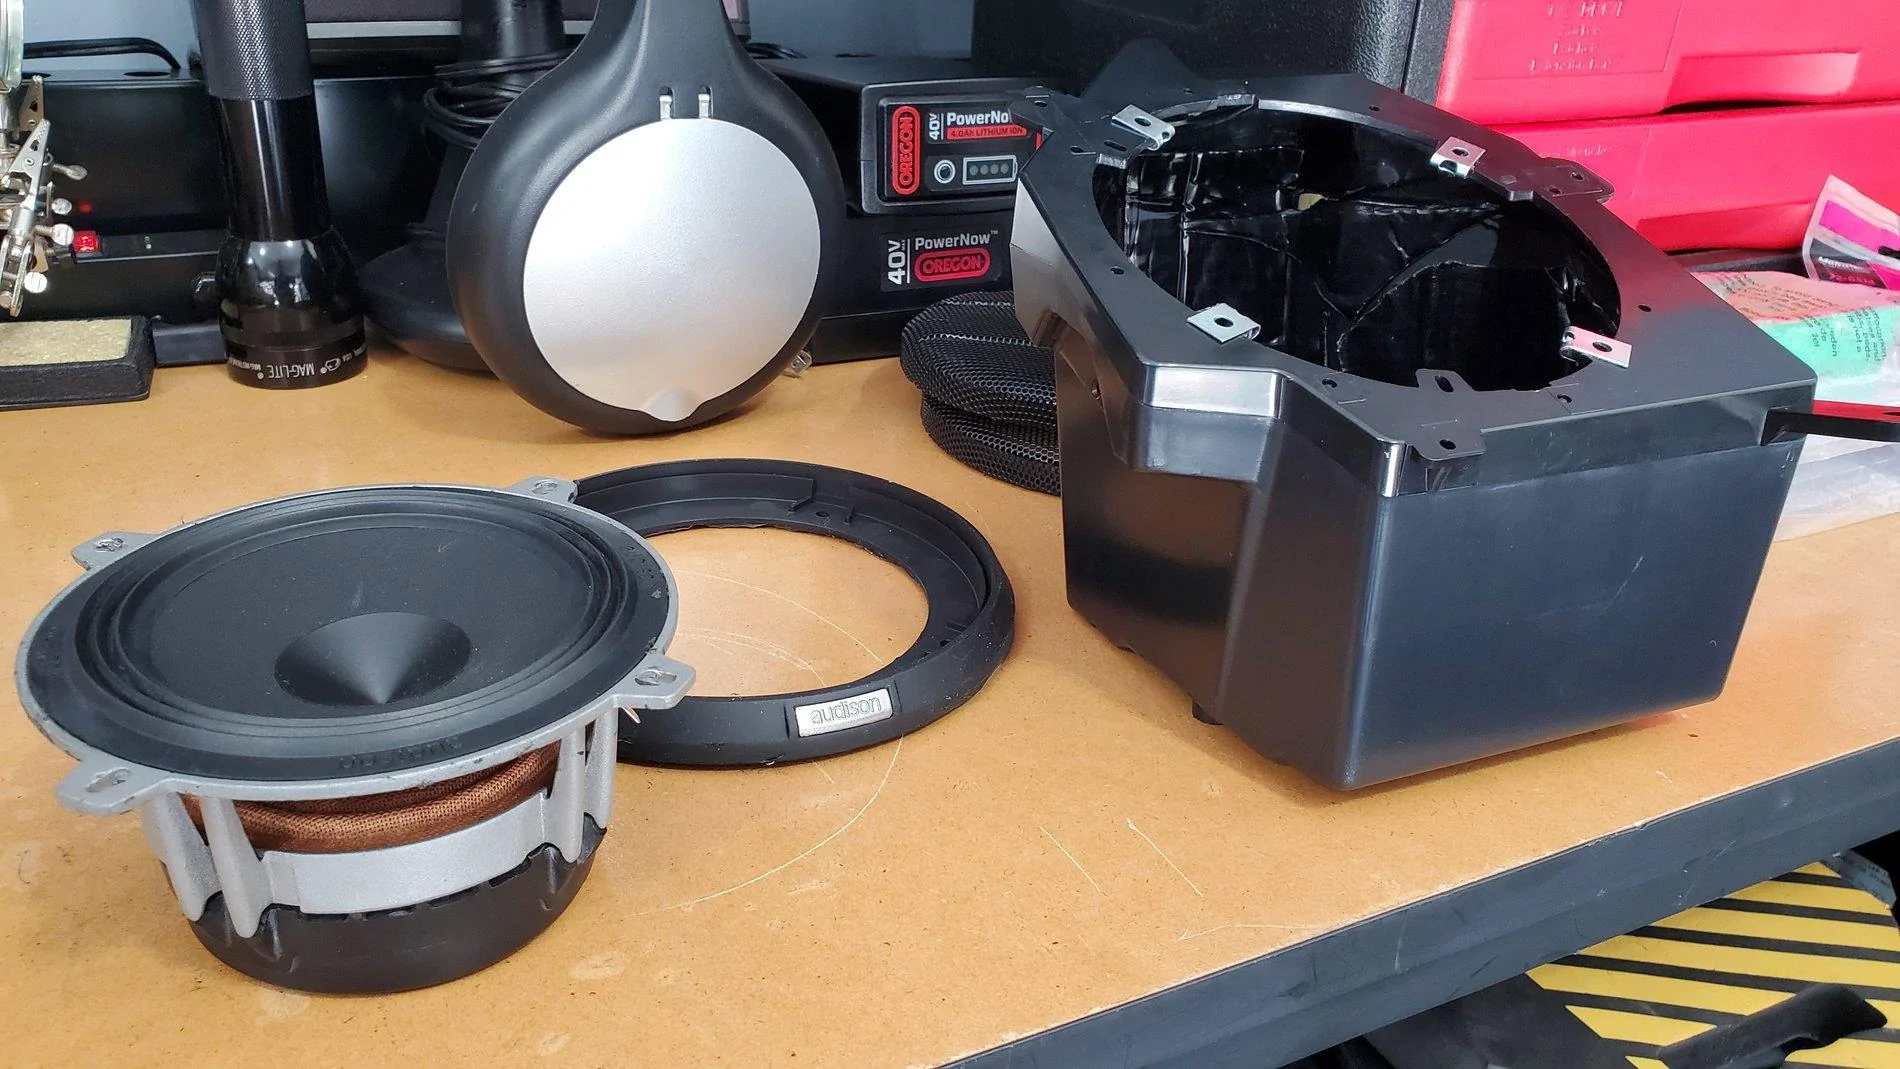
 I added the knee panal speakers Focal ICU 100 using the provided Harness and the Focal ES 100 using the crossovers provided in the soundbar taping into the main speaker line in to the crossovers. And a total disappointment very low sound. So I contacted Crutchfield to try to figure it out I was told that my factory Amp is not strong enough, 2 ohm versus 4 ohm, something like that. It sounds like they might be directing me wrong. Help, is it something that I can do or is it not possible with the factory 8.4. I see a lot of people changing their speakers, I don't see why it didn't not work. Do I have to change them to something else. This is kind of a basic swap I thought I am not doing anything like what some of you guys are doing. Please someone can direct me or give advice.
  if need I can try to elaborate.

 great guy that the wiaring in the soundbar is all running off 2 wires, so I am guessing it should have been ok to not have to use the tweeter line. I have mine gone through the crossovers with feed from the main speakers in the SB. I'm getting very low volume, when I contacted Crutchfield they said that my new speakers need a stranger Amp.