Sponsored

RK 2.5 X factor install

Martindfletcher

Well-Known Member
First Name
Martin
Joined
Jan 3, 2018
Threads
34
Messages
1,553
Reaction score
1,337
Location
San Diego
Vehicle(s)
Ducati 1299s, 2018 JLUR
Now that's funny, I actually thought that was what that hole was for.
The instructions don't jive with my kit, but when I saw the hole there I thought, well, that's the spot.
:)
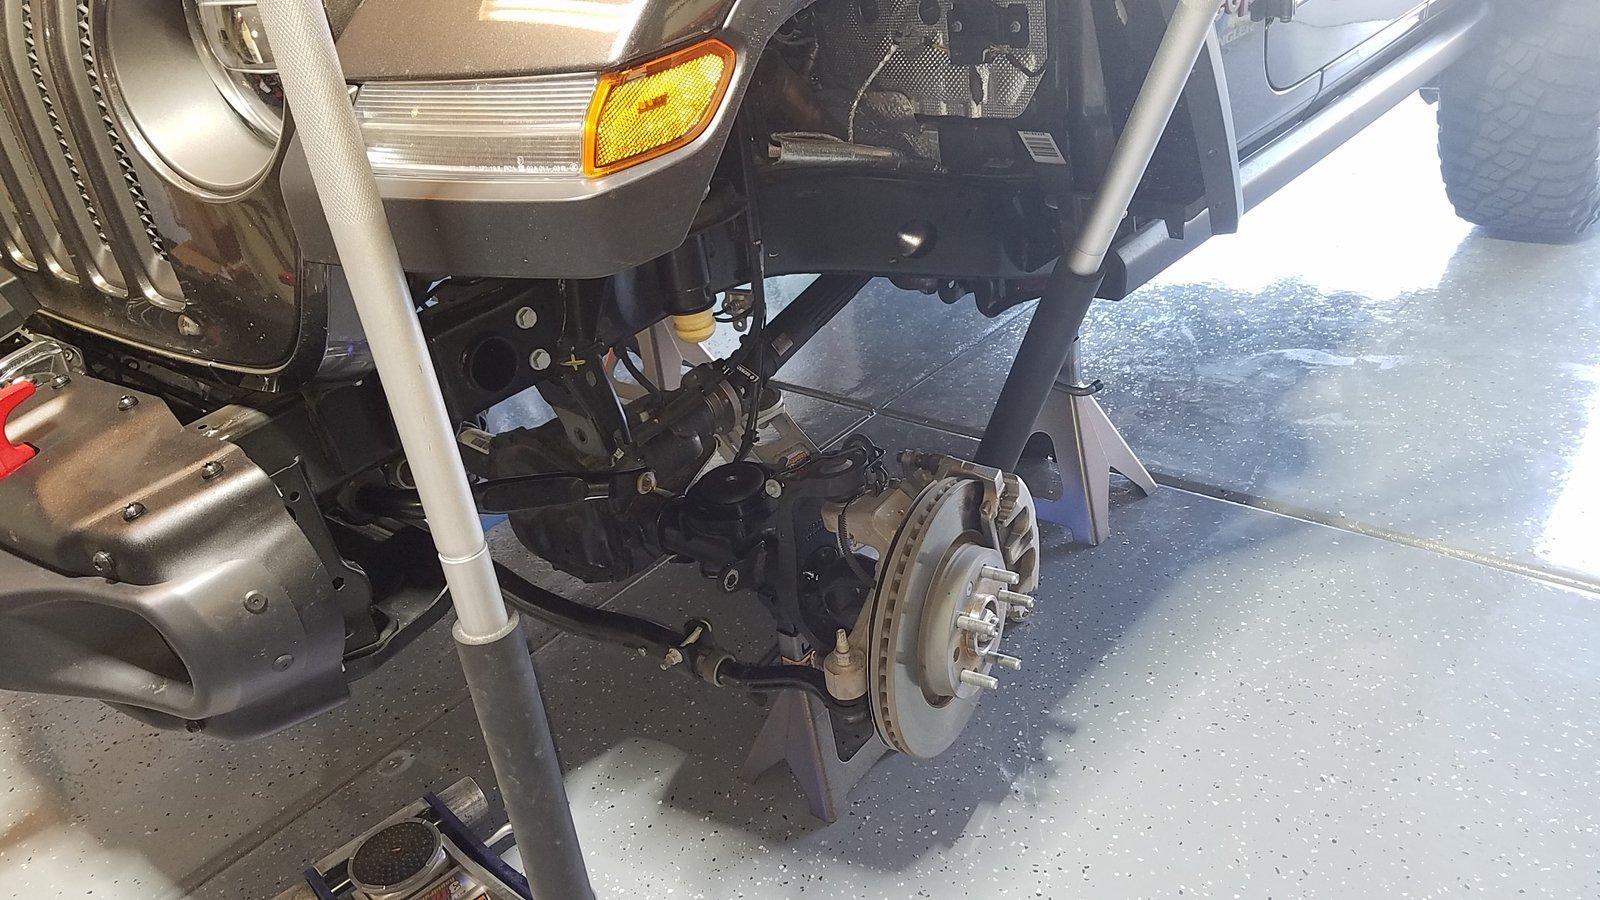
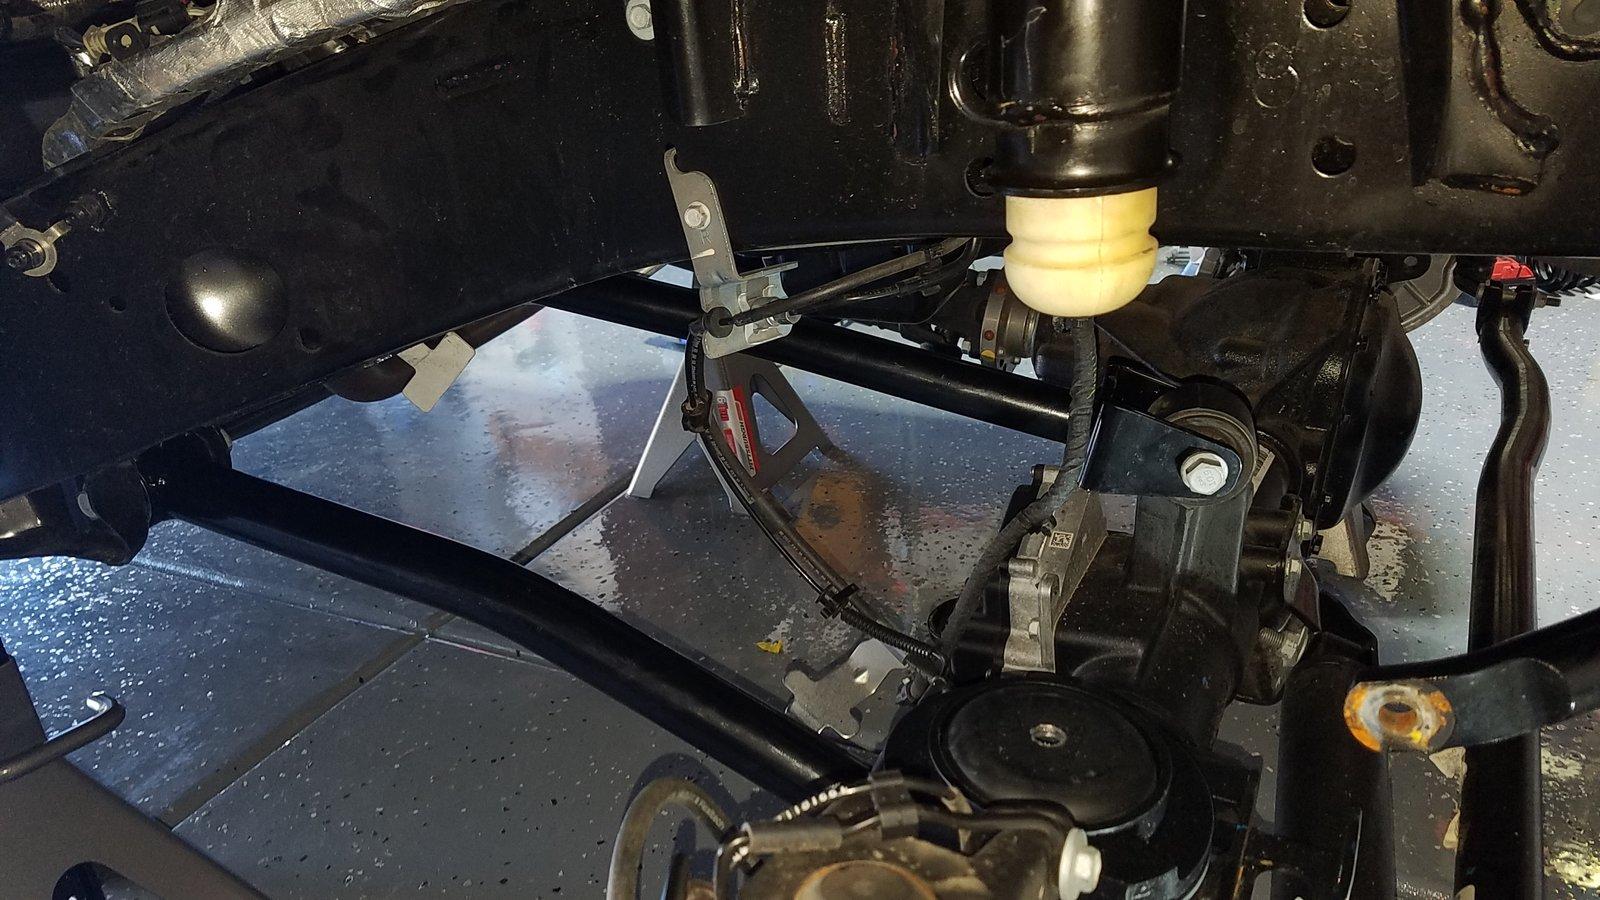
My instructions said to drill a hole I think, but I had one of the first kits.
Sponsored


travelboysteve

Well-Known Member
First Name
Steve
Joined
Feb 4, 2018
Threads
4
Messages
173
Reaction score
146
Location
Cali
Vehicle(s)
Escape, Fusion, ProMaster Van, FR3 MH
For anyone else reading this, the cutting of the lower control arm bracket is totally optional. I have my arms installed with the zerk fittings pointing DOWN and I will replace the zerk with a plug until I need to maintain them. I have RK's long arm on my two door JK that has been absolutely smoked on the trails and have never broken a zerk off with them facing down. That Jeep is on one tons and 40s to give you guys an idea...

The coil rates are perfect for the Jl and I think you'll be very happy with the ride and handling once it is all together.

Before you start disassembling anything, you can use a couple of pairs of Vice Grips to pry open the clamp/bracket that holds the front brake lines to the arm. This will free them up and make that part way easier. It'll be damn near impossible to hold the bracket and get enough force to pry it open once its off the control arm. This is detailed in the instructions, but should really be one of the DO THIS FIRST steps. :)

Feel free to ask me if you have any questions or concerns about anything. I have a 2.5 X-Factor on my JLUR.

Marcus

Yeah cheese and rice, I tried prying them off and damn near stuck a screwdriver through my hand.
Then I used vise grips, WAY easier.
I also did not use the 8 inch length on the sway bar links, my sway bar was WAY up in the air at 8".
I dropped it about an inch and while it's not at 90* the sway bar angle is acceptable.
It looked like too much side to side and it would smack the frame at 8"

As far as drill out the control arm bracket, I opted to NOT compromise the structural integrity of the bracket and pointed them down as well.
They are pretty well protected up inside, and if I feel like I'm going through some really pointy rocks, well, I do own a drill and tap, so no worries I guess.
 
Last edited:

travelboysteve

Well-Known Member
First Name
Steve
Joined
Feb 4, 2018
Threads
4
Messages
173
Reaction score
146
Location
Cali
Vehicle(s)
Escape, Fusion, ProMaster Van, FR3 MH
Here's a couple of before / after lift on the front with the X-Factor, (waiting on shocks)
No particular order.
The OP has a great lead in to this.
I set my front caster to about 5.5*, I thought it was less, but I just went and checked it on the ground.
So, 5.5ish* is front caster.
I drove it after I did the fronts with no shocks on it. Just around the neighborhood to settle it in after I adjusted the steering wheel which was out by just a bit, >1/4 turn.
Damn it was bouncy. :)

And then a few pics as I meandered around the garage this weekend.
Still a little more to do, but will upload more when done.
So far, really like the kit, really easy to install all things being equal....

Looks like I got about 4.5+" total with lift / 35" KM3 tires.
Measures 44.5" at front wheel hub to lower lip of front fender for those that are wondering.

I still have some dialing in to do, but so far, loving the lift, quality stuff.
Would highly recommend getting the full kit over a half kit if your budget dictates it.


Before Lift
Jeep Wrangler JL RK 2.5 X factor install Before lIft Front


After Lift - (Sorry about side marker flash)
Jeep Wrangler JL RK 2.5 X factor install After Lift Front


Jeep Wrangler JL RK 2.5 X factor install 20181020_100216


Jeep Wrangler JL RK 2.5 X factor install 20181020_100227


Jeep Wrangler JL RK 2.5 X factor install 20181020_110515


Jeep Wrangler JL RK 2.5 X factor install 20181022_193410


Jeep Wrangler JL RK 2.5 X factor install 20181022_193428


Jeep Wrangler JL RK 2.5 X factor install 20181022_193448


Jeep Wrangler JL RK 2.5 X factor install After Lift Front2
 
Last edited:

Dank

Active Member
First Name
Dan
Joined
Jun 11, 2018
Threads
2
Messages
29
Reaction score
39
Location
So. Cal
Vehicle(s)
2018 JLUR
Looks great and I think you'll be happy with the higher Caster numbers. The JL have a higher set point on Caster then the JK's and does make a difference (at least on mine).
 

Boothorp

Well-Known Member
Joined
Jun 22, 2018
Threads
28
Messages
152
Reaction score
67
Location
Washington DC
Vehicle(s)
2018 Wrangler JLU Sahara
I just got my X factor upper and lower front control arms installed by a local Jeep shop. I’m pretty sure they were installed incorrectly. The LCAs have the bend (elbow) toward the ground. Shouldn’t it go up for more clearance?
 

Sponsored

bongoray

Well-Known Member
Joined
Jan 21, 2018
Threads
14
Messages
80
Reaction score
96
Location
Buffalo, NY
Website
www.bongorayproductions.com
Vehicle(s)
2018 Jeep Wrangler Rubicon Unlimted
Vehicle Showcase
1
I just got my X factor upper and lower front control arms installed by a local Jeep shop. I’m pretty sure they were installed incorrectly. The LCAs have the bend (elbow) toward the ground. Shouldn’t it go up for more clearance?
Yes, that's correct! The bends should go up.
 

Alacon01

Well-Known Member
First Name
Cody
Joined
Apr 15, 2018
Threads
6
Messages
209
Reaction score
287
Location
Fayetteville
Website
www.instagram.com
Vehicle(s)
2018 JLUR
Vehicle Showcase
1
Also, for those who have Rubicons are you going to use the manual disconnects or the e-discos still? RK says extra articulation could damage the e-disco.
I didn't do full scores because I'm lazy, but on a ramp I get about 2.5"-3.5" more travel by being fully disconnected vs electronic disconnect.
 

BayLLC

New Member
First Name
Bailey
Joined
Apr 14, 2024
Threads
1
Messages
4
Reaction score
2
Location
Valencia
Vehicle(s)
2020 JL Rubicon
This is my first post on here so bear with me but I just installed a 2.5 inch X factor on my 2020 2 door rubicon and hope I can be of some help to anyone looking at lifts. I did the 2.5 X factor lift with some 2.5 fox shocks separately from accutune, savvy inner fenders and a quake fender chop kit. With 3 people with normal garage tools and a basic understanding of everything it took us 3 long days to get it all done.


For prep I ordered a few tools to make sure I was entirely ready to rock. I ordered some trim poppers for the fenders, crows feet (which didn’t work for me), a floor jack, jack stands (4 6 ton stands had me feeling safe the whole time), a large adjustable wrench, a large torque wrench, impact gun, and a set of ratcheting closed end wrenches. Harbor freight was definitely my friend here. Also had a spring compressor on hand which I did not end up using.


For about a week before starting I had read the instructions and watched a couple videos on YouTube. Most helpful was the X factor lift install by bleepinjeep and the [Banned Site] lift install for beginners video. He does a rancho lift in this video but many steps are identical.


I started with the front with the strategy of removing one control arm and replacing that one, one at a time in order to keep the axle as centered as possible. This differs from rock krawlers instructions. The front end was pretty straight forward following the instructions. Drilling the access for the front control arm zerk fitting was surprisingly easy with a hole saw and a normal battery powered drill. We cleaned up the cut with a grinding bit on the dremel hit it with paint and all was good there. We did run into a bit of trouble getting the front track bar lined up. We used the ratchet strap method as well as raising and lowering the axle on the jack and got it into position pretty easily with those steps. The biggest problem we ran into was reaching the jam nut on the front lower control arm once it was mounted. It’s pretty tight in there. I was able to get the large adjustable wrench on it but couldn’t get a real good torque on it. Let alone the astronomical number of more than 200 foot lbs rock krawler recommended. The cheap crows feed for my torque wrench that I ordered from amazon did not fit a single bolt. So I just did as best as I could.


Getting a good torque on these jam nuts plagued me throughout the entire build but after talking to many people. The massive torque value rock krawler wants seems unlikely to be needed except in the case of the upper rears which are adjustable without removing one end. Theoretically the other arms require the removal of one end to be loosened. I did address this more but I’ll get to that in a bit.


After installing my old wheels I spun the jeep around and started on the rear. This too was pretty straight forward. My biggest concern for the rears was dealing with the emergency brake line. I went about this pretty methodically and I was able to avoid the line disconnecting from the center console. First I pulled the emergency break all the way on. Then I removed the top bracket attached to the tub. Then I did one side at a time. Using some vice grips I locked onto the attachment point on the rear break itself. Then I release the emergency brake giving me slack in the line BUT before removing the s hook I put some tape on the line as close as I could to the sleeve it feeds into to prevent it from losing any further tension. Then I removed the S hook and slid a closed end wrench over the hook and down the line which perfectly compressed the one way clip and it popped right through the bracket with ease. Then I was free to reroute the line up and over the cross member with some creativity. Then got this one all the way put back in place before repeating the steps on the other side. There isn’t much mention of it but the bracket should be replaced back up to the tub. This took 2 people for me. Again the rear track bar posed some issues but raising and lowering the axle was enough to get it to fit for me. But I really like the ratchet strap method for the front and was close to pulling that out. I also had a bit of trouble getting the rear uppers lined up. I ended up using 2 tricks for this. First I shortened the track bars knowing that I could adjust them again once mounted and we also moved my jack that was on the differential a bit more toward the axle allowing me to essentially rotate the differential and that got us into place. Getting the upper spring pads in was kind of a pain too because they have a very particular orientation. All of the videos showed a spray on temporary adhesive that I would recommend picking up. We were able to do it by hand and holding in place while jacking the axle up but would not so it this way in the future. After that it was smooth sailing.


I got all the bolts up to spec torque but the jam nuts were a struggle the whole time. I knew I was going to take it to a shop for alignment and for adjustment of the driveline angle on the rear so I was able to speak with them and have them solve my torquing issues there. However they agreed that the recommended torque of greater than 200 was slightly ridiculous.


Prior to my alignment the jeep drove pretty good slight rightward turn but shockingly straight. After alignment I’ve put about 200 miles on it now and things feel great. I did instal a fox 2.5 steering stabilizer that I’m really happy with at 8 clicks of compression.


After it was all said and done I’m really happy with the lift and really happy we did it ourselves. I feel like I learned a lot about my jeep, the adjustability of my lift, and feel better that if something happens in the future I’ll have a much better grasp on how to fix it/ get back home from the trail. Plus how often do you get to have your dad and grandpa, 3 generations of knowledge working on a project. Extremely grateful for their help.


For the rest of my build I did savvy inner fenders which were tough to get into place and required a lot of test fitments and dremel cutting. The quake fender chop was super easy but would recommend ordering some replacements of the white clips on Amazon before starting. I went with kmc machettes and some Mickey Thompson legend exps and am really pleased with the look


Hope this helps someone out there!
Jeep Wrangler JL RK 2.5 X factor install IMG_2673
Sponsored


Top