YBABRAT
Well-Known Member
- Thread starter
- #1
This covers what can be done by anyone, if they take the time. Pictures and info to come.
As with most all my old threads... it's blog style always adding until completed. I will answer questions by updating this opening page. So expect more info to be added.
Most links are self explanatory.
Bling stuff:
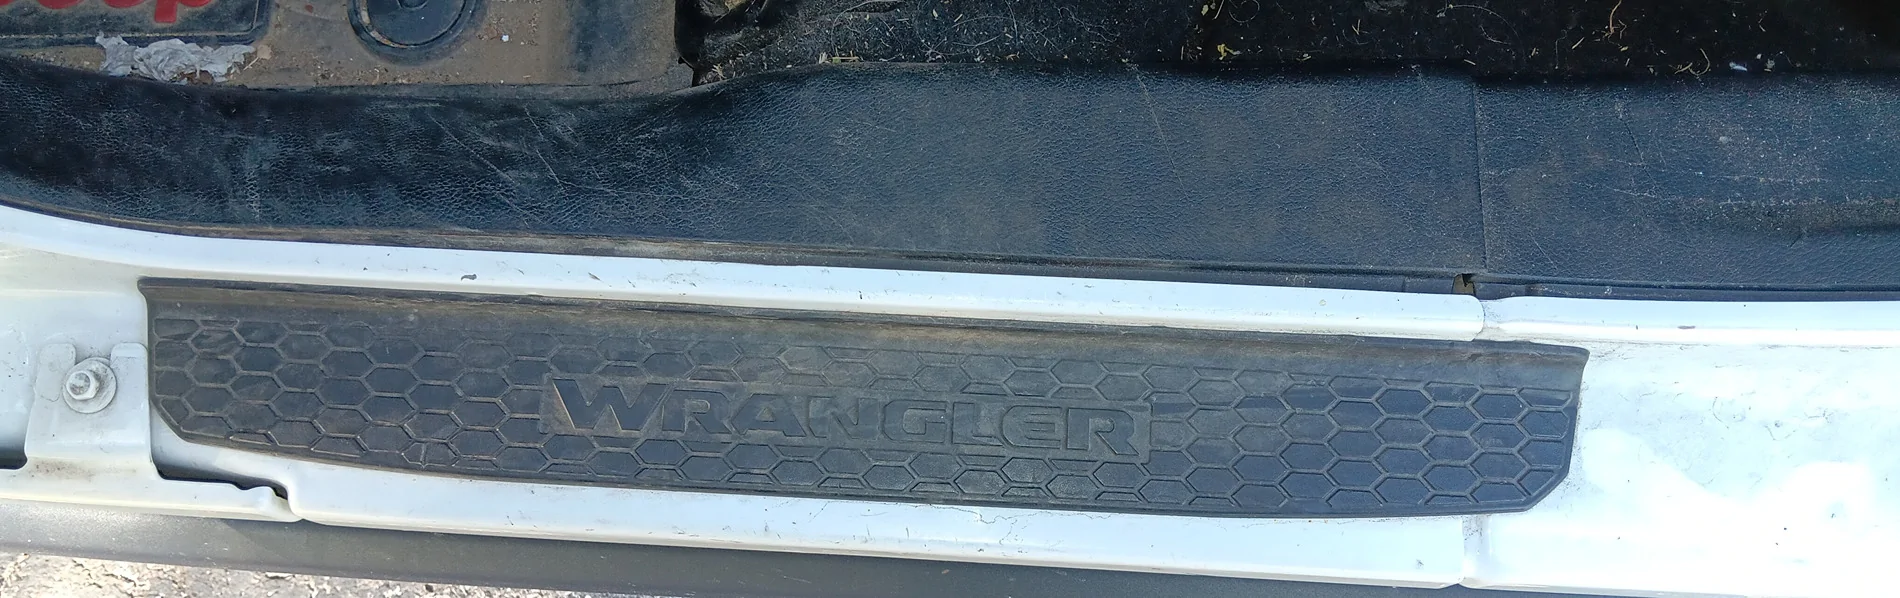
Stainless steel door seal plates
https://www.amazon.com/dp/B0FKMCCWYJ
They gave me a complete set to try. They do have a carbon fiber look to them as pictured, but the set they gave me has an image of a 4 door wrangler and 1941. Strange that 1941 only 2 doors were to be had. They should have used 2006 instead. Needless to say, these are very well made. Thick and coated with a durable finish seen on custom alloy wheels. To keep the edges from scratching the body paint, the perimeter has a seamless edge cover for protection. I was looking to replace the cheap factory ones that say Wrangler. My jeep had been debadged on the exterior by the original owner and I had gone further with passenger side grab handle from a gladiator. Soon no Wrangler will be found on my jeep.
Here is OEM plastic door edge trim

The new replacement... wider and longer fills the rocker area very well. Just laid it over, don't want to mount just yet.

A bit blingy for my taste. Ordered some 80 grit weather proof anti slip tape to cover the 10 raised areas. Going to repaint before I do. Also will create a custom sticker to place in the center.
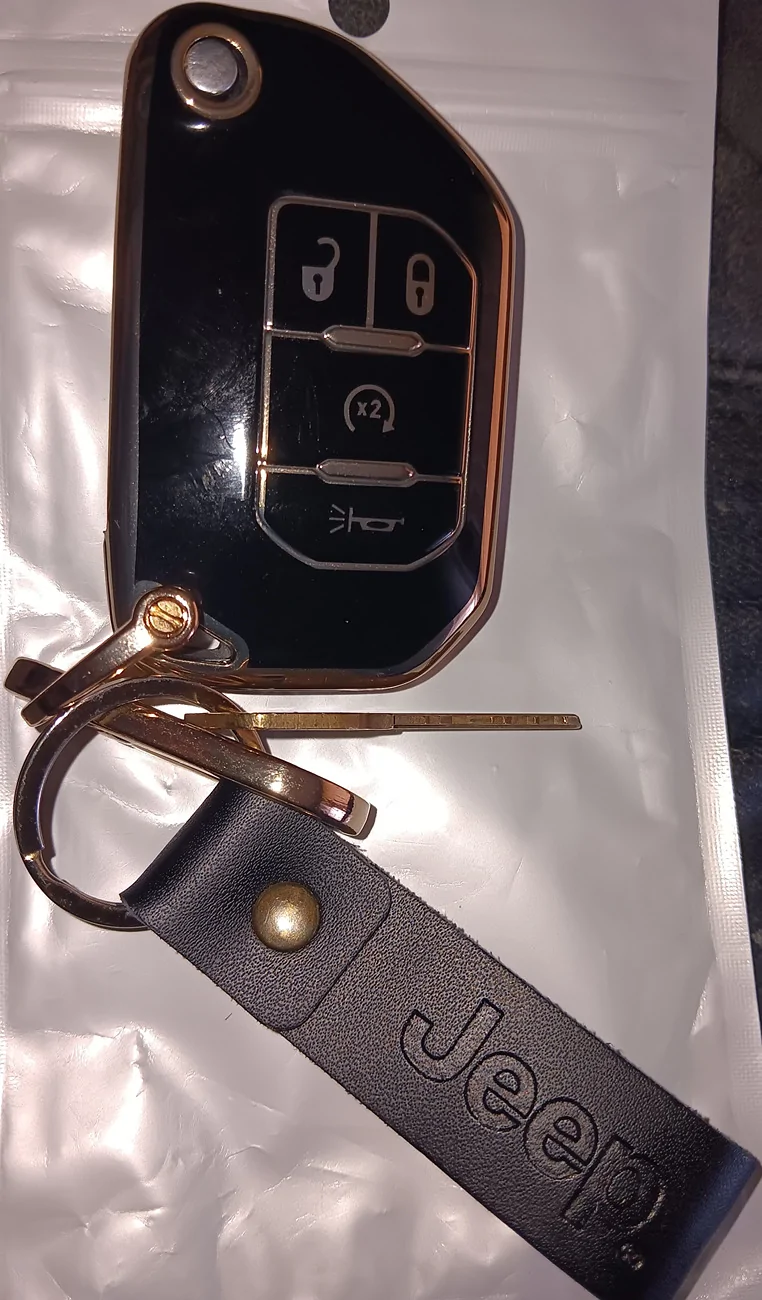
JL key FOB
https://www.amazon.com/dp/B0F9LK93JL
Outside of the nice fit, the cover keeps the key release from unintentional release of the spring loaded key when in pocket.

Diode Dynamics Front side markers
https://www.amazon.com/dp/B07Q47XKCV

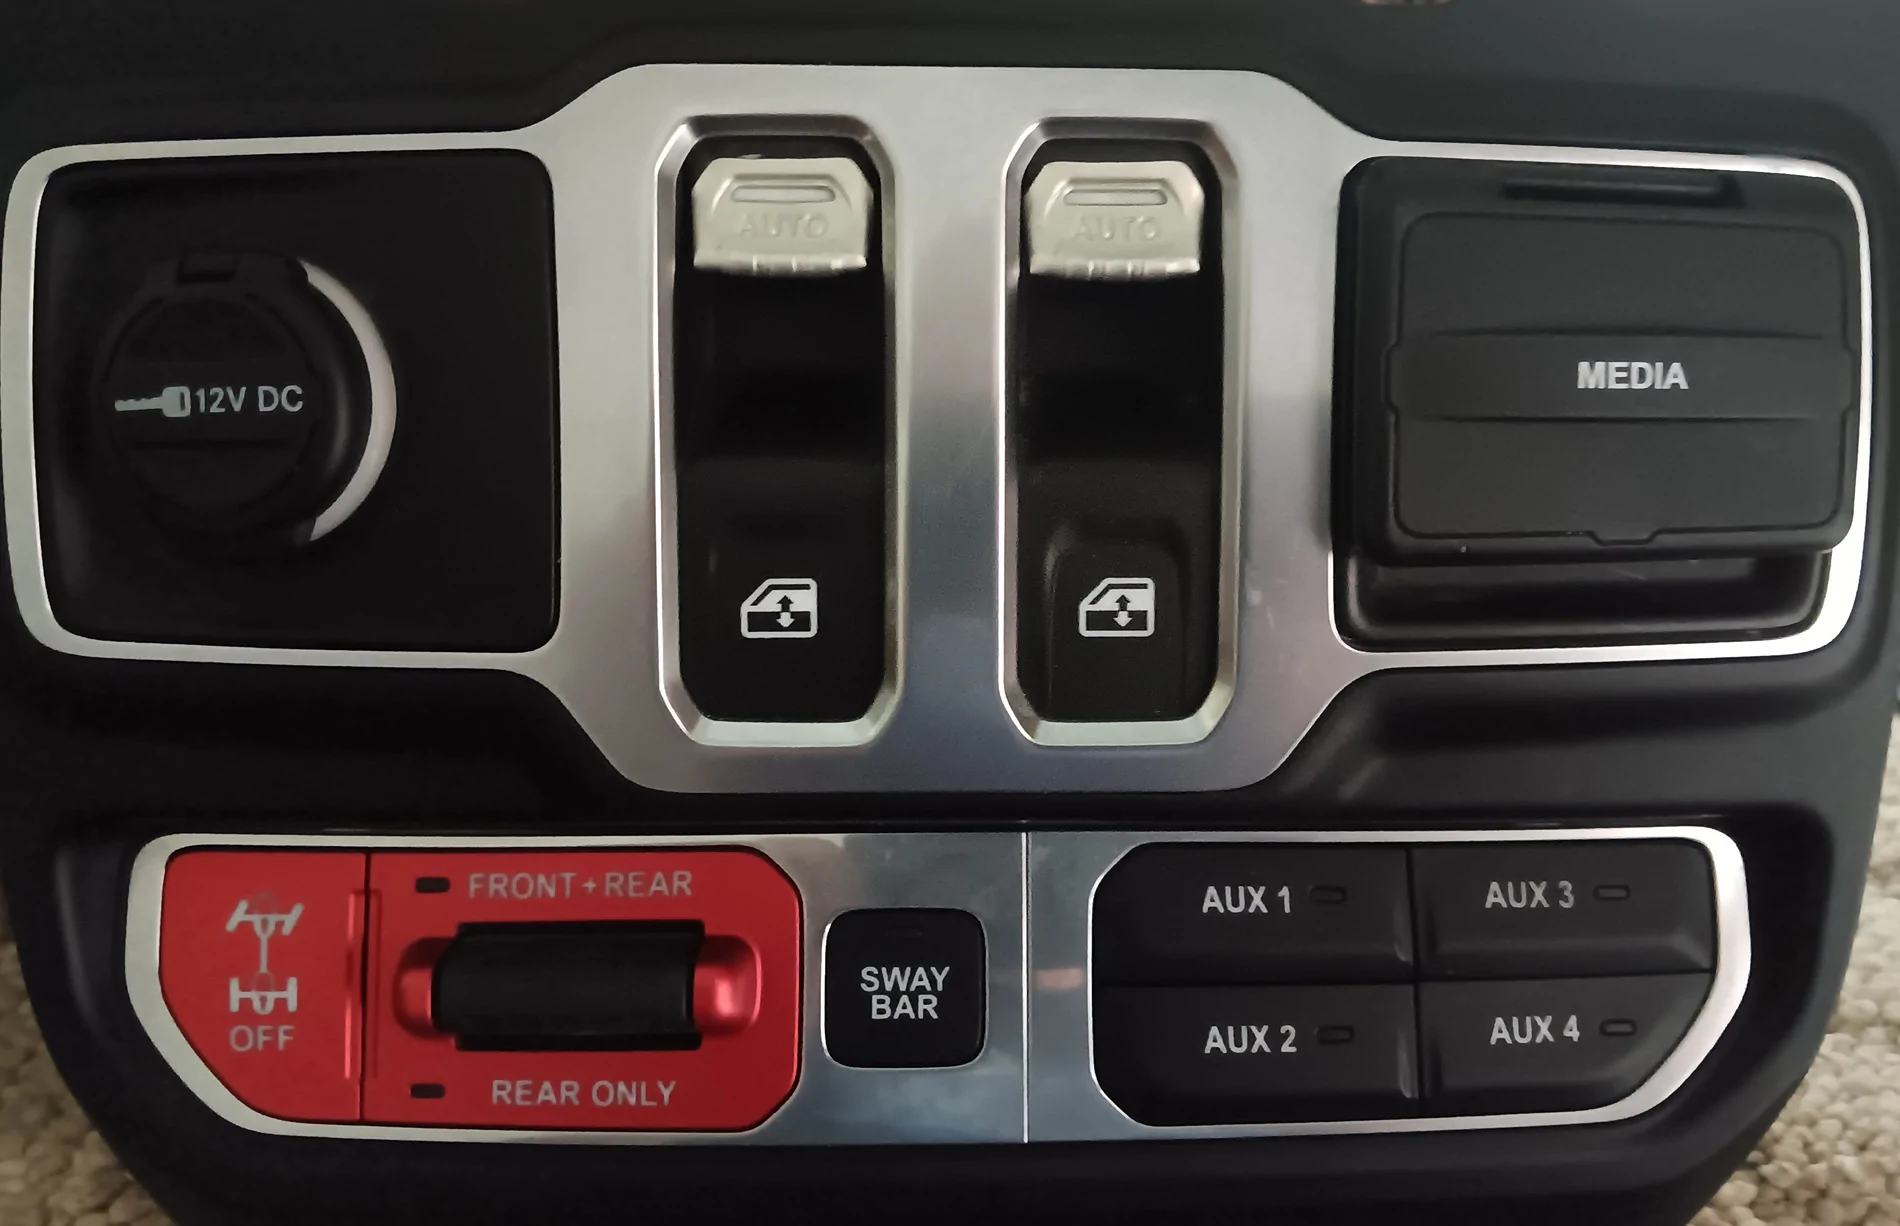
Aluminum window switch covers (Requires E6000 and trimming of switch lever rubber boot)
https://www.amazon.com/dp/B0DTDX9Q68
You must trim the rubber area under the switch lever covers. The switch lever has a rubber boot that falls apart at the edge of the lever. Once trimmed to allow the white plastic lever to be uncovered the aluminum cover can slip into place and snap in to the raised tab that illuminates when instrumentation lights are on. You will need to remove the cheap sticky pads with a very small flat blade. The sticky pads will roll out and onto the flat blade in sticking to its self. Pinch the switch covers just a little to close up the gap.
Before:

After:

Once pinched place some E6000 glue in the back side of the switch cover and down into the pocket. Don't put too much as the switch lever will displace it and make a mess. You'll need to slide the switch cover up until the white plastic protrusion fit in the slot and clips into place. If some glue oozes. Wait 10 minutes and remove. You want the glue to set a little as it is less prone to smear. You have a 30 minute window.

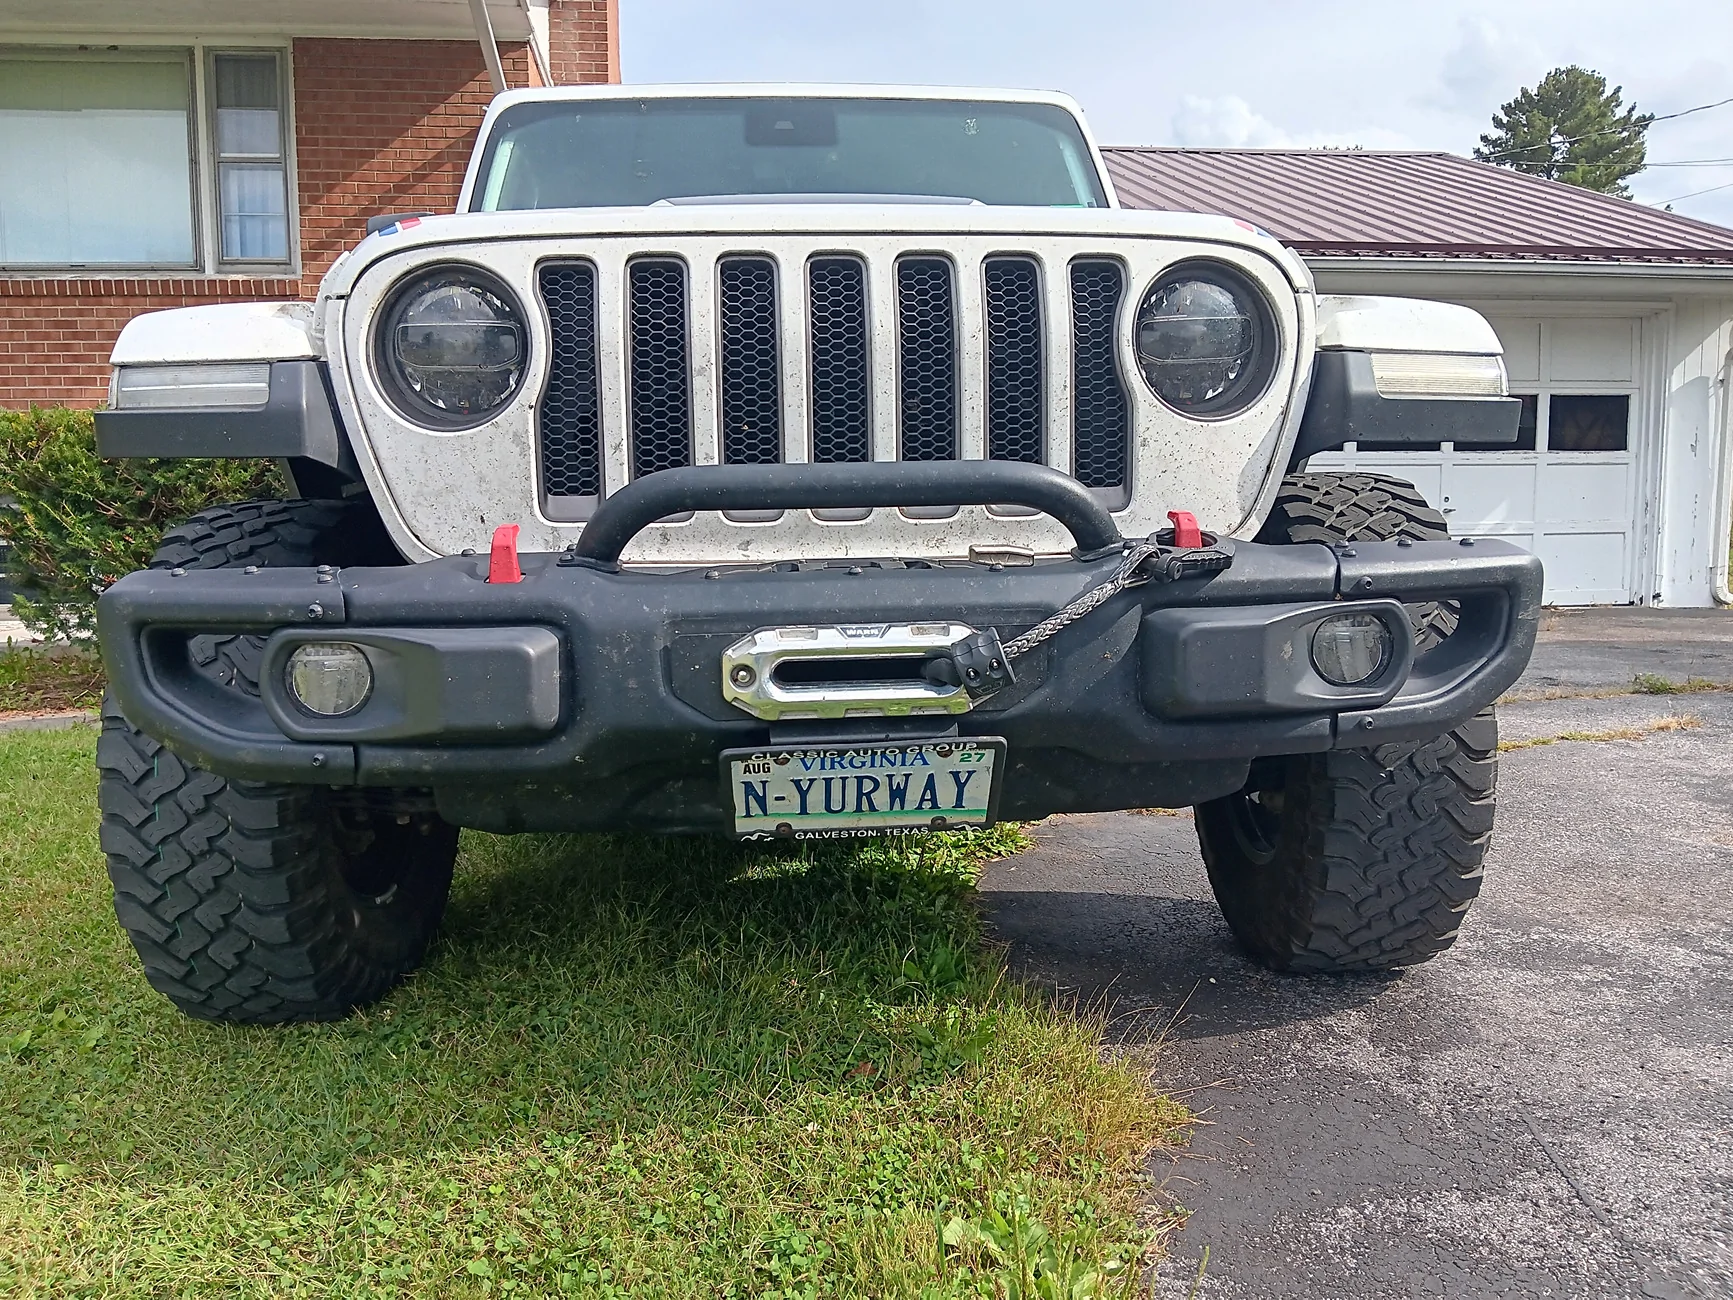
WARN Epic 1.5" Fairlead
https://www.amazon.com/dp/B07H63TSDZ (Seller has no 1.5" polished)
If using a WARN winch installation kit on a factory steel bumper, you'll need 1.75" bolts for the 1.5" fairlead.
Door puddle lights with a custom image (advanced modding)
https://www.amazon.com/dp/B0FM45GMLW
This is a custom mod to fit at bottom of doors. Had to trim off plastic to expose the contacts and solder in place a bulb connector with a matched pigtail. I will plastic weld the connector hack solid for a complete seal and paint white.

Will have to tap into the door latch switch for power control. Still need to remove doors and cut a mounting hole. The shape of the light almost matches the bottom of the door edge. A little addition of rubber seal will fill in the crack, if that is the case.
Useful stuff:
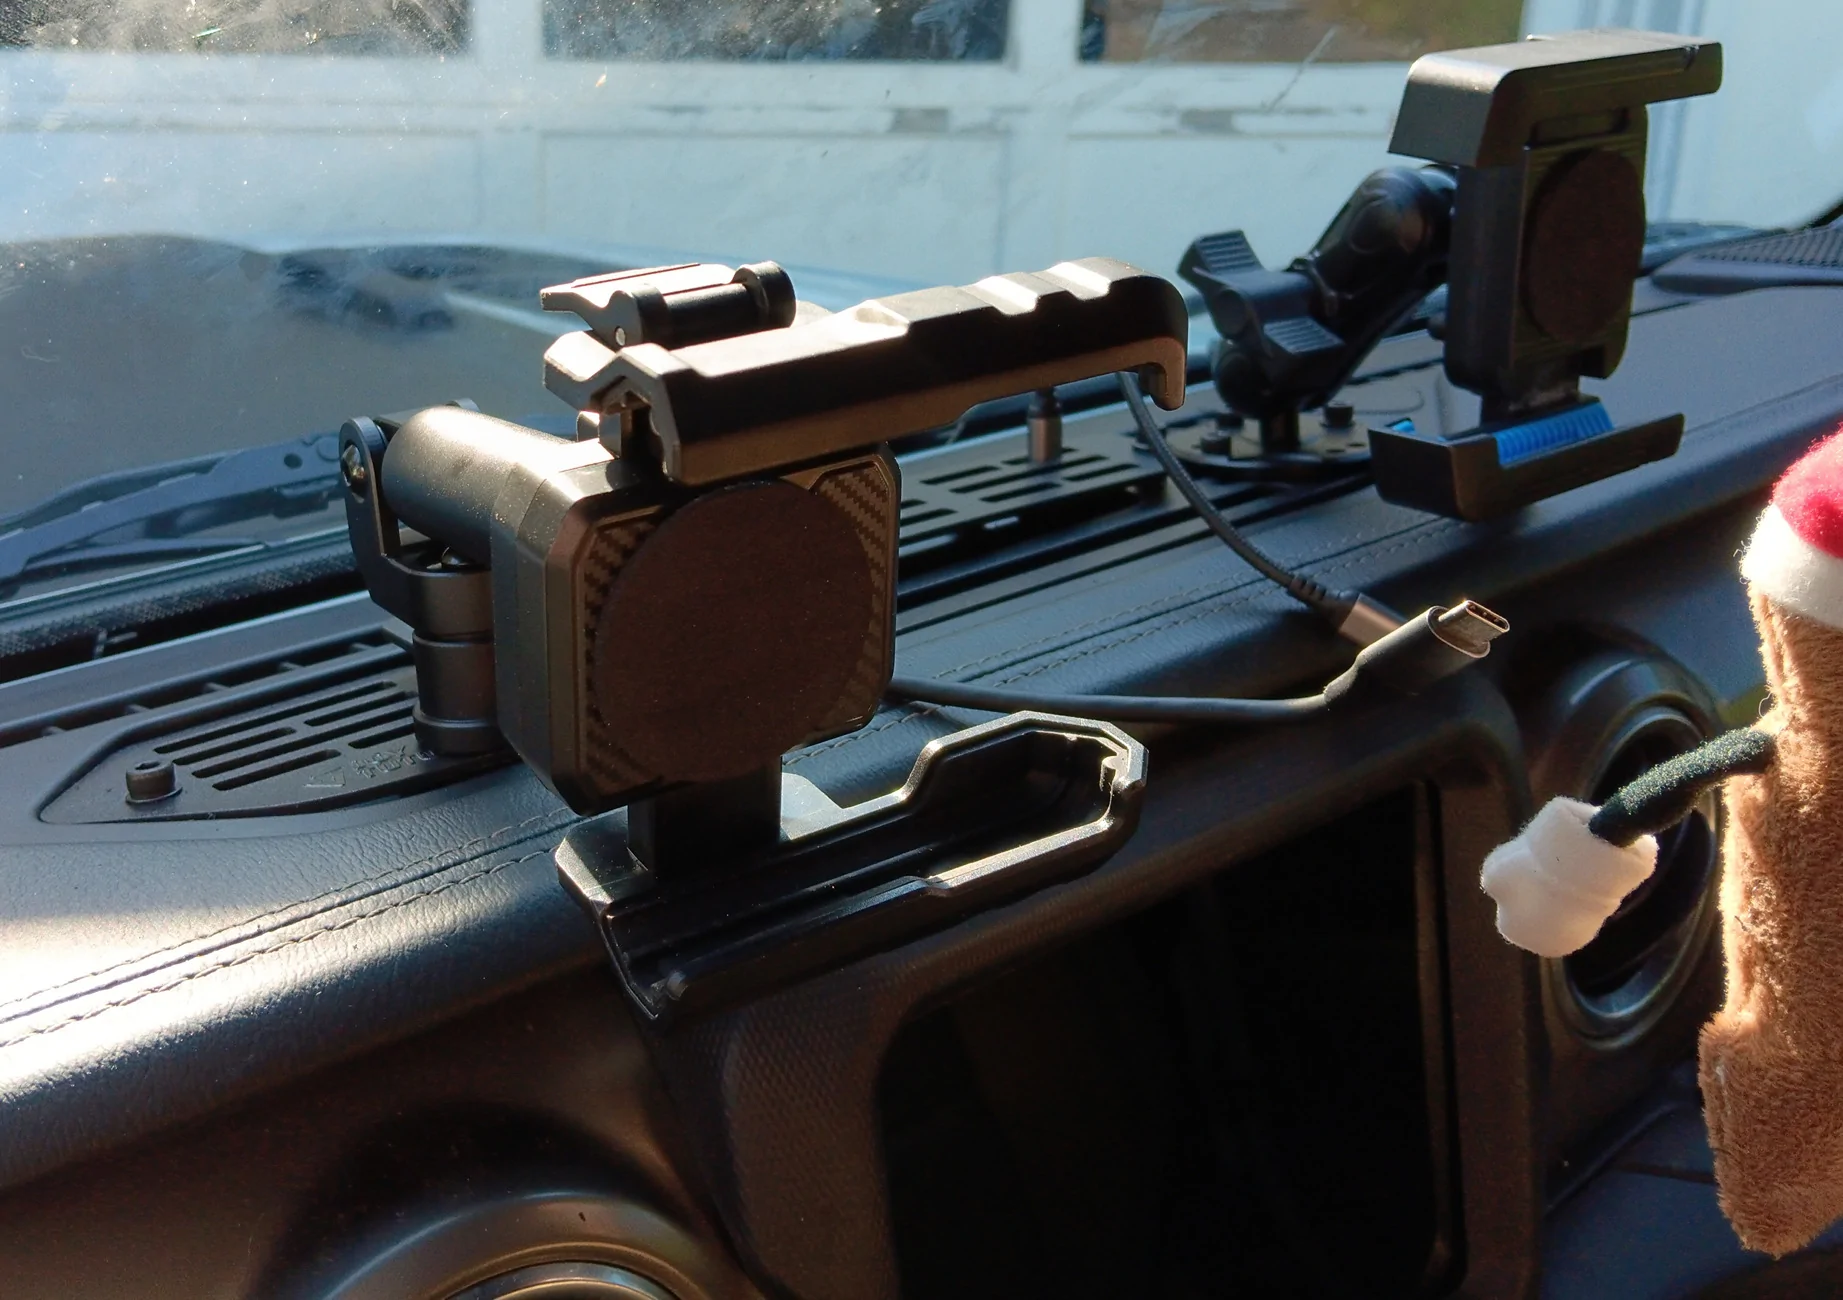
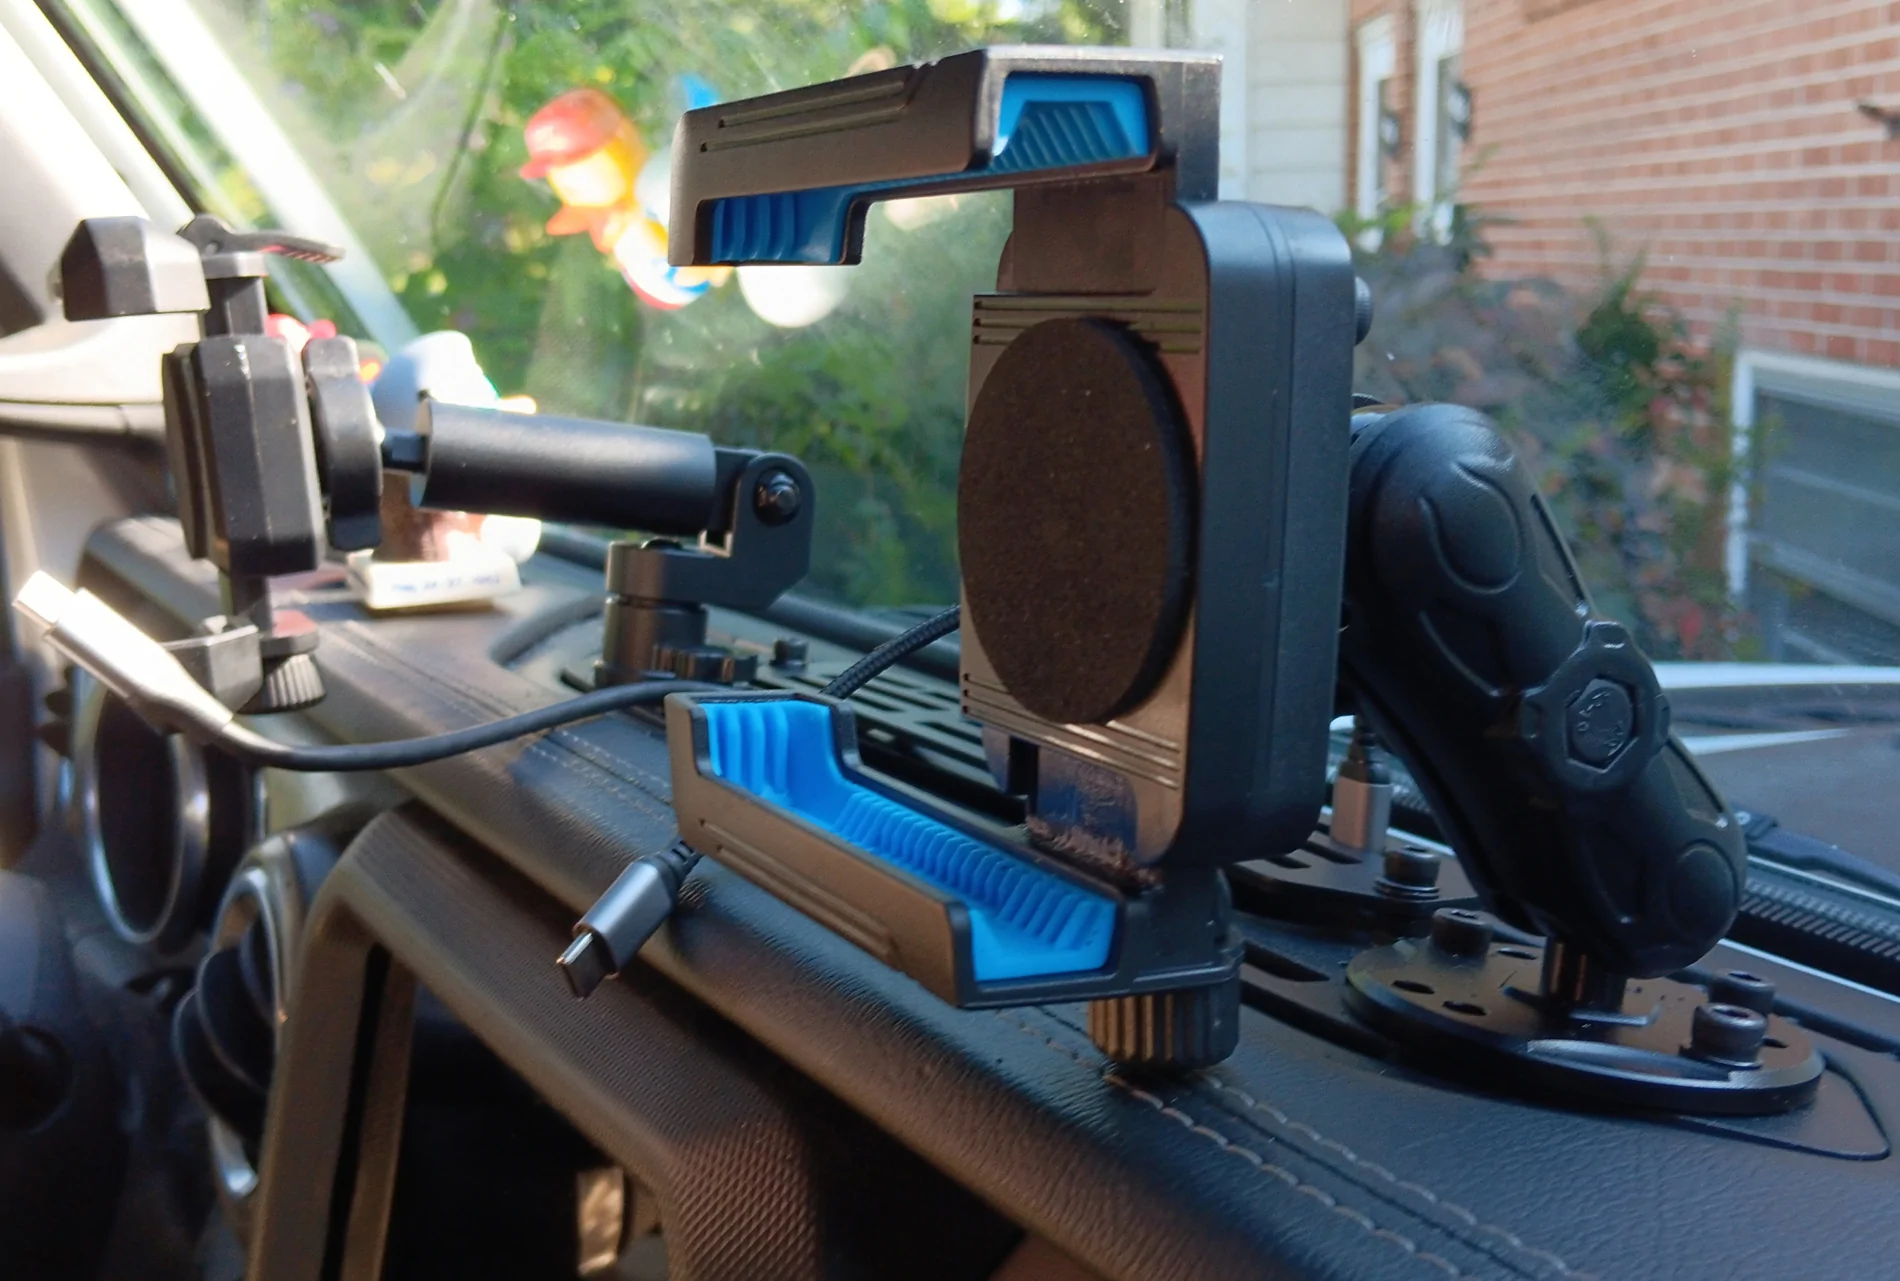
Metal dash platform for universal device mounting
https://www.amazon.com/dp/B0FB32T3YP
It also fits 4XE. The back plate is an option to allow fit on 4XE dash.


Mesh bikini top that can be removed and installed in 1 minute
https://www.amazon.com/dp/B0CD4N515P
Sunshade that fits perfectly (Active Collision requires cut out mod)
https://www.amazon.com/dp/B096Z8VXZR
In channel wind and rain deflectors (not perfect but fit nicely)
https://www.amazon.com/dp/B0CQYJYVRV

Mods stuff:
Reveal Pro 6000mha Li battery pack (Advanced 2025 model)
https://www.amazon.com/dp/B0DMN6G99Y
This is one of the few battery packs that has two charging options built in (12v or 5v) to charge the 7.4v Li battery pack. Two in series will give 14.8v and could jump start, if I add a few more components.
USB C High current charge only pigtails
https://www.amazon.com/dp/B0CY2TJRLJ
8v-40v 100w 5v buck converter
https://www.amazon.com/dp/B0CSSRS1TX
Completely isolated from moisture, and has a thick heat sink.
Heavy duty 4 port 5v output plug
https://www.amazon.com/dp/B0FQCC48LK
Short USB C (Data/Quick Charge) cable
https://www.amazon.com/dp/B0FN4K3TKF
A cheap fix for bad O2 sensors (connector mod required)
https://www.amazon.com/dp/B0DHXTY64F
Old Motorola to Fakra antenna pigtail (Not perfect but works)
https://www.amazon.com/dp/B0CJP6W7FW
To make it work... you must lift the off colored locking tab on the Fakra connector to release the cable terminal. It is not the same as factory as it is smaller. Remove the factory white connector the same way. It will be swapped on to the pigtail. Even though the terminal is smaller it will fit but a little loosely in the factory white connector, once the locking clip is in place. Installation to the UConnect system is just as easy as before the swap. You may need to wiggle the cable at the connector end to center before it locks into position. Once locked in place, the connection is a solid as oem.
The reason why the smaller terminal fits the larger connection, is that only the outer part of the terminal is not double shielded. The antenna terminal grounds to the system main board, but the connector doesn't, and is not required for terrestrial antenna signal.
A rock solid universal mounting arm (Better than RAM)
https://www.amazon.com/dp/B0F9F4D88J
It's all aluminum, but the 1" balls are nylon. One adjuster knob tightens for a complete lock down as if it were a one piece mount.
A smaller recliner release mod lever (all metal)
https://www.amazon.com/dp/B0DF6DWGW5
For being smaller than what others have used, it has the same throw with pull release, but very little slop. The reason is the cable. It has no adjustment and is set by the lever spring at the pull handle and mounting distance of the black plastic hold down near the end. Just place the hold down where it can be zip tied securely, with the pull lever able to start actuation of the door release lever at beging of lift. You will notice the Z shaped cable end adjust to be more engaged in the slot when the black mounting tab has been properlly placed. That part is the only adjustment required as you secure with zip ties.

As with most all my old threads... it's blog style always adding until completed. I will answer questions by updating this opening page. So expect more info to be added.
Most links are self explanatory.
Bling stuff:
Stainless steel door seal plates
https://www.amazon.com/dp/B0FKMCCWYJ
They gave me a complete set to try. They do have a carbon fiber look to them as pictured, but the set they gave me has an image of a 4 door wrangler and 1941. Strange that 1941 only 2 doors were to be had. They should have used 2006 instead. Needless to say, these are very well made. Thick and coated with a durable finish seen on custom alloy wheels. To keep the edges from scratching the body paint, the perimeter has a seamless edge cover for protection. I was looking to replace the cheap factory ones that say Wrangler. My jeep had been debadged on the exterior by the original owner and I had gone further with passenger side grab handle from a gladiator. Soon no Wrangler will be found on my jeep.
Here is OEM plastic door edge trim
The new replacement... wider and longer fills the rocker area very well. Just laid it over, don't want to mount just yet.

A bit blingy for my taste. Ordered some 80 grit weather proof anti slip tape to cover the 10 raised areas. Going to repaint before I do. Also will create a custom sticker to place in the center.
JL key FOB
https://www.amazon.com/dp/B0F9LK93JL
Outside of the nice fit, the cover keeps the key release from unintentional release of the spring loaded key when in pocket.
Diode Dynamics Front side markers
https://www.amazon.com/dp/B07Q47XKCV
Aluminum window switch covers (Requires E6000 and trimming of switch lever rubber boot)
https://www.amazon.com/dp/B0DTDX9Q68
You must trim the rubber area under the switch lever covers. The switch lever has a rubber boot that falls apart at the edge of the lever. Once trimmed to allow the white plastic lever to be uncovered the aluminum cover can slip into place and snap in to the raised tab that illuminates when instrumentation lights are on. You will need to remove the cheap sticky pads with a very small flat blade. The sticky pads will roll out and onto the flat blade in sticking to its self. Pinch the switch covers just a little to close up the gap.
Before:

After:
Once pinched place some E6000 glue in the back side of the switch cover and down into the pocket. Don't put too much as the switch lever will displace it and make a mess. You'll need to slide the switch cover up until the white plastic protrusion fit in the slot and clips into place. If some glue oozes. Wait 10 minutes and remove. You want the glue to set a little as it is less prone to smear. You have a 30 minute window.
WARN Epic 1.5" Fairlead
https://www.amazon.com/dp/B07H63TSDZ (Seller has no 1.5" polished)
If using a WARN winch installation kit on a factory steel bumper, you'll need 1.75" bolts for the 1.5" fairlead.
Door puddle lights with a custom image (advanced modding)
https://www.amazon.com/dp/B0FM45GMLW
This is a custom mod to fit at bottom of doors. Had to trim off plastic to expose the contacts and solder in place a bulb connector with a matched pigtail. I will plastic weld the connector hack solid for a complete seal and paint white.
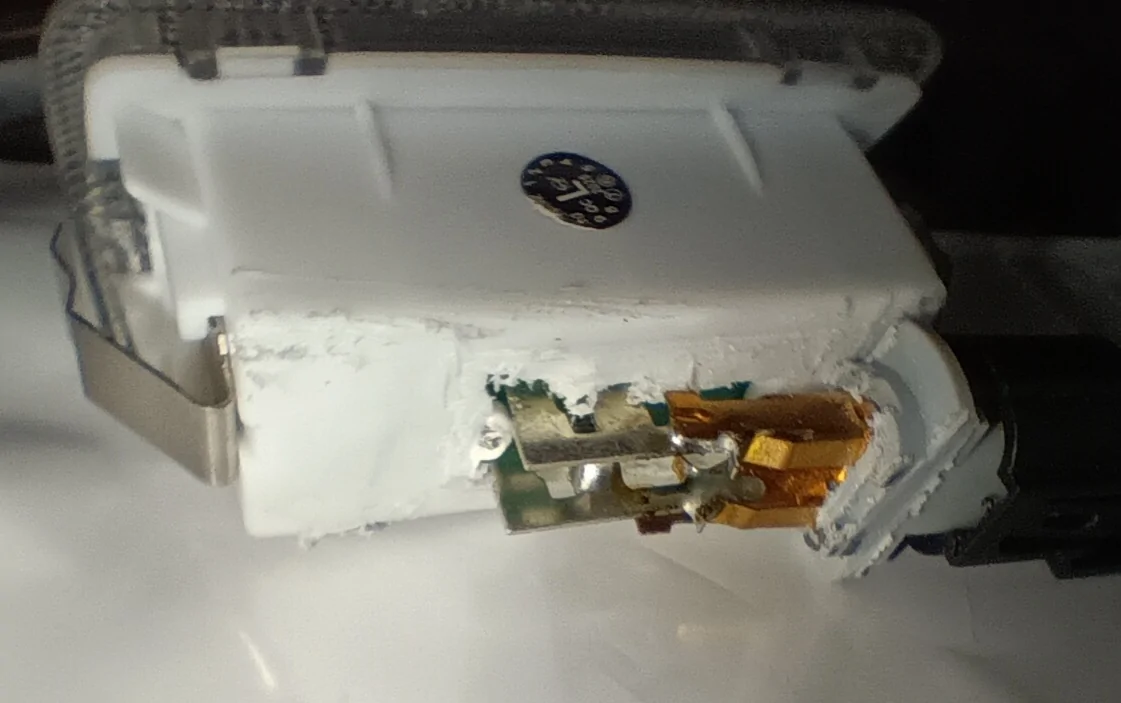
Will have to tap into the door latch switch for power control. Still need to remove doors and cut a mounting hole. The shape of the light almost matches the bottom of the door edge. A little addition of rubber seal will fill in the crack, if that is the case.
Useful stuff:
Metal dash platform for universal device mounting
https://www.amazon.com/dp/B0FB32T3YP
It also fits 4XE. The back plate is an option to allow fit on 4XE dash.
Mesh bikini top that can be removed and installed in 1 minute
https://www.amazon.com/dp/B0CD4N515P
Sunshade that fits perfectly (Active Collision requires cut out mod)
https://www.amazon.com/dp/B096Z8VXZR
In channel wind and rain deflectors (not perfect but fit nicely)
https://www.amazon.com/dp/B0CQYJYVRV

Mods stuff:
Reveal Pro 6000mha Li battery pack (Advanced 2025 model)
https://www.amazon.com/dp/B0DMN6G99Y
This is one of the few battery packs that has two charging options built in (12v or 5v) to charge the 7.4v Li battery pack. Two in series will give 14.8v and could jump start, if I add a few more components.
USB C High current charge only pigtails
https://www.amazon.com/dp/B0CY2TJRLJ
8v-40v 100w 5v buck converter
https://www.amazon.com/dp/B0CSSRS1TX
Completely isolated from moisture, and has a thick heat sink.
Heavy duty 4 port 5v output plug
https://www.amazon.com/dp/B0FQCC48LK
Short USB C (Data/Quick Charge) cable
https://www.amazon.com/dp/B0FN4K3TKF
A cheap fix for bad O2 sensors (connector mod required)
https://www.amazon.com/dp/B0DHXTY64F
Old Motorola to Fakra antenna pigtail (Not perfect but works)
https://www.amazon.com/dp/B0CJP6W7FW
To make it work... you must lift the off colored locking tab on the Fakra connector to release the cable terminal. It is not the same as factory as it is smaller. Remove the factory white connector the same way. It will be swapped on to the pigtail. Even though the terminal is smaller it will fit but a little loosely in the factory white connector, once the locking clip is in place. Installation to the UConnect system is just as easy as before the swap. You may need to wiggle the cable at the connector end to center before it locks into position. Once locked in place, the connection is a solid as oem.
The reason why the smaller terminal fits the larger connection, is that only the outer part of the terminal is not double shielded. The antenna terminal grounds to the system main board, but the connector doesn't, and is not required for terrestrial antenna signal.
A rock solid universal mounting arm (Better than RAM)
https://www.amazon.com/dp/B0F9F4D88J
It's all aluminum, but the 1" balls are nylon. One adjuster knob tightens for a complete lock down as if it were a one piece mount.
A smaller recliner release mod lever (all metal)
https://www.amazon.com/dp/B0DF6DWGW5
For being smaller than what others have used, it has the same throw with pull release, but very little slop. The reason is the cable. It has no adjustment and is set by the lever spring at the pull handle and mounting distance of the black plastic hold down near the end. Just place the hold down where it can be zip tied securely, with the pull lever able to start actuation of the door release lever at beging of lift. You will notice the Z shaped cable end adjust to be more engaged in the slot when the black mounting tab has been properlly placed. That part is the only adjustment required as you secure with zip ties.
Sponsored
Last edited:
