OP
OP
- First Name
- TrailRax
- Joined
- Oct 26, 2020
- Threads
- 15
- Messages
- 103
- Reaction score
- 104
- Location
- Woods Cross, Utah
- Website
- www.trailrax.com
- Vehicle(s)
- Jeep Gladiator
- Thread starter
- #136
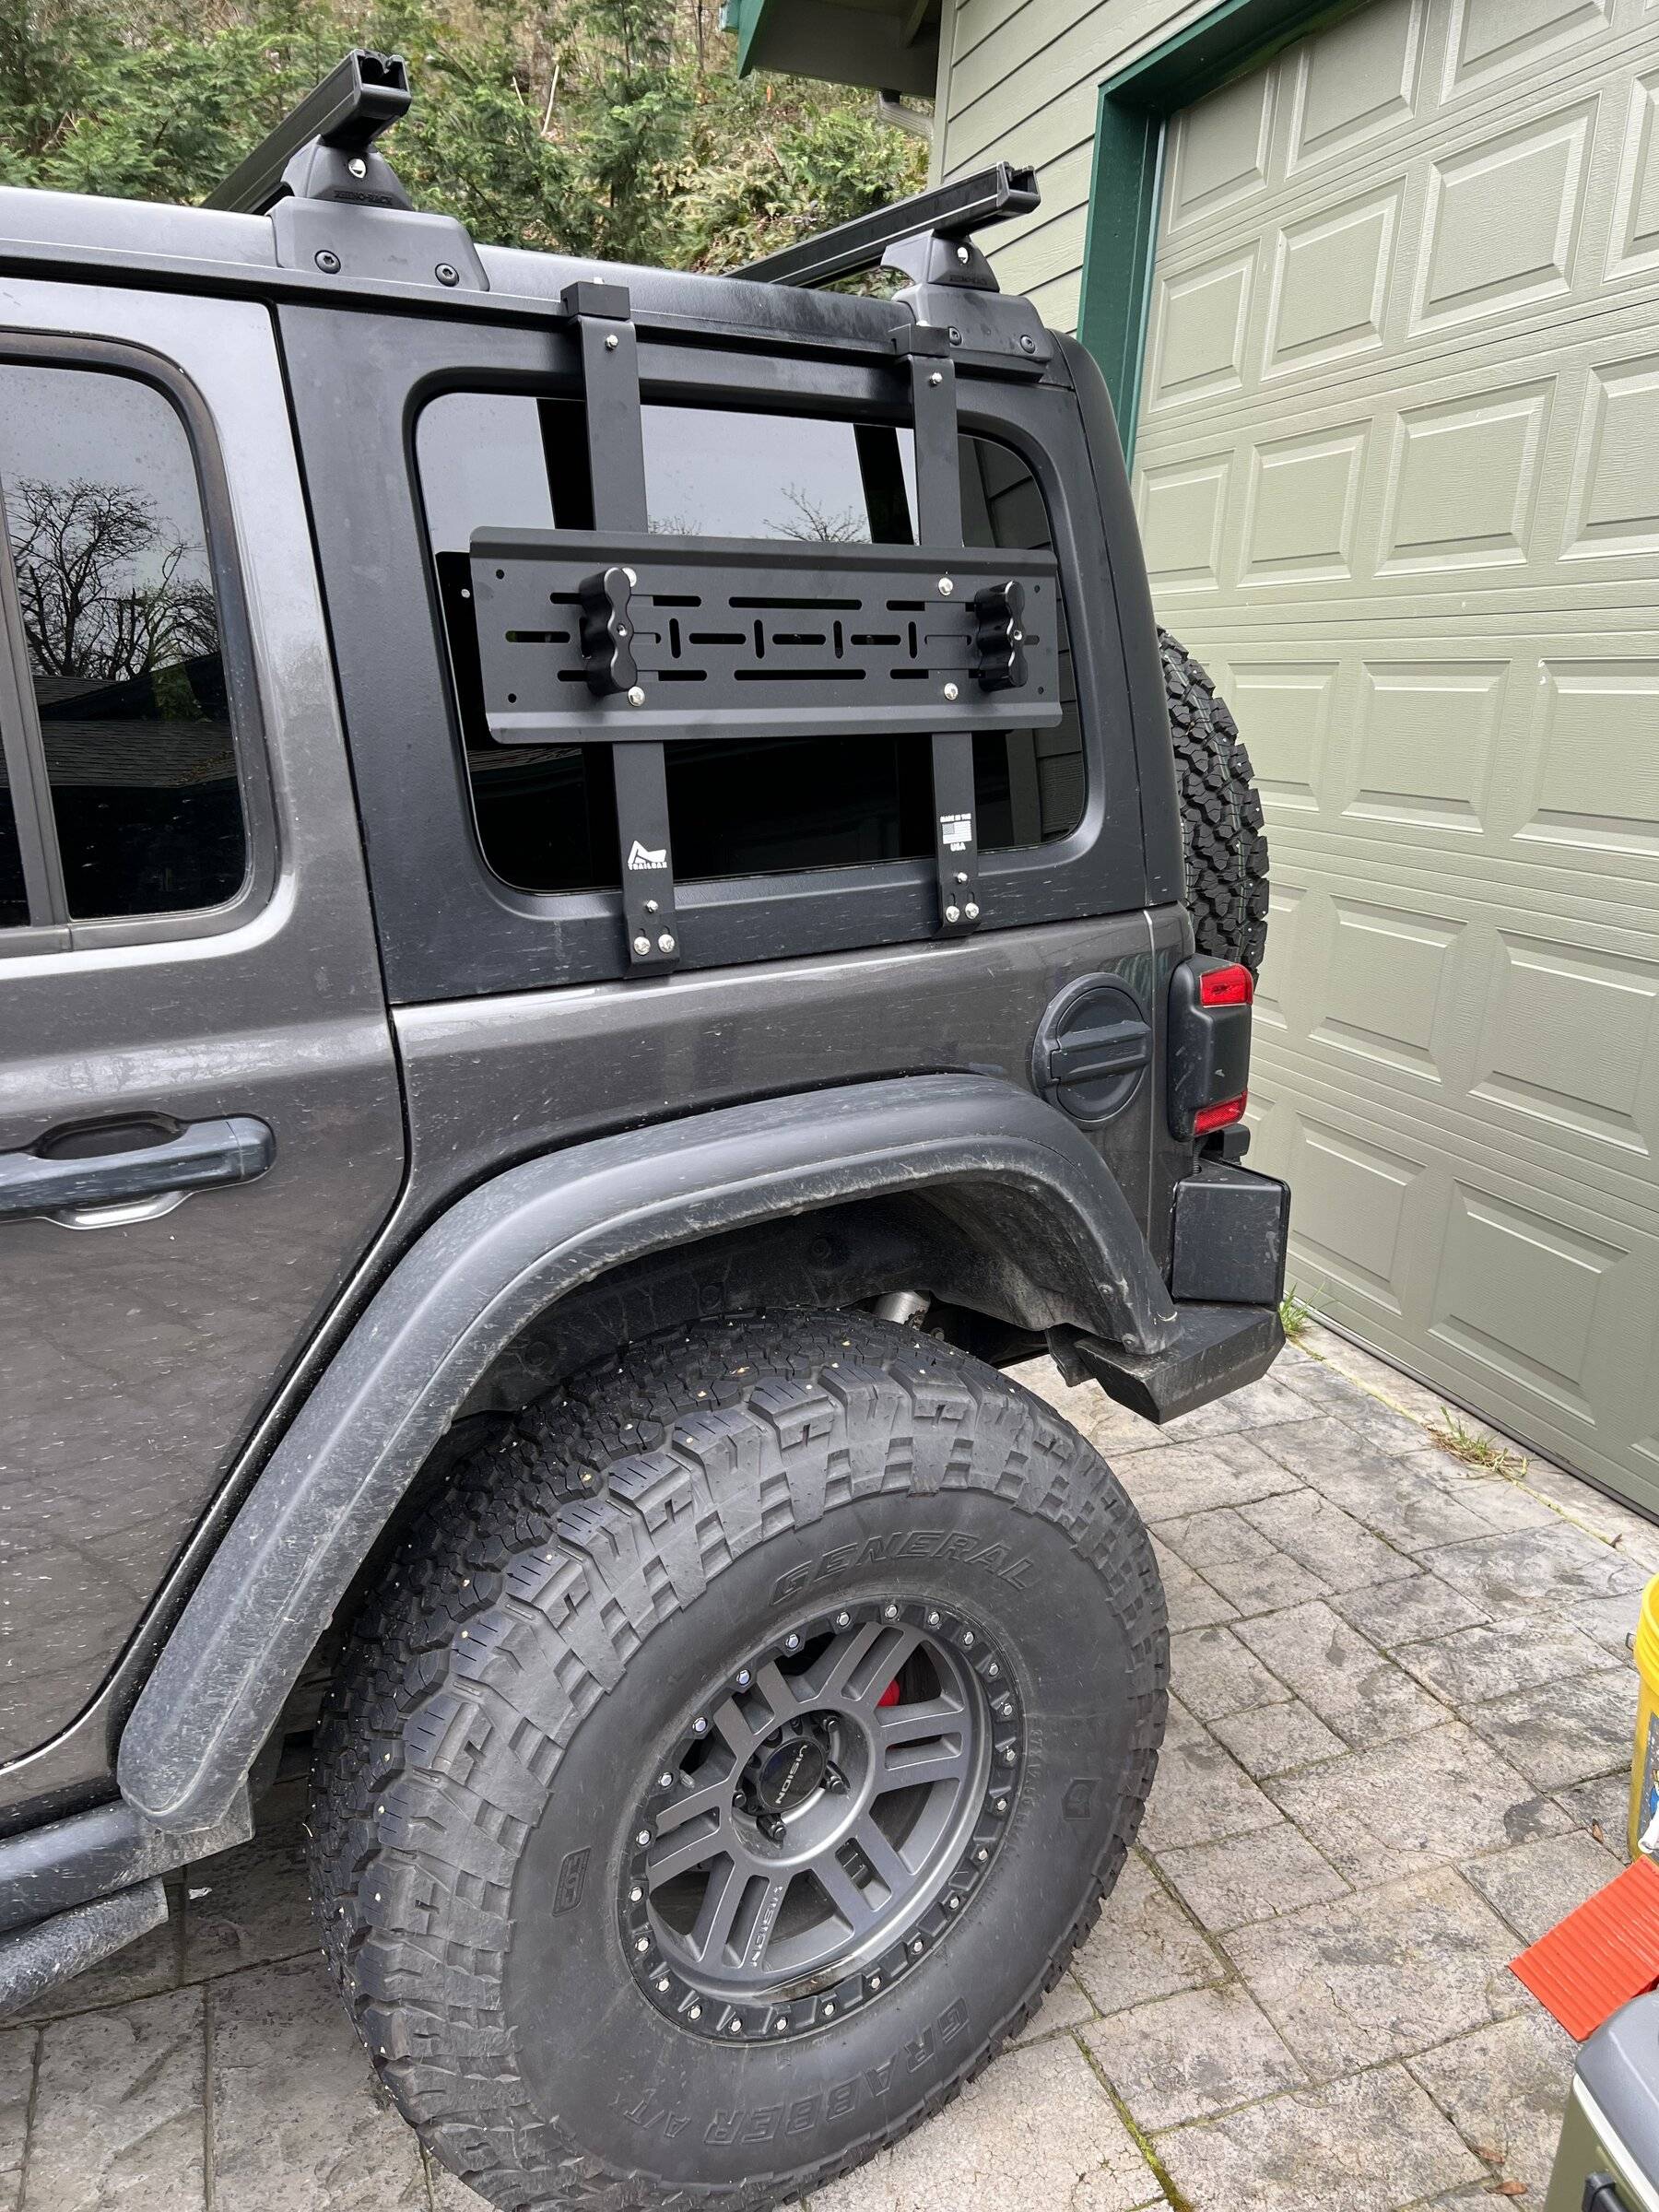
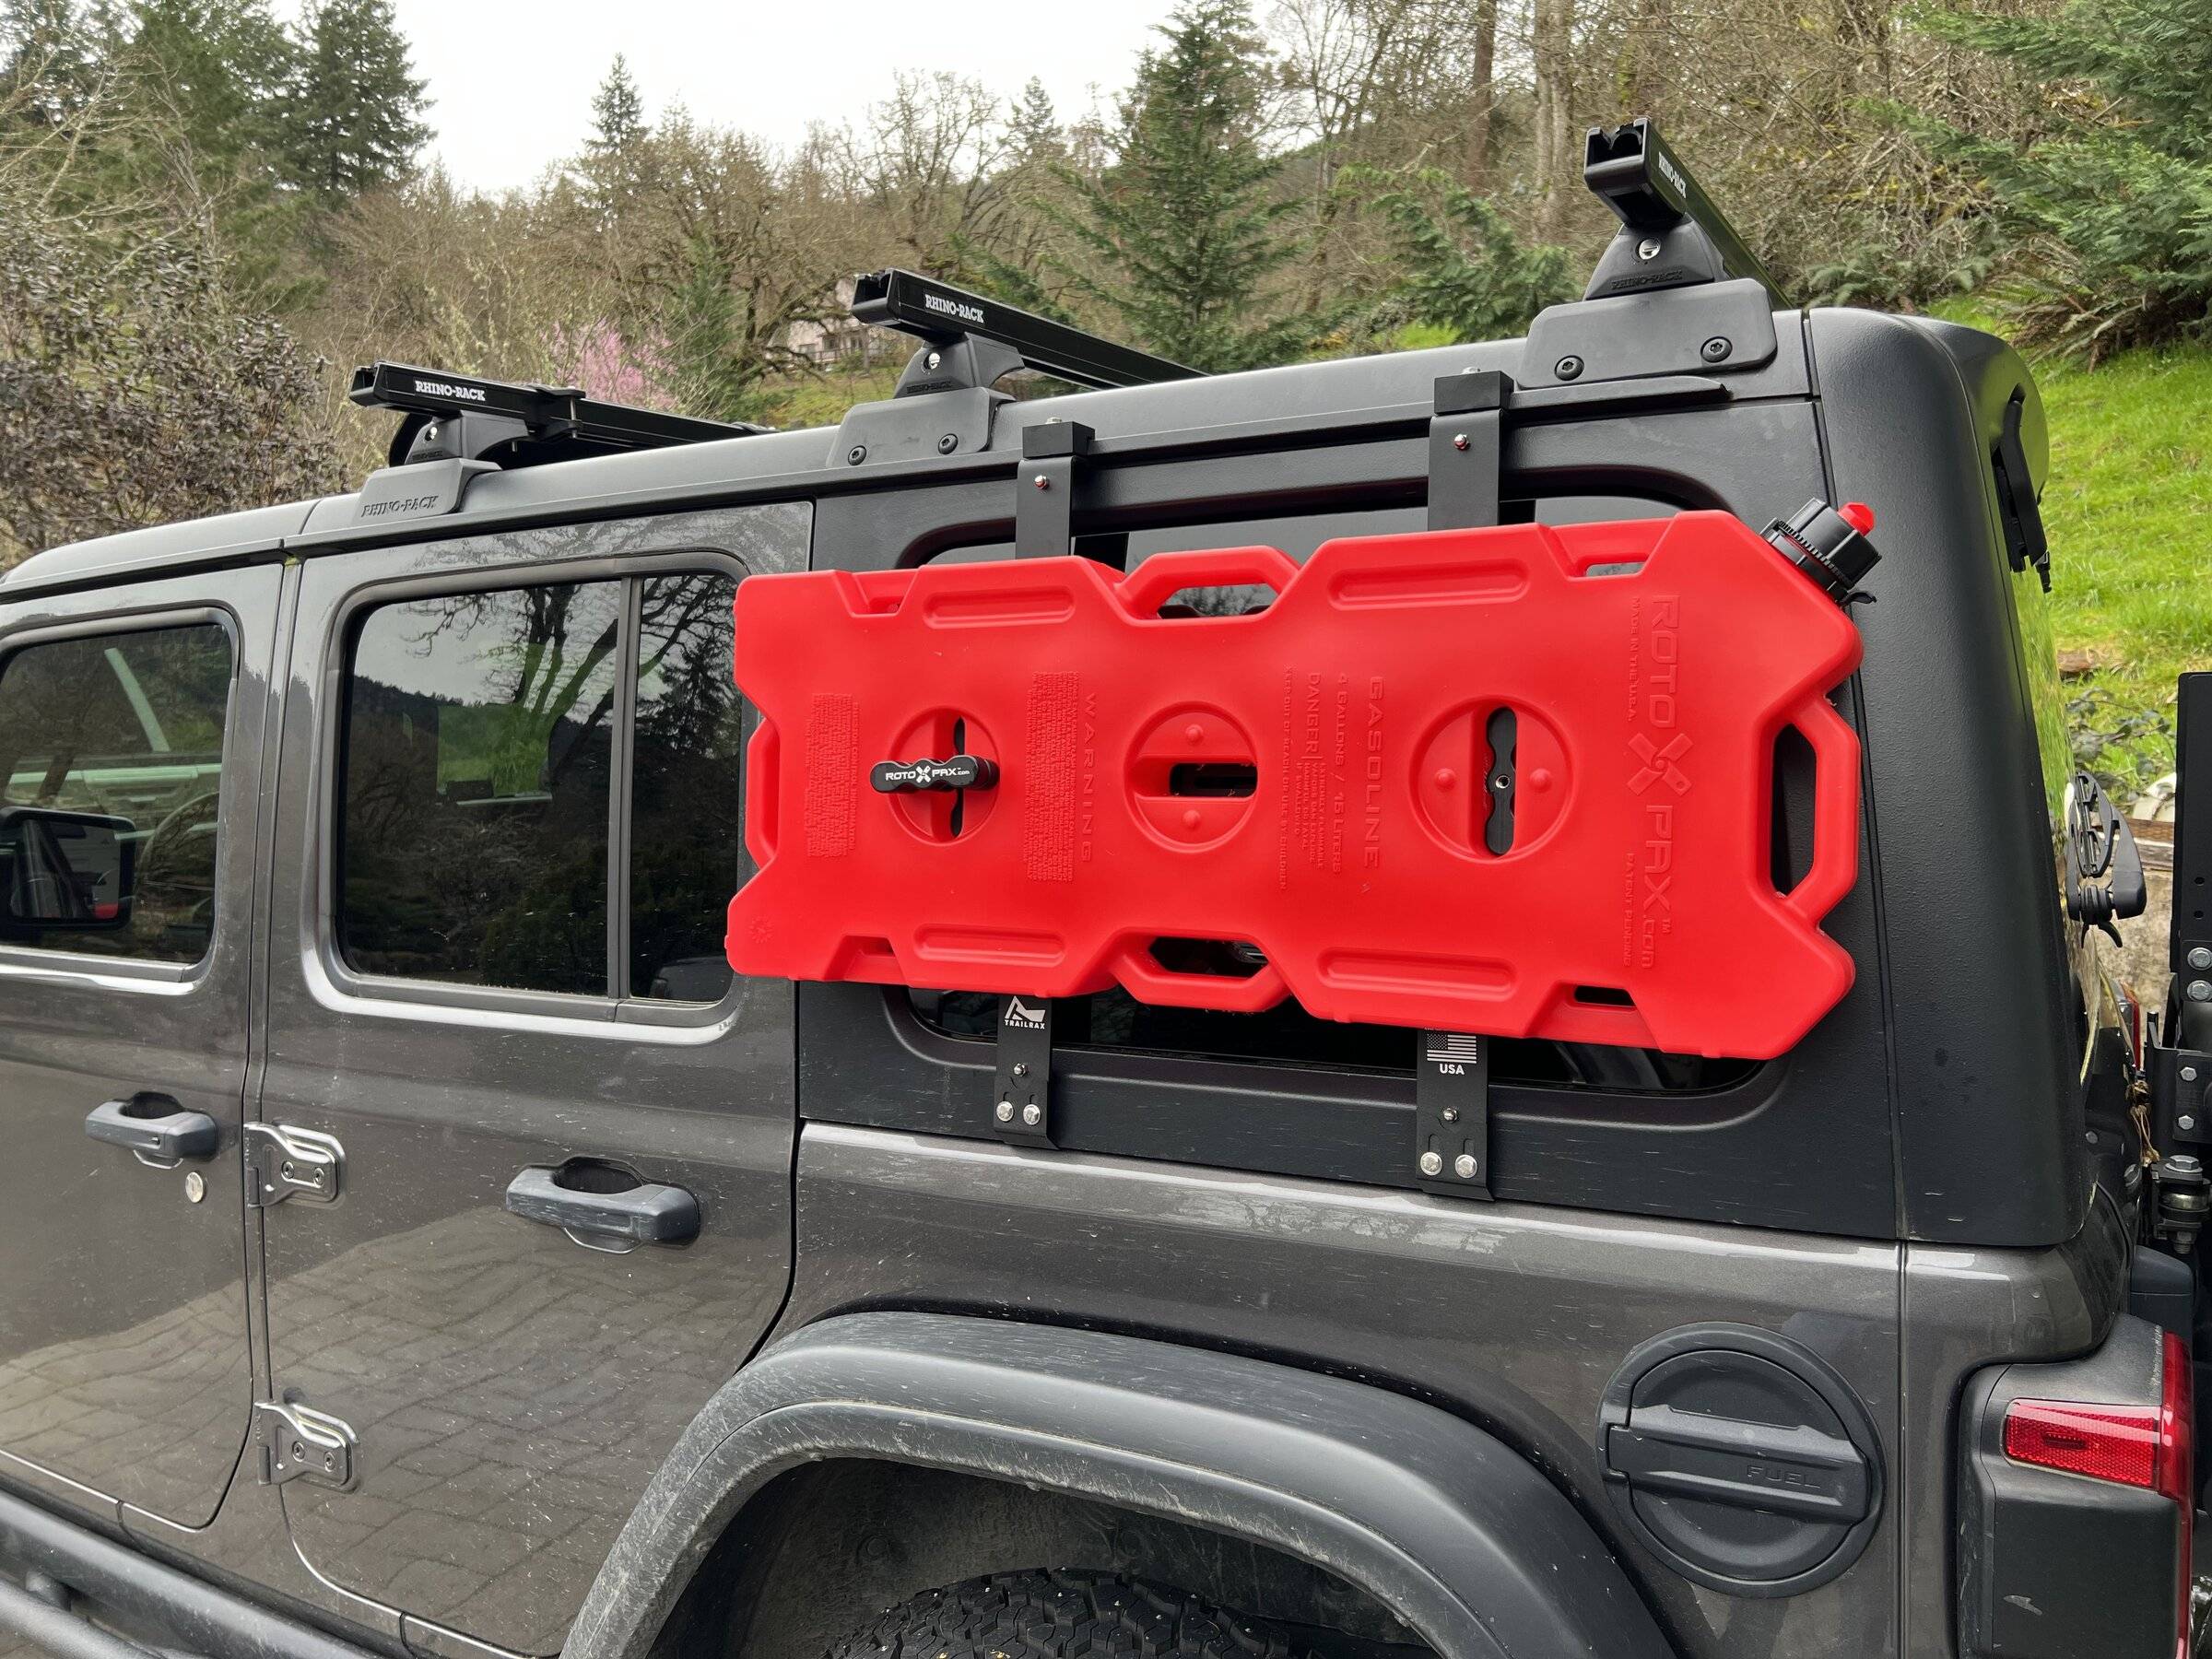
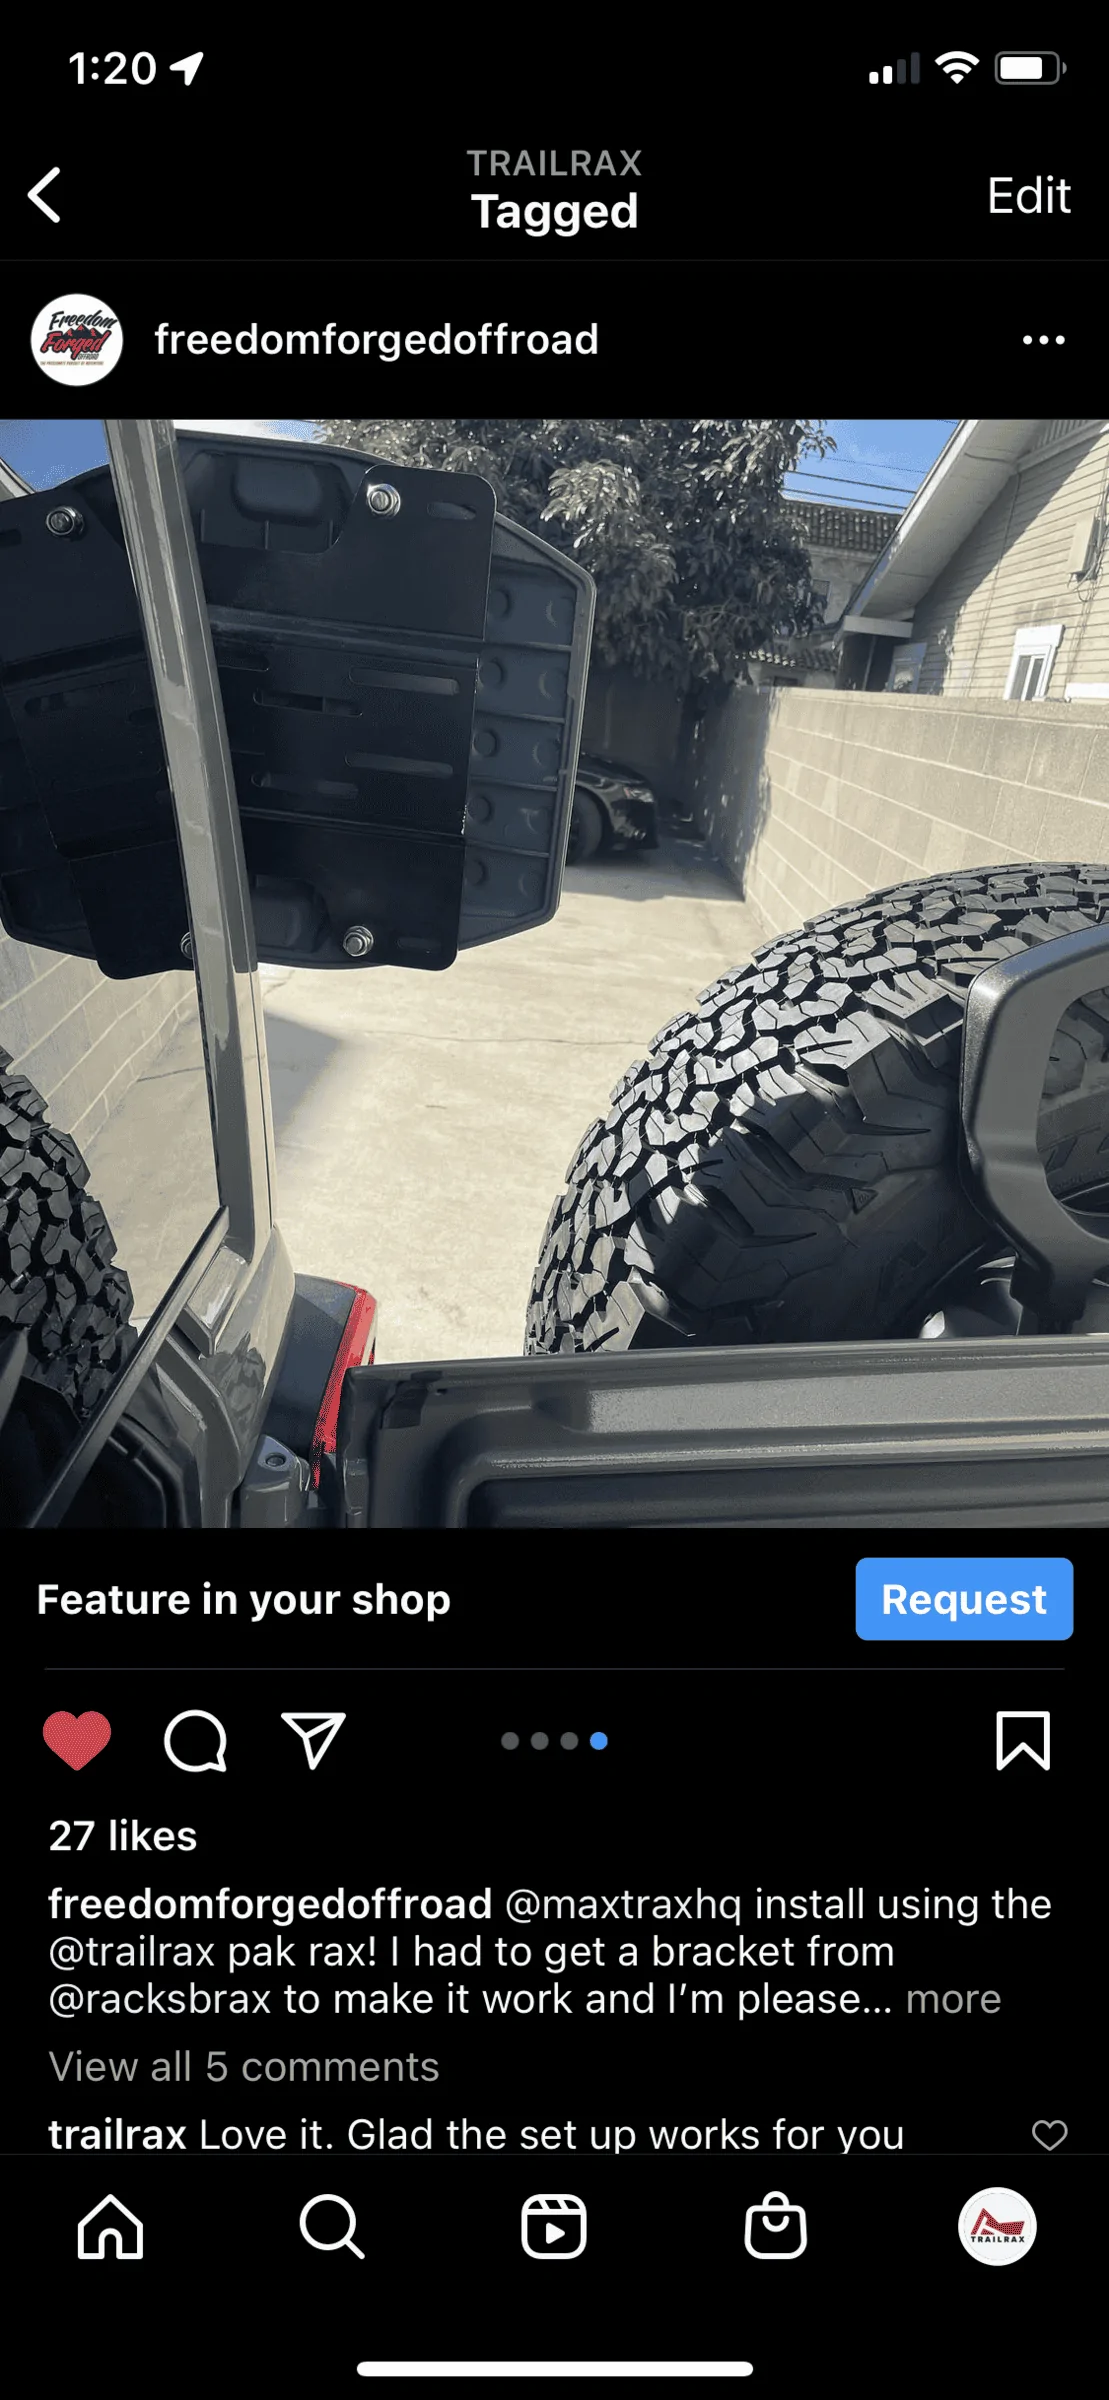
We appreciate the feedback! Instructions have been our main focus for sometime now as it is our biggest complaint and largest lacking piece to our product. We are currently working on growing our media and marketing team to fulfill this issue and resolve it with some well-informed media that will help all customers install our product.I bought your racks and installed them last weekend. They were well packed. They are also heavy and appear to be strong and well made. I'm glad I made the purchase, but I have a couple thoughts to share:
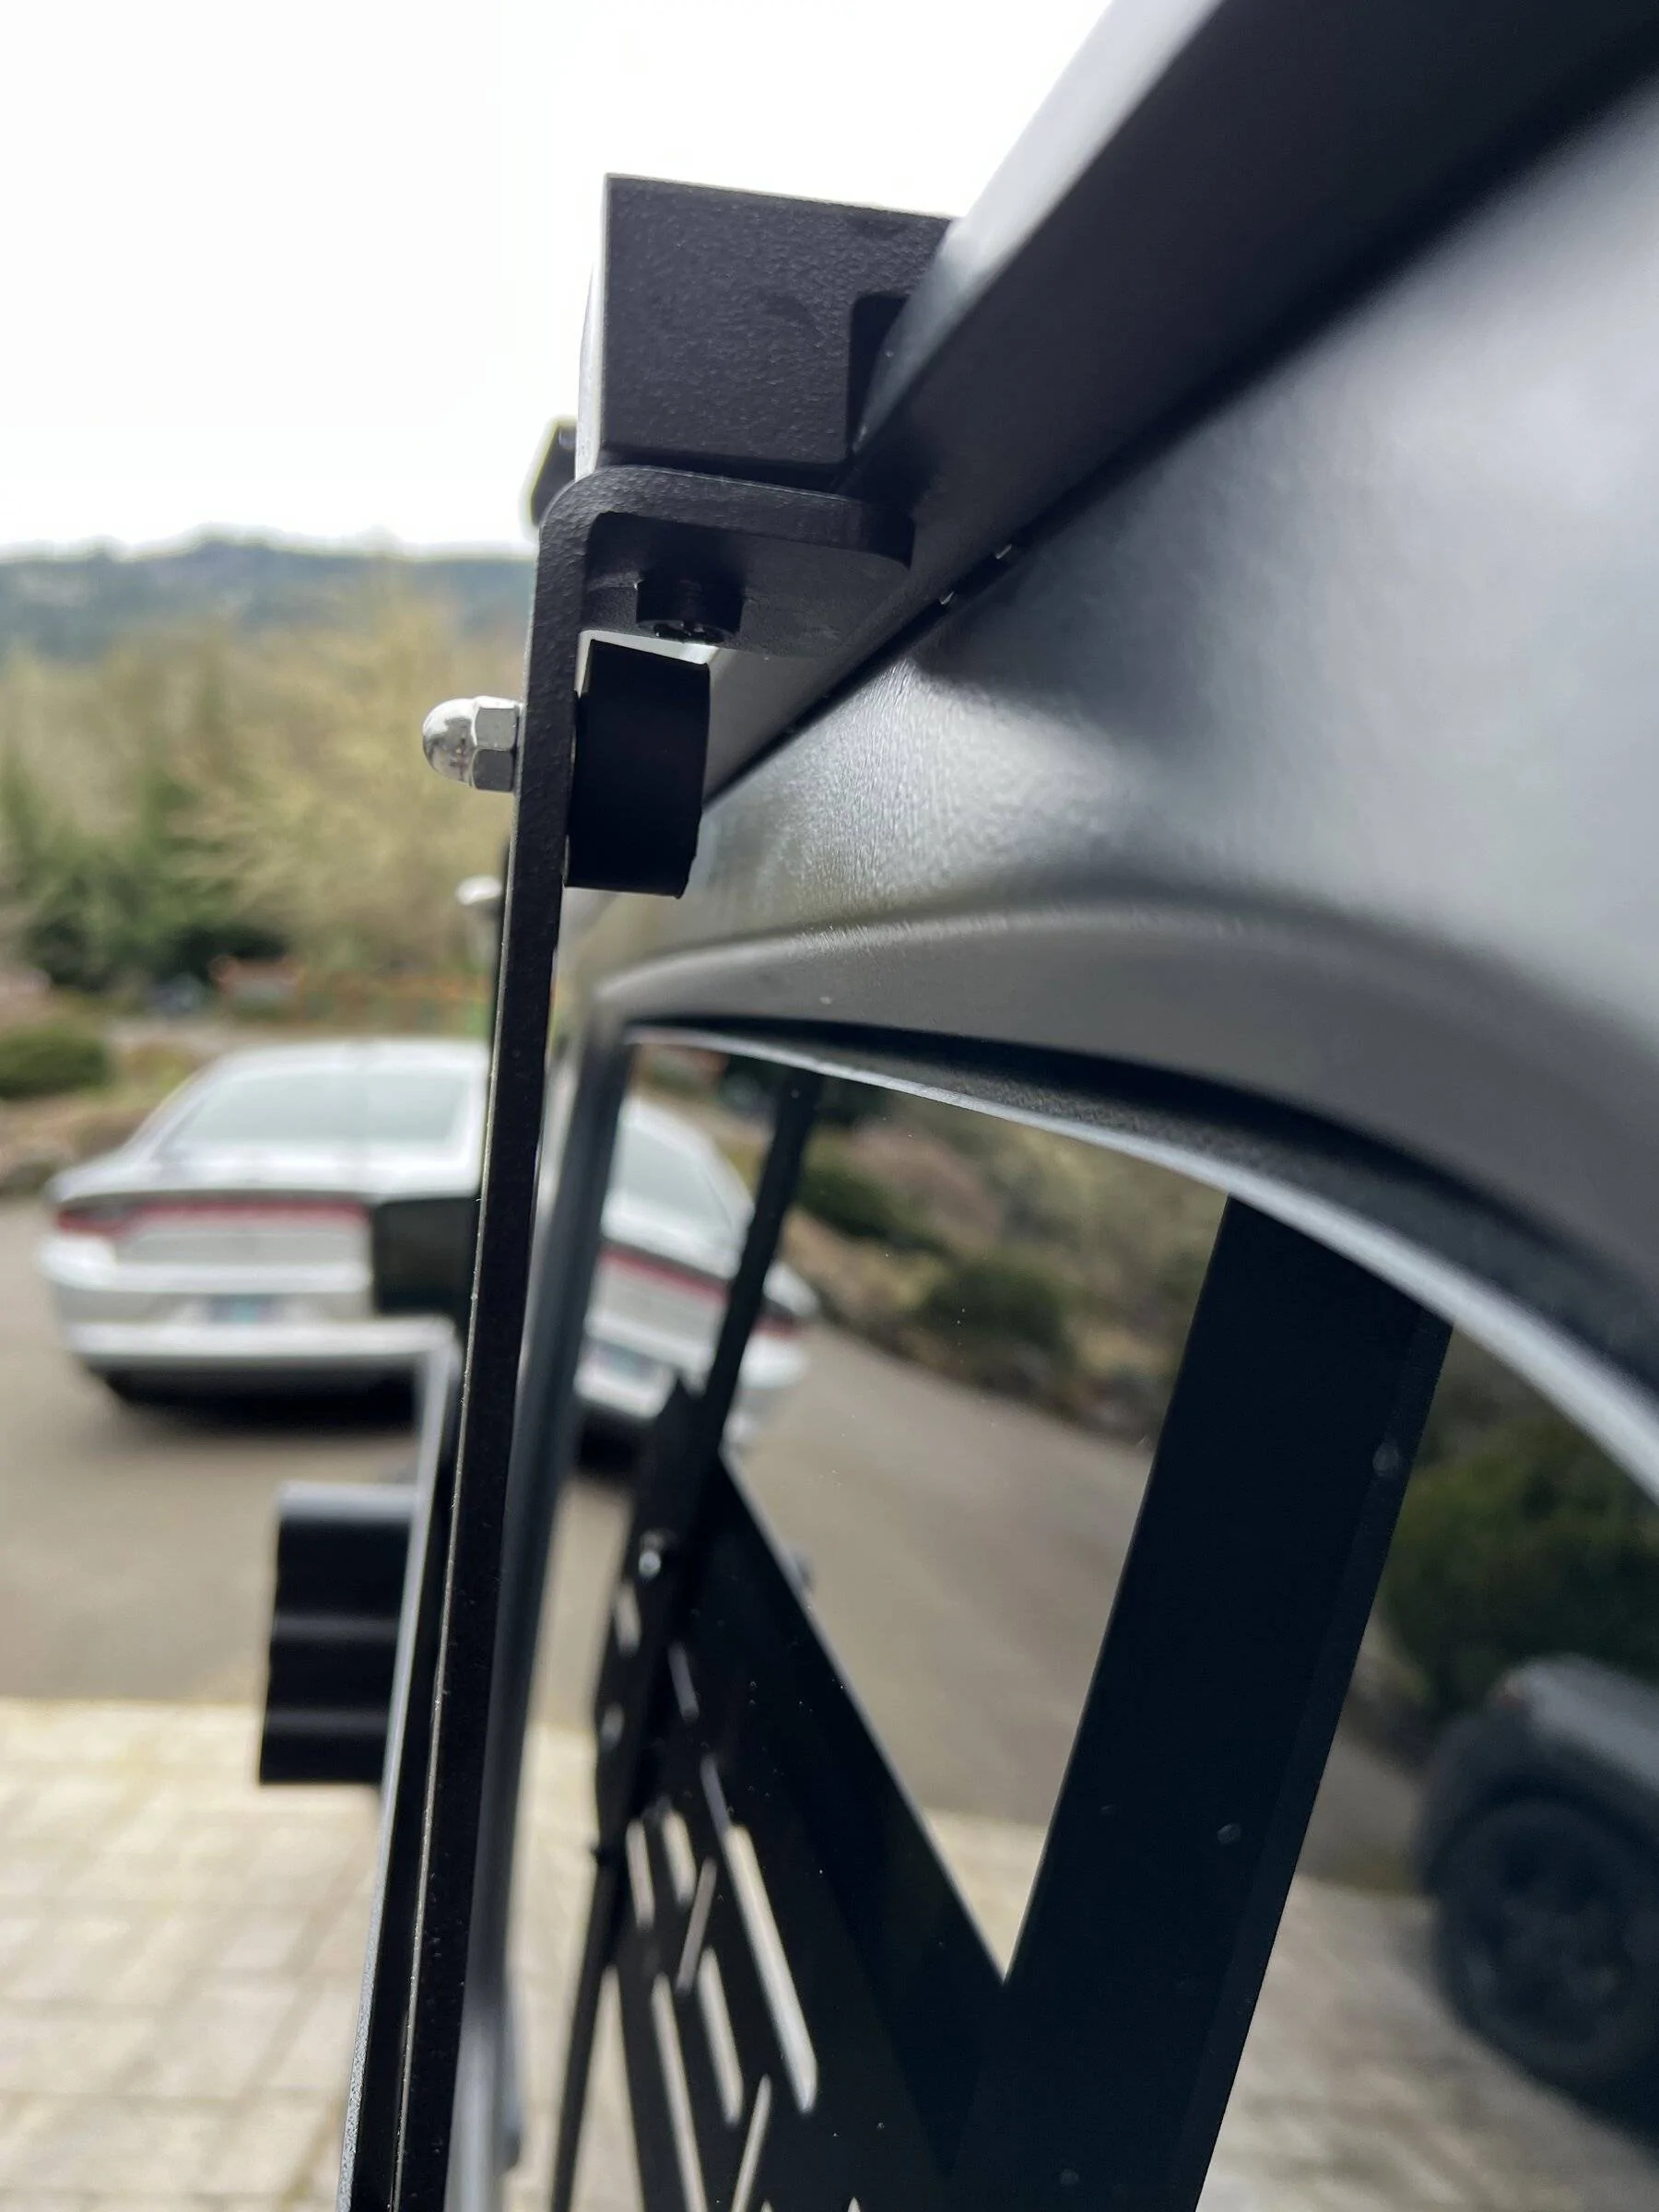
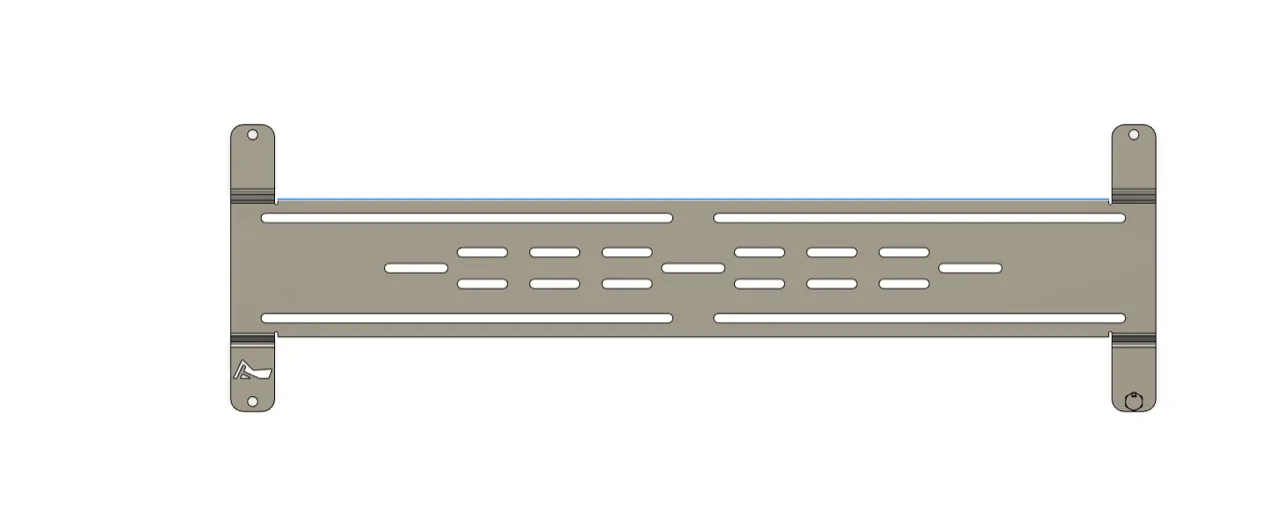
I think you'll have happier customers if you provide some instructions and/or provide a link to an installation video. The assembly is not complicated, but it's still helpful to see a diagram of how the parts interact, because some of the parts can be reversed. (I did have a single piece of paper with a written explanation of the order of the "bolt-rubber-washer-arm".)
I went to YouTube and found three longer-than-necessary bla-bla-bla installation videos, one of which wasn't helpful at all, as they guy and his wife were basically complaining about fit and lack of instructions. That video included no closeups showing the relative orientation of the support arms and the main plates, or even whether the sliding piece of the adjusting brackets on the bottoms go over or under the flange on the arms. Again, in retrospect this is an extremely straightforward assembly and installation, and enough staring at the parts made the assembly obvious, but most of us are used to following instructions or a video, as opposed to staring at the pieces long enough to figure out how they have to go together.
I also found myself second-guessing my choices, in part because the design of your center mounting panel is on it's third evolution since the JL model first came out, so my panel looked different from what I was seeing online. My kit also came with a bunch of nylock nuts and extra washers that have no role in the assembly (because the bolts on the latest version thread directly into the support arms instead of requiring nuts on the back). Finally, the rubber spacers/bumpers on my top arms are nowhere near contacting the top or the window glass, which seems odd. In fact, as I write this I find myself wanting to go back to the jeep and take another look.
Anyway, for those of us who are too dumb and impatient to just intuitively slap stuff together, a simple diagram that also included a parts list and a "tools required" section would be great. (The tools required piece tell guys like me that the nut I guess at 10mm is really 3/8th. It's nice just to take the tools list to the box, grab what you need, match the parts to the list to make sure it's all there, and assemble to match the diagram.
p.s. Thanks for the Overland Journal -- I really enjoyed looking through it!
We have changed the look of our plates a few times over the past few years to better suit the customers' needs and what they want to mount which usually involved us giving a new generation to the plate as it adapts to new product and is better suited to customers.
We appreciate your feedback and look forward to seeing our products in use on your build!
Sponsored

")