Hpc3
Well-Known Member
- Thread starter
- #1
Ok so I've unintentionally polluted a couple other threads with my recent MBQuart kit modifications so I'm starting this one in order to have everything documented in one link. This thread will focus on using the Rockford Fosgate DSR1/Maestro interface with the JL MBQuart Stg6 speaker/amp kit and MBQuart Sub replacement speaker/amp kit. There are other ways to accomplish the same thing - I chose the DSR1 since I was already familiar with it from another installation in my WK2 GC here.
To net this out - I am an OCD tweaker/modder and am pretty much compelled to tailor car audio to a louder, cleaner sound in many cases. The JLU Alpine is not bad for what it is but is not as good as my JK Alpine (which remains unmodified today) in volume and clarity from the factory. I wanted to add a relatively easy, pre-packaged upgrade to my JLU and chose the MB Quart kit based on their documentation, packaging and completeness of engineering. I understand the SubR kit was not available at initial release but now that it's available they have covered every aspect for an easy upgrade for everything involved. I'm assuming from this point forward that everyone has read *all* (3) of the excellent MBQuart installation documents posted with their upgrades on their website (Stage6 speaker installation, Stage6 Amplifier installation and SubR installation).
Ok thats the foundation. I initially purchased the "complete" kit for the stock head unit which includes the PAC audio AMPPro interface for signal and CAN bus commands to the Alpine amplifier. This setup comes with a t-harness that interfaces at the back of the radio head unit and provides 4ch signal and head unit CAN commands to the PAC processor for control. The PAC interface works well, Nav, Phone/CarPlay and chimes things all work out of the box. The one thing I was disappointed in however is the lack of audio frequency control. The PAC firmware does allow you to modify the stock head unit's Bass/Mid/Treble settings for both frequency and attenuation however to my ears (note - everyone has different hearing characteristics) the mid-bass was missing from the dash and sound-bar drivers, noticeable holes for me that I was unable to cover with the basic head unit settings and SubR adjustments at the MBQ amp.
When the DSR1 was released (Fall of 2017 iirc) I was an early adopter with my WK2 GC since I was doing a much more involved re-do in my Trailhawk at the time. The DSR1 does essentially the same thing as the PAC AMPPro in that it provides a way to get 4ch sound and interpret the CAN bus control signals from the stock head unit BUT it also includes a DSP processor to further adjust the amp outputs per channel - things like time-alignment, 32-band frequency control, polarity, PunchEQ, etc... all things that give you more customization for tuning to your ears. The DSR1 does require two additional steps to set up pre-install (flashing the latest firmware and programming the Maestro controller to the Jeep JLU with your options) but it is essentially the same with all the added features. If I had to do this over I'd get the "standard" Stage6/SubR kits and skip the PAC interface version. At list price the DSR option is ~$100 more than the MBQ option that includes the PAC, something I'd pay extra for anyway with all the adjustability it adds.
So here are my installation findings and settings so far... assuming you have the "standard" or "PAC" Stage6 MBQ Package you will need the following items to use the DSR1. I'm using Crutchfield PNs for reference but there are other sources/prices:
- Rockford Fosgate DSR1 - DSP with Maestro controller integrated
- Rockford Fosgate PLC2 - Optional - Sub vol control with clipping LED - you can use the included MBQ sub volume with SubR kit or just use the Sub output in the DSP to set/manage
- Maestro iDatalink HRN-AR-CH4 - Chrysler/Jeep '18+ vehicle sound/CAN interface T-harness
- Maestro iDatalink HRN-AR-EXT2 - Optional - the MBQ 6xRCA and power-on leads are long enough, buy this if you want to install the DSR1 behind the glovebox like the MBQ/PAC instructions show IE makes it easier to access if you ever have to reflash/update
Installation and setting notes:
- DSR1 installs at the Alpine Amp, single white plug to the Maestro T-harness, not behind the head unit like the PAC IE you can skip the head unit removal portion of the MBQ instructions
- The Alpine Amp is located behind the drivers lower dash speaker pod, accessible from the footwell w/o removing the pod. NOTE - in my 392 there are a number of other controllers/ECUs mounted in the dash here and spacing is tight. The stock MBQ cables have plenty of length to run to the drivers side through the center of the dash to mount the DSR1 on the drivers side however if you want to locate the DSR1 on the passenger side like the PAC install you'll need to purchase the EXT2 T-harness extension mentioned above. My DSR1 is on the drivers side now but I will move it to the passenger side soon, much easier to access for the future.
- Installation is pretty much the same as the PAC install from there... don't forget to update the DSR1 firmware AND program the Maestro settings for your JL before installation. Instructions are on the Rockford Fosgate DSR1 support site for both. NOTE if you choose to add the optional Sub vol level knob make sure to enable it in the Maestro programming step. Also I'd leave the PunchEQ setting in the Maestro programming as disabled (Maestro maps this to the SpeedSetting 1/2/3 level in the stock head unit by default) but this is easier to control within the PerfectTune app IMO. Download the PerfectTune app for your phone or tablet (tablet version is easier to use BTW) and you'll use this to finish the setup steps. PunchEQ gives you the ability to control the low-mid range gain w/o getting into the individual frequency adjustments IE covers for road-generated noise when driving.
- Within PerfectTune you'll find initial configuration settings for the DSR1/Maestro interface. I didn't have to change mine but you'll want to make sure it's set to 4ch in and then 2F, 2R and Sub out to match the interface wiring. There are 2 additional channels on the DSR1 that will not be used. Also take time to do the time-alignment setting for each of the RCA outputs - with a tape measure I measured the distance from (5) locations to approximately where my head would be in the driver's seat - FL, FR, RL, RR and then Sub distances. This makes a large change to the soundstage... you can tweak to your liking here by adjusting the gain/outputs per speaker manually if interested. My equalizer curves for all 6 channels are basically flat right now... I'll eventually tinker with this for the sound bar 6x9s to add a little more low end fill but honestly with the DSR1 and PunchEQ settings there's little that needs adjusting - sound is much more full as-is.
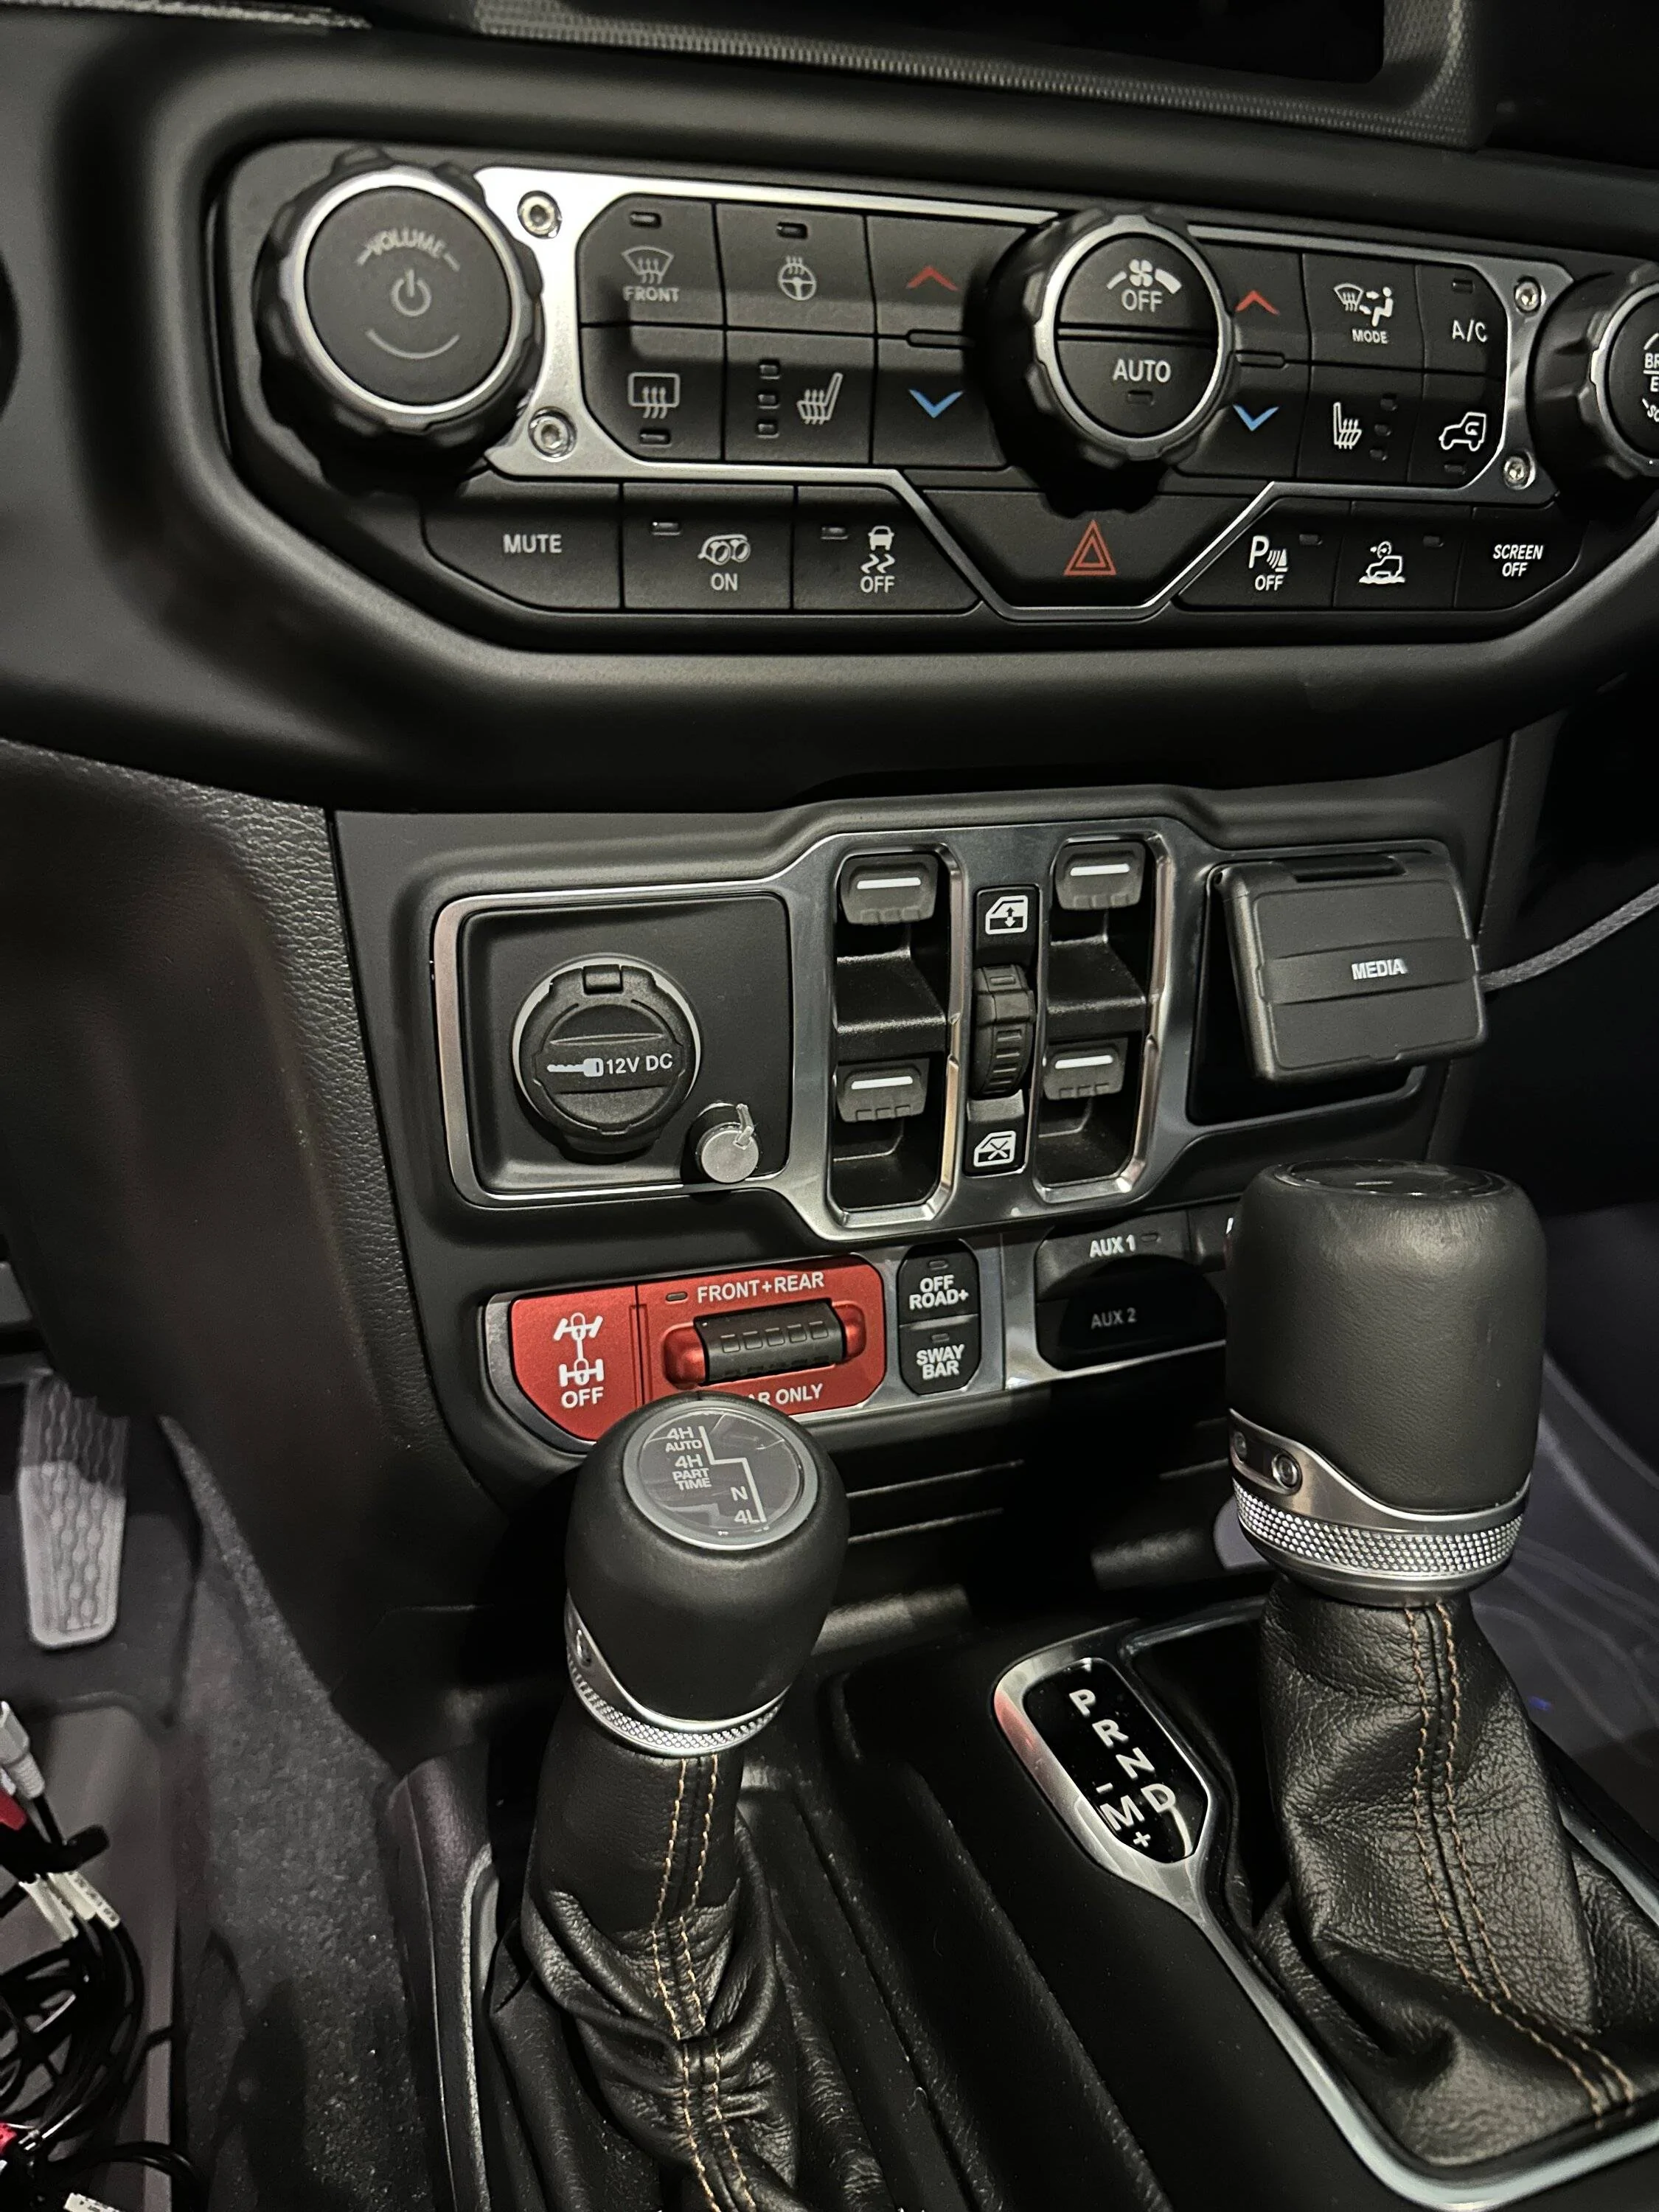
- My MBQ amp settings are basically per MBQ recommendations: both F/R amps are at 12 o-clock and the Sub amp is at stock Subsonic, Pass and Gain are at 2 o-clock, 0 DB switch setting (this made a big difference to the clarity of the Sub). The sound bar speakers are louder than the dash ones so with the gain on both F/R amps set the same I use the DSR1 to dial back the sound bar ~4db iirc. I also use the Sub vol knob (mounted beside the 12v accessory in the center of the dash) to adjust the bass when driving IE higher for road use, lower for parked use, etc. Honestly with my phone mounted just to the right of my AC controls it's just as easy to just use the App to adjust on the fly. Also the MBQ SubR comes with a Sub vol knob you can use instead... don't need to buy the Rockford one.
Welp that's where I am today... this setup is very good for me, almost matches my WK2 Infinity Kappa/JLAudio setup which is quite a statement for a Wrangler lol. Great stuff from all companies involved here. Many thanks to the MBQ team for documenting everything so well. Happy to assist others if there are questions.
To net this out - I am an OCD tweaker/modder and am pretty much compelled to tailor car audio to a louder, cleaner sound in many cases. The JLU Alpine is not bad for what it is but is not as good as my JK Alpine (which remains unmodified today) in volume and clarity from the factory. I wanted to add a relatively easy, pre-packaged upgrade to my JLU and chose the MB Quart kit based on their documentation, packaging and completeness of engineering. I understand the SubR kit was not available at initial release but now that it's available they have covered every aspect for an easy upgrade for everything involved. I'm assuming from this point forward that everyone has read *all* (3) of the excellent MBQuart installation documents posted with their upgrades on their website (Stage6 speaker installation, Stage6 Amplifier installation and SubR installation).
Ok thats the foundation. I initially purchased the "complete" kit for the stock head unit which includes the PAC audio AMPPro interface for signal and CAN bus commands to the Alpine amplifier. This setup comes with a t-harness that interfaces at the back of the radio head unit and provides 4ch signal and head unit CAN commands to the PAC processor for control. The PAC interface works well, Nav, Phone/CarPlay and chimes things all work out of the box. The one thing I was disappointed in however is the lack of audio frequency control. The PAC firmware does allow you to modify the stock head unit's Bass/Mid/Treble settings for both frequency and attenuation however to my ears (note - everyone has different hearing characteristics) the mid-bass was missing from the dash and sound-bar drivers, noticeable holes for me that I was unable to cover with the basic head unit settings and SubR adjustments at the MBQ amp.
When the DSR1 was released (Fall of 2017 iirc) I was an early adopter with my WK2 GC since I was doing a much more involved re-do in my Trailhawk at the time. The DSR1 does essentially the same thing as the PAC AMPPro in that it provides a way to get 4ch sound and interpret the CAN bus control signals from the stock head unit BUT it also includes a DSP processor to further adjust the amp outputs per channel - things like time-alignment, 32-band frequency control, polarity, PunchEQ, etc... all things that give you more customization for tuning to your ears. The DSR1 does require two additional steps to set up pre-install (flashing the latest firmware and programming the Maestro controller to the Jeep JLU with your options) but it is essentially the same with all the added features. If I had to do this over I'd get the "standard" Stage6/SubR kits and skip the PAC interface version. At list price the DSR option is ~$100 more than the MBQ option that includes the PAC, something I'd pay extra for anyway with all the adjustability it adds.
So here are my installation findings and settings so far... assuming you have the "standard" or "PAC" Stage6 MBQ Package you will need the following items to use the DSR1. I'm using Crutchfield PNs for reference but there are other sources/prices:
- Rockford Fosgate DSR1 - DSP with Maestro controller integrated
- Rockford Fosgate PLC2 - Optional - Sub vol control with clipping LED - you can use the included MBQ sub volume with SubR kit or just use the Sub output in the DSP to set/manage
- Maestro iDatalink HRN-AR-CH4 - Chrysler/Jeep '18+ vehicle sound/CAN interface T-harness
- Maestro iDatalink HRN-AR-EXT2 - Optional - the MBQ 6xRCA and power-on leads are long enough, buy this if you want to install the DSR1 behind the glovebox like the MBQ/PAC instructions show IE makes it easier to access if you ever have to reflash/update
Installation and setting notes:
- DSR1 installs at the Alpine Amp, single white plug to the Maestro T-harness, not behind the head unit like the PAC IE you can skip the head unit removal portion of the MBQ instructions
- The Alpine Amp is located behind the drivers lower dash speaker pod, accessible from the footwell w/o removing the pod. NOTE - in my 392 there are a number of other controllers/ECUs mounted in the dash here and spacing is tight. The stock MBQ cables have plenty of length to run to the drivers side through the center of the dash to mount the DSR1 on the drivers side however if you want to locate the DSR1 on the passenger side like the PAC install you'll need to purchase the EXT2 T-harness extension mentioned above. My DSR1 is on the drivers side now but I will move it to the passenger side soon, much easier to access for the future.
- Installation is pretty much the same as the PAC install from there... don't forget to update the DSR1 firmware AND program the Maestro settings for your JL before installation. Instructions are on the Rockford Fosgate DSR1 support site for both. NOTE if you choose to add the optional Sub vol level knob make sure to enable it in the Maestro programming step. Also I'd leave the PunchEQ setting in the Maestro programming as disabled (Maestro maps this to the SpeedSetting 1/2/3 level in the stock head unit by default) but this is easier to control within the PerfectTune app IMO. Download the PerfectTune app for your phone or tablet (tablet version is easier to use BTW) and you'll use this to finish the setup steps. PunchEQ gives you the ability to control the low-mid range gain w/o getting into the individual frequency adjustments IE covers for road-generated noise when driving.
- Within PerfectTune you'll find initial configuration settings for the DSR1/Maestro interface. I didn't have to change mine but you'll want to make sure it's set to 4ch in and then 2F, 2R and Sub out to match the interface wiring. There are 2 additional channels on the DSR1 that will not be used. Also take time to do the time-alignment setting for each of the RCA outputs - with a tape measure I measured the distance from (5) locations to approximately where my head would be in the driver's seat - FL, FR, RL, RR and then Sub distances. This makes a large change to the soundstage... you can tweak to your liking here by adjusting the gain/outputs per speaker manually if interested. My equalizer curves for all 6 channels are basically flat right now... I'll eventually tinker with this for the sound bar 6x9s to add a little more low end fill but honestly with the DSR1 and PunchEQ settings there's little that needs adjusting - sound is much more full as-is.
- My MBQ amp settings are basically per MBQ recommendations: both F/R amps are at 12 o-clock and the Sub amp is at stock Subsonic, Pass and Gain are at 2 o-clock, 0 DB switch setting (this made a big difference to the clarity of the Sub). The sound bar speakers are louder than the dash ones so with the gain on both F/R amps set the same I use the DSR1 to dial back the sound bar ~4db iirc. I also use the Sub vol knob (mounted beside the 12v accessory in the center of the dash) to adjust the bass when driving IE higher for road use, lower for parked use, etc. Honestly with my phone mounted just to the right of my AC controls it's just as easy to just use the App to adjust on the fly. Also the MBQ SubR comes with a Sub vol knob you can use instead... don't need to buy the Rockford one.
Welp that's where I am today... this setup is very good for me, almost matches my WK2 Infinity Kappa/JLAudio setup which is quite a statement for a Wrangler lol. Great stuff from all companies involved here. Many thanks to the MBQ team for documenting everything so well. Happy to assist others if there are questions.
Sponsored
Last edited: