Cjkinwi
Member
- Thread starter
- #1
Hey guys, inspired by JP29's thread here, I decided that it was time to tackle replacing the soft top fabric (deck) on my 2018. I had my previous soft top stored in the garage over winter, and a mouse had chewed a 1" hole right above the driver's head, so I knew I wasn't going to be happy with a patch. Ordered the replacement fabric through Quadratec and I installed it over the holiday weekend. While JP29 did a pretty good job of getting me started (and I highly recommend reviewing his thread as well_, I did find some differences that I wanted to highlight.
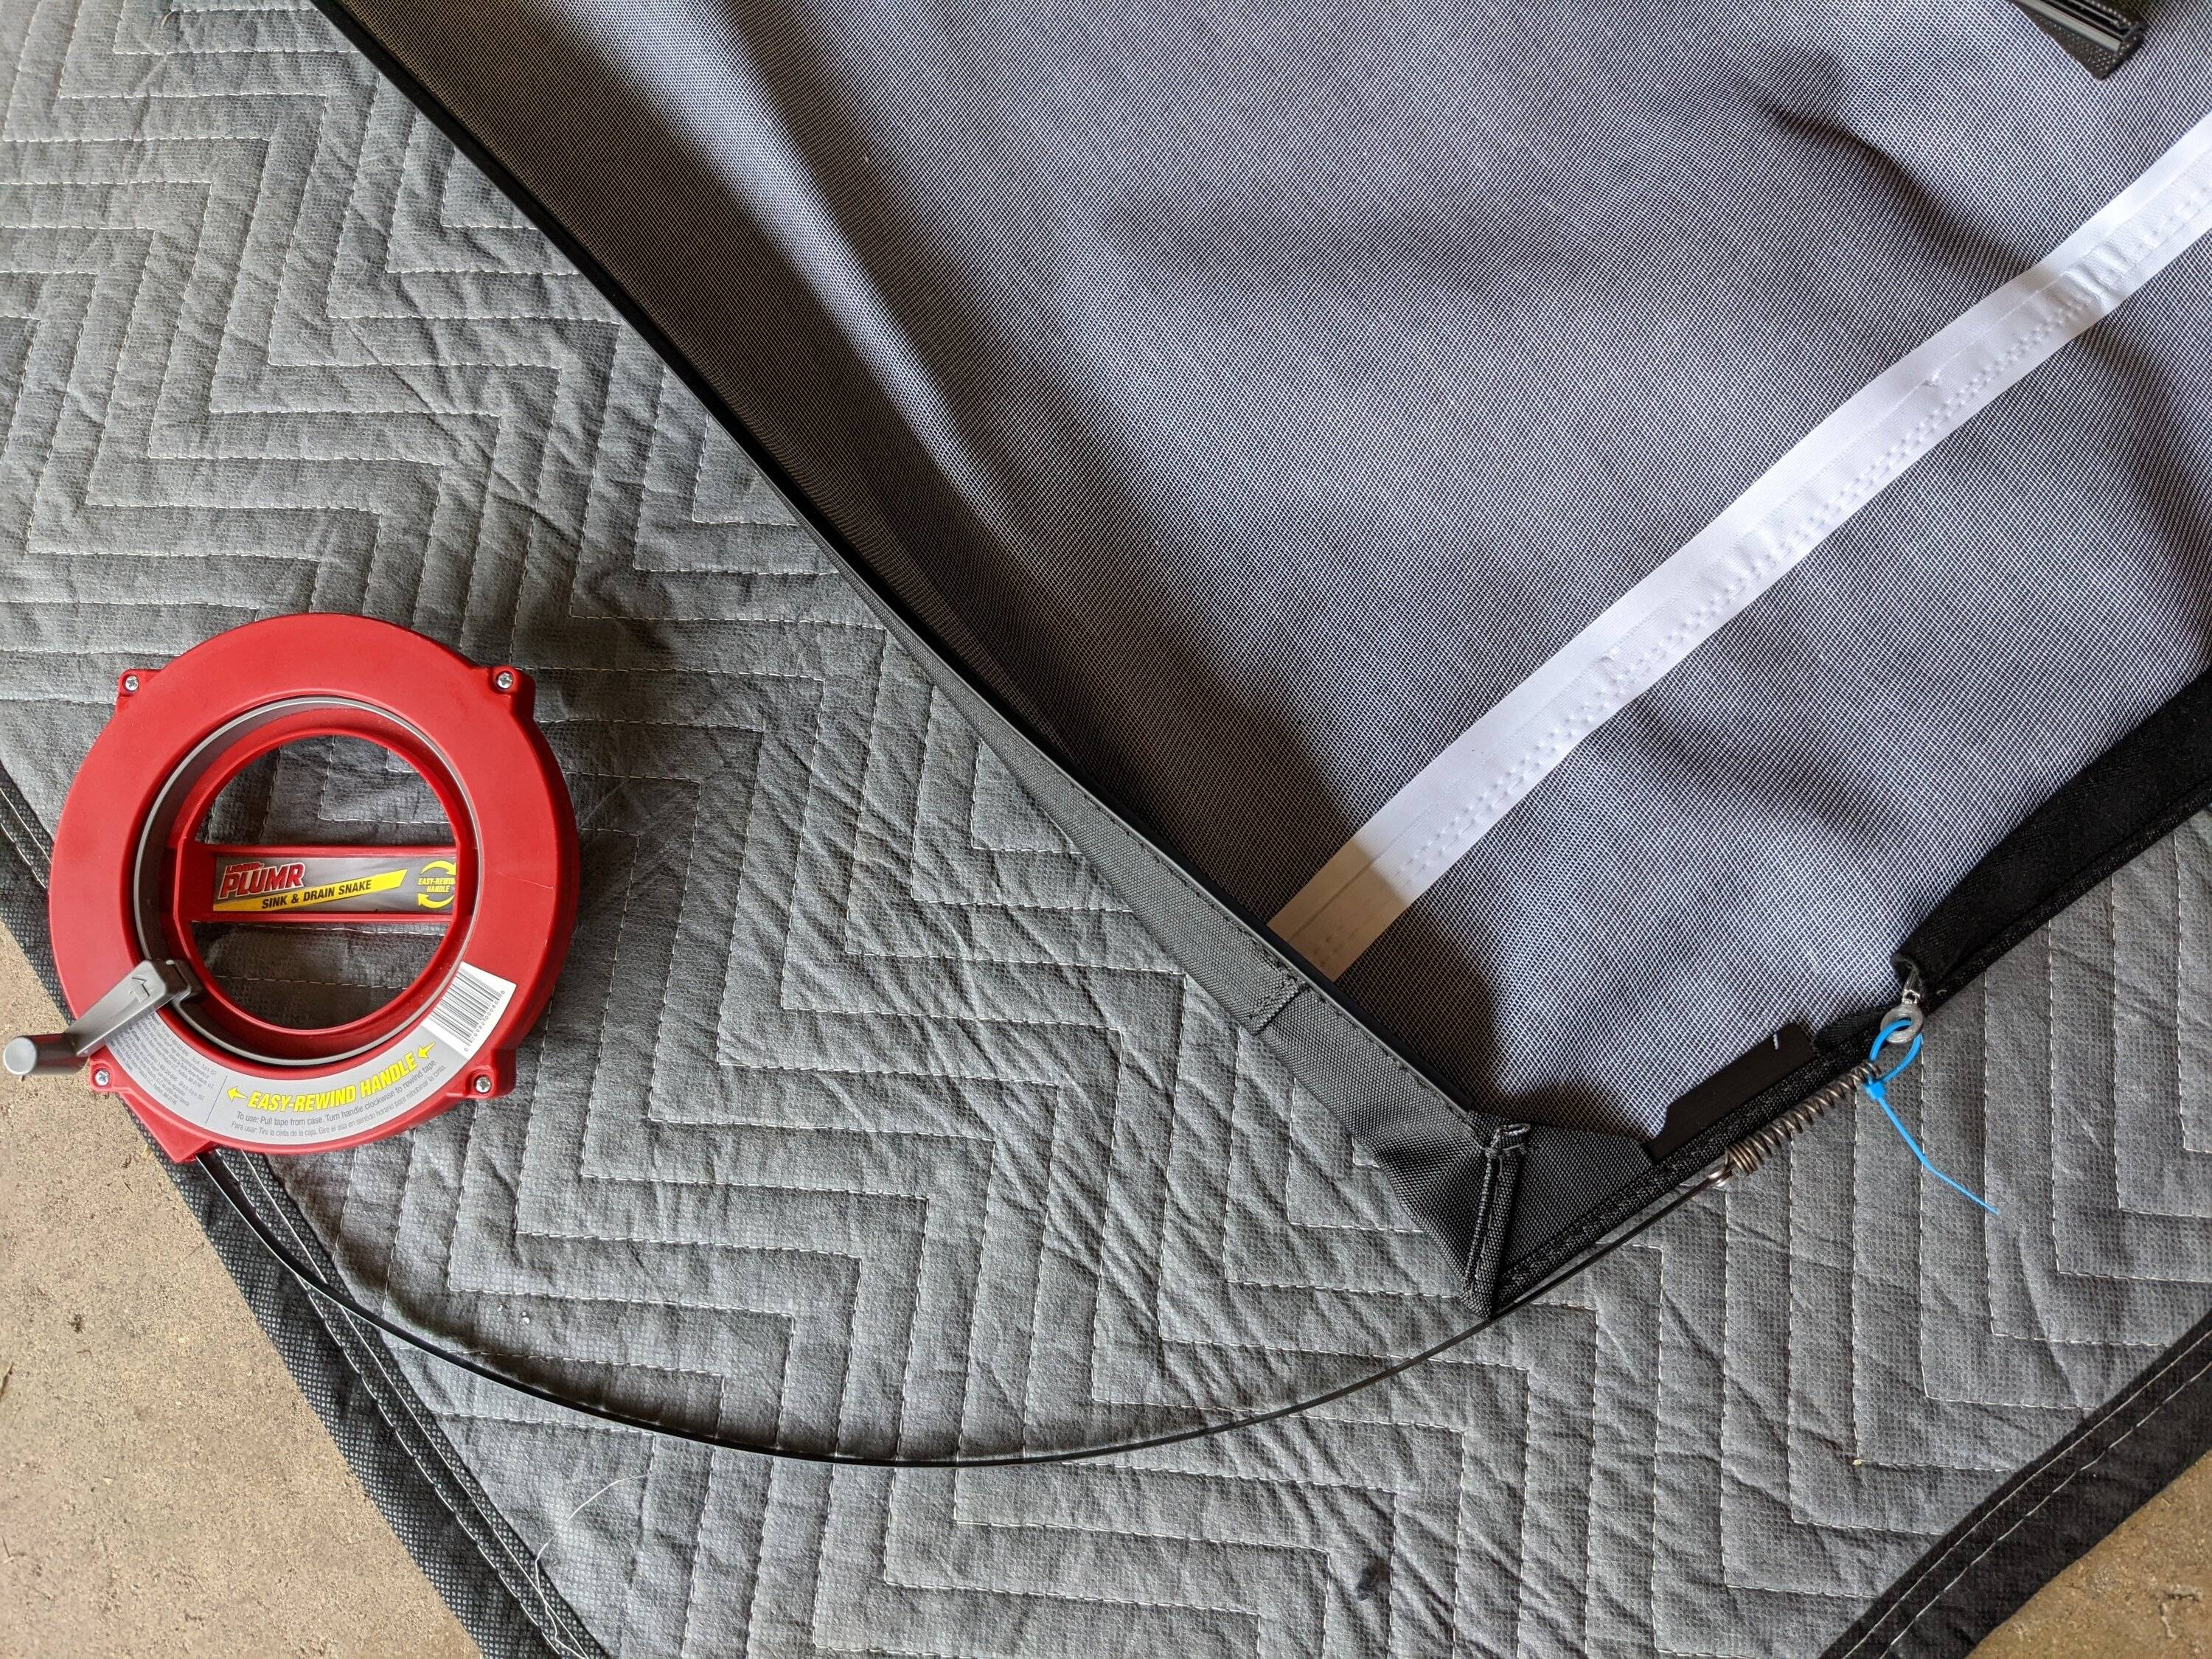
I started with the soft top frame off the vehicle, laid out on a moving blanket to protect it. Next I removed the screws holding in the plastic frame at the front edge of the windshield header portion and peeled the fabric back. There seemed to be some kind of double sided tape that helped to hold the front edge in place, but I left that in place and it didn't seem to affect installation or removal at all.

Next I removed the 3 screws on each side that held the cable brackets in place.
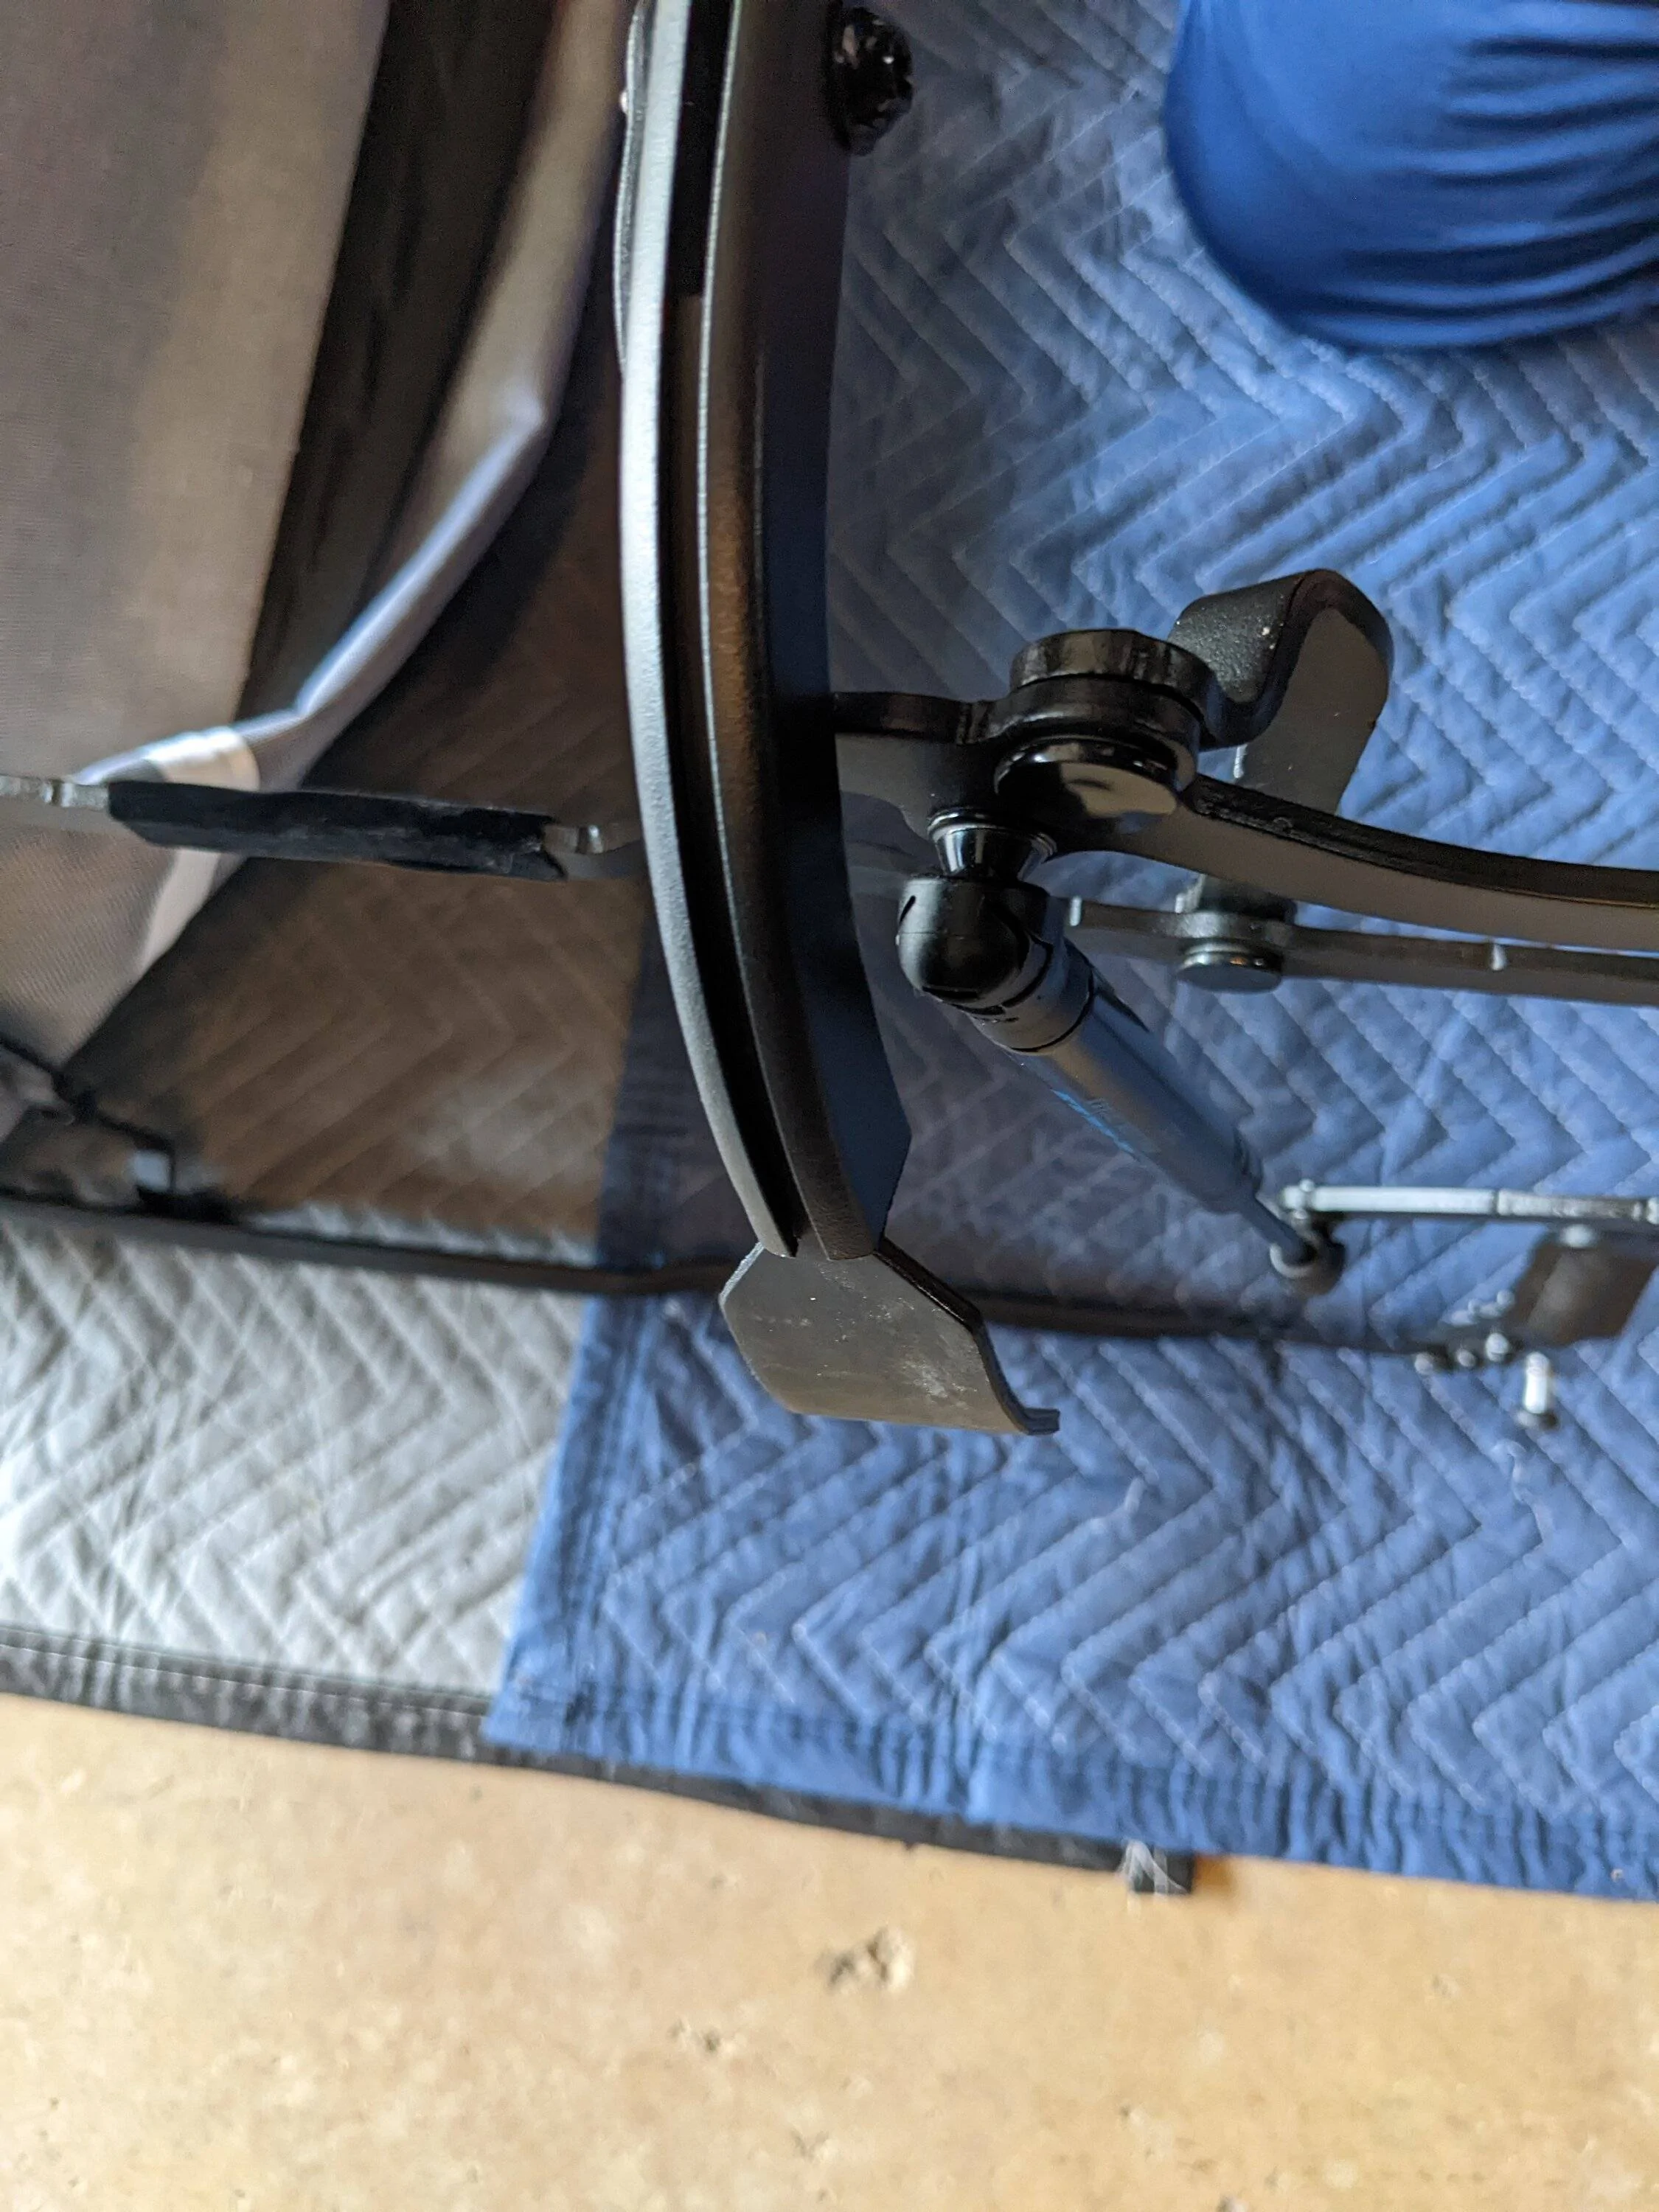
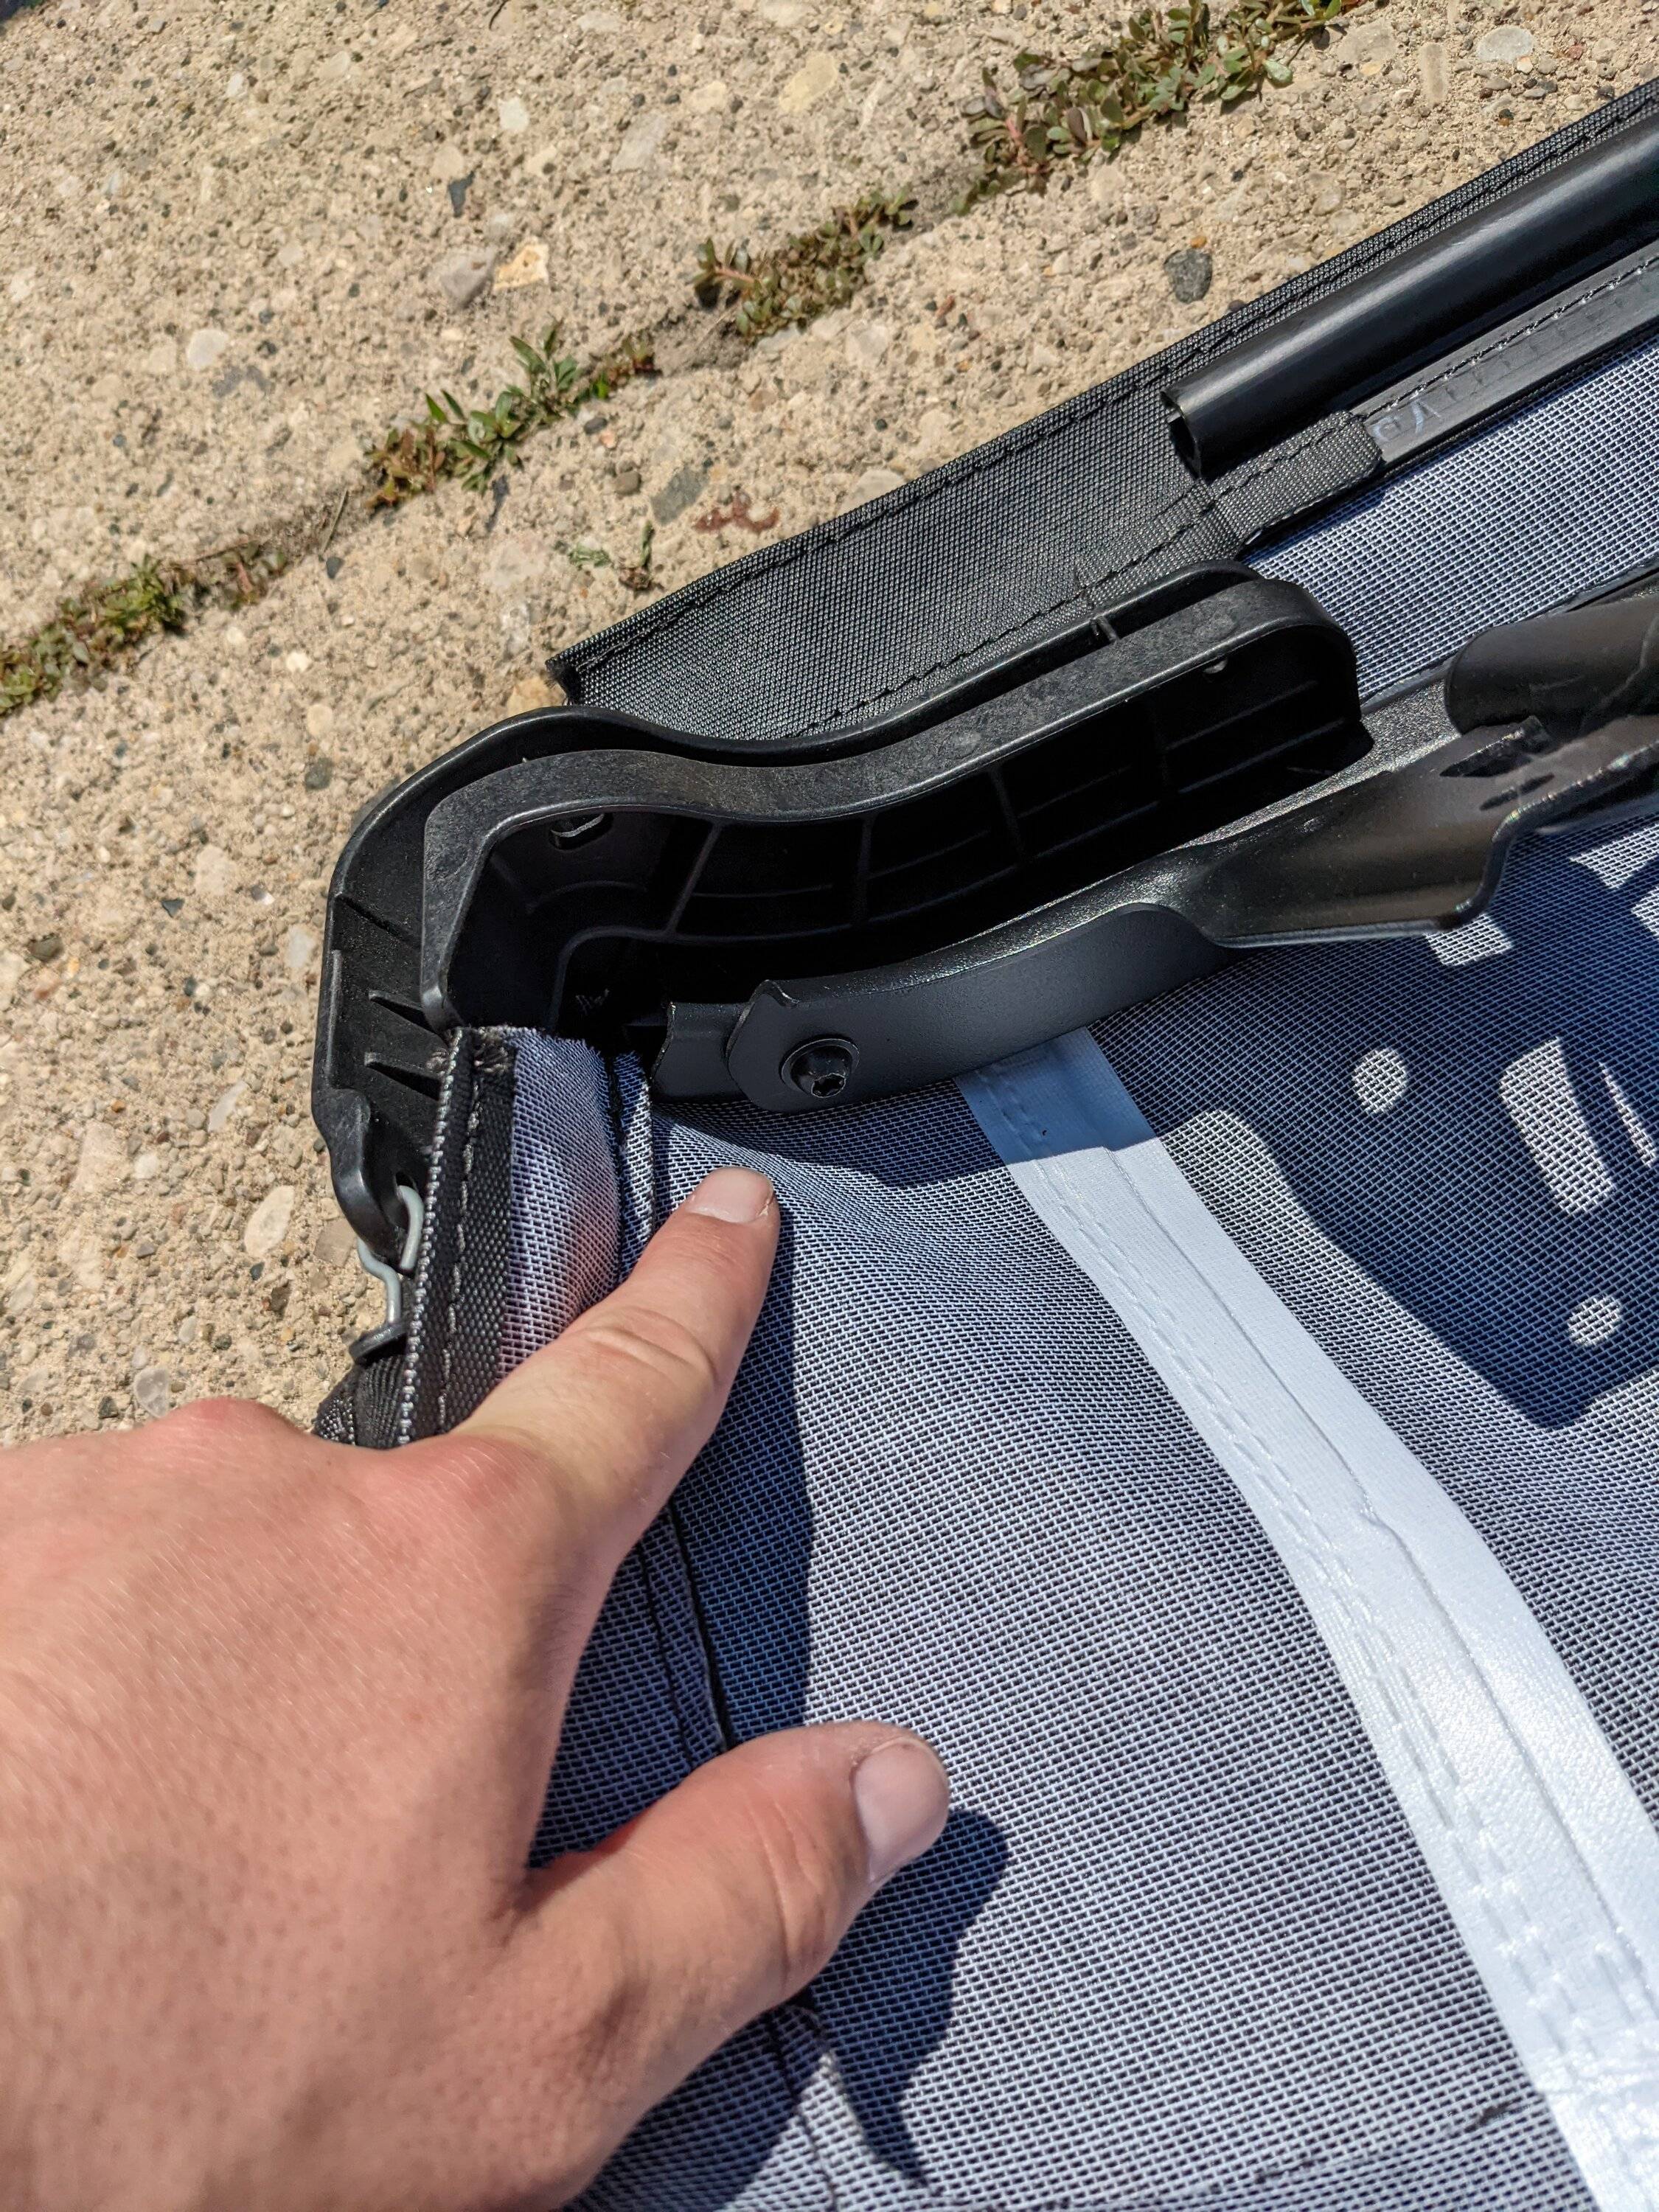
Then I switched focus to the very rear of the top, which required removing the 2 screws on each corner block.
Then you'll need to drill out the rivets that hold the fabric to the frame. I think I used a 7/64", 1/8", and 3/32" drill bit to remove the heads.

At this point, you can remove the fabric toggles from the brackets on each of the support arms, they just push through.
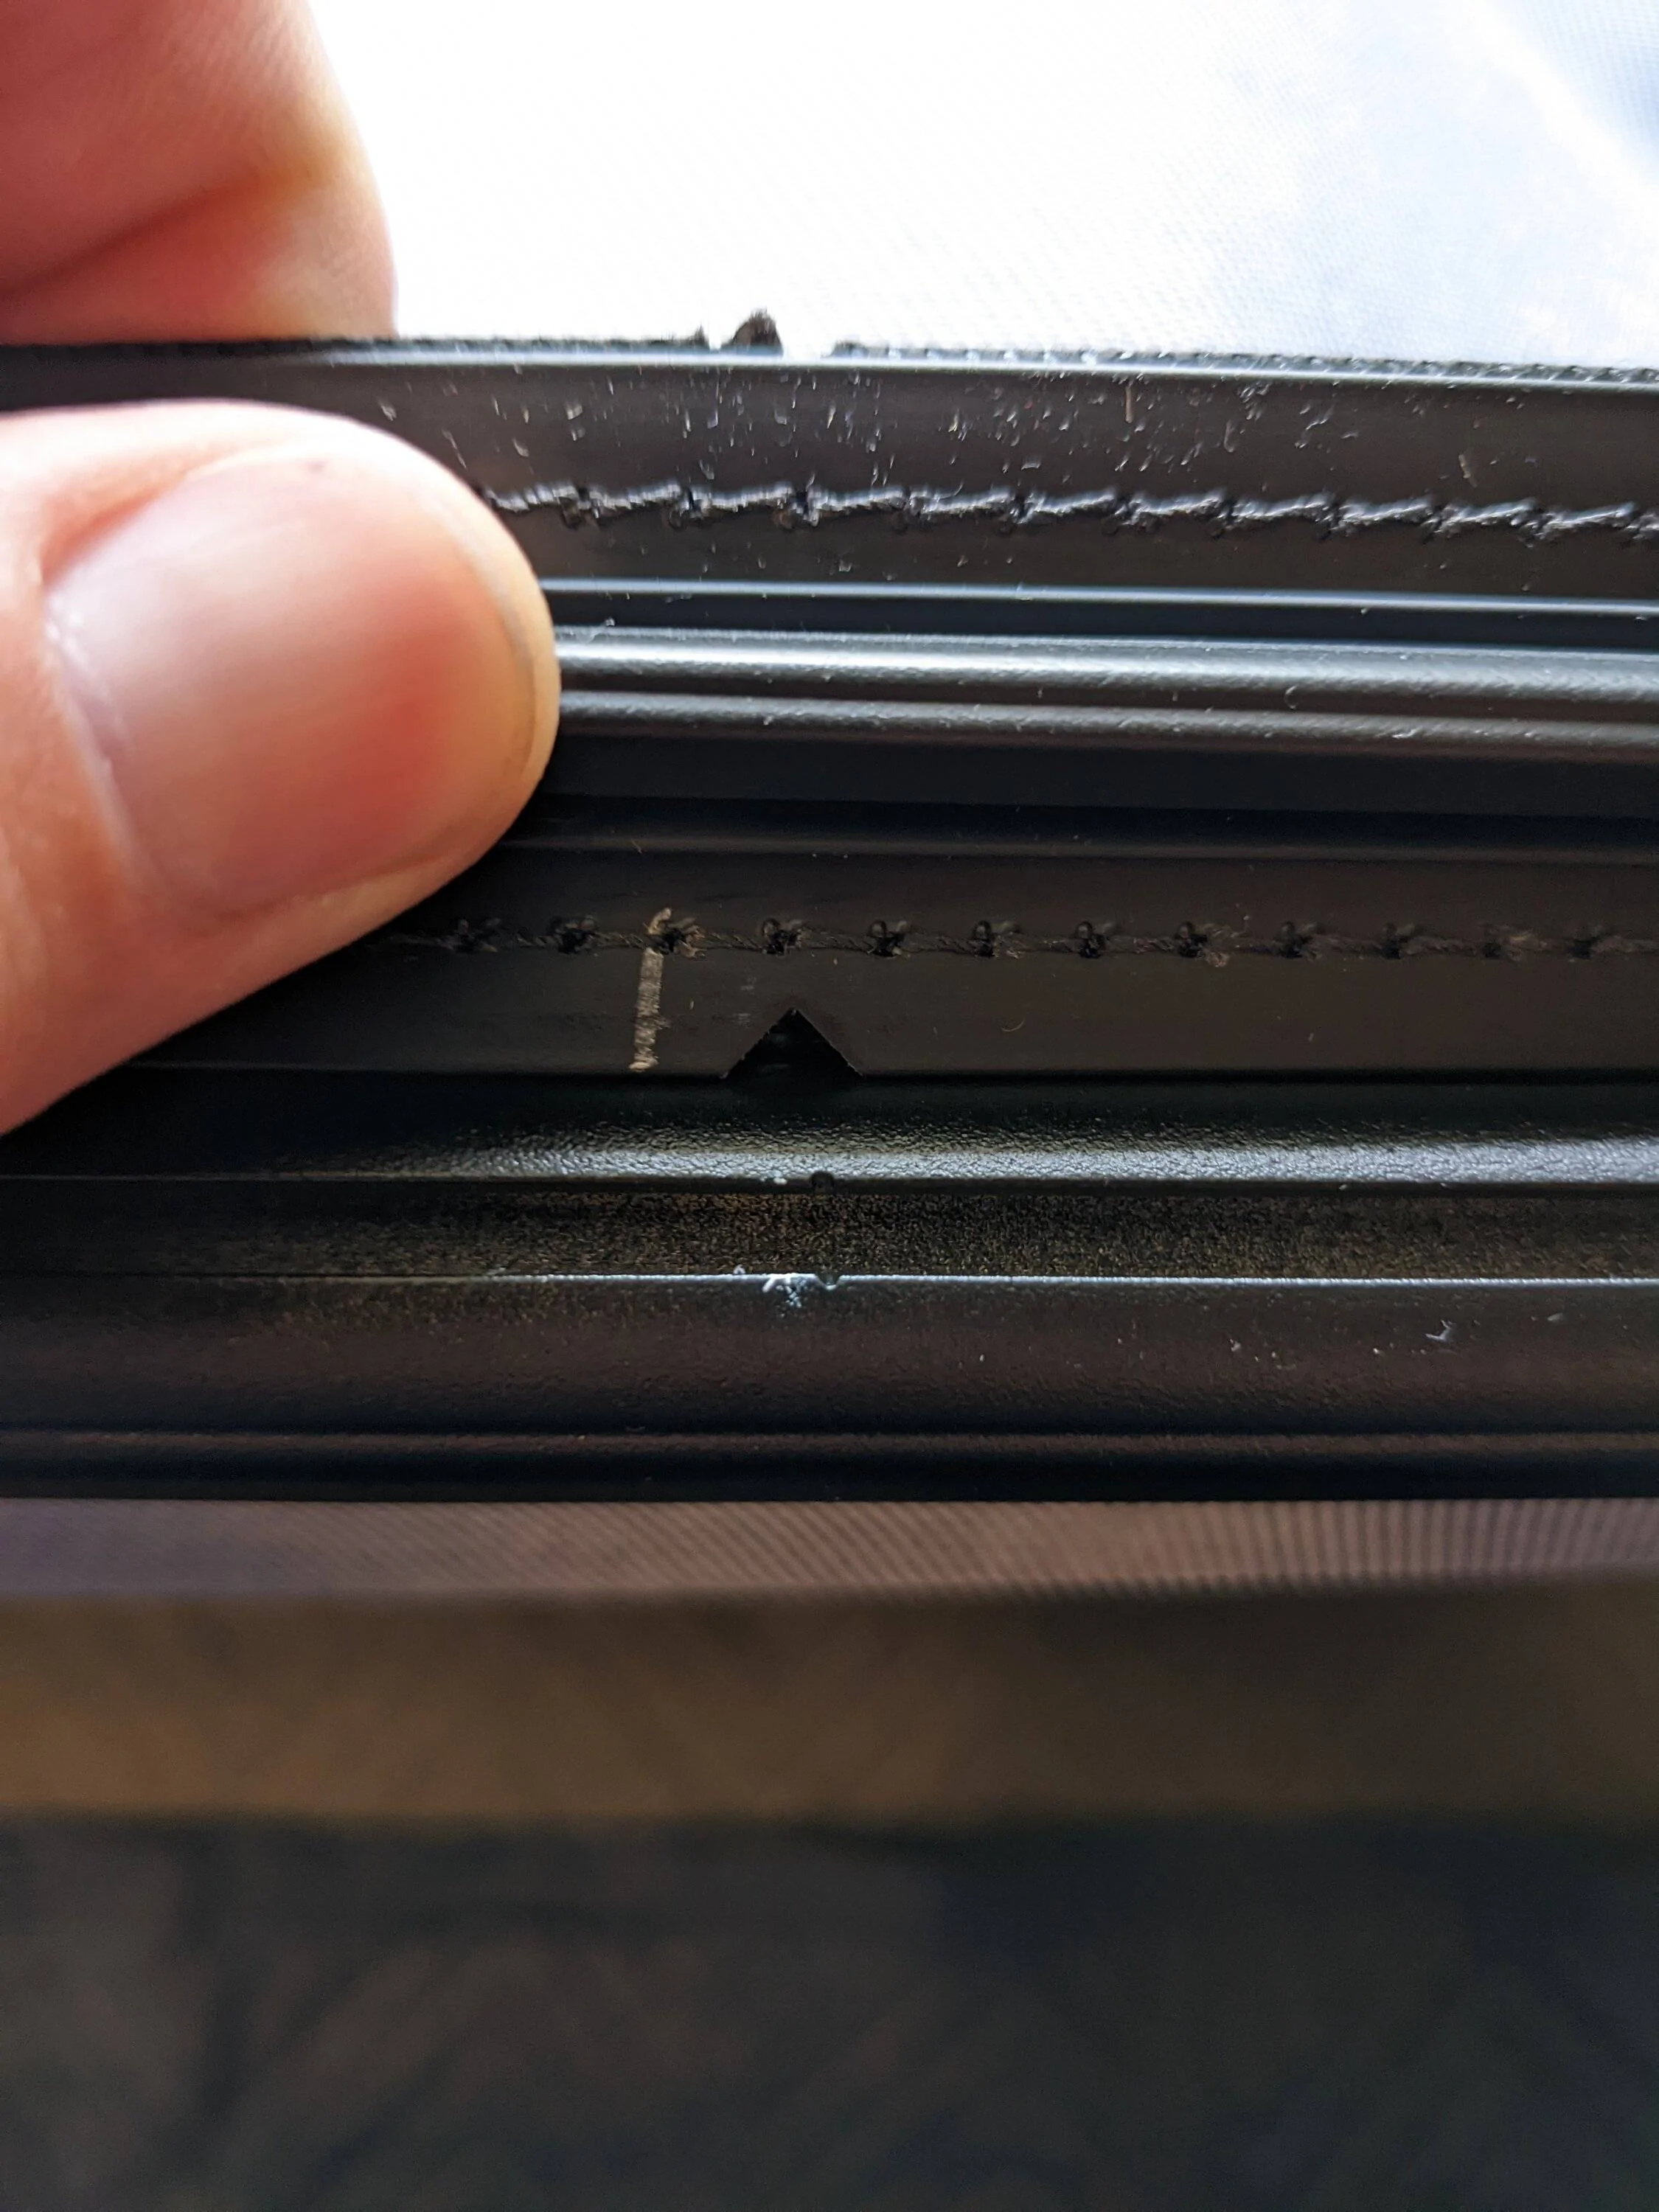
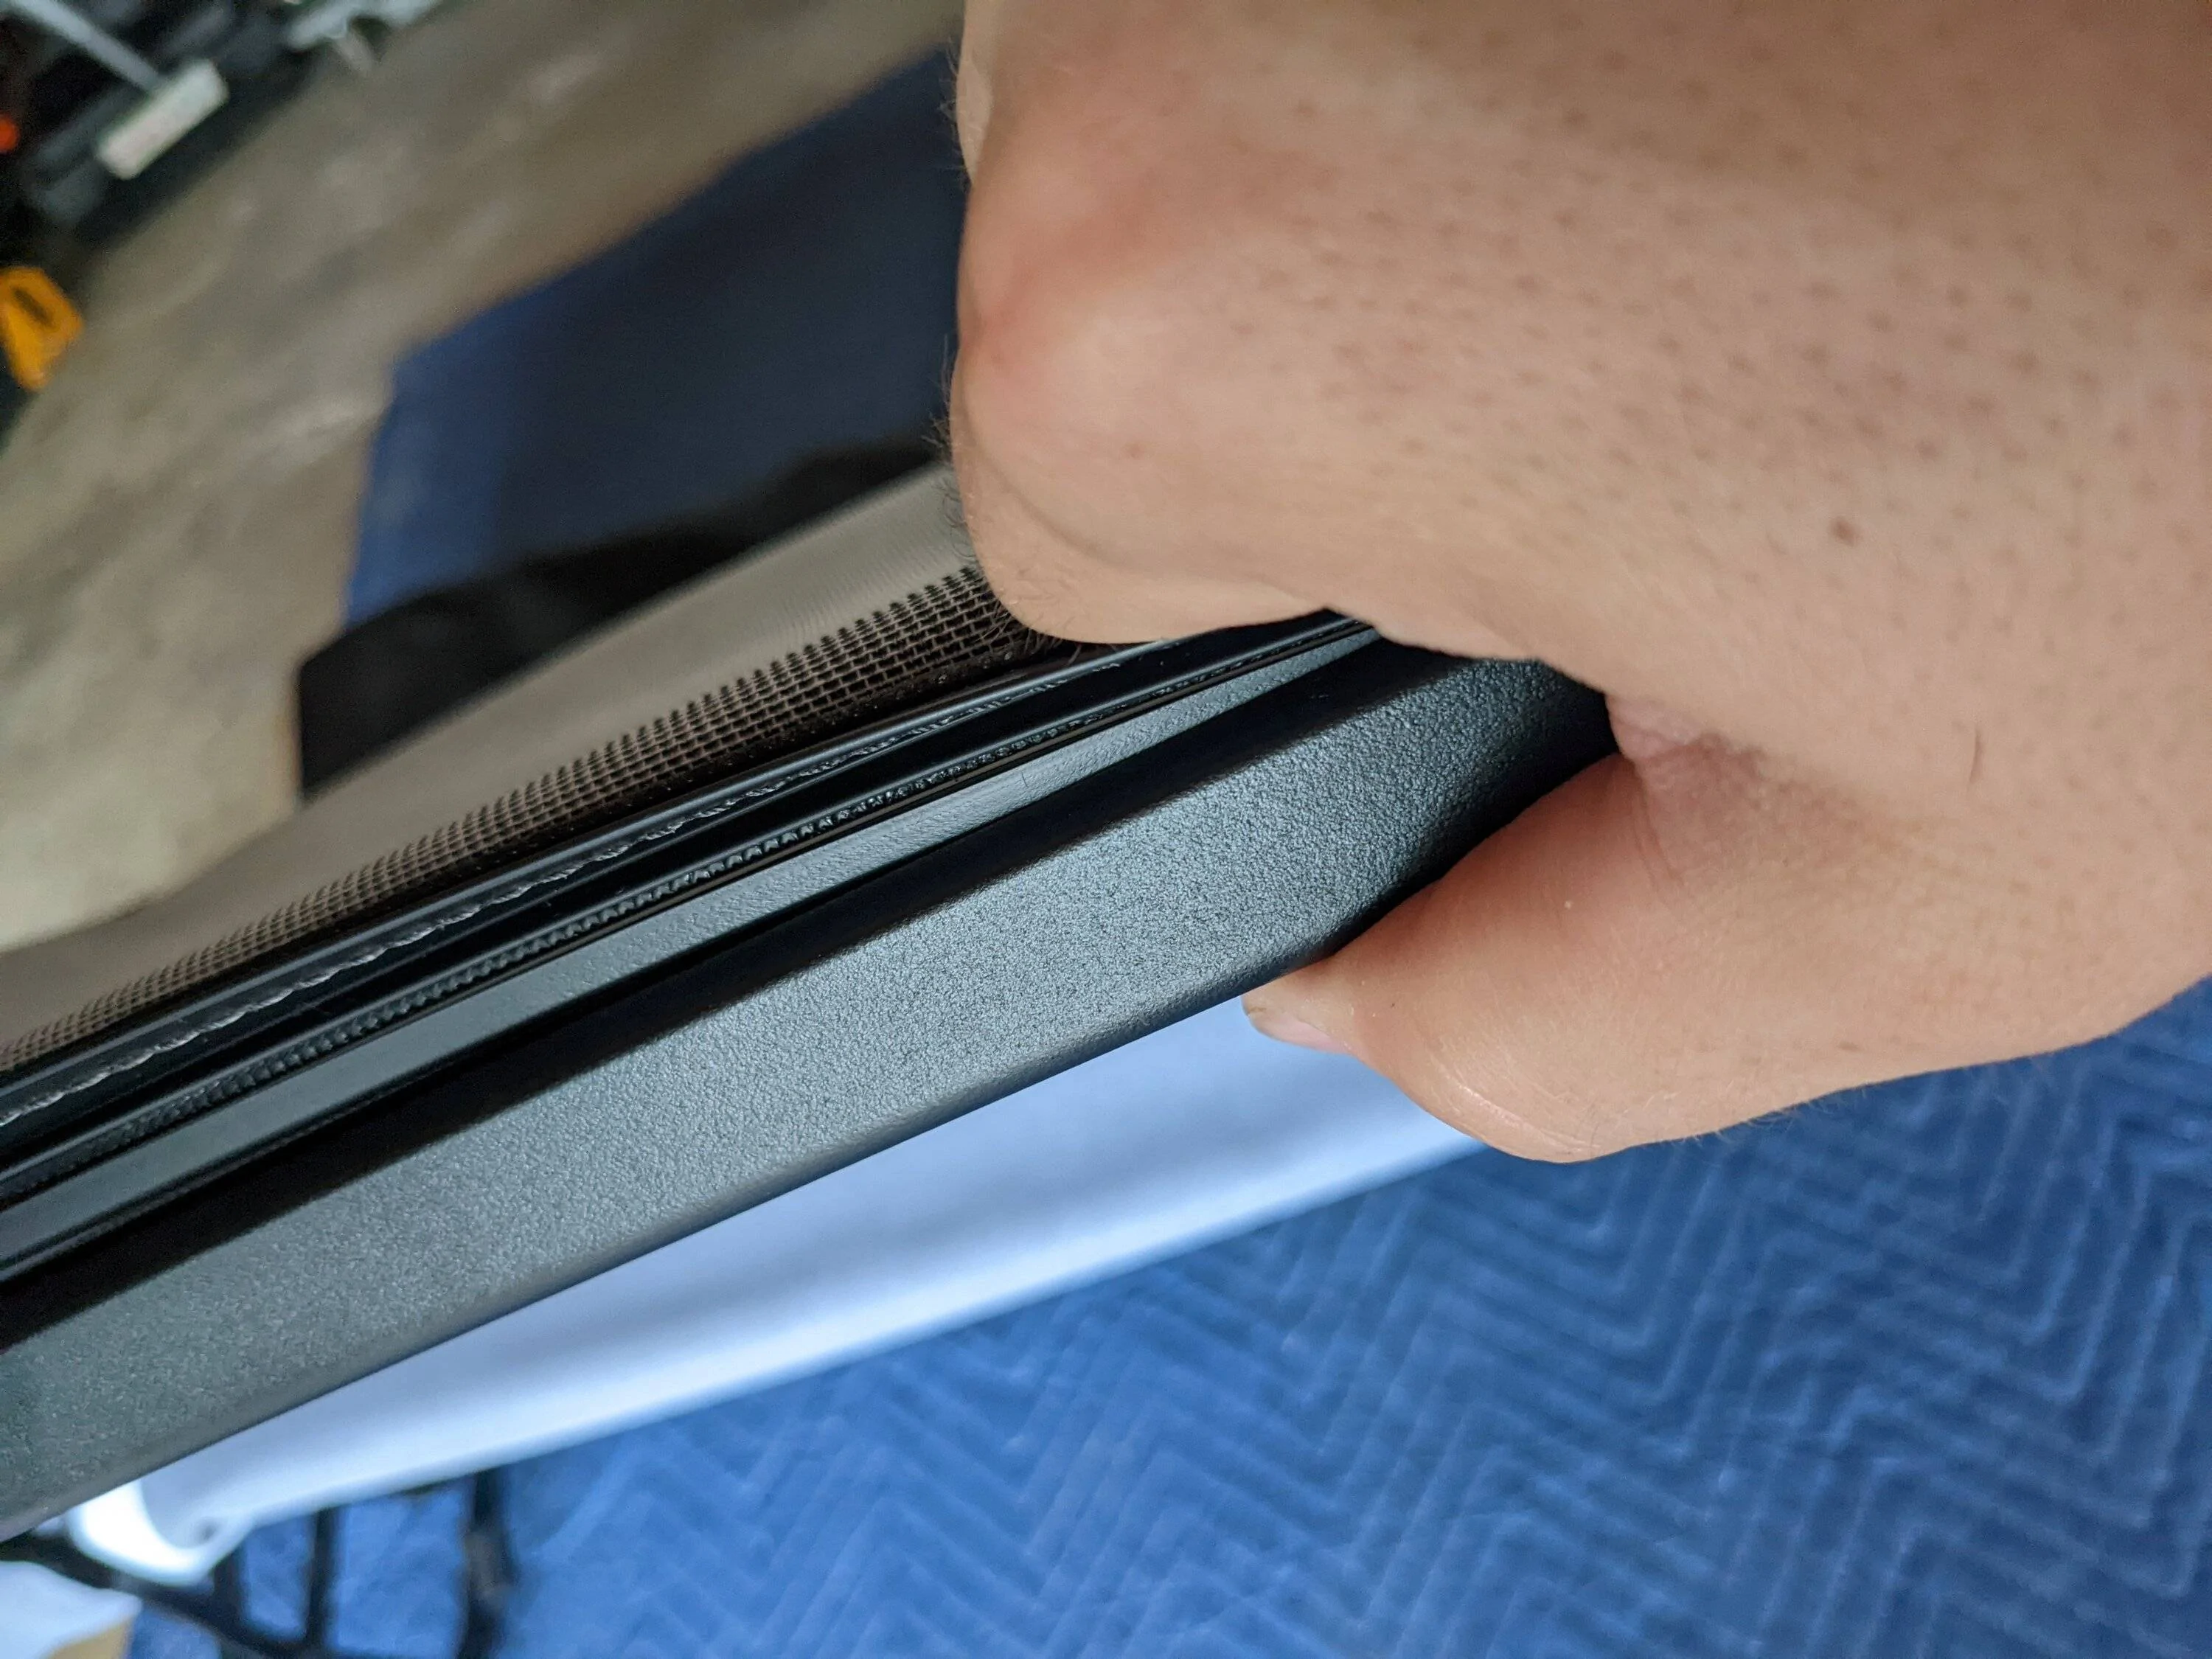
Now here is where I differed a little from JP29's install. I started by removing the screws holding the arms to the crossbar because I thought that you had to slide the fabric off and on each crossbar individually. Instead, I discovered that the fabric has a spline on it that looks like an arrowhead. If you grab the edge of it with some pliers, you can actually pull it out of each of the crossbars with a lot less disassembly.
In hindsight, I would not have removed those extra screws, it just added more time to the reinstall to get everything put back together. The next hurdle was the fabric loops that hold the paddles in place, which again required some rivet heads to be drilled out.
Then the paddles just slide out of place.
Part 1 --
I started with the soft top frame off the vehicle, laid out on a moving blanket to protect it. Next I removed the screws holding in the plastic frame at the front edge of the windshield header portion and peeled the fabric back. There seemed to be some kind of double sided tape that helped to hold the front edge in place, but I left that in place and it didn't seem to affect installation or removal at all.

Next I removed the 3 screws on each side that held the cable brackets in place.

Then I switched focus to the very rear of the top, which required removing the 2 screws on each corner block.
Then you'll need to drill out the rivets that hold the fabric to the frame. I think I used a 7/64", 1/8", and 3/32" drill bit to remove the heads.

At this point, you can remove the fabric toggles from the brackets on each of the support arms, they just push through.

Now here is where I differed a little from JP29's install. I started by removing the screws holding the arms to the crossbar because I thought that you had to slide the fabric off and on each crossbar individually. Instead, I discovered that the fabric has a spline on it that looks like an arrowhead. If you grab the edge of it with some pliers, you can actually pull it out of each of the crossbars with a lot less disassembly.
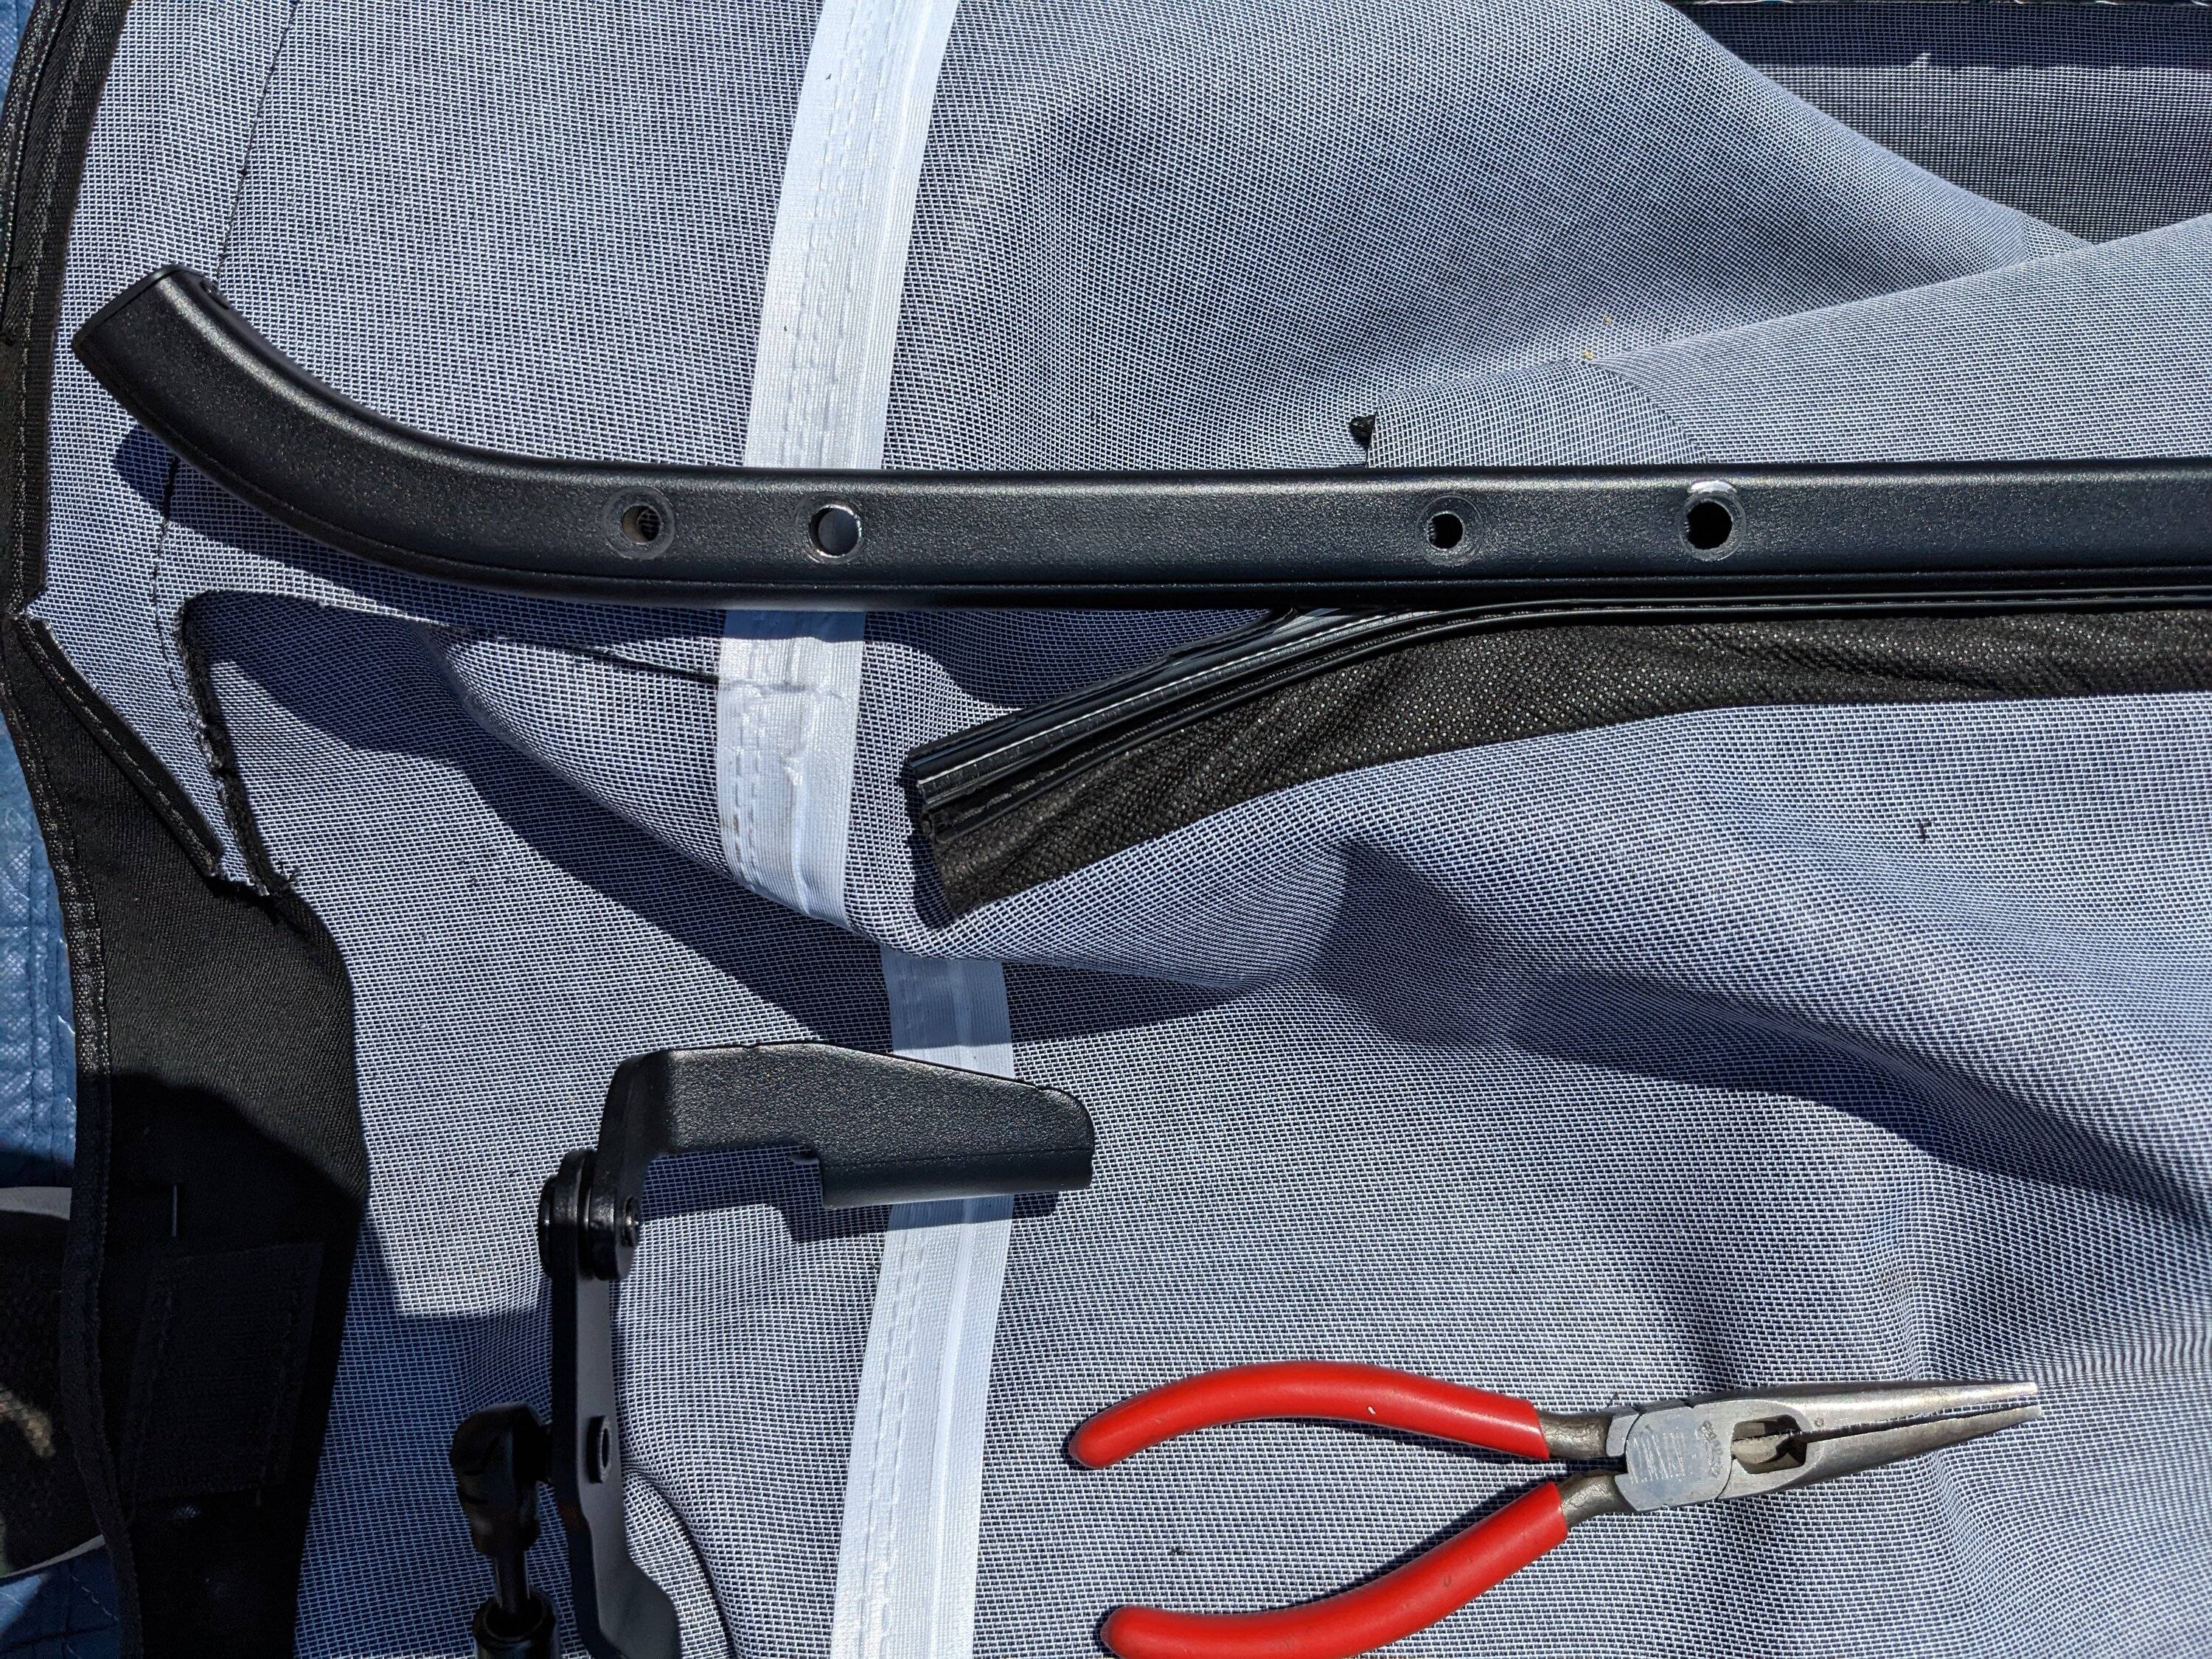
In hindsight, I would not have removed those extra screws, it just added more time to the reinstall to get everything put back together. The next hurdle was the fabric loops that hold the paddles in place, which again required some rivet heads to be drilled out.

Then the paddles just slide out of place.

Part 1 --
Sponsored